I love printables! The challenge is – what do you do with them? So all week long, I’m teaming up with some bloggers to come up with great ideas for using this Free Birthday Printables set, designed by Jen Goode from 100 Directions, to make all kinds of crafty projects! At the end of the post I’ll share with you Birthday Muffins by Splendid Design, A Birthday in a Box by Tried and True, and an awesome Birthday Box by Organize and Decorate Everything.
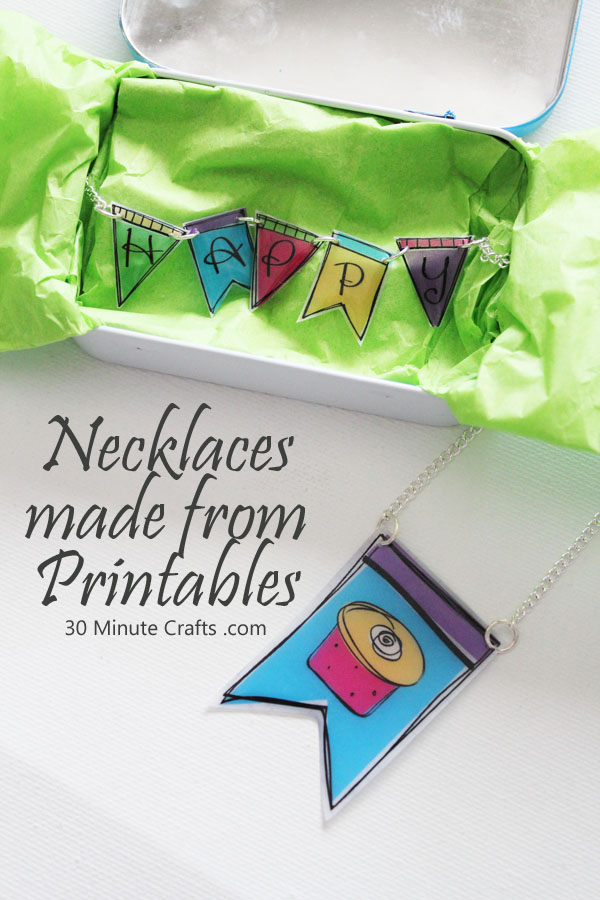
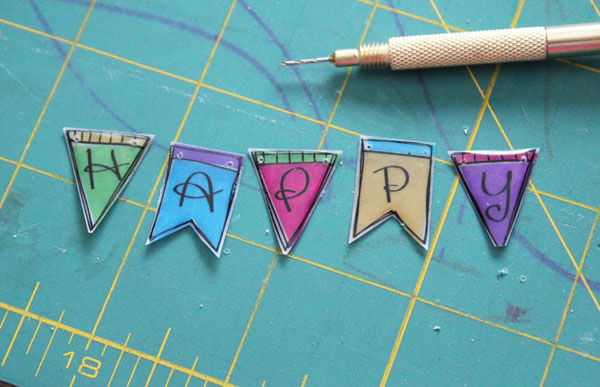
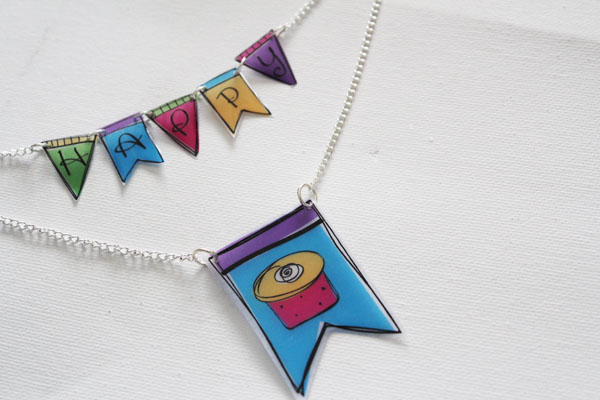
Today, I’m making some jewelry using these printables! That’s right… printable birthday jewelry! Though, I think the happy pennant necklace could be worn all the time. But it is especially festive for Birthdays.
Making these necklaces is super simple. I used resin on the printables – if you’ve never used resin before, don’t worry! This technique is super simple, and the kit has everything you need to be successful!
To make the birthday jewelry, you need the following supplies. I added some affiliate links to make purchase easy, any purchases you make help to support this site.
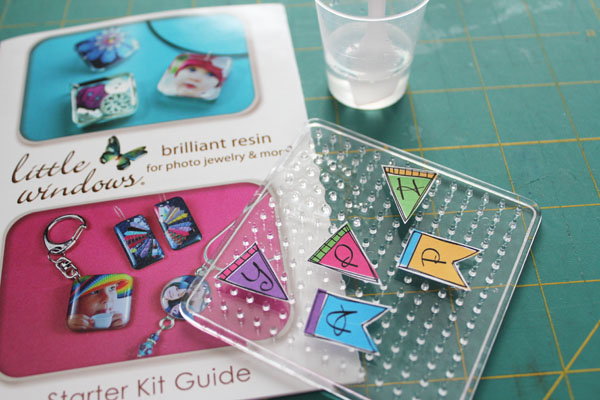
Little Windows Starter Kit (includes resin, mixing supplies, and little drill – read my review of the Little Windows Resin over at Craft Test Dummies)
FREE Birthday Printable
Scissors
Nail File
Jump Rings
Jewelry Pliers
Fine Cable Chain
Lobster Clasp
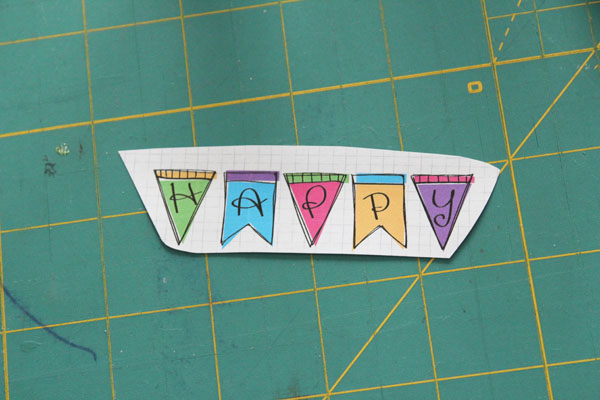
Start with your printable. You’ll want to cut out all the pennants. I wanted my necklace a little smaller, so I printed it to “landscape” so that the triangles would be just a little smaller.
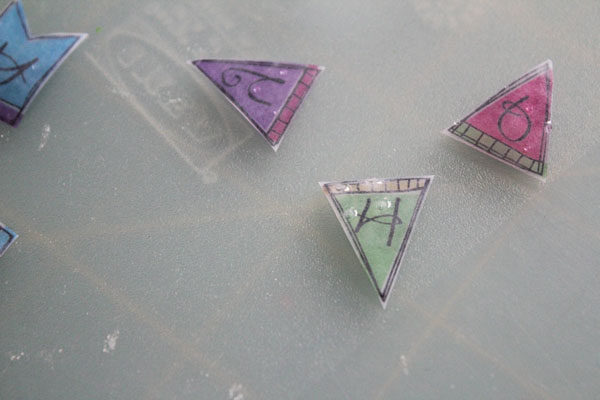
Place the pennants on the doming tray that comes in the kit. Let the resin set up for an additional 5-10 minutes, then follow the instructions to pour a little bit of resin onto the pennants.
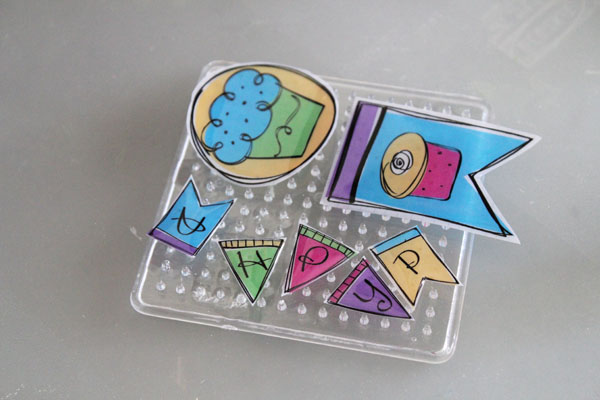
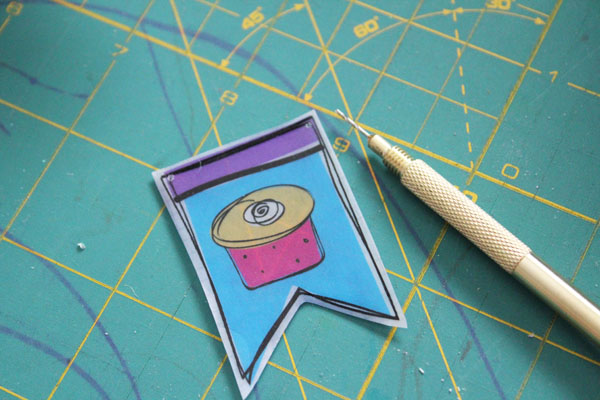
Use the wand to make sure that the resin gets to all the edges. I decided to try a couple different designs. The circle ended up curling (I should have printed it on cardstock), but the large pennant worked well.
Let the resin set overnight – about 12 hours, according to the instructions. If you have any bumps on the back of your piece, use a nail file to sand them away.
Use the small drill that comes in the kit to drill a hole on each side of each pennant.
I decided to make a necklace with the large pennant, so I drilled holes in there as well. Make sure that you’re drilling on a surface you don’t mind drilling into – like a cutting mat, cutting board, or piece of cardboard.
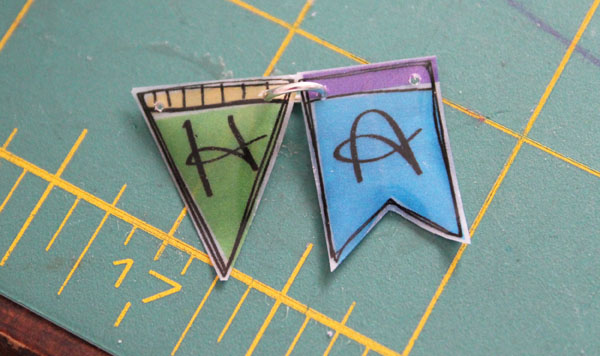
Add jump rings between each segment.
Then attach the chain on each side, with a lobster clasp at the back. The resin gives the paper a great translucent look that I just love!
If you’re giving the necklace as a gift, you can make an Altoids Tin gift box using the same printables set!
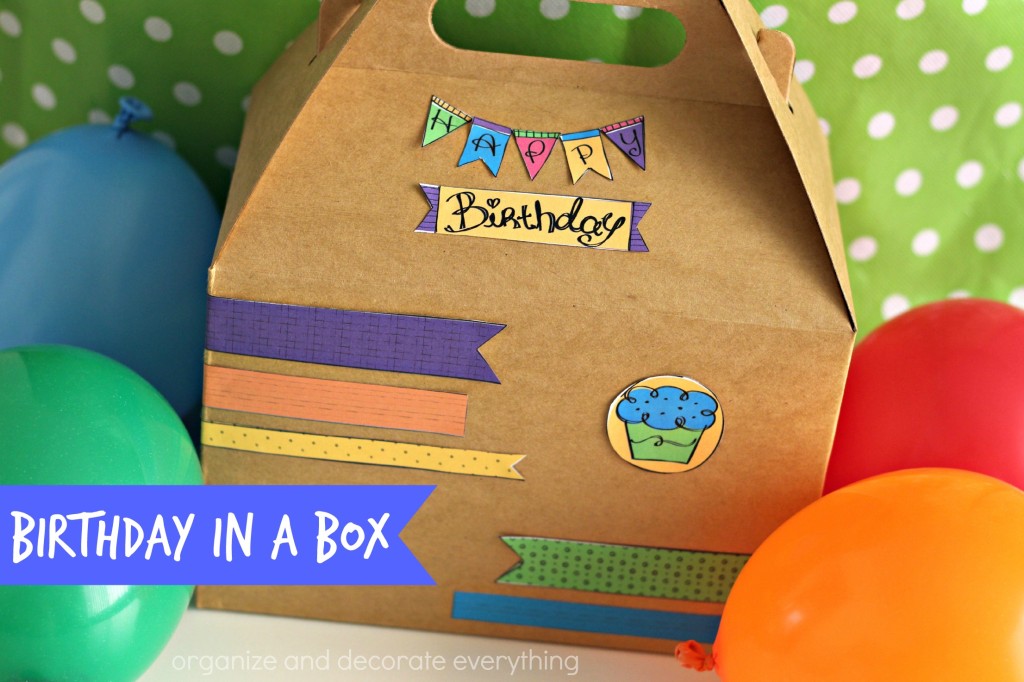
Also using these printables, you can make a great birthday box – Leanne from Organize and Decorate Everything uses the printables to spiff up an ordinary container – making it super fun for a birthday boy or girl of any age!
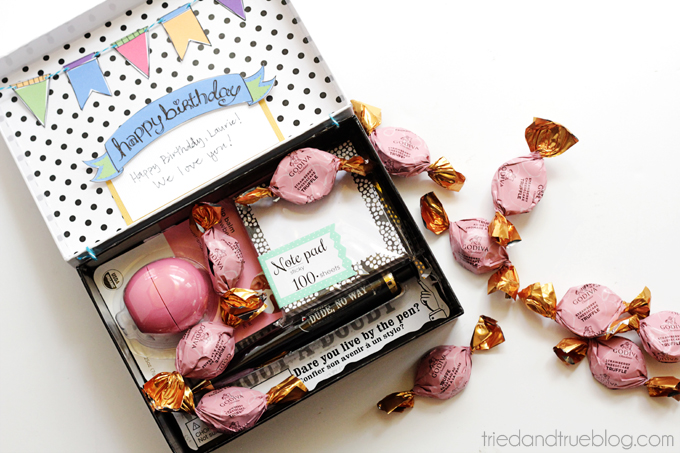
Another great Birthday in a Box idea comes from Vanessa at Tried and True. She uses the printables to decorate the inside of the box! How fun is that?
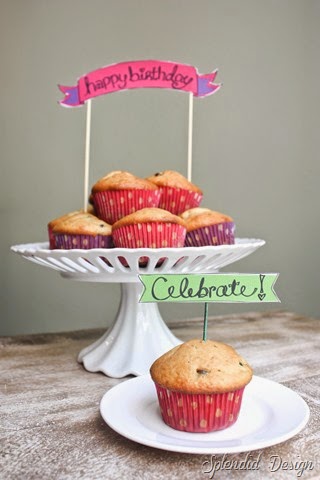
Why wait until dessert to celebrate a birthday! Wake up to some cute birthday muffins, like these birthday muffins from Megan at Splendid Design!
Make sure to come back tomorrow – we have lots more fun ideas for using these great birthday printables!




You are SO creative! I would have never thought to make jewelry out of a printable. So cute! And I love the other ideas that were shared. Such talented ladies!
This looks like so much fun! I would love to do this with my nieces & I agree, the Happy can be worn all year…