


This post contains affiliate links.
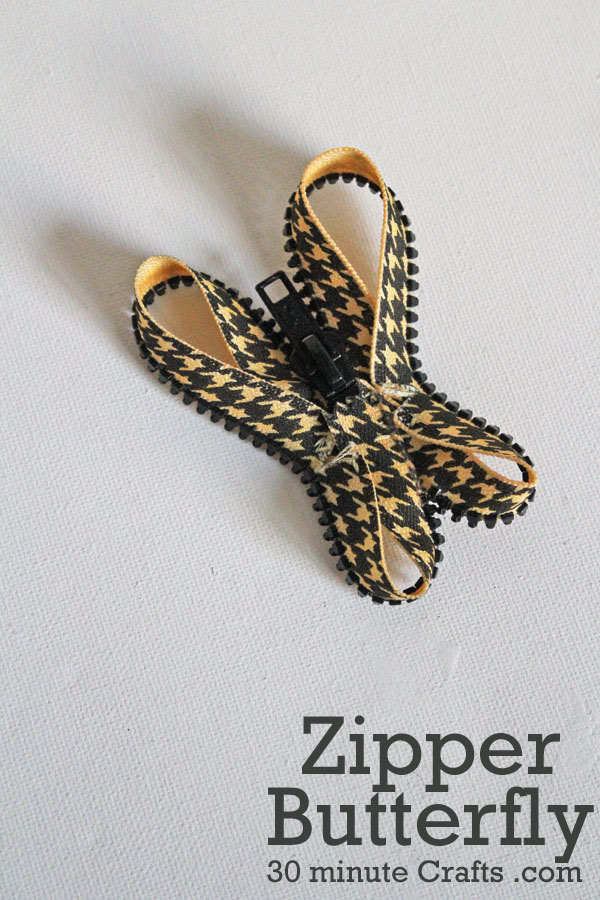
Looking for a fun embellishment? I made this zipper butterfly to add to a floral arrangement, but you can make your own zipper butterfly and use it however you like! I dyed my zipper for some extra color, so you can make yours whatever color you like!
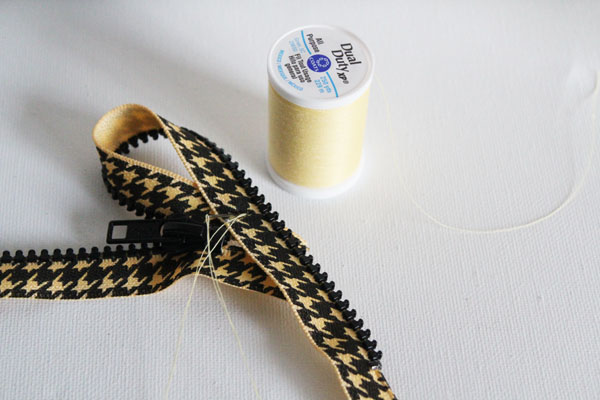
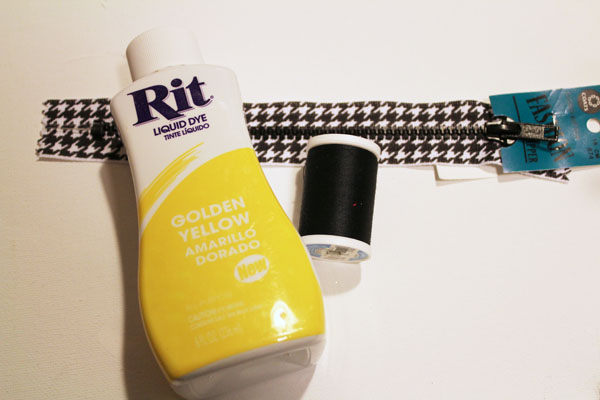 Here is what you need to make the zipper butterfly:
Fashion Black & White Separating Zipper
thread
Rit Dye Liquid Fabric Dye
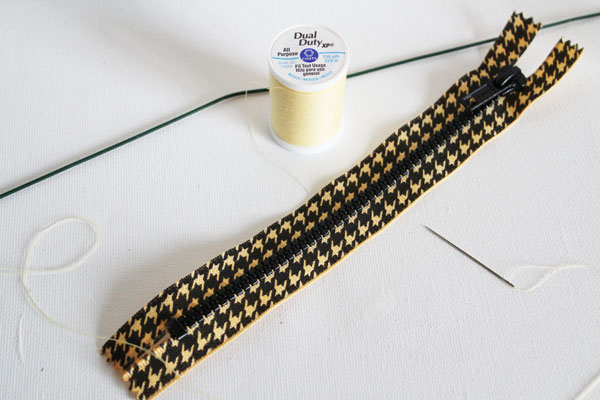
Needle
Krazy Glue Craft Formula Gel
Floral Wire (optional)
I put the zipper in a bath of HOT (just below boiling) water, and added a generous amount of dye (a couple tablespoons), then let it sit for an hour. Then I rinsed it out and set it aside to dry.
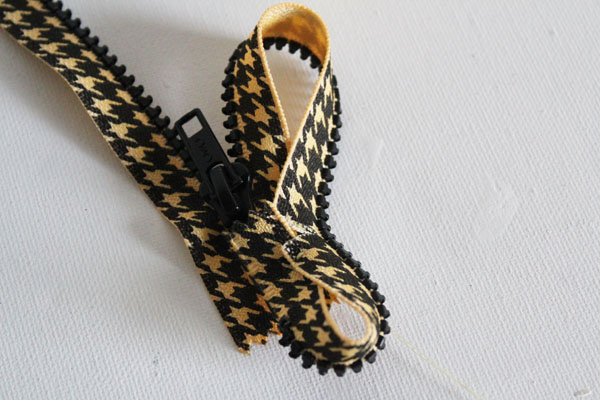
I opened up the zipper, and cut a notch about 2/3 of the way down on one side.
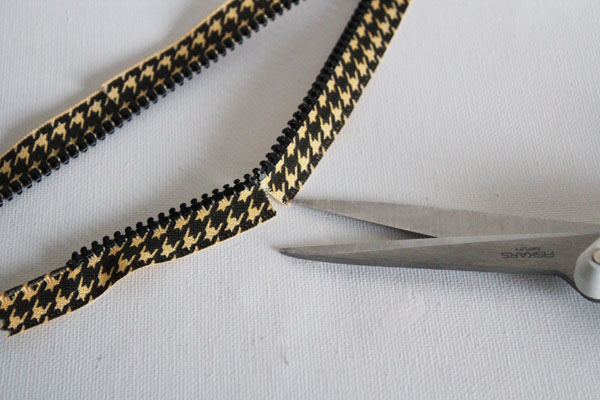
This made it easier to shape the wings, which I stitched in place with a few stitches.
I did the top wing first, then the bottom wing. Stitching the ends in place.
Then I did the same with the other side – cutting a snip, making the top, and then the bottom.
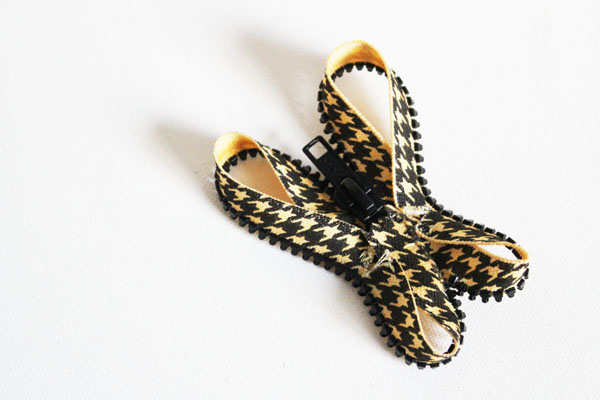
I used a dab of krazy glue to secure the zipper pull “up”. Looks a little like the head or antennae of a butterfly. If you squint and turn your head to the side. If it doesn’t, then just squint harder!
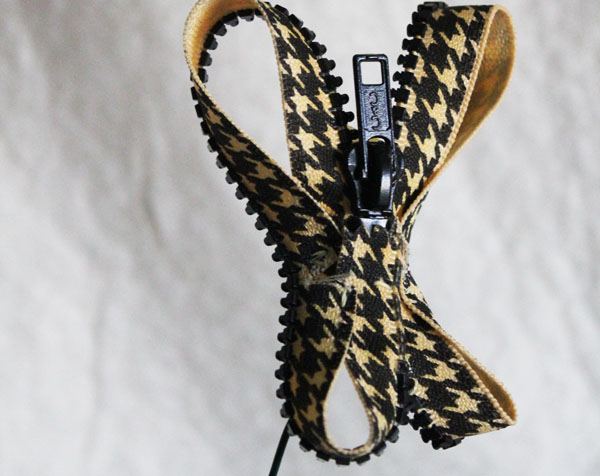
I made a loop at the top of a piece of floral wire, and stitched it to the back of the butterfly so I could insert it into my floral arrangement. But that is optional. You can now stitch it to a sweater or backpack, or add a pin back to turn it into a brooch. You could add it to a hairclip… the options are endless!


Leave a Comment