


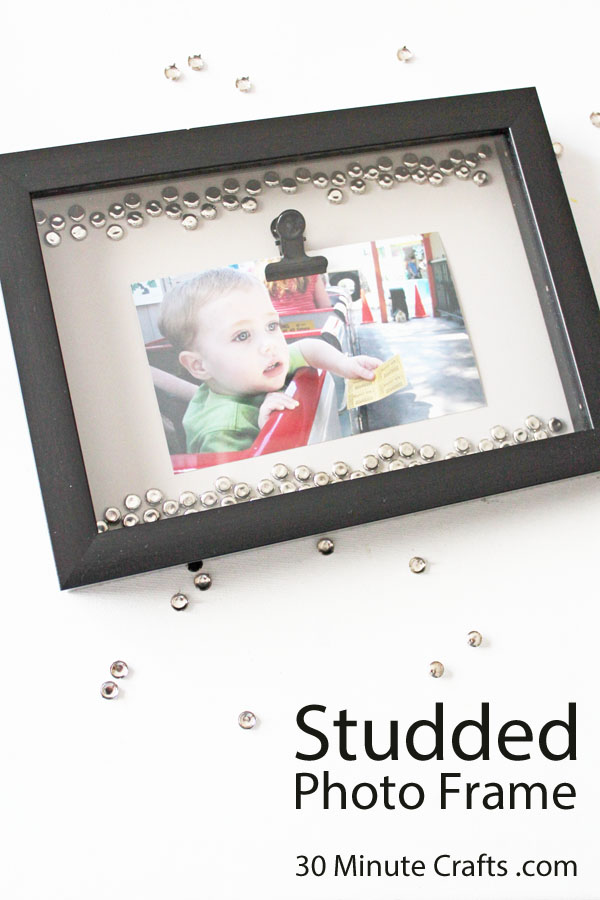
I’m playing with studs this week, and today I’m showing you how to add studs to a shadowbox picture frame. This studded picture frame has more going on than a regular picture frame, adding whimsy to your decor. Because studs are full of whimsy.
If you’ve never played with studs before, don’t worry! They are super easy to use, and even if you feel like you made a mistake, your project usually turns out great! I’ve been sharing stud crafts this week, like my simple studded shirt and studs and pearls bracelet as part of a week celebrating studs in crafting. If you want to see some hunkier studs, go check out the studs at CraftSnark.
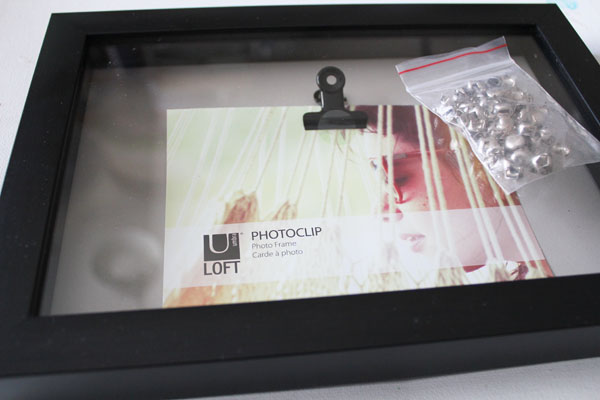
To make this studded picture frame, you’ll need (I’ve added some affiliate links to help make your search easier):
Shadowbox Picture frame
Mine came with a binder clip, if you want to add one to yours, grab a cute binder clip
and some glue
Silver Round Dome Metal StudsHammer
Washcloth or other thick cloth
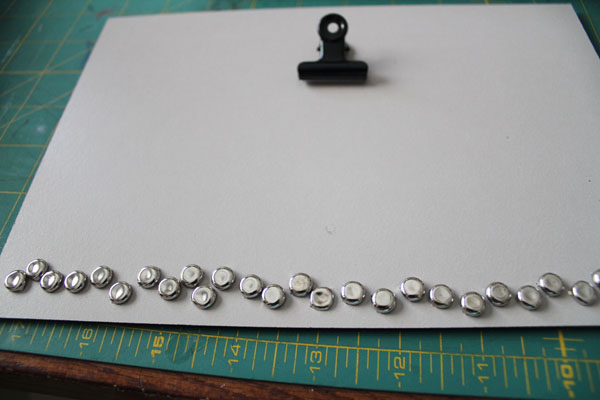
Take apart your frame so that you’re working with the back of the frame. Hammer in each stud, one at a time. To protect the finish of your studs, cover with a washcloth or other thick cloth.
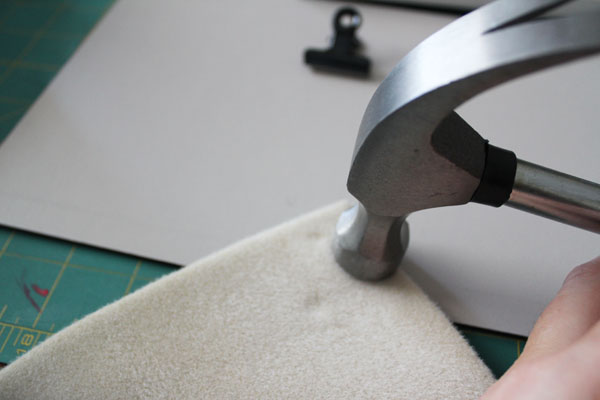
Hammer in a line. Don’t worry about being too straight. Imperfect looks great on this project.
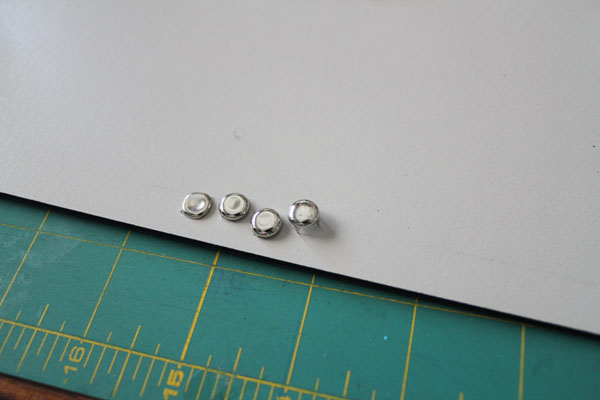
Go all the way across the frame, leaving about an inch on each side so the back will easily fit back in the frame.
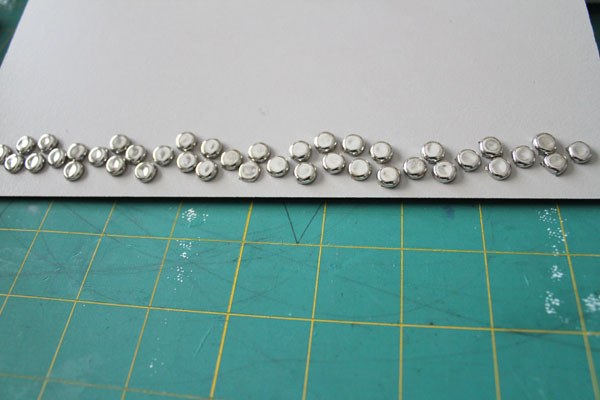
Fill in any areas that could use more studs.
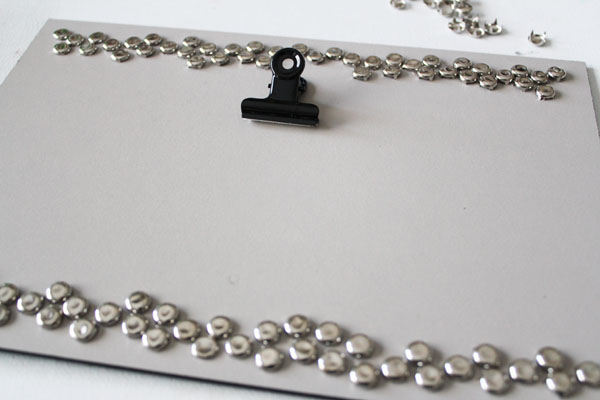
Repeat with the top of the frame.
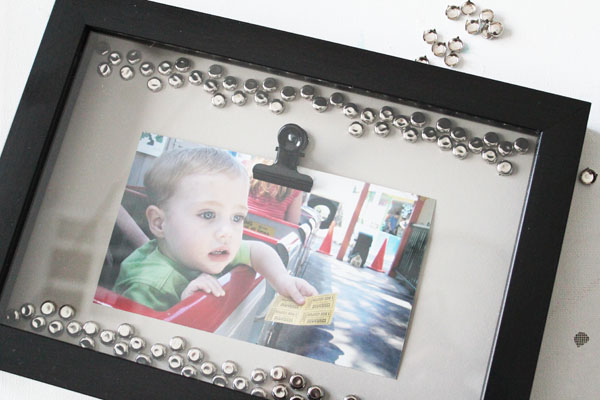
Now add a photo of your favorite (mini) stud into your studded picture frame, and you’re all set!


Leave a Comment