My boys love smashing pennies in penny smashing machines at museums and theme parks. And I love it too. It is a fun activity for them, and it costs very little! The souvenirs don’t take up a lot of space in the house, and they can have fun sorting through their variety of pennies. So, when we went to Legoland earlier this year, I knew they’d want to run around the park collecting smashed pennies. The evening before, I whipped them up these Lego Lanyard Pockets to hold their quarters and pennies to use the smashing machines, and to keep their smashed pennies safe. They loved their Lego Lanyard Pockets, and still love carrying them around!
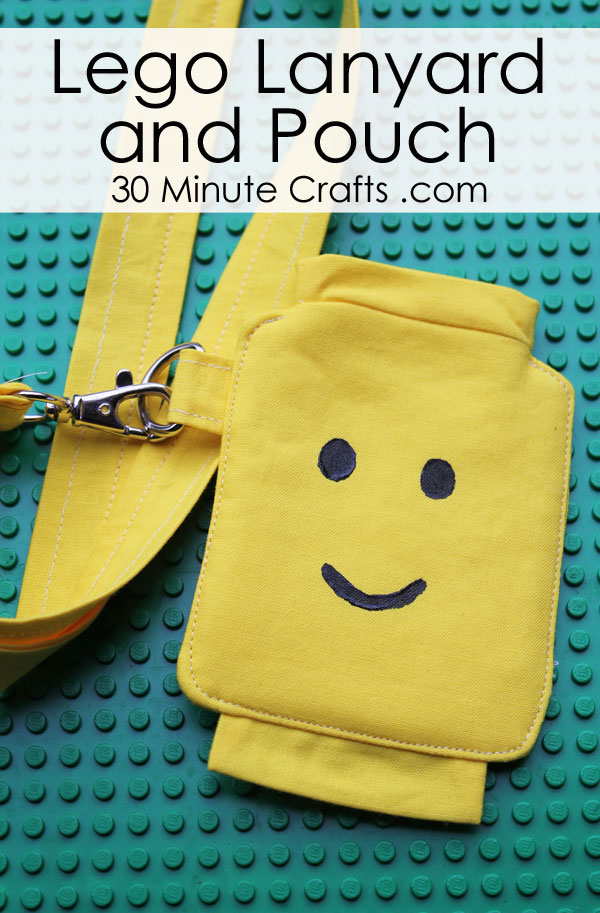
The pouch can be stitched up in about 30 minutes. If you want to make the lanyard as well, you’ll need to add another 15 minutes or so to your stitching time.
I made ours without any fasteners at the top – they might be even more functional with a snap or velcro along the top.
To make the pouch and Lego lanyard you’ll need:
Yellow Fabric (1/2 yard will make both the pouch and the lanyard)
Ruler and rotary cutter
Sewing machine
Iron & ironing board
Black fabric Paint
Pencil
Fusible Fleece
Start by cutting your fabric. You’ll need:
2 outer pieces – 4.5″ x 4″ (and 2 4.5″x4″ of fusible fleece)
1 bottom piece – 1.5″ x 3″
2 lining pieces – 5″ x 3″
1 loop – 2″x 2″
lanyard – 2.5″ x WOF (Width of Fabric)
All seams are 1/4″ unless otherwise noted.
Fold the bottom piece in half, and stitch down both sides, locking stitches by going back-and-forth at the fold. Clip the corners on the folded edge.
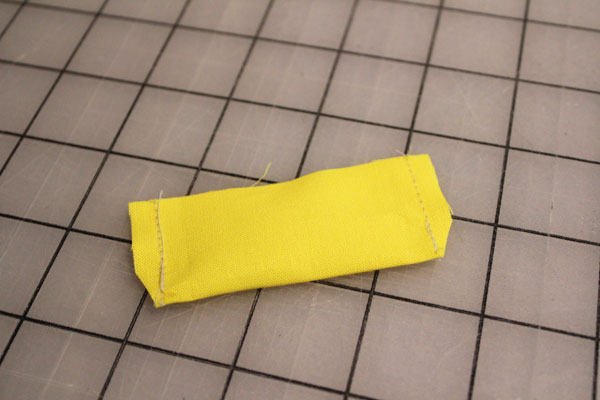
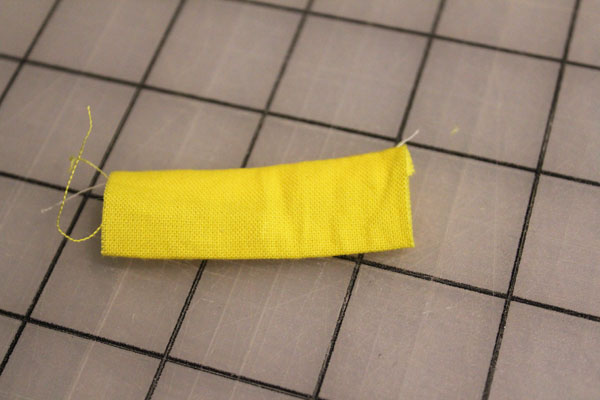
Make the tab. Fold in half, and stitch with 1/4″ seam. Turn right side out, and press. Top-stitch 1/8″ from both sides.
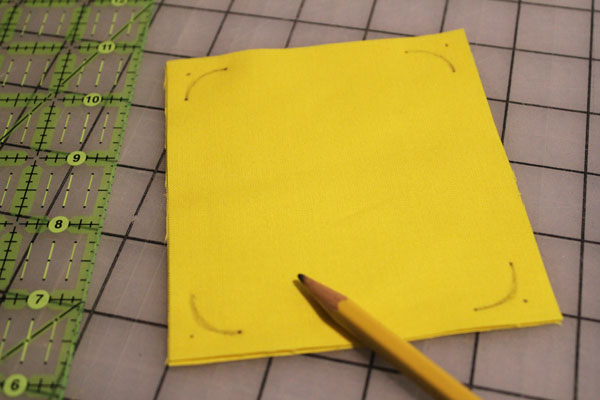
On one outer piece, using a ruler, mark 1/4″ in from all corners. Then mark 1/4″ and 3/4″ in from each corner. Draw curves along all corners.
Put the two outer pieces right sides together. Sandwich the bottom piece along the bottom, centering it, with all the raw edges lined up. Put the metal loop through the tab, fold in half, and tuck along one side, near the top. Stitch around all sides, following the curves at the corners, leaving the top open.
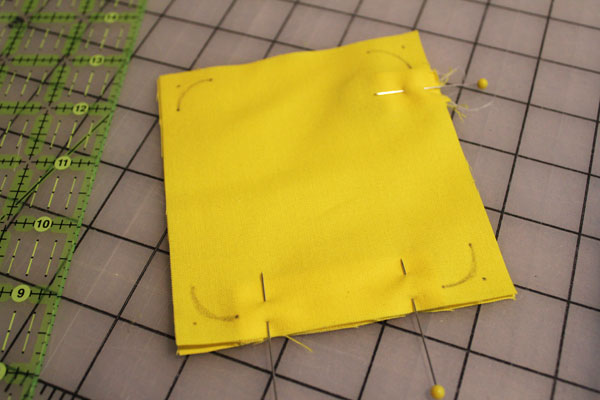
Trim off the extra fabric at the corners and clip the curves.
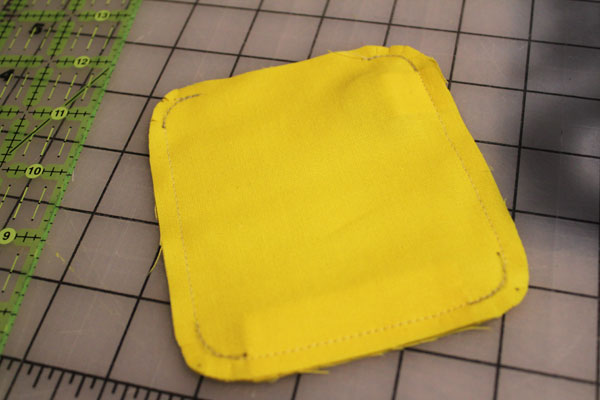
Fuse the fusible fleece to both sides, trimming away the excess at the corners.
Put the two lining pieces right sides together, stitch along three sides.
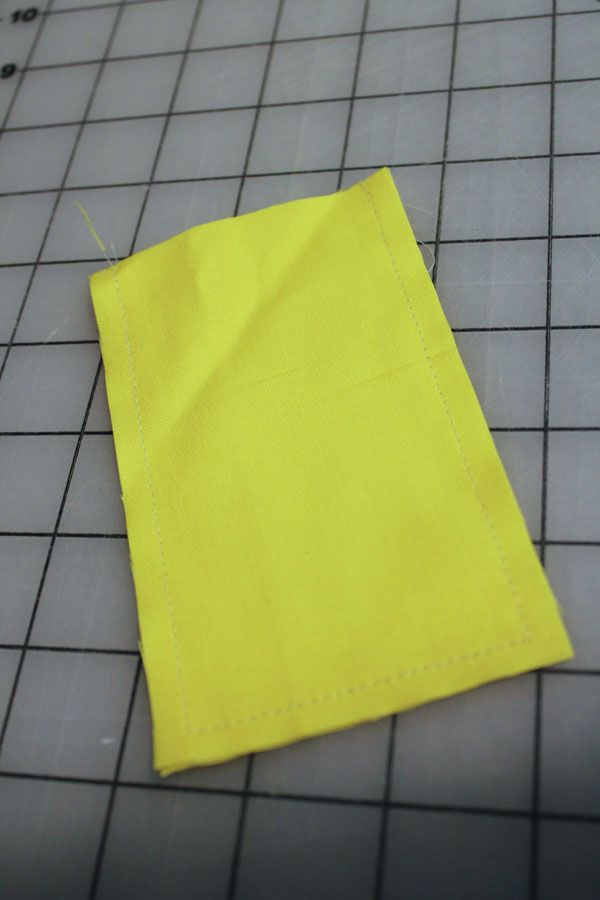
Turn the lining right side out, then tuck inside the outer piece, lining up the top. Pin in place.Then stitch all the way around the top.
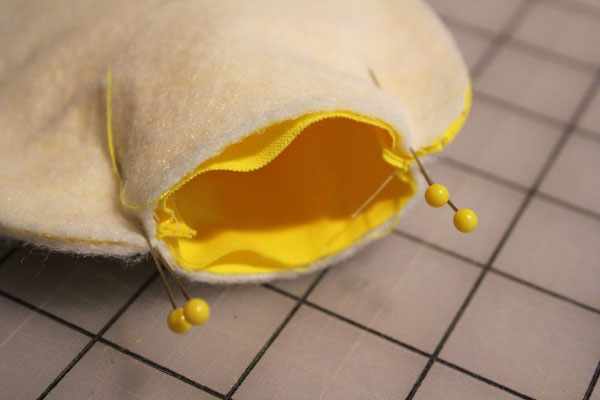
Pick out about 2″ of seam along one side – the side that doesn’t have the loop stitched in. Turn the pouch right-side-out through this hole.
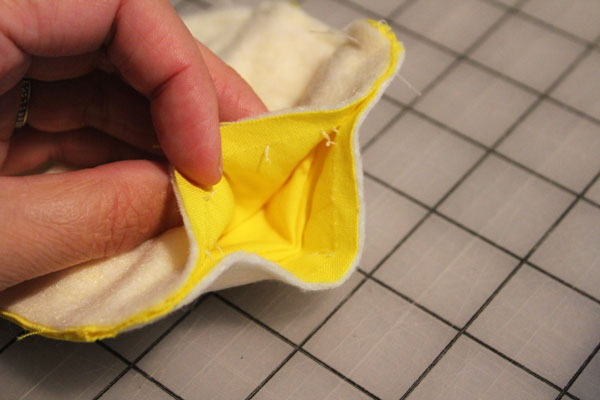
Now it looks like this… tuck the lining into the pouch, leaving 1/2″ sticking up from the top. Tuck the seam allowance from the hole back in the side, and pin.

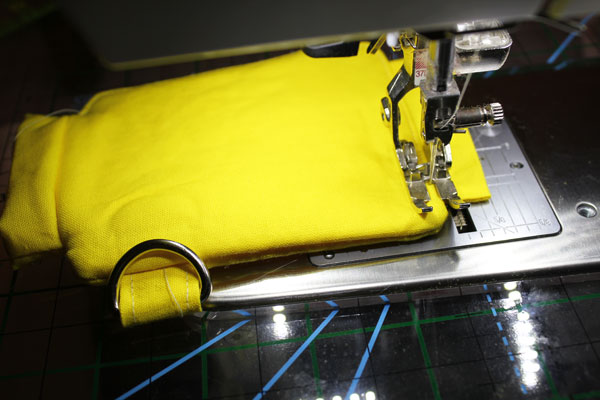
Edgestitch around three sides of the pouch, leaving the top open. This edgestitching will also close the hole you used for turning.
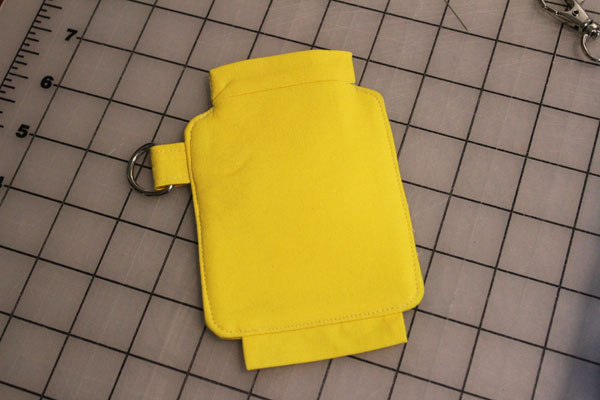
Paint on the face. Put aside to dry.
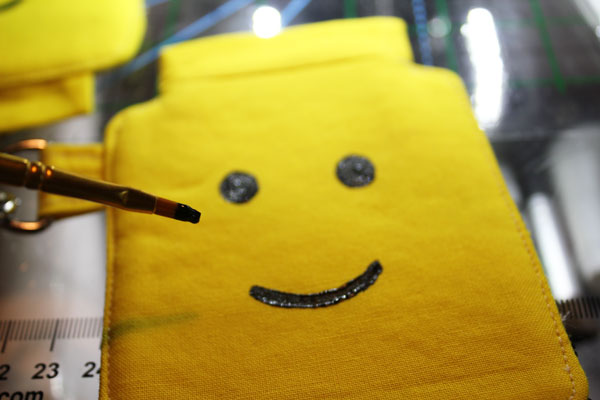
Your pouch is done… now you can make the lanyard. Fold your strip in half along the long side, and stitch down one long side with 1/4″ seam allowance.
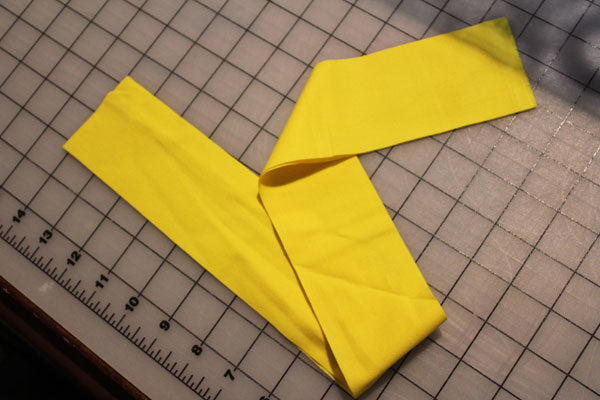
Turn right side out, press, then stitch 1/4″ in from each side to secure.
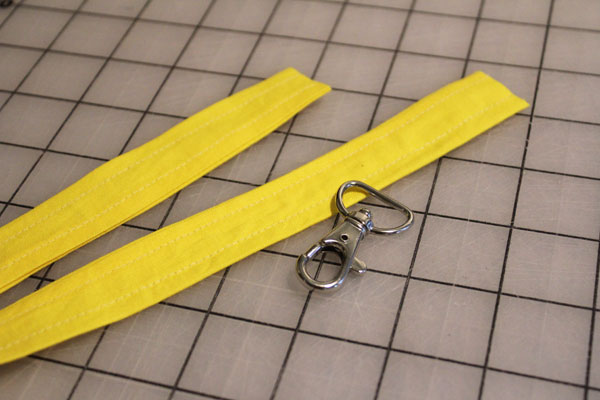
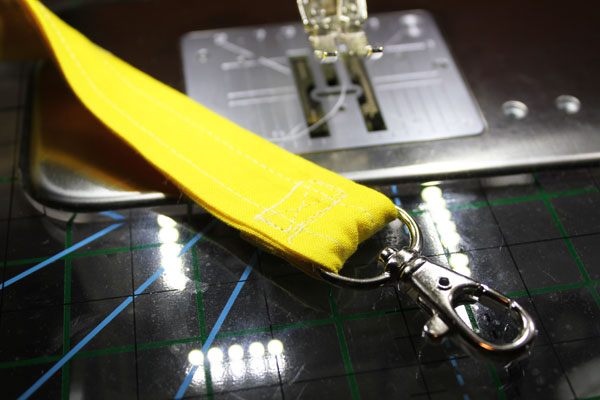
Fold the strap in half, lining up the two short ends. Stick one end about 1/2″ out further than the other. Thread on the clasp.
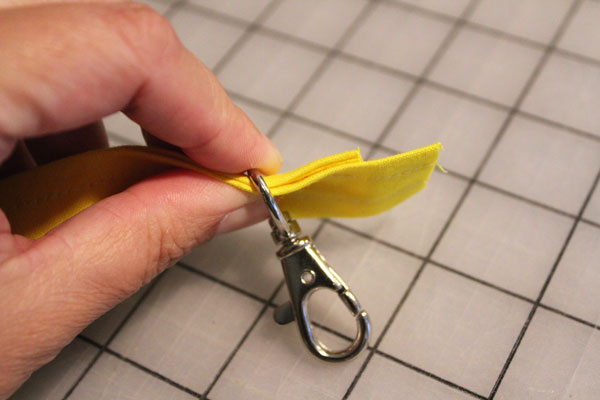
Fold the 1/2″ over, and then over again to hide the raw edge and secure the clasp in place.
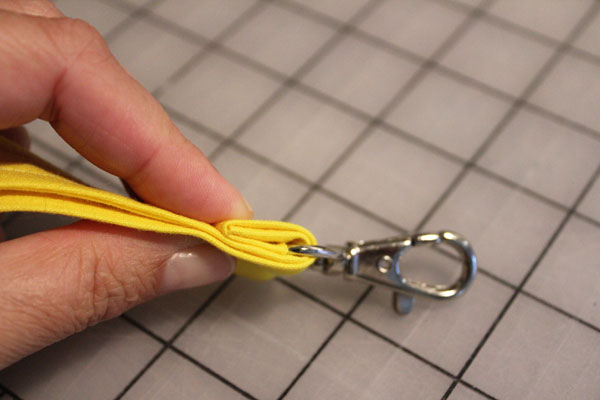
Stitch down to secure the clasp.
Your Lego Lanyard Pocket is complete!



Leave a Comment