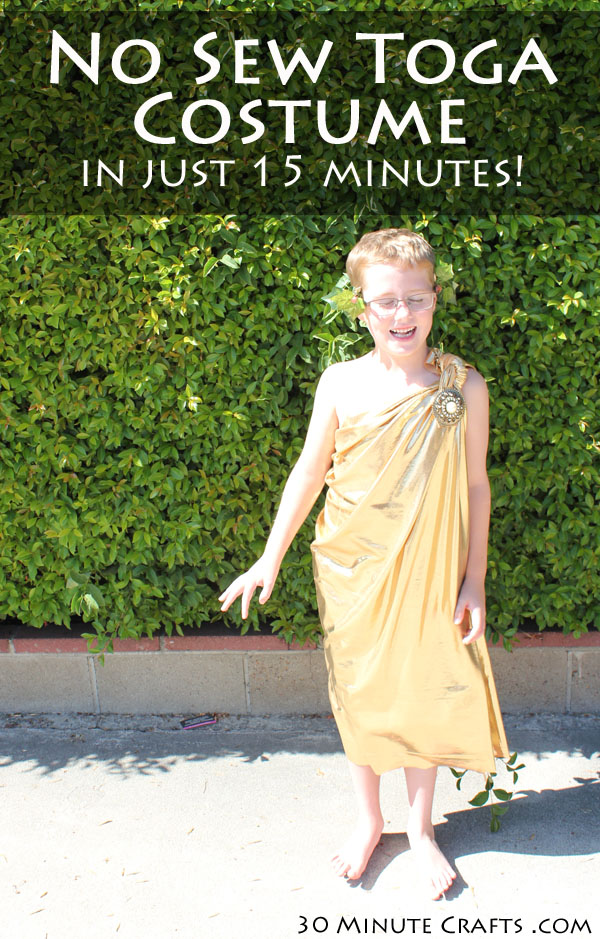
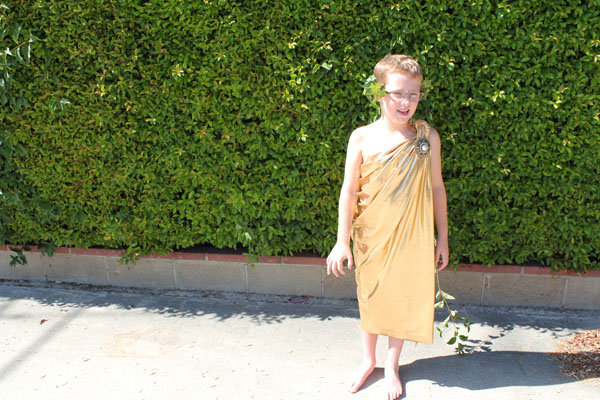
With a yard of fabric and a few other crafty supplies, you can whip up this no sew toga costume in just a few minutes! Sure, a toga feels like an obvious Halloween costume – but when was the last time you had a toga-clad trick-or-treater at your door? And with a fun fabric like this gold shimmery fabric I picked up, it becomes a fun costume for any kid to wear (and highly reflective – something every mom wants in a trick or treating costume)!
I whipped up this costume as part of Craft Lightning week. All week long my friends Angie from the Country Chic Cottage and Jen from 100 Directions and I, along with our crafty friends from around the web are sharing 15 minute or less Halloween crafts, and I’m sharing a 15-minute or less Halloween costume each day this week! Check out yesterday’s Mushroom Costume. And be sure to scroll down to the bottom of this post to check out more fast and fun craft ideas.
This Toga costume idea started when I was at JoAnns and saw a yard of this gold fabric in their remnant bin. Perfect!
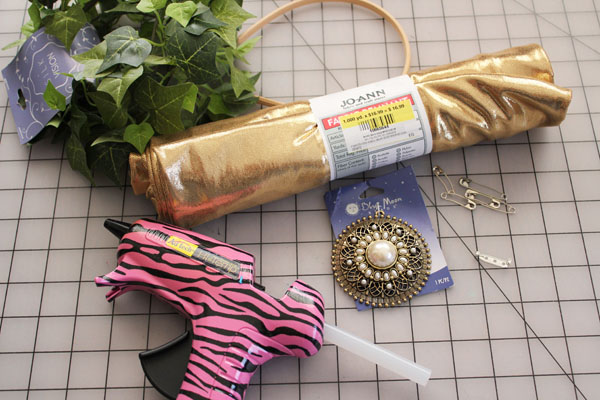
Here is what you need to make your DIY Toga Costume:
1 yard of gold fabric (for a child’s costume – if you’re making this for an adult, and you don’t want an uber-mini skirt, grab a bedsheet instead)
Headband
Fake Ivy (from the silk/floral section)
Hot Glue
Pin Back
Large medallion (from the jewelry section)
safety pins
Make the Greek Headband:
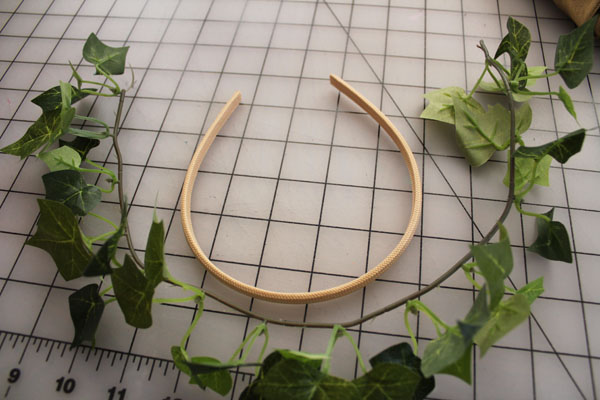
 Start by making the crown. You could go more traditional and find Laurel leaves or Olive leaves, but for the sake of simplicity, I just grabbed some ivy. To match the rest of the costume, I could have painted the leaves gold, but I kept it simple.
Cut a length of ivy several inches longer than the headband.
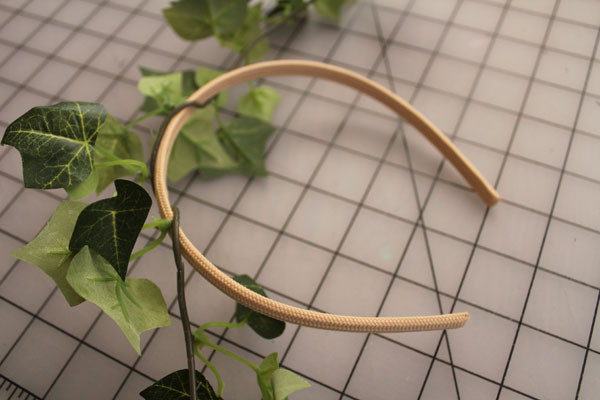
Start twisting around the headband.
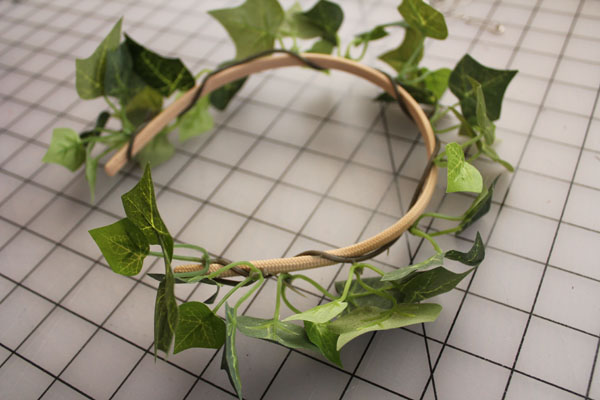
Twist all the way around the headband, twisting back at the ends.
How to make a Toga:
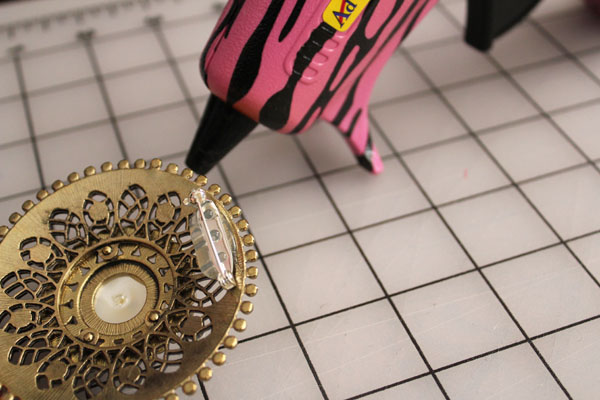
You can use a brooch you have on hand for the embellishment at the shoulder, or hot glue a pin back to a large medallion from the jewelry section of the craft store.
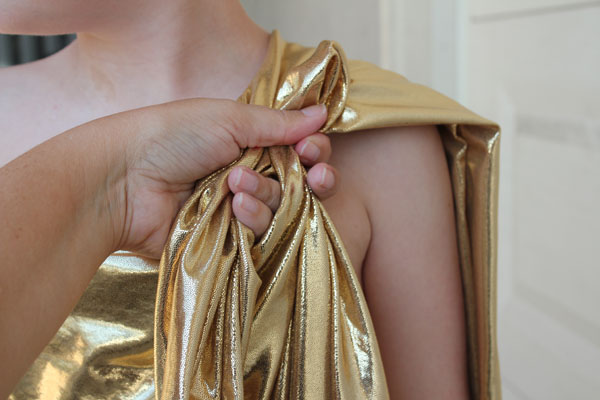
I had my son leave on his gym shorts, but remove his shirt. You could make this same costume for a girl, but I’d recommend a tube top underneath to avoid any embarrassing wardrobe malfunctions. I wrapped the fabric around his torso, under one armpit. I grabbed the top corner from the back, and the top corner from the front. He’s skinny, so I moved my hand in several inches on the front, grabbing along the edge, instead of the corner.
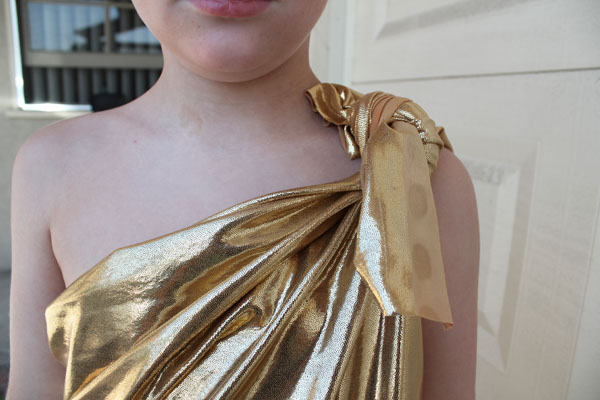
I tied these in a double knot.
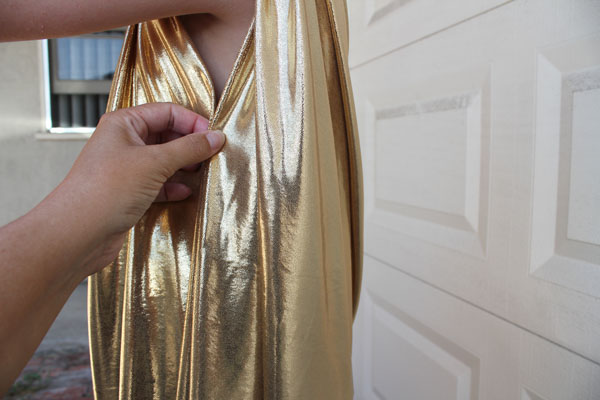
I covered up the tail on the front with the medallion. Then used safety pins on the side to pin it closed under his arm.
The crown of ivy went on his head, around the back and resting on his ears. Costume was complete! Obviously, he’ll need some sandals before he would be able to go trick-or-treating.
If you enjoyed this toga costume, you might also like this ladybug costume, magician costume, and monster costume.
For more fun Halloween Crafts, check out these projects:
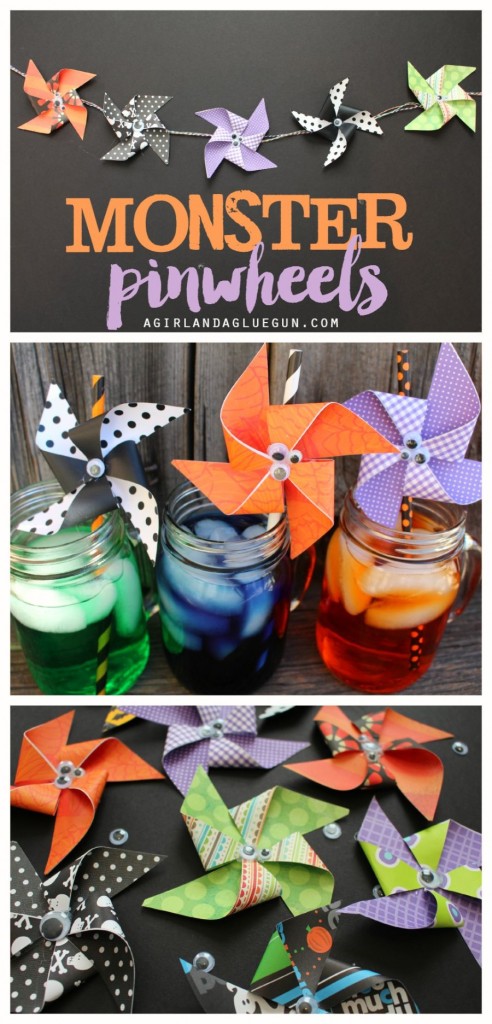
Any Googly-eye fanatic (like me) will love these monster pinwheels from A Girl and a Glue Gun.
Aren’t these spooky coffins adorable? Michelle’s Crafty Plan-it has the step-by-step for you to make your own!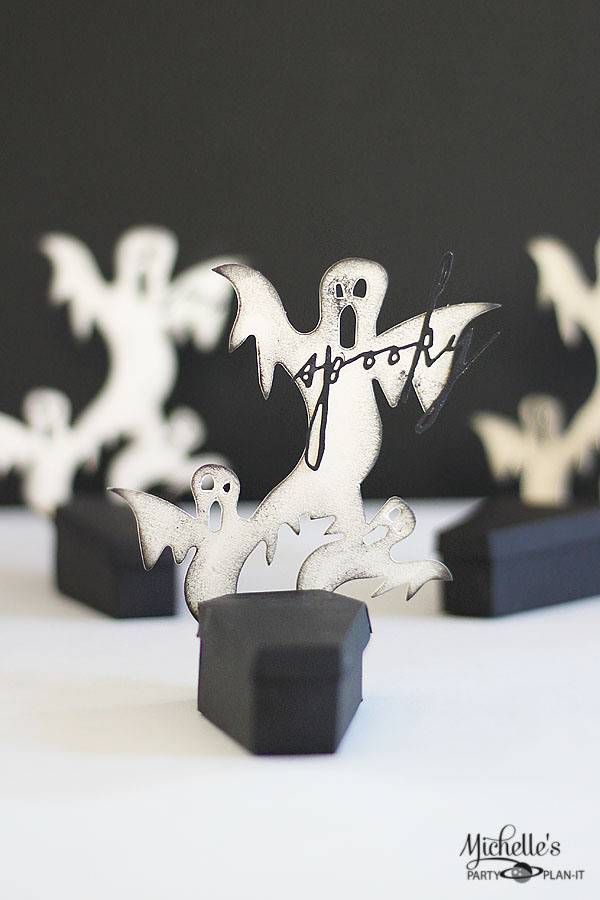
Laura’s crafty Life will show you how to whip up an adorable button card for Halloween.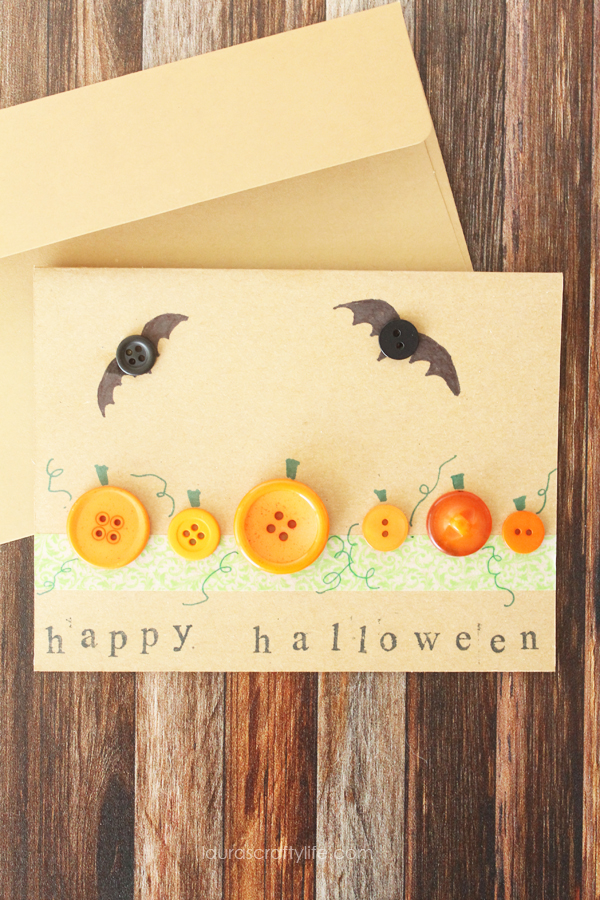
Duct Tape and Denim added some simple spooky to her decor with this fun mummy model.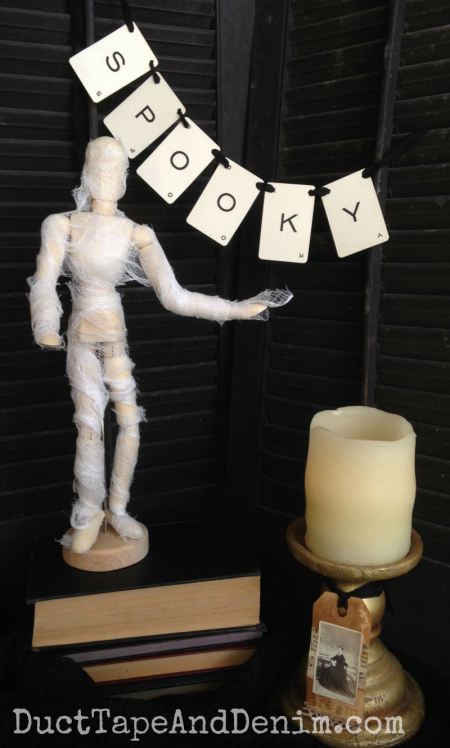
I love how DIY Inspired transformed this simple owl into sparkly Halloween decor.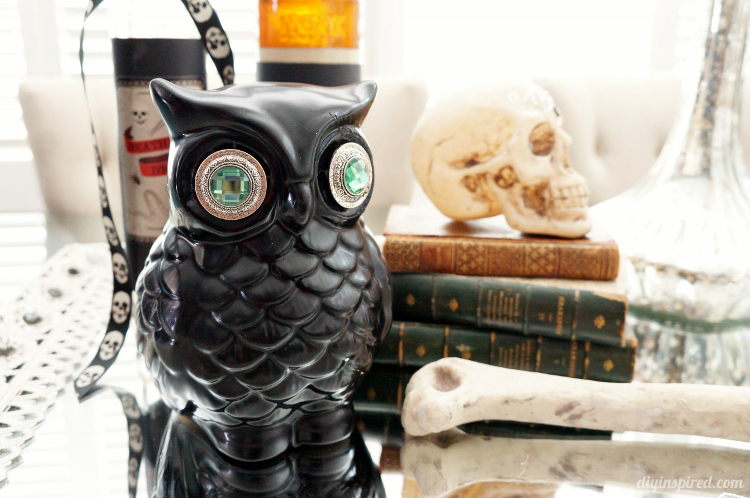
Halloween is the first creative holiday in months, and a great reason to make a Halloween count down like this one from Jen Gallacher.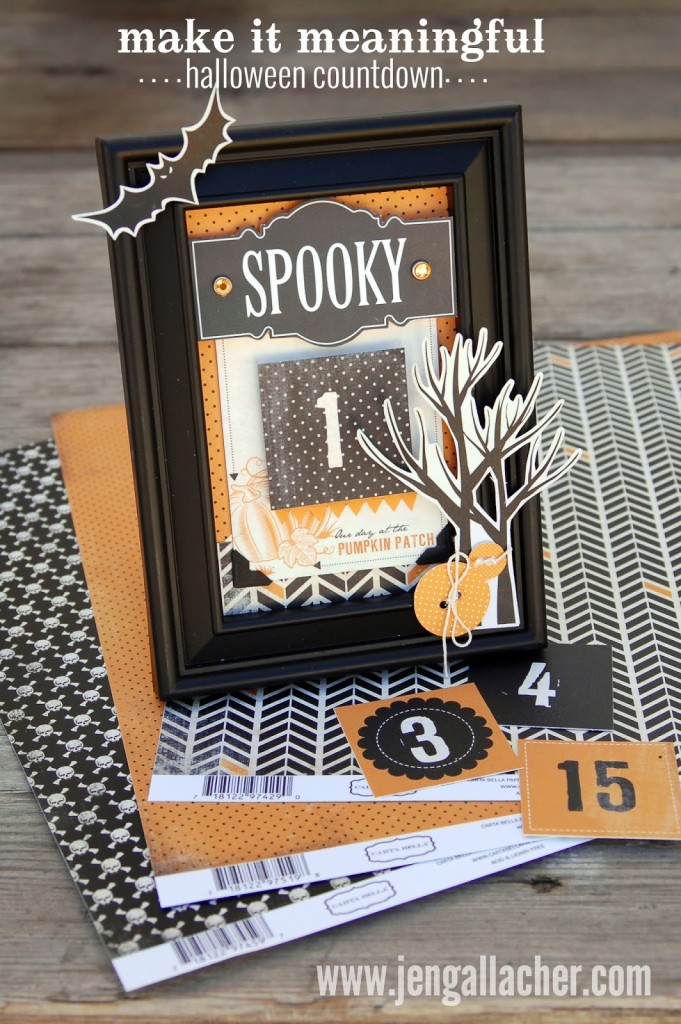
Artistic Endeavor shows you that there are no excuses for not making fun Halloween decor – especially when it is as easy and fun as these mummy cans!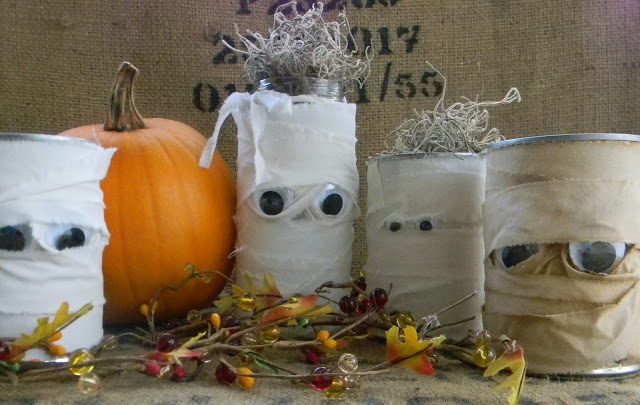
And if you’re a fan of upcycling, these easy Boo jars from Occasionally Crafty are another fun and easy way to make your Halloween decor out of recyclables!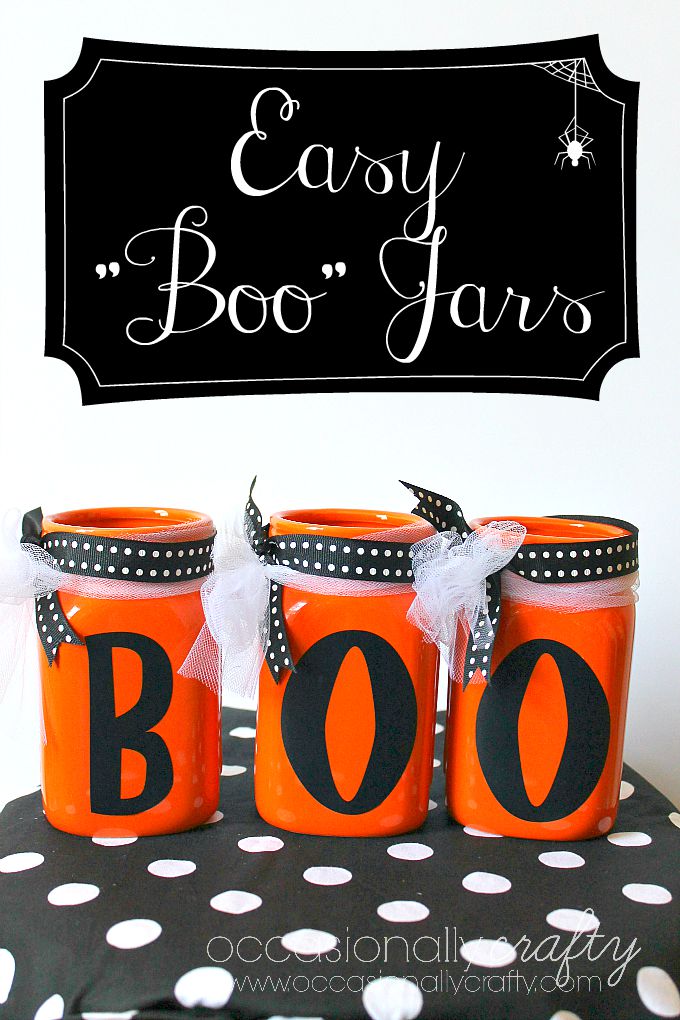
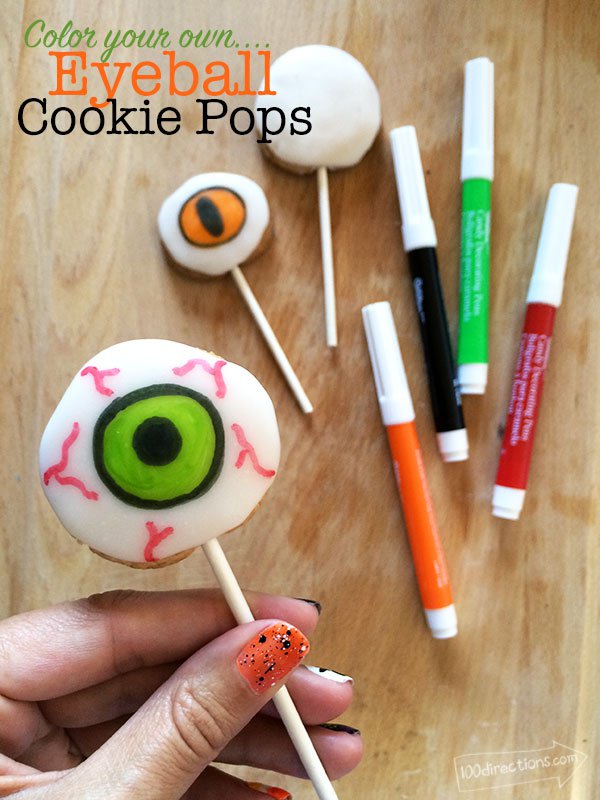
Our crafty Guest Host, Jen Goode from 100 Directions, shows you how to make your own spooky treats with these eyeball cookie pops.
And my crafty co-host, Angie from the Country Chic Cottage, made this fun Halloween Banner:





[…] No Sew Toga Costume from 30 Minute Crafts […]