


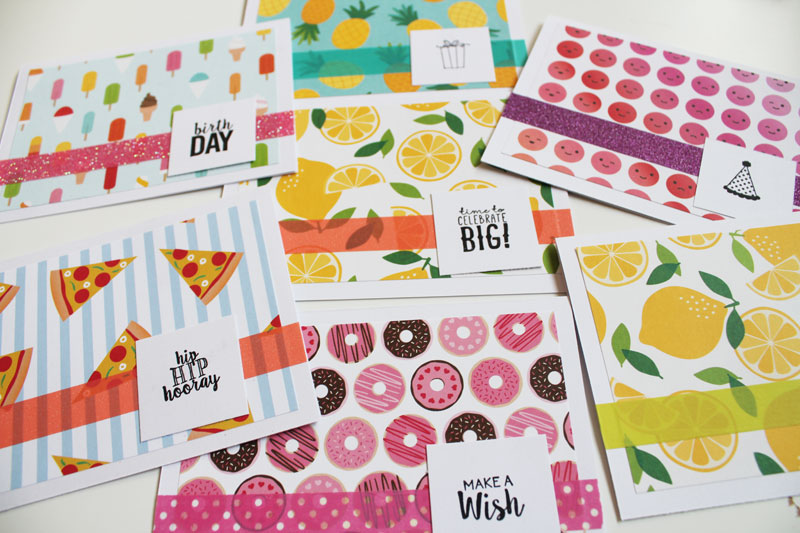
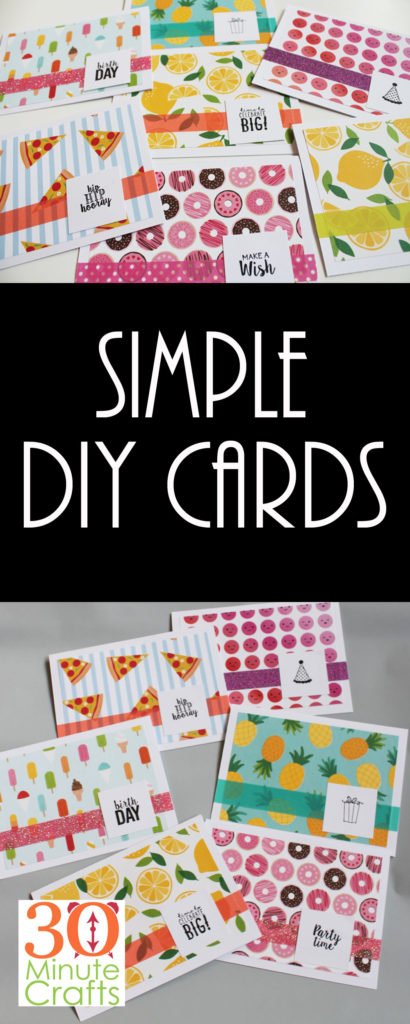
As a creative person, when I want to send a card, I feel like it should be a DIY card. One that I made or embellished in some way. But in the moment where I want to write the card, I don’t also have time to make it. So, it is handy to have a stack of pre-crafted DIY cards that are just ready for a quick sentiment and a signature. That’s where these simple DIY cards come in! Grab some supplies, and you can whip up a stack of fun cards that are ready to go when the occasion arises!
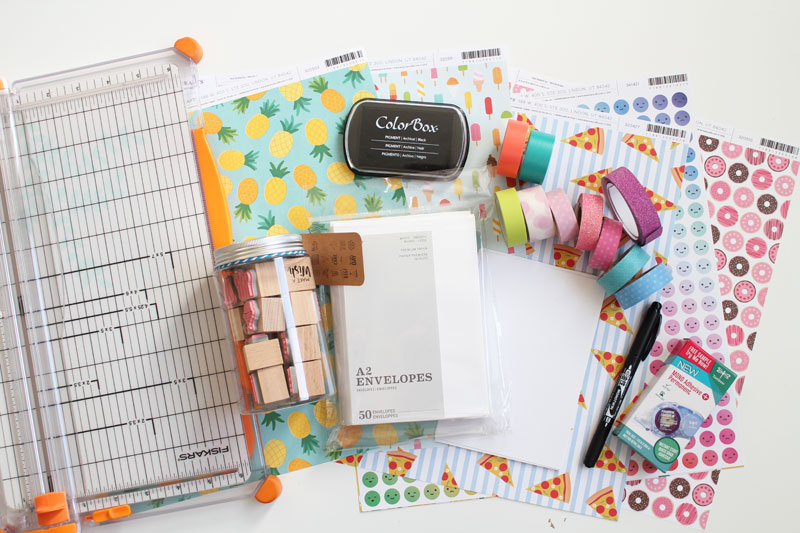
To make your cards, you’ll need:
Plain scrapbook paper
Decorative scrapbook papers
Paper cutter
Envelopes
Ink and rubber stamps
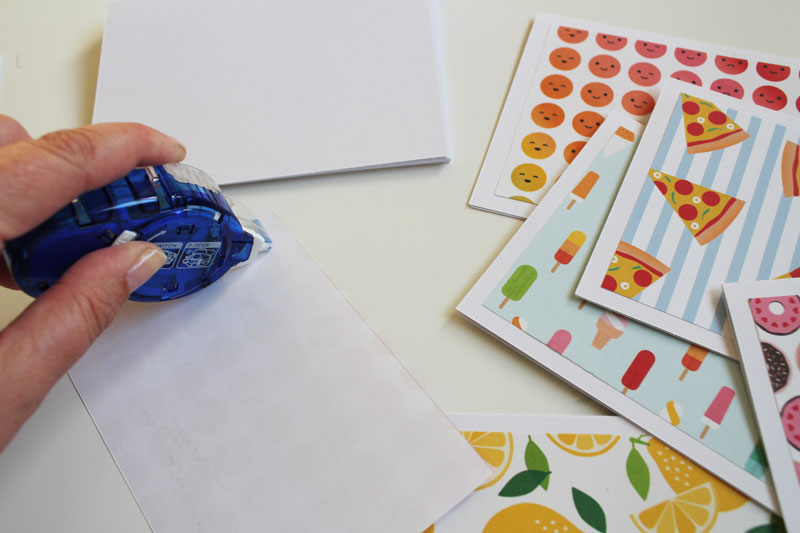
Adhesive (I like a double sided tape rather than a wet adhesive)
Decorative Washi Tape
Start by cutting your paper. You’ll want to make sure that the papers fit in your envelope – that is super important! So, make sure to cut it smaller than the envelope size. Cutting a 6″ x 8″ strip will fold into a 4″ x 6″ card.
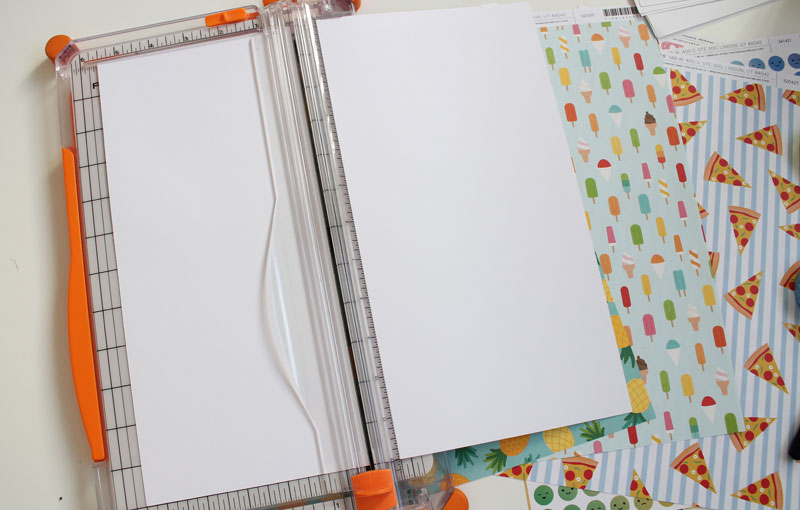
Cut small squares while you’re at it. I like 1 1/2″ x 1 1 /2″ for my squares, but go with what works for you.
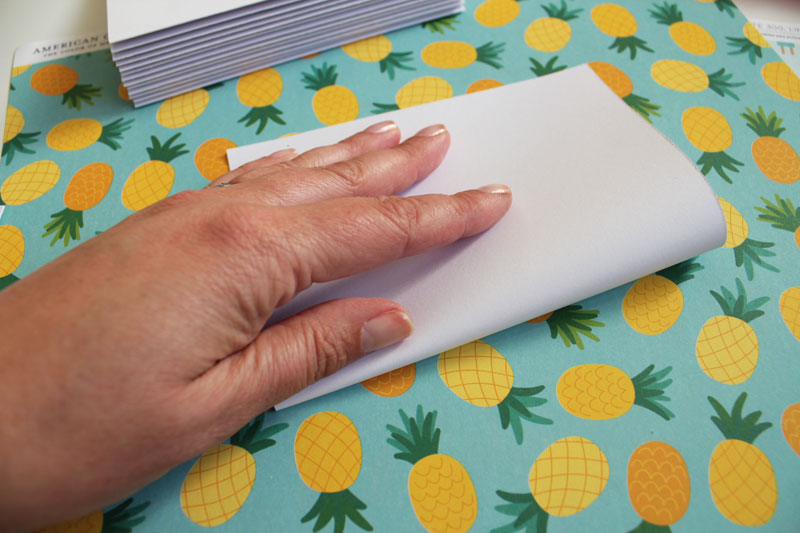
Fold your papers in half to make the cards.
Now cut your decorative papers. You’ll want to cut these at least 1/4″ smaller than the front of your card. So, for a 4″ x 6″ card, cut 3 3/4″ x 5 3/4″ or smaller.
Then use your adhesive to secure a decorative paper to the front of each card.
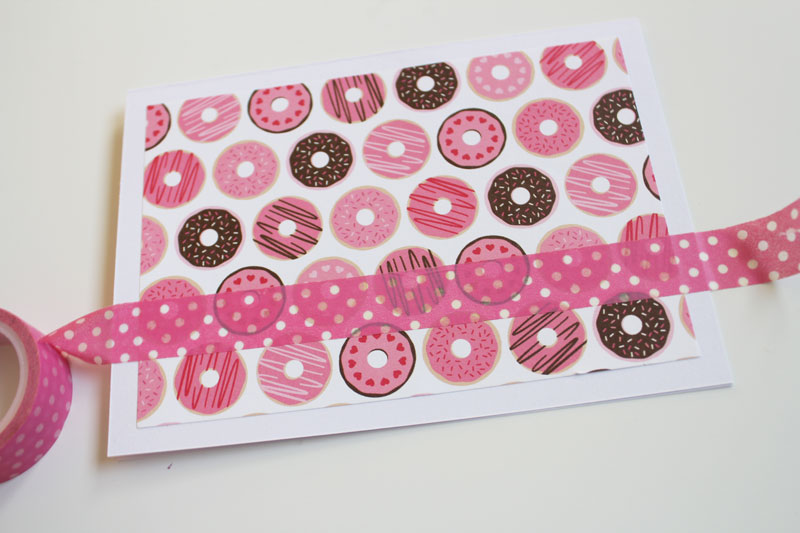
Use a coordinating washi tape to add a stripe of color across the front of each card. Mix it up with different colors!
On each of the small squares, use the rubber stamp to add a sentiment.

Secure the sentiments to the fronts of the cards, and your cards are complete!
Store each card with an envelope to have it ready to go! These cards are quick, simple, and offer the perfect handmade touch!

Want more projects like this one? Check out:
Simple DIY Gift Card Holders
DIY Stampable Gift Tag


Leave a Comment