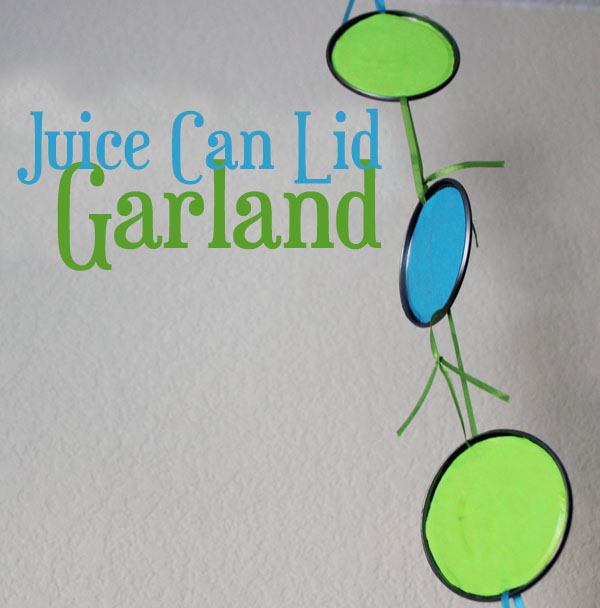
We’re big fans of juice in this house, so we end up collecting a lot of these lids from the ends of the frozen juice concentrate containers. I was able to quickly and easily string these together to make a fun party decoration… that my preschooler immediately commandeered to have as decor in his own room.
Supplies:
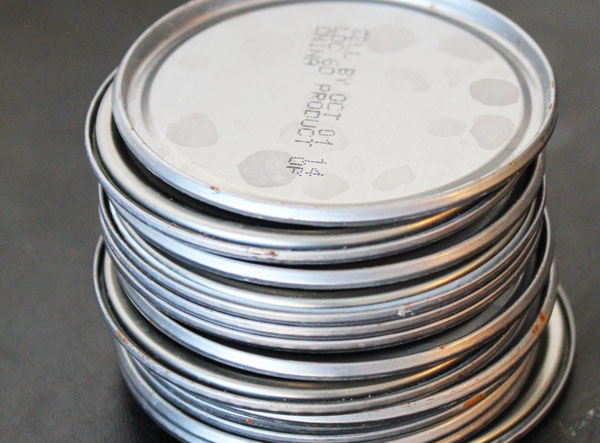
Metal juice can lids (I used about a dozen)
Hammer
Nail
Mod Podge
Paper
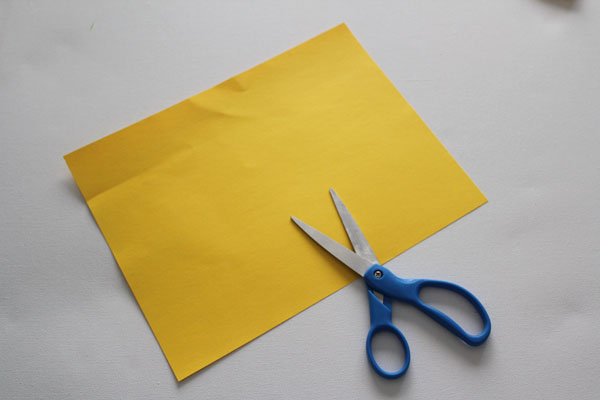
Scissors
Paintbrush
Ribbon
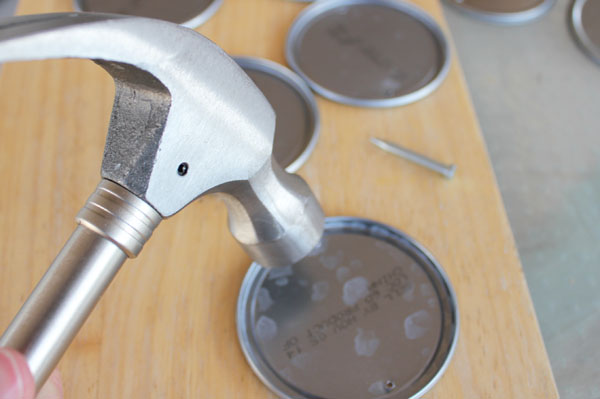
Use a nail to punch two holes in each can lid – one on each side. (the bandaid is from a different injury… but still craft related)
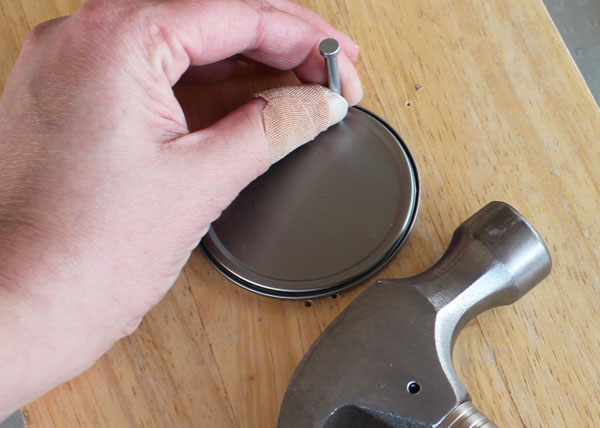
Turn the lids over and hammer down any sharp bits.
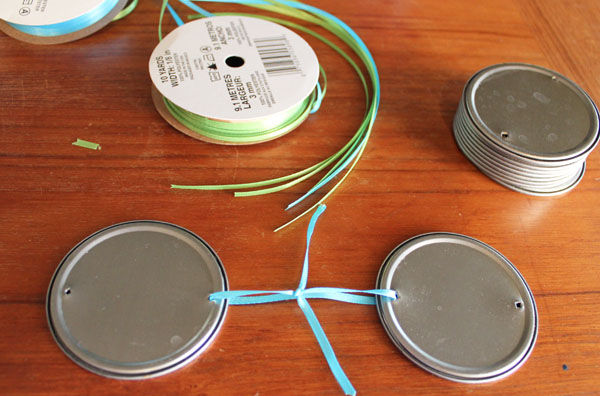
Cut lengths of ribbon, about 6″ each in length, and use these to tie the lids together.
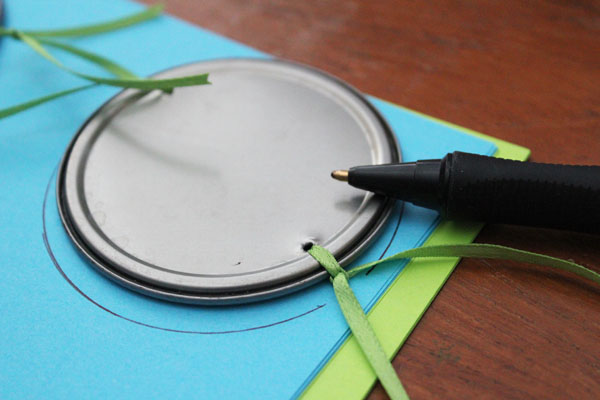
Trace the lid onto the paper. Fold the paper into quarters to cut multiple circles at the same time. Cut about 1/8″ inside the traced line.
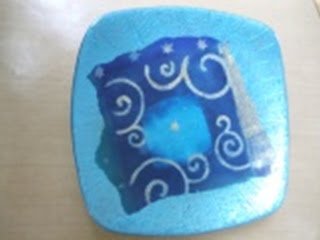
Mod Podge the circles onto the middle of the can lids.
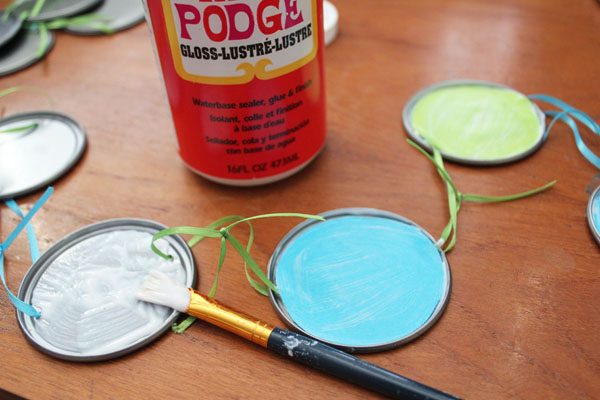
Allow to dry and hang up! Your fun new garland is all done!
To celebrate Earth Day, I teamed up with a bunch of friends to share crafts using recycled materials. Check out all of these fun crafts: