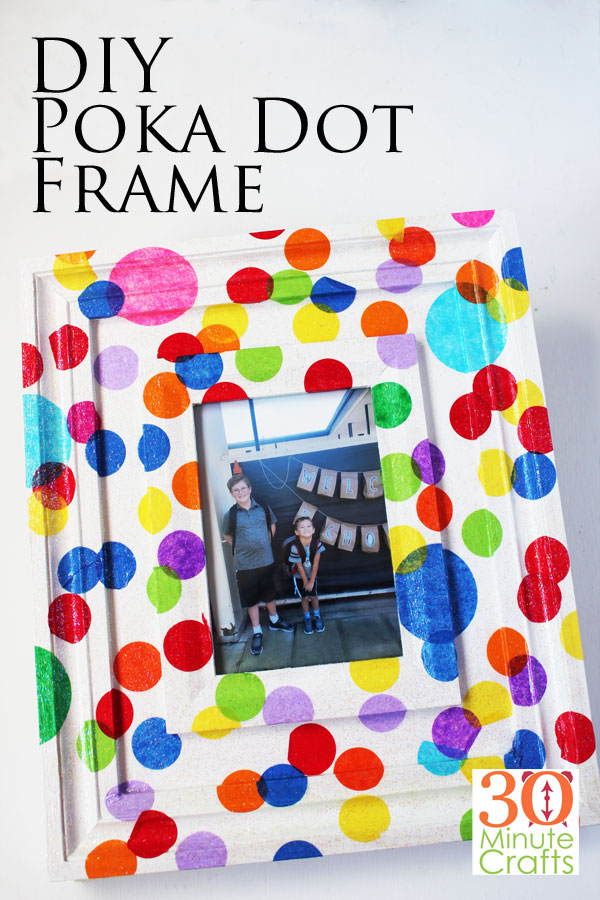
Looking for a fun way to display photos? This DIY Poka Dot Frame is so bright and colorful, and is a great way to celebrate special moments. You can keep one fun photo in the frame year-round, or change out the picture to celebrate birthdays, successes, and other special occasions.
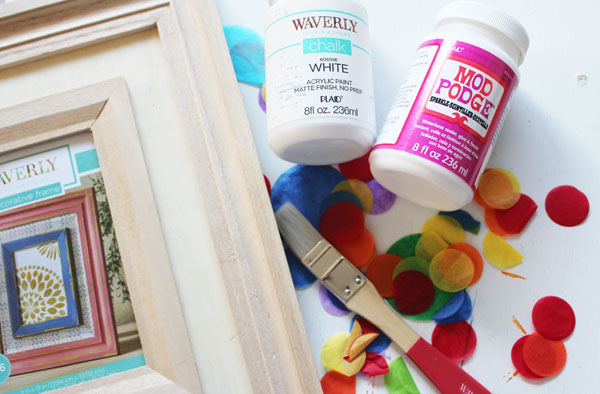
To make your own Poka Dot Frame, you’ll need:
Wooden Frame
Paint
Paintbrush
Glitter Mod Podge
Large Confetti
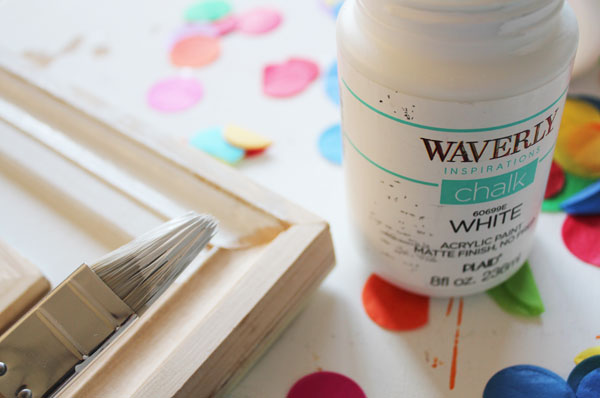
Remove the glass from the frame, and paint the frame white. Allow to dry.
Once the frame is completely dry, paint on some Mod Podge in a small area.
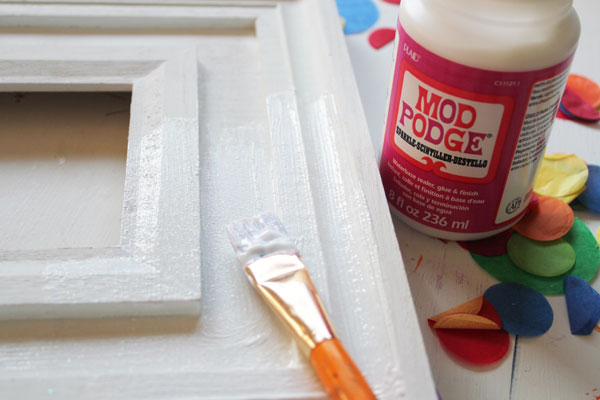
Add a confetti dot. Secure in place with another layer of Mod Podge on top.
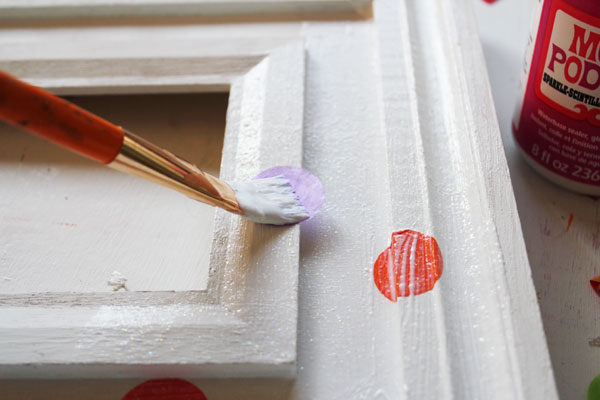
The Mod Podge will soak into the tissue paper of the confetti, giving it a lovely translucent look.
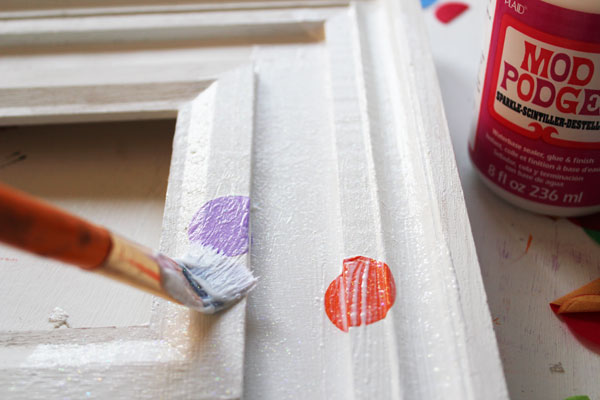
Add more layers of glitter Mod Podge and more dots. Scatter the dots all over the frame.
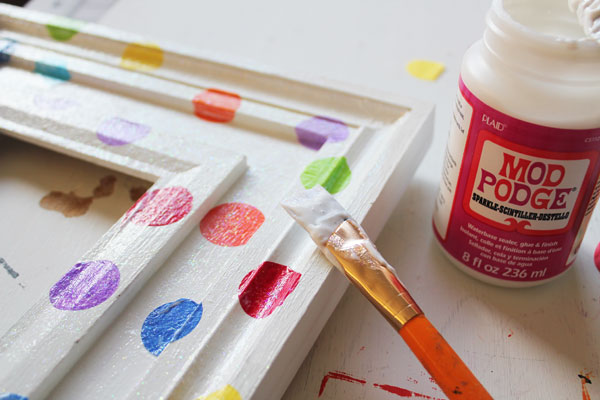
You can overlap the dots. Make sure that you have dots that go over the sides of the frame as well.
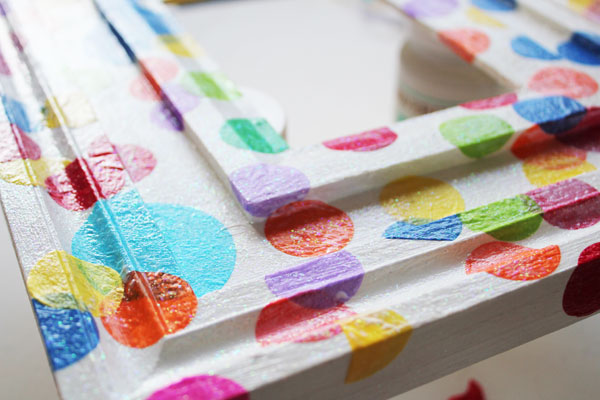
Once you are happy with the way your frame looks, or you are all out of confetti, set it aside to dry.
After your poka dot frame has dried, you can put the glass back, and add a celebration-worthy photo.
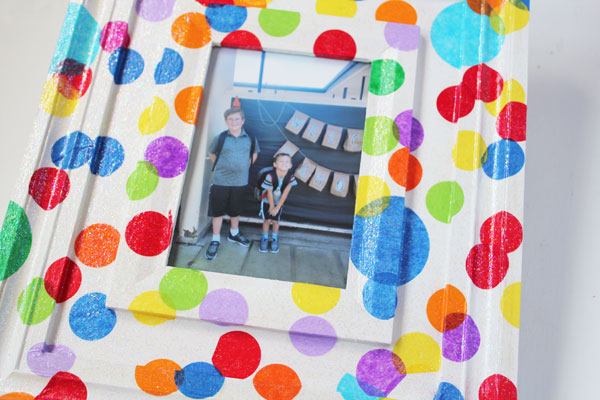
I’d say my kids going back to school was pretty celebration worthy!
You can keep one picture in the frame all year, or change out the photo to celebrate special occasions. Or you can keep the frame tucked away, and only take it out on Birthdays, Graduations, and such. There are so many ways to use a frame like this. Just looking at all those colorful dots makes me happy!
Check out these other fun frames! My Googly Eye Photo frame, Piggy bank frame, Instax cartridge picture frames, and my studded frame! There are so many fun ways to use frames and display photos!


Leave a Comment