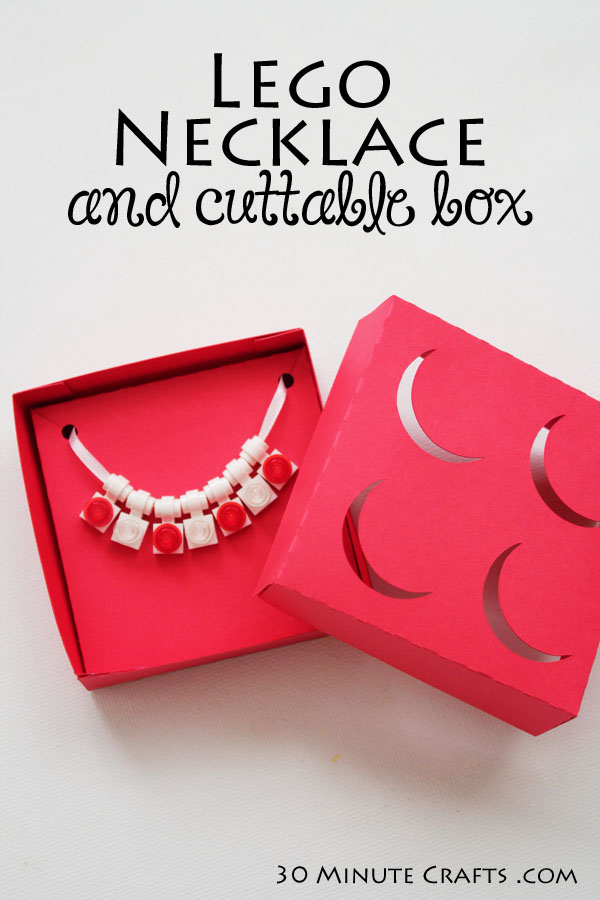
My boys love Lego. It is their favorite gift to open. We bring it with us when we go out to entertain the boys. It is all over our house. Just about any surface – odds are high you’ll find at least one Lego there. I’ve learned how to navigate the minefield of Legos on their floor… most of the time. So, it makes sense that we would make Lego jewelry. I’ve already made Lego earrings and a Lego ring. Today we’re whipping up Lego Necklaces. The Lego Necklace is super fun because you don’t need any special tools or heavy-duty adhesives… so kids can help with every part of making them!
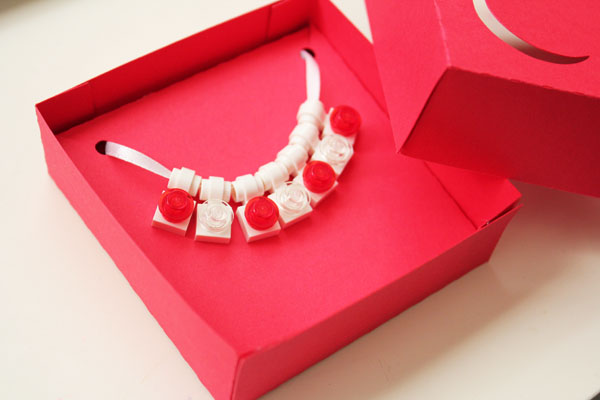
Oh, and I whipped up a Lego-inspired jewelry box. Along the same line as the Lego Inspired Gift bag and Gift Box from last year, but in three parts – a lid, a base, and a necklace insert.
So… to make your Lego Necklace, you’ll need:
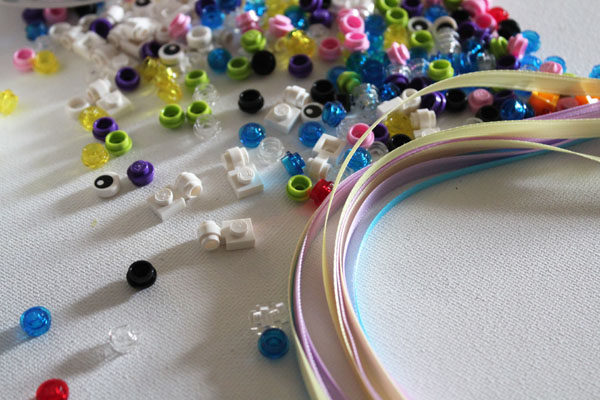
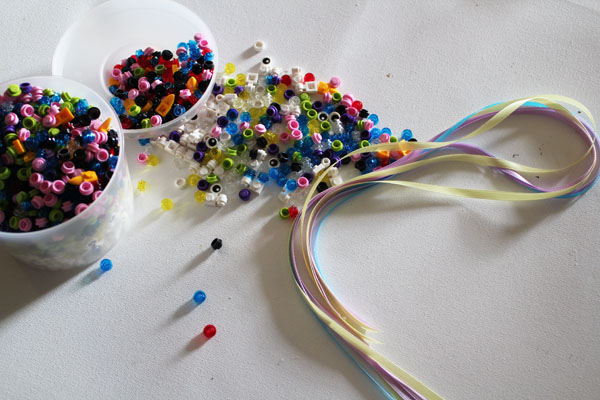
Lamp Holder – the ones at the Lego Store in Costa Mesa were white. Lego part # 4632566
Various small pieces – 3005740, 3005743, 3005741 are the transparent round plate 1×1 in various colors. I also used Eyeball 6029156 and Yellow tooth 4282860 … but you can use just about anything.
Ribbon – 1/8″ or 1/4″ wide, any color. I like Satin ribbon, but Grosgrain works fine, too.
Scissors
I found all these pieces in the pick-a-brick section of the Lego store. What they carry changes constantly, so I gave you the part numbers above if you can’t find the parts and want to order online.
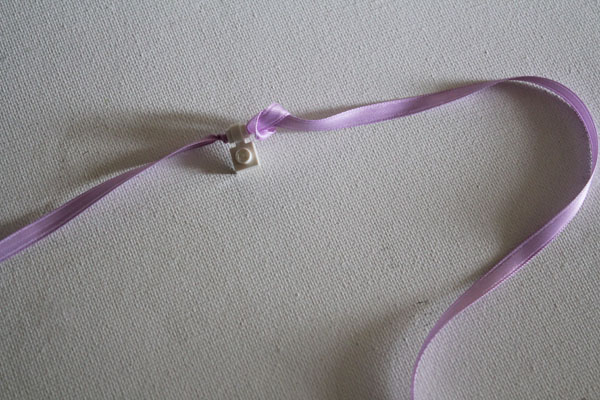
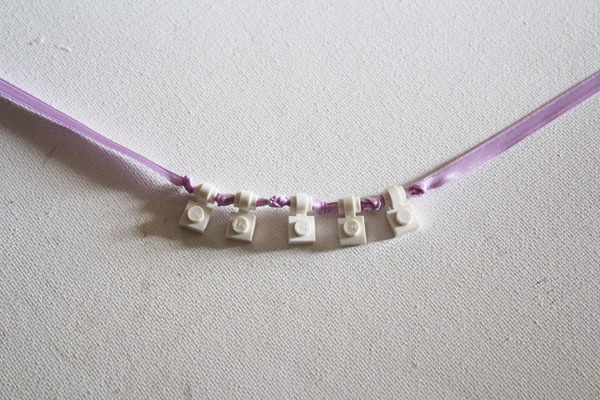
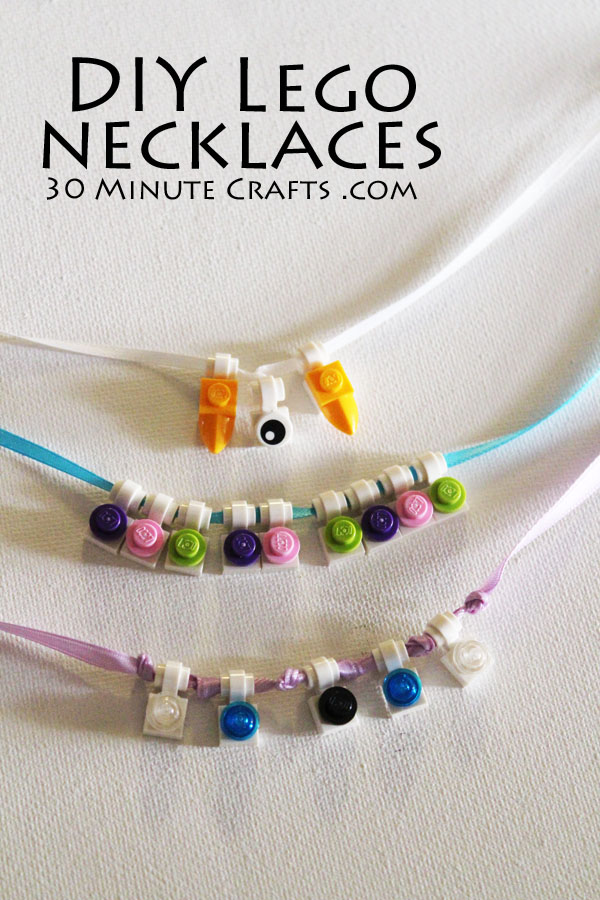
Cut 3 feet from the ribbon, if you plan to tie knots. If not, 2 feet is fine. String on a lamp holder piece by threading the ribbon through the hole like a bead. Tie an overhand knot on each side. If your ribbon isn’t very thick, you might want to put two knots on top of one another.
Repeat, adding the number of lamp holder pieces you want.
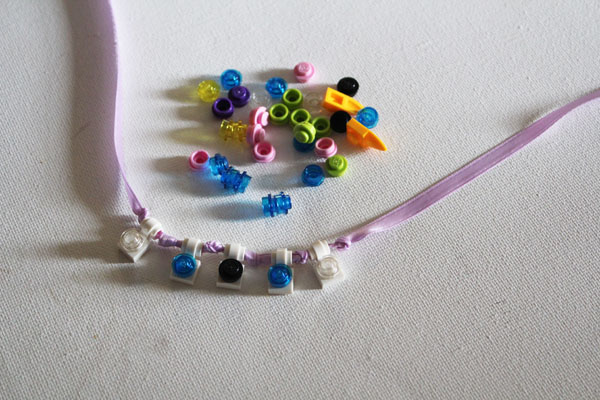
Then add accent pieces. I added round 1×1 pieces to look like jewels. My son had fun making different patterns with the colors.
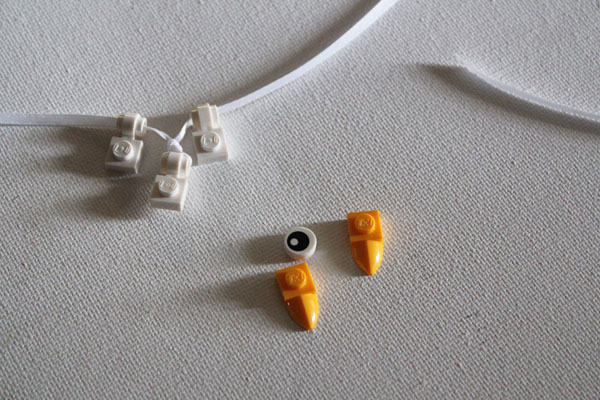
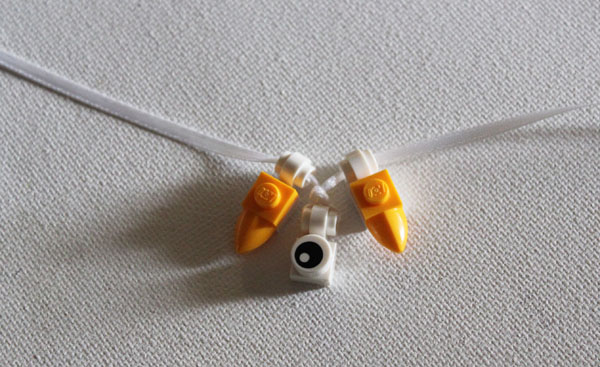
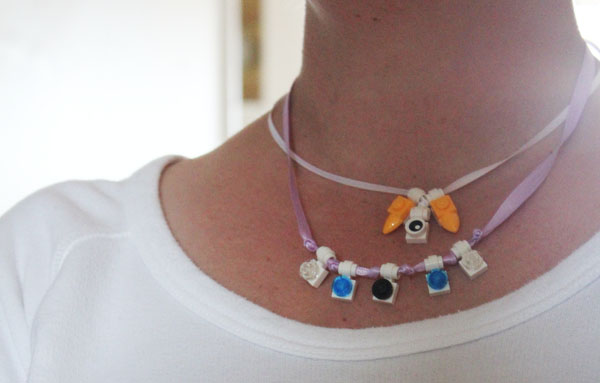
For a little different look, I put one lamp holder piece in the middle, and tied a knot with both ends. Then added another lamp holder piece to each side. I used the eye and tooth pieces.
You can wear several Lego necklaces at once!
You can also make them without tying knots. But tie the ends together so your lamp holder pieces don’t slip off!
The box is simple to make. I created a Silhouette Cut file you can use. One sheet of 12×12 paper cuts all the parts of the box, which measures slightly larger than 3x3x1″.
Fold on the dashed lines, and glue the flaps down with hot glue. The lid is slightly larger so it will fit over the base. The necklace insert tucks inside the base.
This is such a fun gift to give! We gave them to the Aunties at brunch for Mother’s Day. It would make a great birthday gift, party favor, Christmas stocking stuffer… any Lego fan would love getting one of these… and they make a great gift from a Lego fan as well (much more fun to make than a macaroni necklace!)
Have fun whipping up your own versions of the Lego Necklace, and be creative! You can use jewel-like pieces like we did, or add planks or other larger pieces for a Lego statement necklace… we chose not to Kragle ours, but you can if you like!




This is awesome!!!