Feature: Mini Pom-Poms

Somewhere I’ve got a picture of me and my brother as clowns. The awesome costumes were made by my mom when we were kids. And probably has something to do with me being one of the only children of the ’80s who is NOT deathly afraid of clowns. That, and my mom never let us watch R-rated movies.

Ummm… back to the point… clown costumes, along with many other costumes can be enhanced with pom-poms from Craft Passion. Like these super-cute ones that you can make with just yarn and a little spare time.

Until Next Time,

Get ready for the Holidays with zip-seal bags and permanent markers!

I love making cookies for the holidays. My hubby discourages it, because he loves EATING the cookies, and thinks he has an expanding waistline. I haven’t noticed. What can I say? I love the guy!

Well, I can get away with all the baking if I manage to  give away most of it. Which means finding fun ways to wrap and package the cookies, fudge, toffee, muffins, brownies, and cinnamon rolls I make (among other things). I did mention I love baking, right?

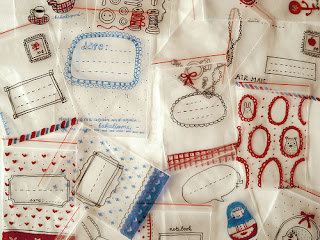
These zip-seal bags decorated with permanent markers are a prefect way to package up sweet goodies in a simple, yet creative way. Go check out Babalisme’s Blog to see more decorated zip-seal bag ideas.

Until Next Time,

Simple and Fast Bowties

With Halloween coming up, and all the family and holiday events happening in the next few months, this simple bowtie tutorial is a MUST for every mom of little boys (or auntie, or grandma or friend…)! Make your own little boy bowtie with this great tutorial over at Kiki Creates!

Until Next Time,
Amazingly Awesome and Quick Mini Gift Bag

I found this video on how to make a mini gift bag from an ordinary envelope. This is seriously awesome. Practically life-changing.

And the music is pretty nifty, too.

Enjoy. Then come back and leave a comment thanking me for introducing you to this awesomeness. : )

Until Next Time,
Toilet Paper Roll Band

Okay, this isn’t exactly an entire toilet paper roll band… more like just the percussion section. But, that isn’t going to stop my toddler from having a ball! Each of these decorated toilet paper rolls is filled with something different, so it makes a different sound.

What better way to celebrate National Toilet Paper Day than with a great TP roll project! I’m sharing a bunch of other toilet paper roll projects in a National Toilet Paper Day Post over at Always Expect Moore, if you’re interested in seeing more project that range from simple and fun to fine art (yes, TP roll fine art!)

To make one, or several, of these little TP roll instruments, you need a couple supplies. Some construction paper, toilet paper rolls, ModPodge, and some “noisemakers” for the inside of each instrument. I chose bells, a large pasta noodle, and some plastic pellets. A couple rubber bands come in handy, too.
Trace the ends of the toilet paper roll onto a corner of the construction paper – but not too close to the edge.
Cut out between 1/2″ and 1″ away from the circle you drew in the last step. Then cut slits inward towards the center line. Be careful to meet the center line, but not go over it. Then fold all the resulting flaps up in preparation for the next step.
Put a layer of ModPodge around the base of the toilet paper tube, and attach the circle. Make sure the flaps fit tightly down into the ModPodge.
Make sure you add your filler (it won’t make noise without it), and then and only then, add the cap on the other end.
Use the tube itself to  “measure” the size construction paper needed by rolling it down the paper, keeping one edge even with the edge of the paper, and marking the other edge.
Cut out the resulting rectangle, and ModPodge around the tube. Hold in place with rubber bands or tape to secure until it has dried enough to stay together on its own. If you leave the rubber bands on too tight for too long, it can cause indentations.
After your TP instrument has dried, you can use a marker to draw fun shapes on the rolls, giving them more interest.

Until next time,

Boy & Girl Twin Onesies

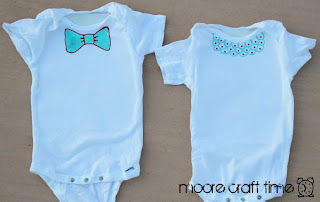
I had some leftover fabric paint from the lined notebook paper onesie I did yesterday, and couldn’t let it just sit there! I have a friend who is pregnant with boy-girl twins (yes, everyone in my life is pregnant, wanting to get pregnant, or just had a baby, it seems).

I won’t be able to make it to the shower, but wanted to send along something fun and hand-made. And every momma knows that you can never have enough onesies!

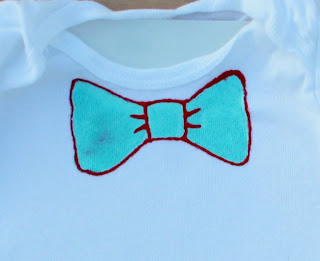
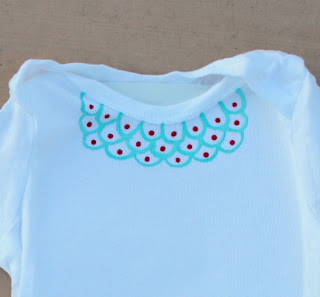
First, I ironed freezer-paper to the inside of the onesies to make them nice and flat, and make sure the paint doesn’t bleed through. Using the Martha Stewart Crafts Decorative Paint Line by Plaid mixed with fabric medium in the paint bottles, I just free-handed the bow-tie and ruffle designs. Using the same colors on both, and keeping the painting on the top half is what makes them matchy-matchy, but the designs make them undeniably boy-girl.

Bow Tie:

 Eyelet Lace Ruffle:

Even making both of these couldn’t have taken me more than 10 minutes, total. Handmade baby gift and time to spare – score!

Until Next Time,
Disclosure: Samples provided by PlaidCrafts for review purposes

Quick Onesie Painting

I was so excited when I learned that the Martha Stewart Crafts Decorative Paint Line by Plaid was truly multi surface. I can use the same paint on wood, metal, terracotta, glass, ceramic… and fabric! And the line doesn’t stop at jut paints… there are some great tools and stencils as well.

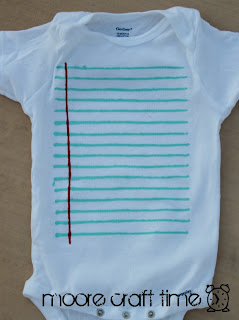
When I discovered the adjustable striping brush, I was stoked! These cute lined-paper t-shirts have been popping up all over blogland. Lined Paper Tee by Maybe Matilda on U-Create and another Lined Paper Tee on She’s Crafty and a Notebook Top Tutorial on Butterfly Kisses. Everyone has a different method – from masking to using a marker, to using the edge of posterboard… but I just KNEW that the multiple brushes lined up were the perfect thing for me to create this tee.

The line comes with an awesome mix-in fabric medium. I highly recommend using the fabric medium if you’re painting on fabric. From a crafter’s standpoint helps to thin out the paints so that they absorb into the fabrics better, and it makes the paint more flexible when painting on clothes. I’m sure there is some science behind it as well, but I’ll leave that to the experts over at Plaid. 

To make your own t-shirt, start by pulling out the extra brushes until you have the space between brushes that works for you. I pulled out every other one. I then mixed 1 part fabric medium to 2 parts paint in one of the handy Martha Stewart Crafts paint bottles, snapped on the lid, and shook it up.
I ironed some freezer paper to the inside of the onesie to give it some stability, and so the paint wouldn’t soak through to the back.
I poured out a stripe of paint on my freezer paper covered table, dipped in my brushes, and drew a line. I was mostly going for the spacing. Where the lines were faint, I just went over them again with the fine tip on the paint bottle.
I then lined up the top brush with the bottom line, and did the same thing over again.
 Three sets of lines, and one quick stripe of red, and I was all done!

These paints (and the cool tools in the line) are brand-new-on-the-market, and just starting to appear in stores. They are sold exclusively at Michaels stores in the US and Canada. You should check them out!

And, if you want to see the quick onesies I made with the paint-fabric medium mix I had leftover, check back tomorrow!

Until Next Time,
Full post disclosure here.

Tea Towel Apron (for $1.50!)

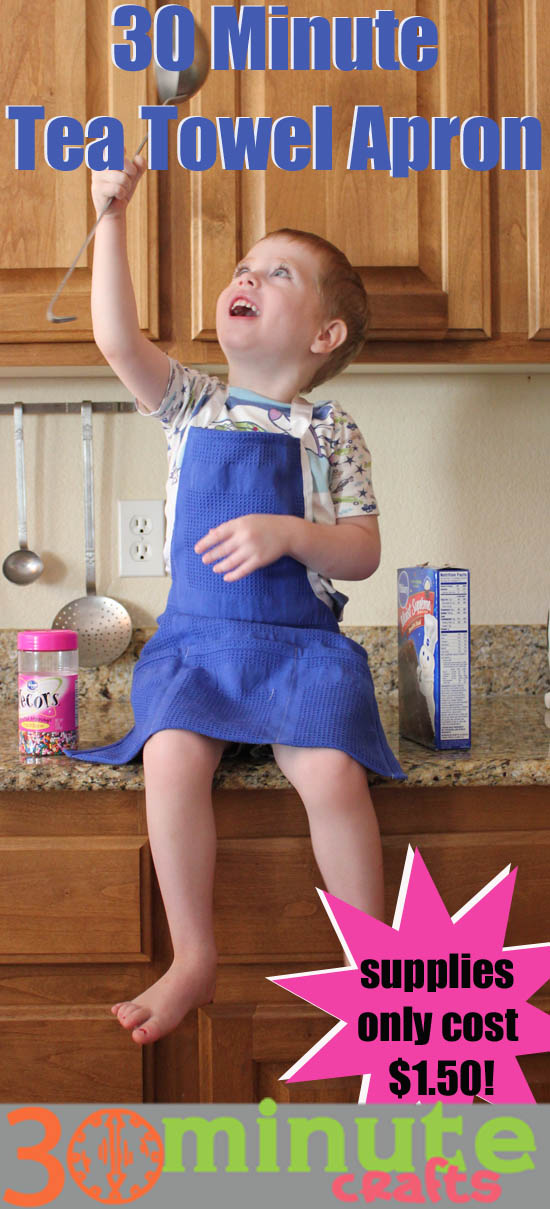
I ran by my local Dollar Tree the other day, and picked up some awesome goodies. I grabbed a couple tea towels, and a spool of grosgrain ribbon. For this apron, I used one towel, and half of the ribbon, making a cute little apron for Little Moore. Not only did I whip this baby together in less than 30 minutes – it only cost me $1.50 to make! Woot!

30 min crafts teatowel apron
The apron was a big hit – he refused to take it off to go to bed! Eventually, I was able to get it off of him… I didn’t want to risk him getting tangled in the ribbon and possibly hurt himself.
I’m really happy with how the apron turned out, and will have to go pick up some more towels and ribbon. There’s a certain Southern California Baking Momma with 2 little boys that love to help out, and I have a feeling these would come in handy. Especially for the older of the two who has decided that when he grows up, he wants to be a “boy cake decorator.” Too cute!

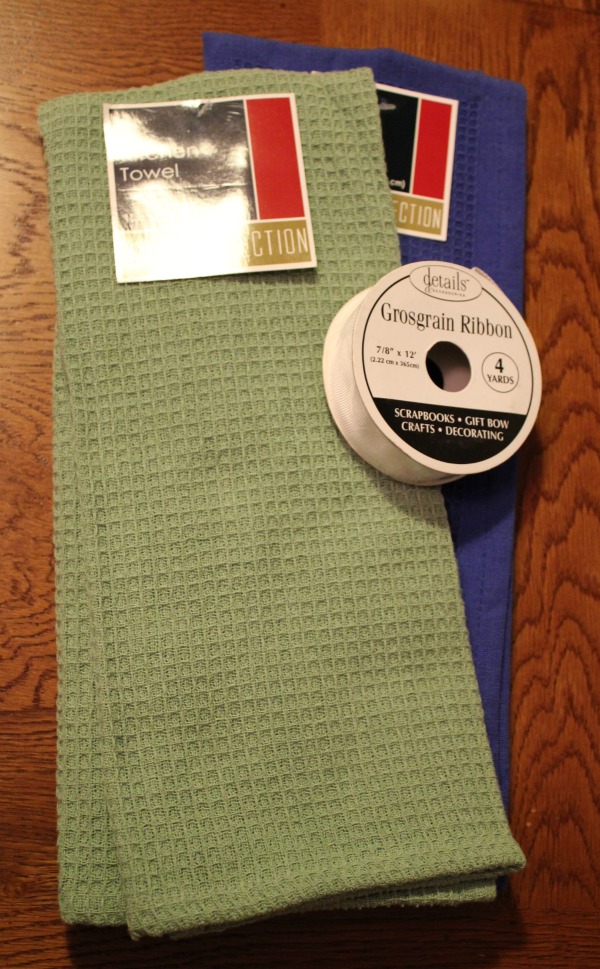
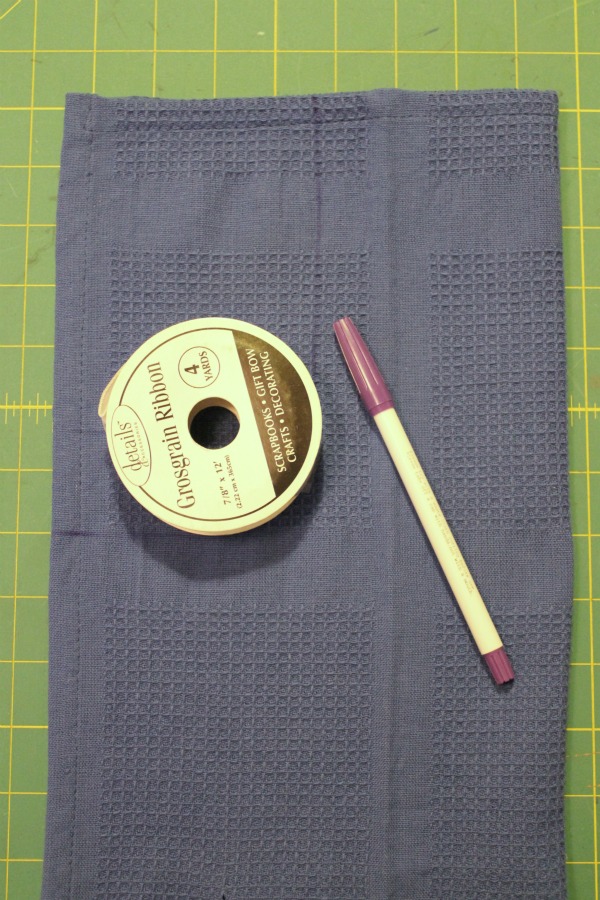
Start out with a towel and some grosgrain ribbon from your local $1 and under store.
1 supplies
For my practically-3-year-old, I measured in 4″ on the top, and 7″ down the side. I drew a line down from the top, and in from the side, then traced the curve of the ribbon spool where the lines met. With the towel folded in half, I cut this armhole out of both layers.
2 trace
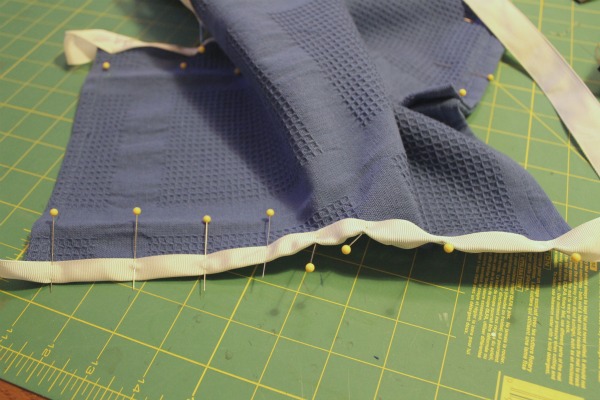
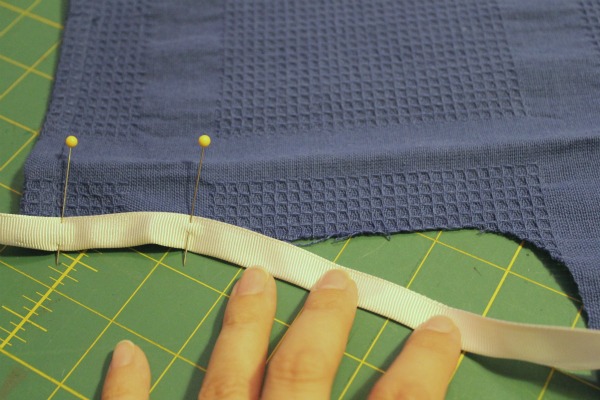
Using the grosgrain ribbon folded in half, and leaving 12″ of ribbon loose at the top (neck) of the apron, I pinned all the way around the curved edge, the fold covering up the raw edge of the towel.
3 add on ribbon
When I got to the curve, I just stretched the towel more-or-less straight, and kept pinning the folded ribbon.
4 stretch to attach
I stitched the ribbon on, close to the edge of the ribbon, but not too close. I wanted to make sure that my stitching caught both the top and the bottom of the ribbon.
I then folded up the bottom of the towel, and stitched straight lines down each side, and then two extras in the middle to make segmented pockets in the front.
pockets on tea towel apron
Instead of folding over the raw ends of the ribbon and stitching down (which is an option), I just trimmed them with pinking shears to prevent them from unraveling.
I’m off to whip up some more of these!

Summer Pinwheels!

Yes, Summer is almost over… but I can’t think of a better way to extend these last days than to make pinwheels using this awesome tutorial from Create Studio! Simple to make, put them in a place you’ll see them this fall to remind you of picnics, freshly mowed grass, and swinging in the hammock under a starry sky. And if you haven’t had a chance to do any of those things yet this summer, there’s still time!

Until Next Time…


Magnet Quilt Squares

I’ve been teaching a kid’s quilt camp all week, and today the girls (and THREE boys!) will be finishing up their lap quilts. Yay!!

I love inspiring kids to get creative – especially behind their sewing machines. Sewing can be so fun and rewarding – and not at all scary!

Here is a quick project that can help inspire someone in your life to sew… maybe even you!

Until next time!