


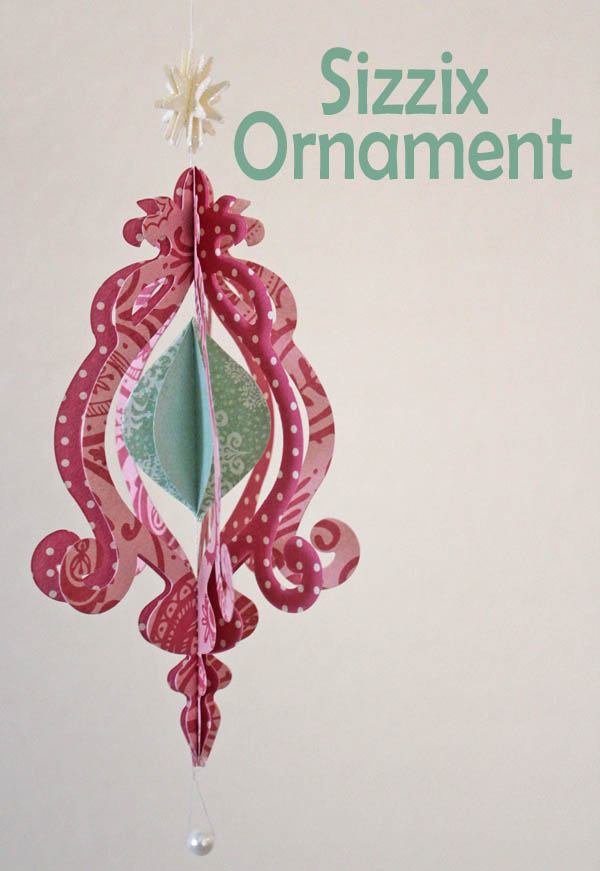
This weekend I’ll be at CHA, so I thought it would be fun to share more of the make and takes I did at CHA this summer. If you missed any of the past tutorials, I did a Simple Faber Castell Box, Crystal Christmas Tree Card, Fast Floral Necklace, Super Fast Button Ring, Spray-Dye Scarf and Mini Quote Canvas. Today I’m sharing an ornament I made at the Sizzix booth. This ornament would make great wedding decor, Valentine’s decor, or really decor for just about any season depending on how you switch up the colors. While I was at the booth making the project, I was talking to the person running the demo about ways to whip up this ornament. We decided that it might be much faster to SEW the ornament together. I’m going to show you how it was done at the booth, and then I’m going to show you how to sew this ornament in a fraction of the time down at the end of this post.
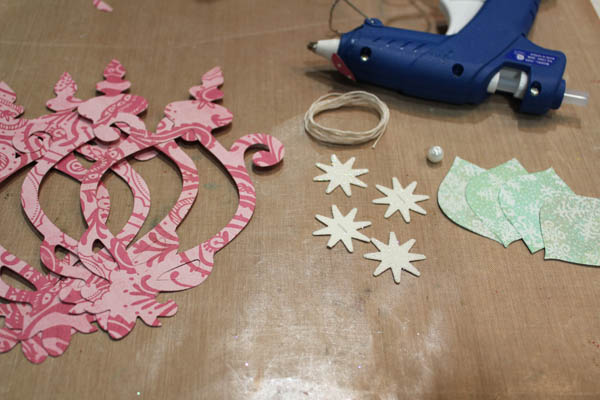 Supplies:
Sizzix Chandelier Die
Papers – 3 colors for body, center, and star
Pearl Bead
Hot glue and string if going the traditional route, or a sewing machine if you want to make it fast.
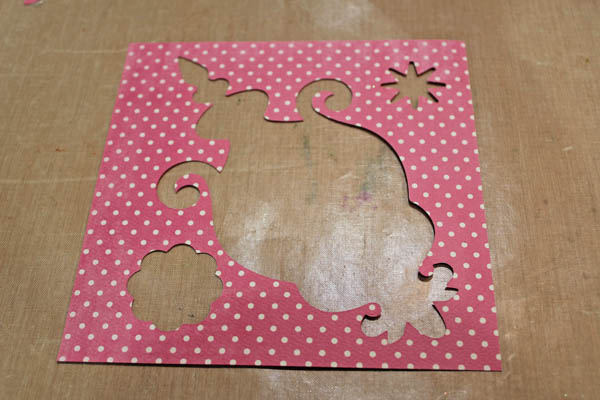
You’ll need the Sizzix Chandelier Die. It cuts papers like this:
Here are the directions for gluing the ornament:
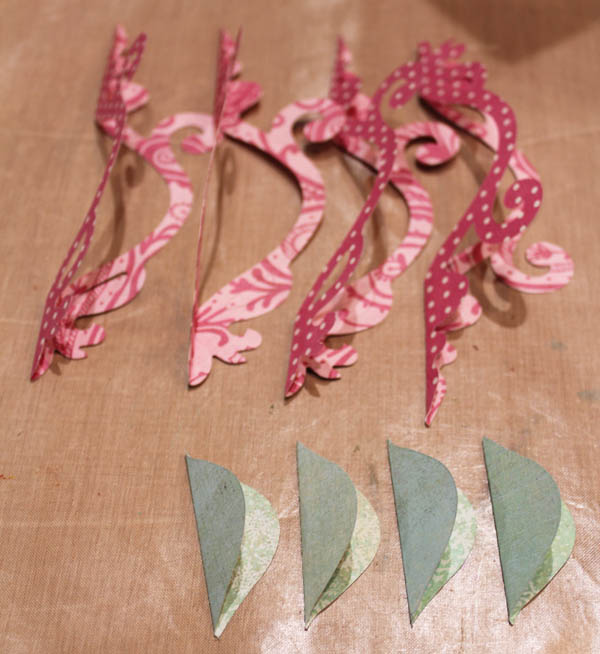
Start by cutting your pieces on the Sizzix machine. You’ll need 4 of each. Then fold all the pieces in half.
Run a small thread of glue down one fold, then attach a second piece at the fold. Do this with all the pieces.
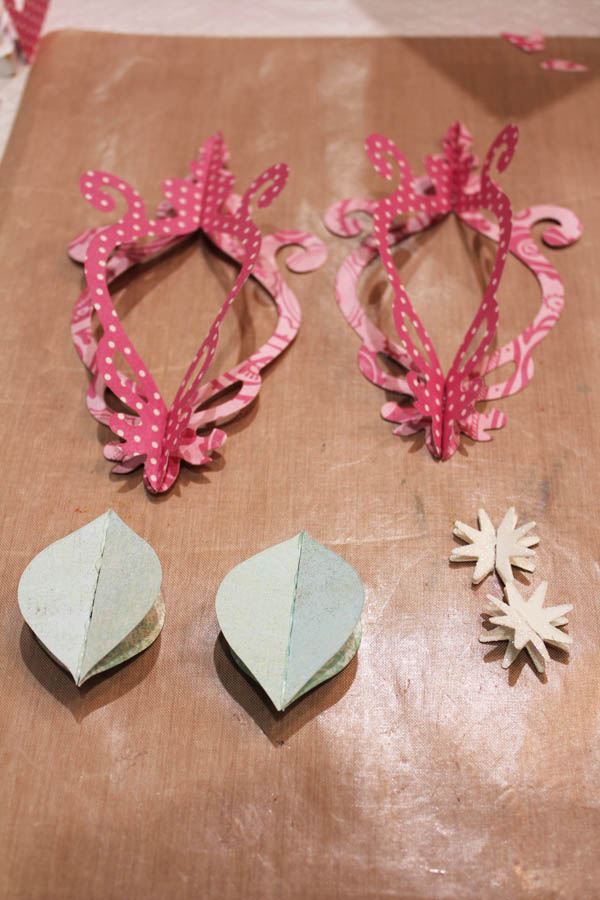
Repeat this process, gluing the double pieces into single pieces using all 4 layers.

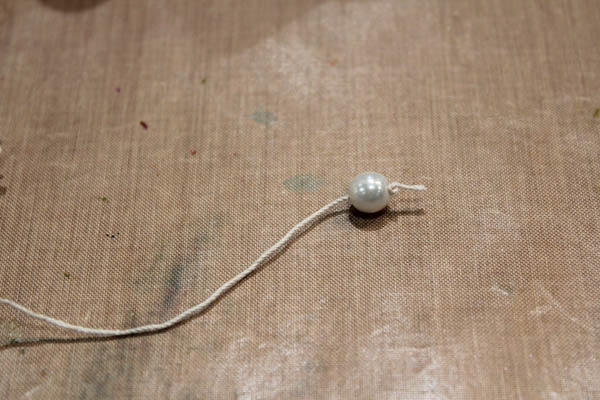
Tie a knot at one end of the string, add the pearl bead to the end.
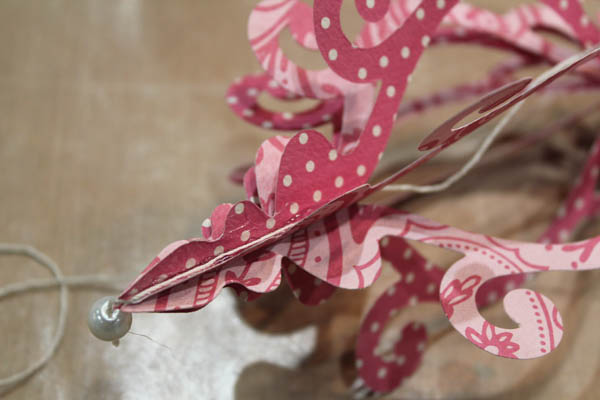
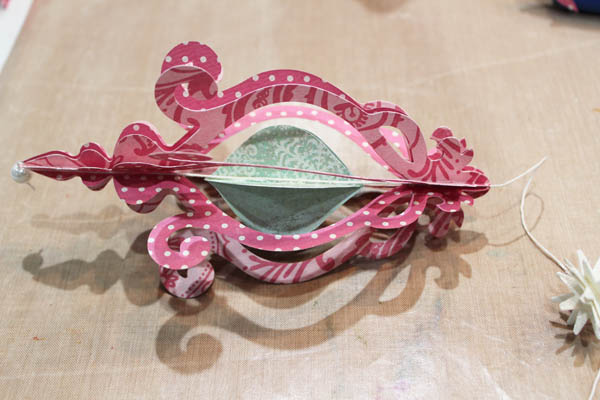
Glue the string down between one of the sets of layers of each piece.
Your ornament is done!
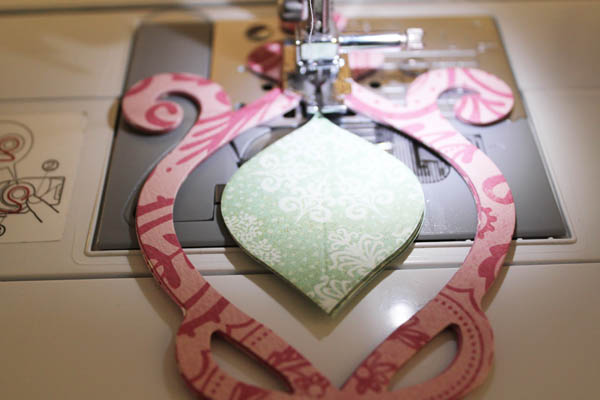
If you’d prefer to stitch up your ornament, stack up all the matching pieces, then stitch the pieces in order. The thread from the sewing machine will take the place of the string in the glued version. Increase your stitch length to a 3.5 to keep the paper from being too weak at the seam.
Tie the pearl bead to the bottom, using the two threads from the machine.
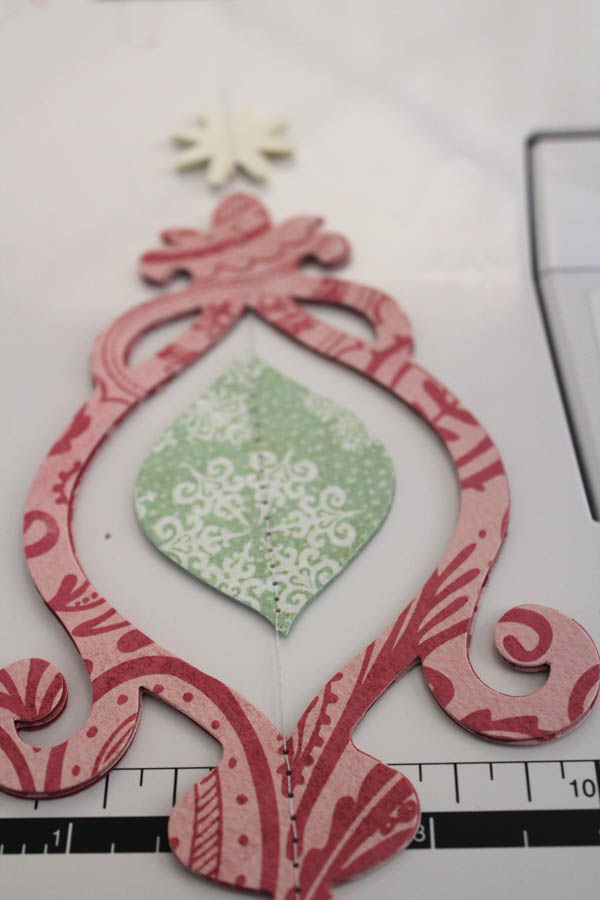
Fold open the layers, and you’re all done! That was super simple!
Just a note: After sewing on paper, you’ll want to switch out your needle before sewing on fabric again. Nothing dulls needles (or scissors) like paper does.


Leave a Comment