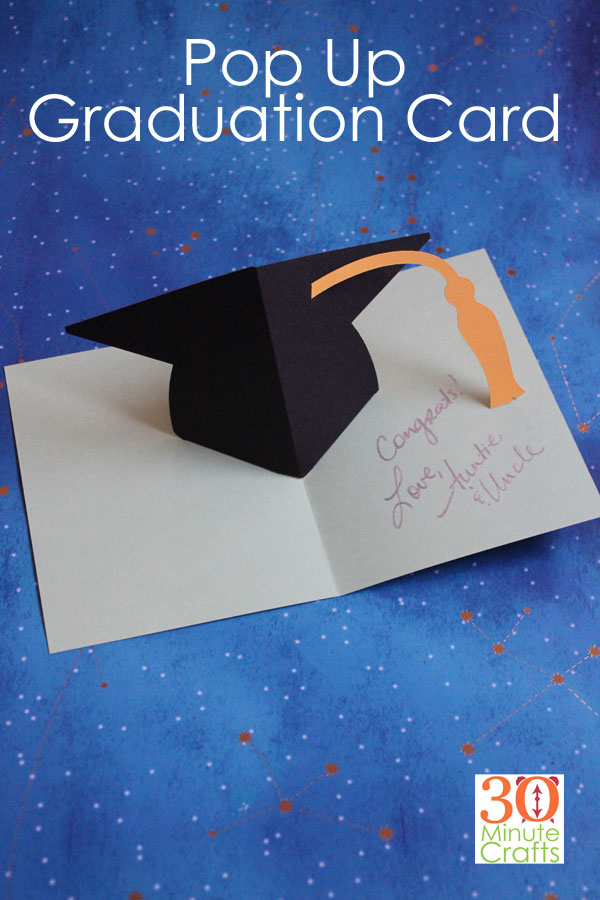
Making your own pop-up cards is a great way to show someone how special they are to you! I whipped up this simple graduation Pop-up card using a file in Cricut Design Space. I made a few adjustments, and am sharing it here with you so that you can create your own custom graduation pop-up card!
This project is part of a week-long series of crafts celebrating the end of the school year. My friends Jessica from Mad in Crafts, Jen from 100 Directions and Angie from The Country Chic Cottage are joining in each day with more ideas, as are some of our craftiest friends around the internet. Be sure to check out all of their amazing ideas at the bottom of this page!
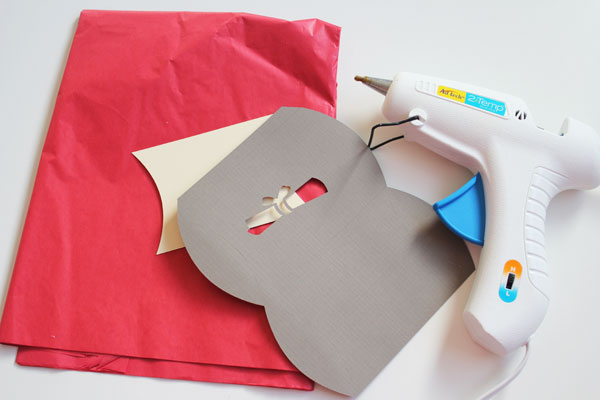
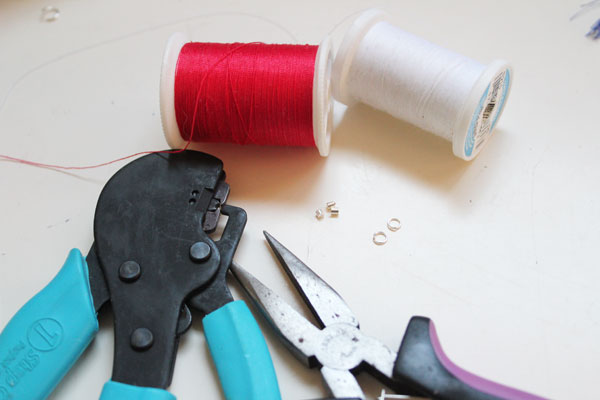
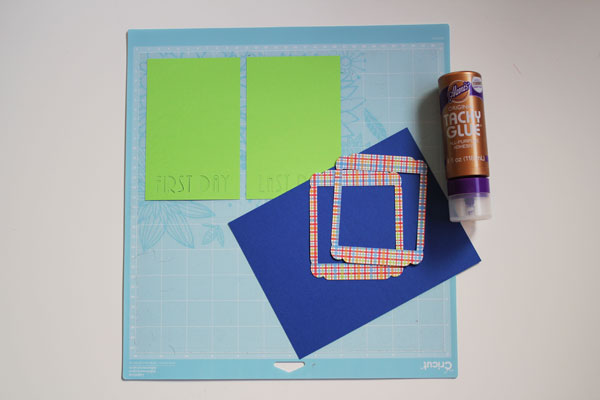
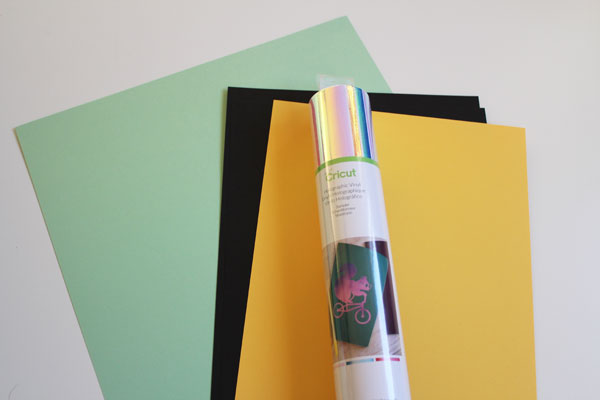
To make this Pop-Up Graduation Card, you’ll need:
Cardstock for outside of card
Black Cardstock
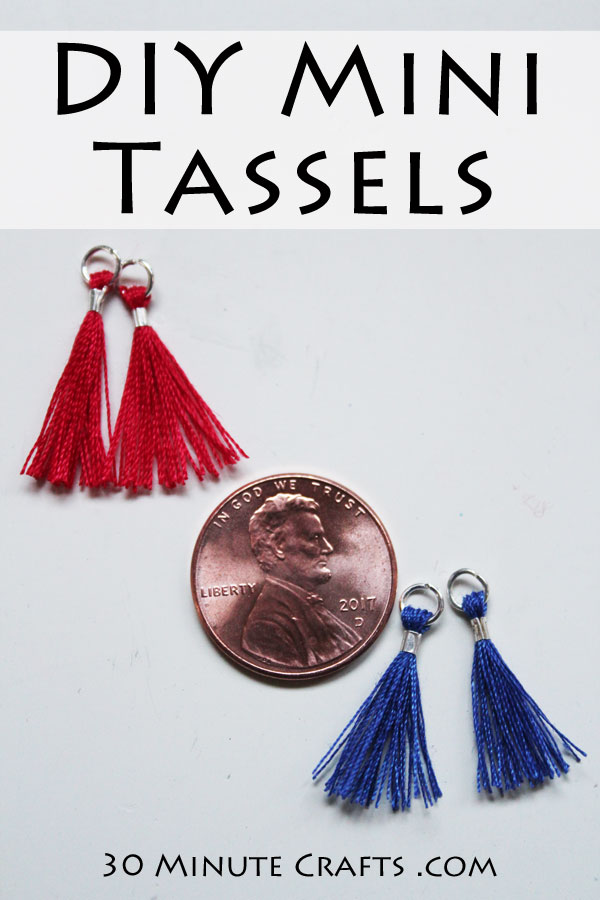
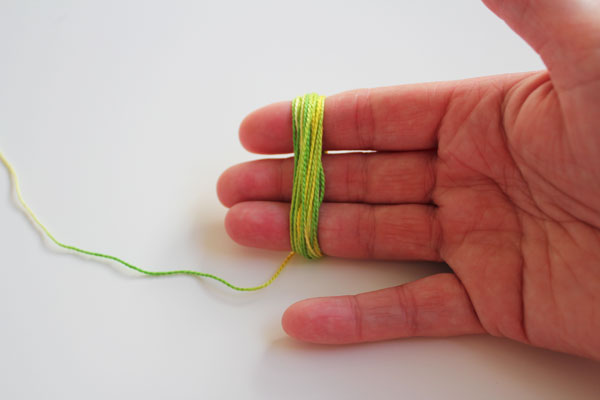
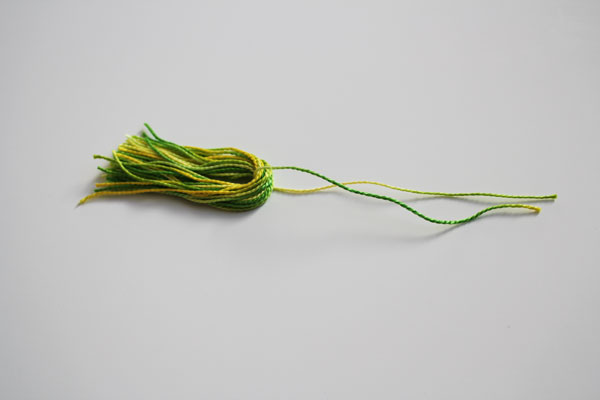
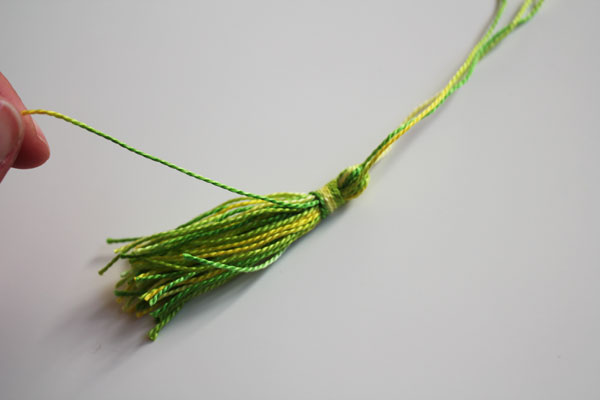
Carstock for Tassel
Adhesive Vinyl
Transfer Tape
Adhesive (glue or double-sided tape)
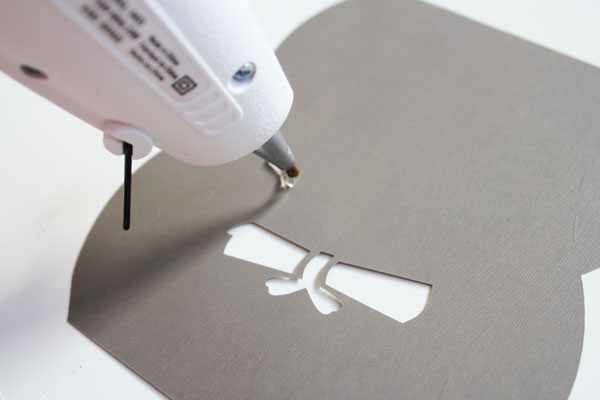
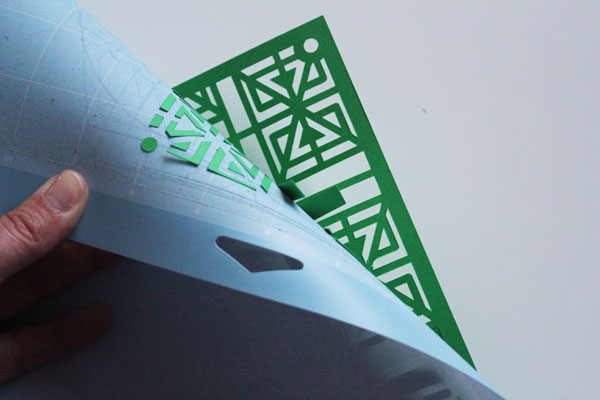
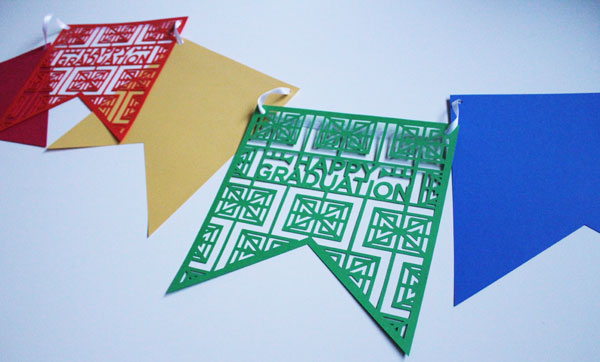
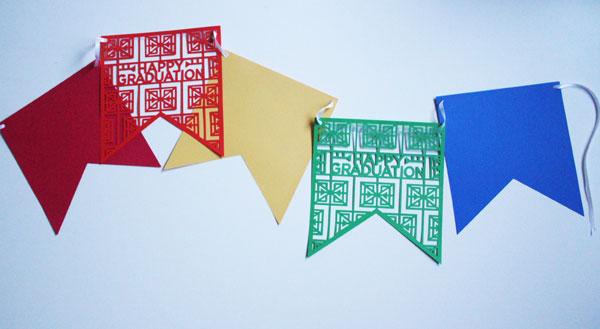
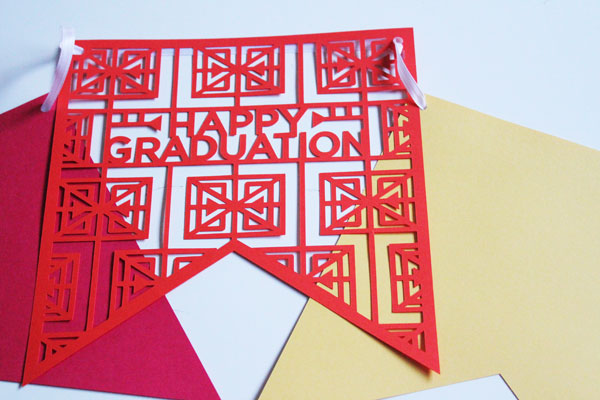
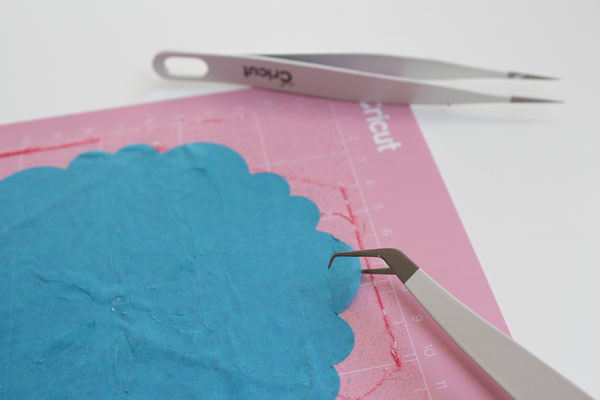
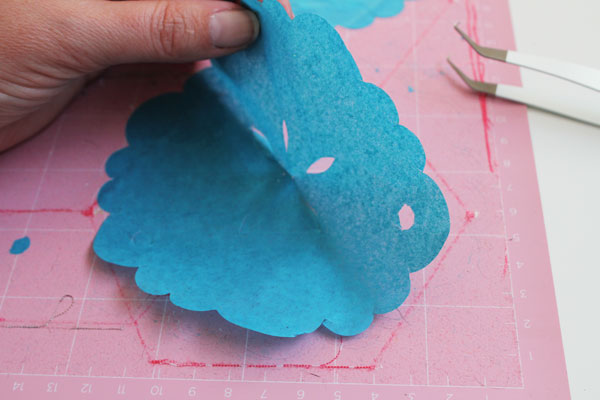
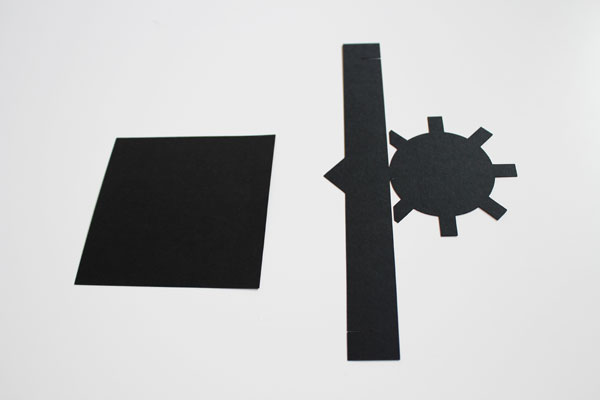
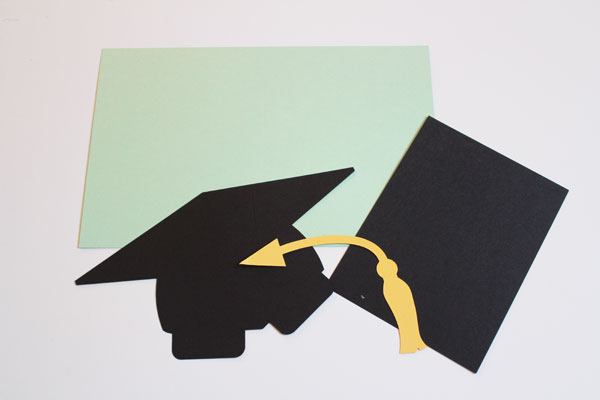
Cut out all the cardstock pieces using this Cricut Graduation Card Cut File for Design Space.
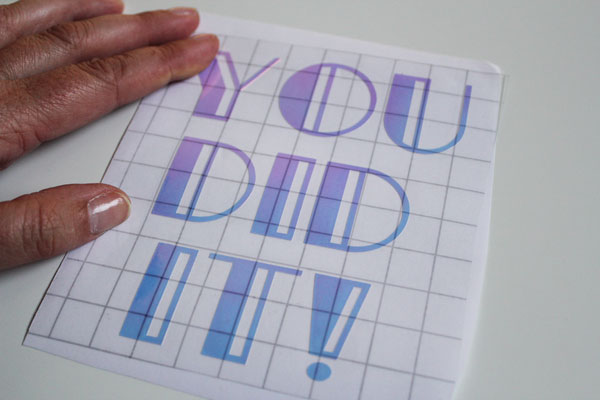
Cut out and weed the vinyl.

Cover in transfer tape.
Carefully peel the paper backing off of the vinyl to expose the adhesive. Center onto the small rectangle that will go on the front of the card. Carefully peel back the transfer tape, leaving the vinyl behind.
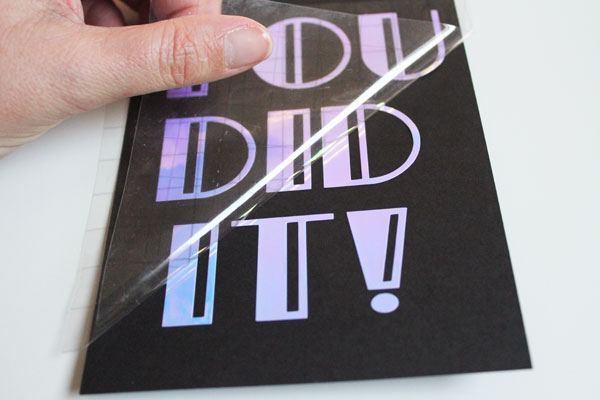
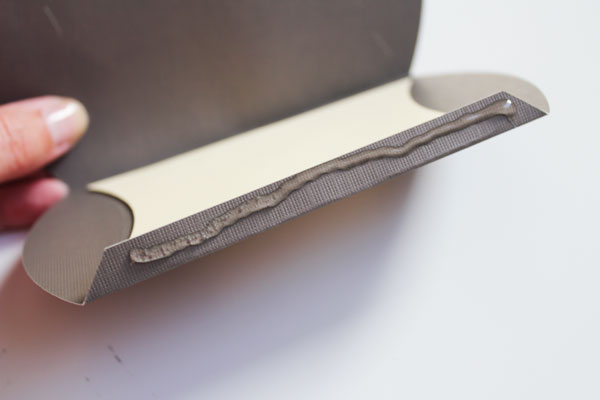
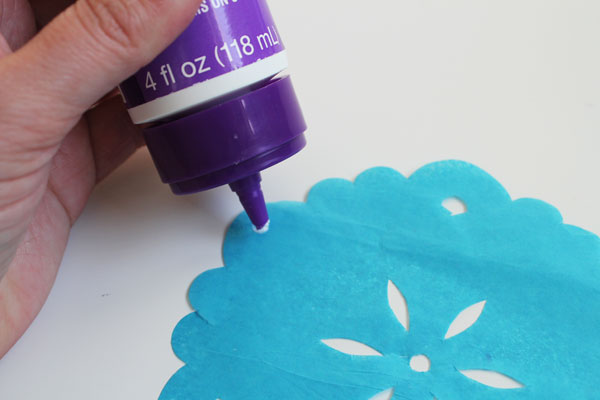
Glue this piece onto the front of the card. The front of the card is now done.
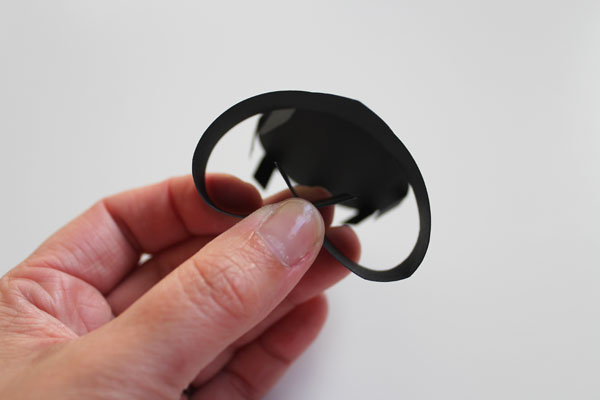
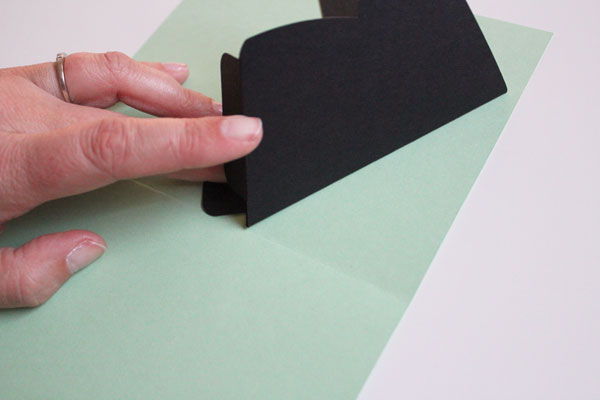
On the inside of the card, line up the Mortarboard. It should be folded in half, with the fold towards the middle. The corner of the fold closest to the tab should line up with the center fold on the card.
 Careful not to shift the pieces, put adhesive on the tab, then close the card. Press down on the area with the adhesive to secure.
Open the card, and repeat this process, gluing the second tab in place.
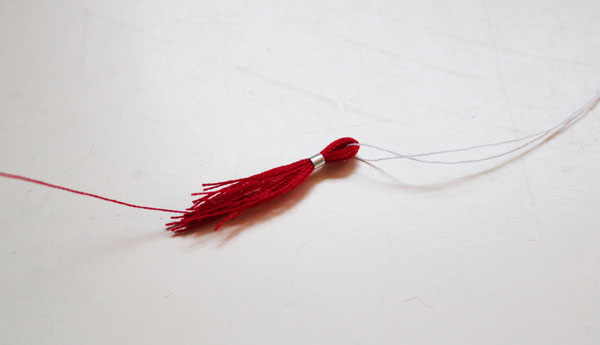
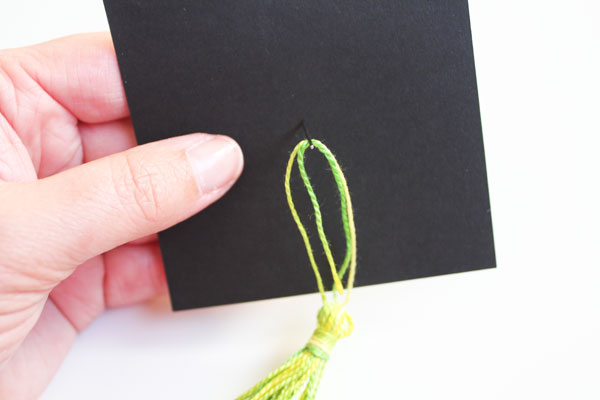
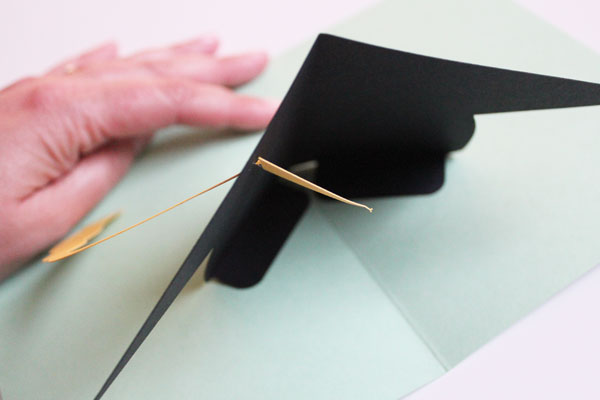
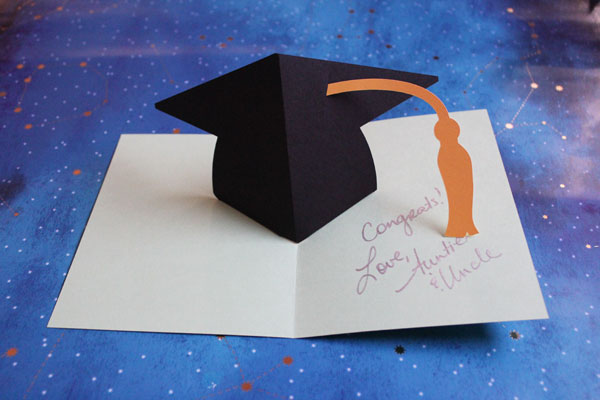
Insert the triangle end of the tassel into the slot.
Your card is complete and ready for gift-giving!
And be sure to check out all these other great crafts that celebrate the end of the school year!