Woven Ornament

If you’re looking for a fun Christmas ornament, this Woven Ornament is perfect! It is an easy to make handmade ornament that you can whip up in 30 minutes or less! You can hang it on your tree, use it to decorate a handmade gift, or give it as a gift itself! Have fun whipping up these simple wooden ornaments and you’ll feel ready for the Holidays in no time!

And if you really want to feel ready for the holidays, scroll down to the bottom of this page and you’ll find a whole list of other designers with projects designed to get you holiday-ready, PLUS a special giveaway! Be sure to comment here and on all the projects linked below to enter!
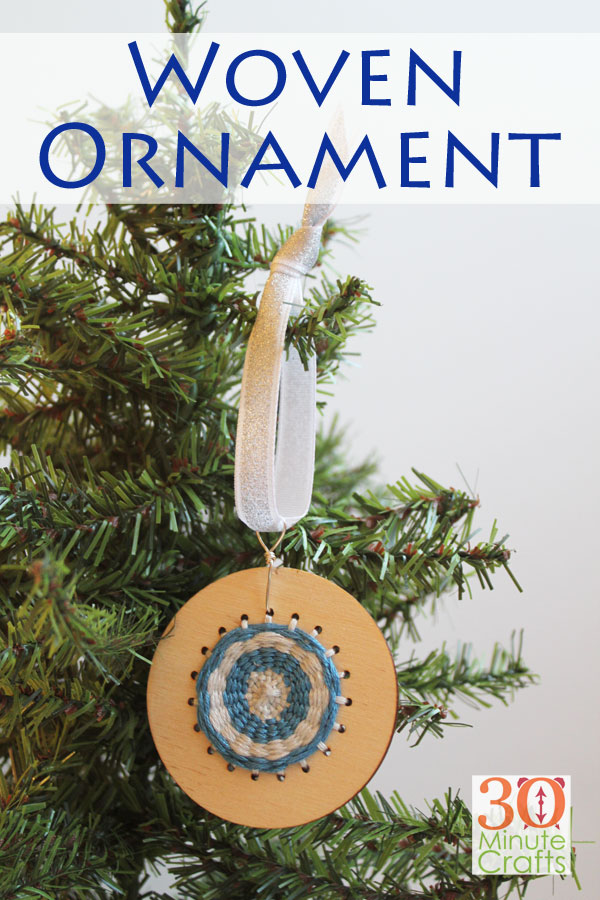
Woven Christmas Ornament from 30 Minute Crafts .com

This post contains affiliate links which help support this site at no additional cost to you.

To make this Woven Ornament you will need:
Wooden Ornament Base from Purl and Loop (buy the ornament base on Amazon)
Embroidery Floss
Long Head Pin
Pliers
Ribbon

supplies for woven ornament

Start by cutting of a length of embroidery floss. Usually from your fingers to your nose is a good working length. Tie a knot at one end.
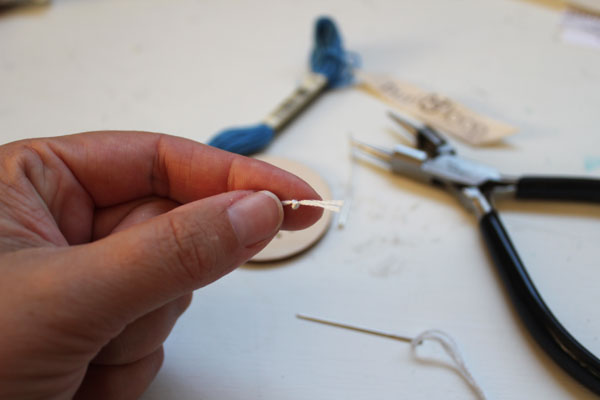
tie a knot to start the woven ornament

Pick a hole, and come up. Then go across and go back down. Come up next to where you went down. If this sounds confusing, don’t worry! There are excellent instructions in the kit!
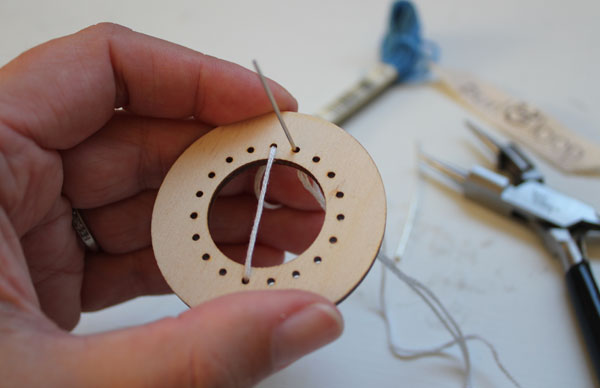
add thread

Keep going all the way around, going in a spiral.
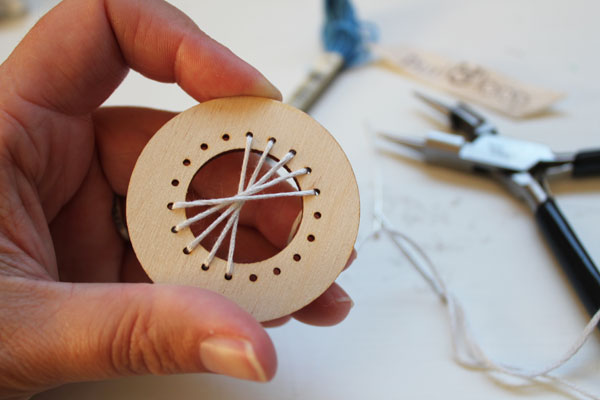
add all the way around

When you end, you’ll end in the last hole. It will feel awkward, but this is perfect.
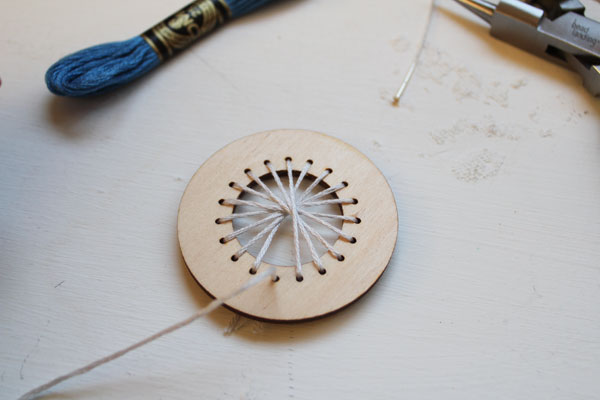
end in the last hole of the woven ornament

Bring your needle to the middle, and you can start your weave! Over, under, over, under, over, under…
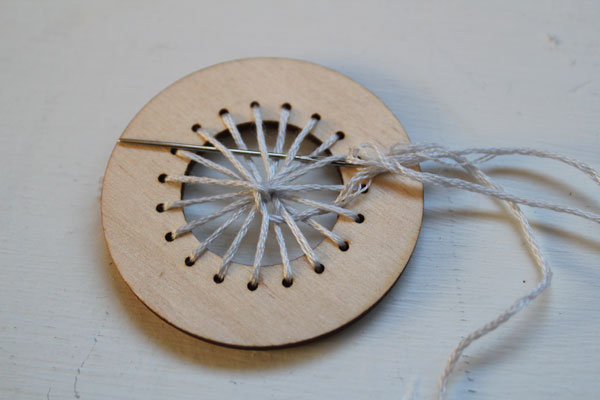
start weaving

When you want to add a new color, you can tie it in from the back.
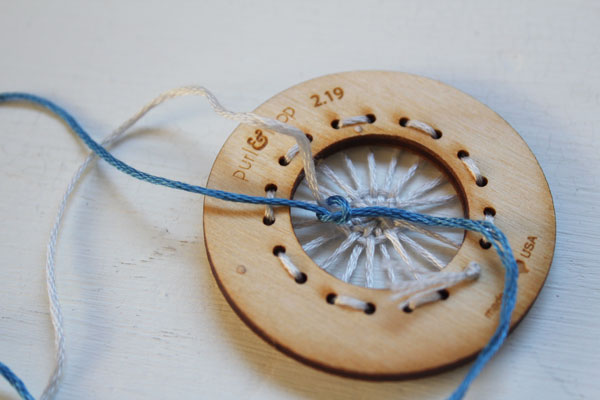
change colors

Keep weaving until your ornament is full.
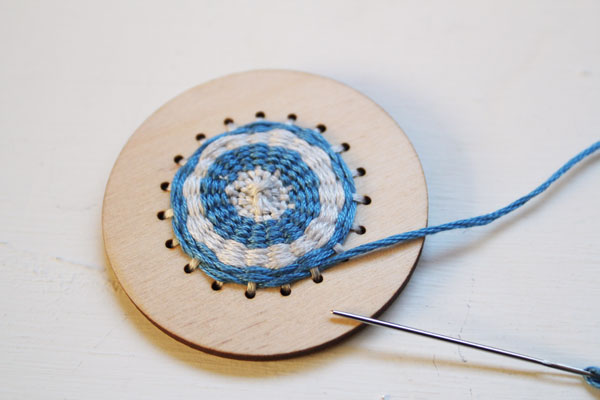
keep weaving

Then you can tie it off on the back.

tie off on back

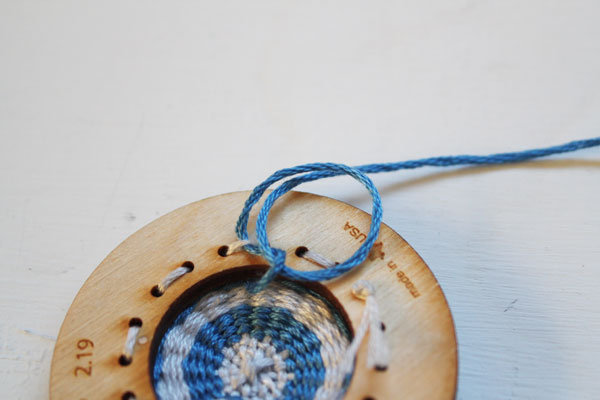
To add a hook, use a long headpin. Insert it from the back.
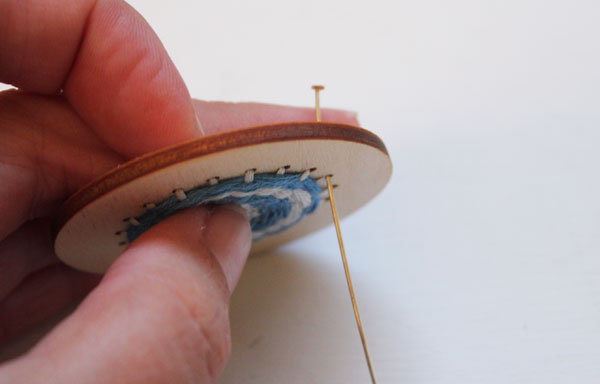
inset head pin

Then you can use pliers to make the loop.
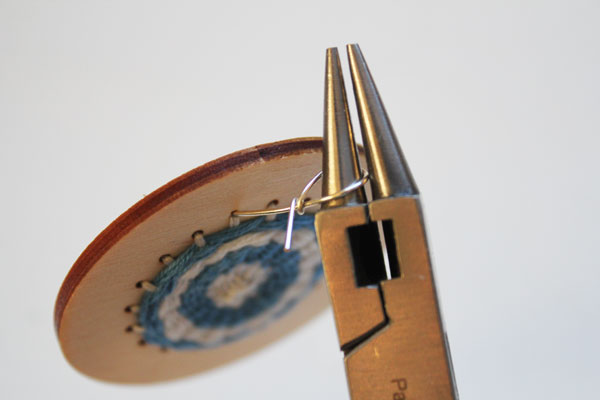
make hanging loop

Add a ribbon, and your woven ornament is ready to hang!
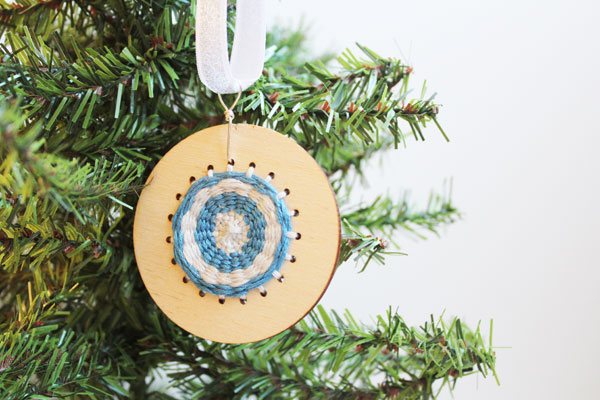
finished woven ornament

If you want to do some more Christmas prep, be sure to click on each designer’s name to check out their awesome project!

Rita Barakat

Eileen Hull

Betz Golden

Joe Rotella

Yolie Burke

Midge and Madge

Susan Hiles

Michelle Wells

Candy Rosenberg

If that isn’t enough we have over $100. In crafty prizes including the entire line of Rita Barakat diecuts/ephemera and fabulous paints and glitters from @plaidcrafts! This is going to be awesome!!!

To enter to win you must visit and comment on each post! Bonus, stop by Plaid and like their FB Page!

You have one week and Rita will announce the winner live on Facebook Monday, Nov 19, 8pm CST on Mixed Media Monday! @ritabarakat1


Sparkle like a Unicorn Tee

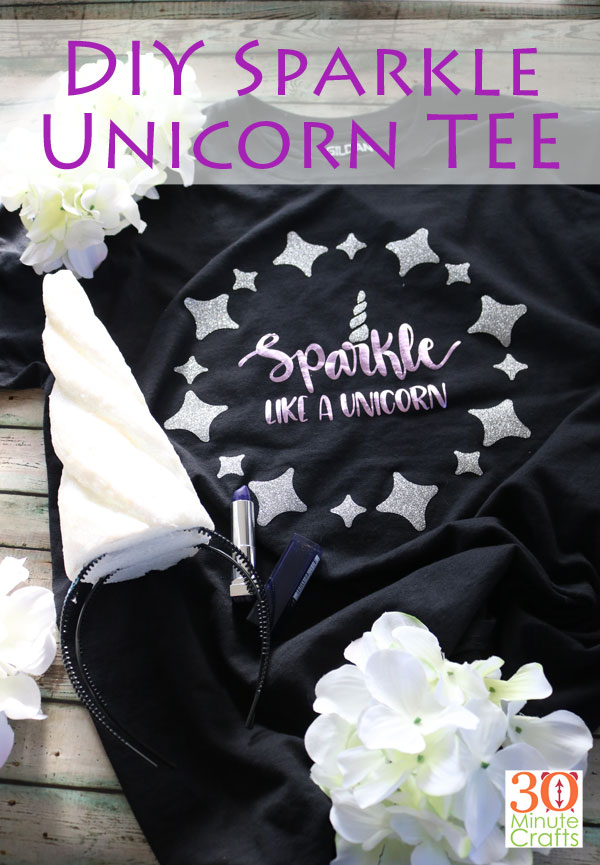
Wear this Unicorn shirt to show your love of unicorns! Are you a Unicorn lover, or do you know one? Then you’re going to LOVE how easy it is to make this “Sparkle Like a Unicorn” shirt using the Cricut and just a few simple supplies! Every time I wear this tee I get all kinds of compliments! And it is oh-so-glittery! I love how much the sparkle iron on catches the light as you wear this unicorn shirt!

DIY Sparkle Unicorn Tee with extra glitter sparkles at 30 Minute Crafts .com

This post contains affiliate links which help support this site at no additional cost to you.

To make this sparkle unicorn shirt you will need:

Plain black tee
Glitter iron-on
Foil iron-on
Cricut machine
Cricut Easy Press (or an iron if you don’t yet own an easy press)


Start by using this cut file to cut your design. You can shrink it as needed to fit your tee.

Weed the vinyl, then use scissors to carefully cut out the center of the glitter iron-on area. Carefully cut around the foil iron on as well. You want to do this so that when both are placed on the tee, there is little or no overlap of the transfer plastic.

Once you’ve trimmed away all that excess, and your iron-on is fully weeded, follow the heating instructions to fuse the glitter iron on in place. Then, leaving the transfer plastic in place (you can lift up the edges a little to tuck the lettering under if you really need to), place the foil iron-on in place.

Follow the heating instructions to fuse the foil iron-on. Remove the transfer plastic, and your shirt is ready to wear!

You can pair it with this giant DIY glitter unicorn horn if you want some extra Unicorn awesomeness.

Sparkle like a Unicorn

Five Golden Rings – 12 Days of Christmas Ornament

If you’ve been following along, I made a 12 Days of Christmas Advent Calendar last week, and I’ve been making ornaments to for each of the days. Today I’m sharing the 5 golden rings. Which is my favorite part of the 12 days of Christmas song. Because there is this big pause and a huge to-do about FIVE GOLDEN RINGS!! So, I wanted these rings to be more than just a circle cut out of cardstock… let me know what you think!

This week, I’ve been joining my friends Angie from The Country Chic Cottage, Jen from 100 Directions, and Jessica from Mad in Crafts for a week of Cricut Crafts to get you ready for the Holidays. Every day we’ve shared different Holiday Cricut Crafts on our sites. And we’ve invited some of our craftiest friends on the internet to join in! If you scroll all the way down you can check out what they’re up to, and click over to find out how to make your own! With all these ideas, you’ll be ready for the holidays in no time!!

Five Golden Rings Ornament for the 12 Days of Christmas

This post contains affiliate links which help support this site at no additional cost to you.

These 12 Days of Christmas Calling Birds ornaments are super simple to make! All you need is:

Your Cricut (Explore series or Maker both work here)
Cricut Party Foil
Strong Adhesive

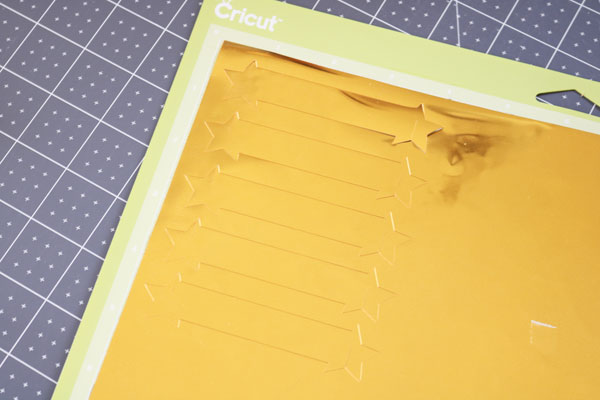
Start by using this file in Cricut Design Space to cut out your ornament pieces from the party foil. You could use golden paper if you like, but I really like the shiny look and flexibility of this party foil.

cut the five golden rings

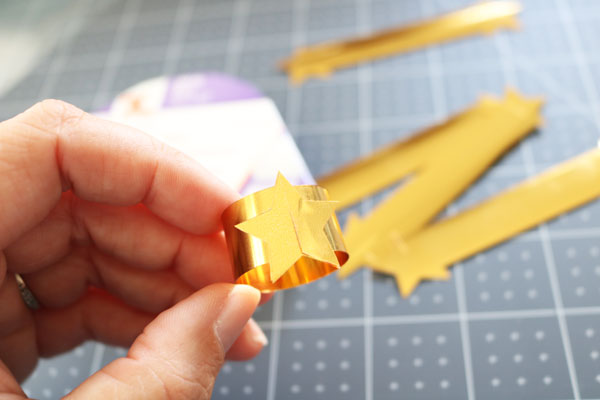
Use the slit at the top and bottom of the stars to turn a cut into a ring.

connect ring for five golden rings

Use the strong adhesive to secure down the sides. This party foil resists most adhesives, so just use the strongest stuff you have.

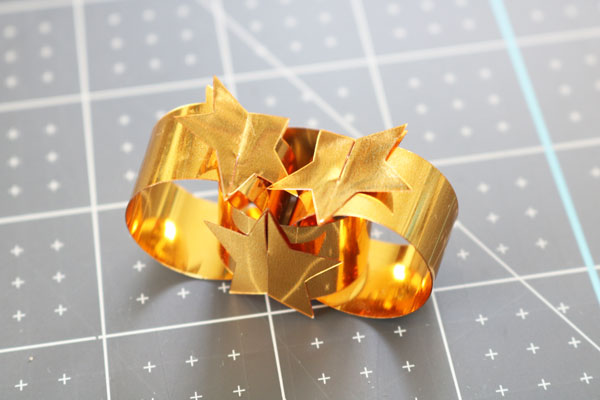
Keep adding more rings, interlocking them.

connect rings

Until you have all five together.

put rings together

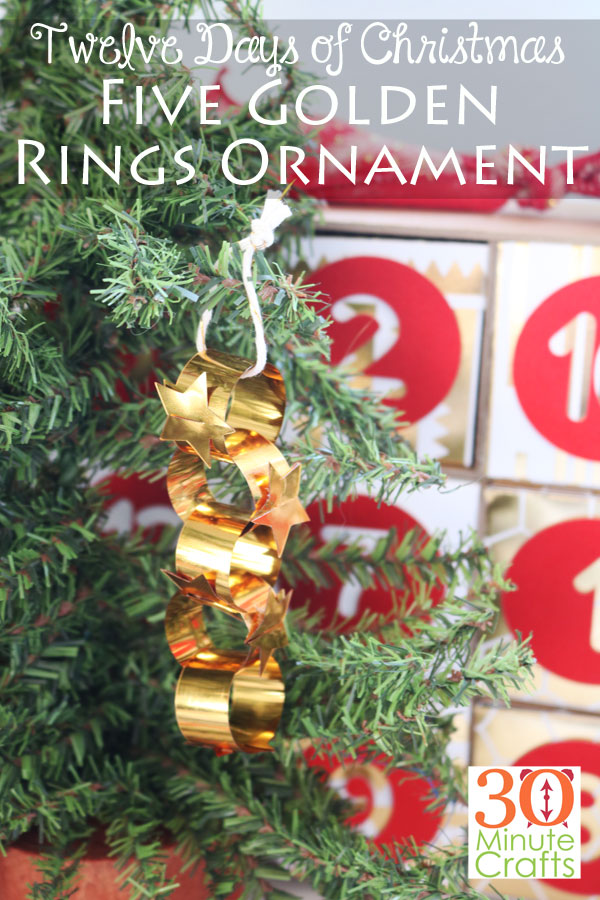
If you really love this look, you could keep going to make a whole garland of rings, but that wouldn’t really go with the whole “five golden rings” thing. So I stopped at 5, then added a tie at the top to hang them on my tree.

five golden rings ornament for the 12 days of Christmas

It is that simple to make this fun ornament!

Looking for more Holiday crafts that you can make with your Cricut? Check out all these amazing ideas below!


Four Calling Birds Ornament

Whether or not you made the 12 Days of Christmas Advent Calendar I shared last week, you might be interested in these fun 12 days of Christmas ornaments. I have been making one each day to share, and today it is the French Hen! Of course, you can make three French Hens to go along with th 12 Days of Christmas song if you like.

I’ve joined my friends Angie from The Country Chic Cottage, Jen from 100 Directions, and Jessica from Mad in Crafts in putting together a week of Cricut Crafts to get you ready for the Holidays. Every day we’ll be sharing more Holiday Cricut Crafts on our sites. And we’ve invited some of our craftiest friends on the internet to join in! So be sure to scroll all the way down to check out what they’re up to! With all these ideas, you’ll be ready for the holidays in no time!!

Four Calling Birds Christmas Ornaments

This post contains affiliate links which help support this site at no additional cost to you.

These 12 Days of Christmas Calling Birds ornaments are super simple to make! All you need is:

Your Cricut (Explore series or Maker both work here)
Felt
Gold Iron-on
Iron or Heat Press
Ribbon

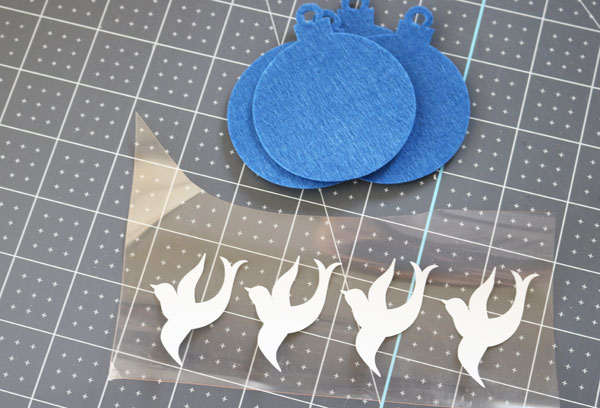
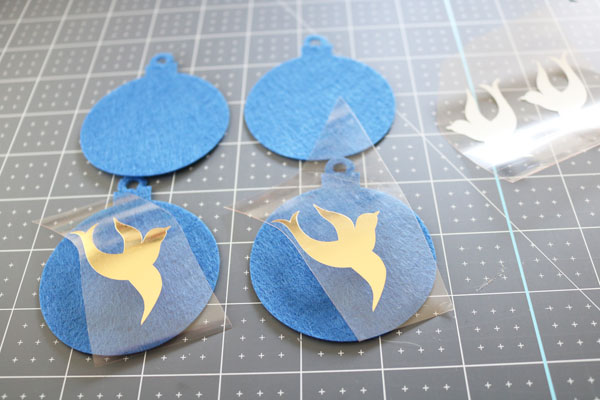
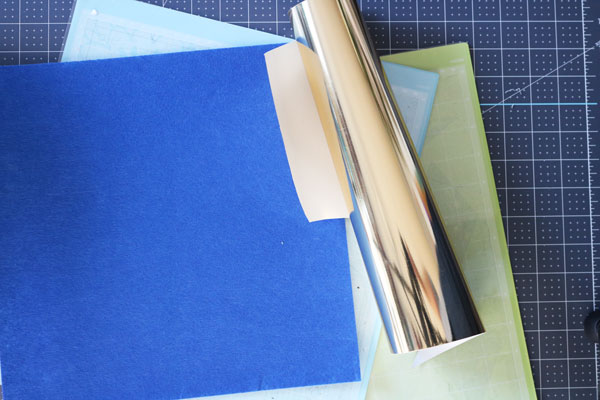
Start by using this file in Cricut Design Space to cut out your ornament pieces. As you can see, I cut out four at the same time here.

cut pieces

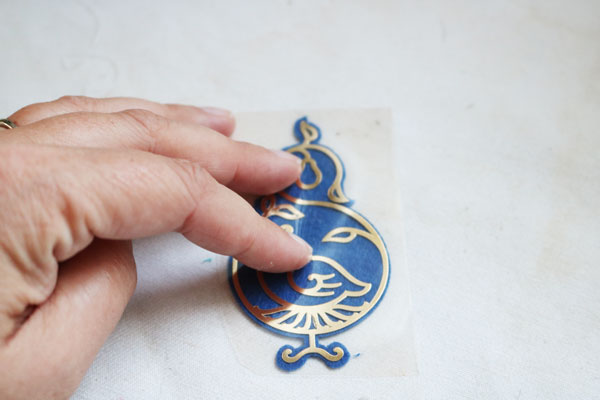
Place the calling birds on the ornaments.

place vinyl

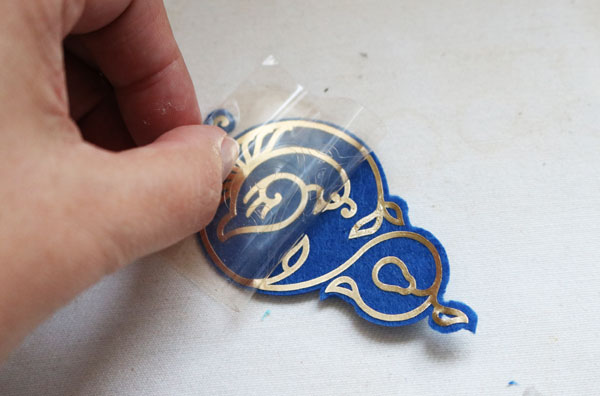
Use your iron or easy press to secure them, then peel off the clear backing paper.

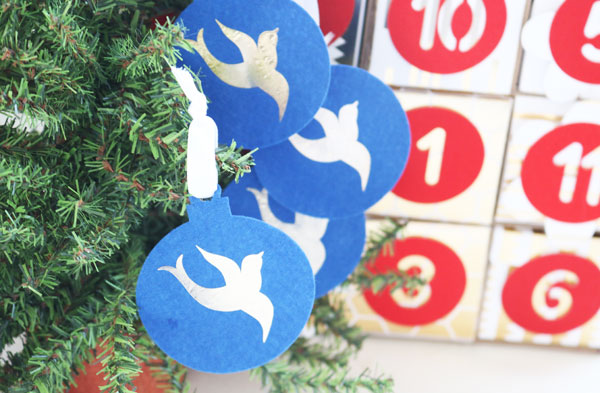
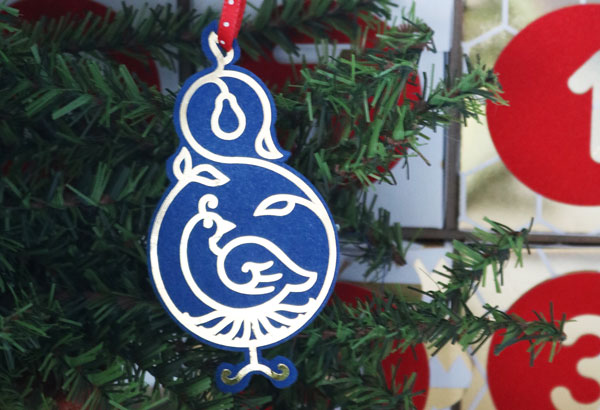
Add a ribbon through the loop, and then you’re all done! You can either tuck the ornament into box 4 of the advent calendar, or go ahead and hang it on the tree!

12 Days of Christmas Four Calling Birds ornaments

Looking for more Holiday goodness? Check out all these other awesome Holiday projects you can make with your Cricut!


French Hen 12 Days of Christmas Ornament

Whether or not you made the 12 Days of Christmas Advent Calendar I shared last week, you might be interested in these fun 12 days of Christmas ornaments. I have been making one each day to share, and today it is the French Hen! Of course, you can make three French Hens to go along with th 12 Days of Christmas song if you like.

I’ve joined my friends Angie from The Country Chic Cottage, Jen from 100 Directions, and Jessica from Mad in Crafts in putting together a week of Cricut Crafts to get you ready for the Holidays. Every day we’ll be sharing more Holiday Cricut Crafts on our sites. And we’ve invited some of our craftiest friends on the internet to join in! So be sure to scroll all the way down to check out what they’re up to! With all these ideas, you’ll be ready for the holidays in no time!!

Twelve Days of Christmas Three French Hens Ornament

This post contains affiliate links which help support this site at no additional cost to you.

This 12 Days of Christmas French Hen ornament is super simple to make! All you need is:

Your Cricut (Explore series or Maker both work here)
Felt
Gold Iron-on
Iron or Heat Press
Baker’s Twine


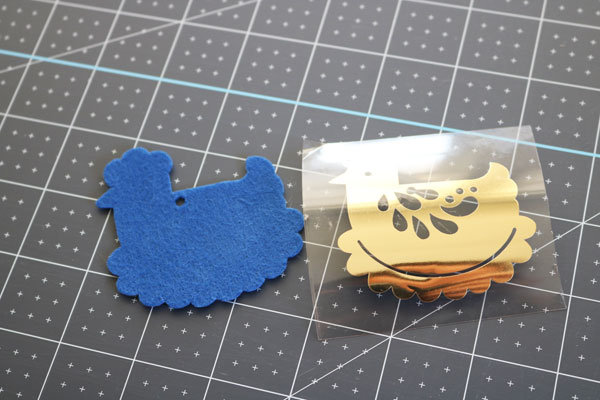
Start by using this file in Cricut Design Space to cut out your ornament pieces. If you like, you can duplicate the hen to make three instead of just one.

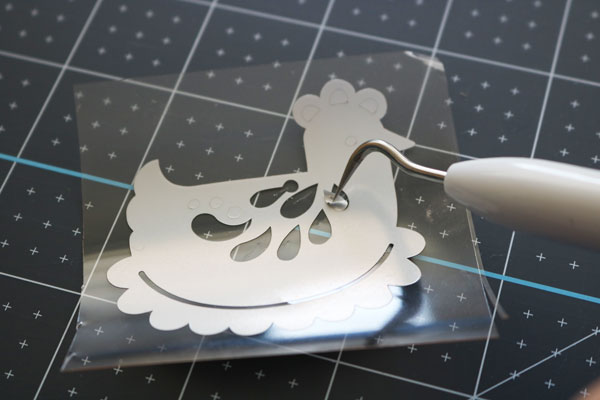
Weed the gold iron on to take out the pieces you don’t want or need.

weed vinyl


cut pieces

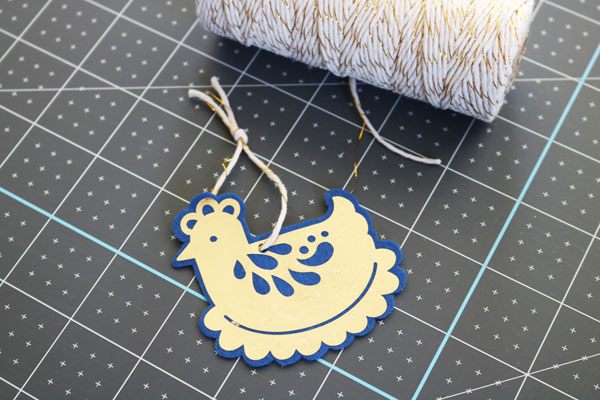
Fuse the iron on to the felt, making sure to line up the small hole so that you can add the baker’s twine to hang the ornament.

add twine to french hen

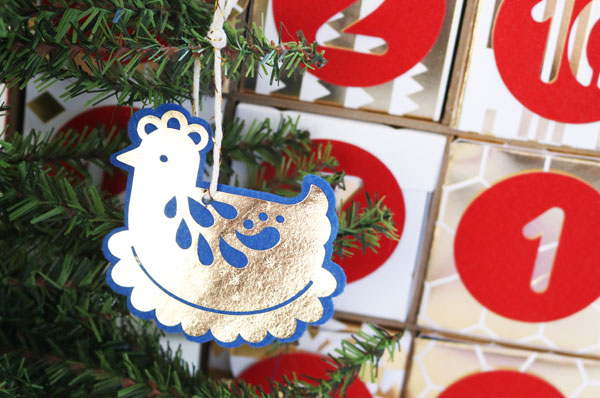
That’s it! You can make three if you like to have 3 French Hens to go along with the 12 Days of Christmas song!

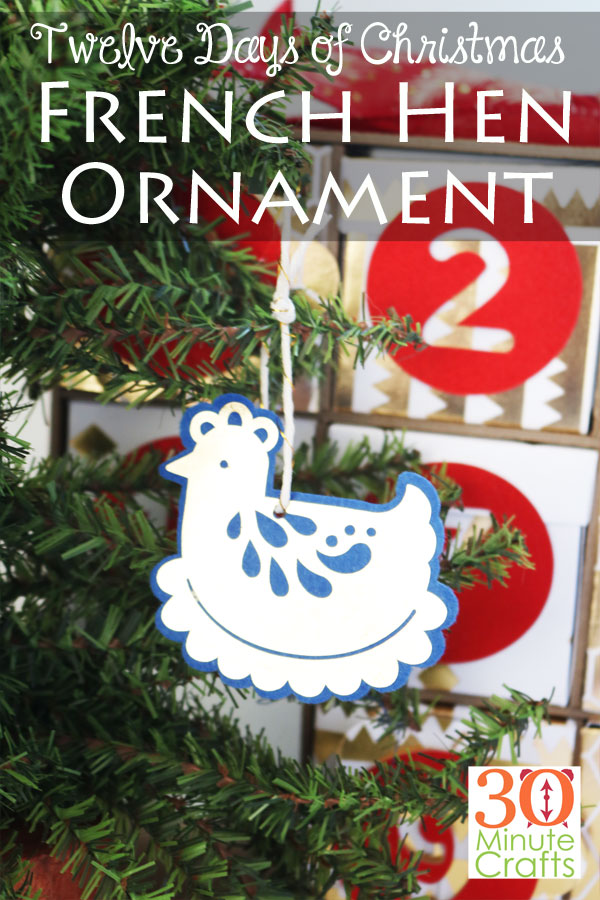
finished french hen ornament

And check out all these other awesome Holiday projects you can make with your Cricut!


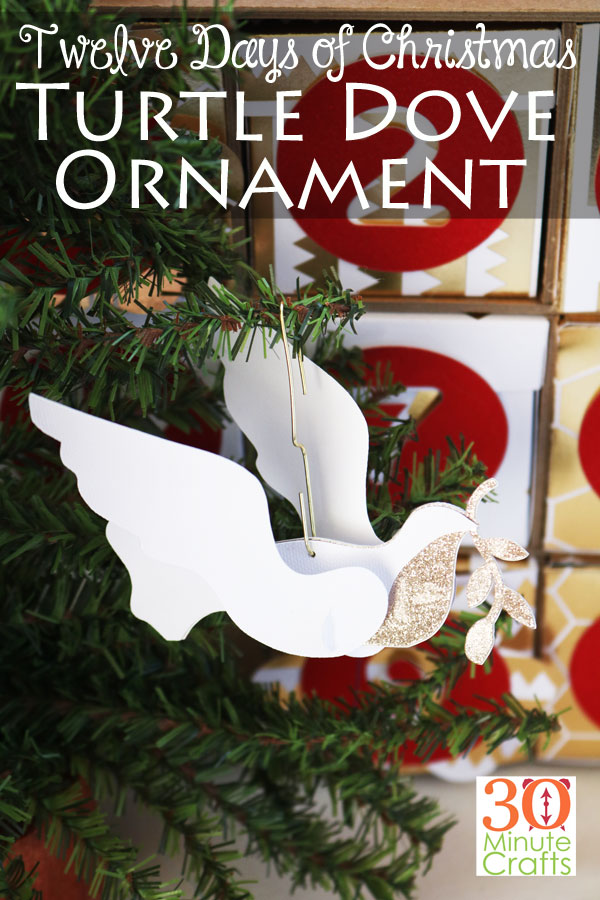
Turtle Dove Ornament

I’m continuing on sharing different ornaments that go along with the 12 Days of Christmas. These are part of the simple 12 Days of Christmas Advent Calendar I shared last week. Yesterday I shared this Partridge in a Pear Tree ornament. And following the theme, today I’m sharing this Turtle Dove ornament. The goal is to make an ornament to go along with all 12 Days of Christmas before the holidays to go along with this fun advent calendar!

I’ve joined my friends Angie from The Country Chic Cottage, Jen from 100 Directions, and Jessica from Mad in Crafts in putting together a week of Cricut Crafts to get you ready for the Holidays. Every day we’ll be sharing more Holiday Cricut Crafts on our sites. And we’ve invited some of our craftiest friends on the internet to join in! So be sure to scroll all the way down to check out what they’re up to! With all these ideas, you’ll be ready for the holidays in no time!!

Twelve Days of Christmas Turtle Dove Ornament


This post contains affiliate links which help support this site at no additional cost to you.

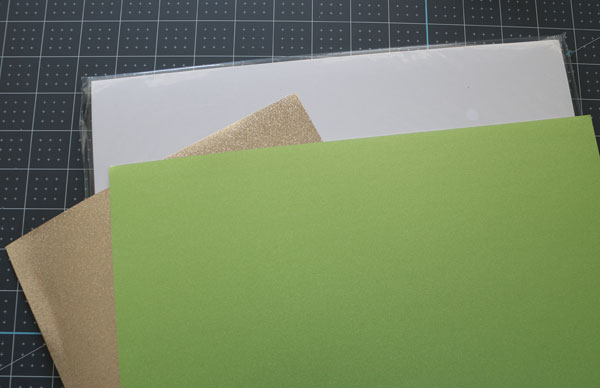
This 12 Days of Christmas Turtle Dove ornament is super simple to make! All you need is:

Your Cricut (Explore series or Maker both work here)
White Cardstock
Gold Sparkle Paper
Green Shimmer Paper (optional)
Thumbtack
Paperclip

supplies


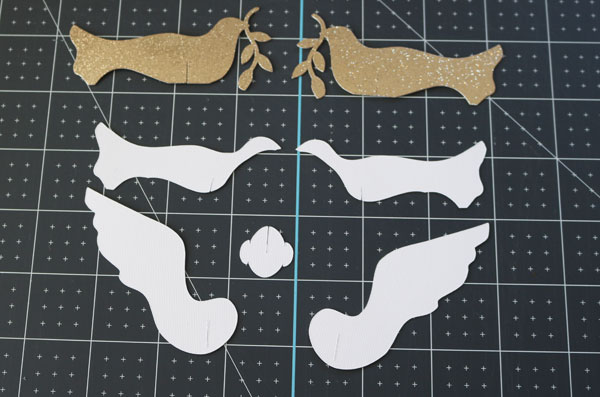
Start by using this file in Cricut Design Space to cut out your ornament pieces. You can cut the olive branch from the green shimmer paper if you like, but I opted to skip it.

cut pieces

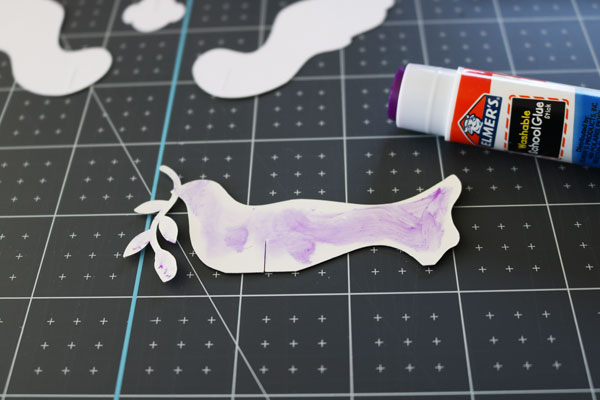
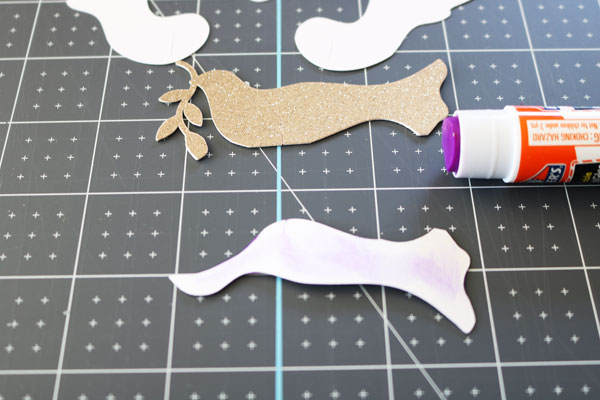
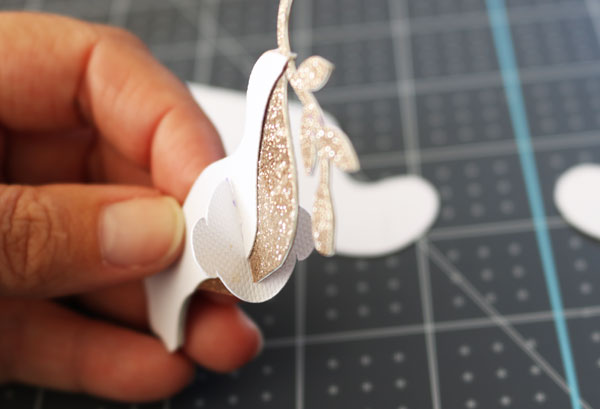
Glue the two gold pieces together, back-to-back.

glue ornament pieces

Glue the white pieces on the top of each side.

glue on sides

At this point, you should use the thumbtack to make the hole in the top. I did it later in the process, but it is easier at this step.

Add the transition piece.

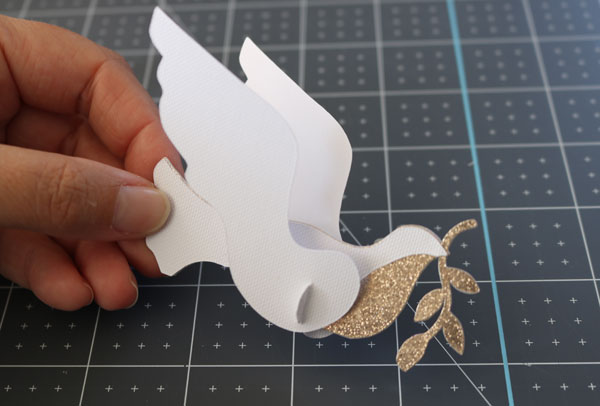
Then carefully add the wings to each side.

add wings

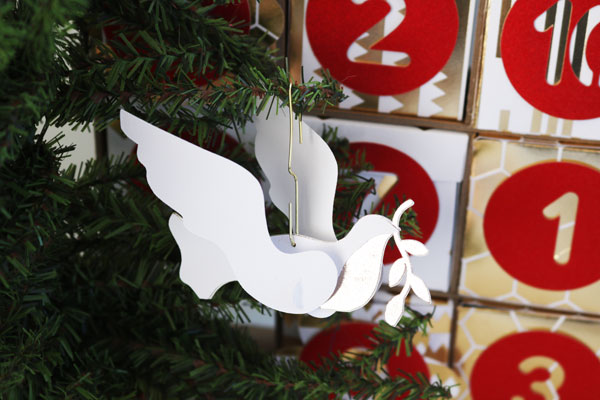
You can use a string to hang the turtle dove ornament, or you can open up a paperclip and use it as a hook for hanging.

paperclip

That is it! You can make a second if you like so that you have two turtle doves… which is what they had in the 12 days of Christmas!

Twelve Days of Christmas Turtle Dove Ornament


Simple Partridge in a Pear Tree Ornament

Last week I showed you how to make a simple 12 Days of Christmas Advent Calendar. So today I’m going to show you how to make an ornament that you can put in the calendar! The plan is that in plenty of time for Christmas, you’ll have the files to make the Advent Calendar as well as all 12 Ornaments to celebrate the 12 Days of Christmas!

I’ve joined my friends Angie from The Country Chic Cottage, Jen from 100 Directions, and Jessica from Mad in Crafts in putting together a week of Cricut Crafts to get you ready for the Holidays. Every day we’ll be sharing more Holiday Cricut Crafts on our sites. And we’ve invited some of our craftiest friends on the internet to join in! So be sure to scroll all the way down to check out what they’re up to! With all these ideas, you’ll be ready for the holidays in no time!!

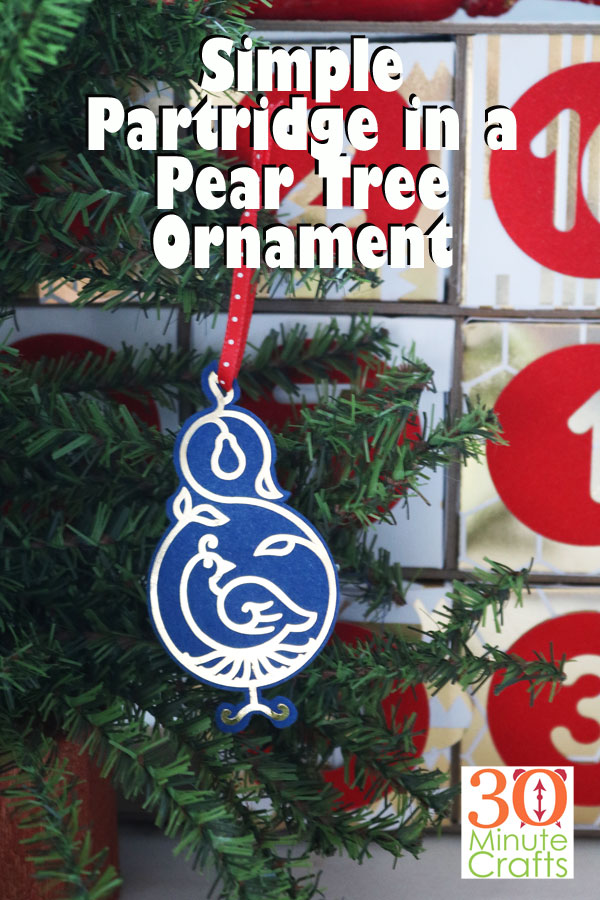
simple partridge in a Pear Tree ornament for the 12 Days of Christmas

This post contains affiliate links which help support this site at no additional cost to you.

This 12 Days of Christmas ornament is super simple to make! All you need is:

Your Cricut (Explore series or Maker both work here)
Felt
Foil Iron-on
Easy Press or Iron
Ribbon, String, or Twine

partridge supplies

Start by using this file in Cricut Design Space to cut out your ornament pieces.

Weed your foil by removing all of the background pieces. Then line up the foil on the felt. If you didn’t mirror your iron-on, don’t worry! Just flip your felt over. This ornament is reversible and super forgiving!

line up

Use your Easy Press or iron to fuse the iron on. Then peel back the protective sheet.

peel back

Now all you need is to add some string or ribbon to the top, and hang up your partridge in a pear tree ornament!

finished partridge in a pear tree ornament made on the Cricut

Come back tomorrow for another 12 Days of Christmas ornament… and be sure to check out all the ideas below!


Free Autographs!

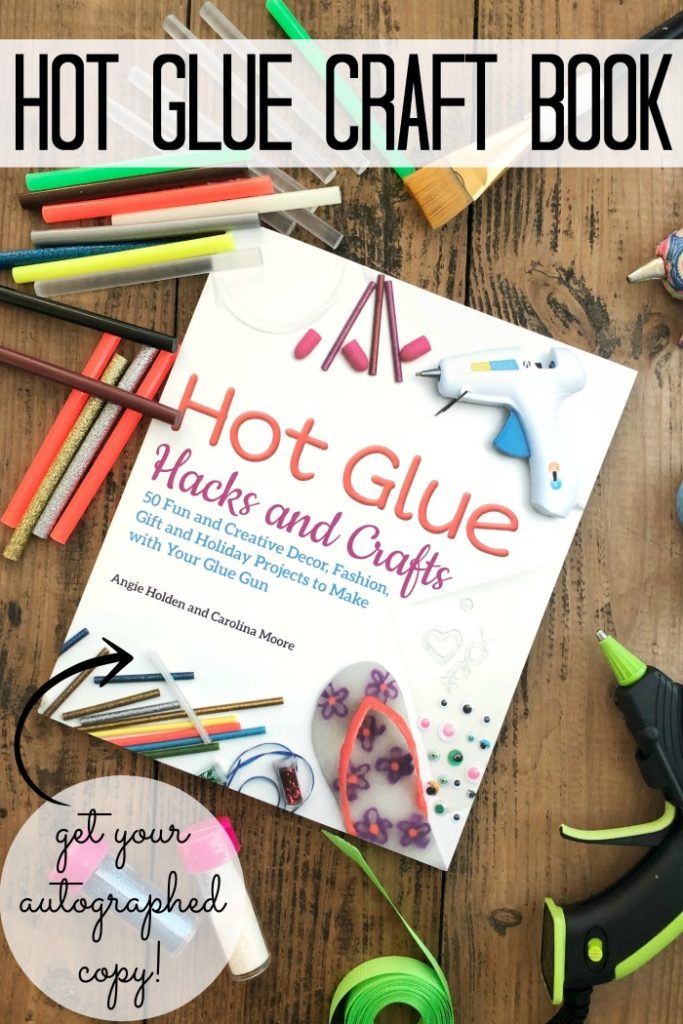
Last month, my book started showing up on shelves and in mailboxes. And I couldn’t be more excited. “Hot Glue Hacks and Crafts” was a labor of love for both myself and my co-Author Angie from the Country Chic Cottage. We had a great time really pushing Hot Glue beyond its normal boundaries of being an adhesive. We made projects where Hot Glue was the star of the show (or even the only material used – which is what you can see with the earring rack). With basic supplies you can turn hot glue into a faux geode, holiday ornament, or decor for your home. If you haven’t already picked up your copy, I hope you will! You can find “Hot Glue Hacks and Crafts” at Barnes and Noble, on Amazon, and in some Michaels Stores.

hot glue craft book

We love everyone who supports us by buying a book (though we genuinely feel that the 50 projects in the book are worth more than the list price), and we want to give you something special. We wish we could travel around the globe to visit everyone who buys a book and autograph it personally. Since that isn’t an option, we’d like to mail each of you a book plate personalized to you, and autographed by both of us. We’ll even pay the shipping (and yes, I would be happy to ship internationally)! All you have to do is share a photo of the book on your social media (so we can verify you have a copy), and then fill out this super simple form so that we can mail you your book plate. Just stick the book plate in your book, and you’ll have an autographed copy!

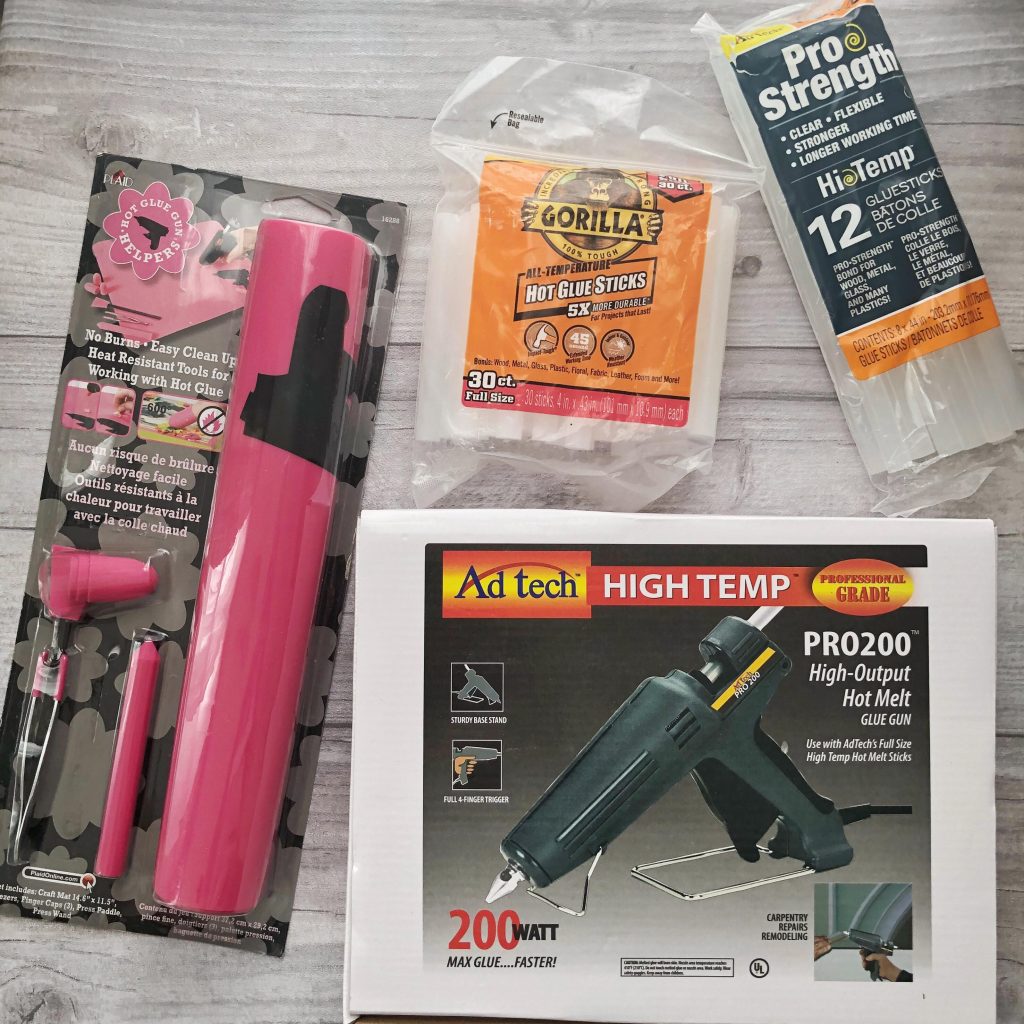
And (yes… there is more!) we’d like to offer everyone (whether you bought the book or not) a chance to win a hot glue prize pack. Just enter the giveaway below to win this fun hot glue crafts bundle. It has everything you need to get started making your own hot glue crafts!


rafflecopter code: a Rafflecopter giveaway

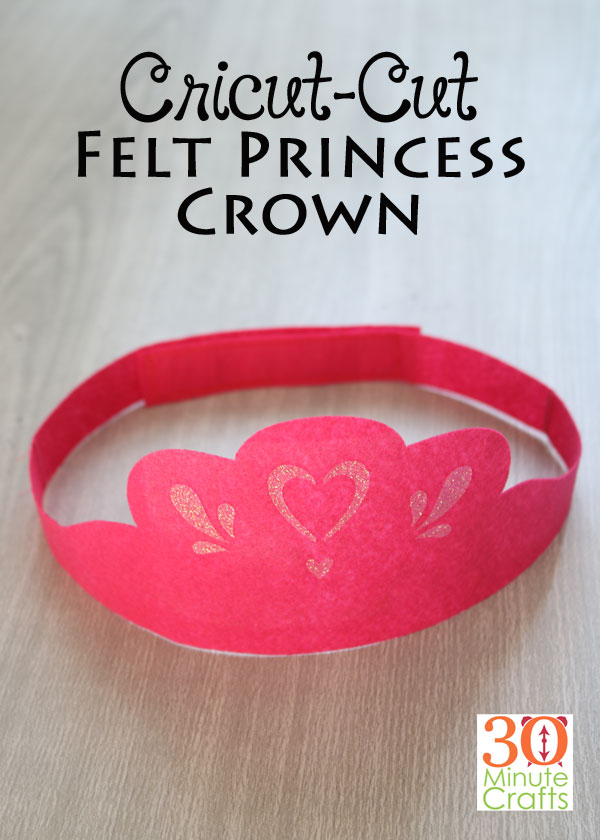
Cricut Cut Felt Princess Crown

Last month I was heading to a little princess’s birthday party. Of course I wanted to make her something special, and what is more special than her own crown! This felt princess crown comes together quickly and easily with the Cricut – I’ll show you how!

Cricut-Cut Felt Princess Crown

This site contains affiliate links which help support this site at no additional cost to you.

What you’ll need:

Felt in your color of choice (I went with Pink)
Glitter Iron-on (I again went pink)
Cricut Maker (only the Maker will cut felt)
Iron or Easy Press
Velcro (optional)
Sewing machine or needle and thread

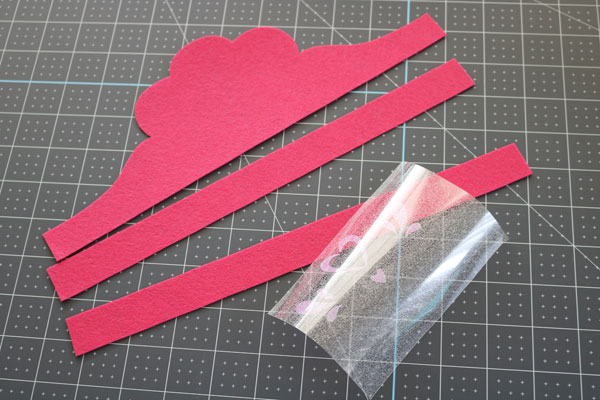
Start by using this Cricut Cut File to cut out the princess crown and the glitter iron-on details.

cut out pieces

Fuse the glitter iron-on to the crown using an easy press or an iron.

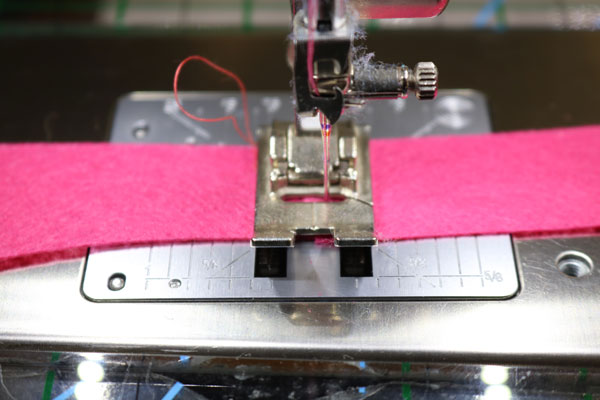
Take the pieces to your sewing machine. Using the zig-zag stitch, attach the extended straps to the end of the crown.

zig zag stitch

Measure the crown around the head of the princess. If the princess is not available, find the next closest head in size, and estimate. Overlap the ends by about 4″ before trimming.

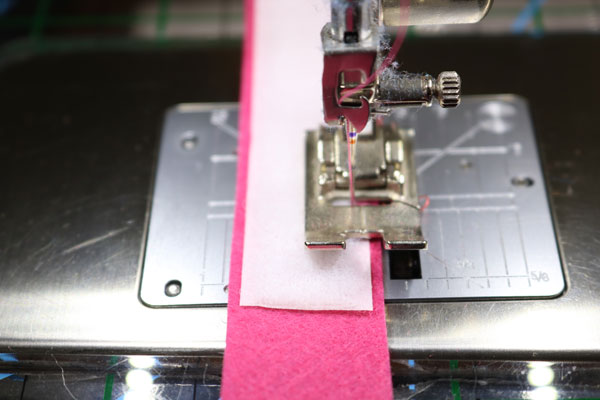
Again with the zig-zag stitch, add the velcro pieces.

stitch on velcro

If you have the princess handy, you can cut the crown exactly to size, and then stitch the two ends together. This prevents the need to add velcro. But, your princess might outgrow the crown. Good thing that a new felt princess crown in so simple to make!

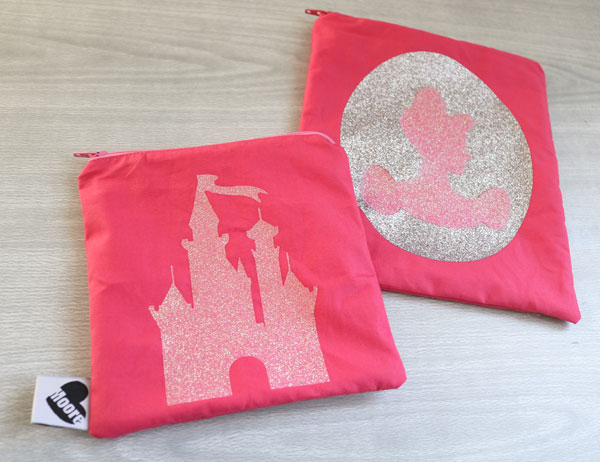
I combined the felt crown with two fun zippered pouches that I stitched up. I added more glitter vinyl using this Cricut Cut File. And I added some fun costume jewelry to round out the gift!

zippered pouches