Several weeks ago, Diane of CraftyPod said she was putting together a group of bloggers to do a blog hop of Plastic Canvas projects. Awesome, right? I e-mailed her to see if I could join in… so today I’m sharing my plastic canvas earrings. If you want to see the rest of the awesome, clever, and amazing plastic canvas projects, check out the link-up at the end of this post.
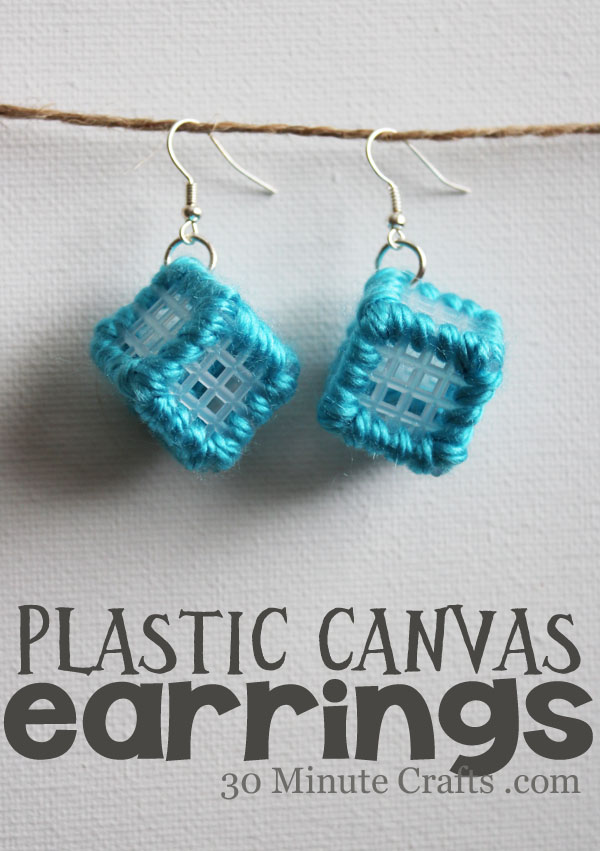
To make these earrings in 30 minutes or less, I left the centers of the plastic canvas squares unfilled. I think this adds to the modern look of the earrings. You can customize the look of the earrings with your own colored yarn, of course.
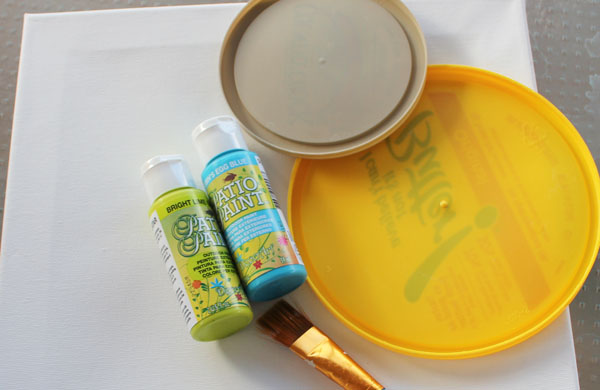
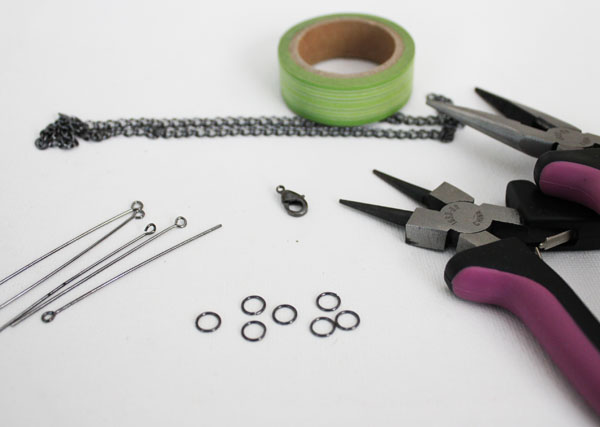
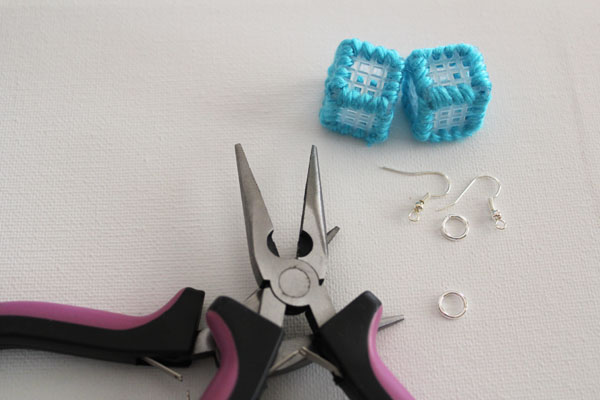
To make your own plastic canvas cube earrings, here is what you need:
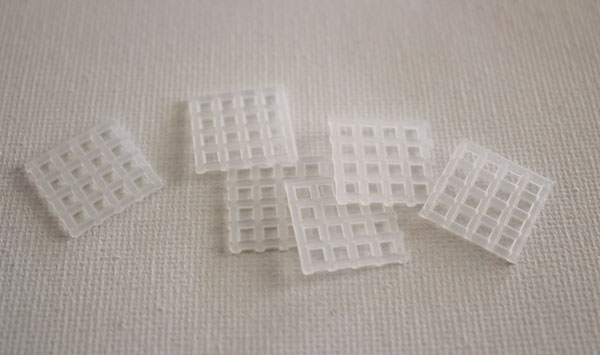
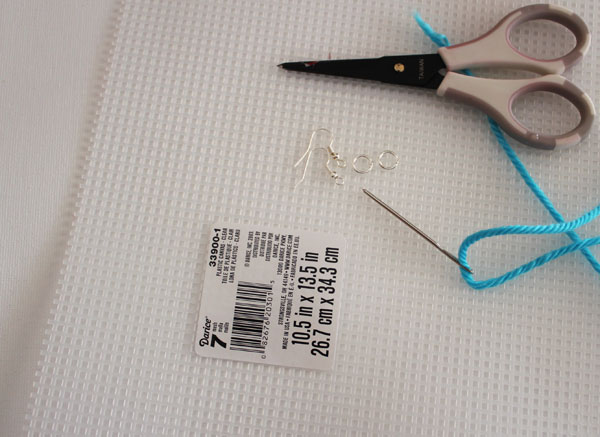 Plastic Canvas
Scissors
Yarn
Tapestry Needles
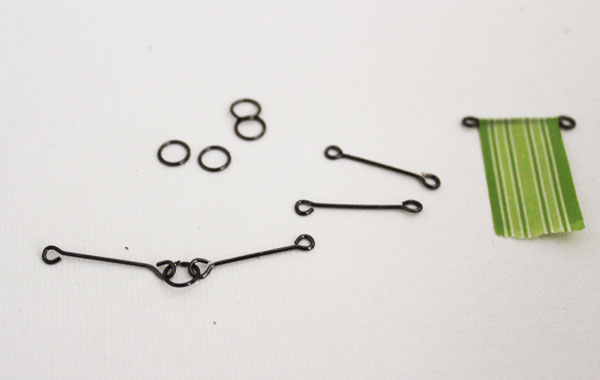
Jump Rings
Earring Hoops
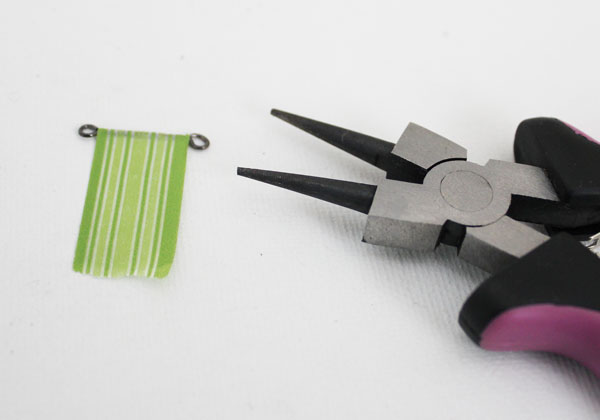
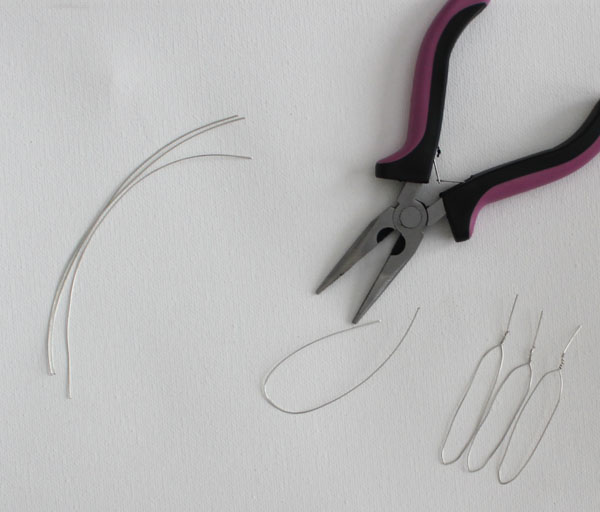
Pliers
Start by cutting a strip of plastic canvas, four squares wide.
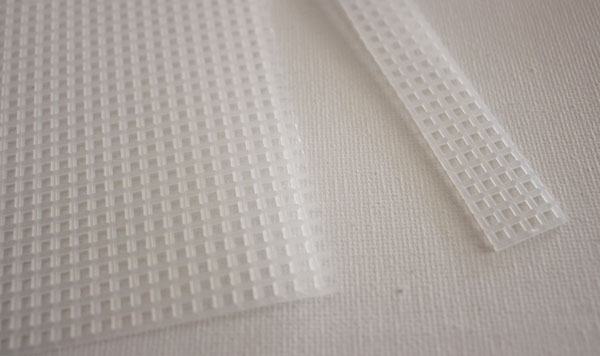
Cut this strip into sections to make squares 4×4. You need 12 of these total, 6 for each earring.
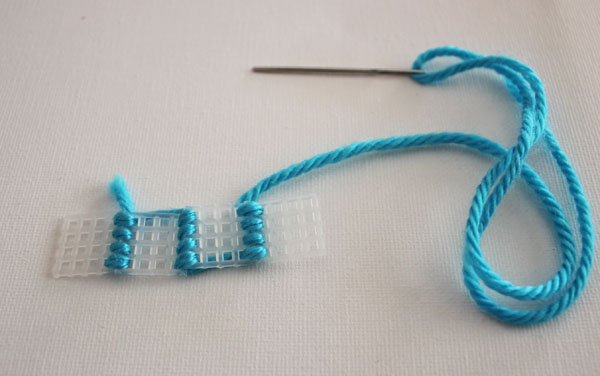
With the yarn in your tapestry needle, start by connecting two pieces by whipstitching along one edge. Continue until you have four pieces together. No need to cut the yarn between each set of whipstitches, these will get covered.
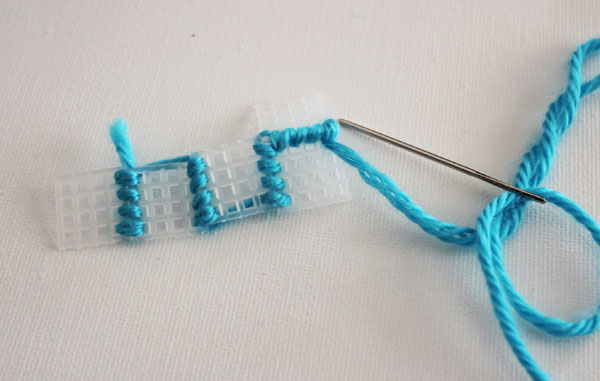
Once you have four in a row, add a fifth to the top of the last piece in the line.
Start folding up your box, whipstitching all the way around the fifth piece, and then up the side.
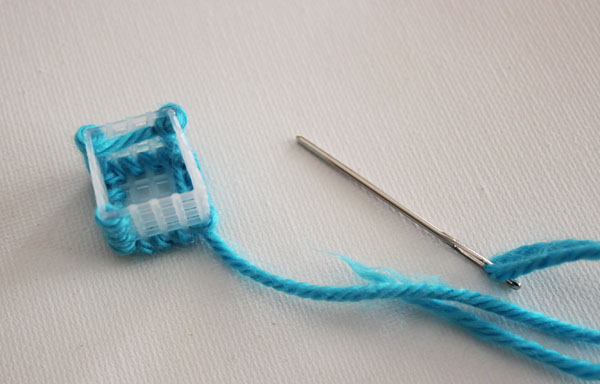
Attatch the sixth and final piece, whipstitching all the way around. Repeat this process for the second cube.
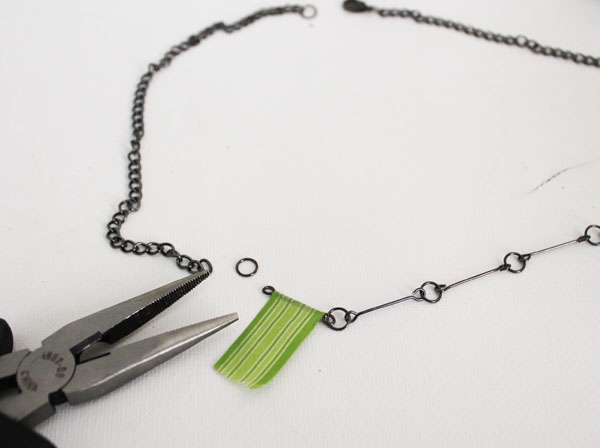
Open up a jump ring, Thread it through a corner of one of the cube, add on the earring wire, and then close the cube.
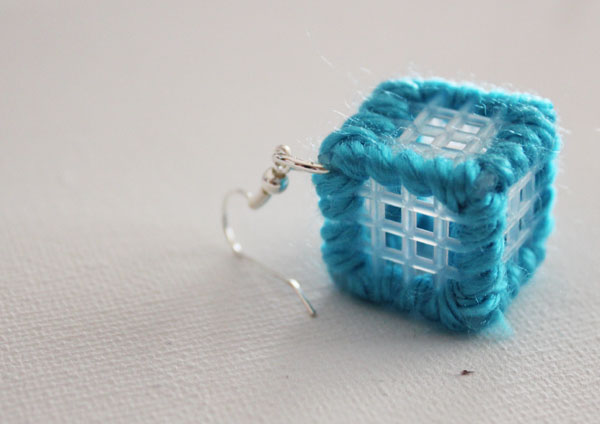
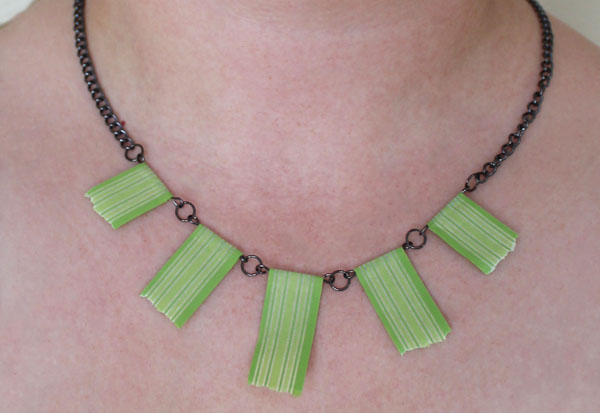
Repeat with the second earring, and they’re ready to wear!

 Make sure to check out all the other awesome plastic canvas projects… we’ll be adding to this linky next week as well, so be sure to visit again soon so you can catch the updates!
And thanks to all the wonderful bloggers in this blog hop. I’m seriously humbled to be in the company of so many amazing and awesome bloggers. Seriously, how lucky am I!?