Search Results for: svg

Squirt Gun Valentine – Free Printable Valentine

Squirt Gun Valentine Printable CutableThis may be the most inappropriate classroom valentine. So, it is probably best that your kiddo NOT bring this one to school. However, depending on what part of the country you live in or what you do for work, this might be a fun valentine to consider. Just use your best judgement!

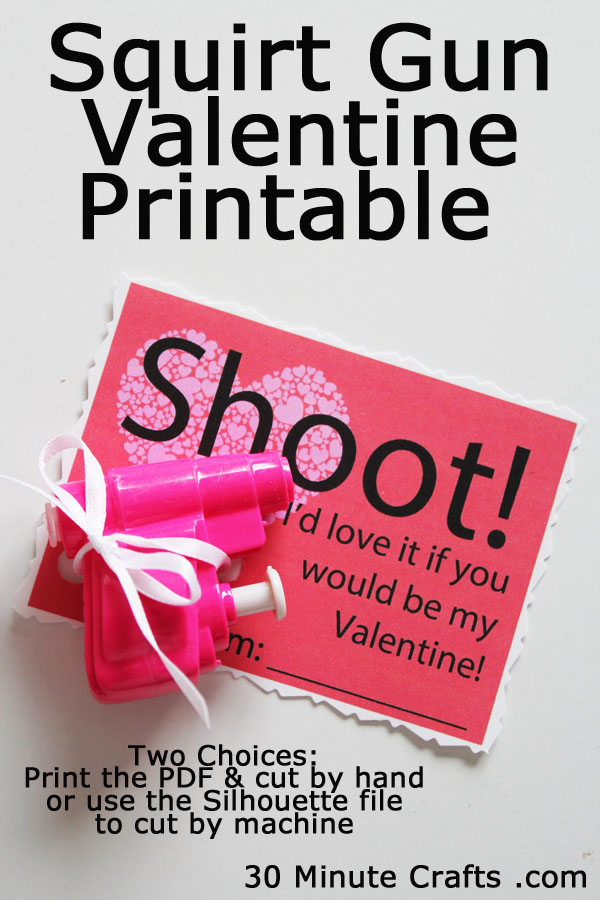
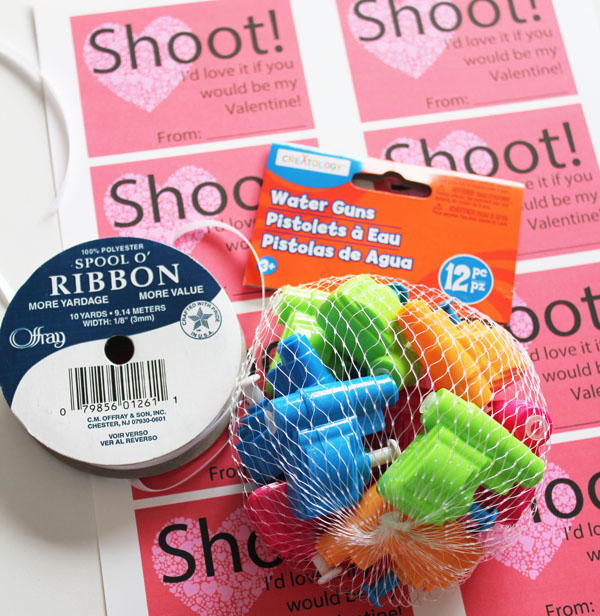
This “Shoot” Valentine is made with a small squirt gun tied to it. You can find different sized squirt guns, and you can fill them with water ahead of time … or an adult beverage of choice if you think that’s a better fit for your audience. Note that any adult beverages would make this a very inappropriate classroom valentine, so make sure that adult beverages are NOT being sent to school. Here’s how to make your inappropriate valentines:

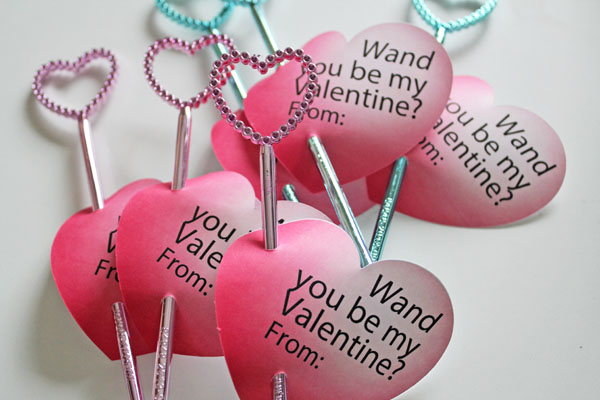
Print the Valentines onto cardstock, then tie your squirt guns in place with a little ribbon.

Shoot Printable Valentine supplies

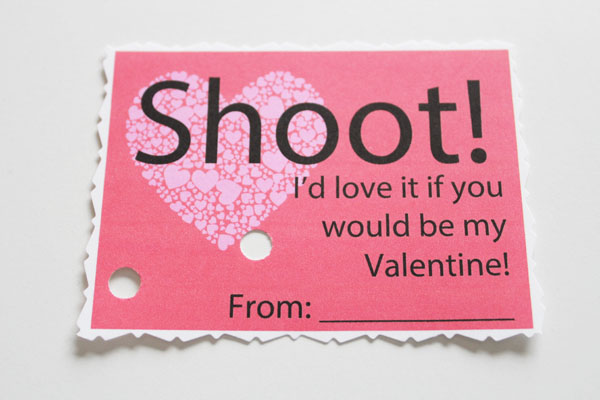
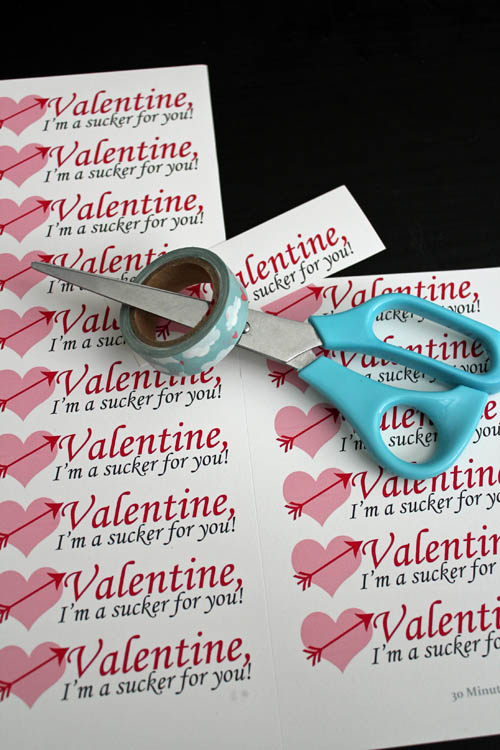
I made two different files. One is a PDF. Print it off, cut out the Valentines (I used decorative scissors, but you can use regular scissors or a paper cutter), and punch two holes for tying the squirt gun in place on the Valentine.

Cut with Decorative Scissors

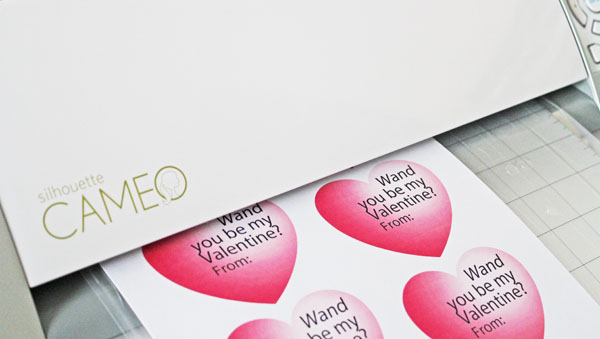
The second is a Silhouette file. If you have a Silhouette machine, print out the file and cut it with your Silhouette for super fast classroom valentines!

Shoot Valentine Cutable Printable

Sign up for our email list to get access to all our Valentine’s Day files:

 
FREE Valentine’s Printables
Sign up for our email list to get access to the free Valentine’s Printable files!
You’ve successfully signed up! Check your email for details.

Wand You be my Valentine – Free Printable Valentine

Printable Valentine - Print and cut the PDF or use the Silhouette file to cut faster

Valentine’s Day has long been one of my favorite holidays. Way back to grade school. I loved making and passing out Valentines, and I loved getting a big box filled with Valentines from my classmates. So many bad puns, corny jokes, and sweet treats – how can you go wrong?

This week I’ll be sharing a bunch of free printable Valentines. Print them off, add the name of the child giving the Valentine, cut them out, and attach the appropriate treat. Super simple, right?

If you have a Silhouette, I’ve made it even easier! For each of these Valentines, I’m giving two options – a PDF for readers who don’t have a Silhouette cutting machine, and a Silhouette file if you do have one. With the Silhouette file, you can print and cut out the Valentines super fast. It will even cut any holes!

Cut the hearts on the Silhouette

Today I’m sharing this simple heart valentine with a wand. Print out the Valentine, cut it out, add your child’s name, and punch two holes to insert the wand. I purchased the wands in the Valentine’s section of my local craft supply store, as well as cardstock to print the Valentines on.

Wand valentine printable

So easy to make enough Valentines for the whole class!

Wand you be my Valentine - Classroom Valentine Printable

Sign up for our email list to get access to all of our Valentine’s files:


FREE Valentine’s Printables
Sign up for our email list to get access to the free Valentine’s Printable files!
You’ve successfully signed up! Check your email for details.

Washcloth Hand Puppet

15 Minute Washcloth Hand Puppet

Make washing up more fun with this washcloth hand puppet! You can whip one up in under 15 minutes, and then customize it yourself, or let your kids dress up their own washcloth puppet!

I made this project as part of Craft Lightning Week. All week long my friend Angie from The Country Chic Cottage and I have been sharing craft tutorials that take 15 minutes or less. If you missed any of the fun, go back and check out day 1, day 2, day 3, and day 4. Tonight I’ll be back with a wrap-up from our blogging friends who created their own quick crafts as part of Craft Lightning week, so be sure to come back!

washcloths for puppets

To make your washcloth hand puppet you need:
Simple washcloth puppet template (fill out the form below to download)
2 washcloths (if you have 3 washcloths, you can make 2 puppets)
Optional: Fabric paint or other embellishments (I used Tulip paints)

Note: I used 1/4″ seams, but you can use larger seams if you like. If your seams are larger, it will make your finished puppet smaller. This puppet fits a woman or child’s hand – for large hands, adjust the templates so that they are wider.

To get the Washcloth Puppet Template, subscribe to our newsletter below:

Get the FREE Printable Template!
Sign up for our email list to get your free Printable Template download!
You’ve successfully signed up! Check your email for details.

Start by printing and cutting out the template. It is just two pieces. You need to cut two of the large piece and one oval for each puppet.

cut washcloth

Place the oval on top of one of the large pieces, matching the curves. Pin around the top half of the curve.

pin oval to layer

Fold the oval up so that it is folded in half. Place the second large piece on top, then pin the top layer of the oval to the top large piece.

pin together second layer

Take the puppet to your sewing machine, and stitch along each curve individually.

stitch around curve

Then fold the puppet so that the edges of the long pieces line up, and stitch along each long side.

stitch down the side

Turn the puppet right side out, and you have a puppet ready to embellish!

washcloth hand puppet stitched up


Blue puffy paint from Tulip works great for adding eyes. If you have black paint, you can also add eyelashes.

paint on eyes

Without waiting for the blue to dry, I carefully opened up the puppet, and added a red tongue with red puffy paint.

paint in tongue

Once the paint has dried, you’re ready to start splishing and splashing in the tub!

washcloth hand puppet in just 15 minutes

Come back tonight for more fun 15bminute Craft Lightning projects!

Make Washi Tape Flags

how to make washi tape flags

Make any food more special by putting a little washi tape flag in it! These washi tape flags are super easy to make, and you can whip up several in just a couple minutes. You can switch up your flags for different holidays or special occasions by using different washi tape… there are so many different colors and designs to choose from!

Supplies:
Washi Tape
Toothpicks
Scissors

make washi tape flags

Start by wrapping washi tape around one end of each toothpick. Make sure the sticky sides line up, and stick them together.

trim flags

Trim the end into a little “V” shape, and insert into the food of your choice… from breakfast to dessert, the possibilities are endless.

ps: this is a photo from my Valentine’s Breakfast

Valentine’s Day Suckers

Valentine, I'm a sucker for you

My son and I are working on Valentines for his preschool class. For Valentine’s Day I love both candy and corny sayings. And these Valentine’s Day Suckers are great for gifting around Valentine’s Day! This little “Valentine, I’m a sucker for you” printable has that covered. You can print and cut them and either punch a hole in one end to tie the label to the lollypop stick, or you can use washi tape like I did to stick it to the sucker.

cut printables and washi tape

You can get this Valentine’s Day Suckers printable tag … I have it all set up for you as a PDF if you’d like to download it and whip up your own Valentines! Just sign up for our email list, and we’ll send you a link to the file download:


FREE Valentine’s Printables
Sign up for our email list to get access to the free Valentine’s Printable files!
You’ve successfully signed up! Check your email for details.

Once you print out the tags – and this page has a lot of tags per sheet, so you’ll only need to print a page or two – you can cut them out with scissors or a paper cutter. Then attach them to the sucker. I used cute Valentine themed washi tape for these, but you can use a dab of hot glue to attach the tag to your sucker, or you can punch a hole in the tag to put the sucker stick through. You could also tie them in place with a cute ribbon. If these will be transported to school by your child, pick the most sturdy option!

Have a fabulous Valentine’s day – enjoy these days of making Classroom valentines for your kiddos – the days are long, but the years are short! Before too long, you won’t have an excuse to whip up cute valentines for Valentine’s Day!

Check out all these other fabulous printable valentines:

Slime Printable Valentines
Marvel Avengers Valentines
Valentine’s Heart Bookmark

Summer Pinwheels!

Yes, Summer is almost over… but I can’t think of a better way to extend these last days than to make pinwheels using this awesome tutorial from Create Studio! Simple to make, put them in a place you’ll see them this fall to remind you of picnics, freshly mowed grass, and swinging in the hammock under a starry sky. And if you haven’t had a chance to do any of those things yet this summer, there’s still time!

Until Next Time…


Magnet Quilt Squares

I’ve been teaching a kid’s quilt camp all week, and today the girls (and THREE boys!) will be finishing up their lap quilts. Yay!!

I love inspiring kids to get creative – especially behind their sewing machines. Sewing can be so fun and rewarding – and not at all scary!

Here is a quick project that can help inspire someone in your life to sew… maybe even you!

Until next time!

Quick and Easy Baby Bib

30 Minute Baby Bib

Bibs are an all-time handy must-have for every baby. And handmade bibs are a perfect baby shower gift. This is an easy baby bib that is simple to make, with no fancy applique or stitching. But it is still cute because of the printed fabric! And, they are  reversible with the chenille side being extra-absorbent! If you want, you can use terrycloth instead of chenille for the backside of your easy baby bib. Your local fabric shop should have terrycloth you can use… but if they don’t, you can buy a towel. You’ll get several easy baby bibs out of a single towel.

Supplies for 30 Minute Easy Baby Bib:

2 fabrics (I used a cotton print and a chenille)
freezer paper
marker or pen
a couple pins
your iron and sewing machine
Snaps and snap tool (if you want to use velcro, check out the 30 Minute velcro bib)

To download the bib template, sign up for our free newsletter here:

Get the FREE Printable Template!
Sign up for our email list to get your free Printable Template download!
You’ve successfully signed up! Check your email for details.
Print out the bib template, and trace it on freezer paper. Cut out on the traced line and iron the template onto the wrong side (back) of the cotton fabric. The paper side of the freezer paper is easy to write or draw on, and the plastic side irons easily onto the fabric (and removes easily later).
 
Next, put the cotton fabric onto the chenille, with the right sides together (the print side and the fuzzy side towards the middle). Pin the bib template in place through both layers of fabric. Stitch around, right next to the line. If you are careful and stay right next to the line, you can re-use the stencil on another bib. Don’t stitch along the side between the two little marks so that you have a hole for turning.
 
 
Pull off the freezer paper, and cut around the bib with pinking shears (that’s the “official name” for the sewing scissors that cut a zig-zag). Cut close to the stitching, but not so close that you risk cutting the stitches you just made. Also, cut carefully in the gap between the bib and the strap, and cut some extra “room” next to the turning hole to make it easier to tuck it in when stitching it closed.
Using pinking shears instead of regular scissors means that you don’t have to clip the corners before turning it. Yay for time-saving steps!
 
 
The next step is to turn the bib right side out through the hole you left for this purpose. If you have a turning tool or some long pointy object (but not too pointy!), use it to help poke out the curves and corners, and to turn the strap.
 
 
Once you have the whole bib turned right-side out, tuck in the fabric at the turning hole, and press everything down with an iron.
 
Once pressed, bring it back to the sewing machine and top-stitch close to the edge. This gives the bib a nice finished look, and closes the turning hole at the same time.
 
All stitched together, the bib looks like this:
 
The last step is to add a fastener for the bib strap. I love this little tool to attach snaps. I know a lot of bibs nowadays use velcro, but with a double-sided bib, I didn’t want the scratchy side of the velcro face the baby’s skin. Also, velcro can get stuck on other things in the washing machine. Plus, these snaps are super-easy to put in. Just have a hammer handy, and follow the directions on the package. However, if you really want to know how to make the bib with velcro, you’ll want to check out How to make a velcro 30-minute bib.
 
EDITED TO ADD: I’ve had lots of people e-mail me to ask about the snap setting tool. I love this tool, and actually own two (I misplaced the first one, and ended up buying a second one when I was whipping up some bibs and couldn’t find the tool). Here is an Amazon affiliate link that you can use to buy it, or just get more details: Dritz Snap Fastener Attacher Kit – “Easy Attacher”

Who knew that making a bib could be this easy? You can whip up an easy baby bib or two on the morning of a baby shower, and still have time to do hair and makeup before you go!


Pin It

Save

Save