Pumpkin Candle Mat

Halloween, Pumpkins, and candles just go together perfectly… don’t you think? I think so! That’s why I whipped up this Pumpkin Candle mat that is super easy to make. Just a few quick cuts in felt, and you’ve got a candle mat that you can customize in your favorite fall or Halloween colors!

This project is part of Craft Lighting week. All week long my friends Angie from The Country Chic Cottage and Jen from 100 Directions and I are sharing fast and easy Halloween projects that can be made using the Cricut Machine. And we’ve invited a bunch of our friends to join in! Be sure to scroll all the way down to check out all their crafty ideas! And make sure you catch my Cricut Antenna, Halloween Treat Bag Tags, and Halloween Wooden Blocks.

Don’t have a Cricut machine? Scroll to the very bottom! We’re giving one lucky reader a brand new Cricut Maker!
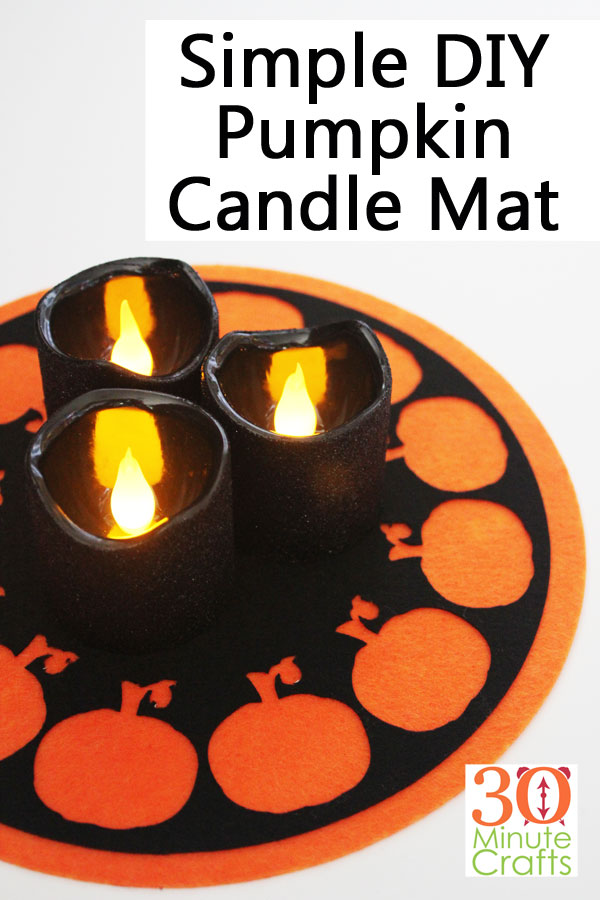
Simple DIY Pumpkin Candle Mat

This post contains affiliate links which help support this site at no extra cost to you.

To make this Pumpkin Candle Mat, you’ll need:

Felt (I used the Cricut Felt Carousel Sampler)
Cricut Maker Machine
Fabric Glue
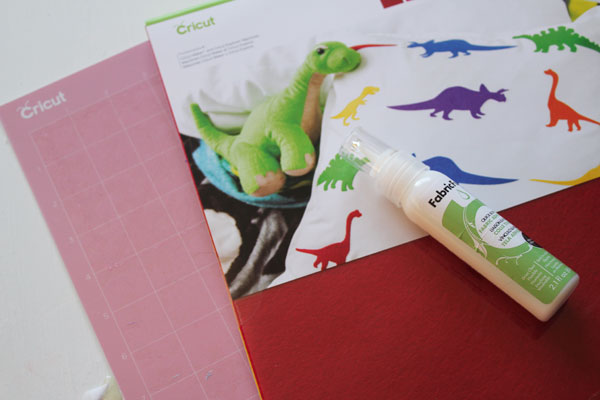
supplies for candle mat

Open up the Pumpkin Candle Mat file I designed for you in Cricut Design Space.

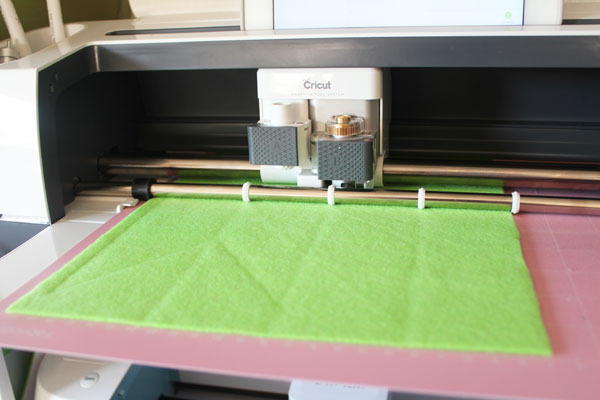
Cut out the black and orange felt. Carefully peel them off the mat.
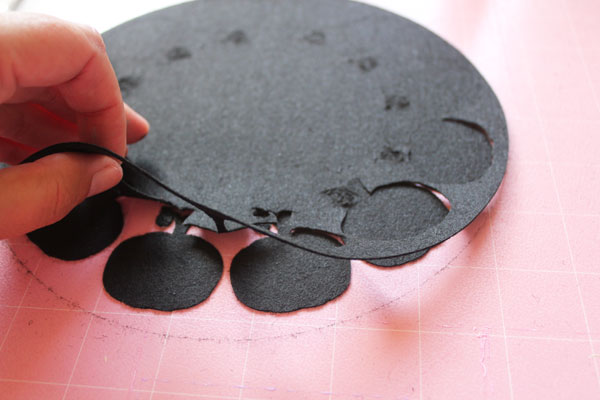
peel off mat

Whew! The machine did all that beautiful cutting! Yay!
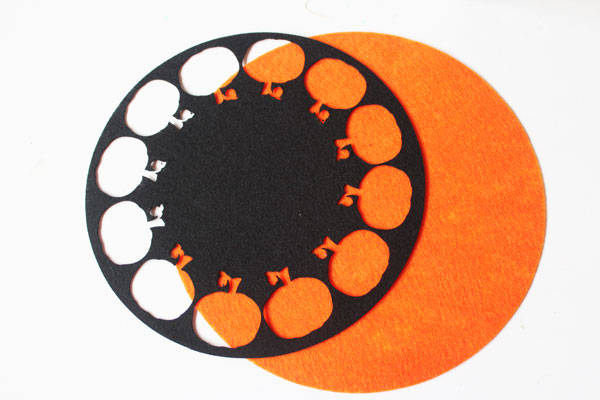
cut pieces

Brush the fabric glue onto the back of the top piece.
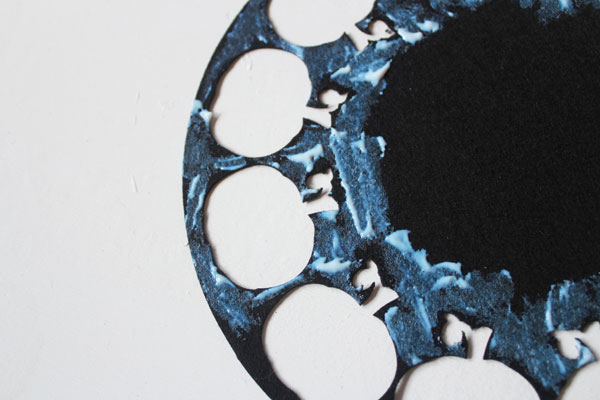
brush on glue

Center, and place the black on top of the orange.
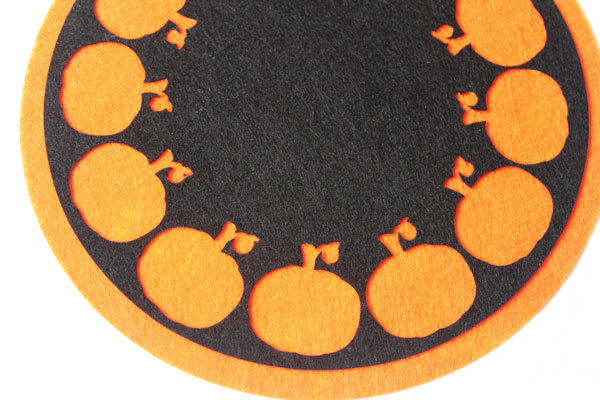
finished candle mat

Allow glue to dry. You’re done! Find some cute candles (like these flameless ones) and add this cute candle mat to a side table or coffee table!

Want some more fast and fun Halloween ideas? Check these out:

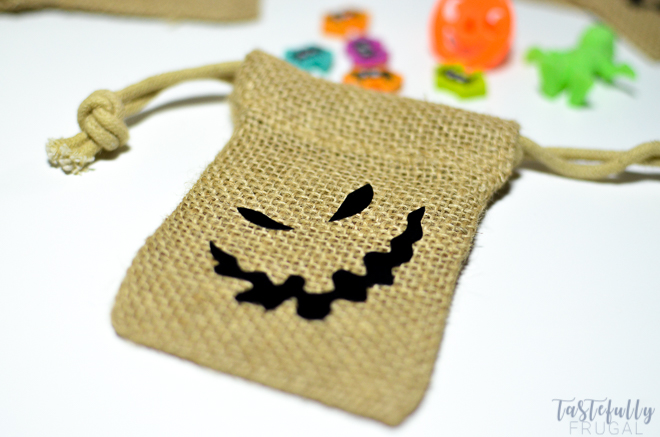
I love these Nightmare Before Christmas, Oogie Boogie treat bags from Tastefully Frugal.
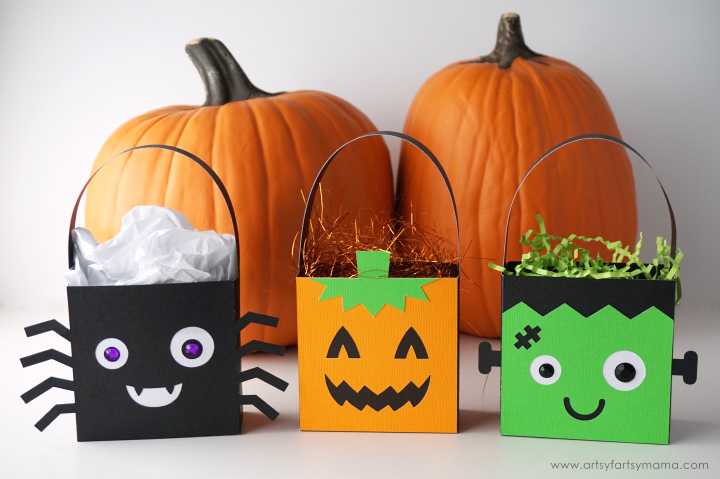
Artsy Fartsy Mama whipped up some of the most adorable little Halloween favor bags!
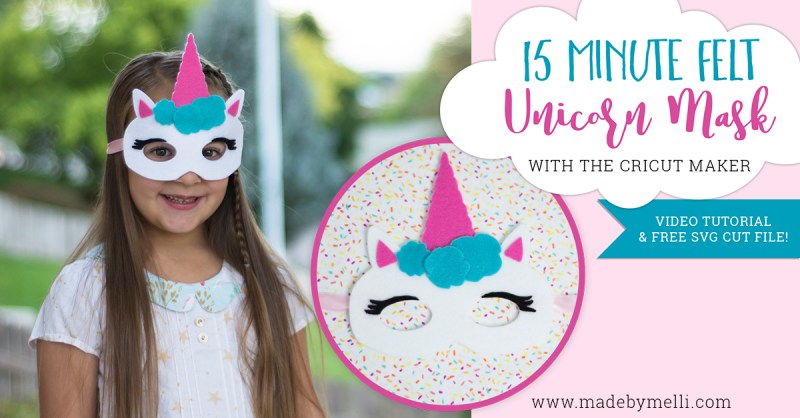
Made by Melli has your costume basics covered with the cutest felt Unicorn mask, and a step-by-step video to help you make it.
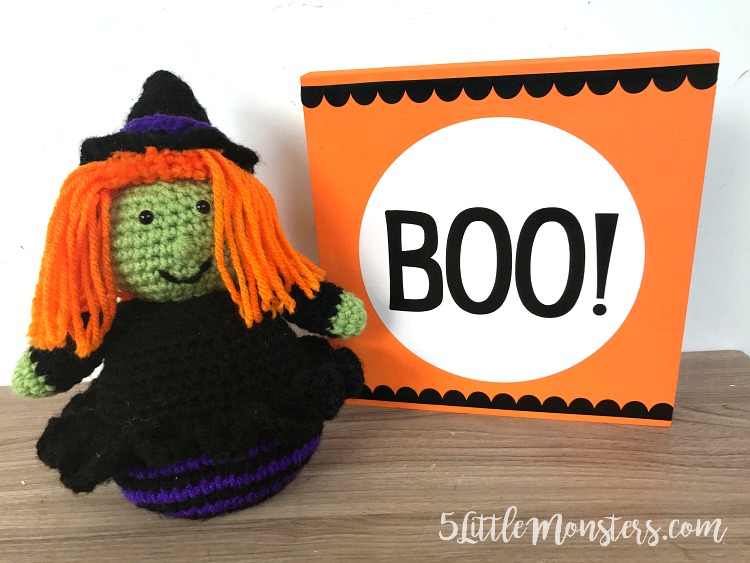
I’m loving the scalloped edges on this little Halloween sign from 5 Little Monsters.
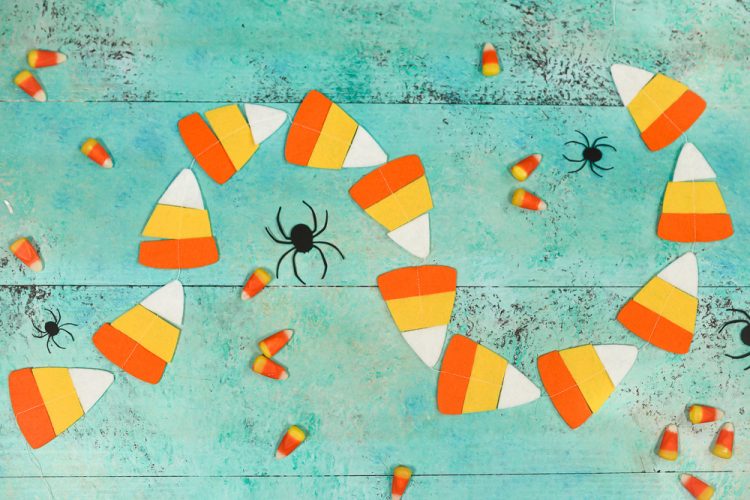
This Candy Corn Garland has my heart! You’ll find the instructions over on Hey Let’s Make Stuff.
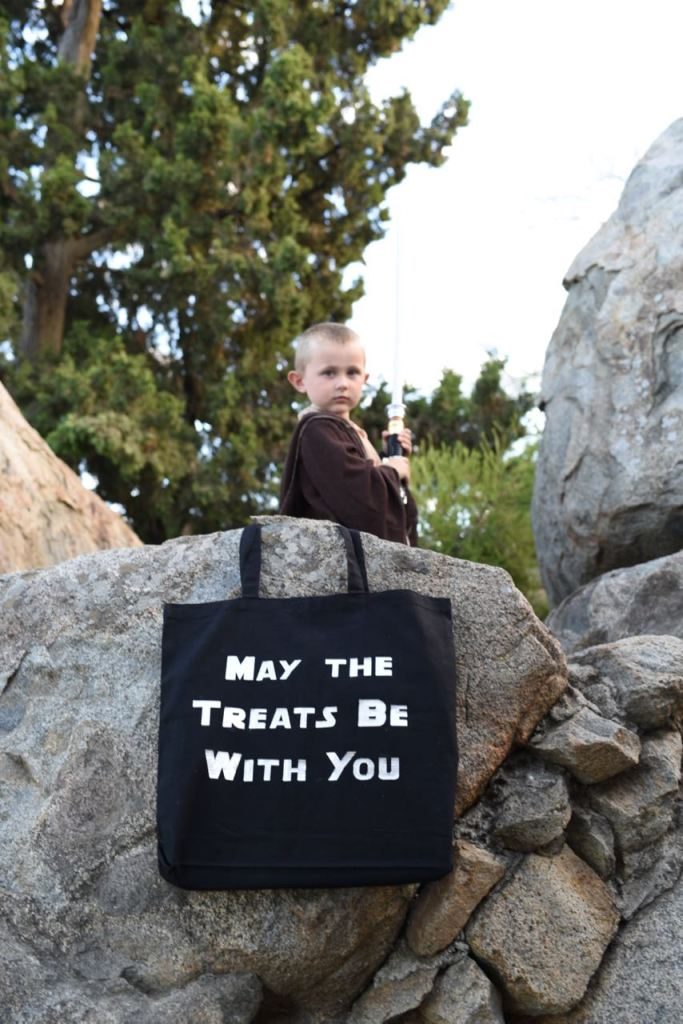
If you’re planning a Star Wars costume for Halloween (or even if you aren’t), check out this punny Star Wars treat bag from Make Life Lovely.
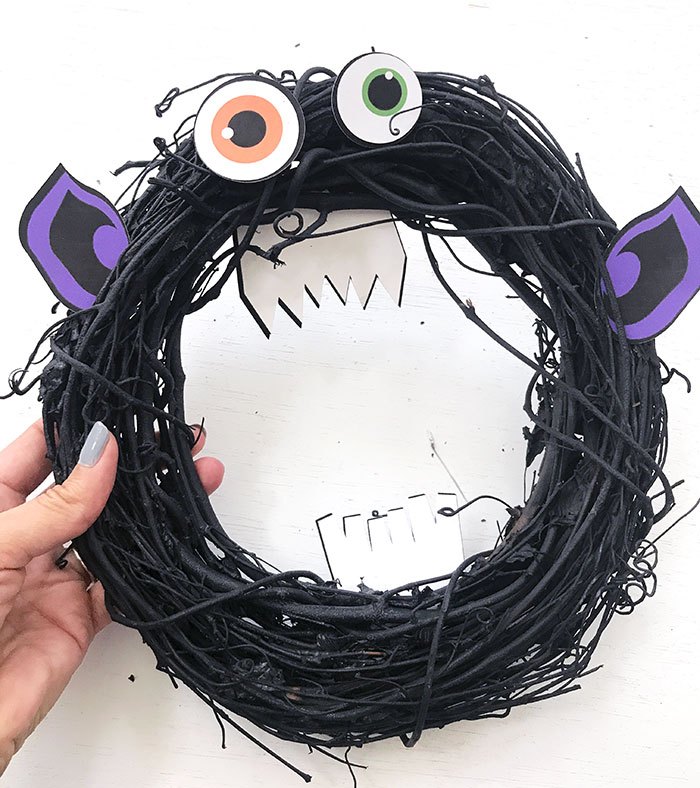
Jen from 100 Directions is one of my co-hosts this week, and she created the most adorable Monster Wreath!
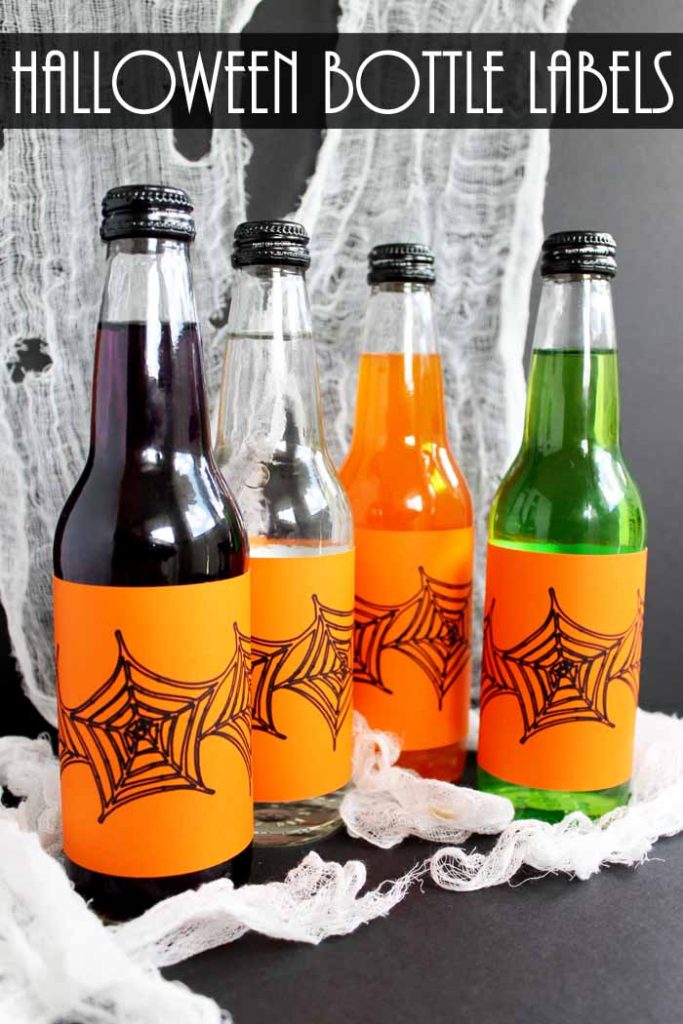
My long-time co-host for this series, Angie from The Country Chic Cottage, made these cute Halloween bottle wraps that are perfect for a party, or packing in a lunch box!
And make sure you’ve entered the giveaway… you might be the lucky winner of a NEW Cricut Maker!
 

Cricut Maker Giveaway

a Rafflecopter giveaway

Save

Save

Halloween Treat Bag Tags- And How Does the Cricut Machine Work?

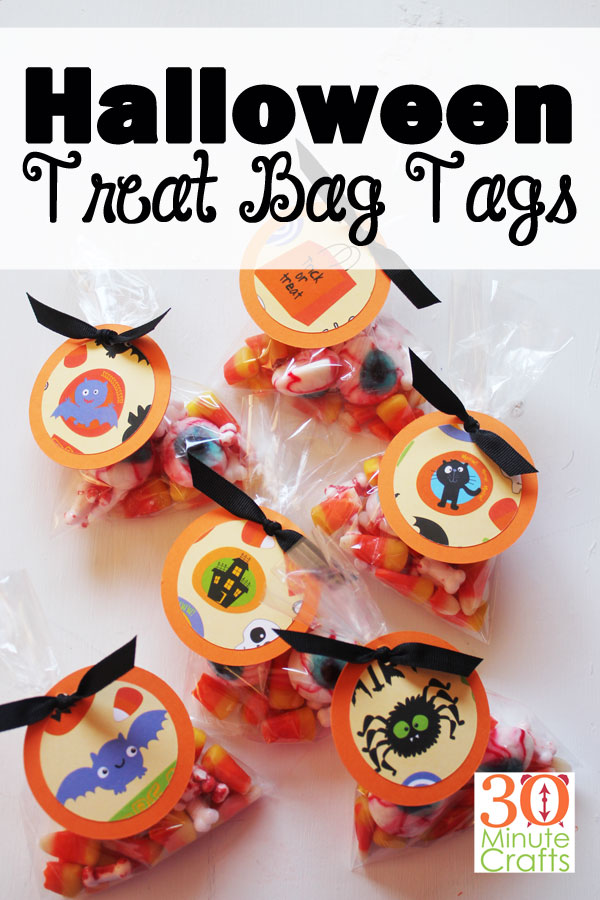
Vying to be the coolest house on the block by giving away awesome treat bags? In charge of snacks for your child’s class at school? Putting on an epic Halloween party? Or just want to put a surprise in your kiddo’s lunchbox? Whip up these cute Halloween Treat Bag Tags to dress up your treats this Halloween! And while we make them, I’m going to teach you a little about how the Cricut Machine works. And, if you scroll all the way down to the bottom of the page, you can enter for a chance to win the newest Cricut machine – the Cricut Maker.

This project is part of Craft Lightning Week. All week long my friends and I are sharing 15-minute or less crafts. Did you see my fun Cricut Antenna yesterday? Because this week, all the crafts are Halloween projects made using the Cricut! My co-hosts Angie from The Country Chic Cottage and Jen from 100 Directions are sharing projects every day this week, and we’ve invited friends from across the internet to join in. Check out their ideas at the bottom of this page.

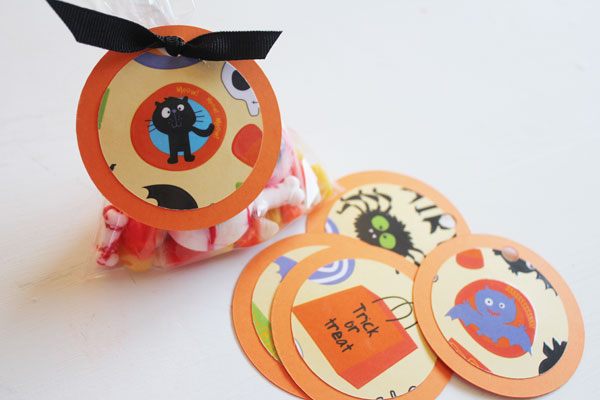
Halloween Treat Bag Tags

This post contains affiliate links. Making purchases through these links provides me a small commission at no cost to you.

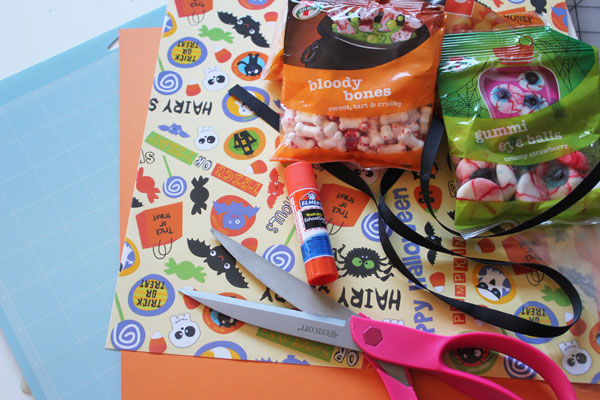
To make these Halloween Treat Bag Tags, you’ll need:

A Cricut Machine (I used the Cricut Maker, but the Cricut Explore series of machines works great for cutting paper as well)
Halloween Scrapbook paper
Coordinating solid color paper
Glue stick
Ribbon
Scissors
Cellophane bags
Halloween treats

supplies for tags

If you want to fussy-cut (cut a specific part) of the patterned Halloween paper, you will need an iOS device (an iPhone, iPad, etc). I’ll show you how to do this with SnapMat. If you don’t have an iOS device, you can still make these tags, but you won’t be able to center the designs.

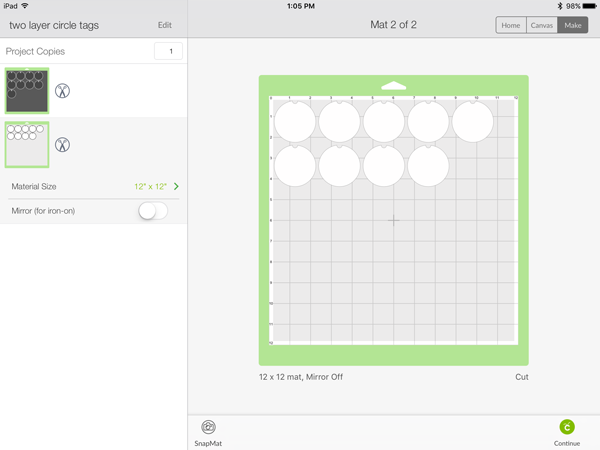
Start by opening the Two Layer Circle Tags File I created in Cricut Design Space. Everything is all set up, so press the “Make” button in the top right hand corner. This will take you to the mat view. Tap on the second mat to bring up the inner circle of the tags.

Secure the patterned paper to the mat by pressing it in place.

mats for tag projectDown in the bottom left corner you’ll see the image of a camera, and the words “Snap Mat”. Tap there. This will activate the camera. Hold the device level with your page, and line up the edge of the mat in the square. I had trouble on the white background, so I ended up moving the mat to the floor so that the dark carpet would provide better contrast.
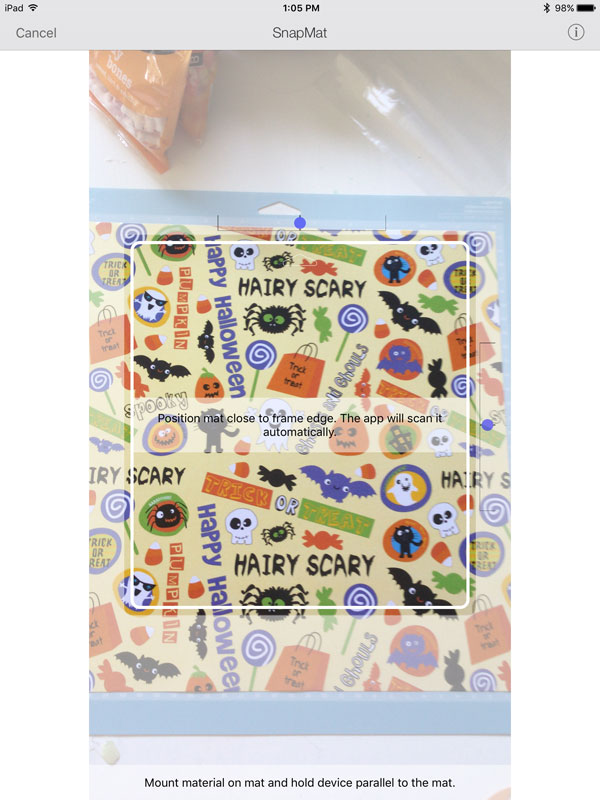
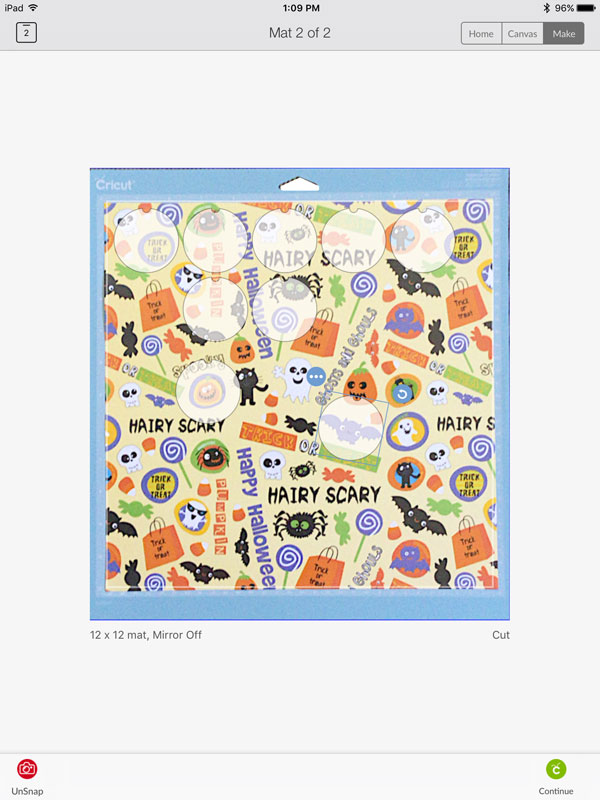
snapmat on Cricut

Now you can tap on the circles, and move them into place to cut out a specific design on from the paper.

move circles

Repeat with all the circles, and then you can press the green circle in the bottom right corner to continue. Follow the prompts to select the correct material (cardstock), load the mat, and start the machine.

So how does the machine work, exactly?

When I describe a digital cutting machine, like the Cricut, to people who have never seen one, I describe it as a printer. But instead of using ink cartridges, it uses a knife to cut the paper into shapes. With a printer you can print images other people have created, or you can use software to design your own images, and then you send them to the printer to print. That is exactly what the Cricut does – but with cutting.

You can use pre-made files, like the one I created for these Halloween tags, or you can design your own files. And then you send them to the Cricut machine to cut them out. It actually does more than cut – you can put pens in the machine and have it draw for you, or use a scoring tool to have it score lines, or print a design and have the machine cut around it perfectly. But, for the basics, it is a printer that cuts instead of printing.

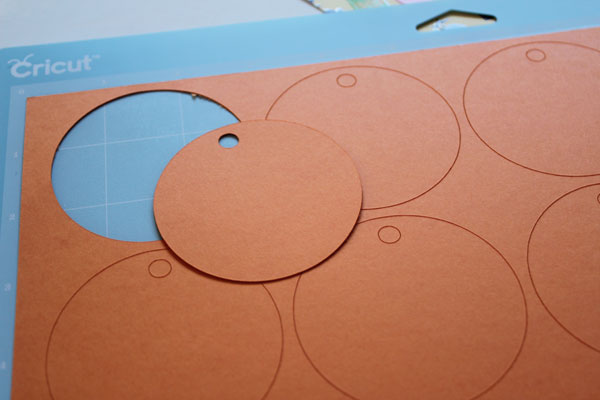
Once the machine has worked it’s magic, peel off the excess paper, and the cut circles. Then put the background paper on the mat, and follow the prompts to load and cut this paper.

tag cut out

Remove the paper, and you’re ready to assemble your Halloween Treat Bag Tags!

To assemble your Halloween Treat Bag tags:

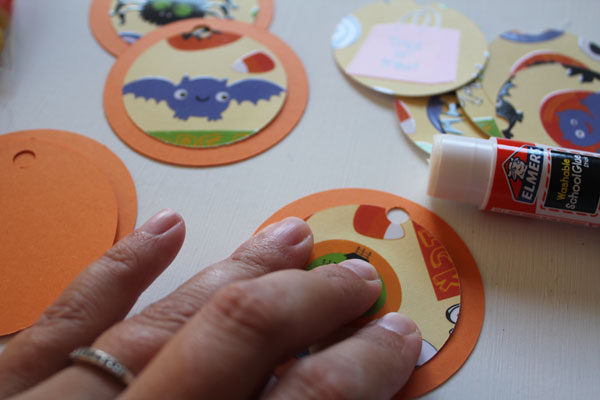
Just glue a patterned circle onto the colored circle. Line up the hole with the notch for the hole to help you center the design.

glue on

Allow to dry. Then fill your bags with treats, and tie the tags in place. When making a lot of bags, I don’t worry about fancy bows on my ribbons. I tie a clean double-knot, and then cut the ends at an angle. Looks nice without the work of getting a bow to look nice.

Tie on tag

Make all your bags, and you’re ready for Halloween!

finished treat bags

If you want to be even MORE ready for Halloween, check out these fast and fun Halloween projects!

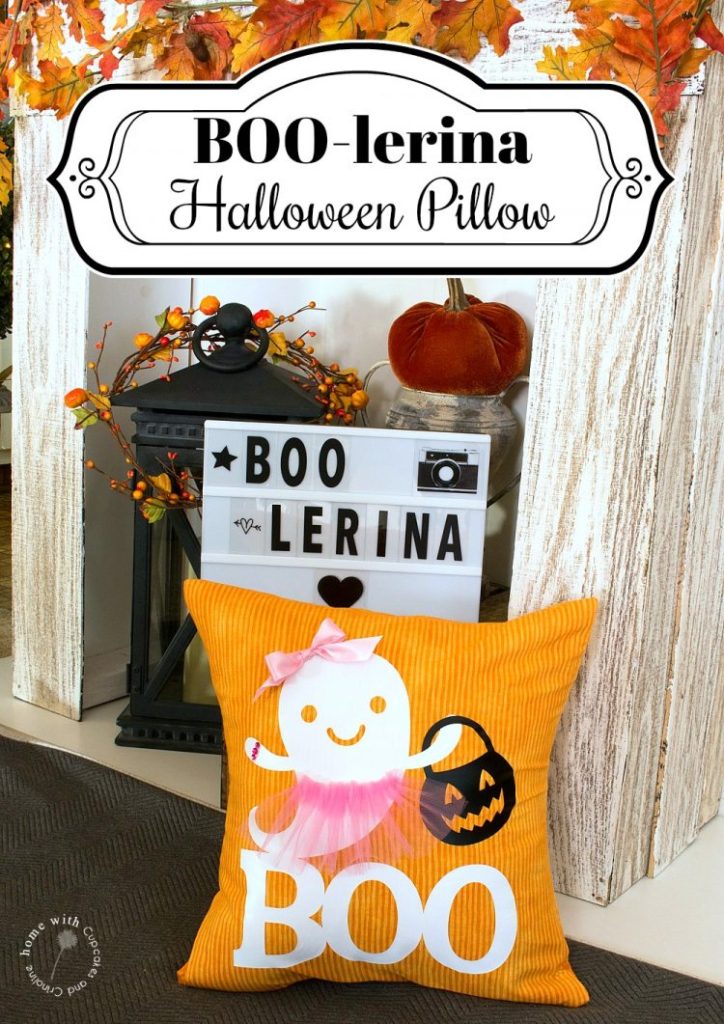
Beth at Cupcakes and Crinoline made this cute Halloween Pillow.

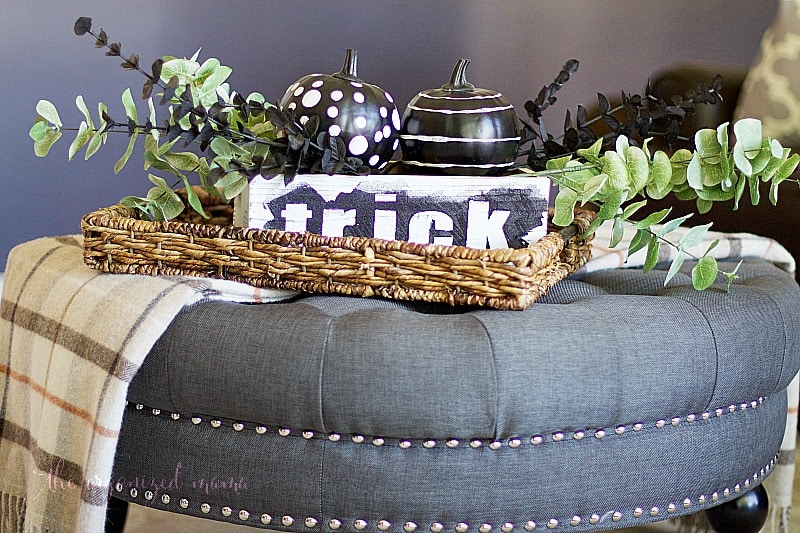
Jessica over at The Organized Mama made this cute Farmhouse Flower Box.

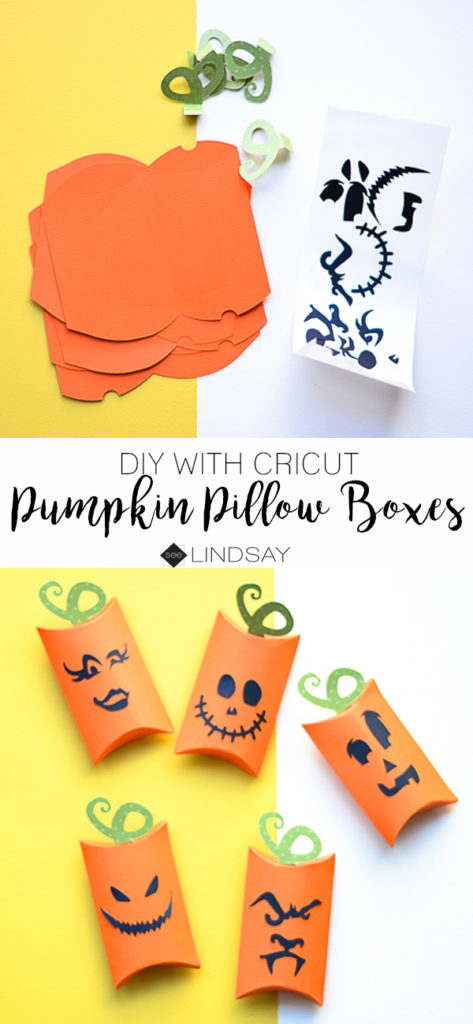
You’ll learn how to make these cut Pumpkin Pillow boxes over at See Lindsay.

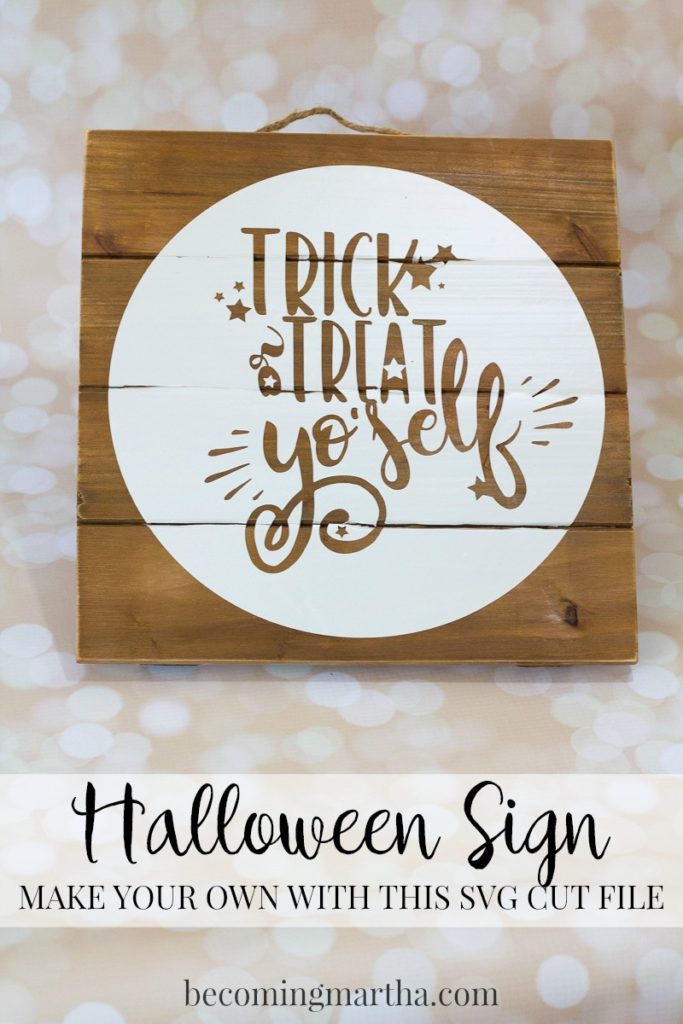
Over at Becoming Martha, Sarah has a super cute Halloween sign.

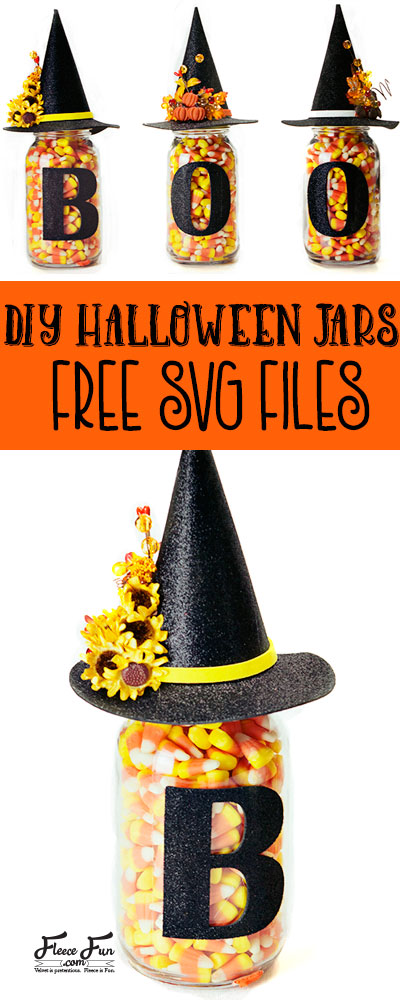
Angel at Fleece Fun made these cute Boo Jars.

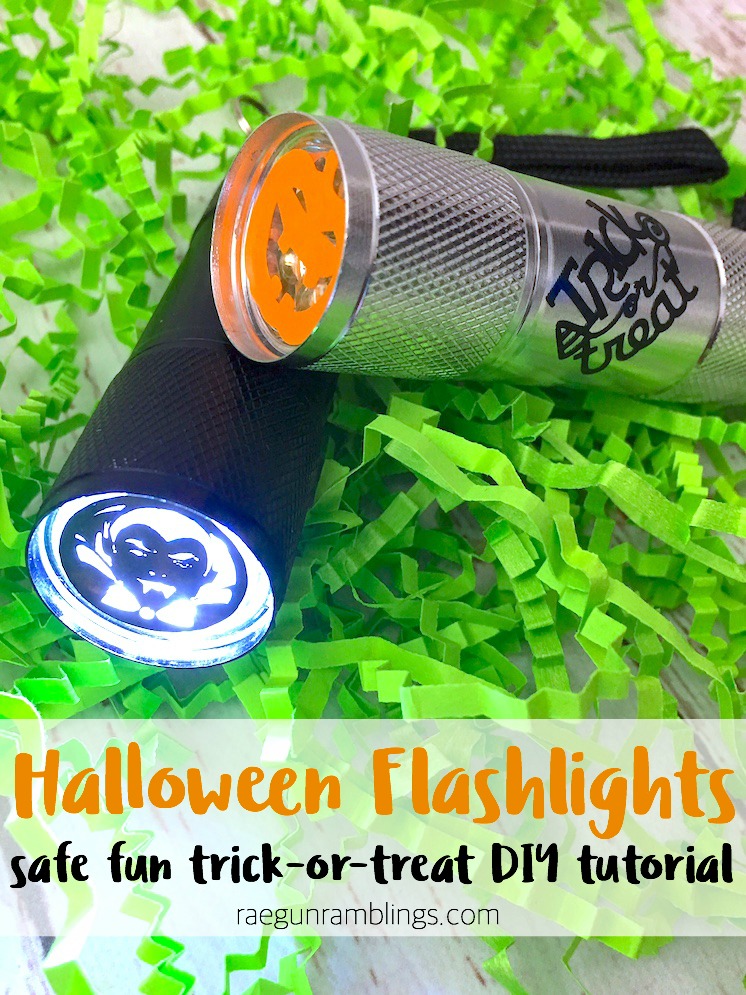
My kids are going to insist I make cute Halloween flashlights for them like this one Marissa at Rae Gun Ramblings created.

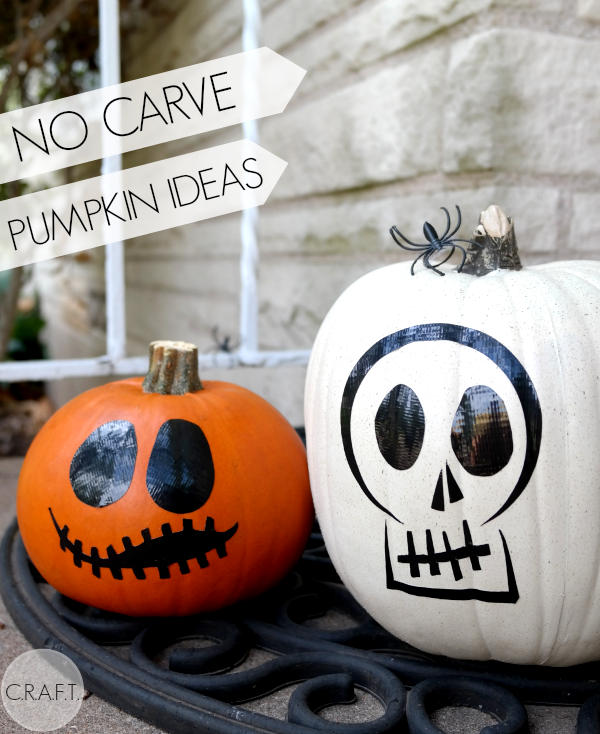
At Creating Really Awesome Free Things, Jamie is showing you some fun No-Carve Pumpkin ideas.

My crafty co-host Jen made these awesome Jack-o-lantern stickers.

Angie, my other crafty co-host whipped up this Pumpkin pillow.

Save

Cricut Maker Giveaway

a Rafflecopter giveaway

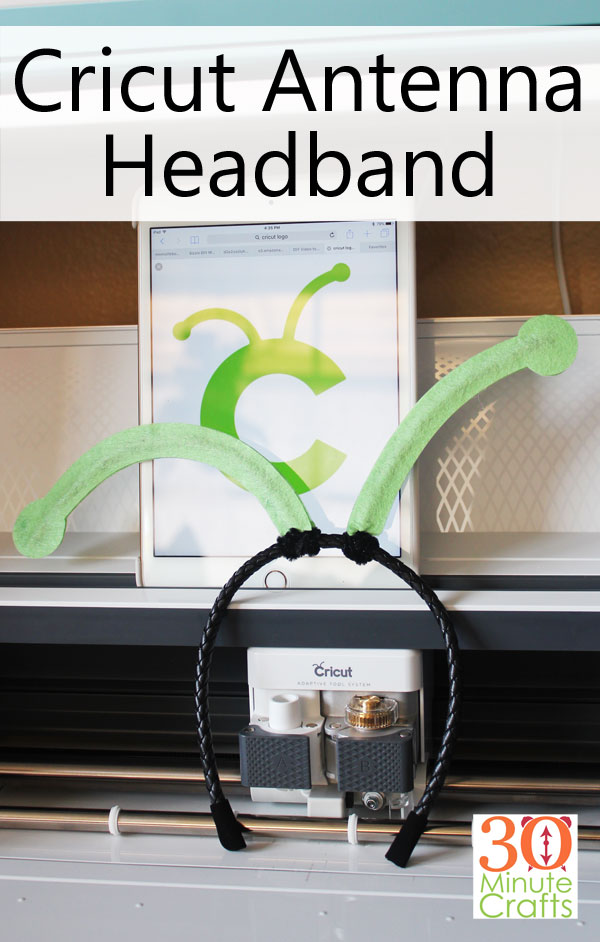
Cricut Antenna DIY

Are you a Cricut fan? A die-hard, cut all the things, Cricut fan? If so, you need these Cricut Antenna. And luckily for you, you can cut them out on your Cricut Maker! If you don’t yet have a Cricut Maker, scroll down to the bottom of this page for a giveaway where you can win your own Maker!

This project is part of Craft Lightning week. Since Halloween is coming up, I’ve partnered with my friends Angie from The Country Chic Cottage and Jen from 100 Directions to share fast and fun 15-minute-or-less Halloween crafts made with the Cricut machine all week long! And we’ve invited nearly 40 of our favorite crafty friends from across the internet to join in. Make sure you scroll down to see what creative Halloween projects they’ve whipped up on their Cricut machines!

Cricut Maker Antenna Headband

This post contains affiliate links. These links provide a commission back go me at no additional cost to you.

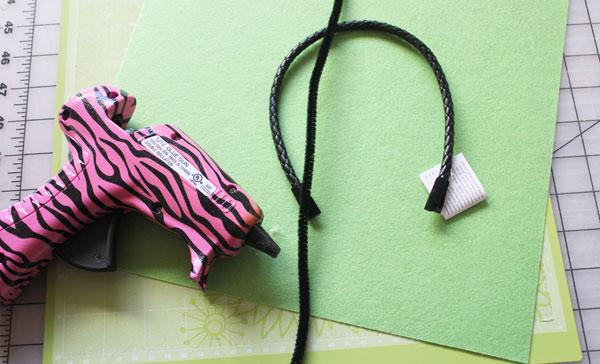
To make this Cricut Antenna Headband, you’ll need:

Cricut Maker Machine
Green Felt (I used a sheet from the Cricut Felt Sky Sampler)
Headband
2 pipe cleaners the same color as your headband
Hot Glue
Scissors (optional)

supplies for Cricut Antenna Headband

Start by opening the Cricut Antenna Headband cut file in Design Space. I have it all made for you!

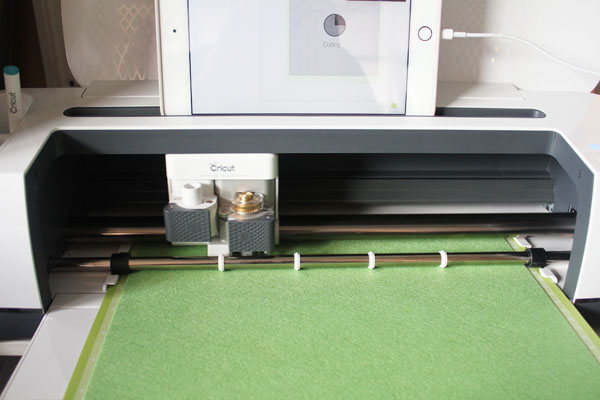
Place the felt on the mat. If you have the Maker, you probably have the pink mat it came with. I’m using the green mat here, either will work fine. Follow the prompts in Design Space to cut the shape.

cut cricut antenna from felt

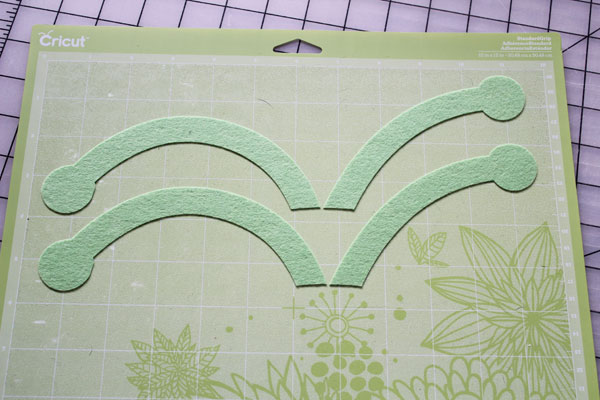
Remove the excess felt from the mat. Set it aside so you can save it for another project.

peel off mat

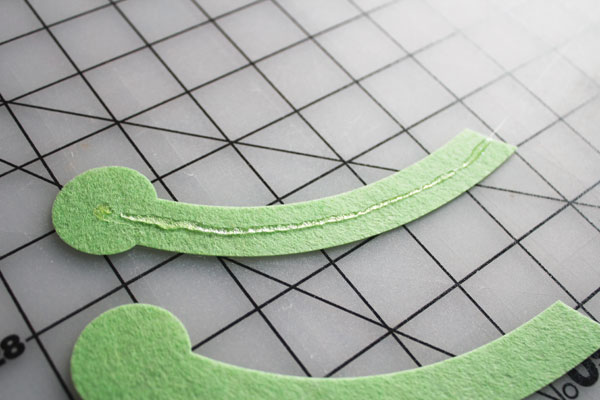
Put a line of hot glue down the center of one of the antenna pieces.

glue for pipe cleaner

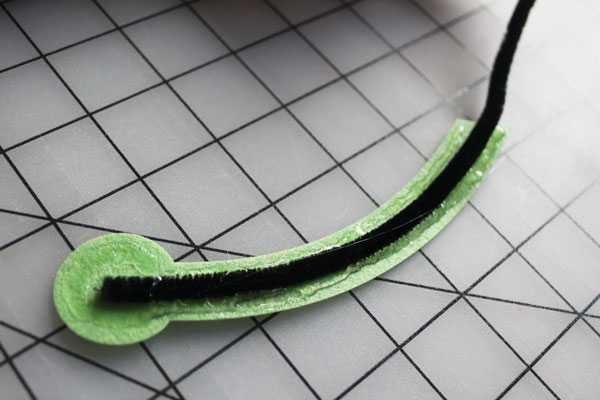
Being careful not to burn your fingers, put a pipe cleaner in place over the glue. Then add more glue around the pipe cleaner.

glue around

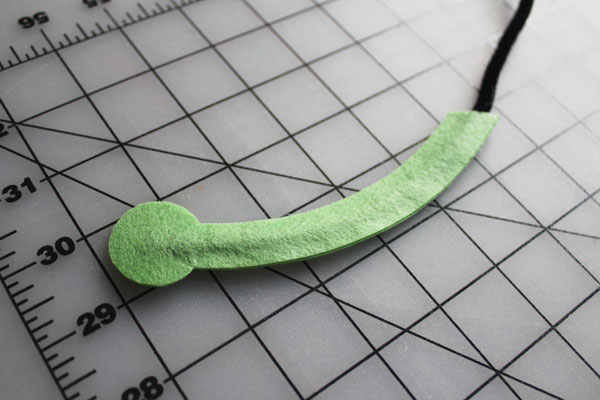
Carefully place the second piece on top. Try to line up the edges.

put on top.

If your edges aren’t perfect, or hot glue leaks out the sides, don’t worry. Use your scissors to trim away any stray glue, and any edges that don’t line up.

Repeat for the second antenna. Grab your headband, and line up your antenna. My instinct was to put them far apart, but in the Cricut logo they are fairly close together – so I think closer looks better. You can make yours however you like.

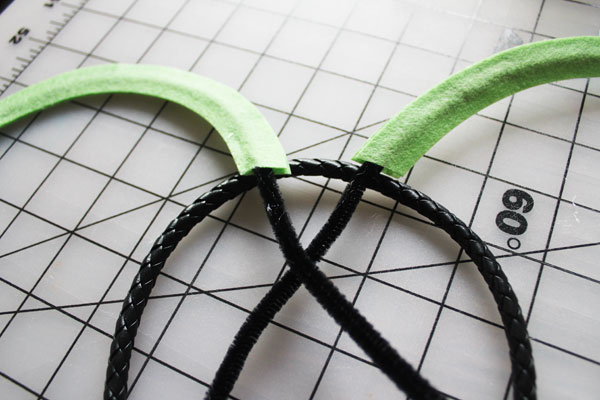
place antenna

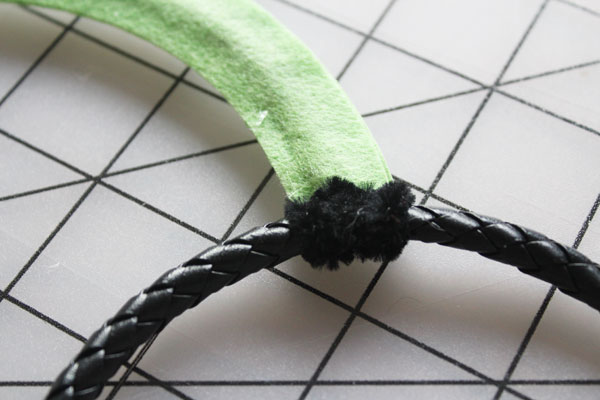
Wrap the pipe cleaner tightly around the headband to secure the antenna in place.

twist in place

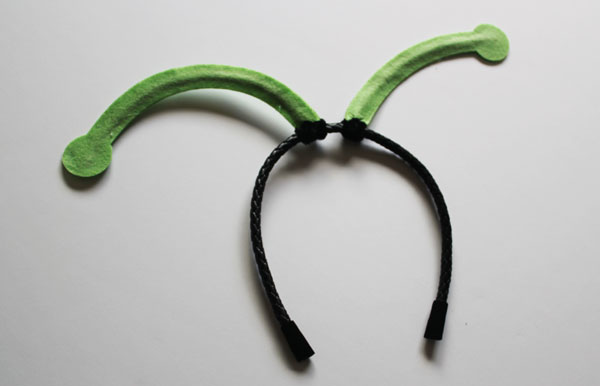
Repeat for the other side, and your Cricut Antenna Headband is complete!

finished Cricut Headband

Wear yours to a crop, to a fun craft night with your friends, or just to amuse yourself while crafting! Though these Cricut Antenna make a fun costume, you can wear them year-round, not just on Halloween! You can make extra pairs for friends to wear. While I whipped mine up in the more traditional green color – you can make yours any color you like!


Want some more fast and fun Halloween crafting ideas made on the Cricut? Check out all these great projects!

How cute are these Personalized Halloween Treat Bags made by Katie at Sew Woodsy?

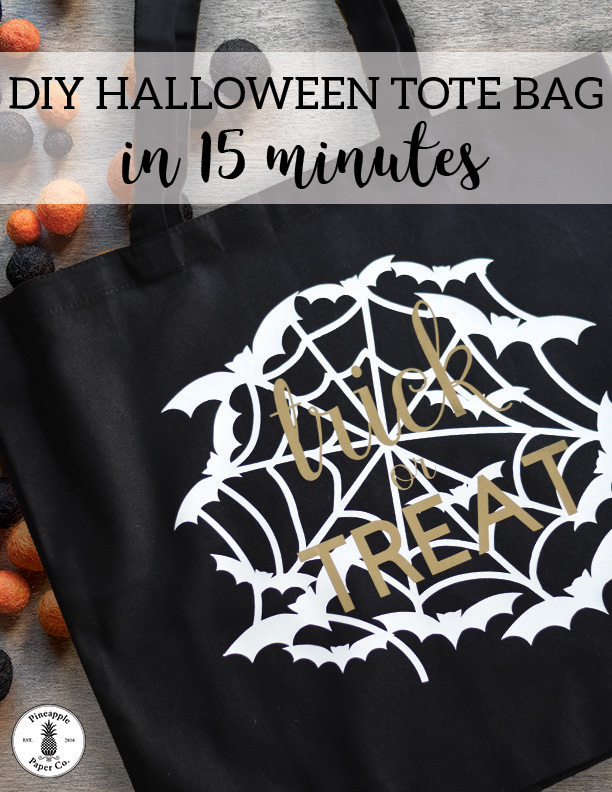
Love totes? You’re going to squeal when you see this! Charynn at Pineapple Paper Co made this cute Halloween Tote.

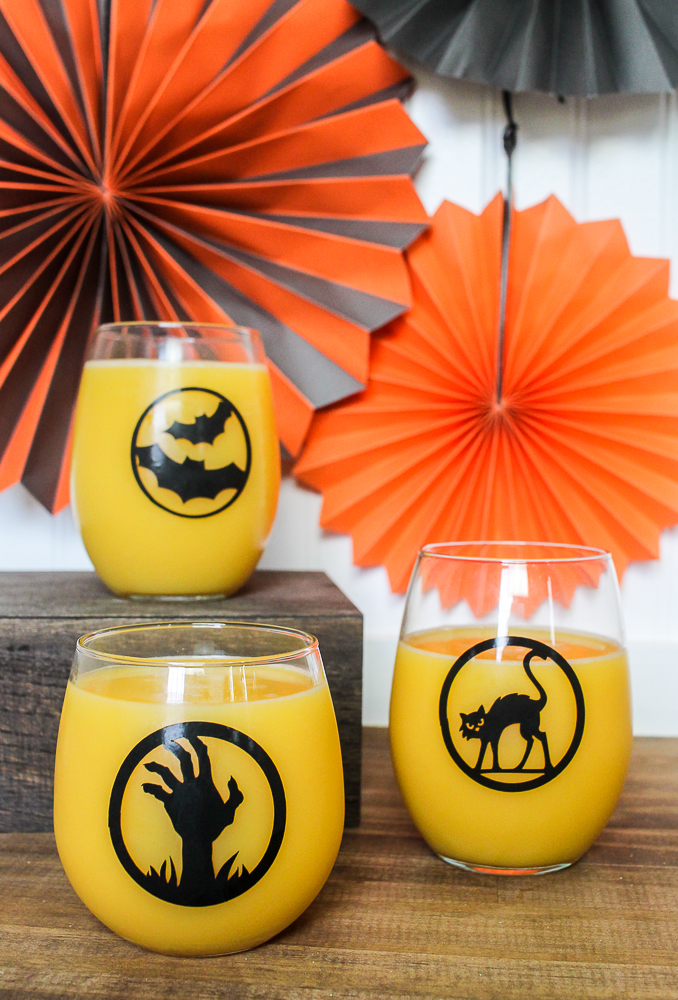
Hosting a Halloween get together? Customize your everyday glassware with some cute Halloween Vinyl Decals! Natalie over at A Turtle’s Life for Me shows you how!

Nightmare Before Christmas Fans, you’re going to LOVE this Jack Skellington Mug that Michelle from Michelle’s Party Plan-it made!

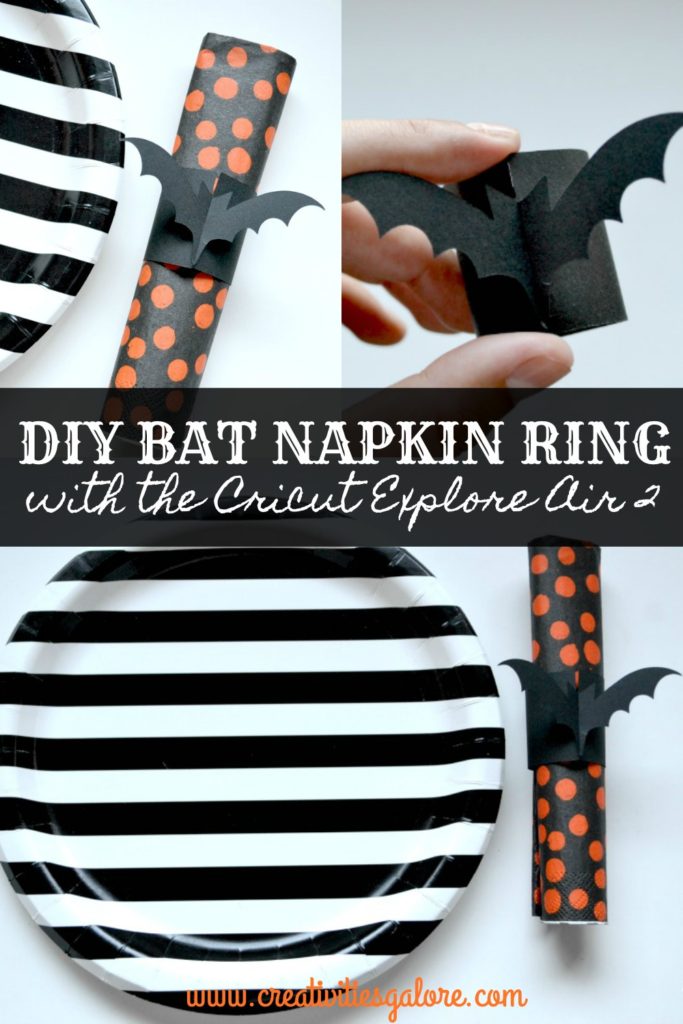
Since I love simple and cute crafts, Blanca over at Creativities Galore is a gal after my own heart – with this simple and adorable bat napkin ring.

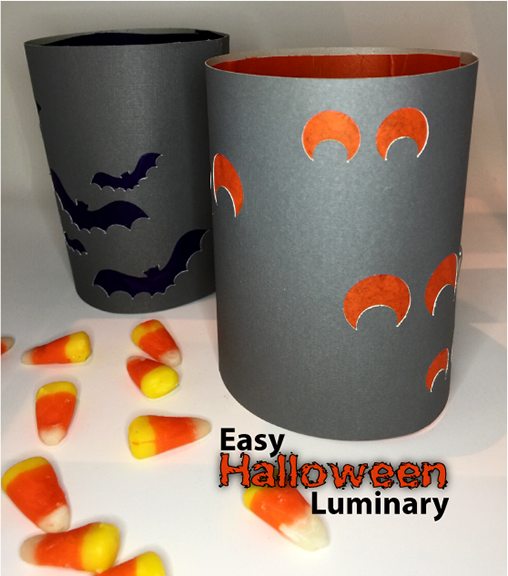
Over at Try it – Like it, Janet has a super simple idea for a Halloween Luminary. These are probably easy enough for you to make with the kids!

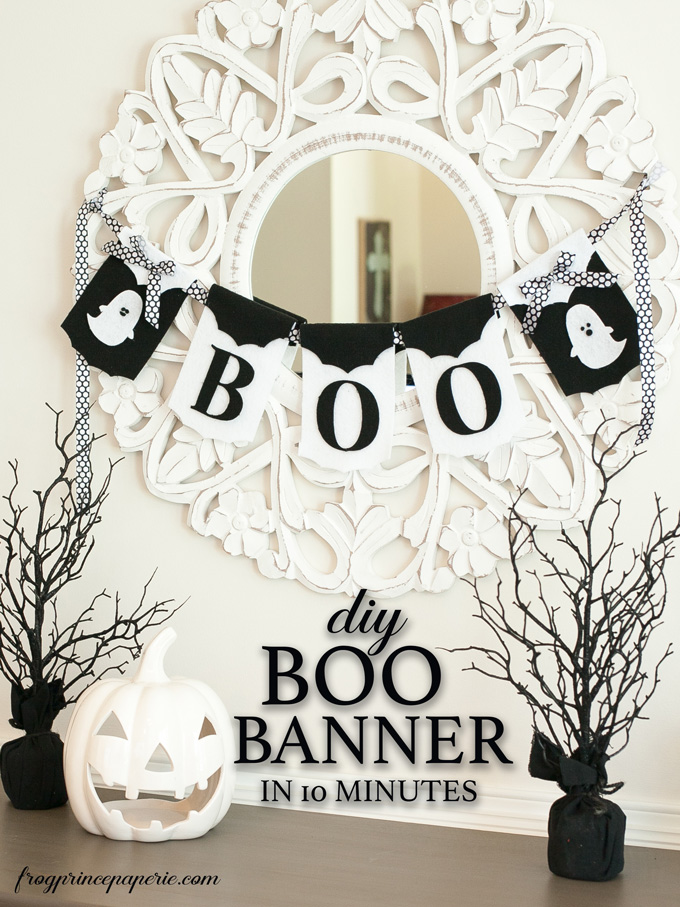
How fun is this Boo Banner that Paula at Frog Prince Paperie made? It is probably the cutest banner I have seen!

While we can’t give everyone a new machind, if you enter the giveaway below, you could be the lucky winner of a Cricut MAKER!! And be sure to stop back by tomorrow for more fast Halloween Cricut projects!


Cricut Maker Giveaway

a Rafflecopter giveaway

Save

Custom Fun Flask – Add a fun quote to your flask!

When I found this simple metal flask in the dollar spot at Target, I knew it had to come home with me! I really regret not putting all the flasks in my cart, because for $5 a flask, I’m sure I could find lots of occasions to craft up some cute flasks! Alas, I only purchased one, but I had fun turning it into a sparkly masterpiece.

Add a quote to a flask

This post contains affiliate links which help support this site at no cost to you.

To make your own fun quote flask, you can find a flask for only a little more than I bought mine for on Amazon. If you’re looking to make several, you can buy flasks in bulk for a better price.

I also used Silver Adhesive vinyl from Cricut. This gives the subtle tone-on-tone look I was going for. You can use whatever vinyl you like to add your quote.

To make the flask, I typed the quote into Cricut Design Space, cut it out on the Cricut, weeded the vinyl, then secured it in place while using transfer tape. If you’d like to use the file I already created, you can grab it here.

I used the Cricut BrightPad that Cricut sent me to help with the weeding of the vinyl. Watch the video below to see how it is done. If you want a BrightPad of your own, get the Cricut BrightPad on the Cricut Website or the Cricut BrightPad on Amazon.


I think the quote “According to science, alcohol is a solution” is pretty much my favorite quote ever for putting on a flask. Because, really. And making this flask is super simple!

finished quote flask


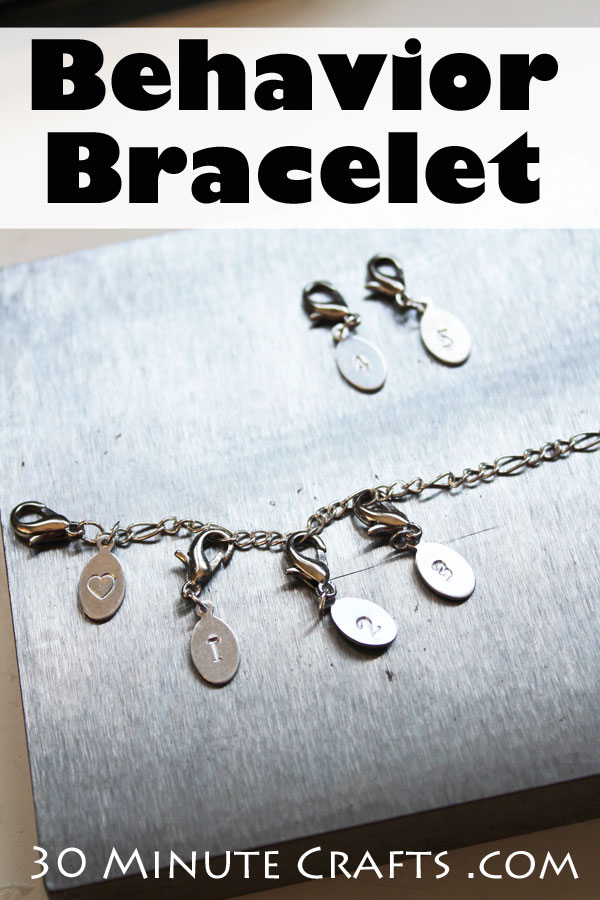
Bahavior Bracelet – An alternative to Behavior Charts

Most parents with strong-willed children have attempted behavior charts at some point. Either on the advice of their pediatrician, teacher, therapist, or a well-meaning friend or relative. The challenge with a traditional behavior chart is that it isn’t very portable. It is secured to the refrigerator, and stays there all week long. If you’re out and about – at the grocery store, an appointment, or playing at the park, you can’t easily give points for good behavior (or subtract points for behavior problems, if that is the way your system works). You can tell your child “Good job! I’m going to give you a star when we get home,” but now you’ve given yourself the task of remembering to put the star on the chart when you get back to the house. And if you’re like most parents, your to-do list is already incredibly long! For my own children, I came up with the idea of a “Behavior Bracelet” as an alternative to Behavior Charts.

DIY Behavior Bracelet - the portable alternative to a Behavior Chart!

This post contains affiliate links which help support this site at no cost to you.

The boys each have their own bracelet, and I have one as well. My bracelet holds charms for each of them. As they earn points, I move a charm from my bracelet to theirs. When we have challenging behaviors, I remove a charm from their bracelet and put it on to mine. This  gives them immediate feedback on their behavior. They also get immediate verbal feedback – when they come to me, I tell them exactly why they are getting or losing a charm, and either tell them that I’m proud of them (when they get a charm) or provide options for how they can approach the situation differently.

At the end of the day, we figure the total, and add it to the total from the previous day. When they reach a pre-determined goal, they get their reward.

To make your Behavior Bracelet, you’ll need:

Necklace Chain or Charm Bracelet
Jump rings
Lobster Clasps (choose high quality clasps that are easy for you to operate)
Small metal stamping blanks
Metal Stamping Block
Metal Stamping Hammer
Metal Stamping Numbers (I used Newsprint font, you might like this font better)
Metal Stamped Heart
Jewelry Pliers

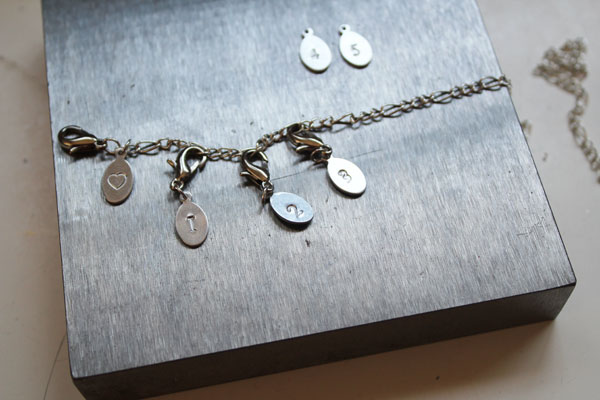
  1. Use the block, hammer, and numbers to stamp a number on each blank. We went up to 5, because my kiddos can earn a maximum of 5 points each day. You pick the number that works best for your family!
  2. Put a heart on an extra blank.
  3. Cut the chain to the desired length.
  4. Attach a lobster clasp to one end with a jump ring. Secure the heart to this jump ring as well.
  5. Attach a lobster clasp to the top of each numbered blank using a jump ring.
  6. Make a second bracelet for yourself.

You’ll see that I added a heart, in addition to the numbers. As I gave my kiddos their bracelets, I explained that the heart does not have a clasp – it does not come off. That heart is always there. It represents my love for them. Whether their bracelet is filled with numbers, or all the numbers have been taken off, the heart stays. Because I always love them. No matter what!

finished behavior bracelet

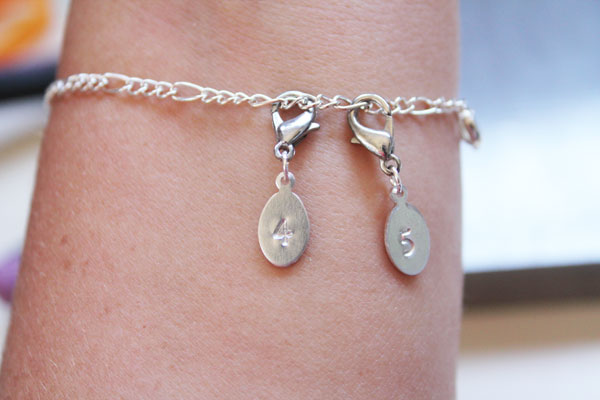
I loved how well this behavior bracelet worked! We used it over the summer, wearing it in the pool, and taking it on trips. I regularly saw my boys fidgeting with the bracelet on their wrists – which gave them a simple item to fidget with, but also served as a constant reminder. And both giving and taking away points involved me spending a little time with them, giving them either the praise they deserved, or a break from whatever distraction was causing a problem.

wearing bracelet

Have you used a behavior management system in your home? Would you try a behavior bracelet?


Simple Felt Banner and What is the Cricut Machine?

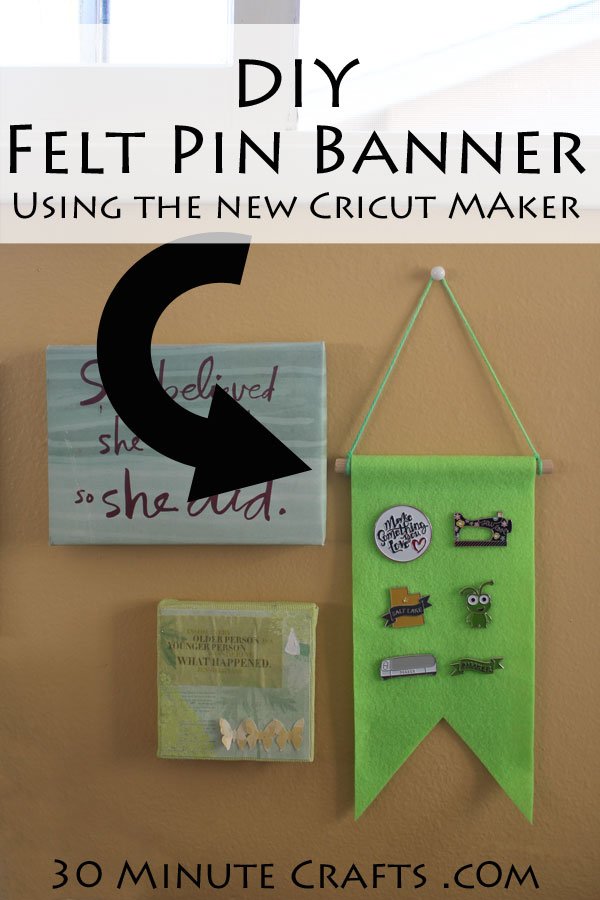
At so many events I collect pins, buttons, or other charms, and was looking for a fun way to display them. Sure, they could collect dust in a drawer or a dish on my vanity, but I’d rather turn my pin collection into decor that makes me smile each time I see it! So I created this simple Felt Banner to display pins. It took less than 15 minutes from start-to-finish, and I love it! I’m sure you’ll love displaying your pins on your own little felt pin holder!

DIY Felt Pin Banner made using the Cricut Maker machine

This post contains affiliate links which help support this site at no additional cost to you.

To make this banner you’ll need:
Dowel cut to 5.5″
Felt
Hot Glue
Yarn
Cricut Maker Machine

supplies for felt banner

If you’re not familiar with Cricut, or their new Maker Machine, let me take a minute to tell you about it! The Cricut machines fall under the category of “Digital Die Cutter” machines. They don’t use dies to cut, you send the files to the machine electronically. This gives you much more control – you can resize and customize the files to make them your own before cutting them out. I compare them to printers – but instead of an ink cartridge, it has a blade. So it cuts instead of prints. All the machines available in stores now also have a pen holder – so the machine can draw and cut designs. And, if you want, you can print designs on your traditional printer and then cut them out on the machine.
The new Cricut Maker is special because they’ve completely re-imagined what the blade can do. They’ve given it the ability to not only move the blade in the correct direction, but also to automatically point the blade in the correct direction, and to automatically control the amount of pressure needed based on the material you are cutting. Because of this innovation, the Cricut Maker can use a small rotary blade to easily cut through fabrics and felt without snagging. If you want to learn more about the Cricut Maker, go check it out on the Cricut site.

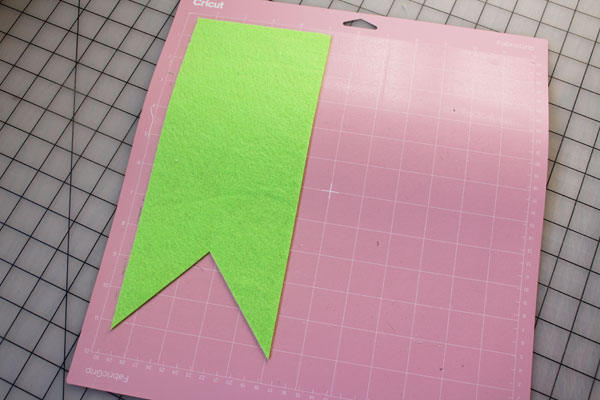
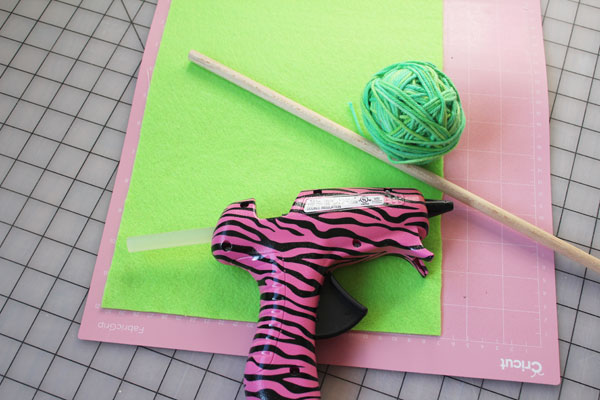
To make this felt banner, you can use the file I’ve already created in Design Space for you. Plug in your hot glue gun to get it warmend up, then cut your felt using the rotary blade and fabric mat.

cut felt on cricut maker

Peel away the extra felt. It is like magic!

cut out shape

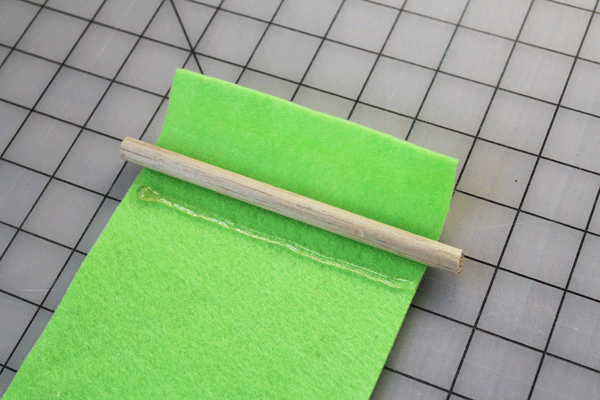
Peel off the banner. Place the dowel on top, and fold over the top edge to see where the dowel needs to be placed.

Add a line of hot glue.

glue down

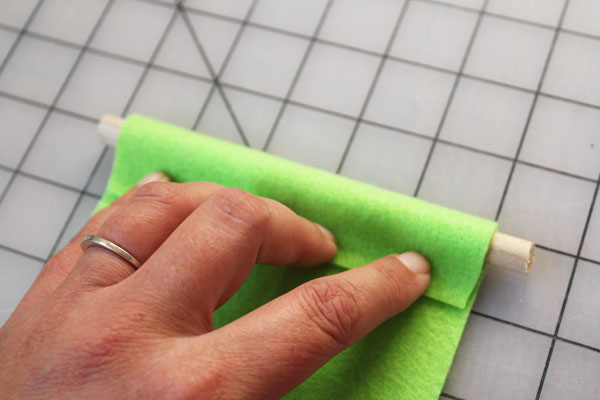
VERY CAREFULLY fold the top over. If you have a low-temp glue gun, or very thick felt, you might be able to press it down with your fingers… but to be safe you could use a pencil or the remainder of the dowel so that you don’t burn your fingers.

press down carefully

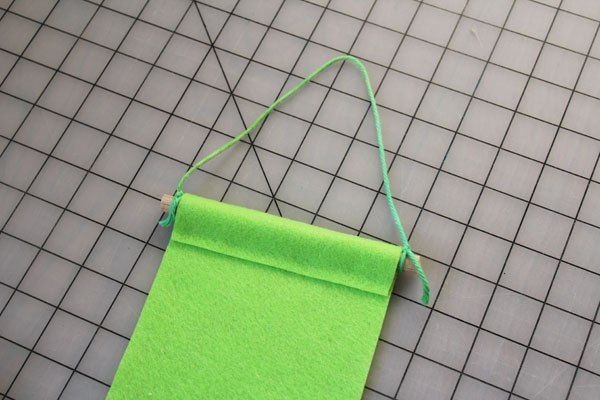
Tie a string on each end. You can make it as long or as short as you like, depending on where you hang it.

tie on string

Add your pins, and hang your fun banner!

Finished Banner

I hope you enjoy making this project, and learning more about Cricut and the Cricut Maker!

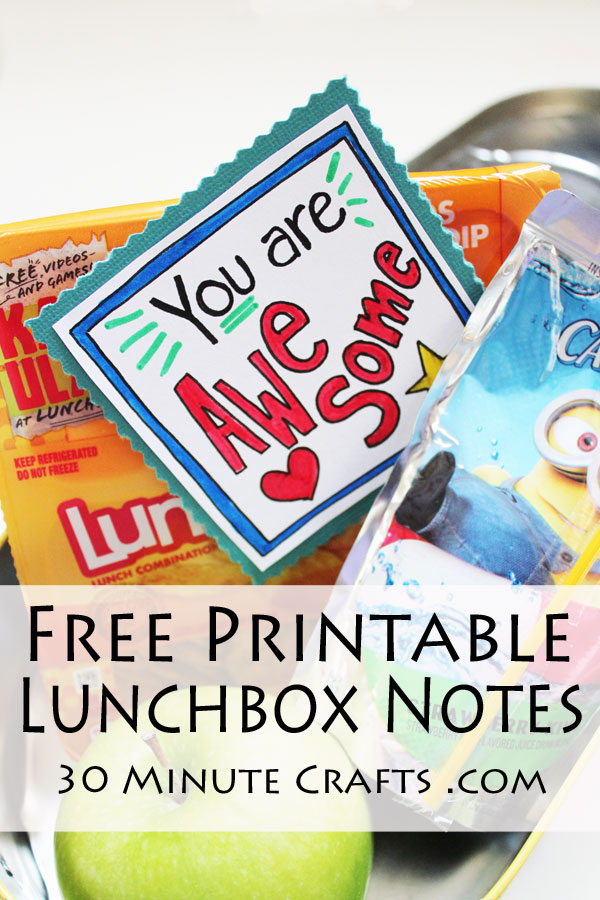
Free Printable Lunchbox Notes

Making Lunches for the kids to take to school isn’t my favorite part of being a mom. It is tiring putting together a lunch and hoping they’ll actually eat it while at school! But even if they don’t love what I pack them to eat, my kids do love getting little notes in their lunch. Lunchbox notes let them know that they’re special, and that I’m thinking of them! I created this sheet of printable lunchbox notes. You can print them, color them, and put them in your kiddo’s lunchbox. If you’re not into coloring them yourself, you can add a marker or some colored pencils to your child’s lunchbox so they get a meal and a craft at lunchtime!

This craft was part of Craft Lightning Week. All week long I’m sharing fast crafts for back to school, along with my friends Angie from The Country Chic Cottage and Kara from Happy Go Lucky, and several of our crafty friends. Check out all their fun and fast craft ideas down below!

Free Printable Lunchbox notes - make back to school special by slipping these notes into your kiddo's lunchbox!


You can just print and cut out your lunchbox notes, but I got a little crafty with mine. If you want to get creative with your lunchbox notes, you’ll need:

Markers
Scissors
Zig-Zag Scissors
Glue Stick
Cardstock
Lunchbox Notes Printable

supplies

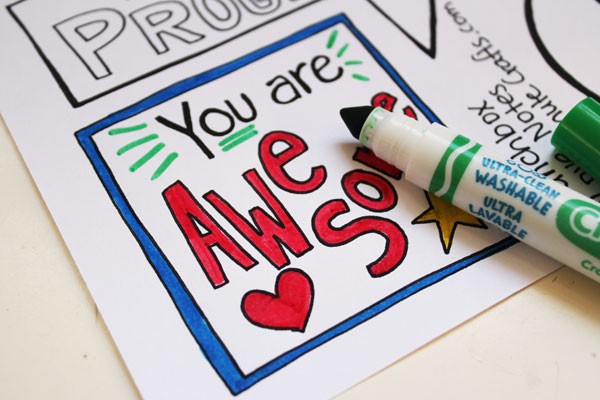
Color in the printable.

color in

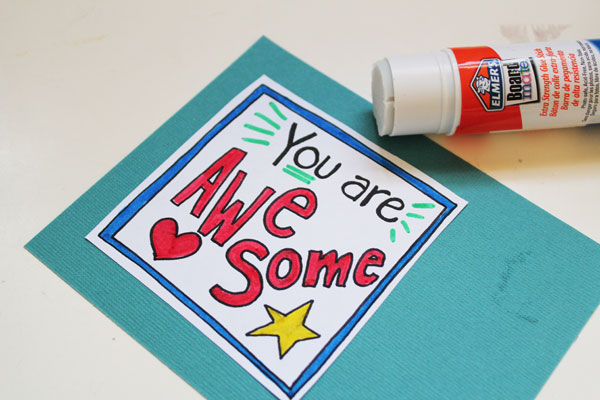
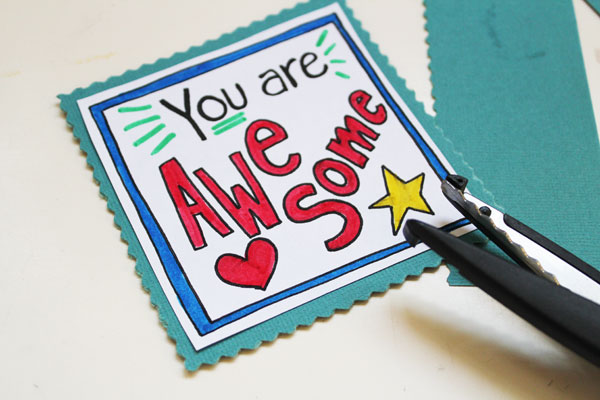
Cut out and glue to cardstock.

glue to cardstock

Trim up the cardstock using the zig-zag scissors.

trim up

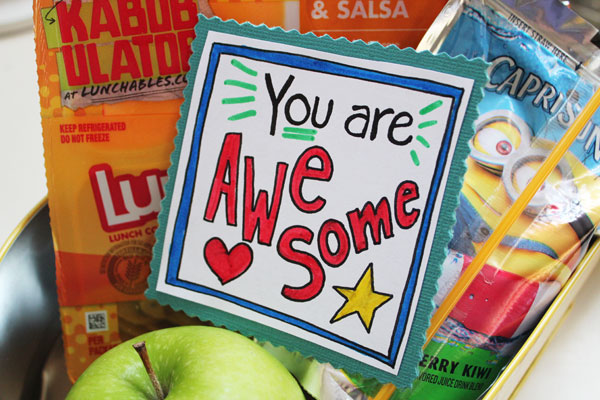
Tuck the note into your child’s lunchbox!

Lunchbox Printable Note

Check out these other fun and fast craft ideas for back to school:

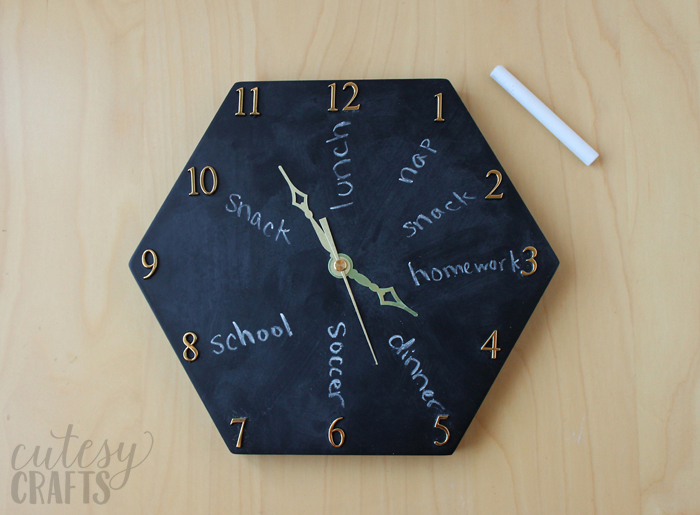
Cutesy Crafts made a chalkboard clock that’s great for helping kids keep track of their schedule.

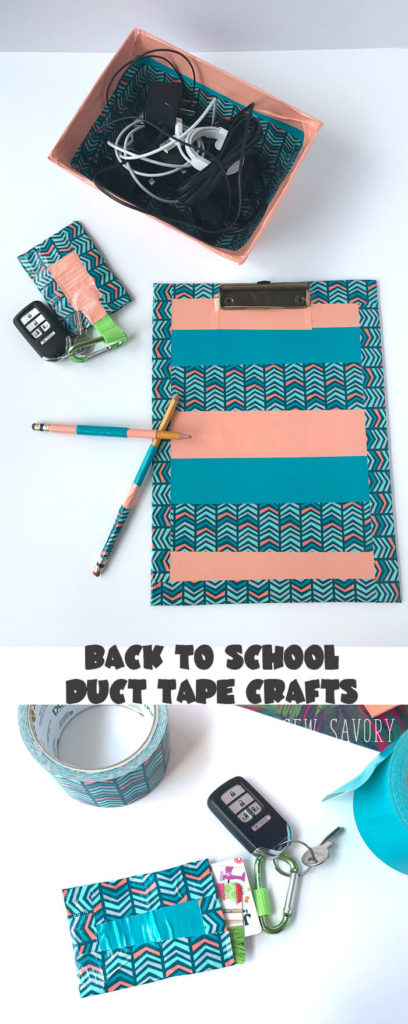
Over at Life Sew Savory, you’ll learn about using Duct Tape to get organized for back to school.

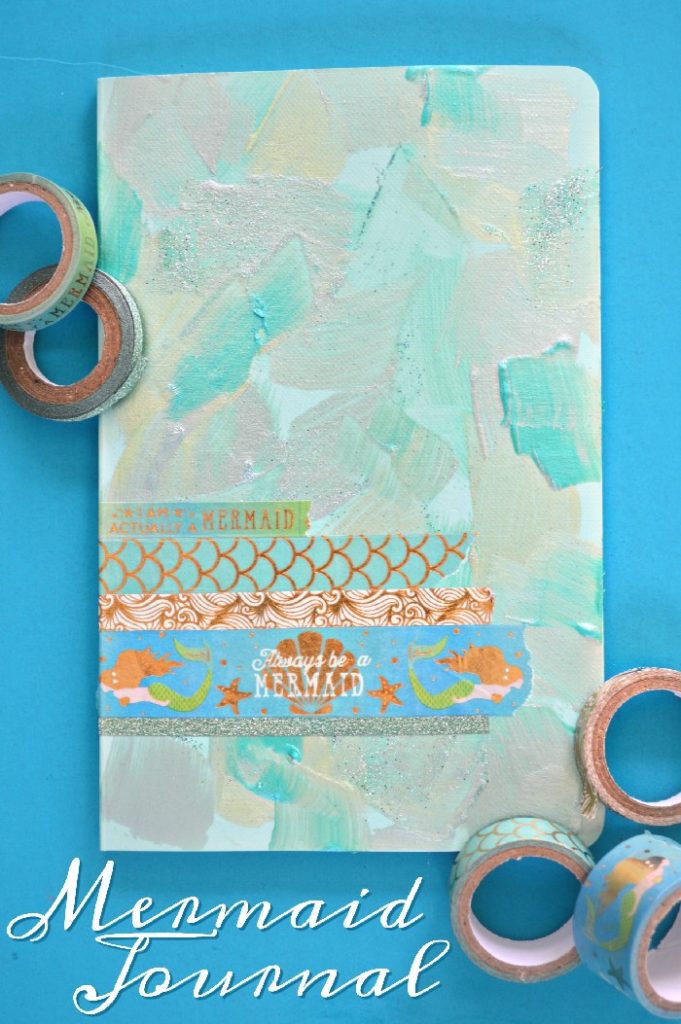
Mad in Crafts whipped up this cute Mermaid Journal.

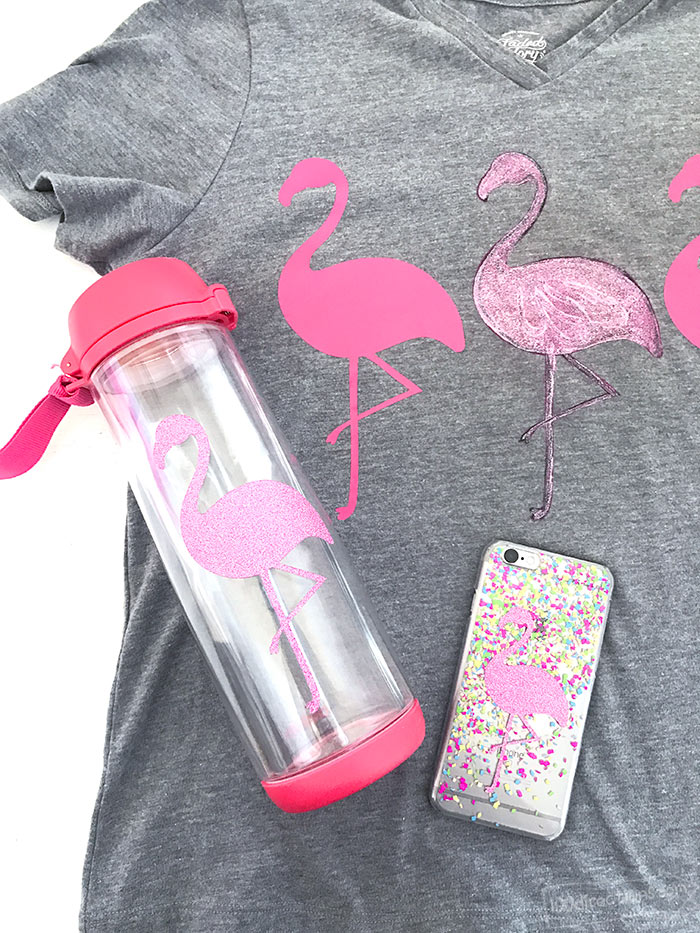
Jen Goode will help your outfit get back-to-school ready with some cute Flamingo Gear.

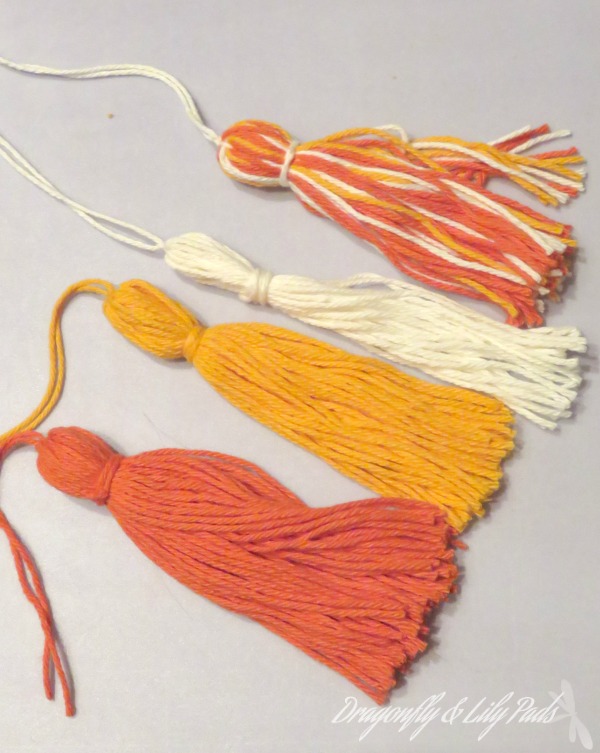
You can make your own backpack tassel with these instructions from Dragonflies and Lilypads.

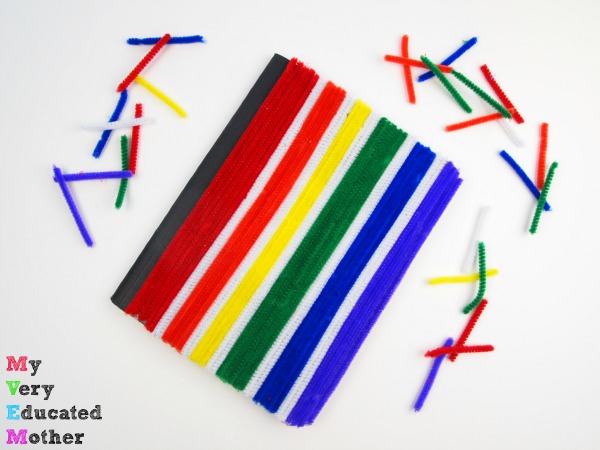
My Very Educated Mother Chenilled a notebook using pipecleaners – an awesome tactile experience for sensory-seekers.

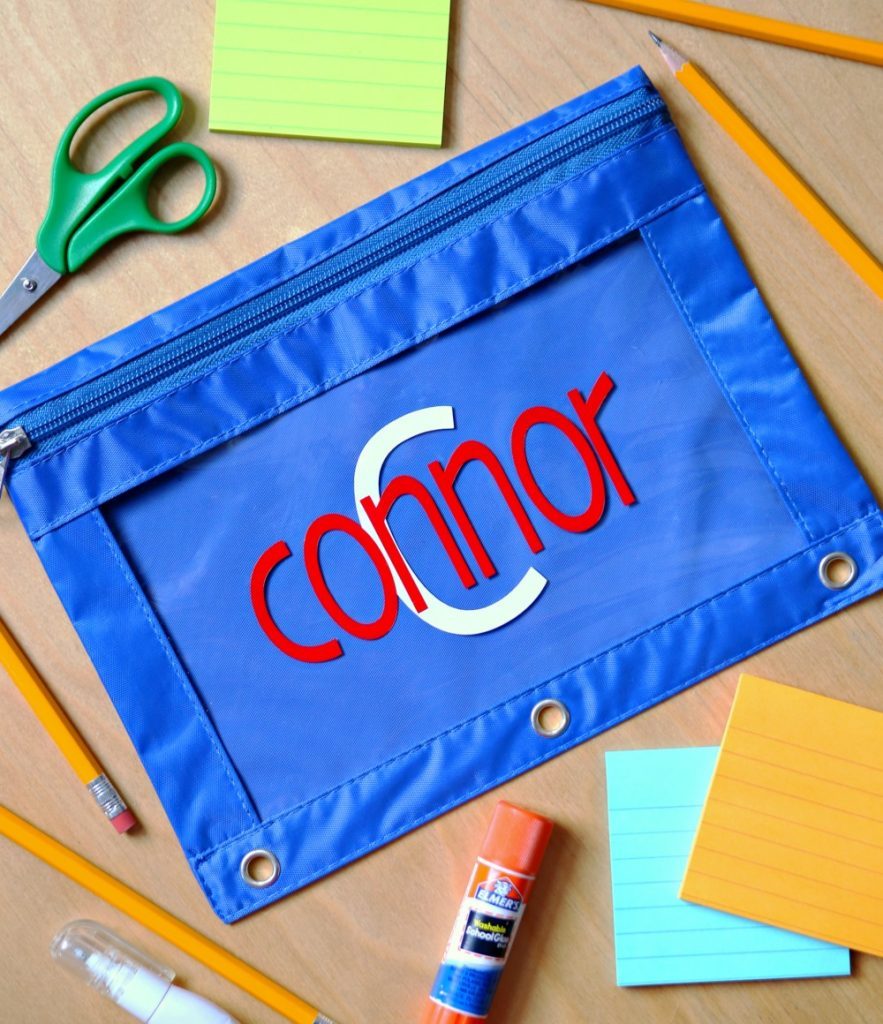
My series co-host, Kara over at Happy Go Lucky is showing how easy it is to personalize pencil pouches.

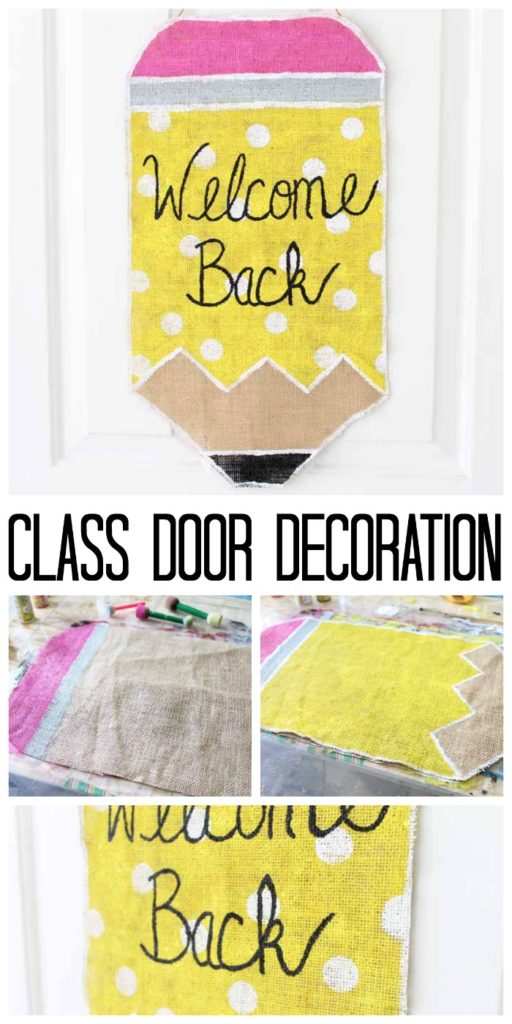
I love this adorable back to school door decoration from my longtime co-host, Angie from the Country Chic Cottage.

Stop back by tomorrow for more fun and fast back to school crafts!


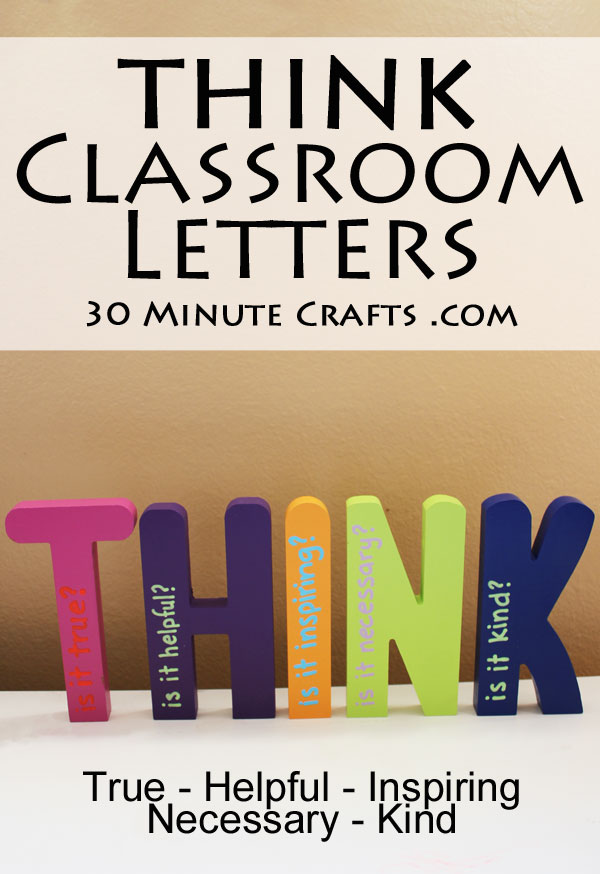
THINK Classroom Letters

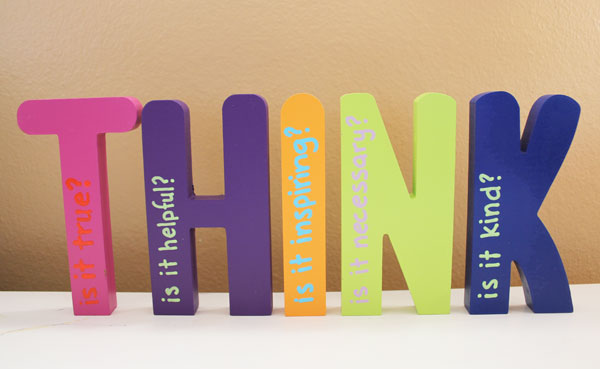
A couple years ago, someone gave us a printout with the letters THINK to help kids decide to say something. Is it True, is it Helpful, is it Inspiring, is it Necessary, is it Kind? Kids can review these benchmarks to decide if what is in their mind is worth saying out loud. When I saw the wooden THINK letters in the Dollar section at Target, I snatched them up. I knew they’d make great classroom art for my son’s teacher.

And they’re the perfect project to share this week! All week long I’m sharing quick crafts as part of Craft Lightning Back to School Week! My friends Angie from The Country Chic Cottage and Kara from Happy Go Lucky are crafting along with me creating their own fun and fast 15 minute craft each day. Check out their fun and fast craft ideas below, along with some more ideas from our craftiest friends around the internet!

THINK Classroom Letters - a great teacher gift, perfect in a Homeschool Classroom

To make these THINK letters, you’ll need:

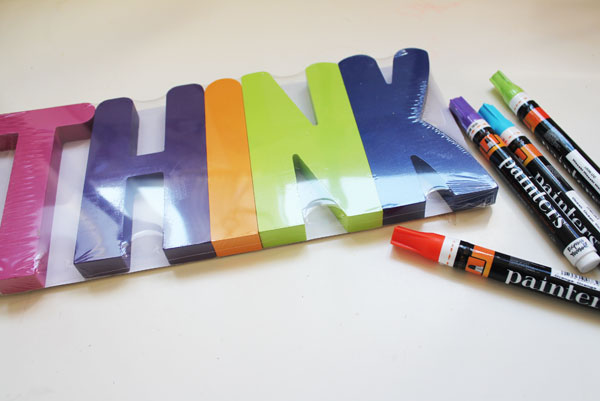
Letters T-H-I-N-K. I found wooden letters as one set. You could use paper mache letters from the craft store.
Paint Pens

letter supplies

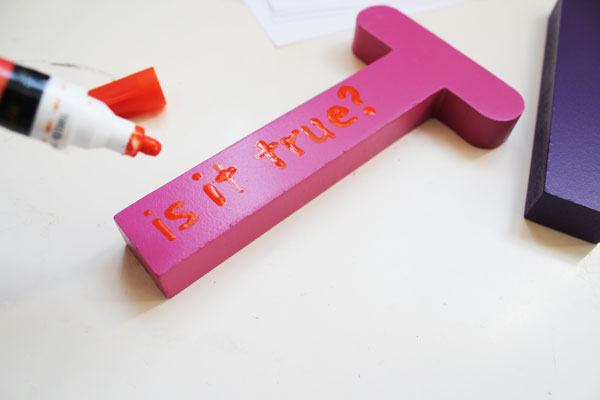
Prep your paint pens by shaking them. Write on each letter.

write on letters

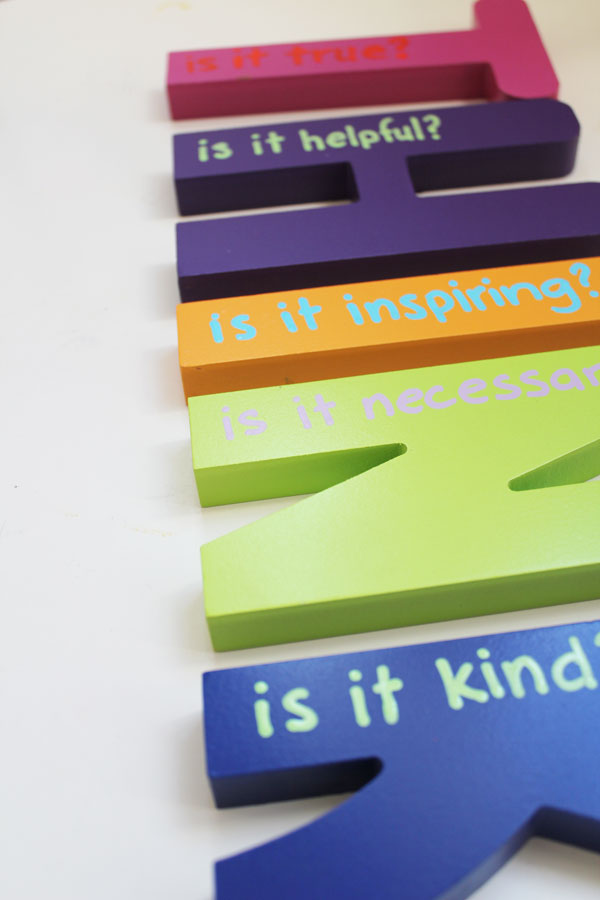
Write on all the letters.

On the T: Is it True?
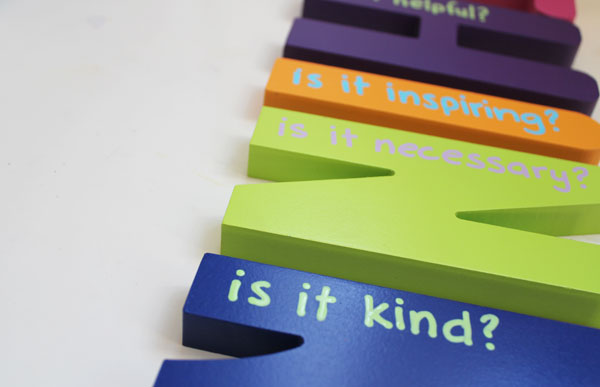
On the H: Is it Helpful?
On the I: Is it Inspiring?
On the N: Is it Necessary?
On the K: Is it Kind?

finish writing letters

That’s really all there is to making these letters! Sometimes crafting is just adding your personal touch to something.

If you’re not confident with your handwriting, you can cut vinyl or use stencils to write on the letters.

Think Letters for classroom

That’s it!

finished letters

Check out these other fun and fast back to school crafts!

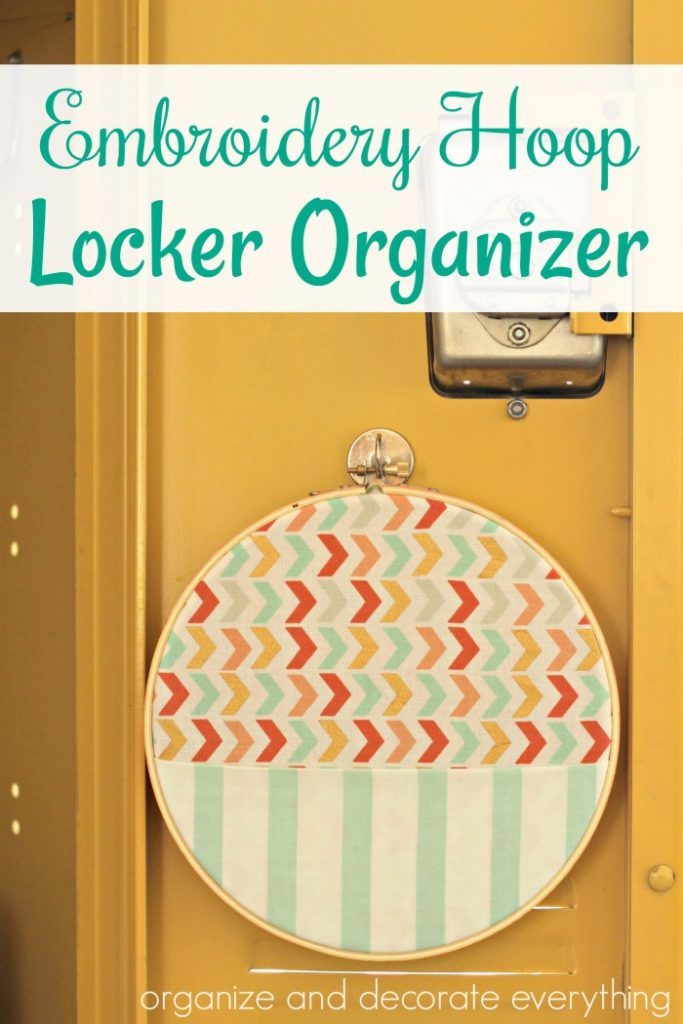
How clever is this Locker Organizer made from an Embroidery Hoop by Organize and Decorate Everything!?

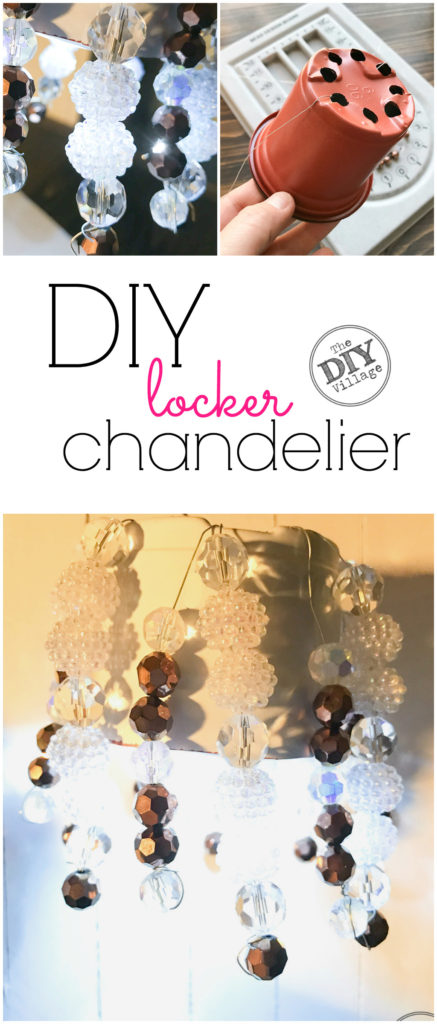
Bling your locker by making this Locker Chandelier from the DIY Village.

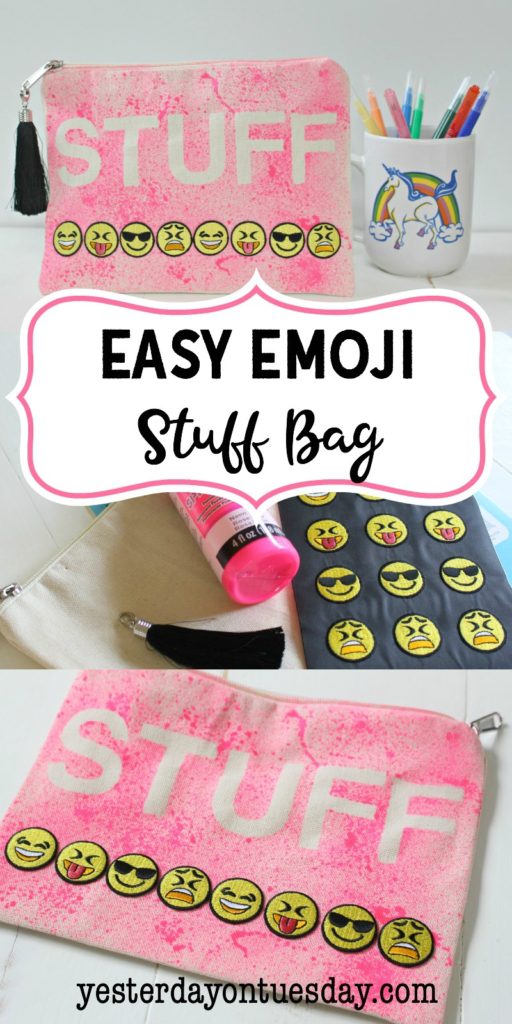
Yesterday on Tuesday shows you how to make this simple DIY Stuff Bag.

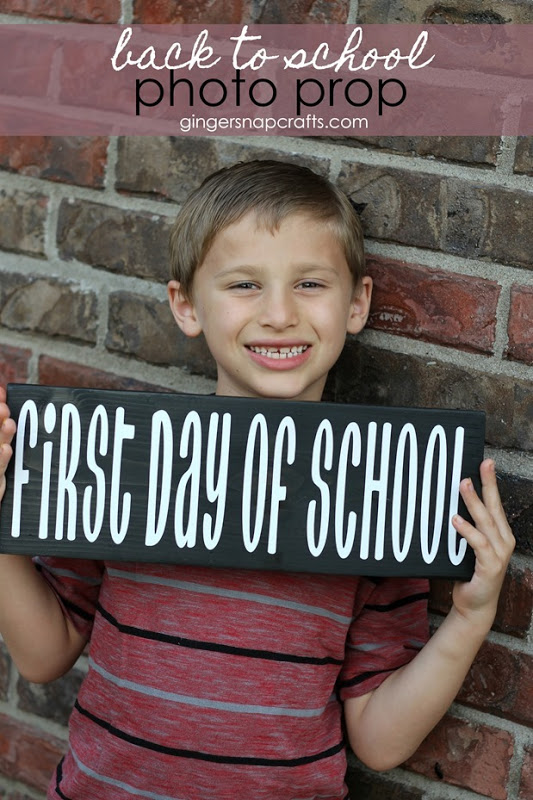
It isn’t officially the first day of school until you’ve photographed your child and shared on Social Media. Add this fun back to school sign from Ginger Snap Crafts!

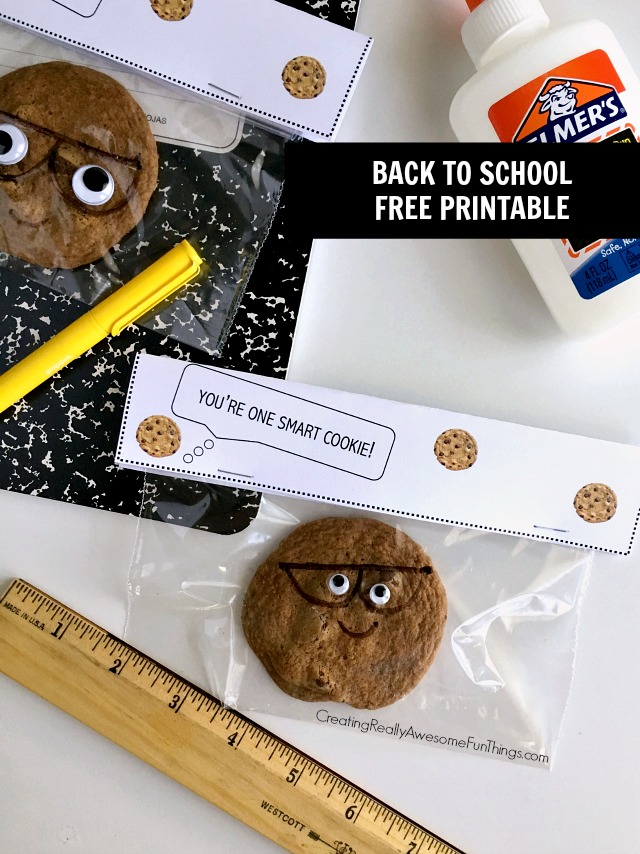
Welcome kids back to school with this adorable “One Smart Cookie” Printable from Creating Really Awesome Fun Things.

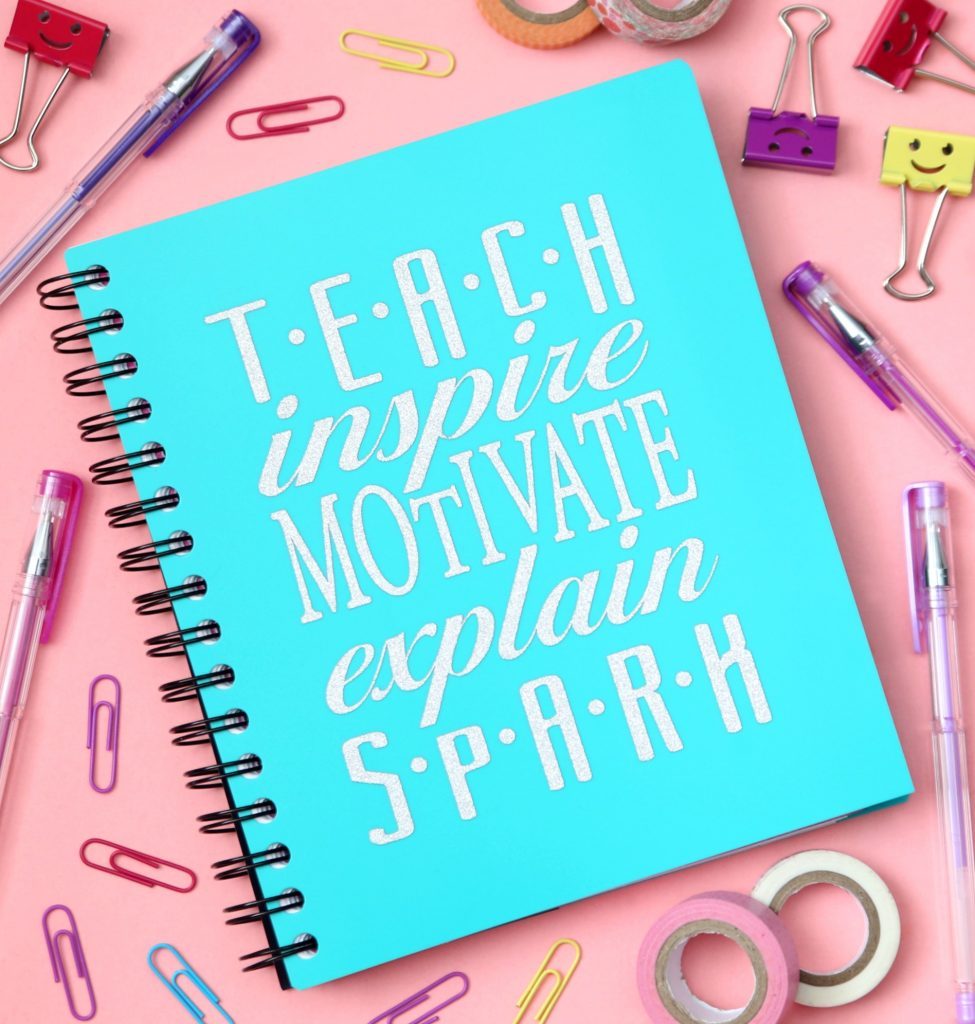
My Crafty Co-Hostess for the Week, Kara from Happy Go Lucky created a super fun Teacher Notebook.


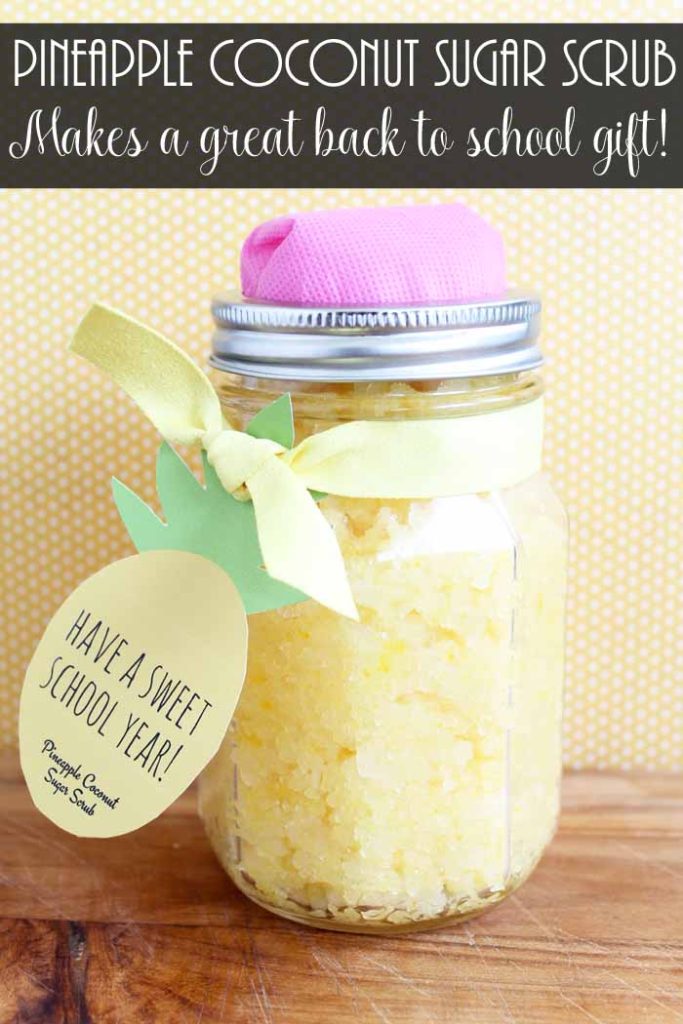
My long-time co-hostess for Craft Lightning, Angie from The Country Chic Cottage, is also the queen of Mason Jar Crafts. And she has outdone herself with this adorable Pineapple sugar scrub back-to-school teacher gift!

Morning Routine Prep Hanger

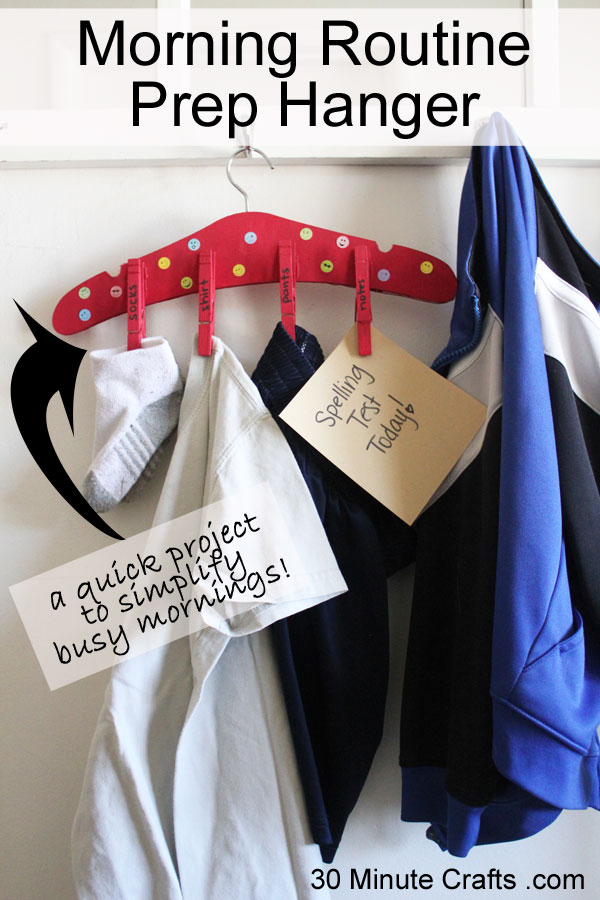
Mornings at my house are the hardest. I’m not a morning person, so trying to get two kids ready and out the door while trying to get myself ready feels like swimming against the tide every morning. To help our mornings go easier, I like to plan ahead, and set up routines. One very simple way to plan ahead is to set aside clothes for the following day. We live in a small house, with not a lot of room to set things aside. So making this Morning Routine Prep Hanger makes sense – It gets everything ready, keeps it organized, and also out of the way. It also keeps socks from going missing. Many a tardy slip can be traced back to missing socks!
This project is part of Craft Lighting – Back to School. All week long my friends from The Country Chic Cottage and Happy Go Lucky Blog and I are sharing fast and easy projects you can make in 10 minutes or less, that are perfect for Back to School! We’ve also invited some of our craftiest friends from around the internet to join in – check out their awesome projects below!

Start mornings out right with this morning routine prep hanger - have clothes and reminders ready to go each morning!

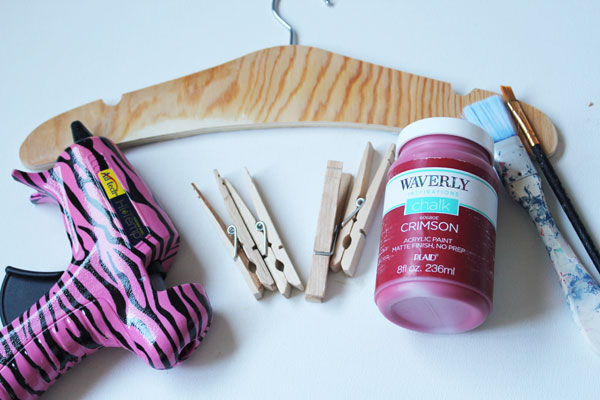
To make your Morning Routine Prep Hanger, you’ll need:

Wooden Hanger
Clothespins
Hot Glue
Paint
Paintbrush
Permanent Marker
Stickers (optional)

supplies

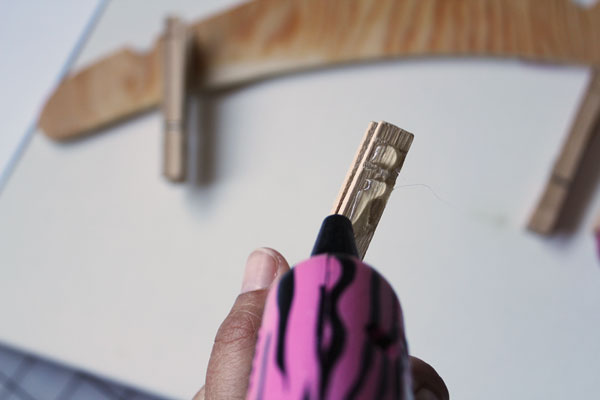
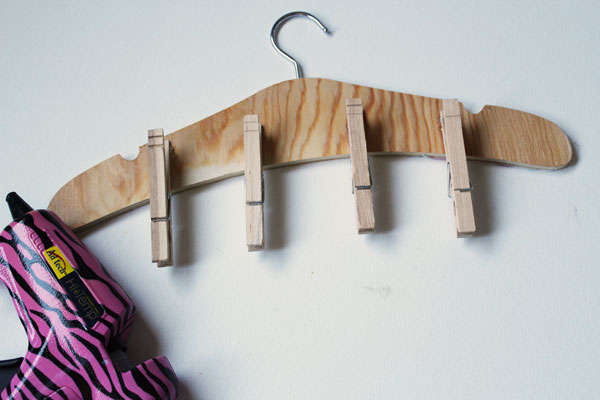
Use hot glue to glue on clothespins.

glue on pin

glue on clothespins


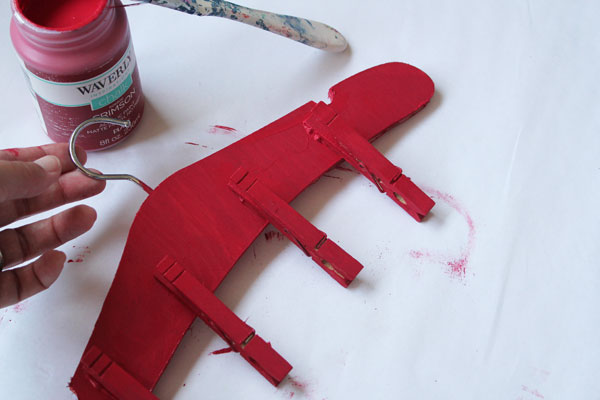
Paint in your child’s favorite color. I’m going with this great red Waverly Chalk Paint that Plaid Crafts sent me.

paint

paint hanger


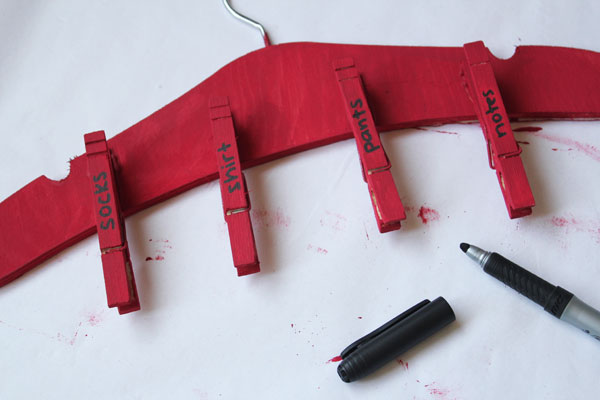
Let it dry. Then write on the clothespins what each one is for. Put light things on the outside (socks, notes), and heavier things in the middle (shirts, pants).

write with marker


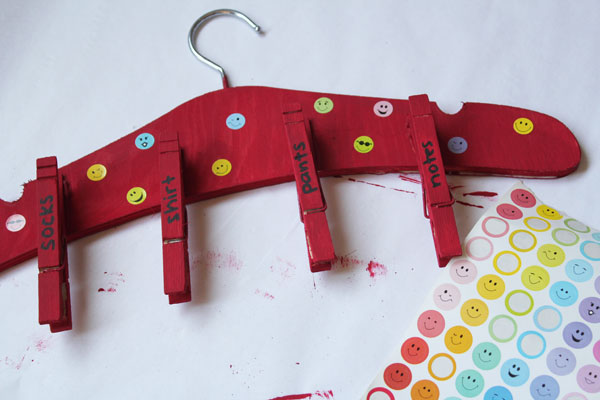
If you like, you can decorate the hanger with stickers – or you can let your kids personalize their own.

add stickers

You’re all set to have stress-free mornings! As long as you don’t run out of cereal. Or milk!

Check out these other great back to school craft ideas:

Annmakes created this homework helper to keep homework supplies organized.

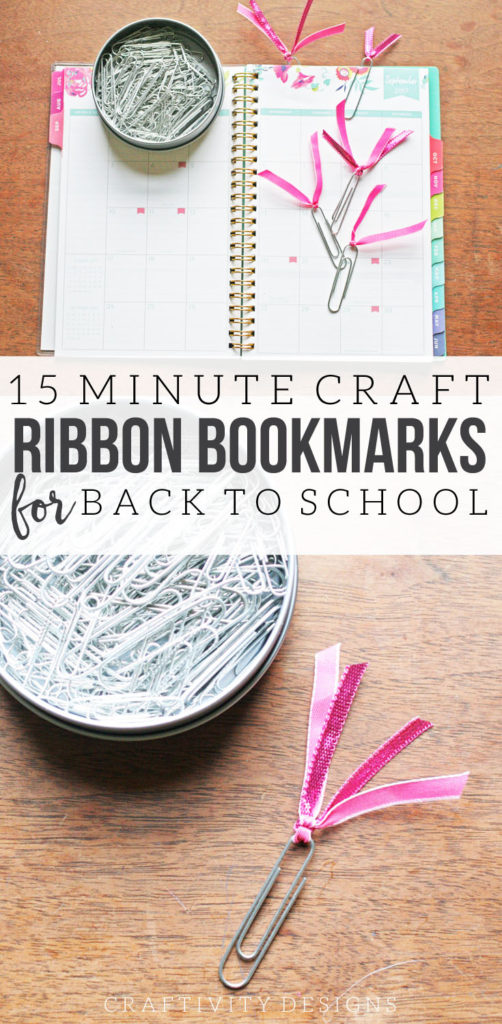
Over at Craftivity Designs you’ll learn how easy it is to make these ribbon bookmarks.

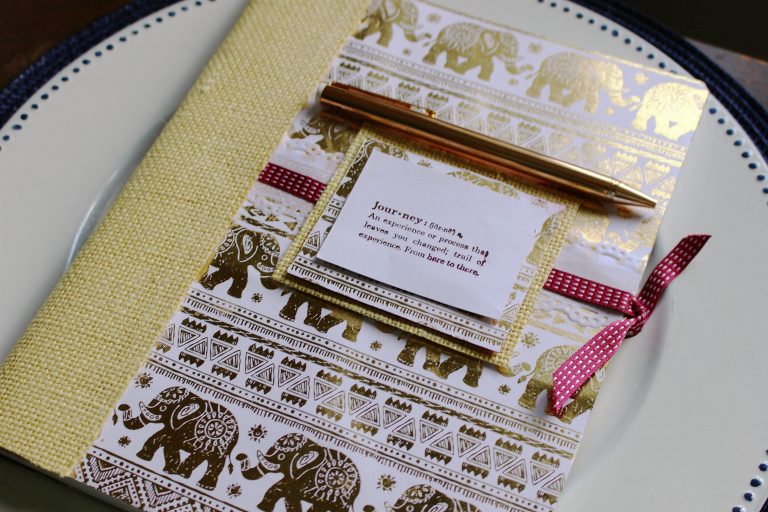
Our Crafty Mom turned a simple composition book into a great teacher gift.
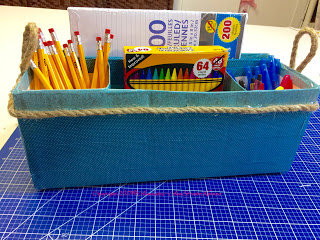
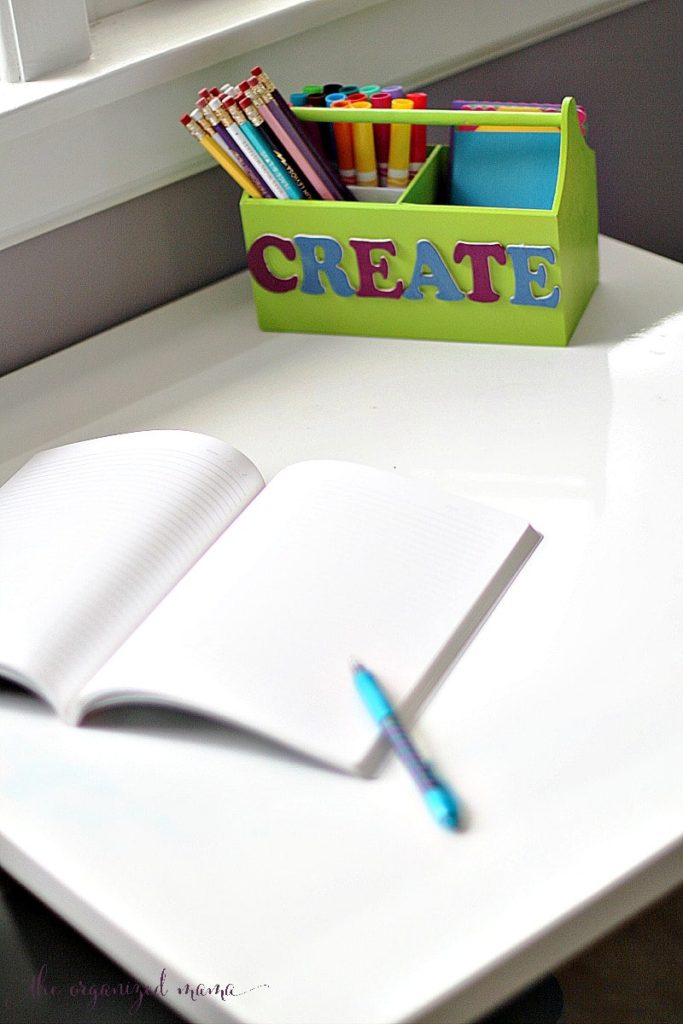
The Organized Mama has a great supply caddy for homework.
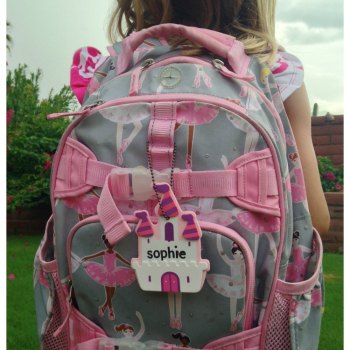
This cute backpack tag was made by Dazzle While Frazzled.

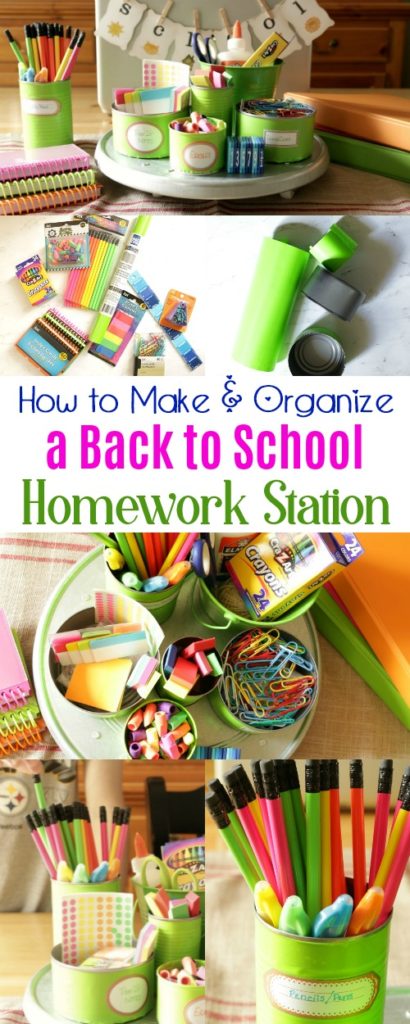
And this organized homework station was made by Cupcakes and Crinoline.


Be sure to come back tomorrow for more fast and fun back to school craft ideas!


Save

DIY Lego Heads Towel

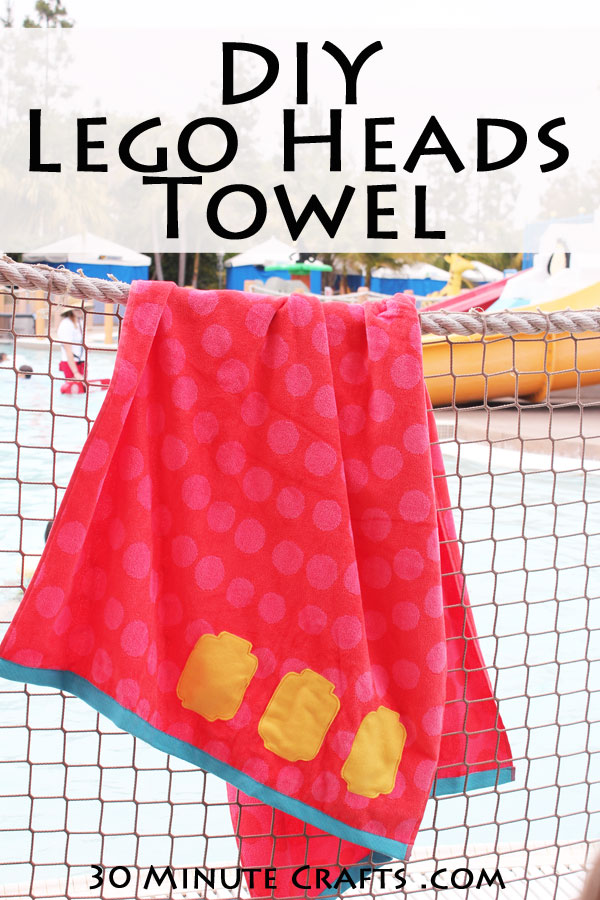
I love making trips to theme parks more memorable for my kids. Legoland is a favorite for us. My boys are Lego fans, and especially love the waterpark. When we were invited to check out the new Surfer’s Cove at Legoland’s Waterpark, I wanted to make a fun project the kids could enjoy at the park and all summer long – this DIY Lego Heads Towel. Add simple Lego applique to a towel to make a fun towel your kids will love!

DIY Lego Heads towel

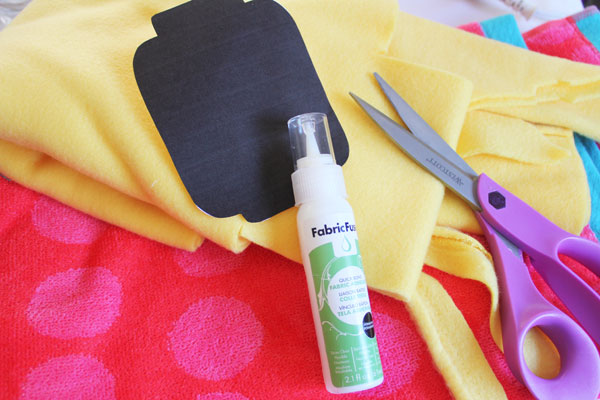
To make your Lego Heads Towel, you’ll need:

Beach Towel
Yellow Fleece or Terrycloth
Pins
Scissors
Fabric Glue
Iron
Sewing Machine
Lego Head Pattern

supplies

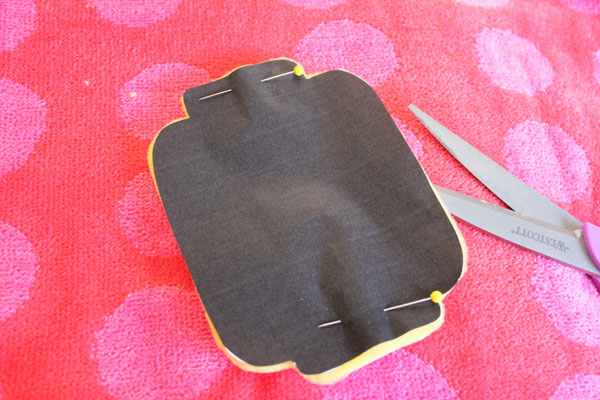
Make your own Lego head template or use this Lego Invitation as a template. Pin on the fleece or terrycloth. Cut out.

cut lego head shapes

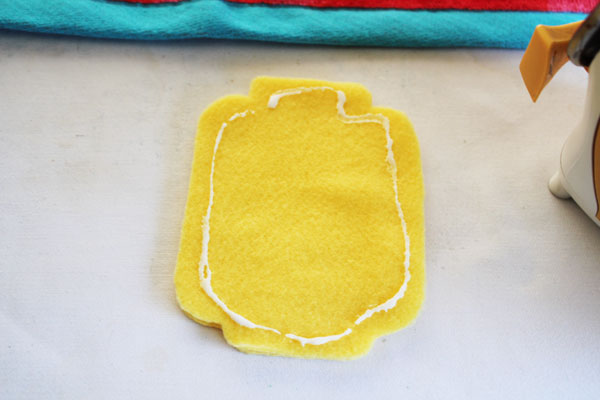
Add some fabric glue and place on the towel.

glue around shape

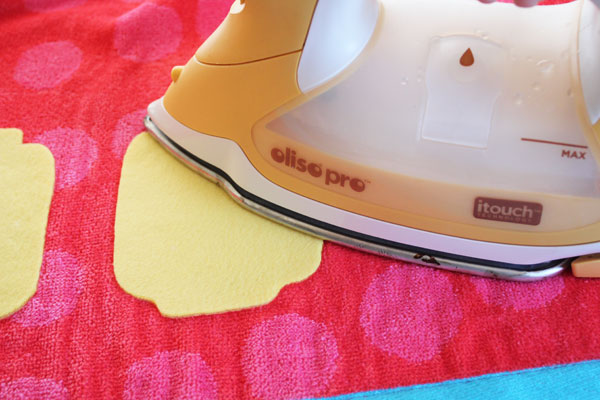
Use an iron to set the glue.

set the glue with an iron

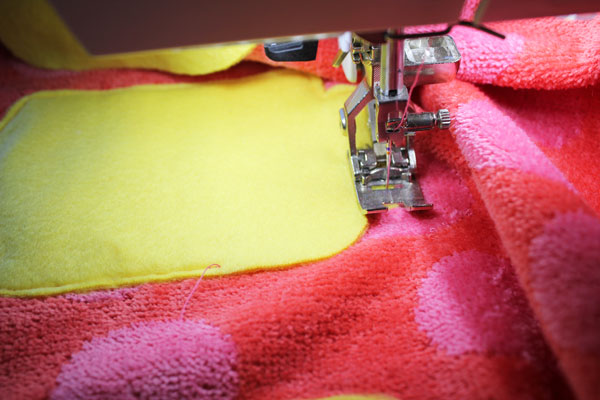
Stitch the Lego heads in place.

stitch around the Lego Head Shapes

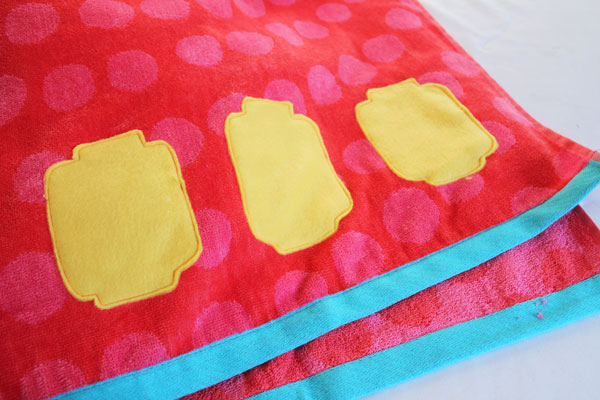
Pack up your Lego Head towel and head to the waterpark! We can’t wait to check out the new rides at Surfer’s Cove!

Finished Lego Towel