DIY Paint Marbled Ornaments

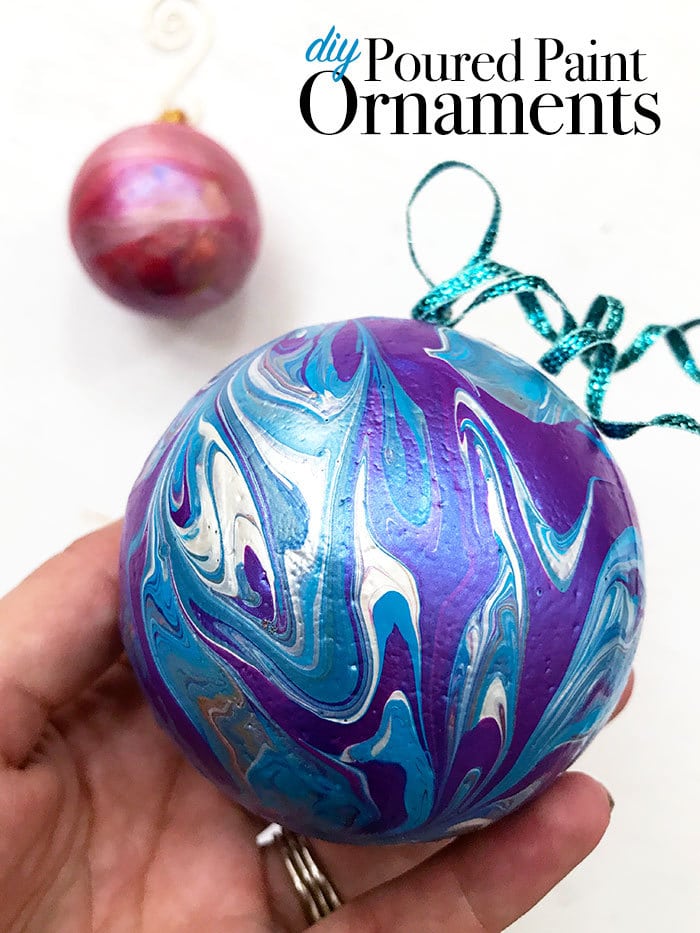
Marbling paint is not a new technique at all, but it has been made even more popular lately. I tried my hand at paint marbling on these DIY Paint Marbled Ornaments, using the paints and marbling medium that Plaid Crafts sent me. It was such a fun and satisfying experience to watch the paints blend together. Even times when I felt that I had over-marbled, gone too far, and completely ruined the project… within seconds the marbled effect was back, and the project was still perfect! Though I hesitate to say that any craft is fool-proof, this project certainly felt like any crafting skill level could make a marbled ornament that they would feel proud to hang on their tree!

This project is part of Craft Lightning Week. All week long my friends Angie from The Country Chic Cottage, Jessica from Mad in Crafts, and I are sharing a new Holiday project each day. And each of our Holiday crafts can be made in 15 minutes or less. And we’ve invited some of our craftiest friends on the internet to join us on our journey this week. Be sure to check out all their fun Holiday crafting ideas at the bottom of the page.
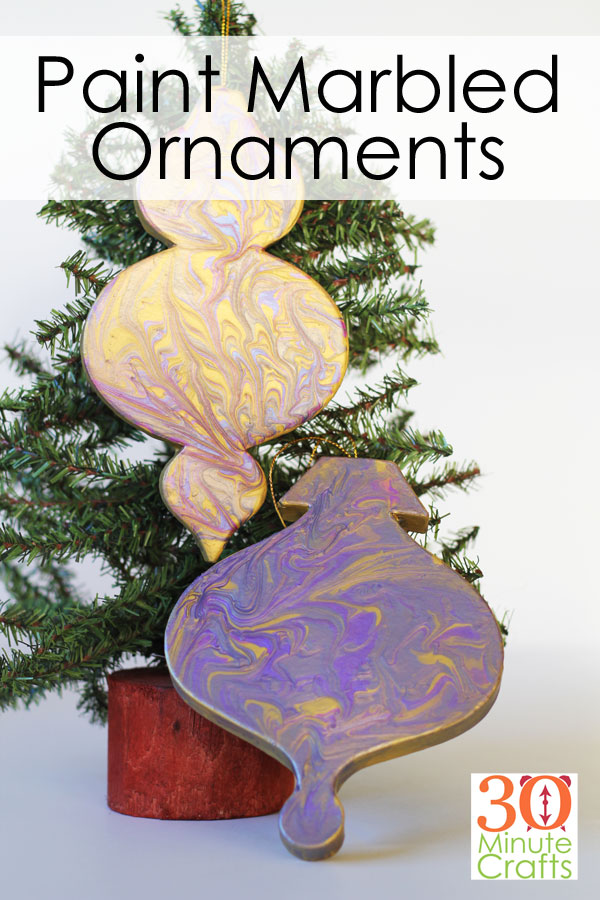
Make Paint Marbled Ornaments

To make your own DIY Paint Marbled Ornaments, you’ll need:

Martha Stewart Marbling Medium
Craft Paints – I used Folk Art Color Shift and Folk Art Metalic
Cardboard Ornaments
Cups
Stirring Sticks (I used popsicle Sticks)
Pin for popping air bubbles

You can watch this video to get all the details on how to marble your ornaments, or you can follow the steps outlined below.


  1. Mix your paint and marbling medium according to the instructions on the back of the marbling medium package. You don’t have to be perfect, estimate 1 part paint to 2 parts marbling medium.
  2. Stir well. Try not to get air bubbles into the paint.
  3. Allow to sit for 10 minutes.
  4. Pour a base color onto the ornament. Move around by tilting the ornament or spread it using the stir stick.
  5. Add drips of your other colors.
  6. Use the head of the pin to draw horizontal and vertical lines through the paint and/or tilt the ornament in all directions to move the paint around.Keep moving it until the surface is covered, and you are happy with how swirly your design is.
  7. Set aside to dry, in a place that excess paint can drip off.
  8. After drying, paint the sides and back of the ornament with a solid color.
  9. Enjoy your Holiday decor!

If you enjoyed making these DIY Paint Marbled Ornaments, you’ll love checking out these other fast and fun Holiday craft ideas!

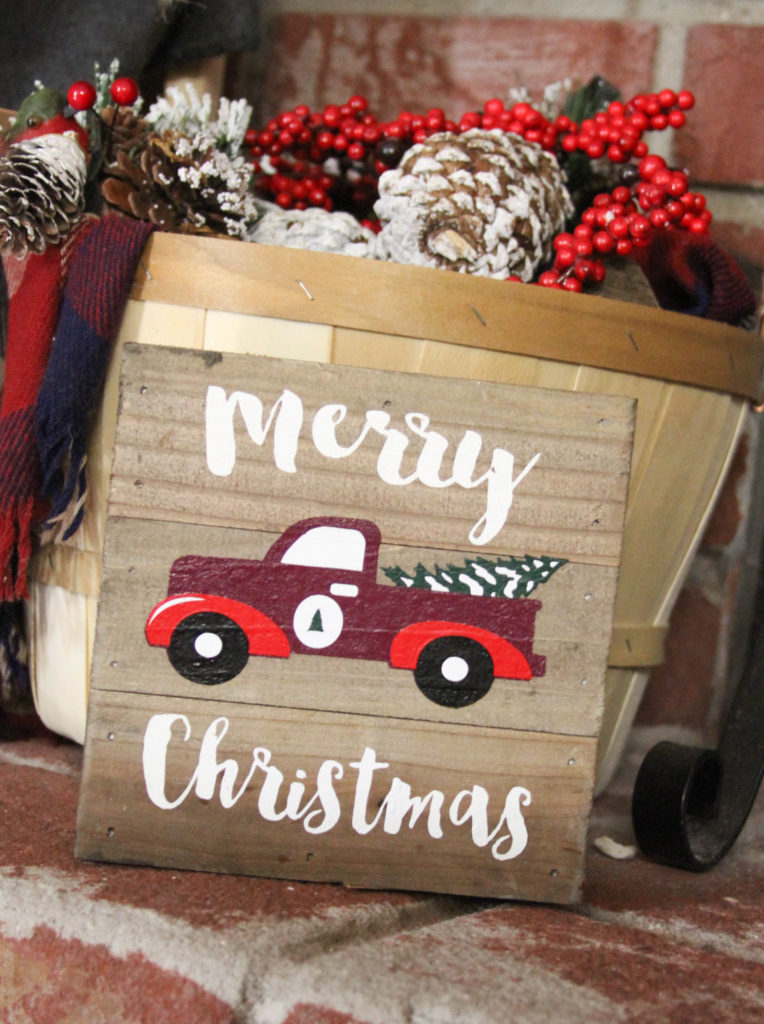
Everyday Party Magazine made this cute Holiday Sign.
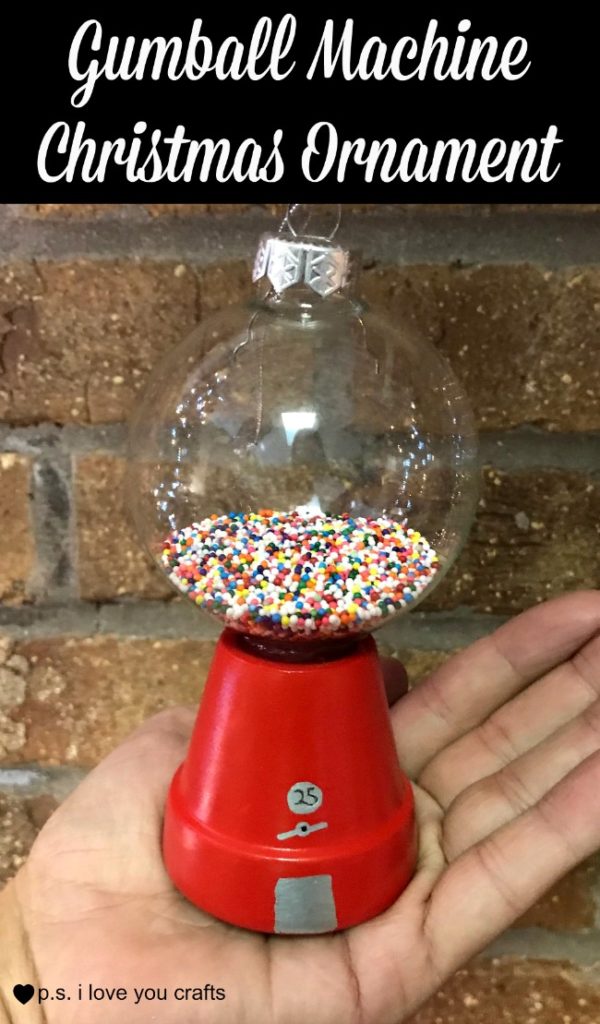
I’m mad for this DIY Gumball Machine Ornament that PS I Love You Crafts made!
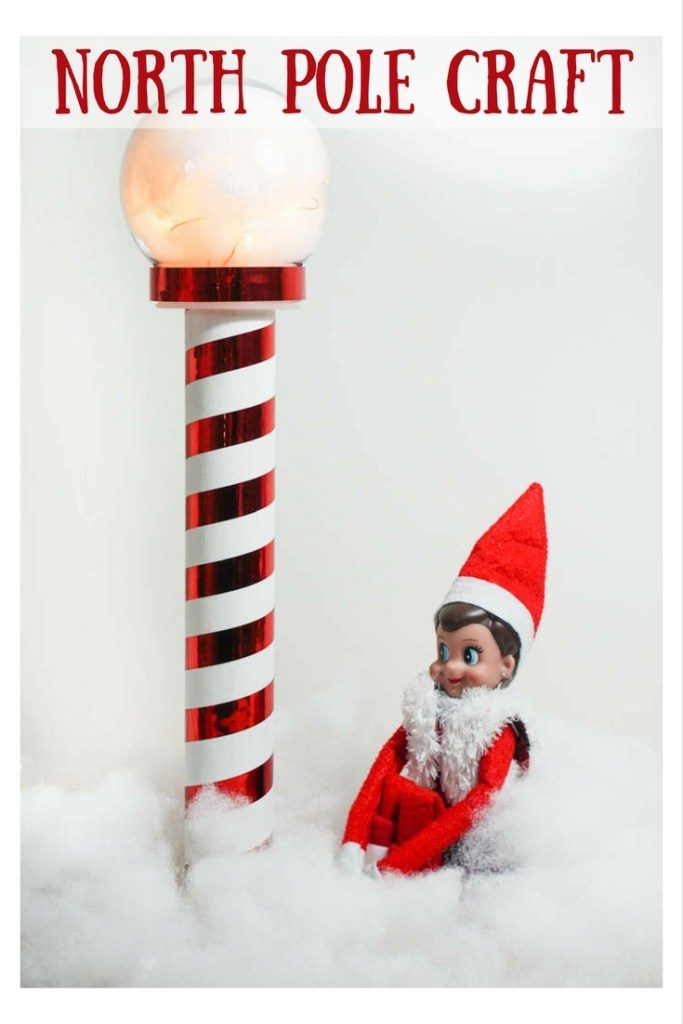
How fun is the North Pole Craft that Albion Gould made?
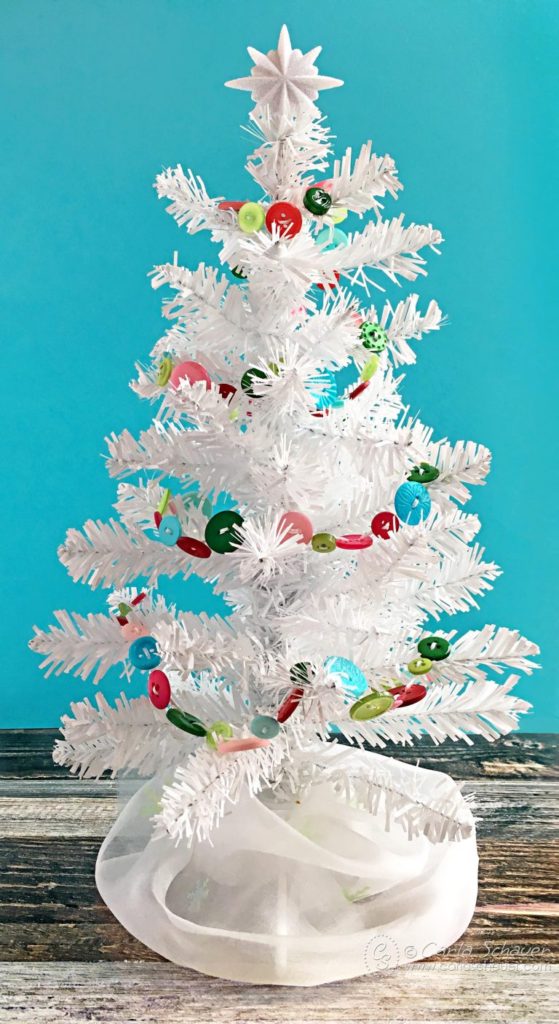
Carla Schauer shows you how to whip up a button garland for your tree.
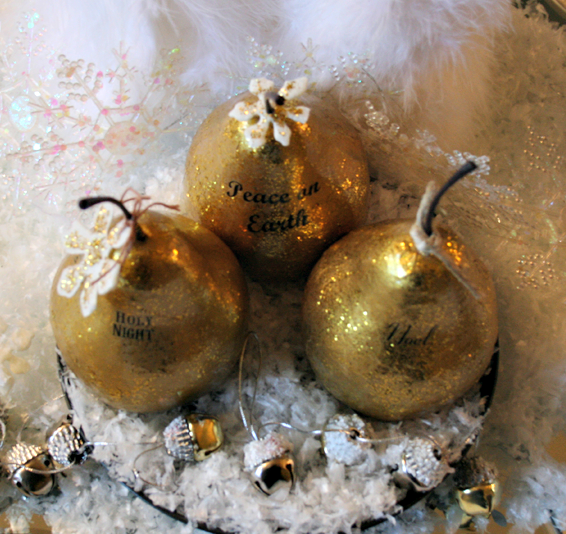
Over at Cupcakes and Crinoline you can learn how to DIY your own Gilded Pears.
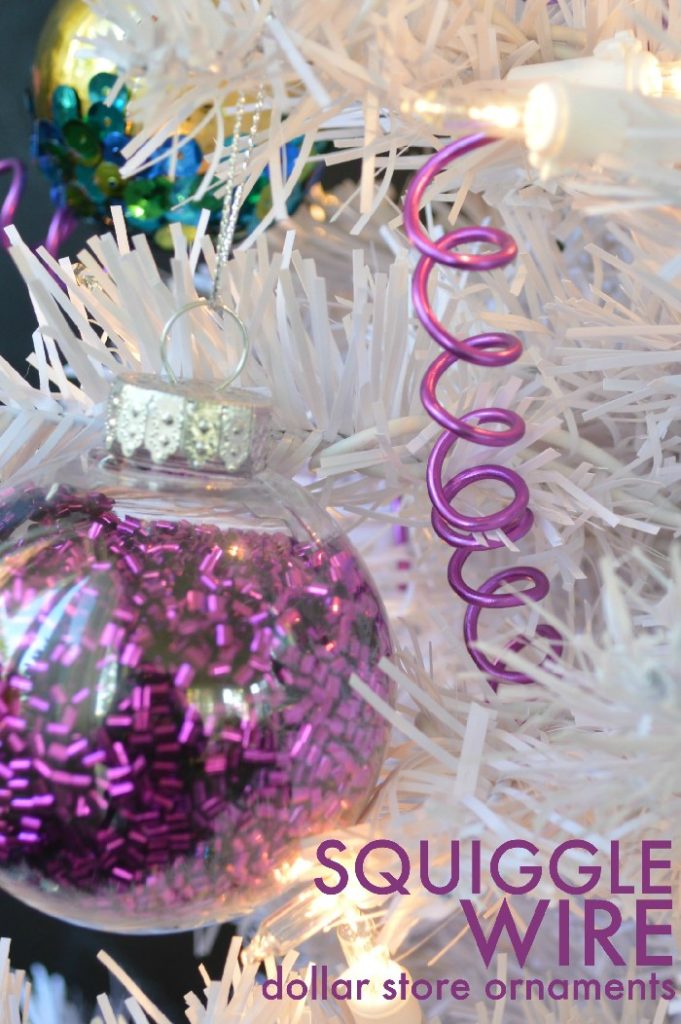
Jessica, my Guest Co-Host for the week, came up with these fun and simple wire squiggle ornaments.
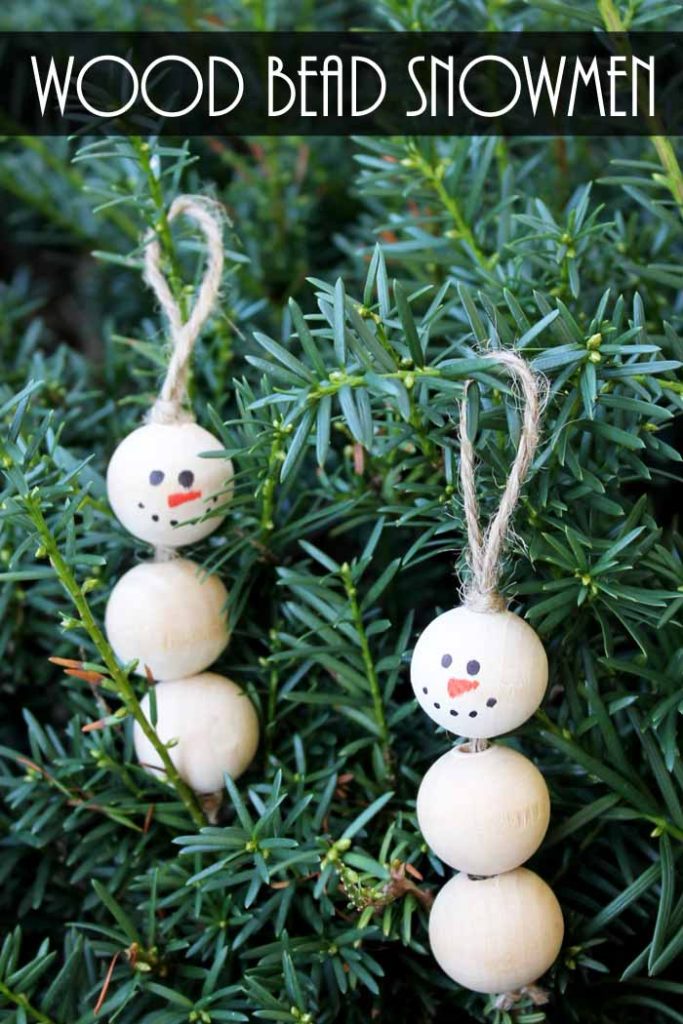
And Angie from The Country Chic Cottage, my long-time friend and Co-Host created these adorable snowman ornaments in just 5 minutes!
Come back tomorrow for more fast and fun Holiday Craft ideas!


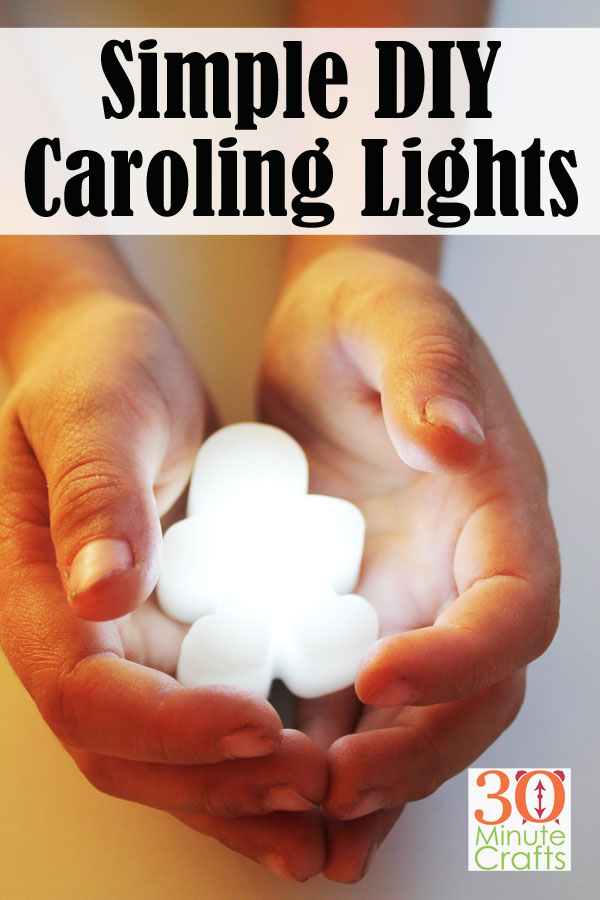
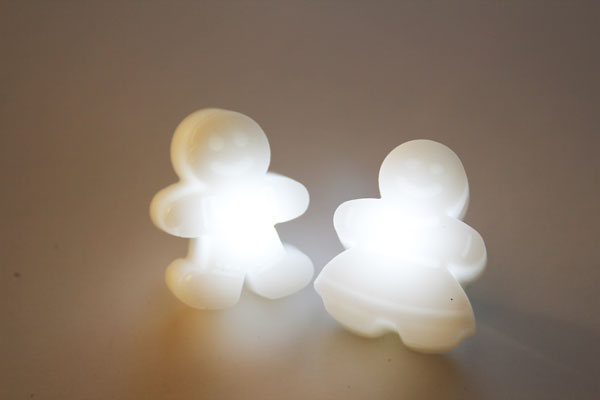
Simple DIY Caroling Lights

Does your family or Church group go Caroling during the holidays? If you’re looking for a fun alternative to traditional Caroling Candles, these Simple DIY Caroling Lights are perfect! They don’t take long to make, are completely safe for kids to hold, and give off the perfect festive glow for the holidays. Even if you don’t go caroling, you’ll want to make these to place around the house instead of tealights during the Holidays.

Simple DIY Caroling Lights - a fun alternative to candles or tealights during the holidays.

This post contains affiliate links which help support this site at no additional cost to you.


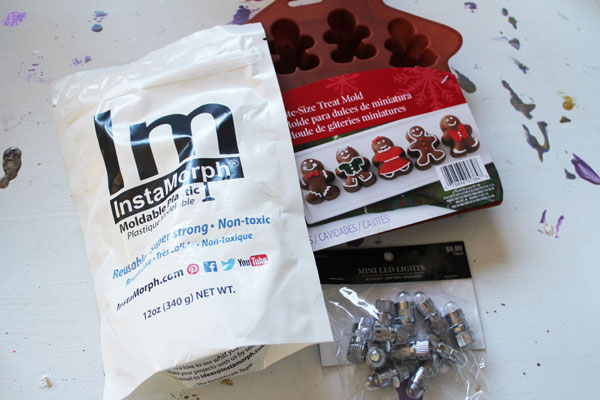
To make these Simple DIY Caroling Lights, you’ll need:

Gingerbread Man Silicone Mold
Instamorph
LED Lights
Mug or Bowl
Hot Water
Tongs

supplies for Simple DIY Caroling Lights

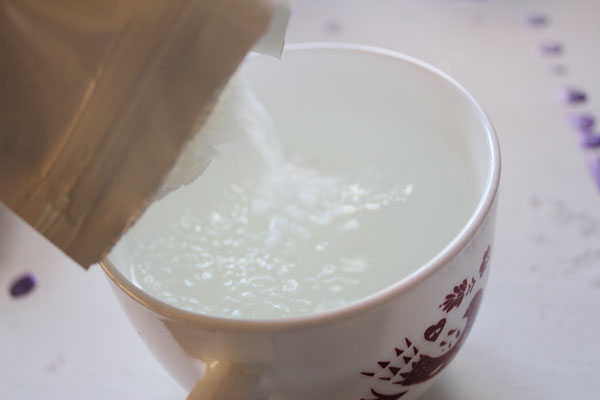
Pour the InstaMorph into the hot water. Allow to sit for 2 minutes.

pour in pellets

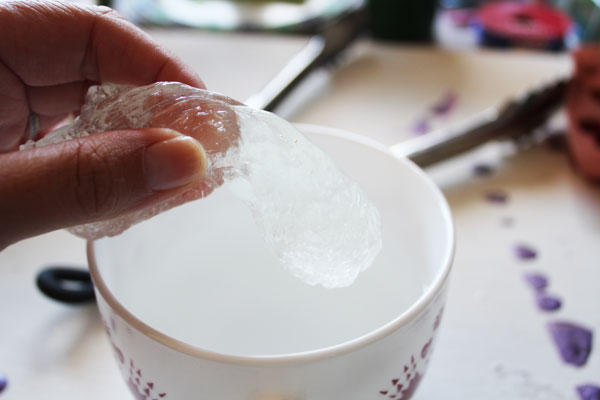
Pull out with tongs. When it is cool enough, you can shape it with your hands.

pull out of water


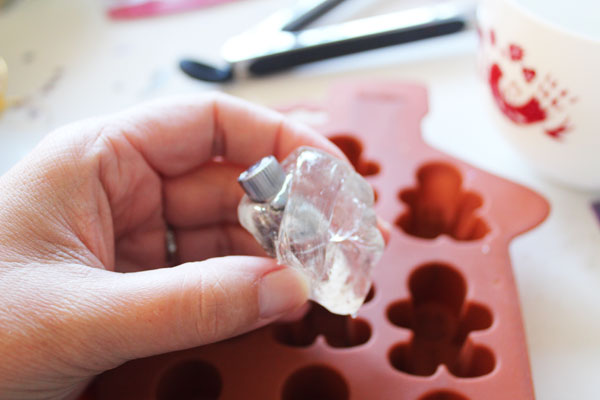
Wrap it around the light.

mold around light

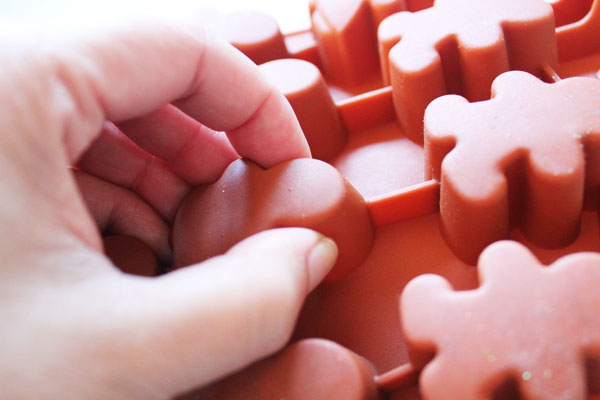
Push into mold.  Make sure to adjust the back of the mold.

mold back

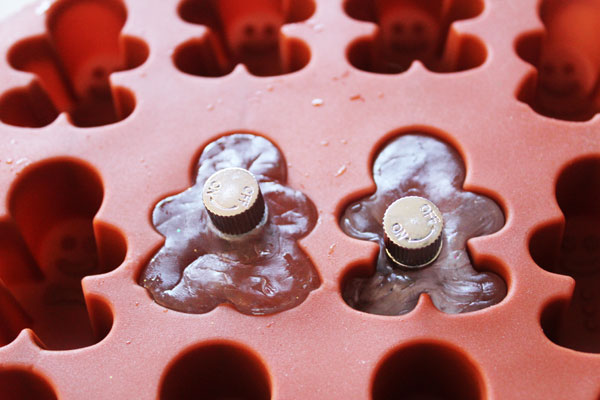
Allow to set.

allow to set

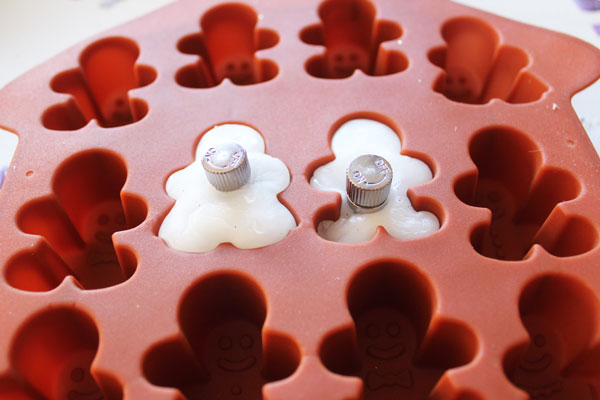
The plastic will turn white when it cools.

plastic is set

Unmold. Turn the back of the light to turn on.

simple DIY Holiday lights


Check out these great ideas for fun and fast Holiday Crafting!


I love these poured paint ornaments over at 100 Directions – they look so much harder to make than they actually are!

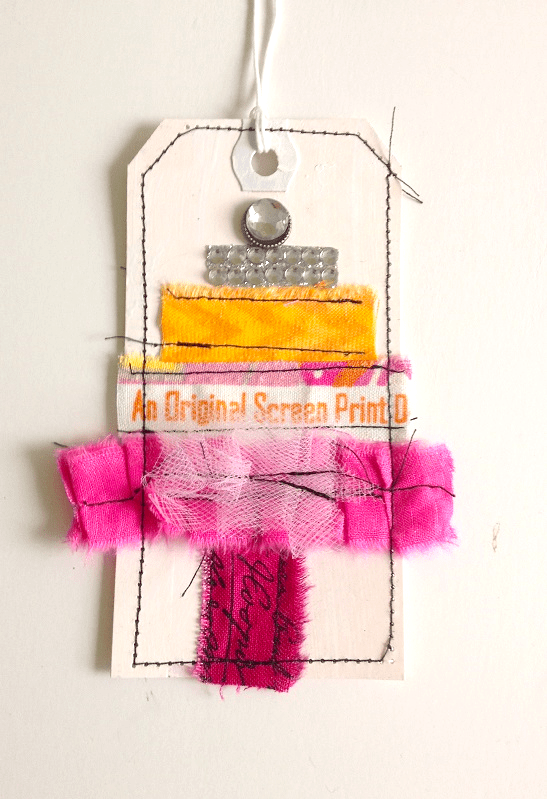
Check out these fun selvedge edge gift tags from 365Days of Crafts!

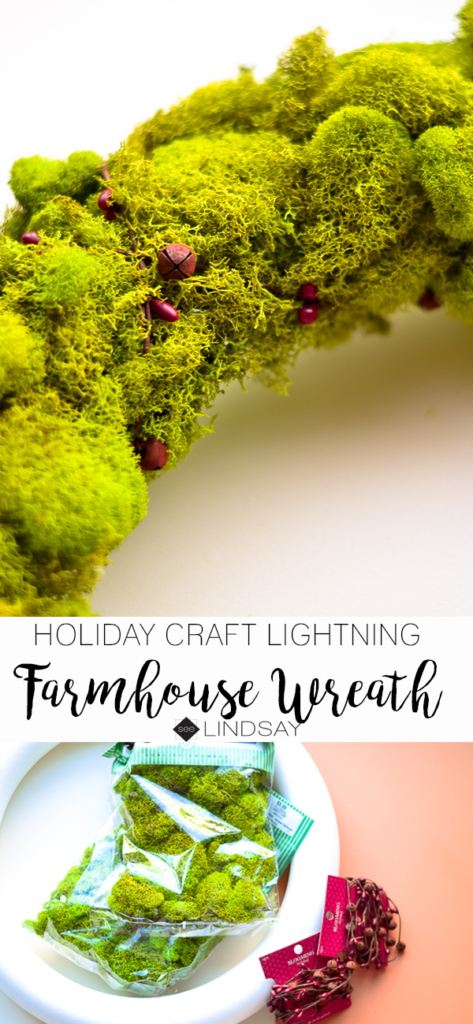
You can learn how to make this farmhouse-style Christmas wreath over at See Lindsay.

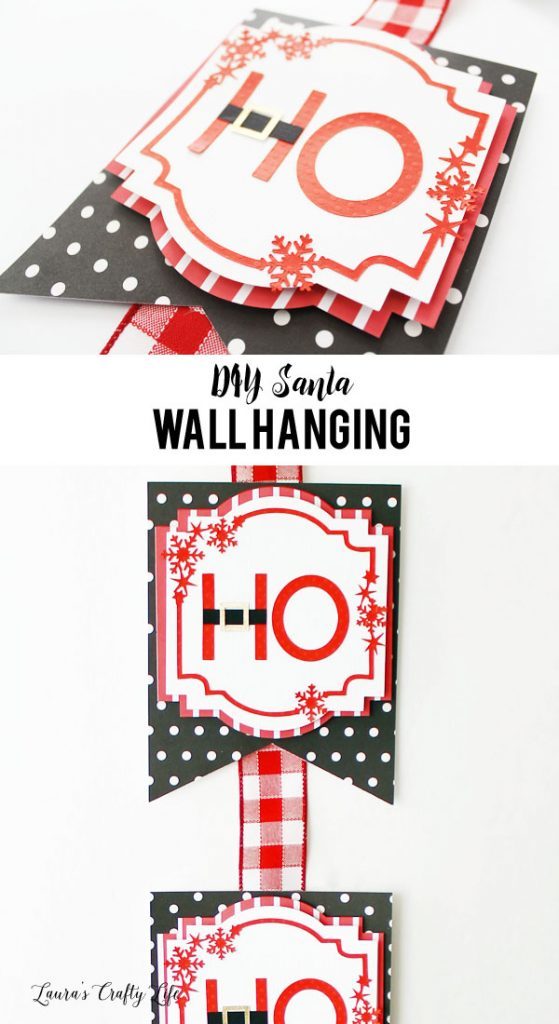
How cute is this DIY Santa Sign from Laura’s Crafty Life?

I love this DIY Farm Fresh Sign from the DIY Village.


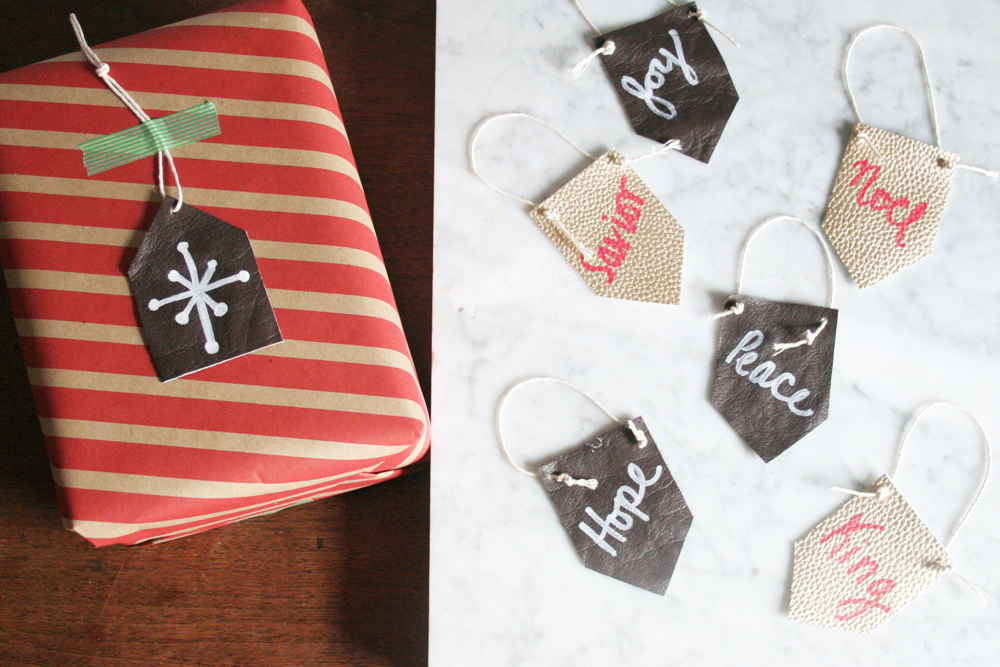
Craftivity Designs makes these DIY Leather Gift Tags and Ornaments.

Whip yourself up a pair of these leather snowflake earrings from Hey Lt’s Make Stuff.


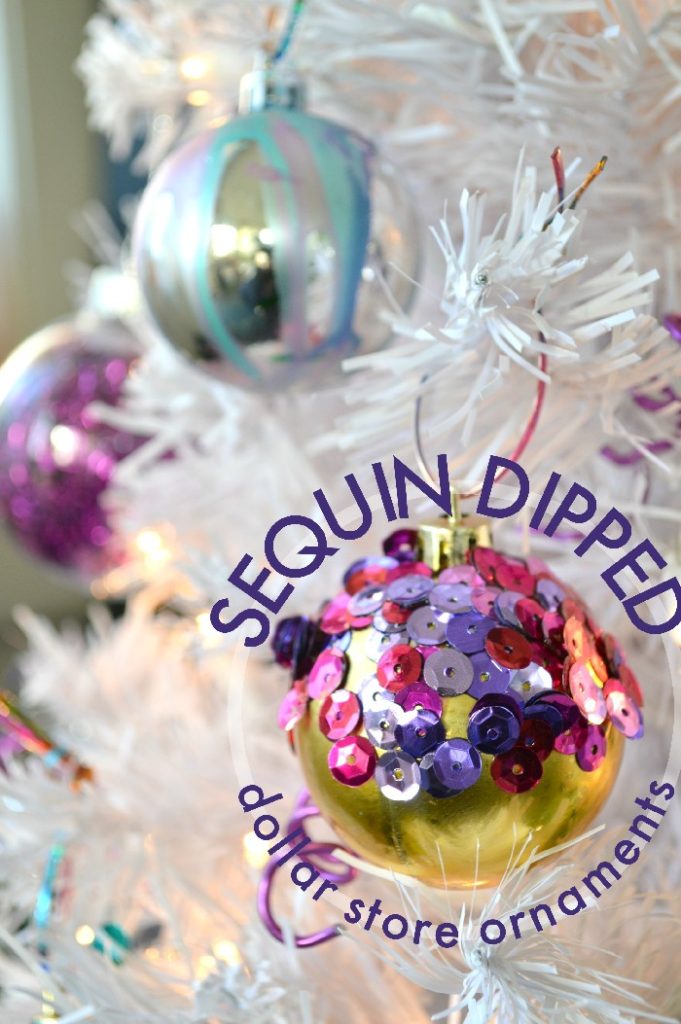
My guest co-host, Jessica from Mad in Crafts created these fun sequin dipped ornaments.

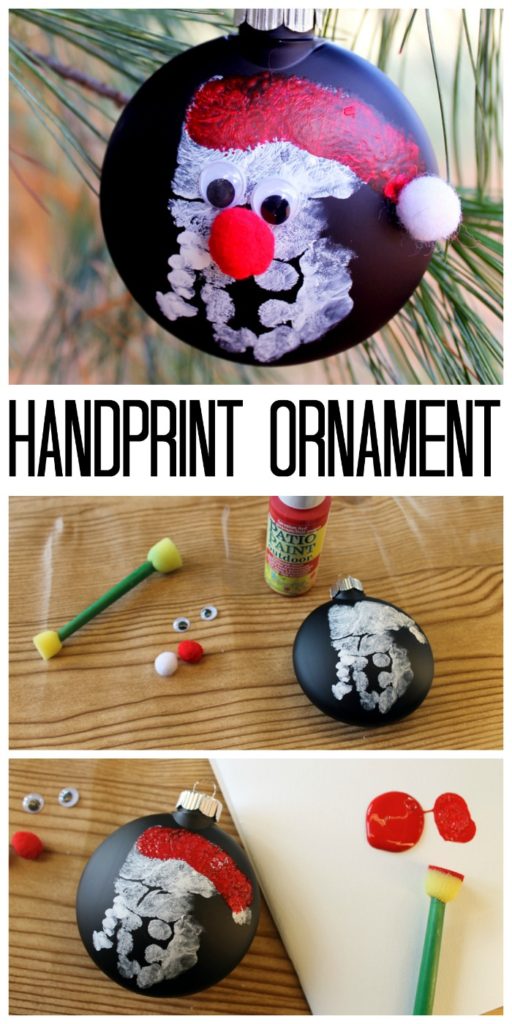
And my long-time co-host, Angie from the Country Chic Cottage shows you how to make a handprint ornament.

Check back tomorrow for more fast and fun Holiday Craft Ideas!


Paint Sprayed Gift Tags

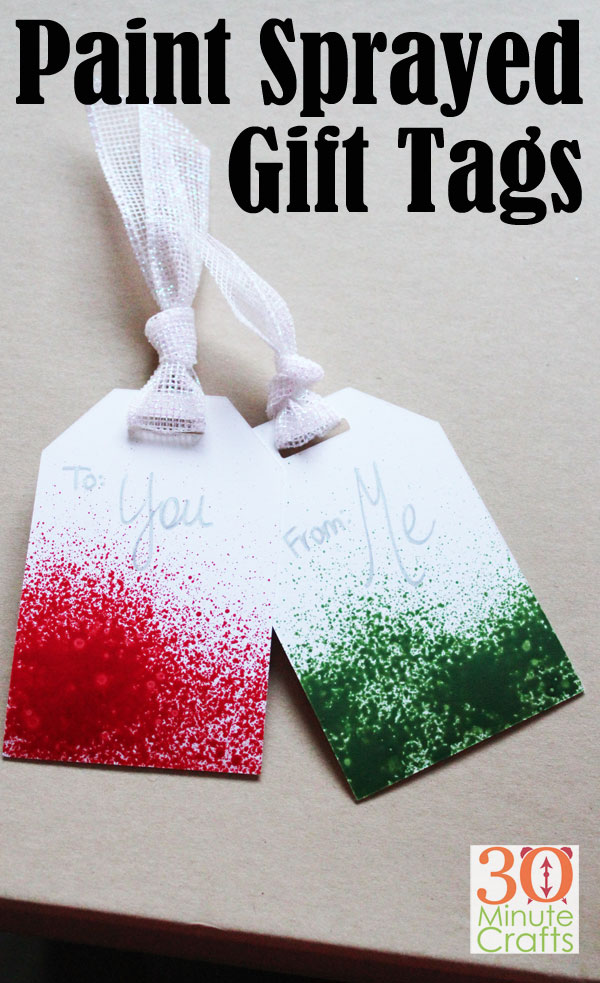
Having cute gift tags handy makes gift wrapping super easy during the holiday gift-wrapping rush! These paint sprayed gift tags are super simple to make, and with a quick splash of color, they’ll coordinate with lots of different holiday wrappings. But in a pinch, brown kraft paper is my favorite go-to for simple holiday wrapping, especially when paired with DIY Gift tags!

This project is the first in our week-long Craft Lightning series! Each day this week I’ll be sharing a fast Holiday Craft that can be made in 15 minutes. And so will my Co-Host Angie from The Country Chic Cottage and our Guest Co-Host Jessica from Mad in Crafts. And we’ve invited loads of our crafty friends to join in! Be sure to scroll to the bottom of the page to check out all their great ideas!

Paint Sprayed Gift Tags - these DIY Gift Tags are simple to make, and add some great color to a simply wrapped gift!

This post contains affiliate links which help support this site at no additional cost to you.

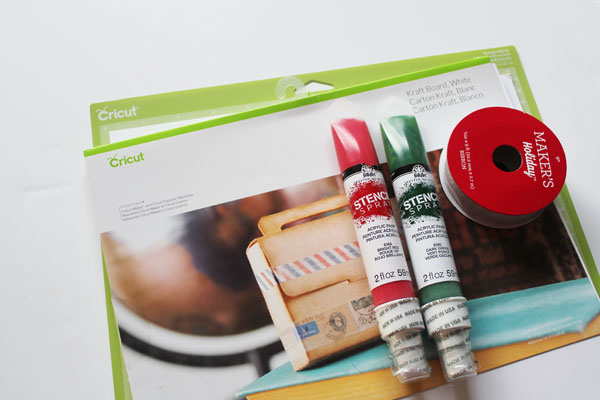
Supplies for Paint Sprayed Gift Tags:

Pre-made gift tags or Cricut Kraft Board (Buy it on the Cricut Site or on Amazon)
Plaid Stencil Spray
Ribbon
Paper Plate (optional)

paint sprayed gift tag supplies


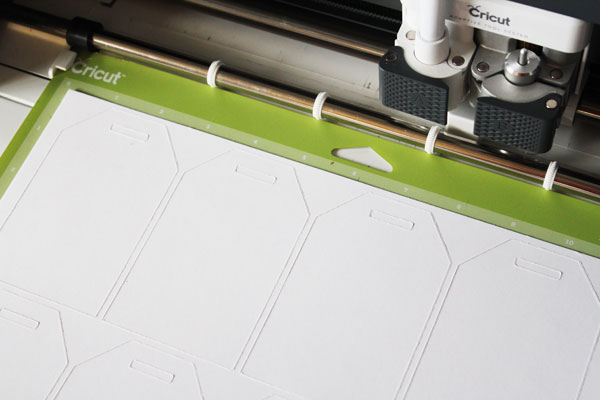
If you’re making your own tags, you can use the tag file I created for Cricut Design Space.

cut tags

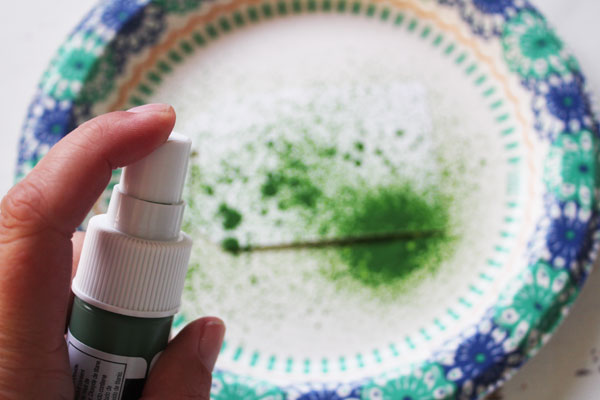
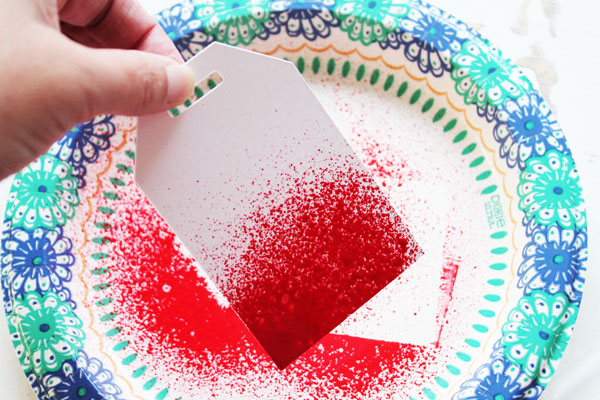
Spray the bottom of the tag with the spray. You can spray over a paper plate to protect your work surface.

spray tag

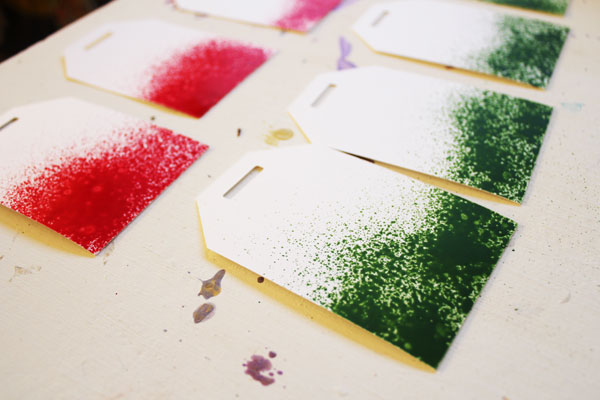
Set the tags aside to dry.

allow to dry

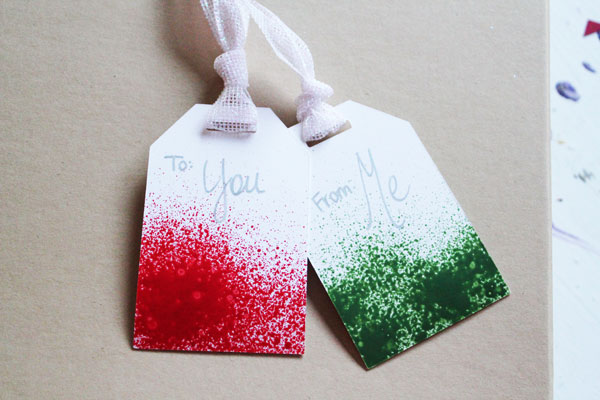
Tie ribbon through the top. Add the “to” and “from” information on the tag and secure to your gift!

finished DIY Gift Tags - Paint Sprayed Gift Tags

If you’re looking for more fun and fast Holiday crafts, check out all these fun ideas:

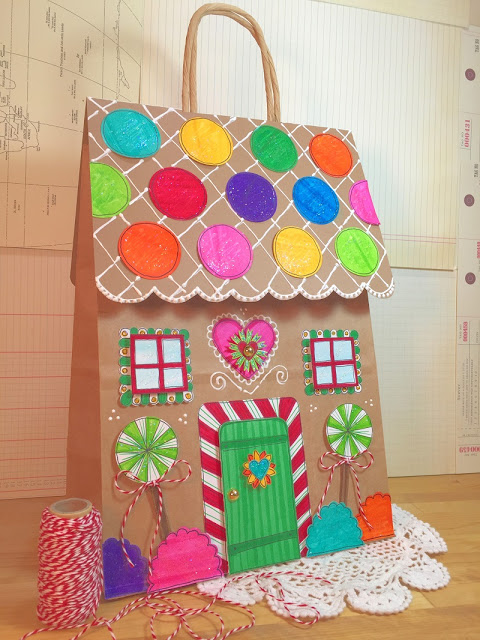
How cute is this Upcycled Gingerbread House Gift Bag from Beth Watson Design Studio?

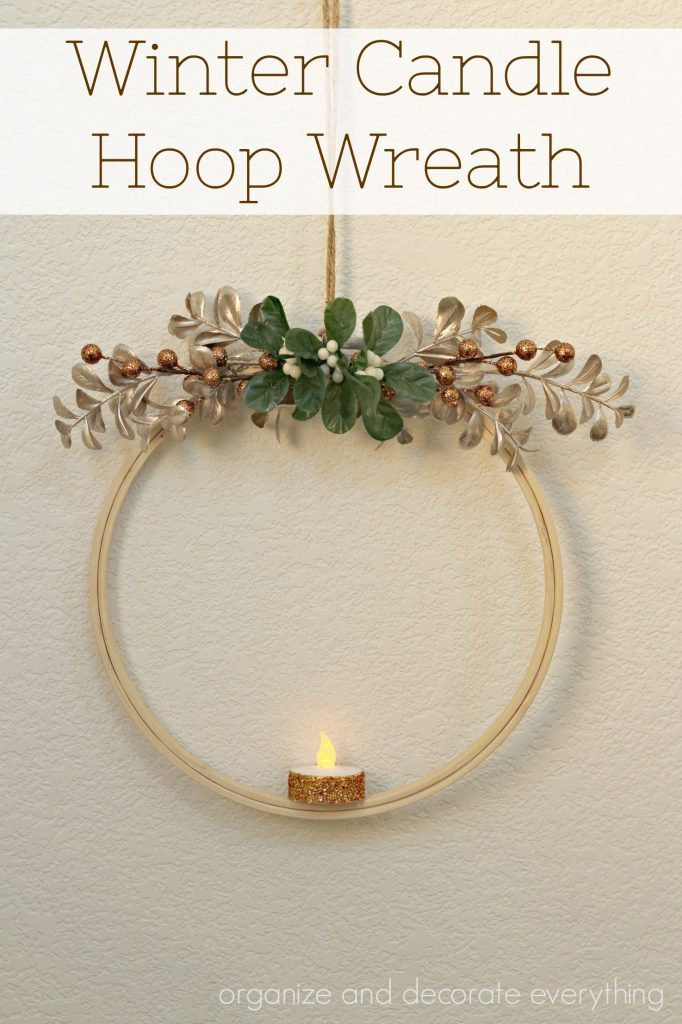
I love this simple Wreath Hoop that Leanne from Organize and Decorate Everything made!

Breanda Bird Designs used Pop Poms for this fun garland.

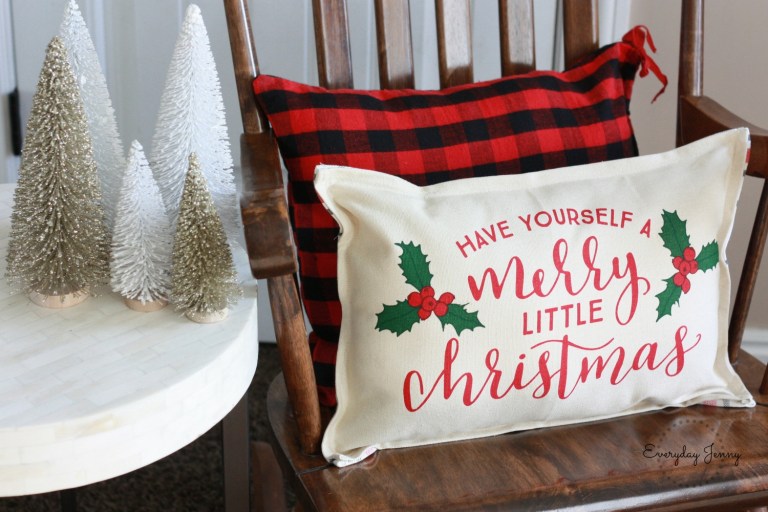
Over at Everyday Jenny, you’ll learn how to turn a placemat into a festive Holiday Pillow.

If you’re looking for a great hostess gift, check out this fun holiday towel at Sew Woodsy.

This simple Holiday sign from Crafting in the Rain is sure to be a hit.

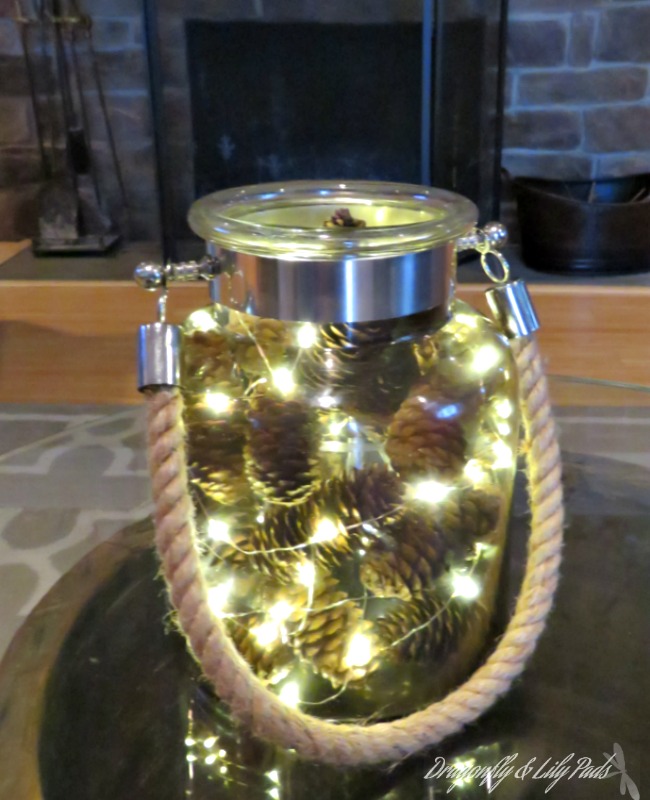
This woodsy holiday decor from Dragonflies and Lilypads will last beyond the holiday as great winter decor.

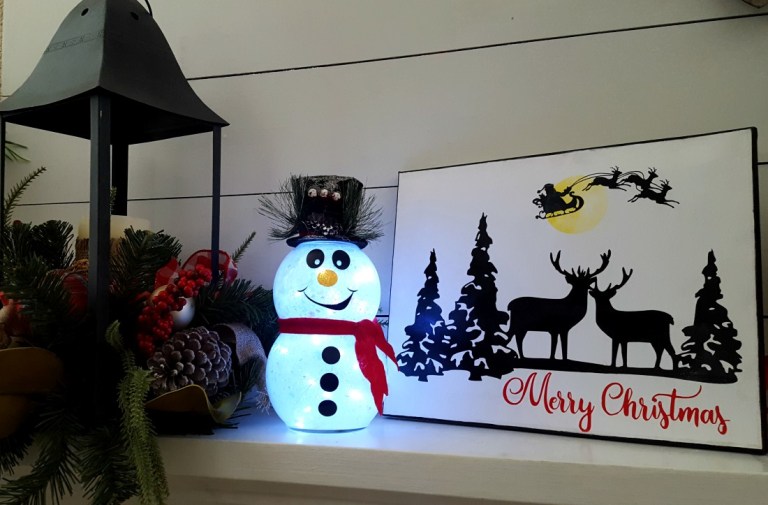
Leap of Faith Crafting will show you how to make this light up Snowman – it is easier than you might think!

Be sure to check back tomorrow (and every day this week) for more fast and fun Holiday craft ideas!
 

Creating with the Cricut Easy Press

I’m a tool junkie. I love tools that make crafting easier, faster, and provide better outcomes. And that is exactly why I was so excited when the folks at Cricut offered to send me a Cricut Easy Press, and asked me to share about it here. The Cricut Easy Press is like the love-child of a household iron and a Heat Press machine. I absolutely do not have room for a heat press in my craft room. It is too large. While it would do a fantastic job of applying vinyl to my projects on the occasions that I use Heat Transfer Vinyl, it would sit idle most of the time, taking up a whole lot of space. The Cricut Easy Press has a much smaller footprint, is easier to store, and has so many features that even my fancy quilting iron doesn’t have.

Creating with the Cricut Easy Press - Basic Cricut Easy Press Instructions


The Easy Press is designed to fuse iron-ons. The heat from the metal sole melts the adhesive in the iron on to fuse it in place. This makes it great for Heat Transfer Vinyl. I love cutting HTV for shirts and other projects, and the Cricut Easy Press makes it even easier to get a perfect transfer.

Buttons on the Cricut Easy Press

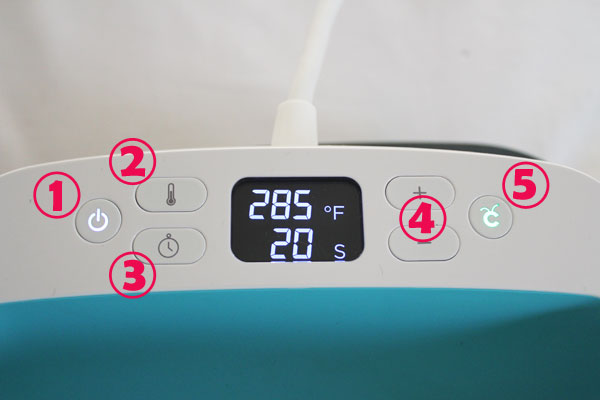
The Cricut Easy Press has 6 buttons:

  1. Power Button. Press this Button to turn on the machine.
  2. Temperature Button. Different materials need and can withstand different temperatures. Press on the temperature button and then the (4) keys to adjust it up or down.
  3. Timer. The Cricut Easy Press has a built-in timer. Press this button and the (4) keys to adjust the timer.
  4. Plus and Minus. These buttons are used with the Temperature and Timer Buttons to set the right time and temperature.
  5. Cricut Button.  This starts the timer.

Easy Press Temperature Guide

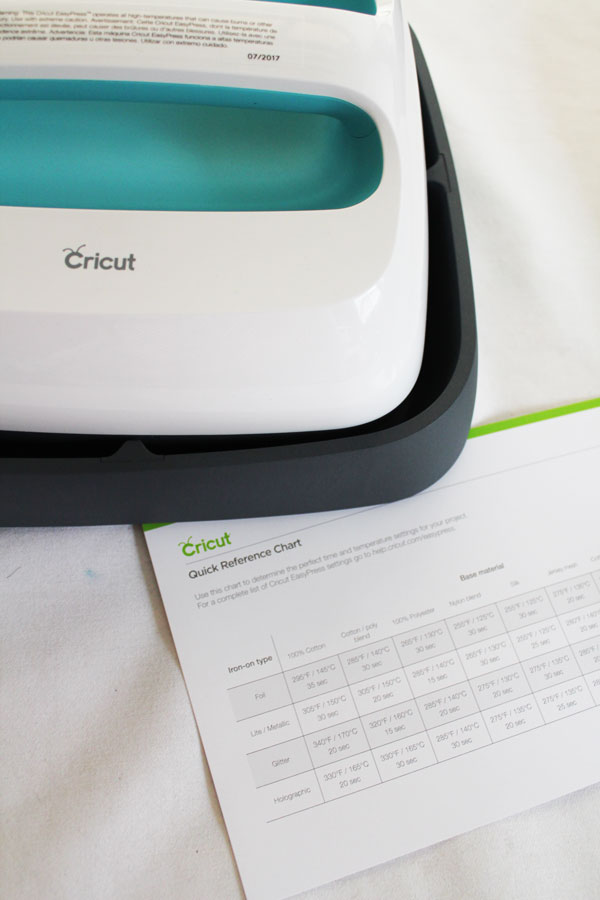
The Cricut Easy Press comes with a cradle to hold it. I love this for several reasons. First, it prevents the Easy Press from burning the surface it sits on while heating up. Second, the hot plate on the bottom of the Easy Press is always facing down, making it less likely that someone will get burned. Keep the Cricut Easy Press in the Cradle when it is not in use.

It also comes with a reference chart for temperature settings. Keep this handy so you always know what time and temperature to set your Easy Press at.

When you are ready to use the Easy Press, turn it on. Set the temperature and time. Wait for the Cricut light to turn green, indicating that the Easy Press has come up to the desired temperature.

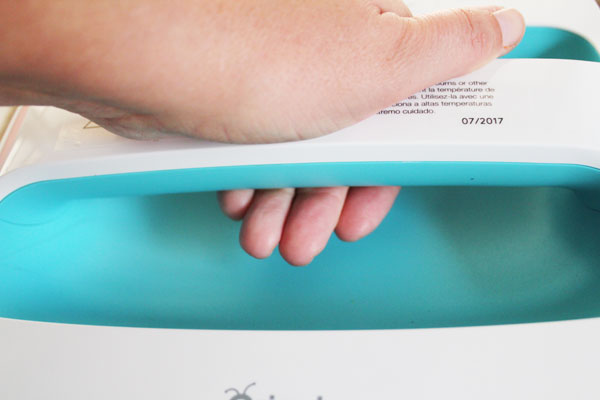
Move the Easy Press off of the cradle, and onto the project. Press the Cricut Button to start the timer. Use gentle, even pressure to press down on the Easy Press.

firm pressure

After the timer beeps, return the Cricut Easy Press to the cradle. Repeat the process as needed for larger transfers.

Allow the transfer to cool. Remember, the adhesive is activated by heat. Cooling it down will secure the transfer in place.

remove press

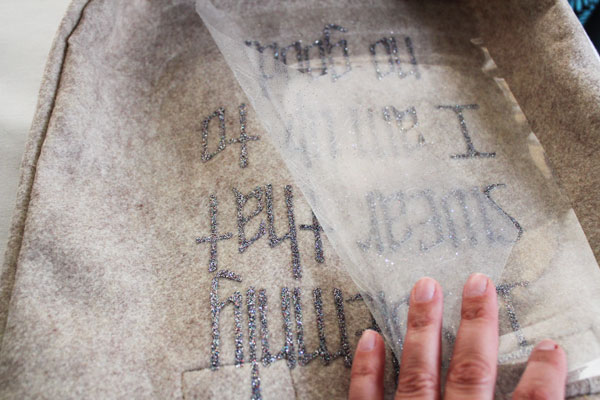
Peel back the clear transfer tape to expose the design. Your transfer is complete!

peel back plastic

This is a sponsored conversation written by me on behalf of Cricut. The opinions and text are all mine.

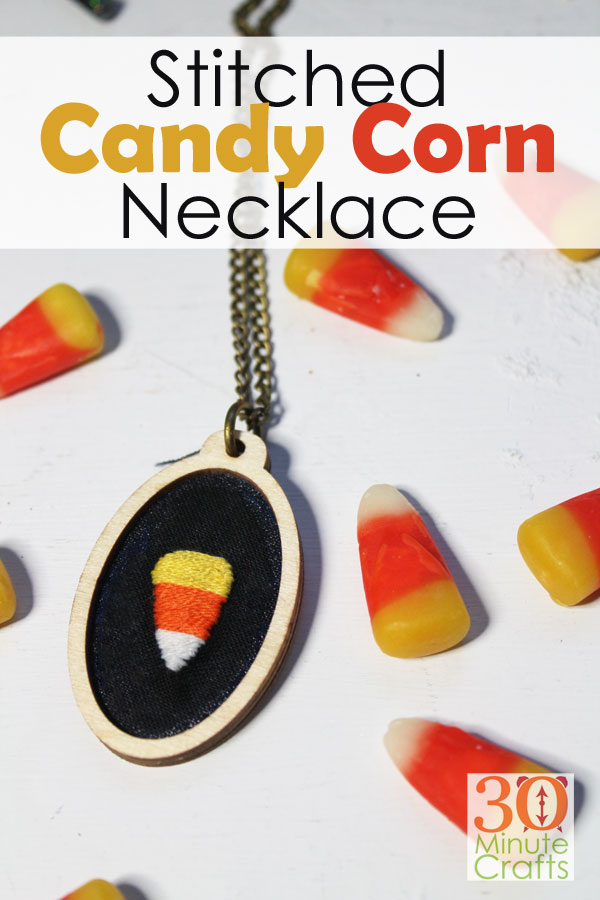
Stitched Candy Corn Necklace

This Stitched Candy Corn Necklace is almost as sweet as the iconic Halloween Treat it was inspired by! Simple to make, you can whip up this necklace in 30 minutes, allow it to dry overnight, and wear it the next day! I love simple projects that become immediate outfit accessories!! DIY Halloween Jewelry is so fun to make. You can wear it yourself, or make it to give to a friend, neighbor, or teacher. Especially if Candy Corn is their favorite treat! This way you can enjoy Candy Corn without the calories!
Make your own Stitched Candy Corn Necklace in less than 30 minutes with this fun 30 Minute Halloween Jewelry Craft!
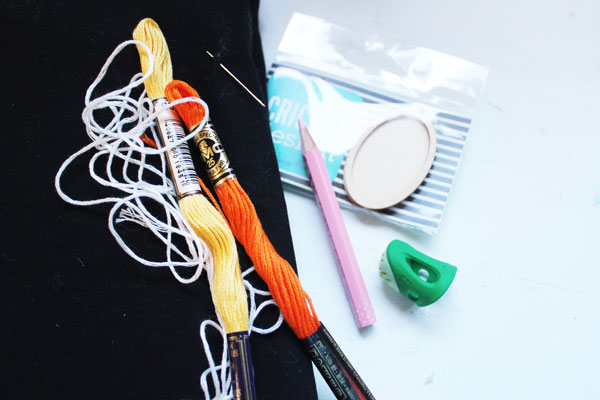
To make the Stitched Candy Corn Necklace, you will need:

Embroidery Floss in white, orange, and yellow
Needle
Black Fabric
Small Wooden Necklace Hoop
Fabric Glue
Thimble
Chalk Pencil
Small Embroidery Hoop (optional)

supplies

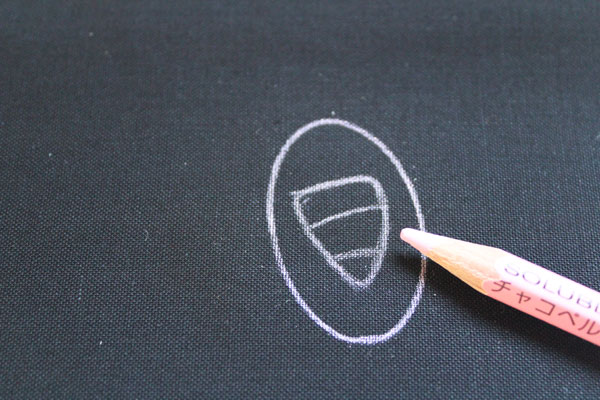
Trace the outside of your necklace hoop onto your fabric.

trace

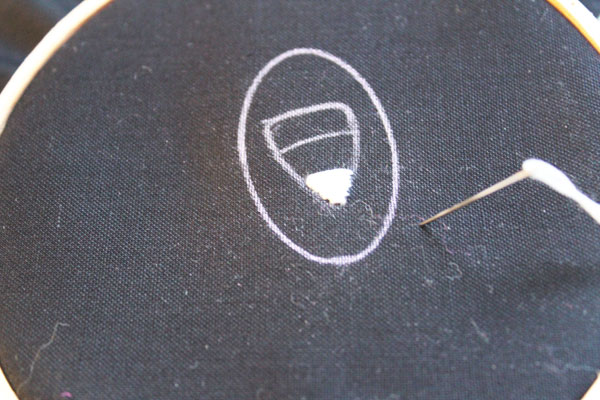
Draw a candy corn. Basically, an elongated triangle with curved corners. Divided into thirds. Don’t worry about perfection – candy corn are not perfect.

draw

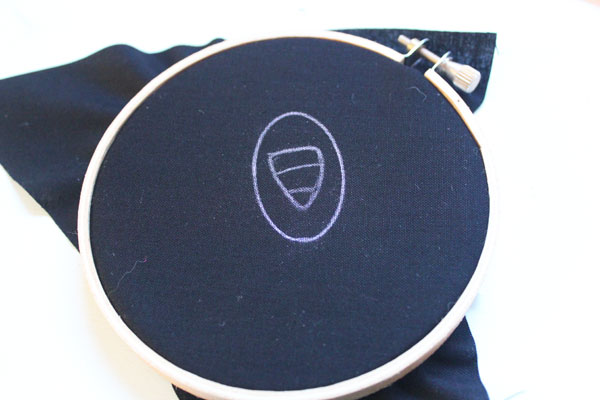
If you like, you can put the fabric in a hoop. This can make it easier to stitch.

put in hoop

Starting with the white thread, stitch the candy corn.

sttich white candy corn

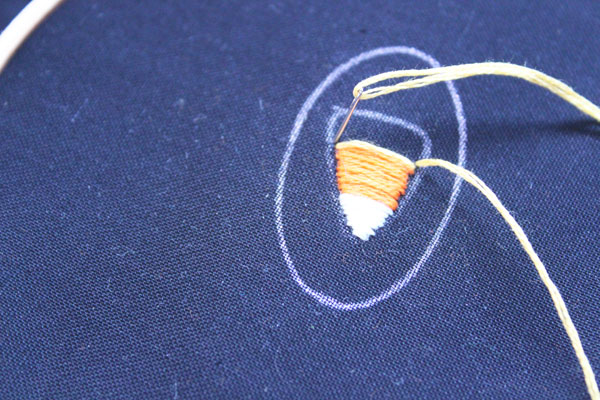
Then stitch the orange and the yellow.

stitch yellow

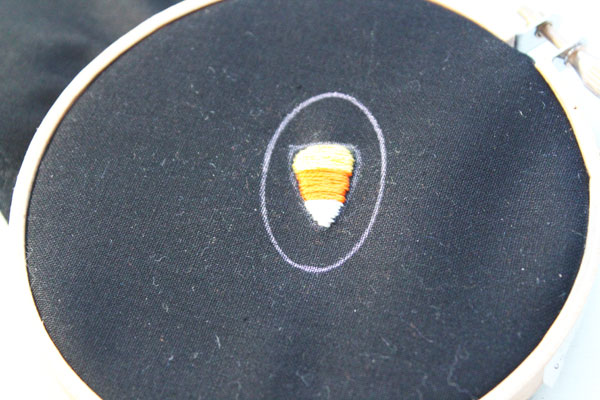
When it is all done, it should look something like this.

finished sitching

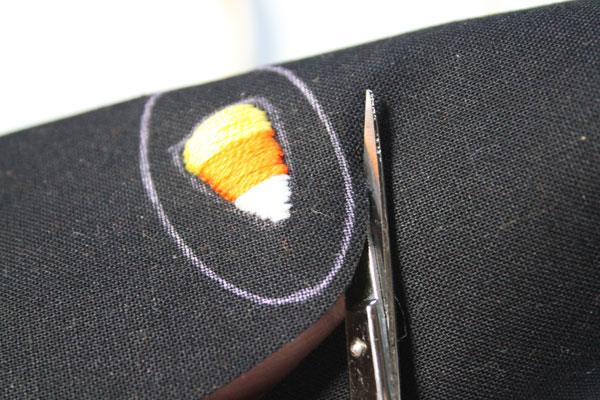
Trim about 1/4″ away from the edge of your chalk line.

trim

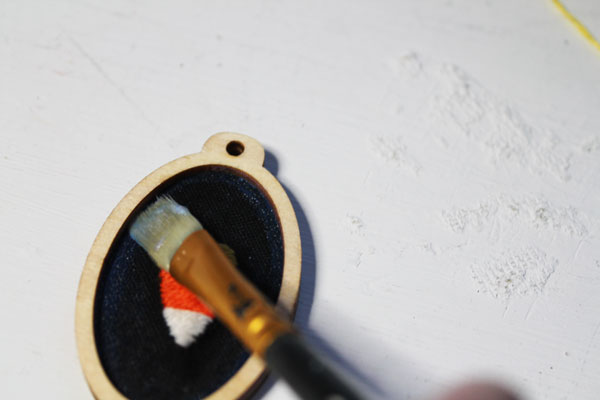
Grab your fabric glue. I like spreading it with an old paintbrush.

glue

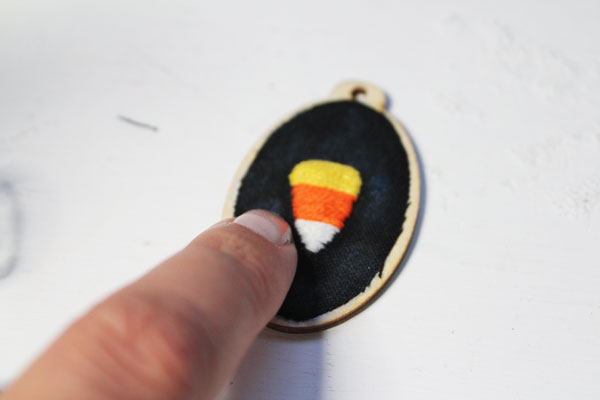
Glue the fabric to the back of the wooden hoop.

glue to back

Then glue the hoop in place. You can use the paintbrush to remove any stray glue from the edges and sides.

wipe glue

Allow to dry, and your Stitched Candy Corn necklace is complete!

If you love candy corn and DIY Halloween Jewelry, you’ll also want to check out these easy printable candy corn earrings!

Best HTV Shirts

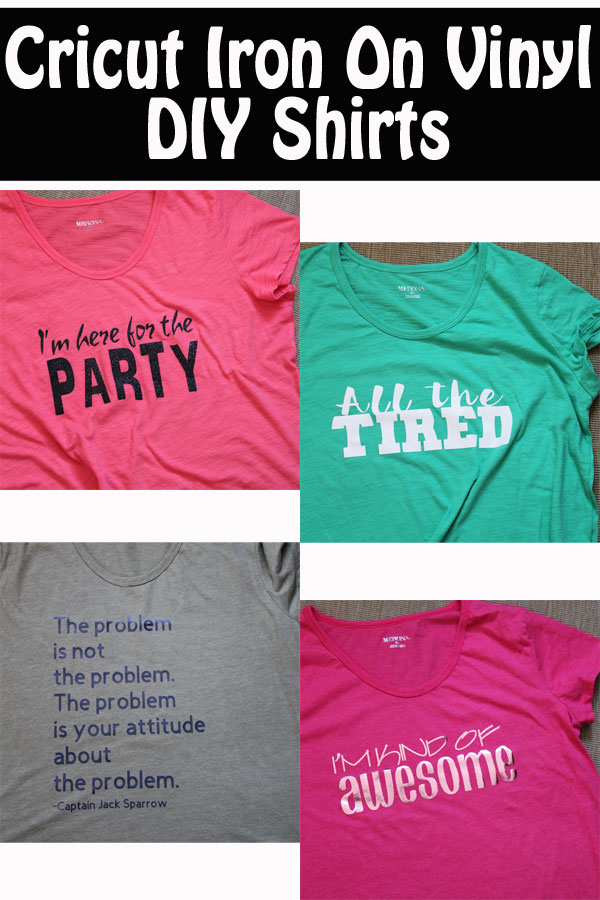
Making shirts with Heat Transfer Vinyl is crazy easy, and super fun to do! Head down to your favorite big box store, buy the most comfy tee they have in multiple colors, then add a saying to each. You’ll have custom shirts with sayings you love, at a fraction of the cost of buying a shirt with a saying at a store or online! That’s what makes these the Best HTV shirts!

Cricut Iron on Vinyl DIY Shirts - Best HTV Shirts


To make the shirts, pick out your saying.

Then pick out the kind of vinyl you want – solid color, sparkle, holographic, foil… there are so many options!

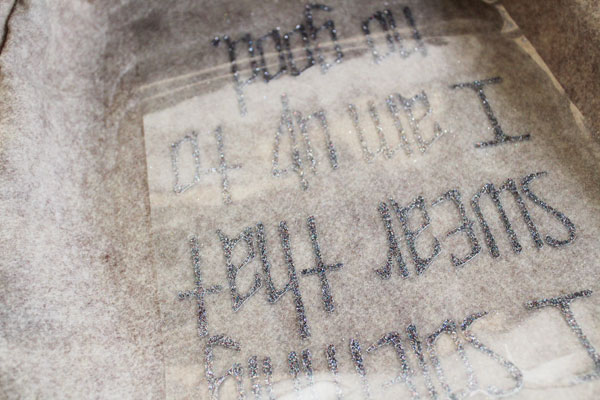
Cut the design with your Cricut. Make sure you select the option to mirror your image – you always need to mirror HTV.

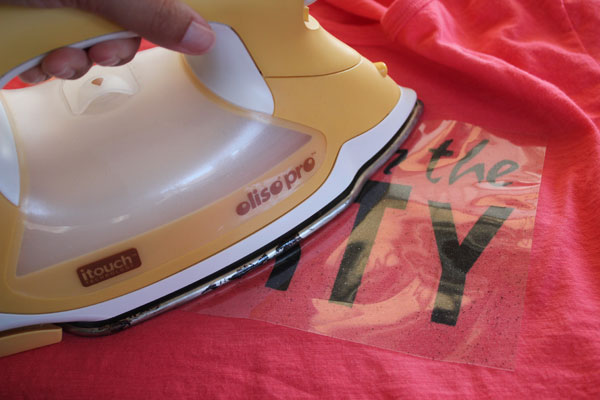
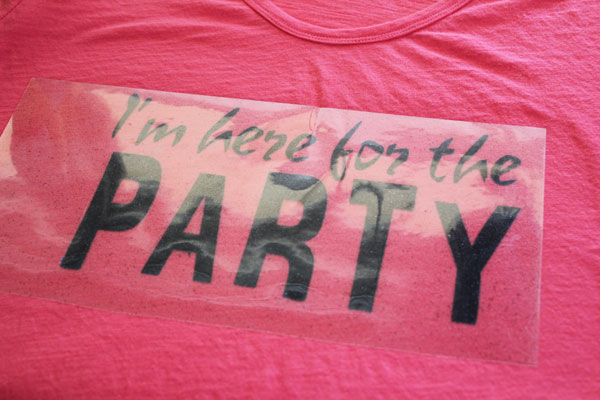
Iron it on to your shirt.

Iron on

Allow to cool, then remove the clear plastic.

let cool

Make as many different sayings as you like! You can create your own, or use one that I’ve already created:


All the Tired

Jack Sparrow Quote

I’m Here for the Party

I’m kind of Awesome


Enjoy making your fun HTV Shirts!

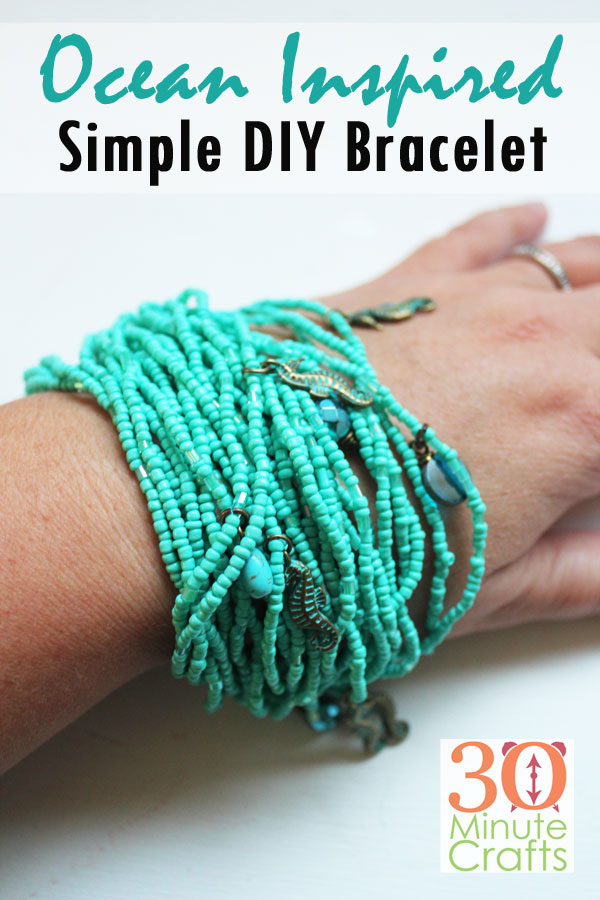
Ocean Inspired Simple DIY Bracelet

Sometimes, when I’m wandering the aisles of the craft store for inspiration, I find the perfect simple project. To me, the perfect simple project is one that doesn’t look simple, but absolutely is. Thanks to finding the perfect supplies, this Ocean Inspired Simple DIY bracelet is super easy to make, you can create your own in 15 minutes or less!

Ocean Inspired Simple DIY Bracelet

To make your Ocean Inspired Simple DIY Bracelet, you’ll need:

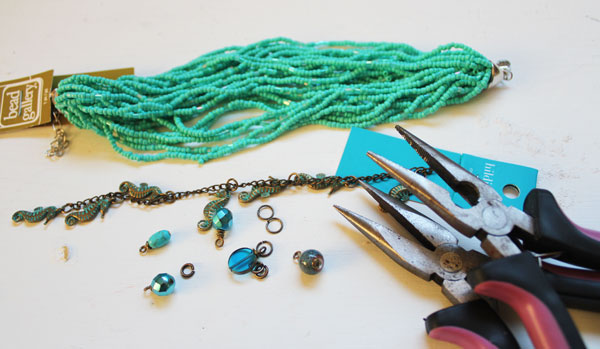
Pre-beaded Strands
Assorted Ocean Charms
Jewelry Pliers

supplies for bracelet

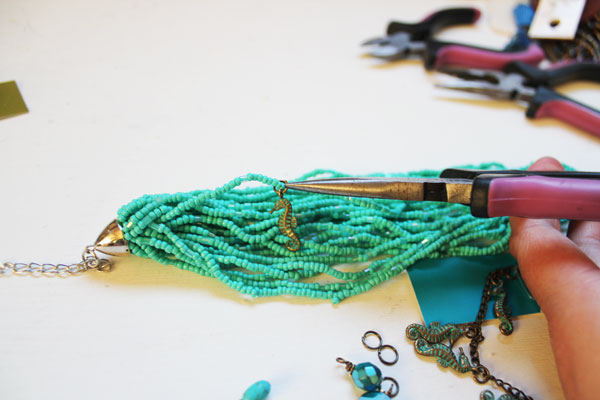
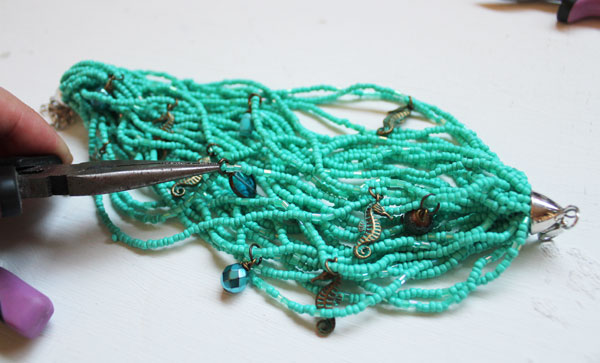
Open up the jump rings that are attaching the seahorse charms to the chain they came on. Then add the charm to a beaded strand, and close the jump ring.

add charms

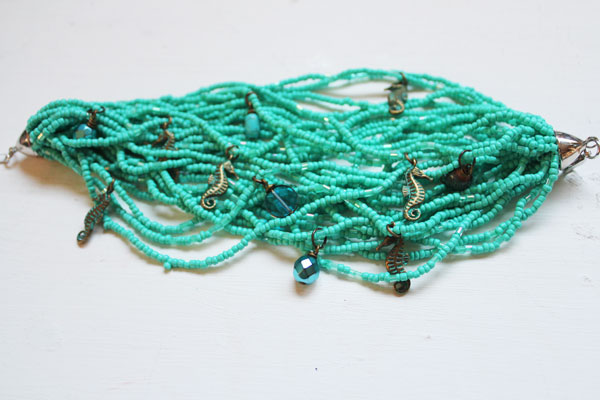
Scatter your seahorse charms throughout the bracelet. Then add the sea glass and bead charms with the jump rings they came with. This is a very organic, ocean-y look we are going for. No need to measure things out or worry about it being perfect.

add more charms

Keep adding charms until you run out of charms, or are satisfied with the look. Hopefully the former doesn’t happen before the latter.

added charms

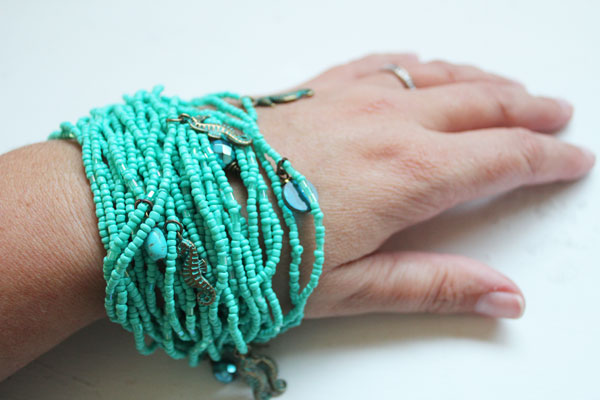
Remove the tag if you have not already done so, then search your closet for the perfect outfit to wear with your new bracelet. And prepare yourself for all the compliments. When someone says how much they love your bracelet, you can say “thanks, I made it!” Even though you didn’t string a single bead! That is how simple and easy this Ocean Inspired DIY bracelet is!

Finished Ocean Inspired Simple DIY Bracelet

Simple Skull Earrings

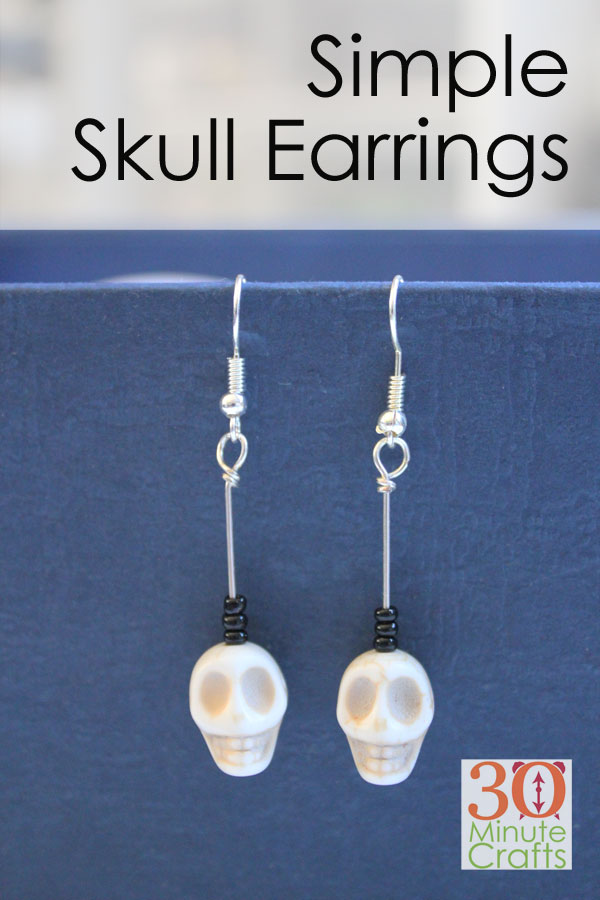
I love making simple Earrings for the seasons, and it doesn’t get much easier than these simple skull earrings! You only need a few supplies and a pair of round-nosed pliers to have the perfect skull earrings to wear this Halloween!

These simple skull earrings are easy to make yourself, and so fun to wear on Halloween!

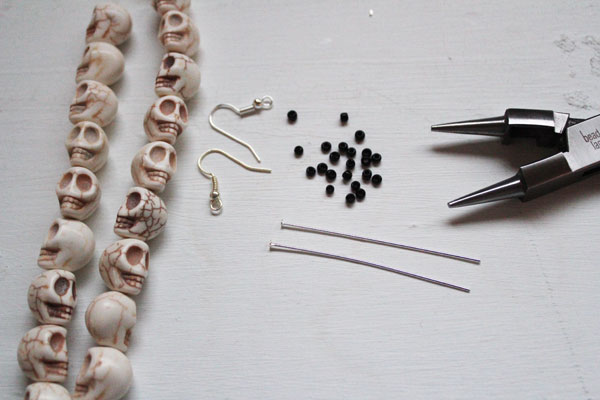
To make these Simple Skull Earrings, you’ll need:

Skull Beads
Black Seed Beads
Head Pins
Earring Hooks
Round-nosed Pliers

supplies for simple skull earrings

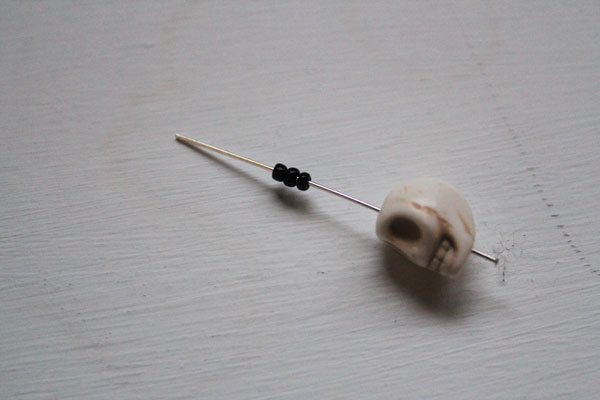
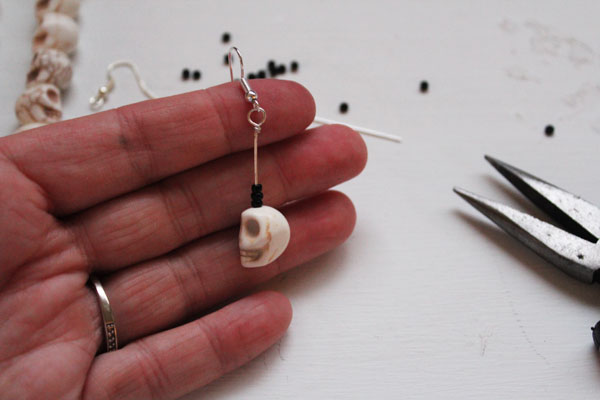
Thread the beads onto the head pin.

thread beads on headpin

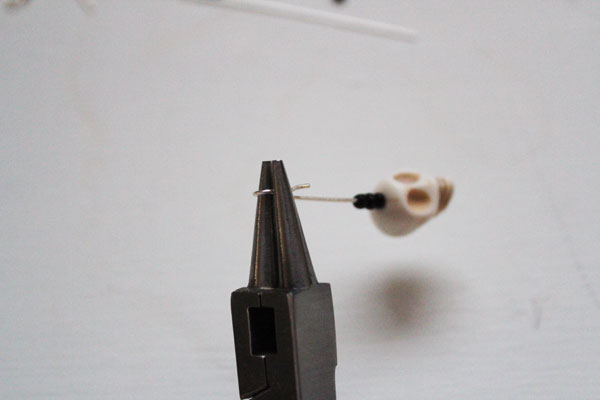
Wrap the top of the head pin around your round-nosed pliers.

curl head pin

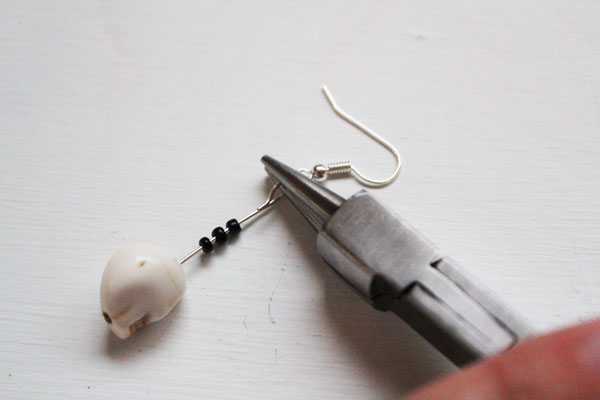
Thread on the earring wire. Then wrap the excess wire from the head pin around the base of the loop.

wrap head pin

Your first earring is complete!

finished earring

Reapeat these steps to make the second simple skull earring, and you’ll have the perfect jewelry to wear on Halloween!


Roller Coaster Birthday Invitations

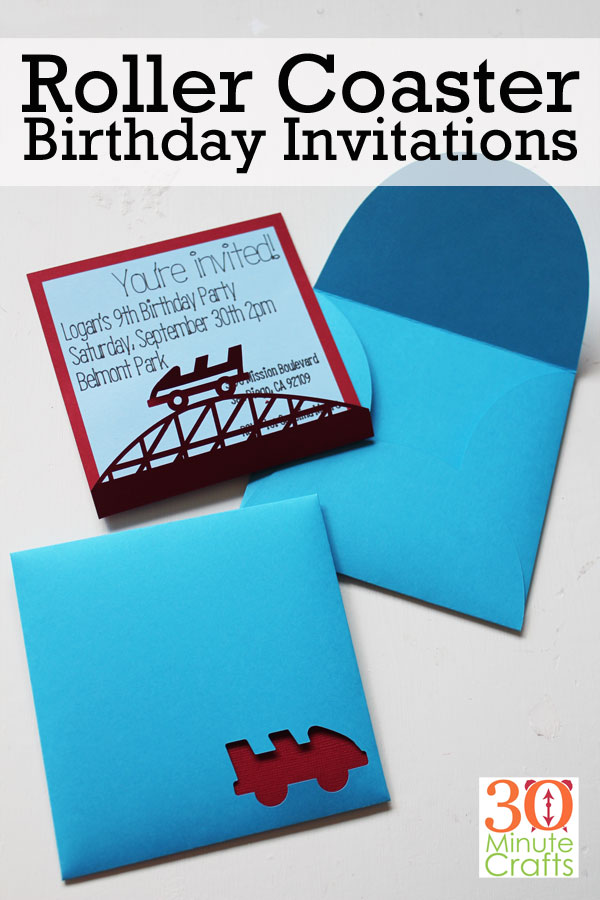
This year we celebrated my oldest’s birthday at the Boardwalk. It was so much fun, eating hot dogs and cake under the roller coaster… and these were the invitations I made to invite his friends to join us – Roller Coaster Birthday Invitations!

Roller Coaster Birthday Invitations

This post contains affiliate links which help support this site at no extra cost to you.

I love making both the cards and the envelopes, so that I can theme the envelopes to the cards. It adds a fun touch! When I made the cactus cards, I printed an insert to go in the cards. This time I used the drawing feature on the Cricut to write out the inside. It adds a different look, but I like both options.

If you want to make these cards, use the Roller Coaster Card File that I created. Make sure you click the link from your laptop or desktop computer (not your mobile device) to open the file in Cricut Design Space.

After you update the invitation with your party details, select the background and all the text, then attach them. That will ensure that the test is written in the right place on the invitations.

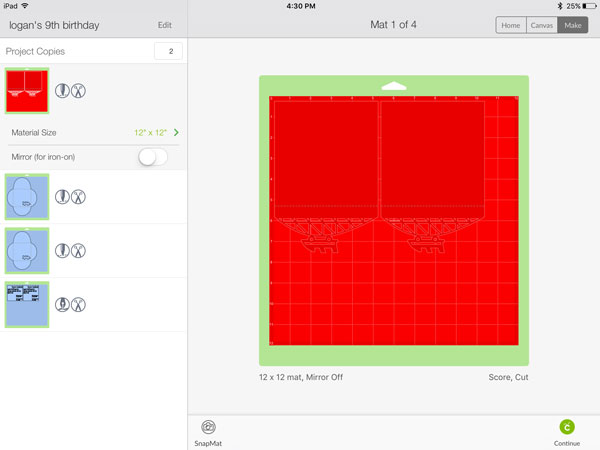
Once you have the file in Mat view, you can use the option in the upper left hand corner to cut multiple copies.

cut the invitations

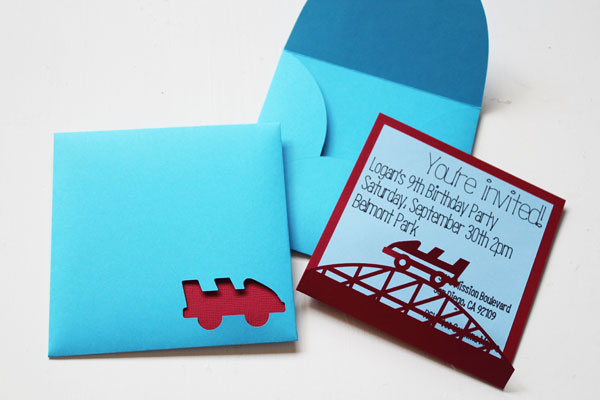
After cutting out all the pieces, glue the square inside the card, and assemble the envelope. If you’re planning on mailing the cards, you’ll need to put the card in a larger envelope so that the roller coaster cut-out doesn’t get caught in the Post Office’s machines. Also, square cards often require extra postage – check with your post office.

finished roller coaster card

DIY Planner Stickers – Draw then Cut

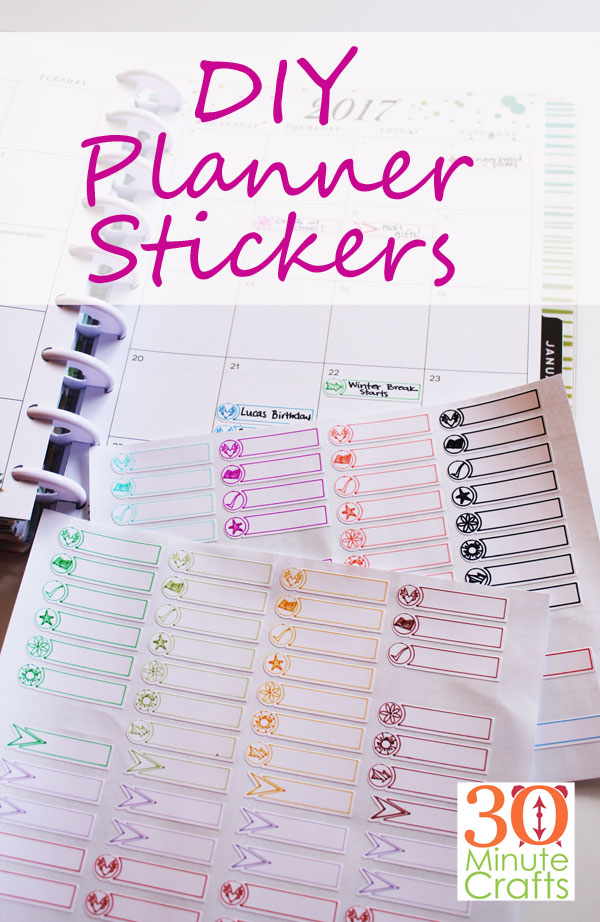
Planners are incredibly functional – keeping dates and appointments all straight – but they can also be pretty! These DIY Planner Stickers are actually drawn – by the Cricut Machine. Your Cricut will draw the stickers, then cut them out, making a perfect sheet of fun and colorful stickers to keep you organized.

DIY Planner Stickers - Make these fun stickers on your Cricut Machine using the Cricut Pens. Draw them and then cut them out!

This post contains affiliate links. Making purchases through these links supports this site at no extra cost to you.

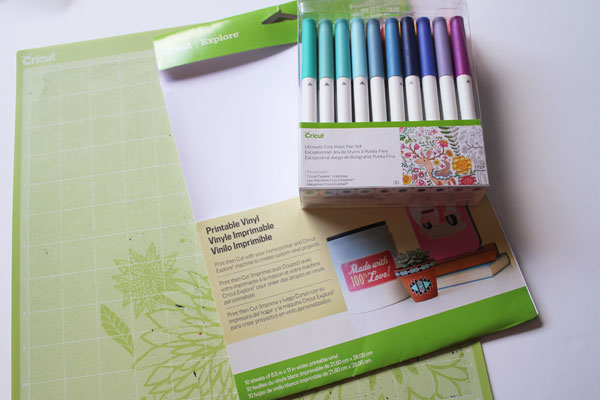
To make the DIY Planner Stickers, you’ll need:

Printable Vinyl
Cricut Pens
Cricut Machine
Draw then Cut Planner Sticker Files

supplies for diy planner

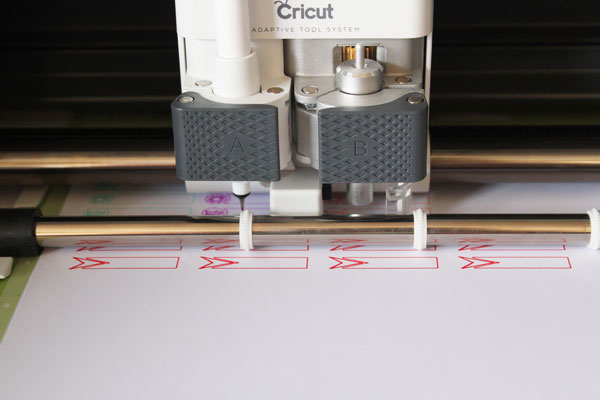
Open the file. Put the printable Vinyl on the mat. You’ll be prompted to add a pen. The file has been set up with specific colors, but you can ignore those if you like.

drawing DIY Planner stickers

The pen will do the drawing, then prompt you to replace the pen with a new color when it is done. After it has cut all the colors, it will cut out the stickers. You can carefully remove the pen while the machine cuts, to prevent it from drying out.

cutting

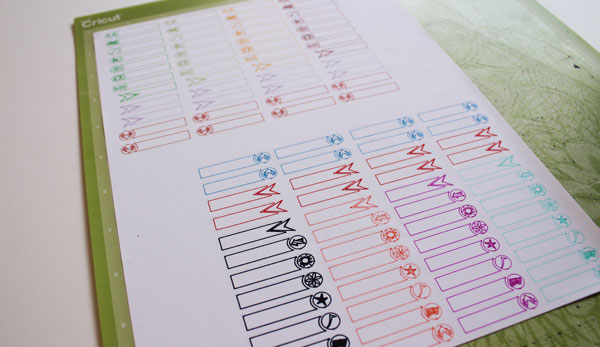
After you are done, you can turn the paper 180 degrees, and make the same design on the other side. You can use different colors if you want more variety.

two sides

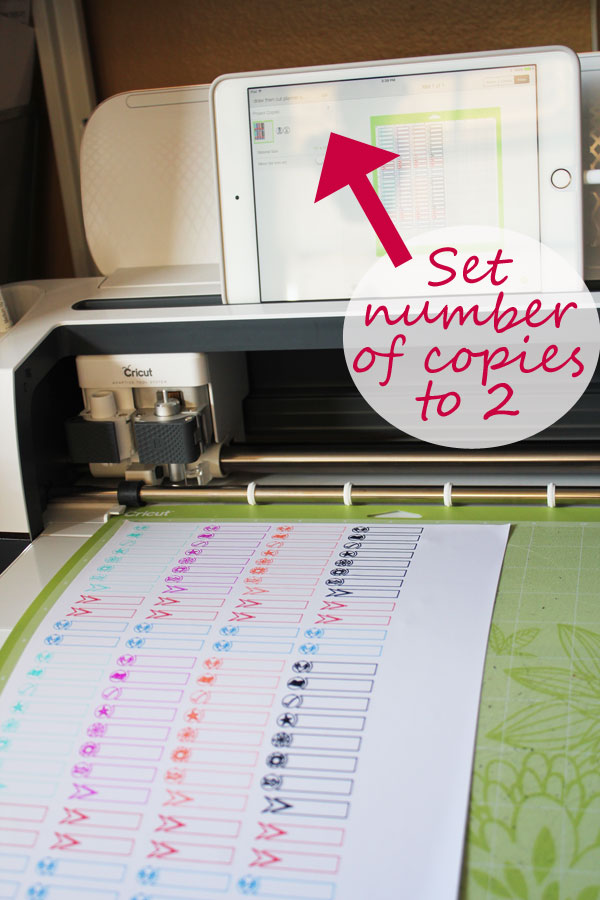
If you’d like to make a double set of stickers with the same colors, you can change the settings to make 2 at once.

set number of copies

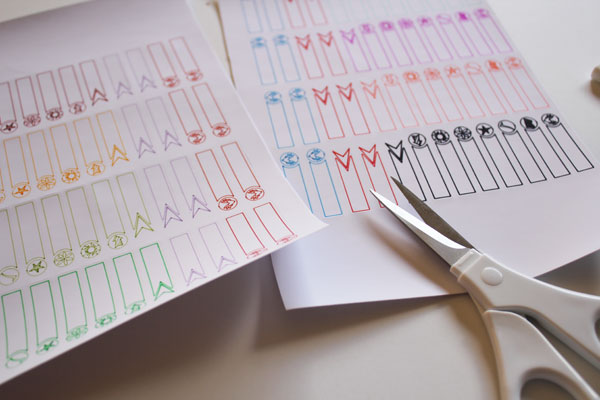
After you have drawn and cut the stickers, you can cut the sheet apart to make two half sheets. These fit easily into your planner. It also makes the next step easier.

trim in half

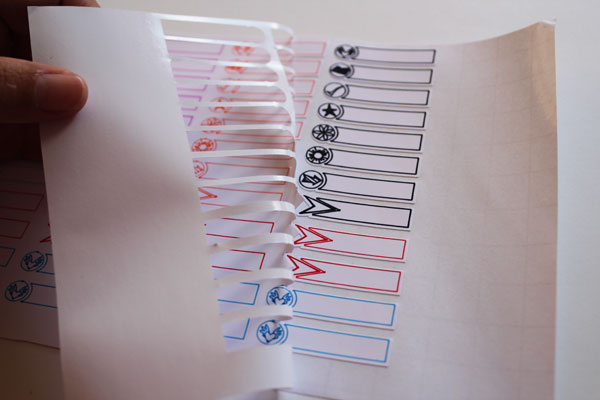
Peel away the background vinyl and throw it away.

peel background

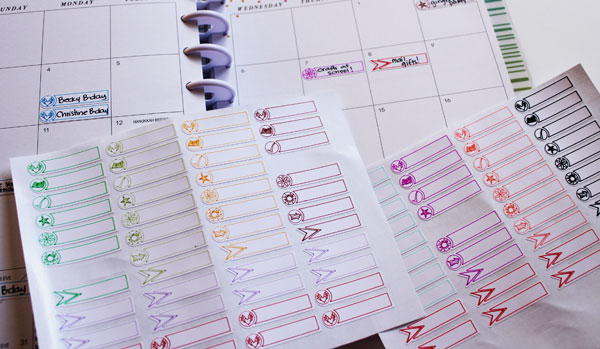
Now you have a great set of planner stickers to spruce up your appointment making and Birthday reminders!

Create your own planner stickers by having your Cricut draw them!