Poka Dot Frame

Looking for a fun way to display photos? This DIY Poka Dot Frame is so bright and colorful, and is a great way to celebrate special moments. You can keep one fun photo in the frame year-round, or change out the picture to celebrate birthdays, successes, and other special occasions.
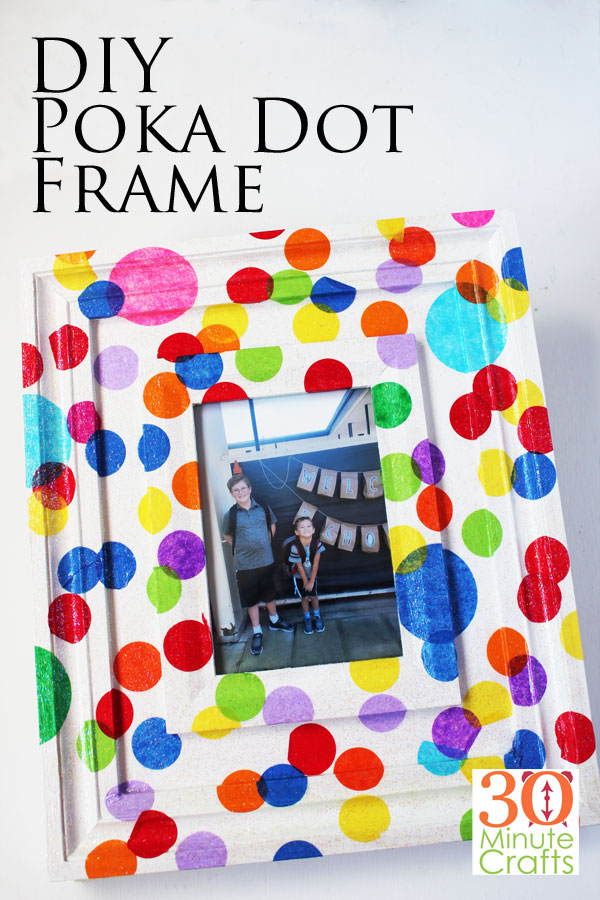
DIY Poka Dot Frame - a great way to celebrate special occasions. This is a 30 Minute Craft (or less)!

To make your own Poka Dot Frame, you’ll need:

Wooden Frame
Paint
Paintbrush
Glitter Mod Podge
Large Confetti
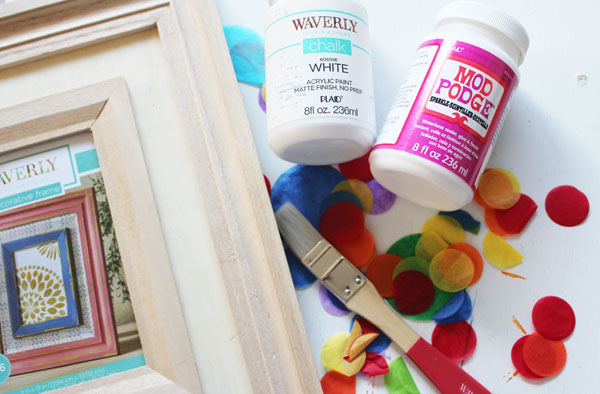
poka dot frame supplies

Remove the glass from the frame, and paint the frame white. Allow to dry.
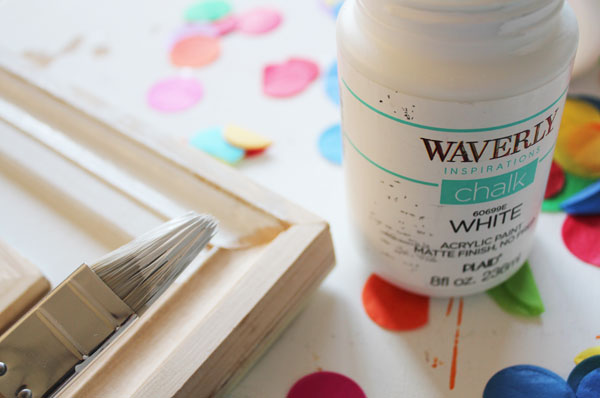
paint frame

Once the frame is completely dry, paint on some Mod Podge in a small area.
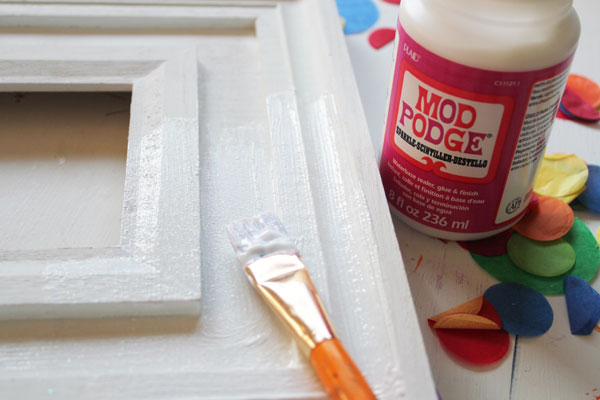
paint on glitter mod podge

Add a confetti dot. Secure in place with another layer of Mod Podge on top.
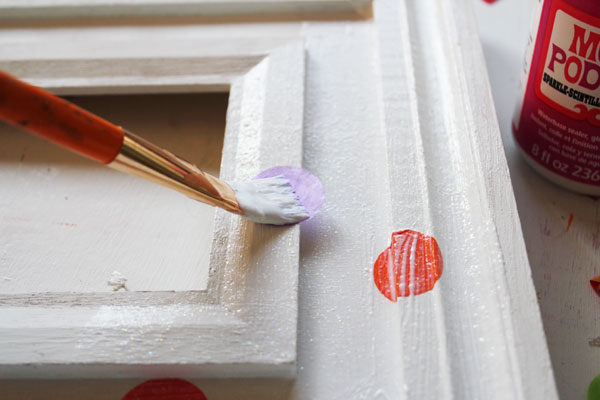
place poka dots

The Mod Podge will soak into the tissue paper of the confetti, giving it a lovely translucent look.
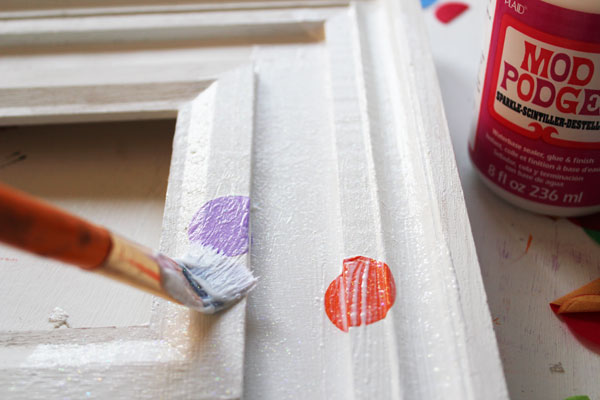
add mod podge

Add more layers of glitter Mod Podge and more dots. Scatter the dots all over the frame.
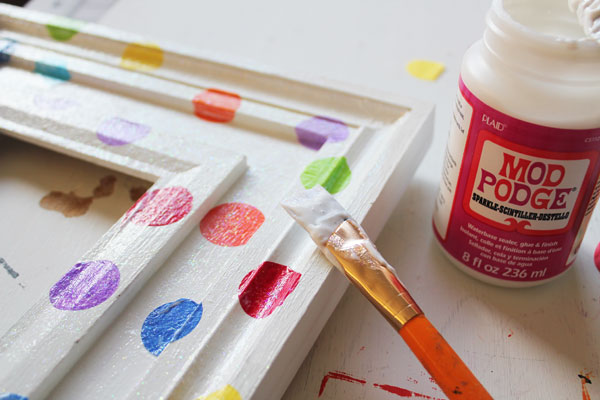
add more and more

You can overlap the dots. Make sure that you have dots that go over the sides of the frame as well.
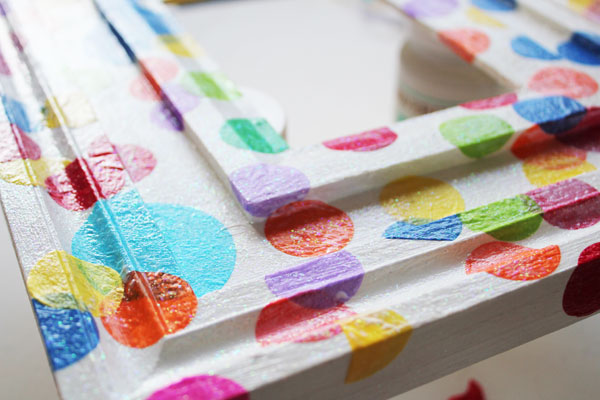
allow to dry

Once you are happy with the way your frame looks, or you are all out of confetti, set it aside to dry.

After your poka dot frame has dried, you can put the glass back, and add a celebration-worthy photo.
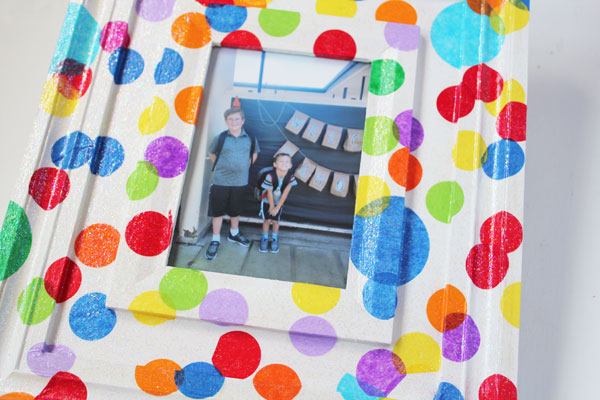
finished poka dot frame - a fun way to celebrate special occasions

I’d say my kids going back to school was pretty celebration worthy!

You can keep one picture in the frame all year, or change out the photo to celebrate special occasions. Or you can keep the frame tucked away, and only take it out on Birthdays, Graduations, and such. There are so many ways to use a frame like this. Just looking at all those colorful dots makes me happy!

Check out these other fun frames! My Googly Eye Photo frame, Piggy bank frame, Instax cartridge picture frames, and my studded frame! There are so many fun ways to use frames and display photos!

Save

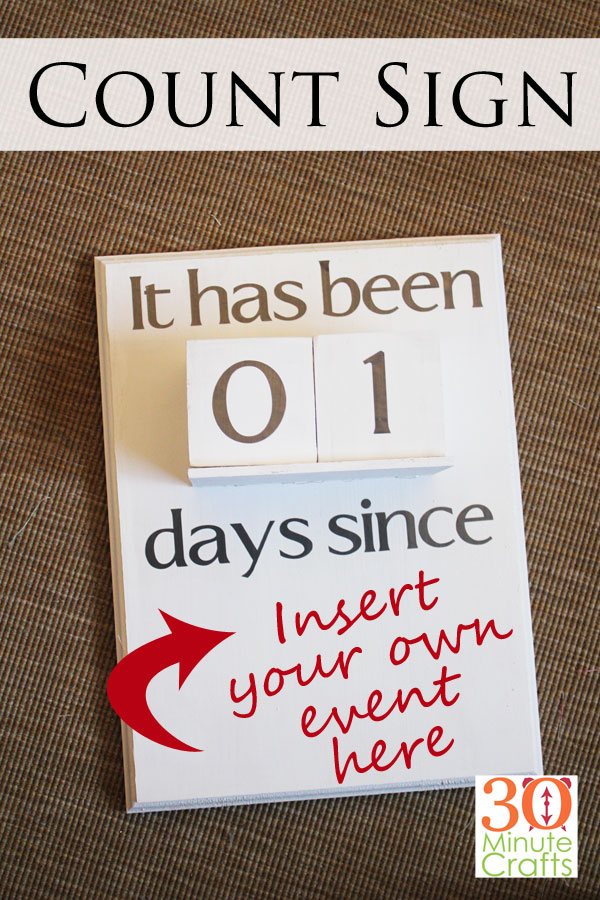
Count Sign – “Days Since…”

My brother called me needing a Count Sign. I’m not sure if I’m supposed to call this a countdown sign, or a count up sign. Maybe a “days since” sign. He wanted it for work, to indicate the number of days since he’d had an altercation with a different department. Apparently, this other department is regularly upset with him! Luckily, he called me while I was at the craft store, so I picked up all I needed, and had made this coundown sign in less than 36 hours. I’m sharing the steps with you here… you can adjust the instructions to make a “days since” sign or a “days until” sign. You might want to indicate the number of days until Christmas. Or the number of days until a special vacation. There are lots of things to look forward to or commemorate!

Count sign

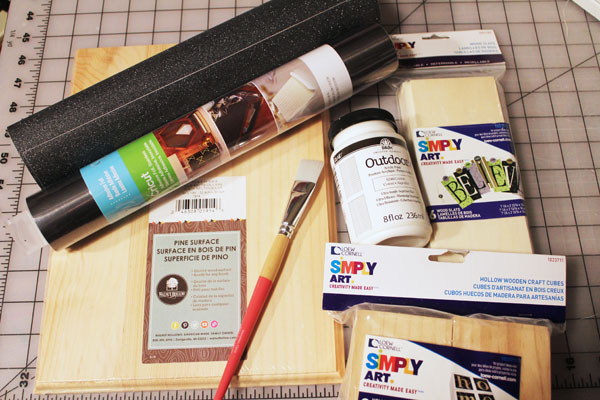
To make your count sign, you’ll need:

Wooden plaque
Blocks
Wooden slat
Saw & Sandpaper
Glue
Paint
Adhesive vinyl
Cutting machine (I used my Cricut)
Mod Podge

supplies for count sign

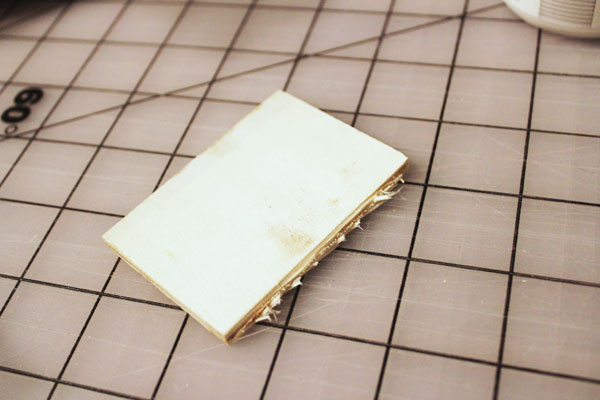
I started by cutting the wooden slat to the right size. The goal was to have it fit the two wooden blocks.

trim wood

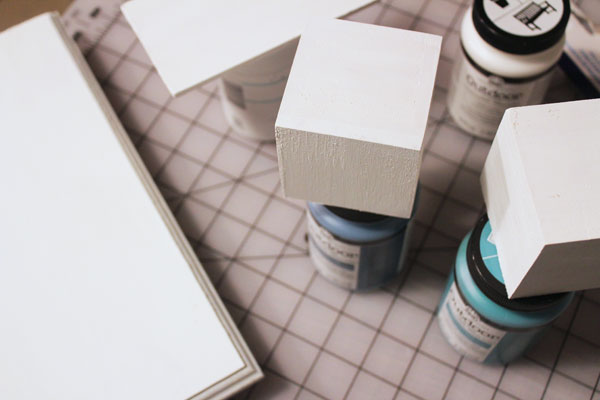
A little sand paper smoothed off the edge, then I painted the shelf, the plaque, and the wooden blocks.

allow to dry

I left everything to dry overnight. While it was drying, I used my Cricut machine to cut vinyl letters for the sign.

letters

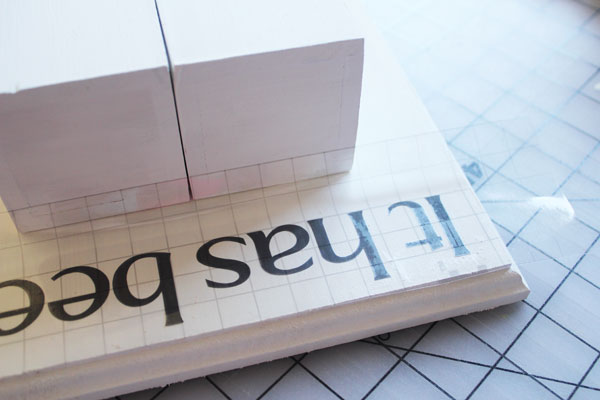
I eyeballed the position of these letters, and the position of the blocks, to determine where the shelf would look best.

place letters

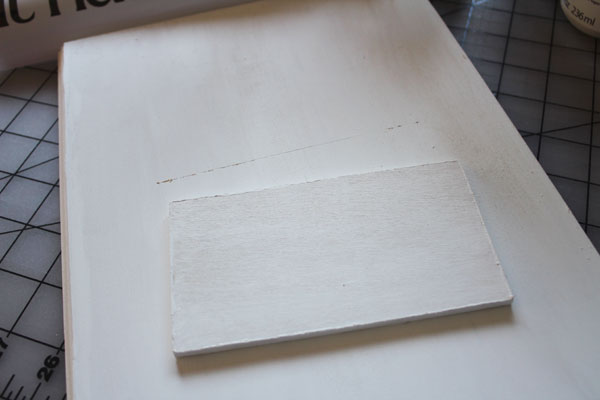
I marked it with a pencil.


mark placement

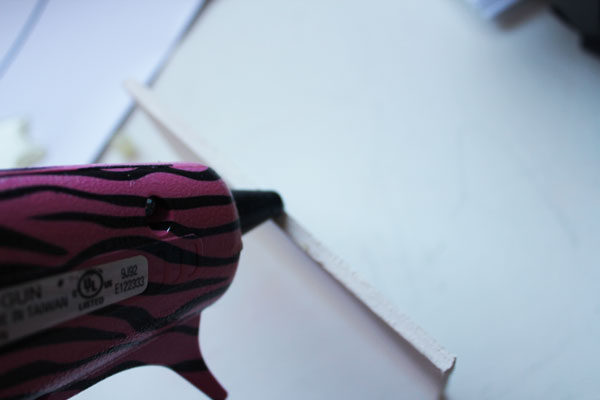
The shelf was glued in place with hot glue.

glue edge

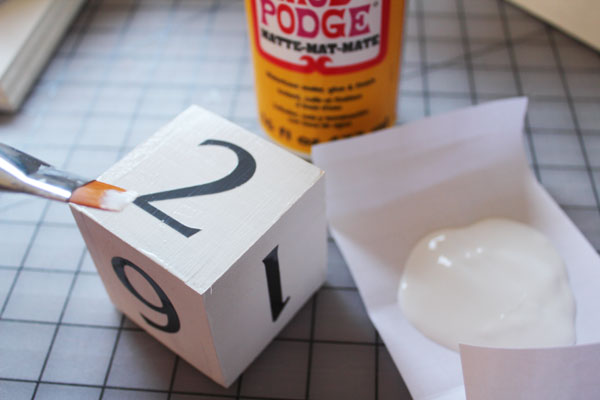
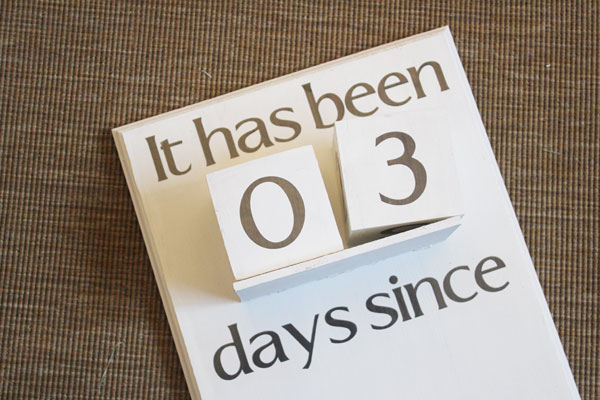
I cut numbers out of vinyl. 0, 1, 2, 3, 4, 5 for the first block. 6, 7, 8, 0, 1, 2 for the second block. The 6 doubles as a 9, and with this number configuration you can make from 00 to 32.

After putting the numbers and letters in place, I added a coat of Mod Podge to seal them down.

coat with mod podge

Once the Mod Podge was dry, it was done!

sign

Here it is all finished! I have shipped it off to him to display in his office. He has not yet told me what people think of it. But I’m thinking it would be fun to make a countdown to Christmas sign in this same way!

finished sign


Rya Tie Hoop Art

Knitting and Crochet are not skills I have mastered. But I still love playing with yarn. Which makes this project perfect! Plaid sent me their new Rya Tie kit to play with, so I made a simple wall hanging, in a hoop! This Rya Tie Hoop Art is easy to make, even for those of us who are “Yarn Challenged.”

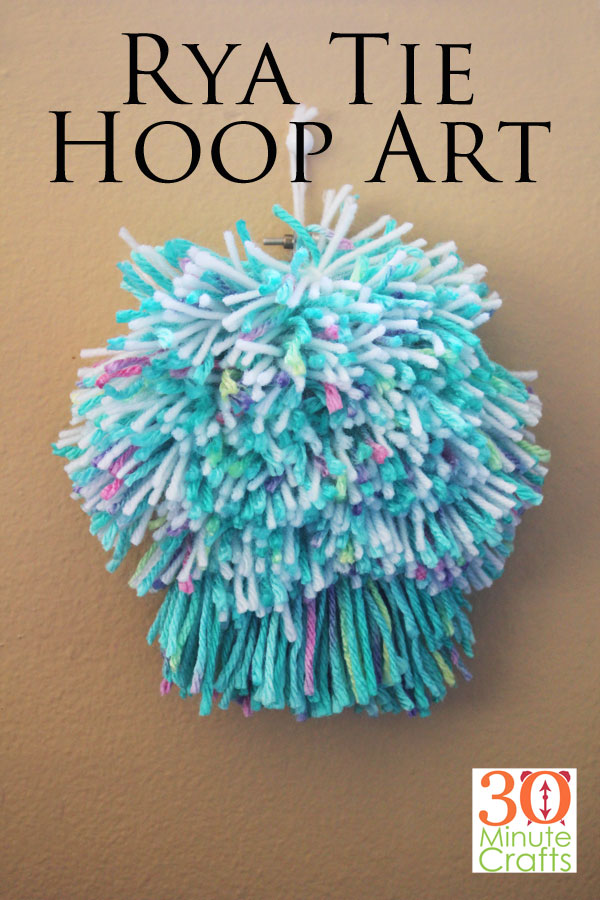
Rya Tie Hoop Art - Easy to make Rya Tie project, created in a hoop!

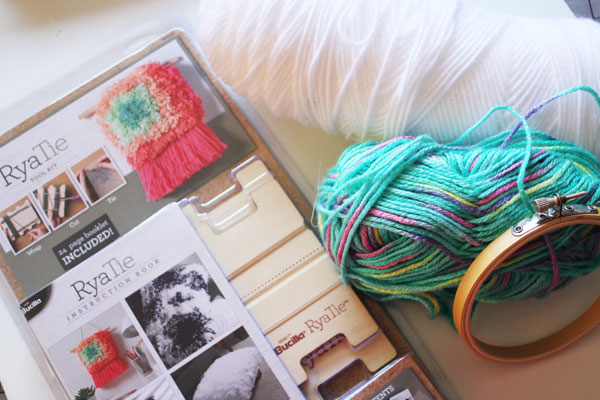
To make your Rya Tie Hoop Art, you’ll need:

Rya Tie kit
Yarn
Hoop
Scissors
Marker

supplies for rya tie hoop art


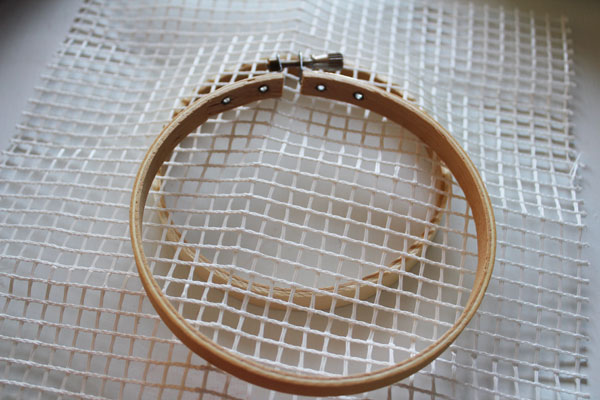
Place the mesh from the Rya Tie kit into the hoop.

place web in hoop

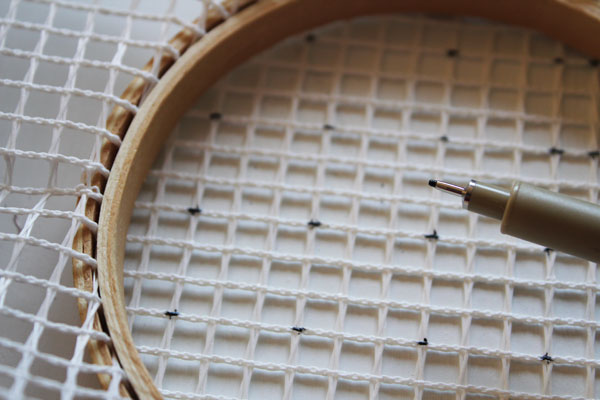
Mark where you want your bundles.

mark webbing

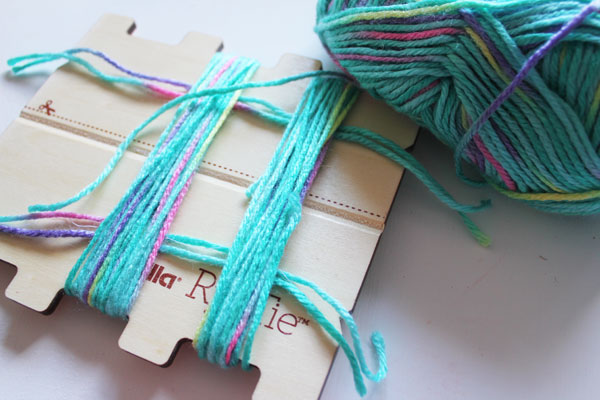
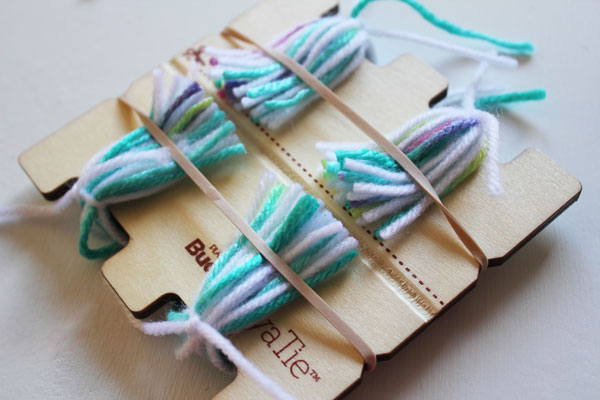
You’ll want large bundles along the bottom, and small bundles on the top. Follow the instructions in the kit for making your bundles.

make bundles

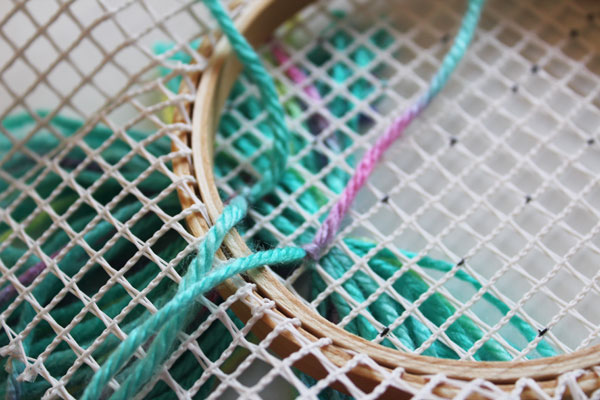
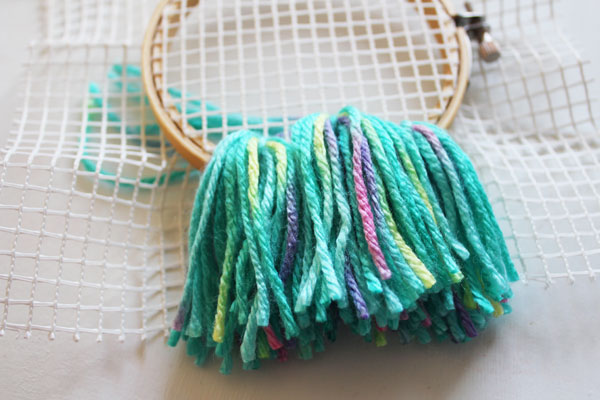
Tie the bundles to the mesh.

tie the bundles in place

I started by tying the large bundles on the bottom, and worked my way up.

tie on bundles

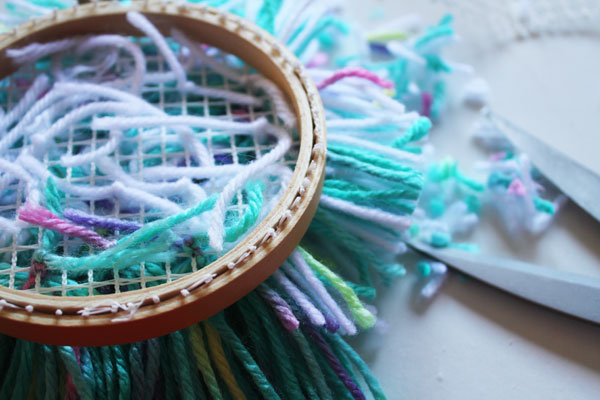
Trim away the extra mesh.

trim the mesh

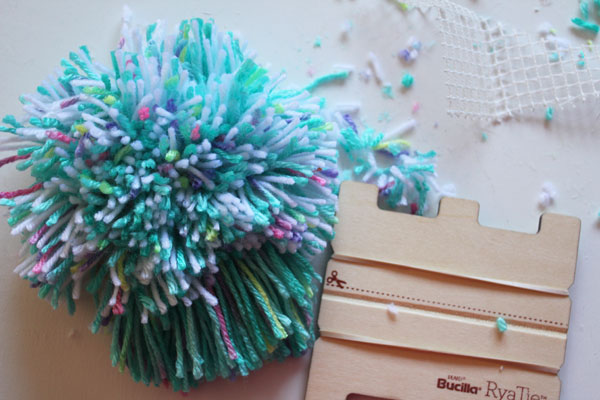
Trim up the bundles around the edges to make them even.

trim up

Your Rya Tie hoop art is complete! You might need to buy yourself more mesh, because this project is so fun to make!

finished Rya Tie Hoop art - easy to make, such a fun decor piece!

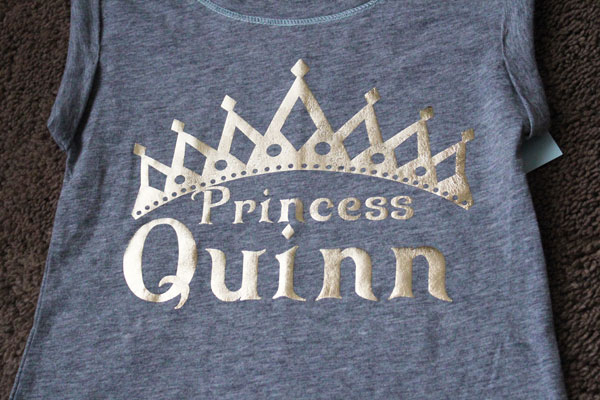
Custom Princess Tee

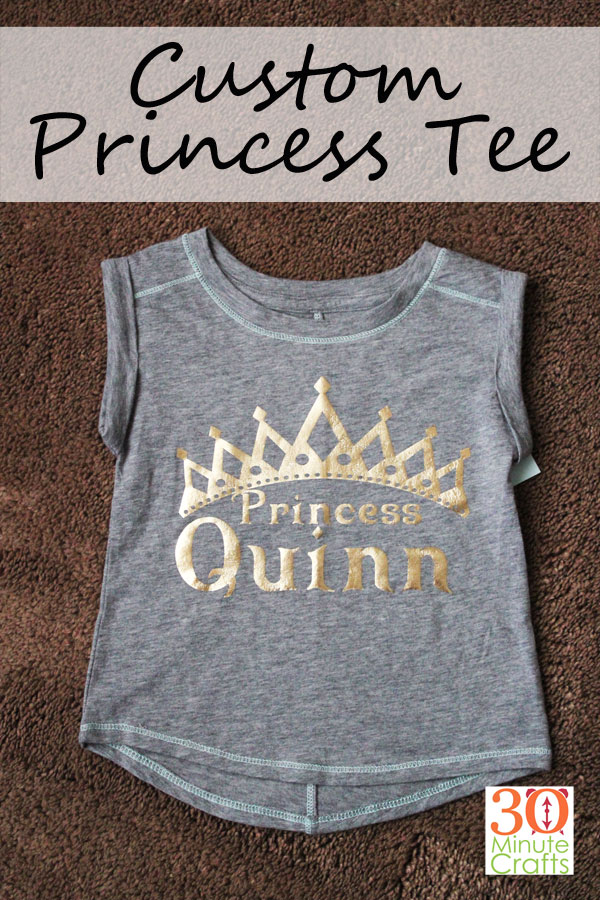
Have a little princess in your life? Make her this DIY Custom Princess Tee! Making this shirt is a super simple craft project that you can make in less than 30 minutes!
Custom Princess Tee - Make this fun Princess shirt for the Princess in your life. This is a 30 Minute Craft (or less)!
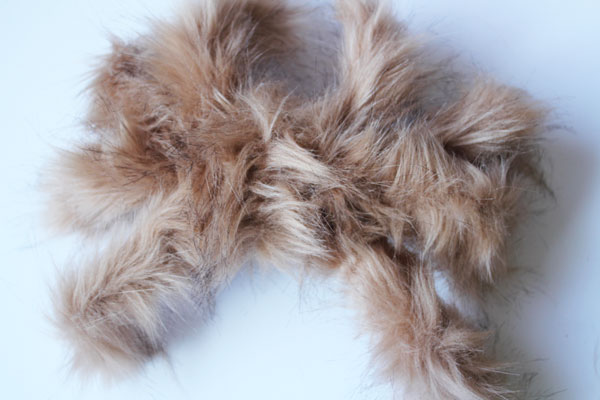
To make your Custom Princess Tee, you’ll need:
Gold Heat Transfer Vinyl
Shirt
Cricut Machine
Iron and Ironing Board
Cricut Princess Shirt File

Customize the shirt using your Princess’s name. Adjust the size of the name to fit under the crown. You might need to make it larger or smaller, based on the number of letters in the name.

Cut the design on your Cricut machine. When using heat transfer vinyl, it is important that you Mirror the image! If you don’t, your letters will be backwards when you apply them to the shirt.

Weed away the extra vinyl. This just means peeling away the background vinyl, and the extra pieces on the inside crown and inside of the P, e, and letters in the name. Leave behind the parts you want to iron to the shirt.

Place the design adhesive-side-down on the shirt. The clear transfer plastic should be on top. Iron in place according to the settings indicated on the vinyl packaging. Make sure the steam is OFF. Using steam will create bubbles or puckers in your vinyl, instead of giving you the beautiful, smooth result you are looking for.

Allow the vinyl to cool, then you can peel away the clear transfer plastic. Your shirt is complete!

Custom Princess Shirt

I gifted this Custom Princess Tee to Princess Quinn along with some cute leggings and a fun toy on her first birthday.

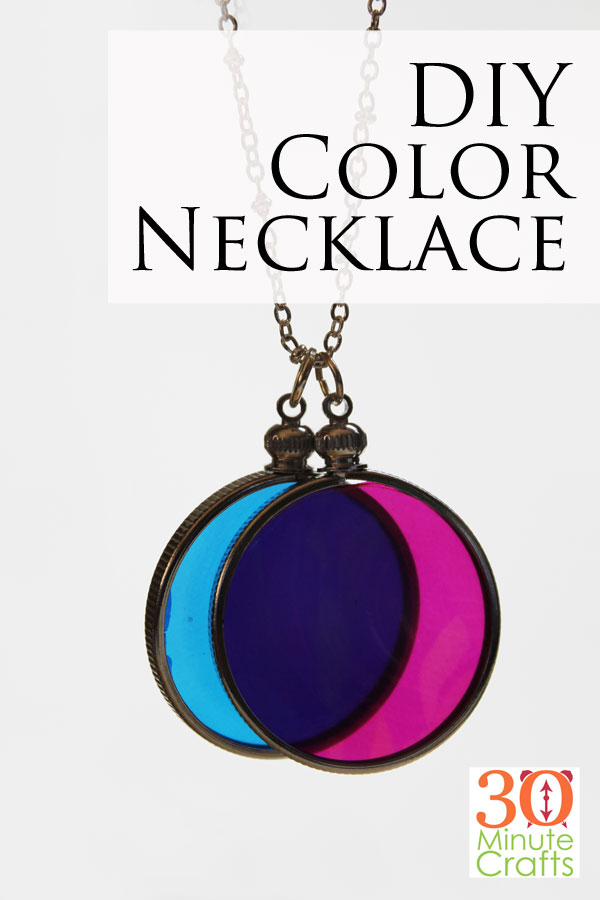
DIY Color Necklace

This unique piece of jewelry is as fun to wear as it is to make! Using the used Dye sheets from a Canon Selphy Printer, you can create this DIY color necklace that looks amazing in sunlight! You get to recycle the ink sheets from your printer, and create this unique jewelry! Such a simple project… even for someone who has never made jewelry before!

DIY Color Necklace - make this fun necklace to add a little color to any outfit! This is a 30 Minute Craft (or less)!

This post contains affiliate links which help support this site at no additional cost to you.

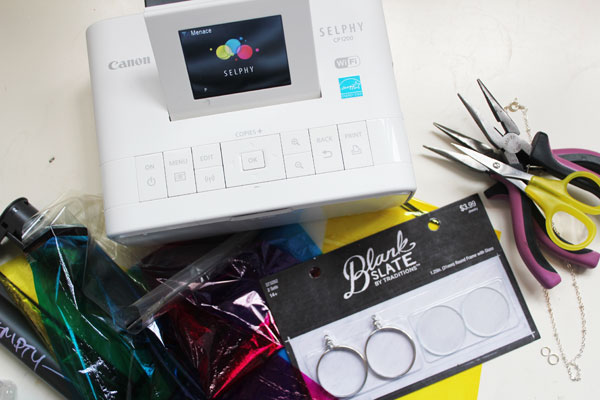
To make your DIY Color Necklace, you’ll need:

Discarded Canon Selphy Cartridge
Glass pendants
Scissors
Jewelry Pliers
Necklace Chain
Jump Rings

supplies for necklace

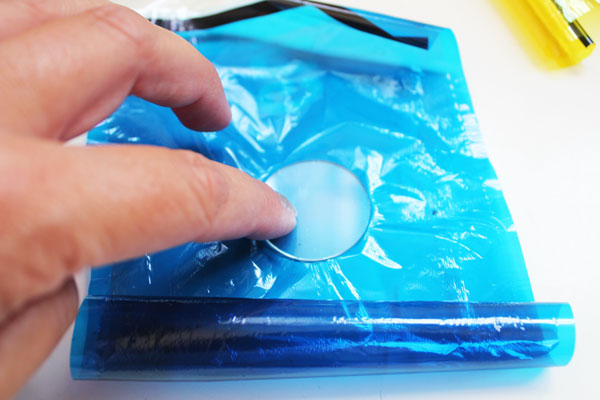
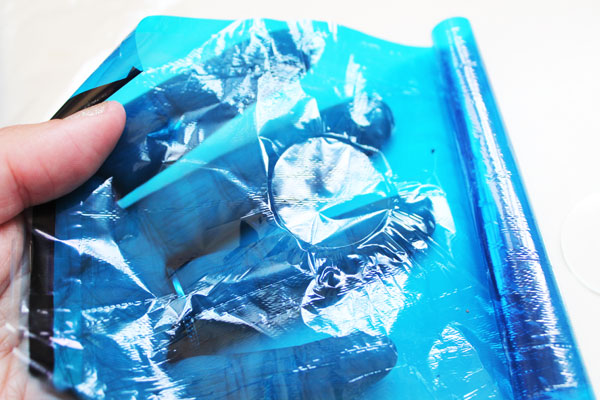
Pull the die sheets out of the cartridge. Press one of the glass pieces into the sheet. You can lift up the sheet and wrap it around the edges of the glass piece if needed.

press down glass

This will leave you an indentation. If you can’t see the indentation, repeat the previous step.

imprint

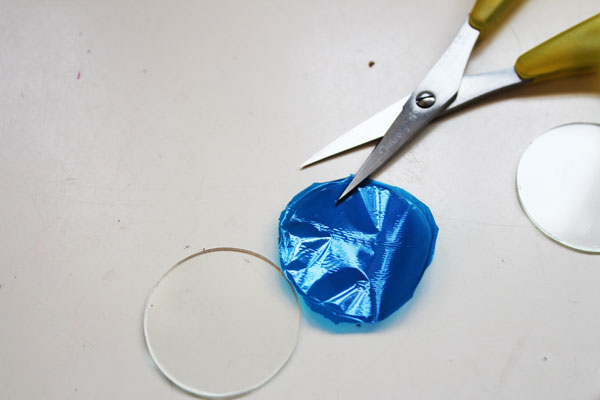
Use scissors to cut around the indentation. Cut close, but your cut doesn’t have to be perfect.

trim sheet

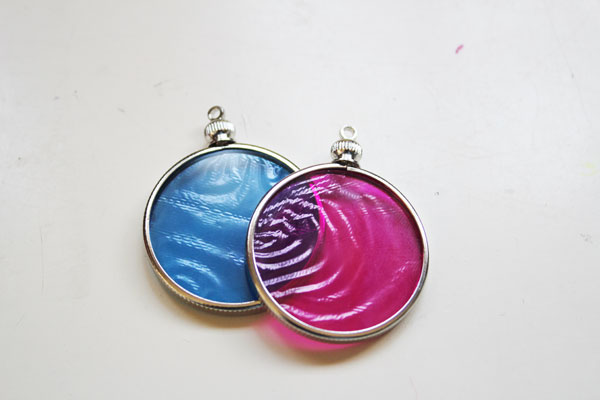
Insert the sheet between the two glass pieces, and put into the frame.

Repeat these steps with a second color for the second frame in the set.

finished circles

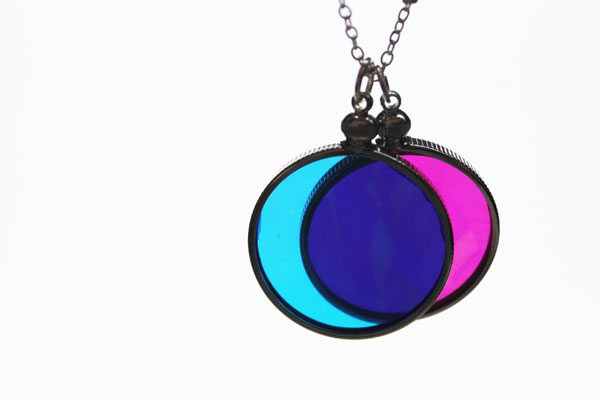
String the pendants onto your necklace chain using jump rings.

finished color necklace

You can make a third circle if you like. Then you can wear all three circles at the same time, or you can pick and choose which two colors you want to wear.

And you can always wear your necklace with just one color, when you just need a pop of a single color… or you want some rose-colored glasses for the day… or half a pair of magenta colored glasses!

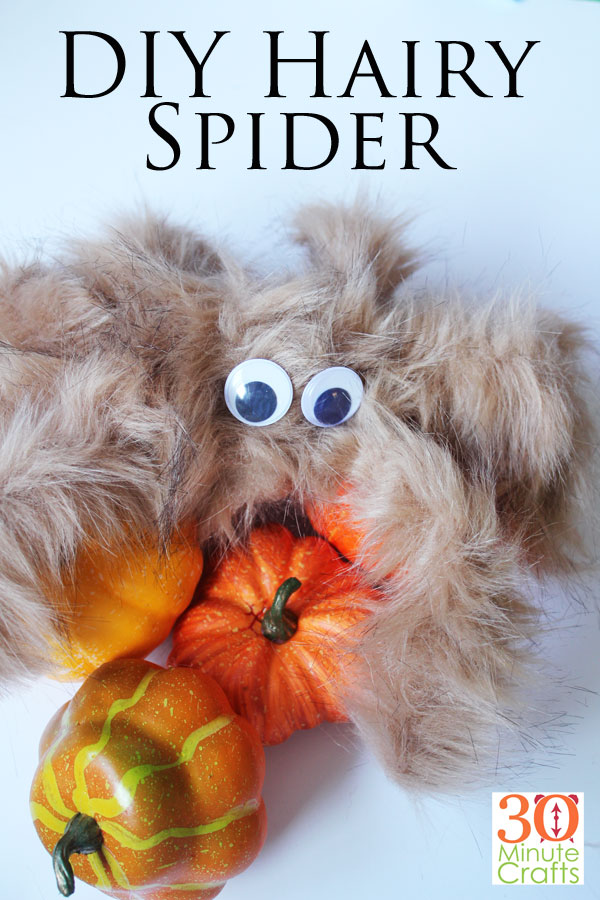
DIY Hairy Spider

Big Hairy Spiders are a fun Halloween decoration to make, and a super simple one! You can whip up this Hairy Spider in under 15 minutes! Make your own DIY Hairy Spider using just a few supplies to make your Halloween Decor extra creepy!

DIY Hairy Spider

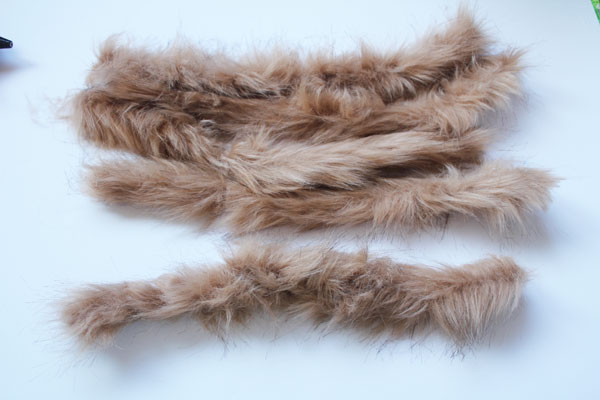
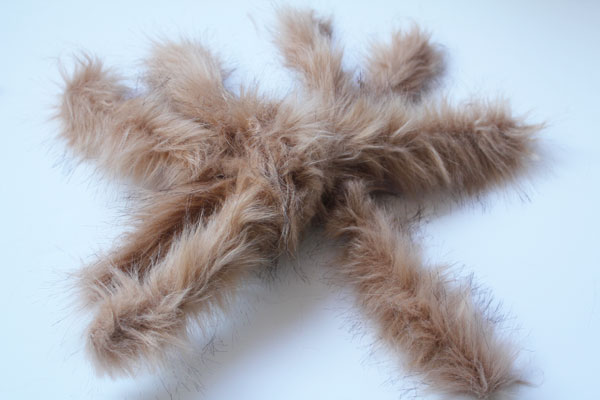
I found these extra large pipe cleaners in the kid craft section (over by the felt) of my local craft store. Combine that with scissors, hot glue and googly eyes, and you have everything you need!

Make your DIY Hairy Spider:

Cut your giant pipe cleaner into 5 pieces. The 5th piece can be a little shorter than the other 4.

cut pieces

Twist the four pieces together in the middle.

twist spider

Then twist the 5th piece around the middle to give your spider a little bulk around the middle – a nice round body.

ready to add eyes

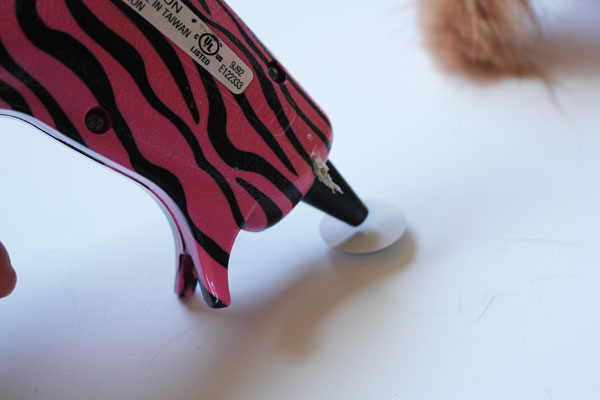
Use hot glue to add the eyes.

glue eyes

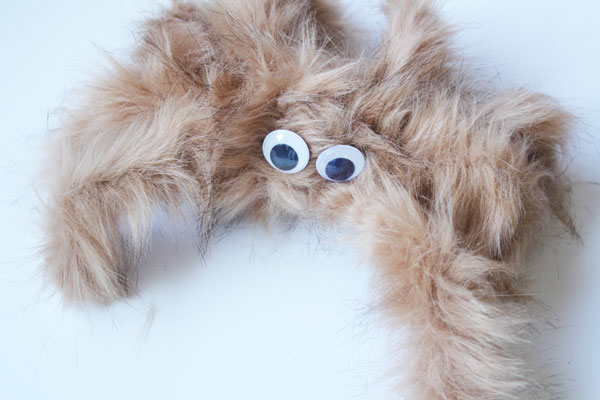
Glue the eyes to the front of the body.

finished spider

Now you’ve got the prefect creepy hairy spider for your Halloween Decor! Such an easy DIY Hairy Spider!

make a creepy hairy spider

Check out these other fun spider crafts! This spider wreath, this hanging spider hoop, this fun spider bead craft, and these cute spiders made from brads!

DIY Felt Hair Clips

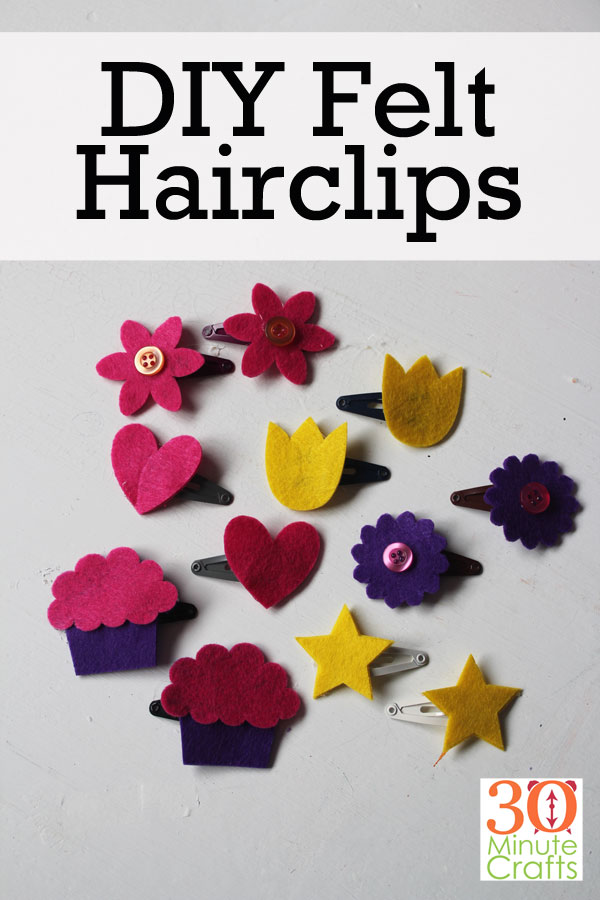
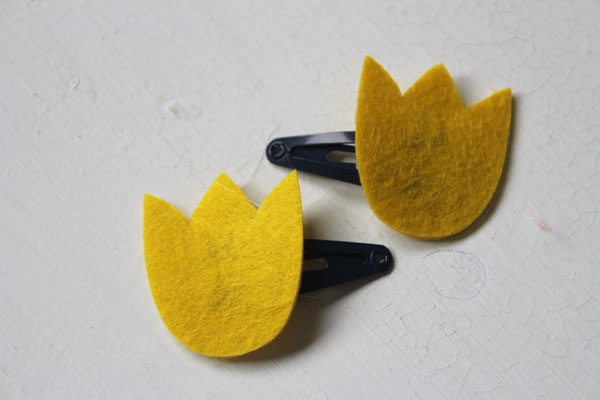
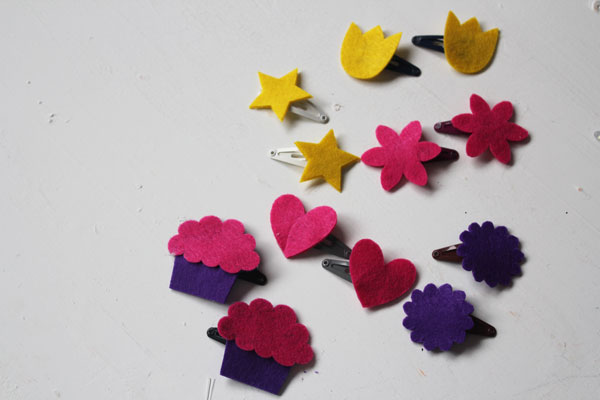
When my niece turned one, I wanted to make something fun for her. So I made these simple DIY Felt Hair Clips. They are easy to make, and so fun! They are made by cutting felt and gluing the felt to the hair clips with hot glue, so there is no sewing or fancy crafting required! You can make your own DIY Felt Hair Clips using the instructions below.

DIY Hairclips - fun hair clips you can make! No sewing or fancy skills required.

This post contains affiliate links. king purchases through these links helps support this site at no extra cost to you.

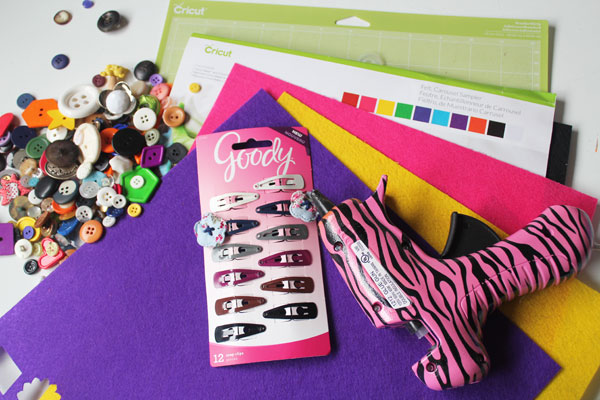
To make the DIY Felt Hair Clips, you will need:

Felt (I used the Circus Pack from Cricut)
Hair Clips
Hot Glue
Cricut Maker
Felt cutting File
Buttons (optional)

supplies for felt hair clip


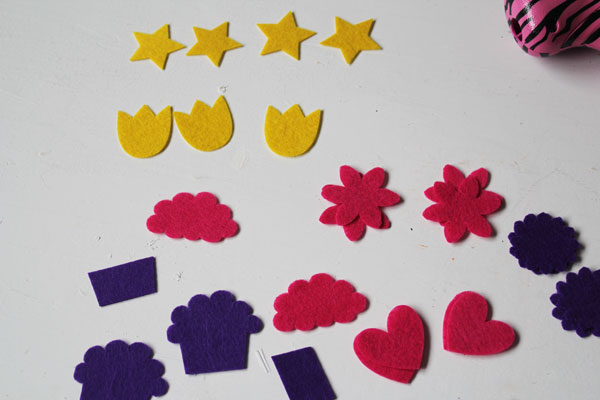
Cut the felt using the Cricut Maker, and the Felt Hair Clips File.

cut out felt pieces

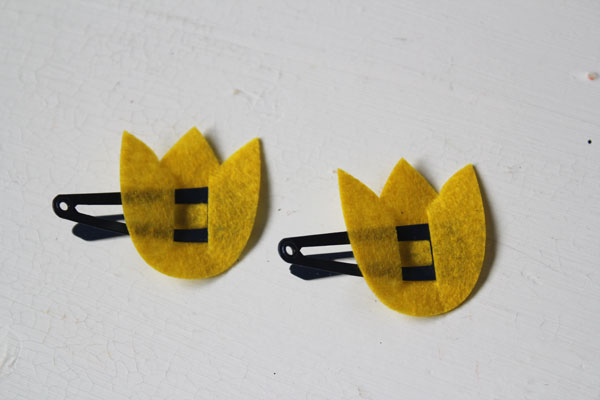
You’ll notice there are 4 of each shape. Two have slits. These are for putting the hair clips in.

put on clip

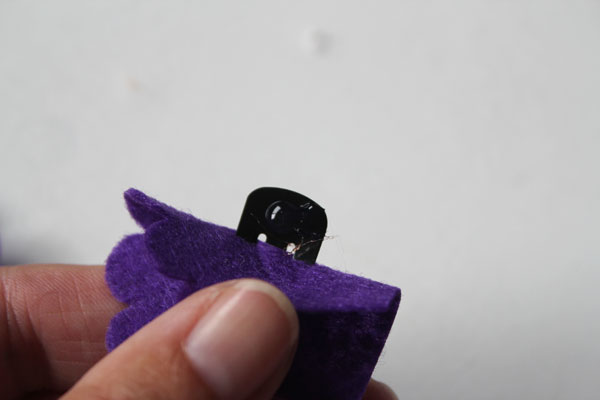
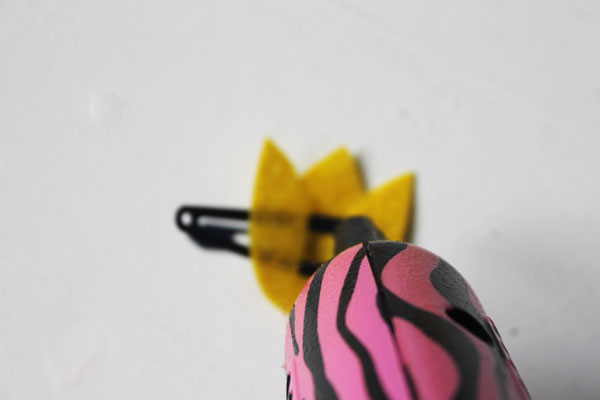
You can secure the felt to the clip with a dab of glue on the back.

glue to clip

Then glue the front piece in place.

glue to felt

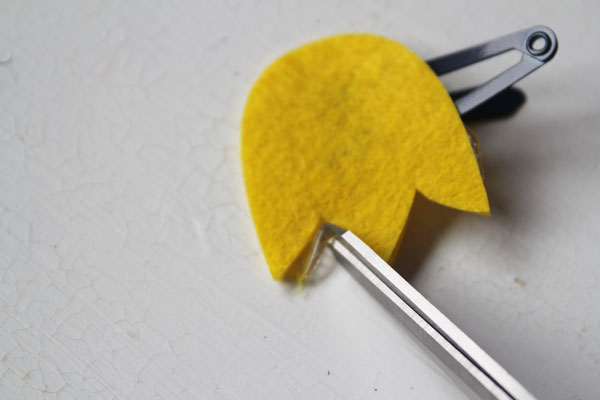
If you have any glue ooze out, let it cool, then cut it away.

trim away glue

You’ve finished one set of clips!

finished set of clips

Make the rest of the clips the same way.

make your own felt hairclips

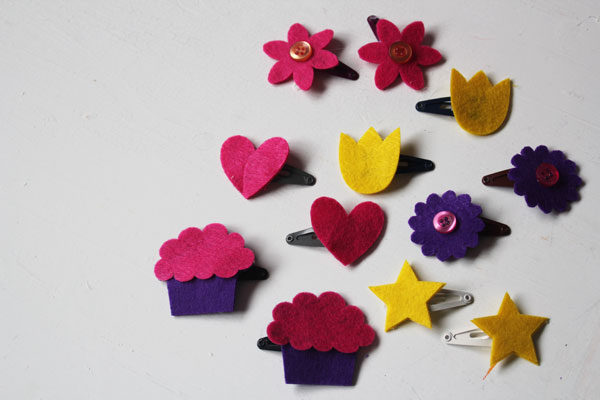
Embellish with buttons if you like.

add buttons to clips

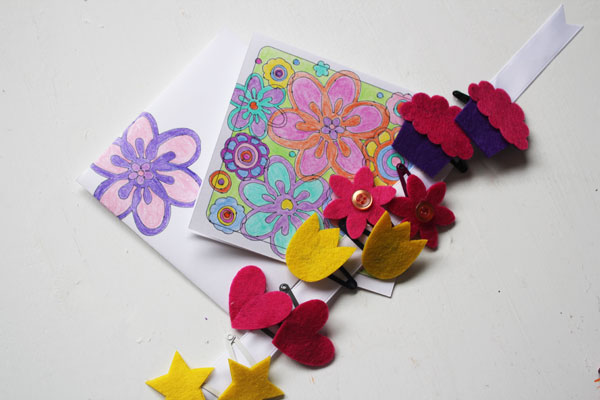
Since I gave these as a gift, I clipped them with ribbon, and paired them with this fun card by Jen Goode Designs that I also made on the Maker.

gift hairclips

DIY Stamped Tablecloth

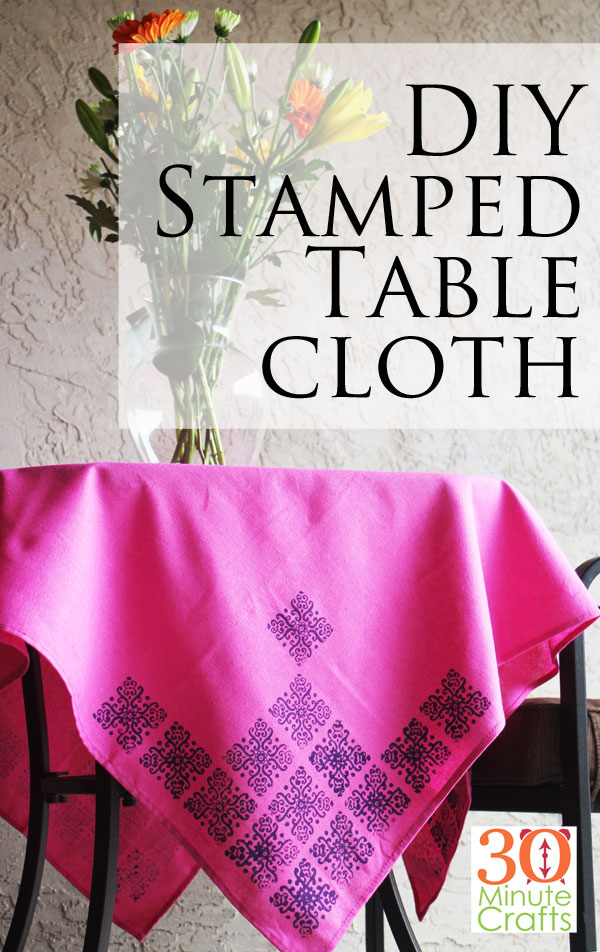
When I found this simple tablecloth in the Dollar Section at Target, I knew it would be the perfect tablecloth for the table on the back patio – but it needed a little sprucing up. I had fabric paints and block printing stamps that Plaid had given me, and knew that it would be the perfect way to create this DIY Stamped Tablecloth.

DIY Stamped Tablecloth

To make your own DIY Stamped Tablecloth, you’ll need:

Plain Tablecloth
Fabric Paint
Block Printing Stamp
Sponge

Protect your work surface if you don’t want paint to get on it.

supplies

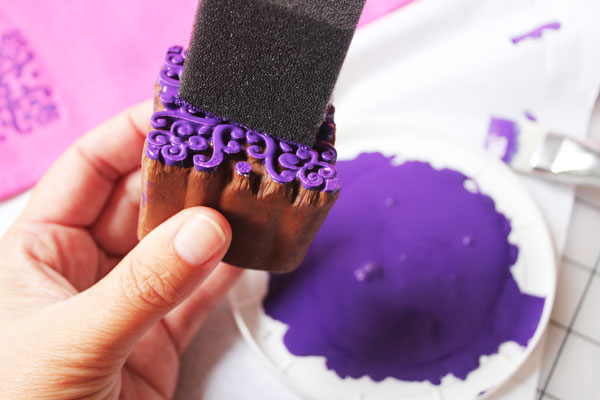
Use the sponge to apply the paint to the block printing stamp. By dabbing the paint onto the block with the sponge, you can get more control. You want a thin, even layer across the surface of the stamp. If you’re worried, you can test the stamp on a piece of scrap fabric a couple times until you get a good feel for it.

ink stampPress the stamp onto the fabric. You don’t need to press hard. Press down firmly, make sure that the stamp gets even pressure across all sides, then lift up.
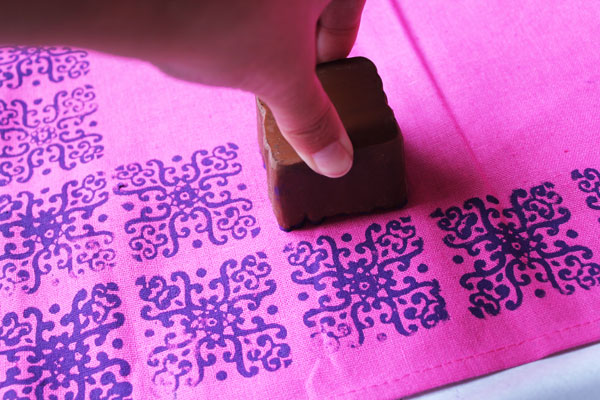
stamped

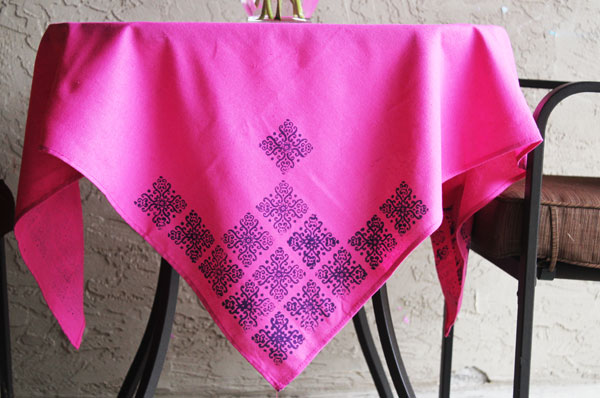
Repeat, making the design you want. You don’t have to cover the entire tablecloth with stamps to make it more decorative. I chose to stamp all four corners. Adding stamps to the center would add some fun to the top of the table when it is covered with the tablecloth as well.

Allow the tablecloth to dry, then use your fun DIY Stamped Tablecloth! I love the punch of color the tablecloth adds to the small table when I enjoy breakfast on the back patio!

finished printed tablecloth

Where would you use your fun DIY Stamped Tablecloth?


Save

Wild West Cactus Invitations

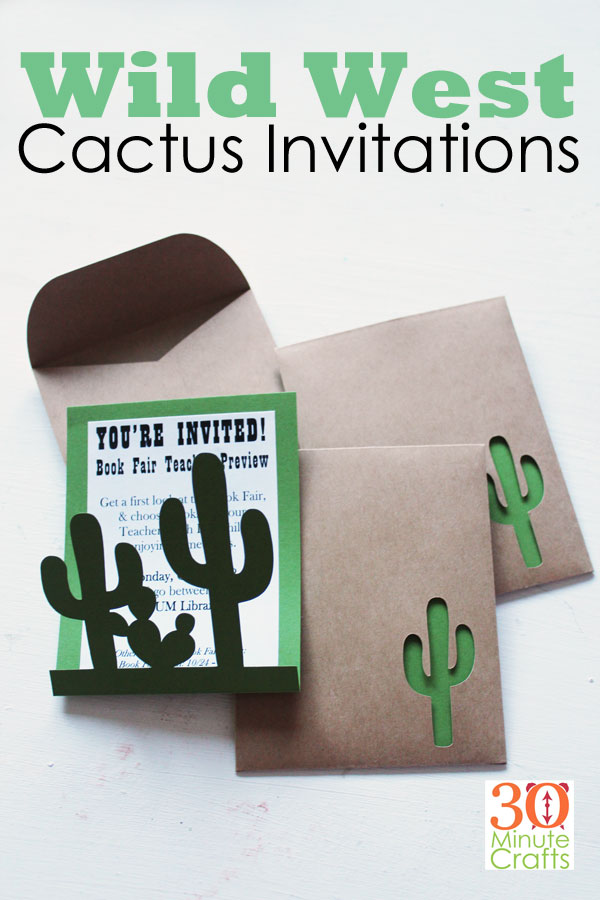
If you’re hosting a Cowboy party, Wild West party, or Desert Bash, these Wild West Cactus Invitations are the perfect way to invite guests to have a good time! I love the cards, and they are even cuter when combined with the peekaboo envelopes with the cactus cut-out. They are simple to cut on the Cricut machine – I give you a link to the files below, and show you how to put together the perfect invitations for your Western-themes party!


Wild West Cactus Invitiations - Cricut Cut file and full instructions for making the cards and peekaboo envelope!

This post contains affiliate links. Making purchases through these links helps support this site at no extra cost to you.

To make the Wild West Cactus Invitations, you’ll need:

Cricut Machine
Scoring Stylus for Cricut
Cactus Invitation Cut File
Cardstock
Glue Stick
Computer with word processing program
White Paper
Printer
Paper trimmer or scissors

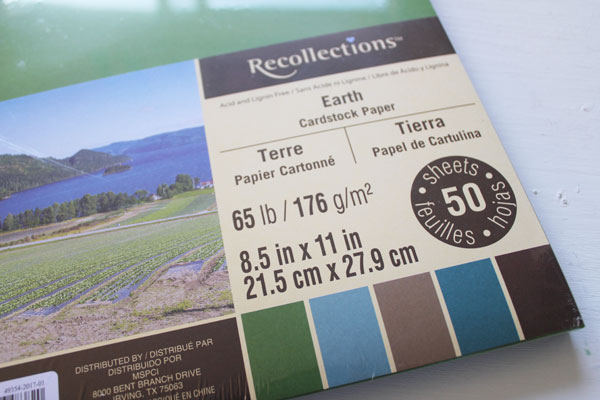
I used this “Earth” set from Michael’s. The pages are 8.5×11, but by putting 2 cards on each green page, and using both the light and dark brown, I was able to make 20 invitations from one pack.

paper stock

Open you your word processing program. Create a 3″ x 4″ text box. Insert the text you need for your invitation (remember who, what, when, where, why, and how/when to RSVP). Have someone read over it for spelling. If you can’t fit it all in 3″ x 4″, you can make a larger box, but you will need to re-size the invitations as well. Print out as many copies as you need for your invitations, and trim to the size of the text box.

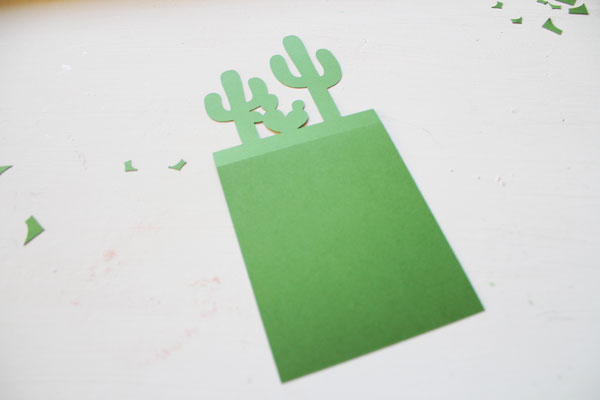
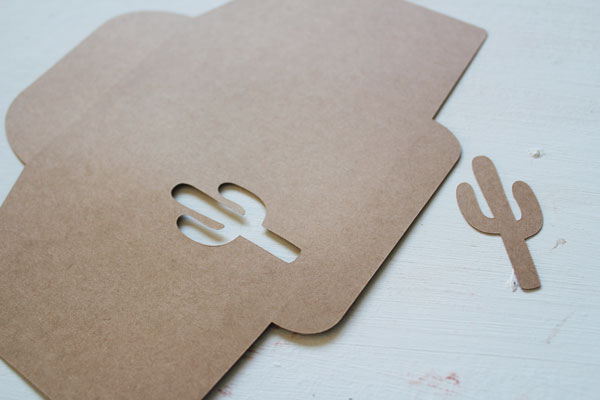
Open the Cactus Invitation Cut File. Cut the card on green, and the envelope on brown.

cut envelope

I do not know what to do with that perfectly cut brown cactus. I thought about using it as confetti for the party… but brown cactus confetti just seems… wrong. So, I ended up throwing it away. If you have a better idea, please leave it in the comments below!

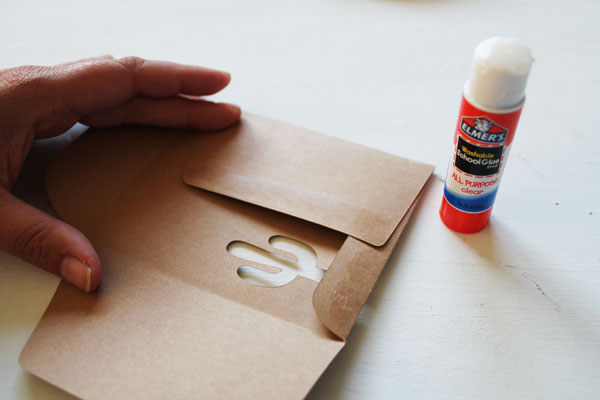
Fold the envelope on the scoring lines. Glue the bottom and side flaps. Leave the top open.

glue envelope

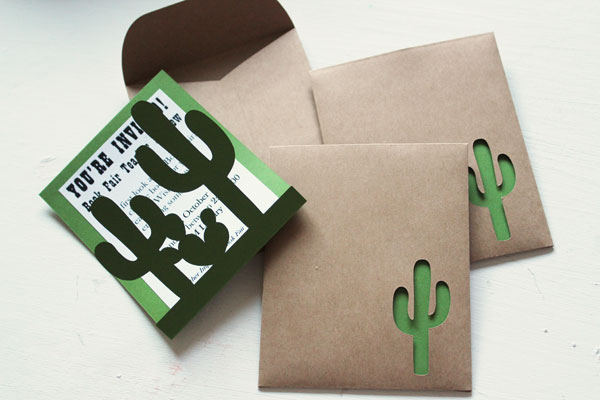
Fold the card on the score line. Center the text box you printed and cut earlier, and glue into place. Slip the card into the envelope with the text facing towards you so that the solid green back of the card fills the cactus cut-out.

fiinished cactus invitations

I made these Wild West Cactus Invitations for the “Teacher Preview” for our fall Book Fair, which has a Western theme. In an evening, I was able to create 30 of these simple cactus cards, and they were a huge hit! Everyone loves getting hand crafted invitations. Putting thought into the invitation shows your guests that you are going to be treating them at your not-to-be-missed event!

Googly Eye Photo Frame

If you’re looking for a fun way to display Halloween photos, look no further than this DIY Googly Eye Photo Frame! Googly eyes are so much fun to add to the frame, and give great dimension and interest, without a lot of expense. Make different fun Halloween frames each year to display your family’s annual Halloween Costumes. You’ll love putting up the photos each year to reminisce your fun costume ideas!

Googly Eye Photo Frame

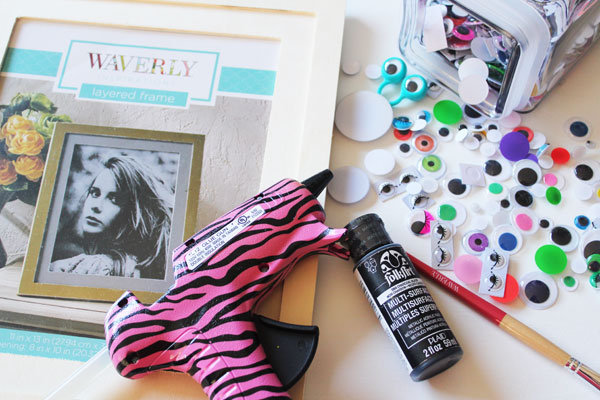
To make the Googly Eye Photo Frame, you will need:

Wooden Frame
Black Paint (I used the black paint the Folk Art sent me)
Googly Eyes
Hot Glue
Hairdryer (optional)

supplies for googly eye photo frame

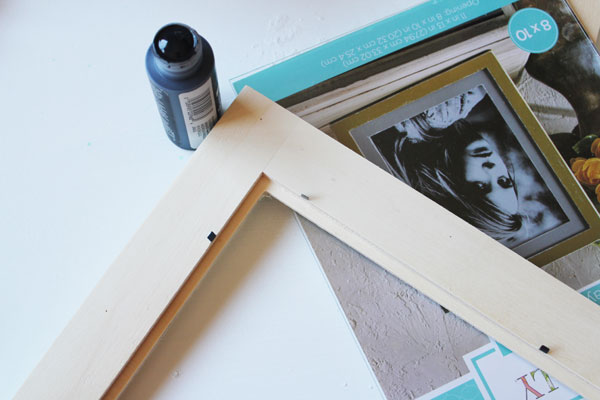
Start by taking apart the frame. This way you don’t have to worry about getting paint on the glass. And you have to remove the back later when you add the photo. So go ahead and remove it now.

take frame apart

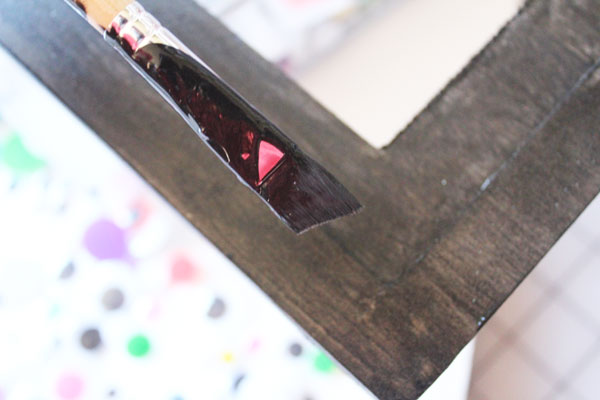
Paint the frame black. I like to remove the lid off the bottle, and dip the brush in. This keeps me from having to clean off a plate later, and prevents any wasted paint.

paint the frame

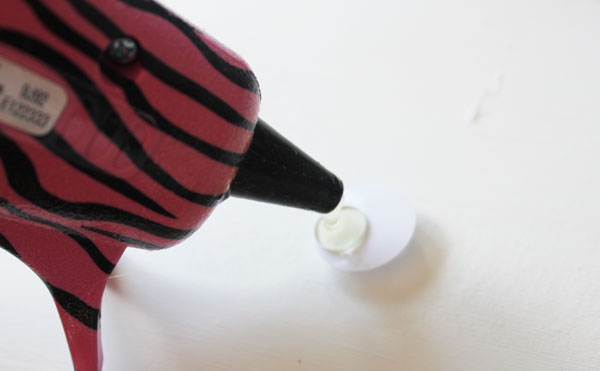
Allow the paint to dry, then hot glue the eyes on.

glue eyes

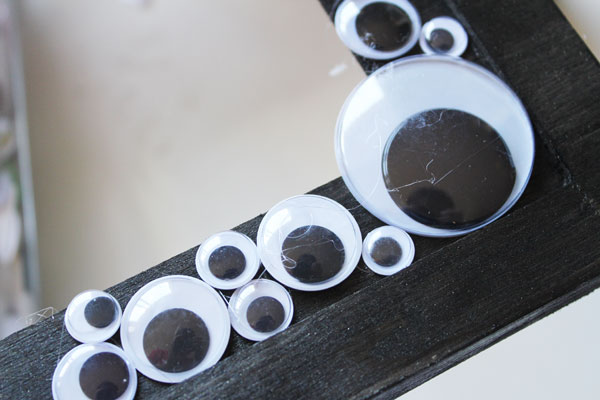
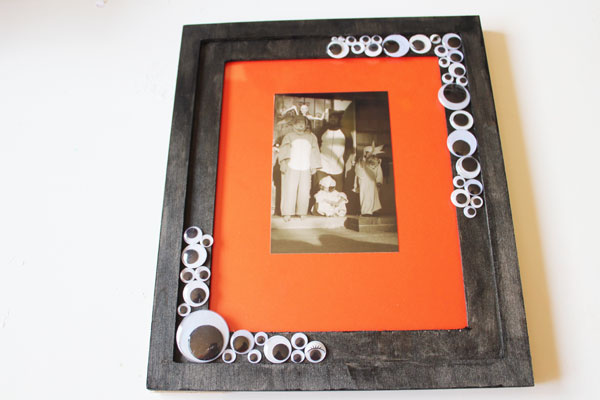
Glue as few or as many as you like. I kept it simple by gluing googly eyes to opposite corners.

glue on eyes

If you have hot glue gun strings, you can use a hair dryer to melt them away.

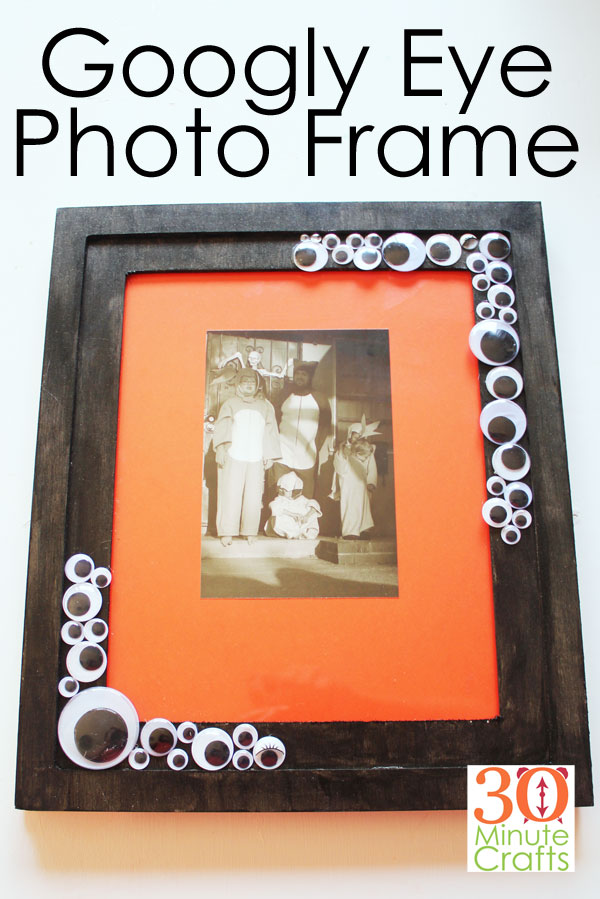
Add a Halloween photo. I printed a photo of my kids in their Pokemon Costumes from last year in sepia tones to make it a little more “spooky.” And I used orange scrapbook paper behind the photo for some contrast. You might want to add a year, the city the photo was taken in, and names of the people in the photo (or what they are dressed as) if you are using the Googly Eye photo frame as a way to memorialize this year’s Halloween costumes.

finished googly eye photo frame


If you’re looking for more fun projects using googly eyes, check out this googly eye necklace, googly eye headband, and googly eye dice!