DIY Bridal Flip Flops

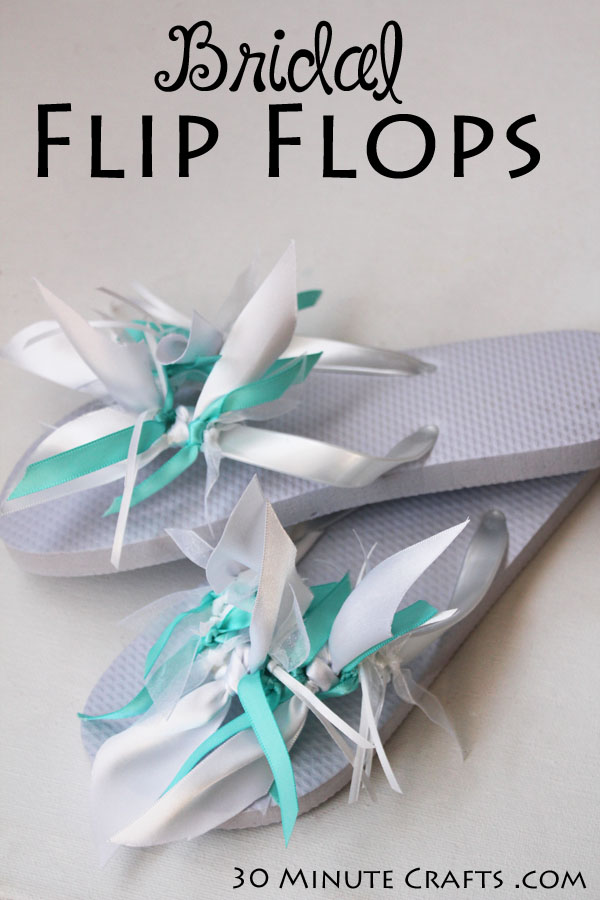
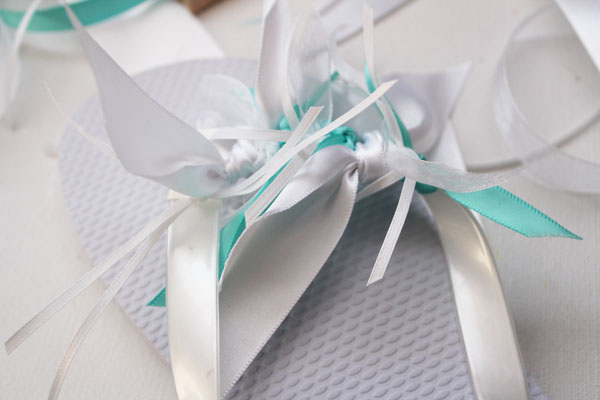
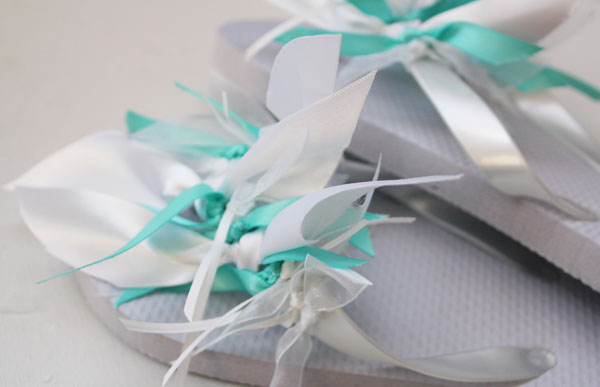
These DIY Bridal Flip Flops are so simple to make, and are perfect for most weddings. Many brides wear long dresses, so their shoes are covered. Even if they choose elegant shoes for the wedding ceremony, many brides opt for more comfortable bridal shoes after the first dance. After all, all that standing and dancing is hard on a girl’s feet! If you’re a bride, you can make flip flops in your bridal colors for your bridesmaids as well, and have them waiting at their seats after the ceremony. They, and their feet, will thank you! If you’re particularly generous (or have a small wedding), you can have baskets of flip-flops in wedding colors available for your guests to wear as they dance late into the evening… and take home as fun wedding favors!

This project is part of a week-long series on fast and easy wedding crafts. I’m co-hosting this week’s Craft Lightning with my friend Angie from The Country Chic Cottage, and our Guest Host Katie from Sweet Rose Studio. Be sure to scroll down to the bottom to check out their fun projects, and all the fast and simple wedding crafts from our friends around the internet!

Bridal Flip Flops

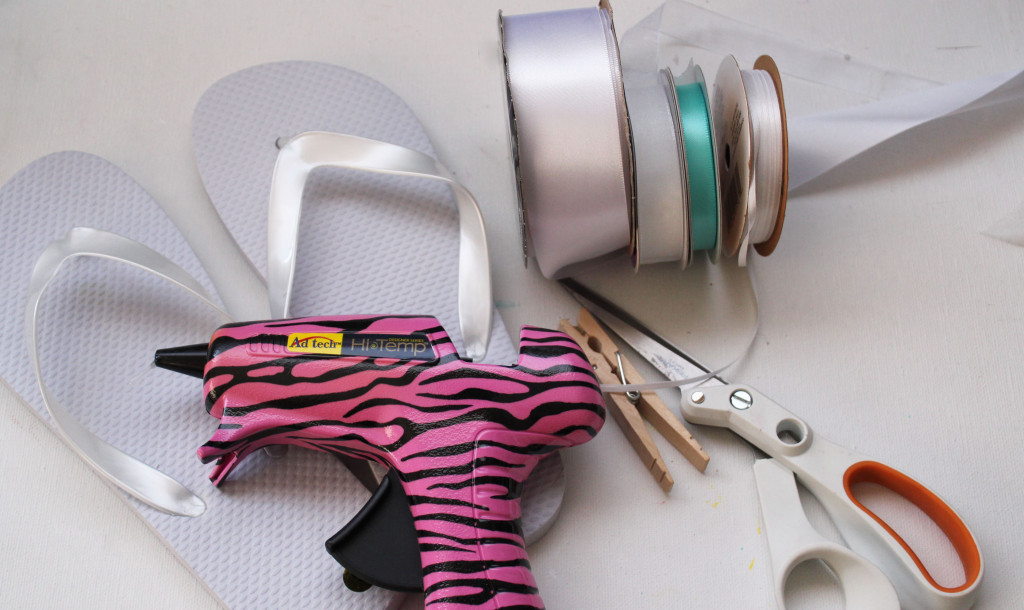
To make these bridal flip flops you’ll need:
Plain Flip Flops
Ribbon in your wedding colors, assorted sizes
Scissors
Hot Glue

supplies for bridal flip flops


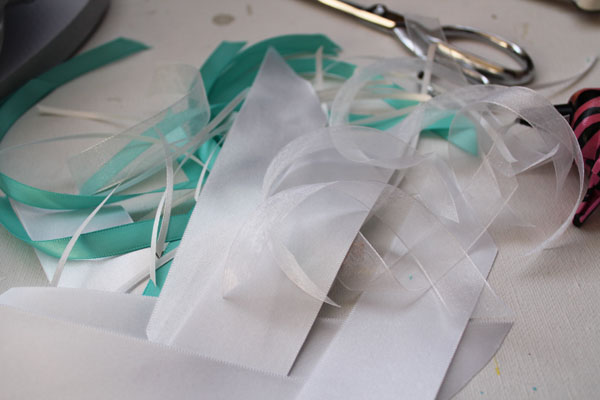
Start by cutting your ribbon into 6″ lengths. You’ll need more depending on how full you want your flip flops to look, and how wide your ribbon is.

cut ribbon pieces

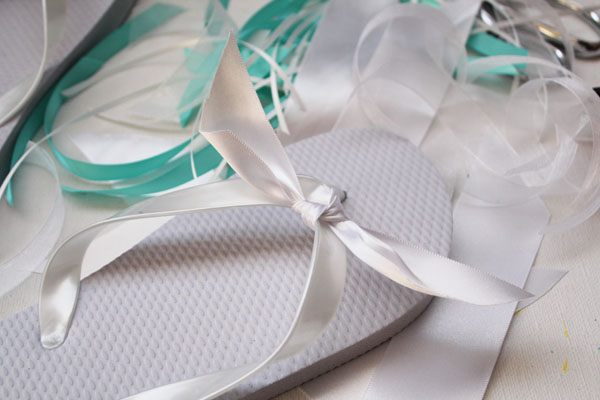
Tie one piece on the strap, near the middle. If needed, add a dab of hot glue to secure the knot.

tie knot

Keep tying more and more ribbons, adding hot glue as needed.

keep tying ribbons

You can add ribbons all the way down each side, or just 2-3 inches. Any on the very ends might get dirty or stepped on, so just 2-3″ is fine.

finished flip flops

So pretty, and a great way to show off that bridal pedicure!

Check out these other fast and easy wedding craft ideas:

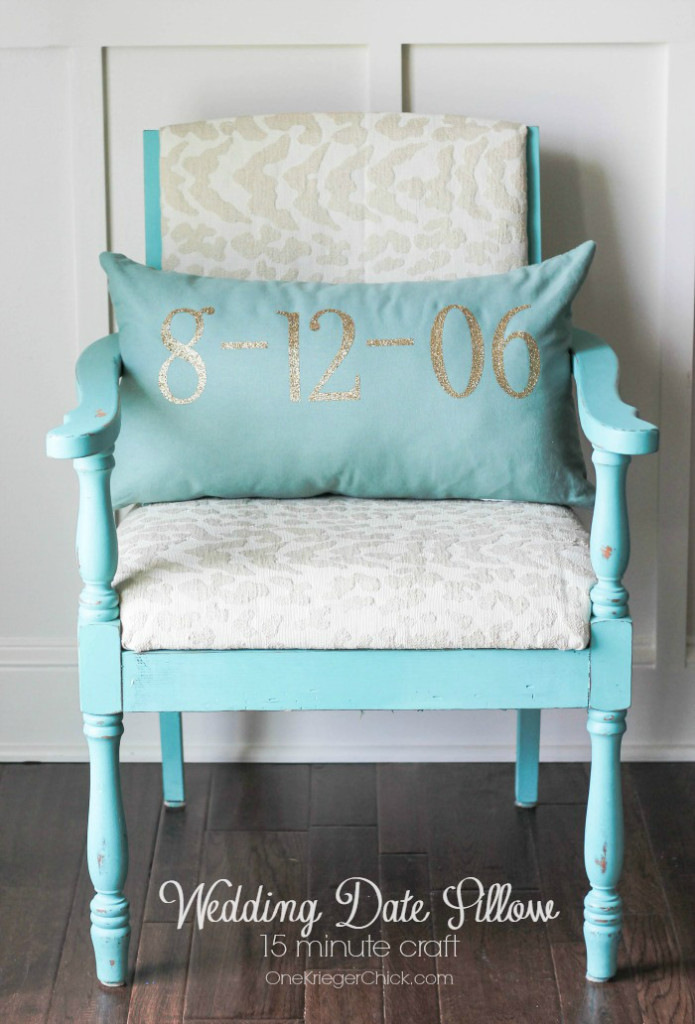
One Krieger Chick made this adorable wedding pillow – a great piece of wedding decor, a wedding gift, or an anniversary gift!

Personalized-Wedding-Date-Pillow-made-in-only-15-minutes-OneKriegerChick.com_

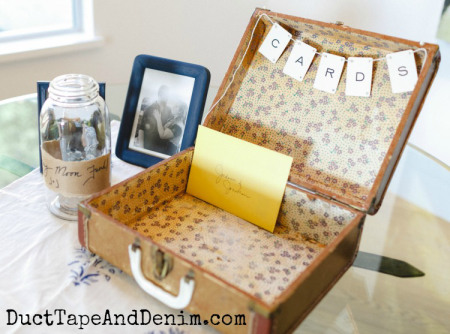
This card suitcase from Duct Tape and Denim is perfect for any vintange-themed wedding!

Vintage-suitcase-and-CARD-banner-on-wedding-gift-table-DuctTapeAndDenim.com_

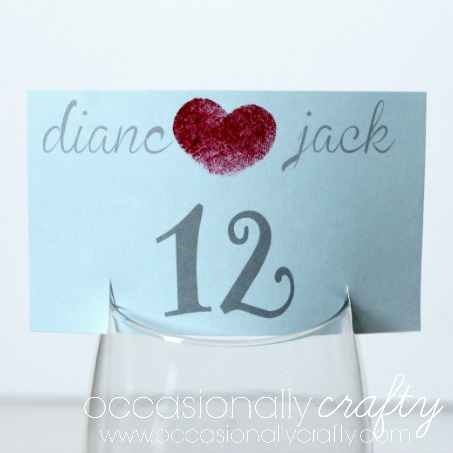
I love these thumbprint heart placecards by Occasionally crafty!

DIY Fingerprint Table Numbers for Weddings

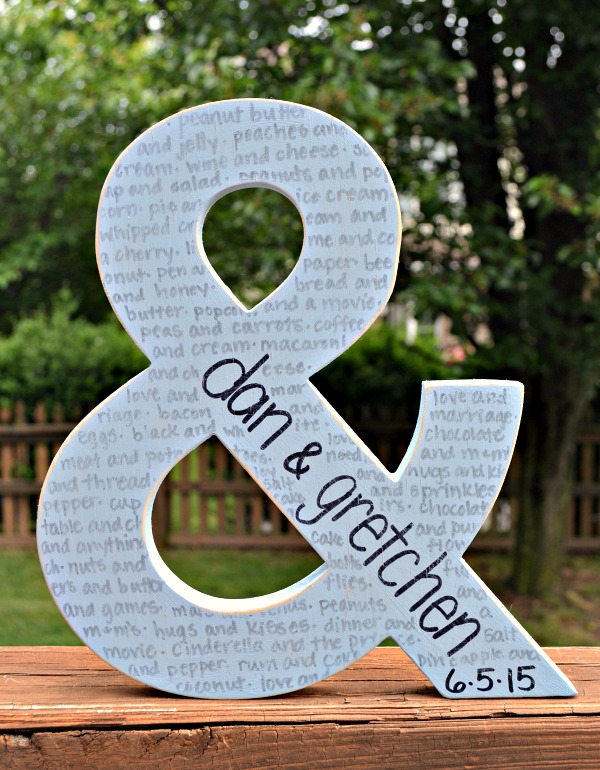
One Artsy Mama made this absolutely adorable Ampersand Wedding Gift!

vogelgift1

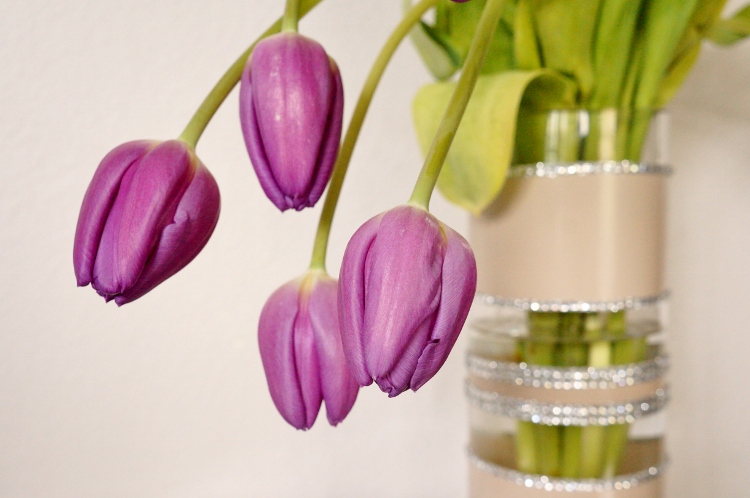
You can find a spray paint to match your wedding decor, and make these great spray paint and crystal vases from DIY Inspired.


Spray-Paint-and-Rhinestone-DIY-Wedding-Vase

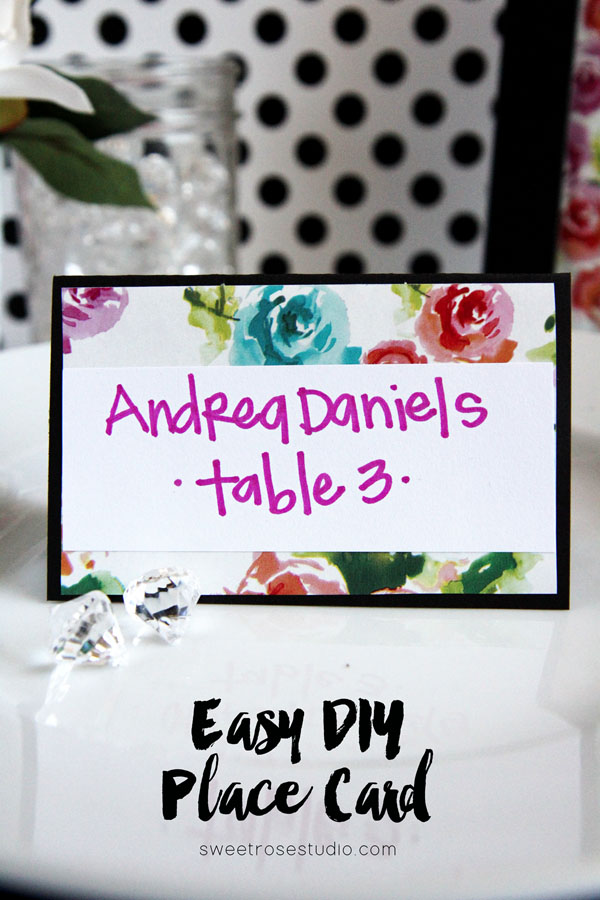
Our guest co-host for this series, Katie from Sweet Rose Studio, made these lovely floral wedding place cards.

Easy-DIY-Place-Card-at-Sweet-Rose-Studio


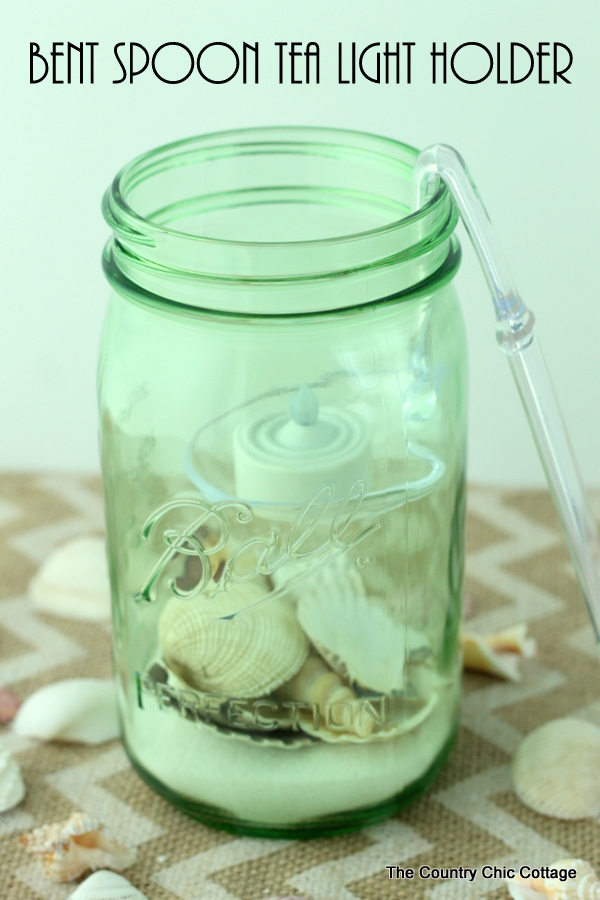
And my co-host for Craft Lightning, Angie from The Country Chic Cottage, made this fabulous bent spoon tea light holder.

bent-spoon-tea-light-holder-for-a-mason-jar

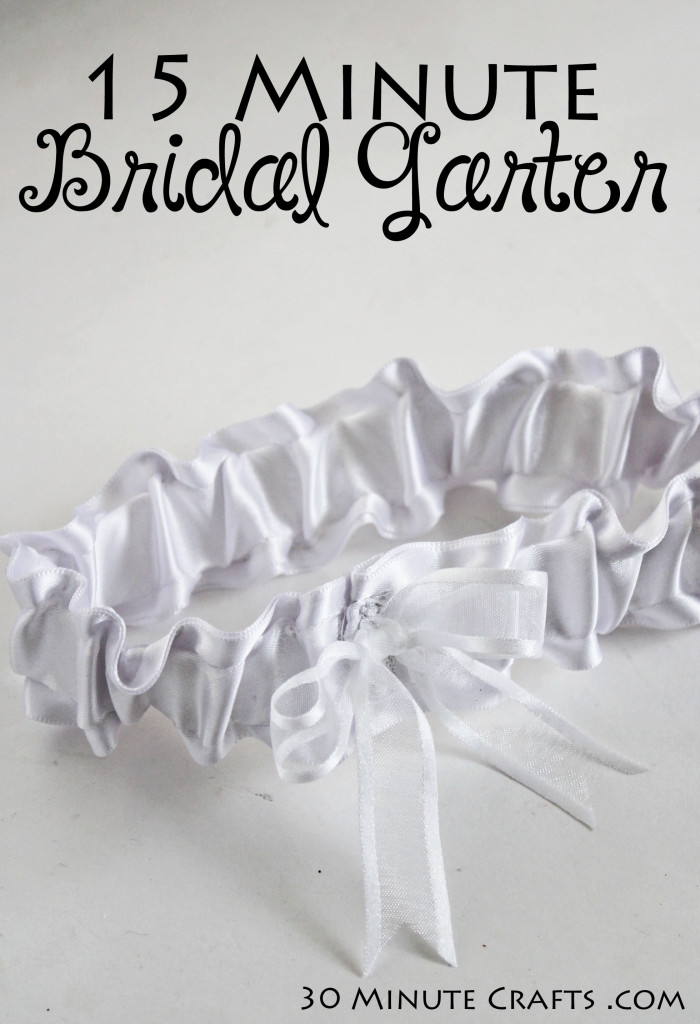
DIY Garter in 15 Minutes

Want to make your own wedding garter or a garter for a friend? Looking for instructions to make a prom garter? This fast and easy garter made from ribbon is fast to make and easy to customize. You can make it blue for a “something blue” at a wedding, or just add a blue bow. If you’d like to have “Something old, something new, something borrowed, and something blue” all in one place, you can do that with your garter – Use old lace, new ribbon, borrow a brooch to pin on the middle, and add a blue bow or some blue beads. But be sure to make a second, more simple tossing garter if you plan on having a garter toss at the wedding!

This project is part of a series of five fast and easy wedding crafts I’ll be posting this week as part of the “Craft Lightning Wedding” series. I’m co-hosting again with Angie from The Country Chic Cottage. And this week we have Katie from Sweet Rose Studio joining us as a guest host. They’ll each be sharing five fast and simple 15-minute-or-less wedding crafts. AND we’ve teamed up with other crafty folks from around the internet to share even more fast wedding projects… so be sure to scroll down to the bottom of this post to check out all their great ideas!

15 Minute Bridal Garter

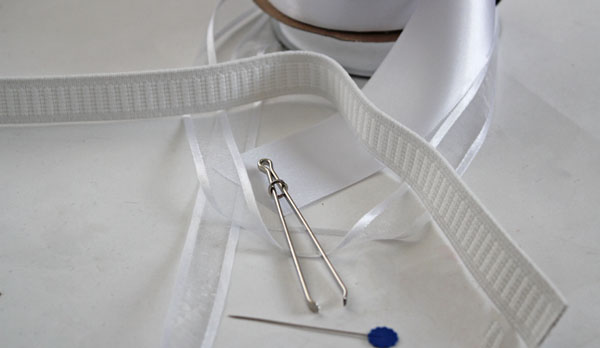
There is NO hand stitching in making this garter! We’re going to use our sewing machine and these supplies:
2″ satin ribbon – cut TWO 25″ pieces
3/4″ sheer ribbon – cut to 15″
1″ elastic – cut to 13″
Bodkin (or a large safety pin)
Pin
Scissors

supplies for garter

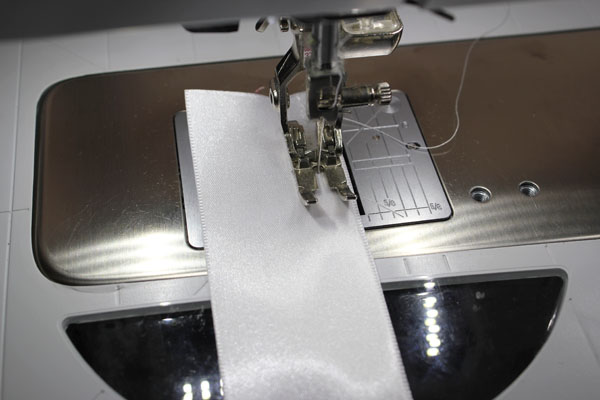
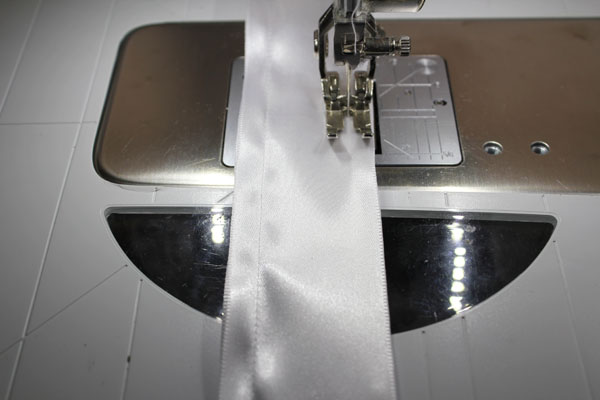
Place your two 25″ pieces of ribbon on top of eachother. If there is a “right side” and a “wrong side”, put them wrong sides together. Stitch down one side, 1/4″ away from the edge.
stitch down side

Repeat with the other side.

stitch down other side


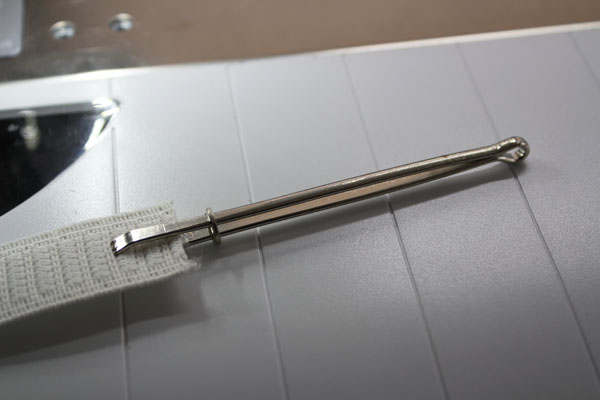
Put the bodkin (or safety pin) on one end of your elastic.

attach bodkin

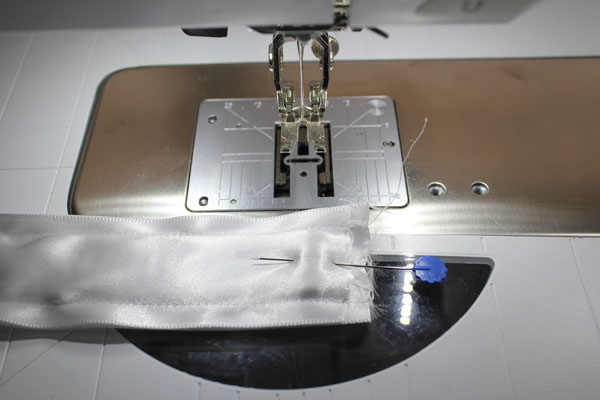
Feed into the casing created by stitching on both sides of the ribbon, until the other end of the elastic *just* peek out. Pin the elastic in place, then stitch down. Nothing fancy, just a line of stitching, then stitch back, then stitch forward again.

stitch elastic in place


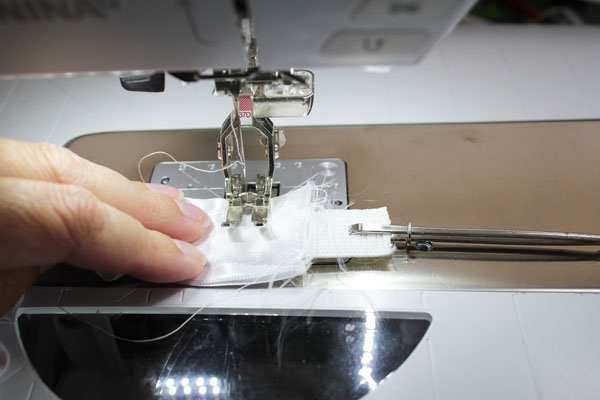
Finish feeding the elastic out to the other end, and let it poke out about an inch. Stitch in place, then cut off the excess.

stitch down end


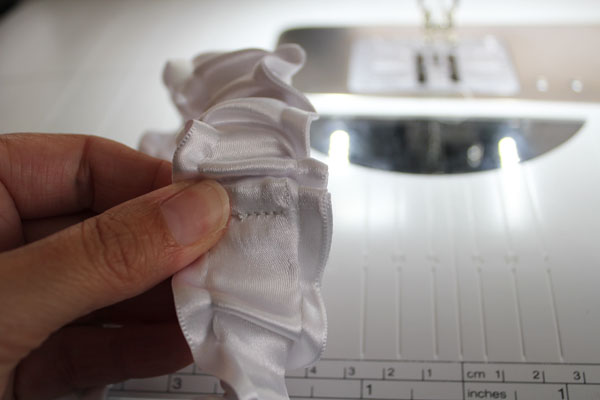
Fold over one end about 1/4″, and place on top of the other end. Put under the sewing machine, and stitch down. Make sure to stitch securely – you don’t want it coming undone!

stitch sides together

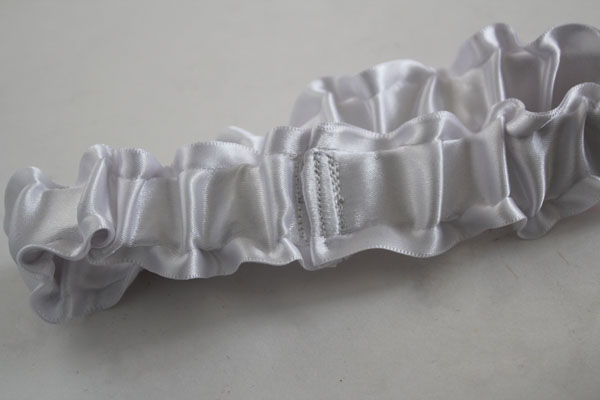
The garter could be complete like this, but we’re going to add a little embellishment…

garter stitched up

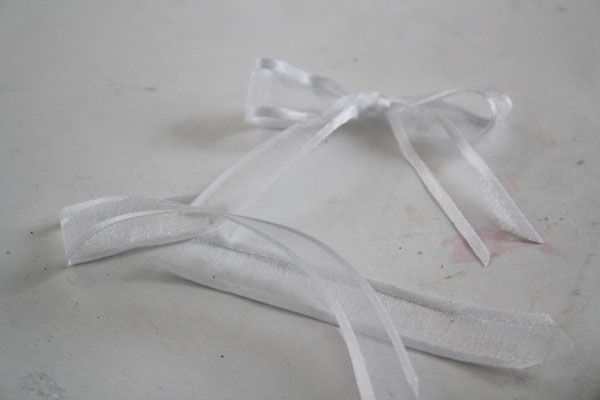
Tie a bow from the sheer ribbon.

tie a bow

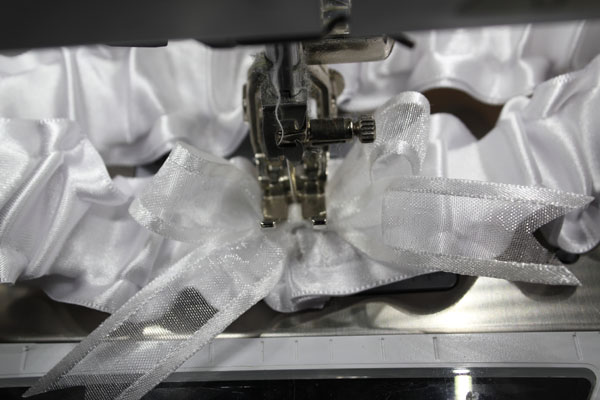
Use a couple stitches to tack it in place.

stitch down bow

You could add whatever you like – an old brooch, a locket with family photos (or a photo of a loved one who was unable to attend the wedding). I took some lace pieces off of my mom’s veil that would have looked great on a garter like this! You can personalize this simple garter however you like… but if you’re going to be sentimental, make sure to make a second, simple garter to toss at the reception so you don’t lose your special one!

Want some more fast and easy wedding crafts? Check out these great projects!

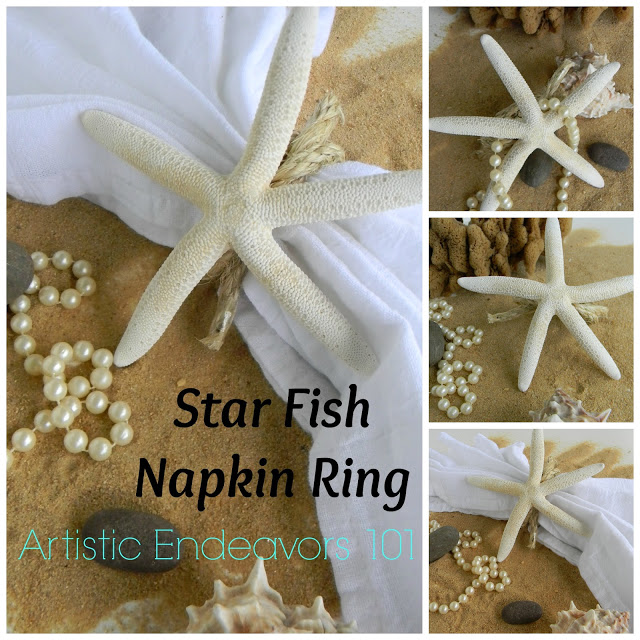
These starfish napkin rings from Artistic Endeavors would be great for a beachy wedding!

PicMonkey Collage craft Lightning Wedding Edition

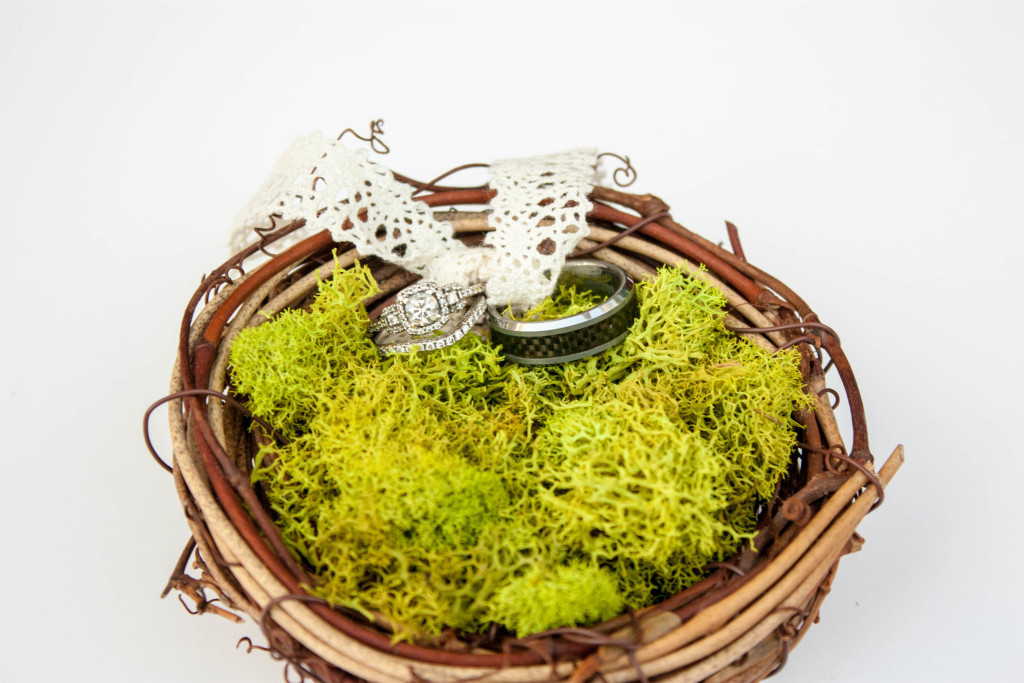
Bunble Bree came up with an adorable alternative to a ring pillow – this ring nest is perfect for the nature-boho wedding she’s attending!

Wedding-Ring-Holder-15-1024x683

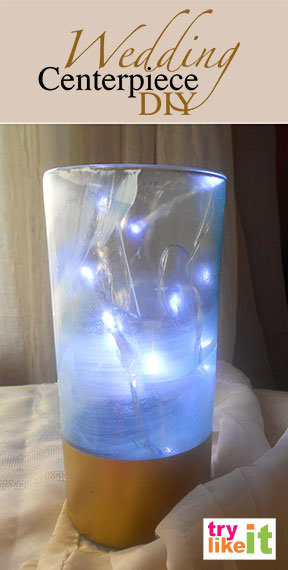
Looking for wedding decor? This DIY Wedding Centerpiece from Try it Like it is perfect for adding some sparkle to the evening.

lit wedding centerpiece

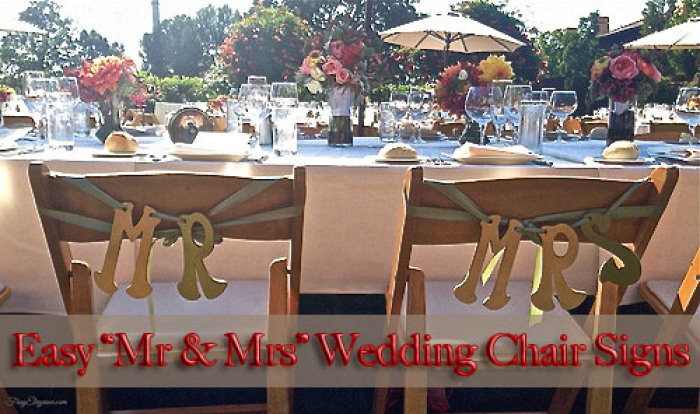
Frugal Elegance made some great wedding decor as well… these fun “Mr and Mrs” chair signs.

MrMrsTitle

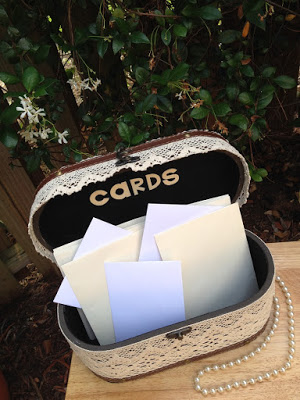
I love this lace suitcase card holder that Beth Watson made – the lace is such a great accent for a wedding!

06-15 WEDDING DECOR 2

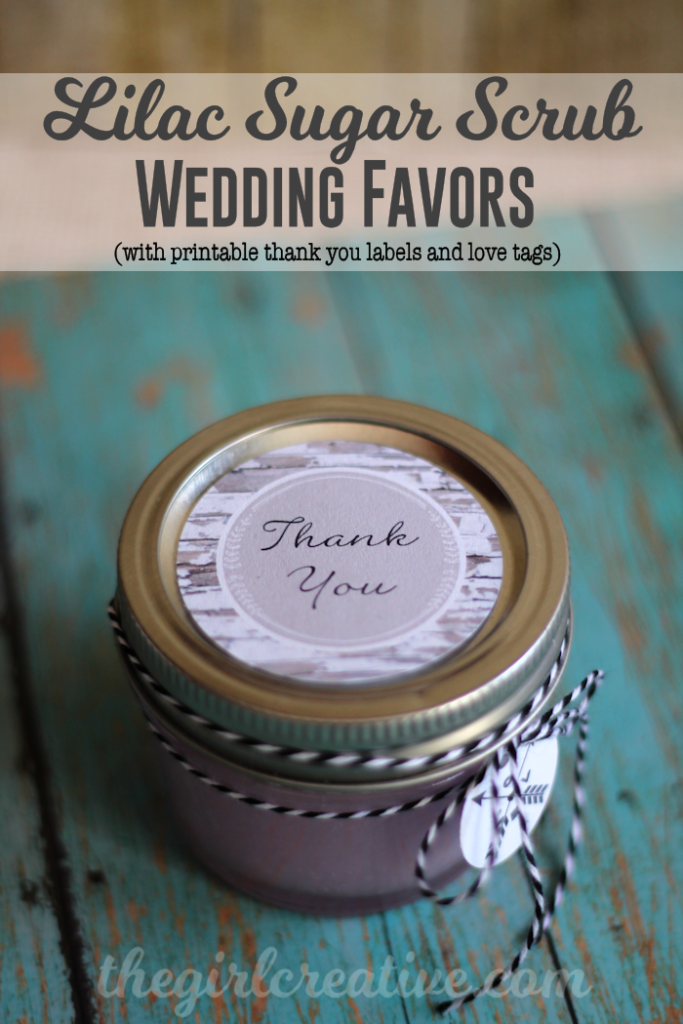
If you’re looking for favors, the lilac sugar scrub that the girl creative made is perfect!

Lilac-Sugar-Scrub-Hero

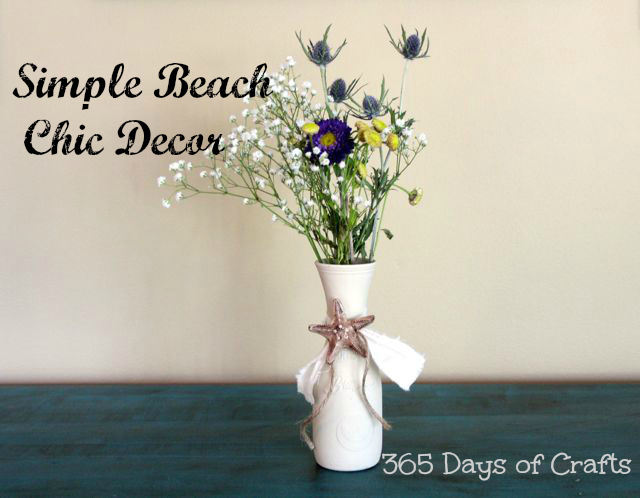
This fun beachy floral arrangement from 365 days of crafts is great for a wedding on the beach… or one with a beach theme.

Beach-chic-wedding-2


DIY Memo People

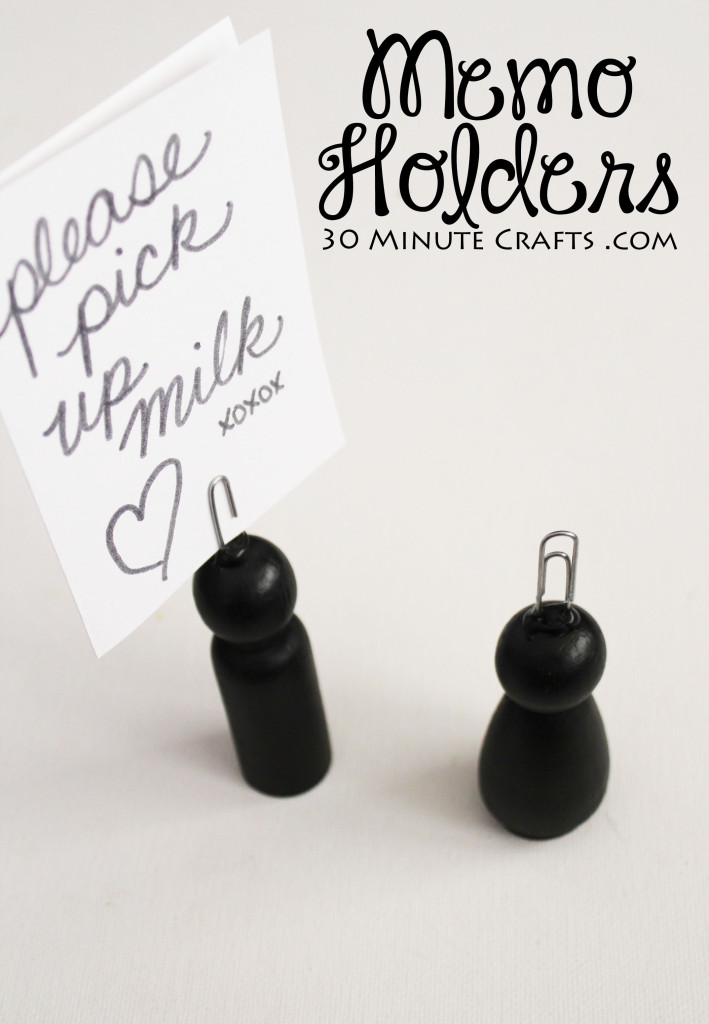
Want a cute place to kep memos, grocery lists, reminders, or photos? These little memo people are super simple and easy to make!

Memo Holders

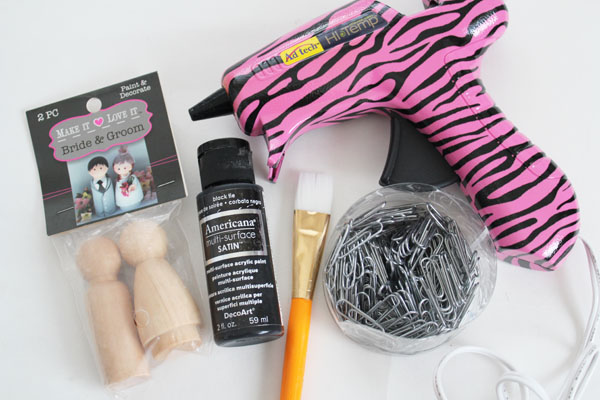
Supplies:
Wooden Peg People
Paperclips
Black Paint
Paintbrush
Hot Glue

supplies for people memo holders

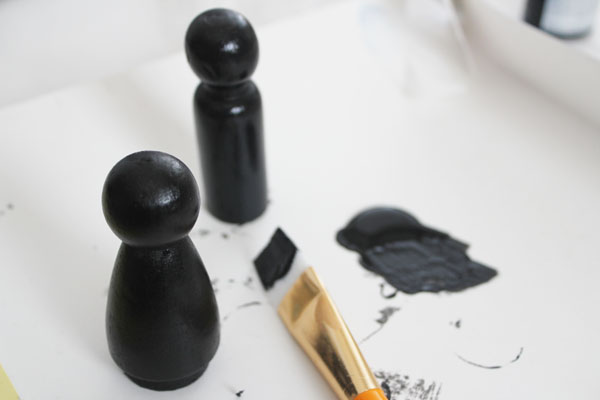
Paint your peg people black. Allow to dry.

paint wooden figures

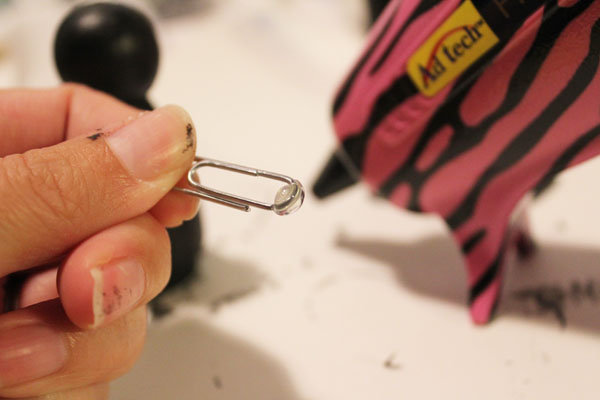
Hot glue paperclips to the top.

glue on paperclips

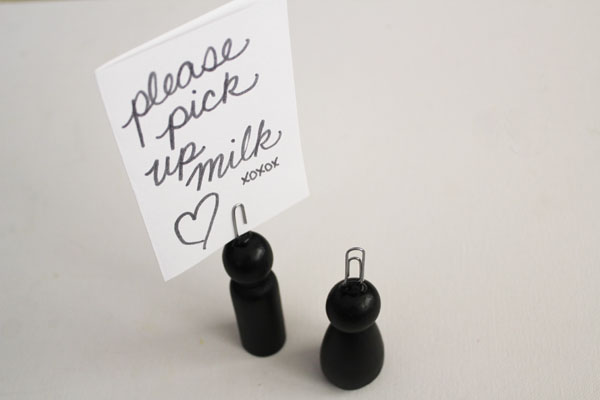
Touch up the hot glue with a little black paint, if you like.


Paperclip memo people

Duck Tape and Paperclip Necklace Charm

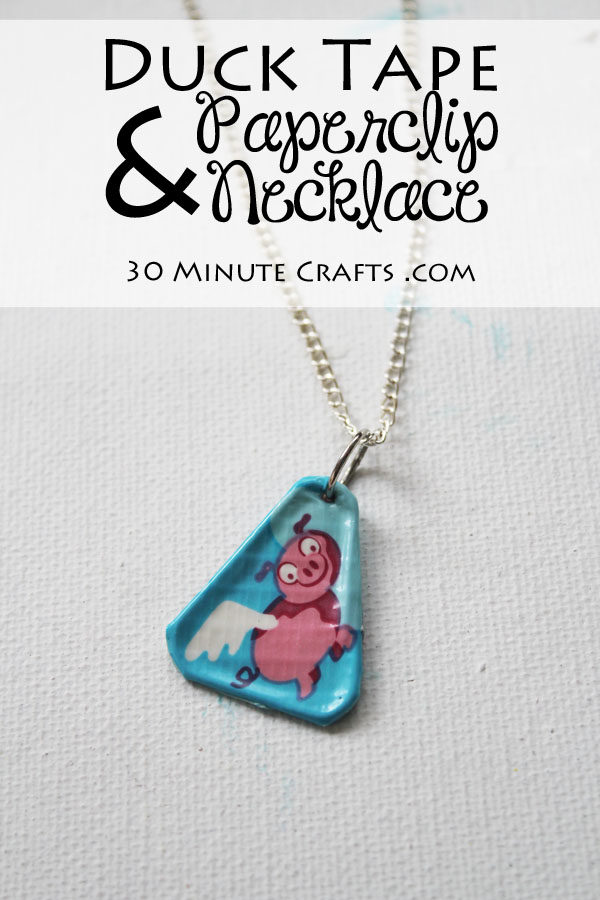
This necklace charm is super simple to make, and a fun craft for kids – with just a few simple supplies, many of which you probably already have on hand, you can make a simple and cute necklace… in about 10 minutes! And I have a video to show you step-by-step how to make one yourself. A fun activity for kids this summer!

DIY Duck Tape and Paperclip Necklace

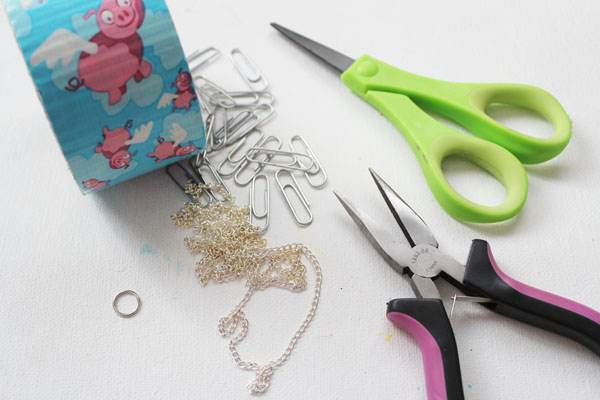
Supplies:
Decorative Duck Tape
Paperclip (any size, I used small, but large is better for bigger designs)
Jump Ring
Pin (optional, but a good idea)
Scissors (I used Fiskars Duck Edition scissors)
Pliers (optional)
necklace chain

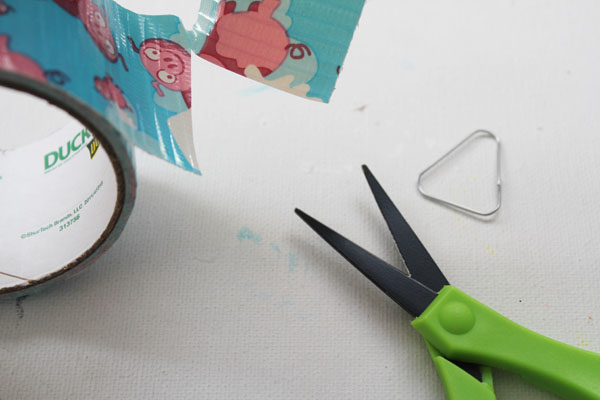
duck tape and paperclip necklace supplies

Here is the step-by-step video, where I make a cute Minion version of this necklace! If video isn’t your thing, you can watch the step-by-step further below.

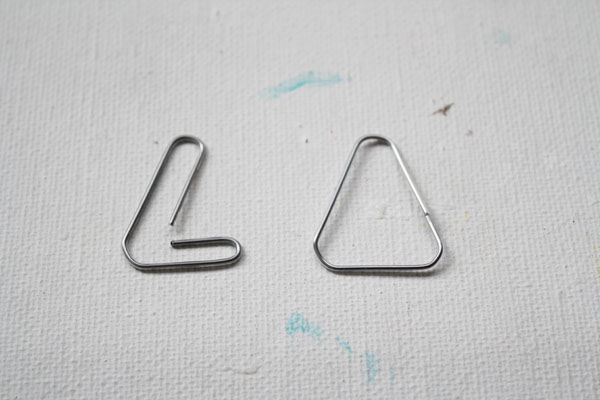
Start by bending your paperclip into an L, then opening up the sides to make a triangle.

shape paperclip

Cut a piece of Duck tape.

cut a piece of Duck Tape

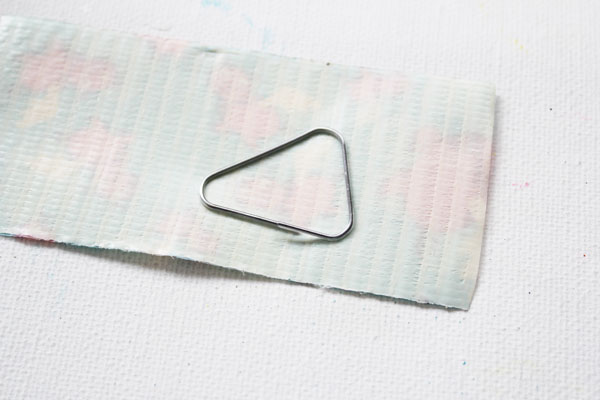
Place your paperclip triangle on the sticky side of the Duck Tape, centered over the chosen design. Make sure the design fits inside the triangle.

center image in triangle

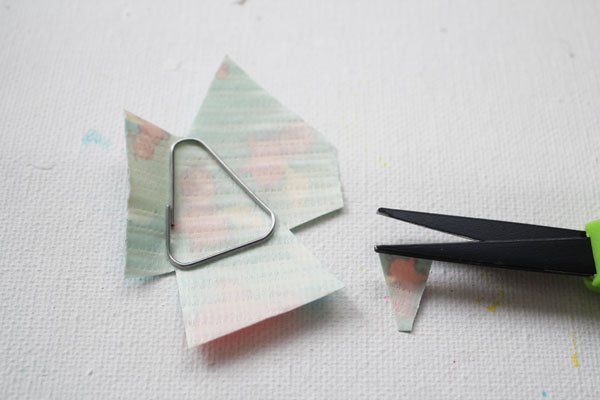
Trim all three sides. Clip in the corners.

cut to fit

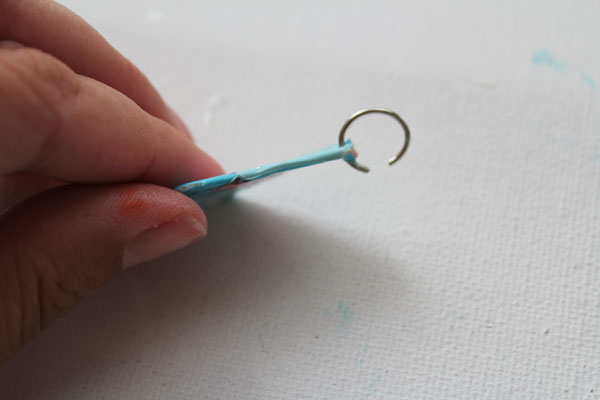
Start folding in all the sides. Cut away any excess tape, and trim around the edges. Open up a jump ring, and poke it through the top of the charm. If you like, use a pin to poke the hole first – that will make it easier to get the jump ring through. Then close the jump ring.

add jump ring

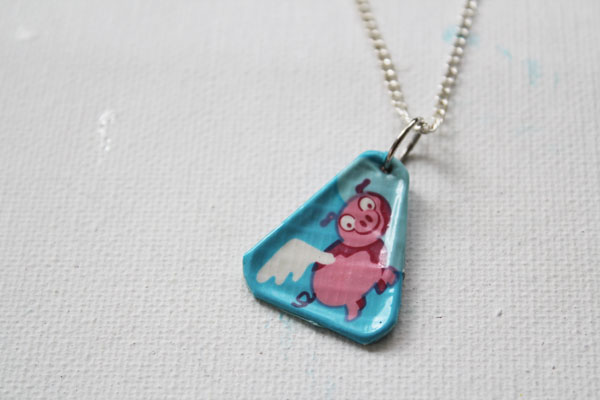
Your necklace charm is complete! Just put it on a necklace chain, and you can wear it.

finished duck tape and paperclip necklace

If you like Duck Tape Crafts – check out this list of great Duct Tape Crafts here.

Save

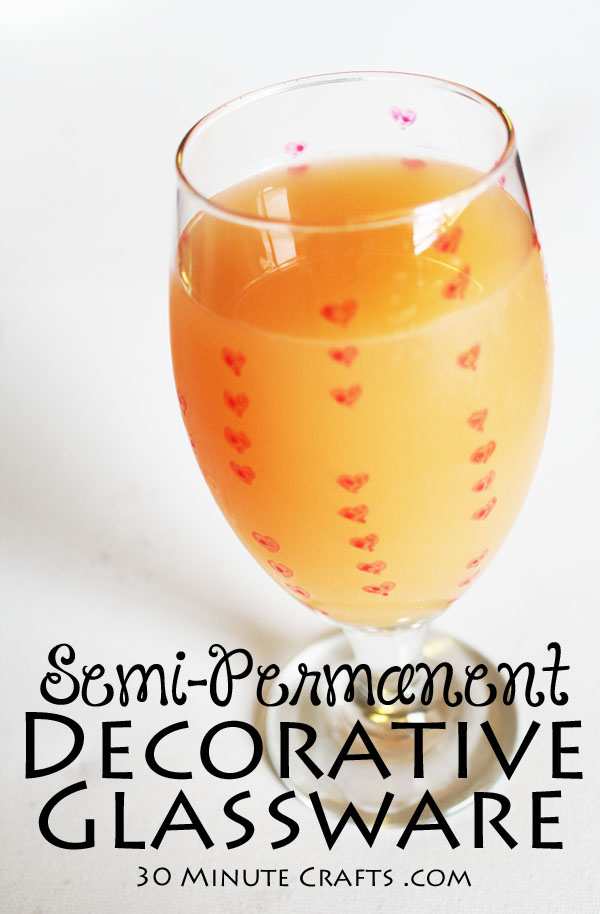
Semi-Permanent Decorative Glassware

Want to dress up your glassware for a party or special occasion, but don’t want to make it permanent? You can add semi-permanent decorations to your glassware with glass paint pens, use them, then remove the ink after the party is over! A great way to make a special statement, without buying all new dishes!

Semi-permanent Decorative Glassware

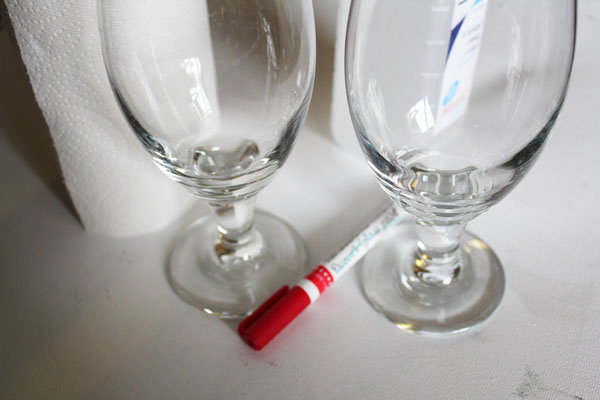
To make these fun glasses, you’ll need:
Glassware
Rubbing Alcohol
Paper Towels
DecoArt Glass Paint Pens

Just a heads up: the paint pens are semi-permanent for a couple days, but if you leave the ink on for too long, it will become much harder to remove, and will eventually become permanent. Make these glasses the day before your party, and remove the ink no later than the day after, and you will be fine.

supplies for decorative glassware

Clean the glasses with the rubbing alcohol and paper towels.

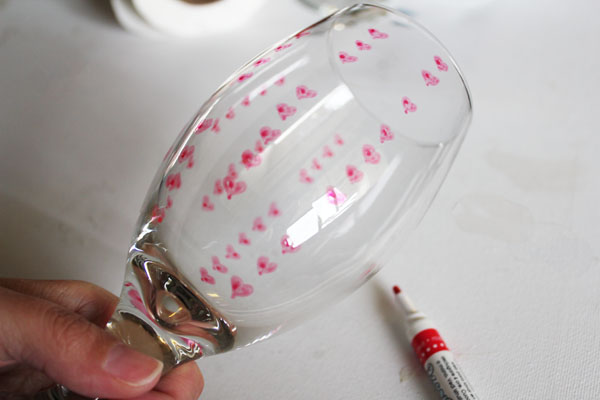
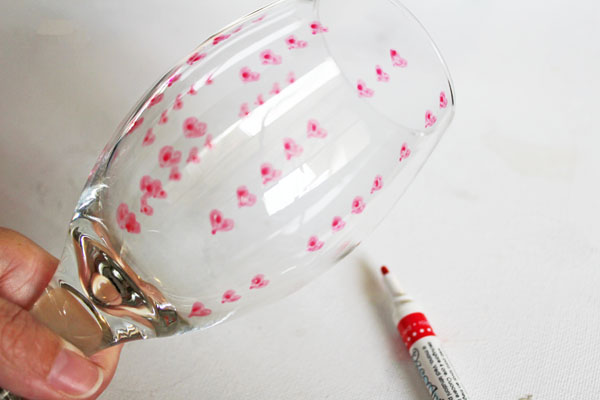
Once the surface is dry, draw your design. I chose lines of hearts going up the sides of the glasses.

draw rows of hearts

You can draw your design all the way around. Keep it away from the rim of the glass – although these pens are labeled as non-toxic, they are not approved as “food safe”, so you want to keep them out of contact with food or drink.

draw on hearts

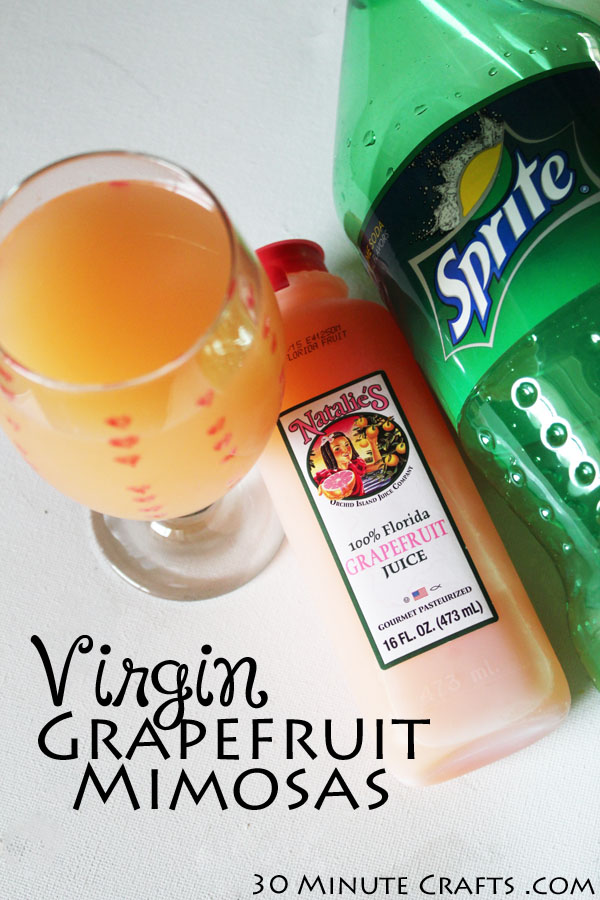
If you need a fun drink idea, make these Virgin Grapefruit Mimosas! I was sent some delicious juices from Natalie’s Orchard Island Juice Company, and whipped up these simple non-alcoholic mimosas to drink.

Virgin Grapefruit Mimosas

Add equal parts Natalie’s Grapefruit juice and Lemon-Lime soda. Yum!

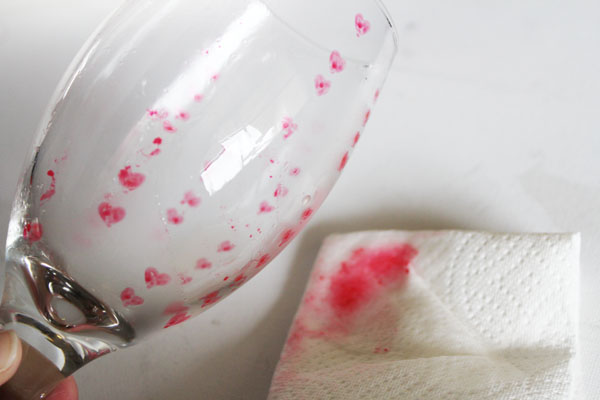
After the party, use rubbing alcohol and paper towels to clean off the ink from the glassware, then wash as normal.

use alcohol to remove ink

No-Sew Story Board

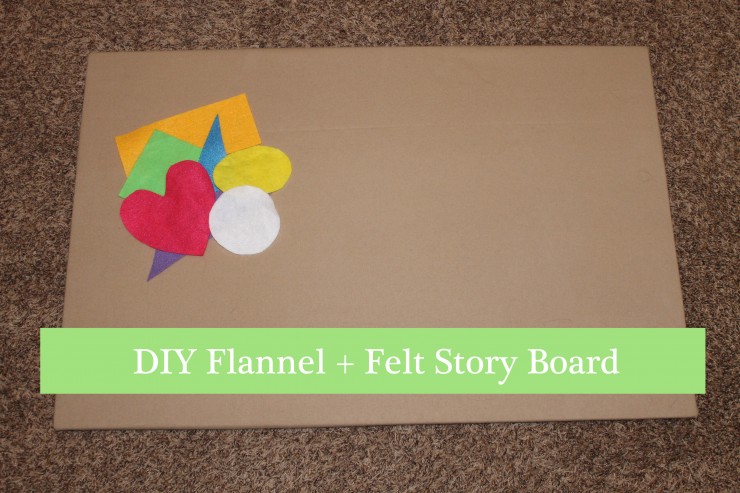
If you grew up in the 70s or 80s, chances are you had a teacher or librarian who used a story board. I loved watching stories come to life on storyboards as a child, and was always itching to get my hands on the pieces… but was rarely allowed. The magic of the story components sticking to the storyboard without any adhesive, and being able to move them over and over again kept me fascinated!

You don’t have to hop in a time machine to give your children that same joy! You can make them their very own Felt Story Board, without sewing a single stitch, and the gals at XO Lauren and Jane show you how.

DIY-Flannel-Felt-Story-Board-740x493

Pin this to your “Kid Crafts” Pinterest board – but first click here to pin from the original source.

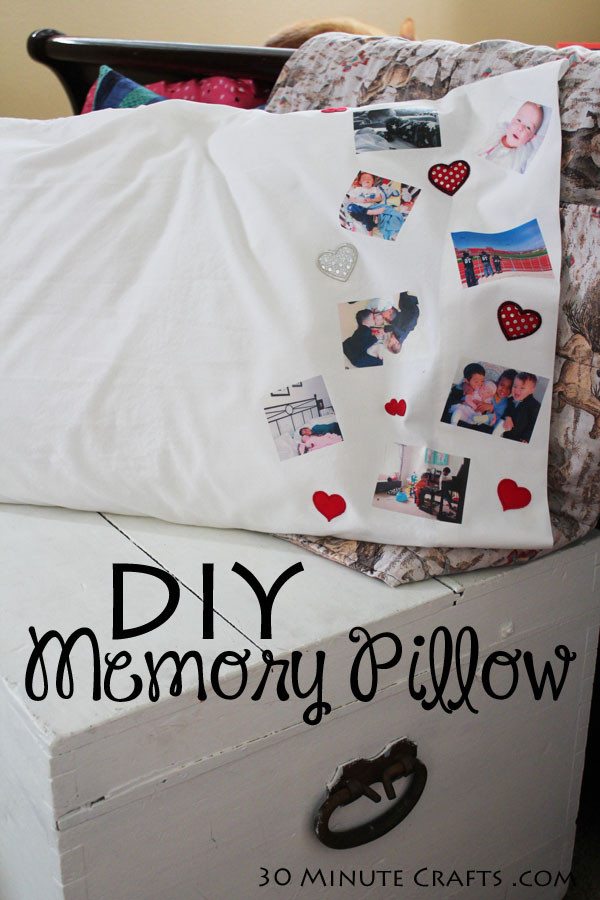
DIY Memory Pillow

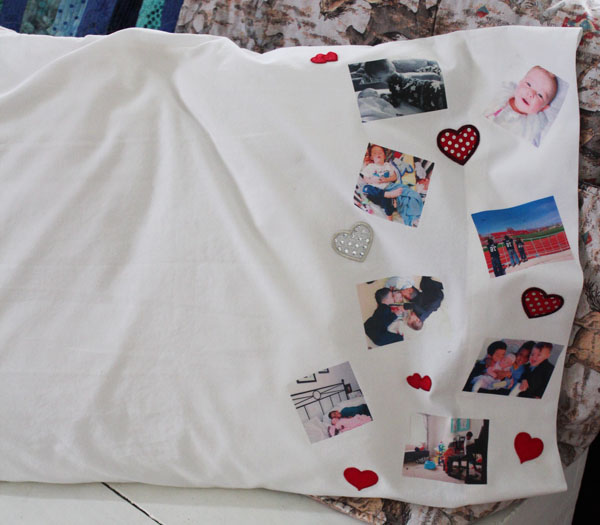
Looking for a fun and easy way to preserve a memory or group of memories? This DIY Memory Pillow is a simple no-sew way to hold on to a special moment, or keep special people close to your heart.

DIY Memory Pillow

I made this pillow for Lindsey of the R House. She was my “Secret Sister” at the SNAP conference I went to in April. When I was trying to source the perfect gifts for her, I went through her Instagram feed for ideas. From her feed, it is clear that she is madly in love with her children. Since she would be at the conference and away from her family, I thought that making this pillow would be a way for her to feel close to them each night.

supplies:
White Pillowcase, prewashed
Photo Transfer Paper
Inkjet Printer
Iron on Patches (I found these cute heart patches)
Iron and ironing board
Scissors

Start by printing the photos onto the photo transfer paper. There are lots of brands available, and they’re so much fun to use. If your photos have any kind of text on them, make sure to print the MIRROR IMAGE of the photo. This should be available in your printer settings, for most printers.

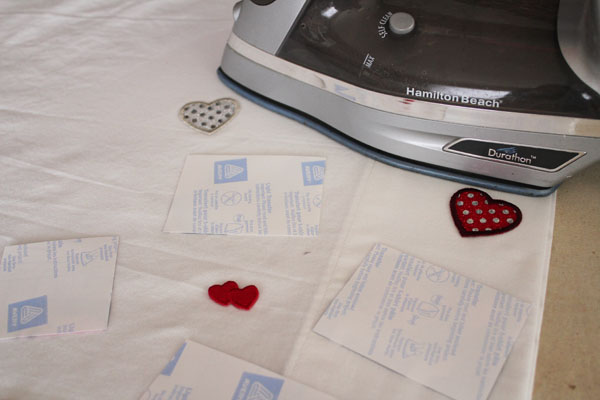
Cut out the photos, leaving the backing paper on. Place them along the edge of the pillow, along with your iron on patches. Once you’re happy with the placement, iron everything in place following the manufacturer’s instructions.

iron down parts

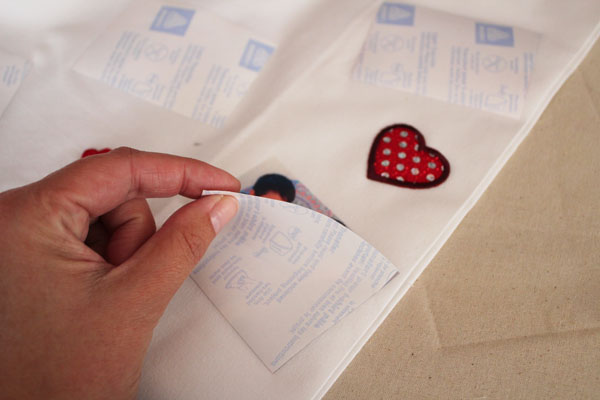
Once everything has cooled, peel away the papers.

peel back papers

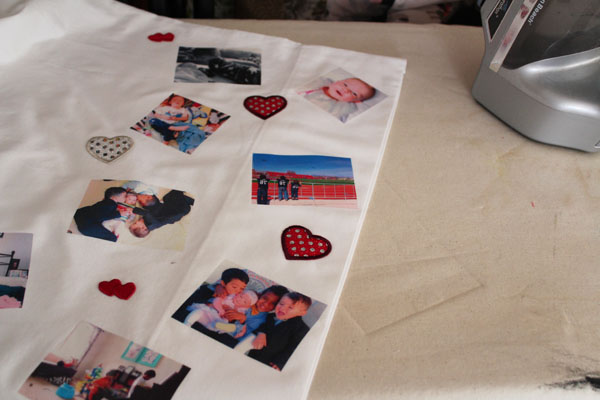
Your pillowcase is done!

all papers removed

Cute and simple – and who doesn’t love a personalized pillow as a gift, right?

memory pillow

You can make a pillowcase of family photos for a child to take to camp, a trip to grandma’s, or off to college! You could make a pillow covered in favorite quotes (you don’t have to use photos!)… really anything that you can print can decorate your pillowcase!

Simple Vase Filler

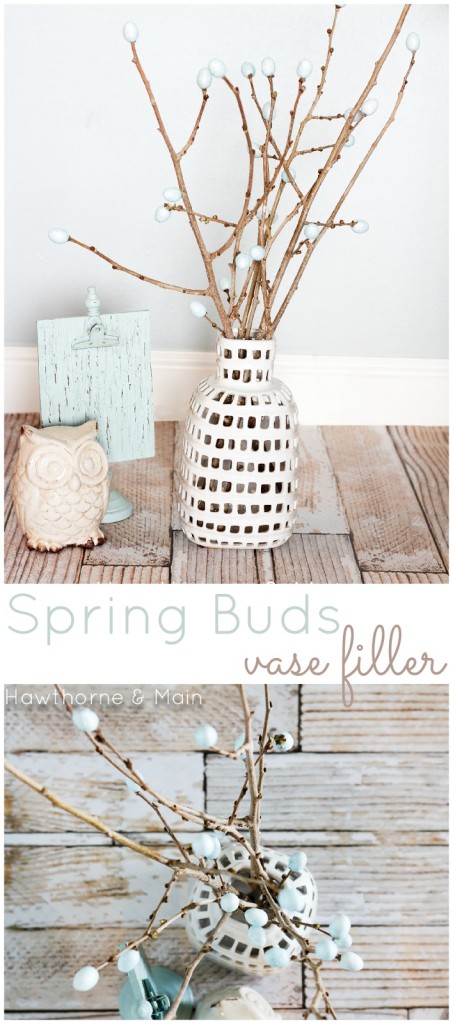
Do you still have Easter Decor hanging around the house? Maybe you never put it away… or maybe you bought it on super clearance and it hasn’t made it into the Easter decor box yet? Well, it might help you make this simple vase filler from Hawthorne and Main! Check out how easy it is to add a little color and texture to your home! … and if your Easter supplies are all tucked away, this might give you an excuse to dig into them one more time!

Buds Vase Filler - Hawthorne and main

Pin this to your “Decor Ideas” Pinterest board. But first Click Here to pin from the original source.

Pom Pom Drink Straws

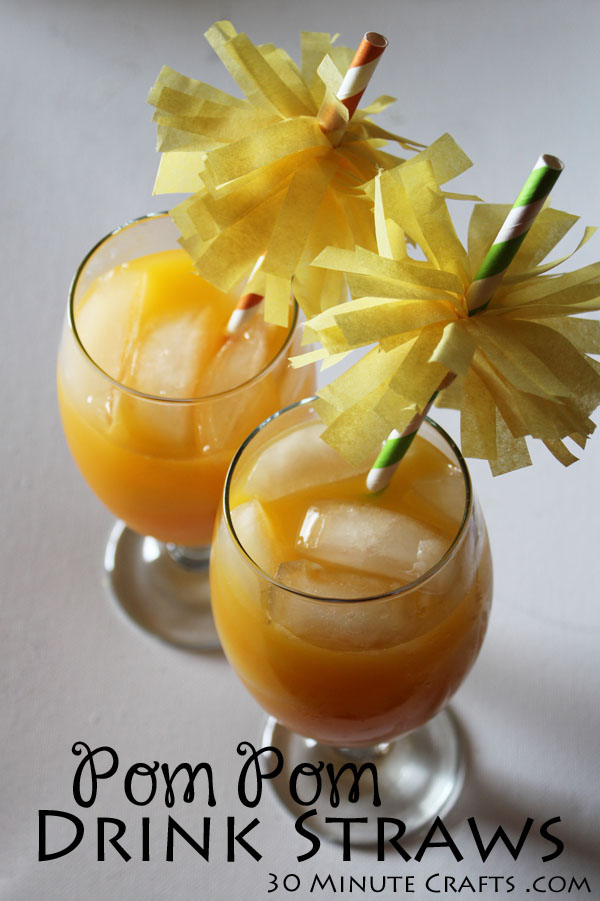
Want to make some fancy looking drinks without a lot of work? These pom pom drink straws don’t require a lot of supplies, or a lot of time, and they’ll fancy-up any drink. If you want a fun drink that goes great with these straws, scroll down to the bottom of the post for the “Taste of Paradise” recipe.

Pom Pom Drink Straws


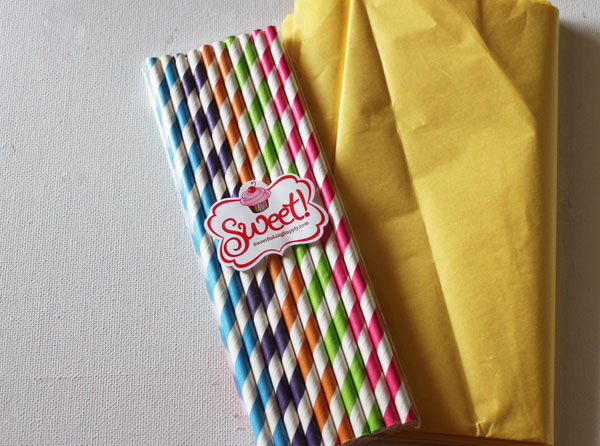
To make the Pom Pom drink straws, you’ll need:
Paper Straws
Tissue Paper
Scissors
Glue (use a non-toxic glue)

supplies for drink straws

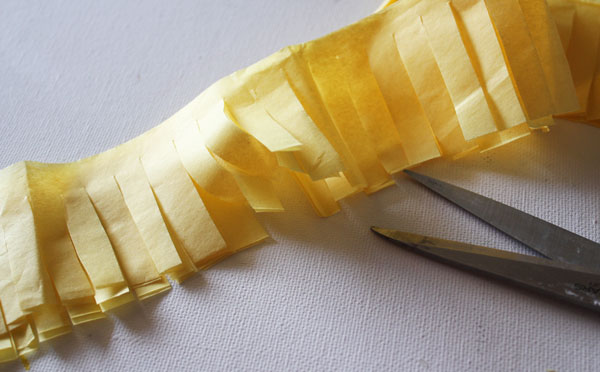
Cut 2.5″ strips of the tissue paper. You can cut multiple strips at once. Cut fringe into the strip, leaving the last 1/4″ or so intact.

cut into fringe

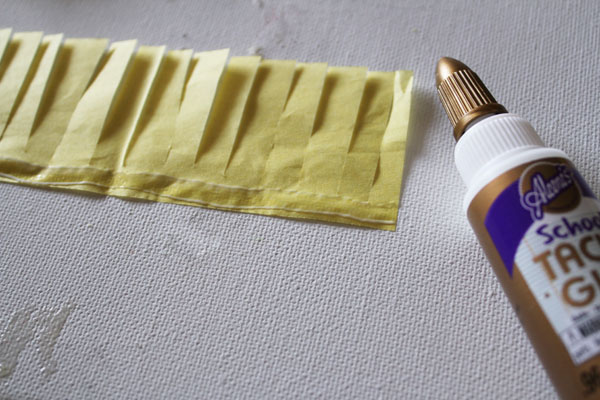
Put a thin line of glue down the uncut end of the fringe.

glue along the edge

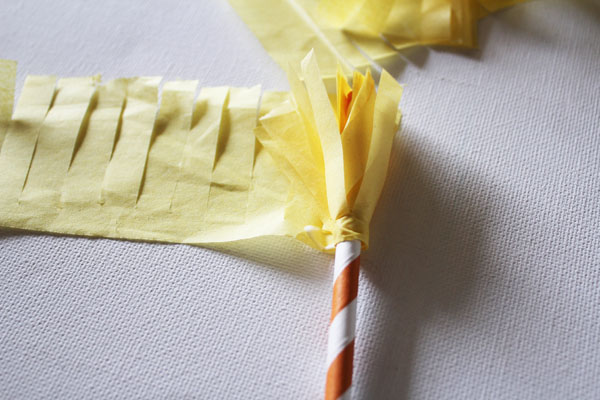
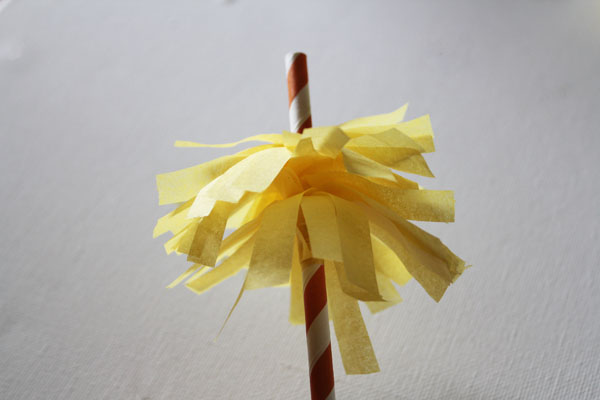
Roll the fringe onto the straw, fringe-side-up, with the fringe extending no further than the top of the straw.

roll up on straw

Use the whole strip. Allow to dry.

wrap tissue around straw


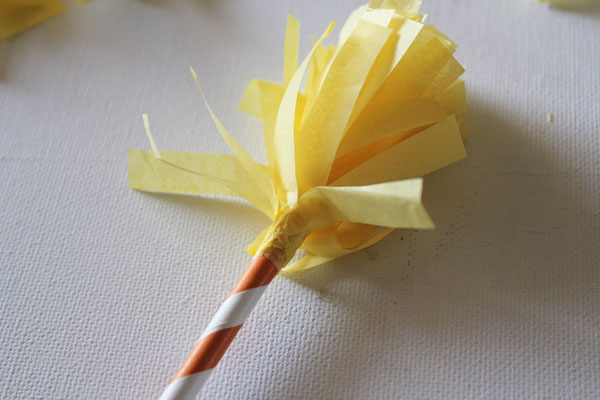
Fluff the tissue downwards to create the pom pom.

fold down tissue

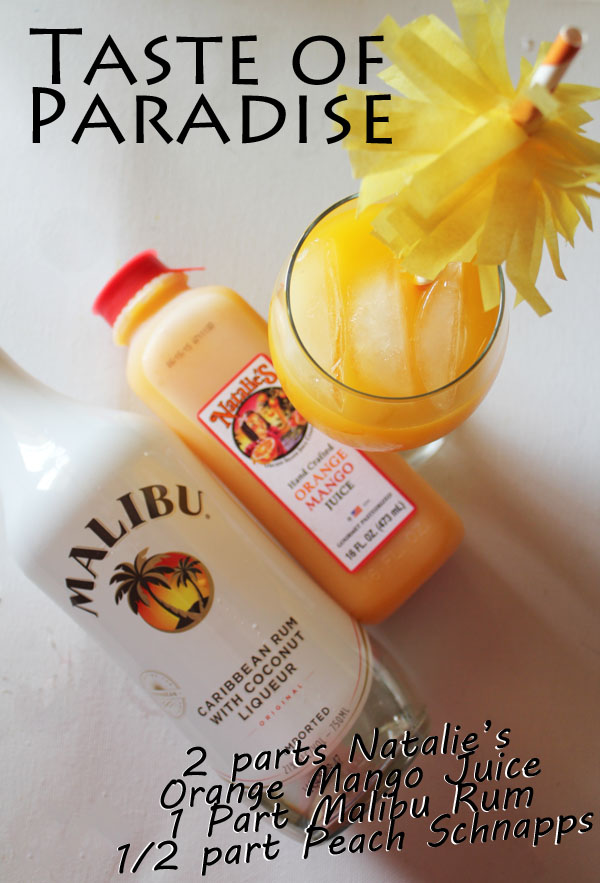
Use it to sip your favorite cocktail! Don’t have one? Make a “Taste of Paradise”. Natalie’s sent me some of their awesome juices, and I whipped up this cocktail with some serious tropical flavor!

2 parts Natalie’s Orange Mango Juice
1 Part Coconut Run
1/2 part Peach Schnapps

Serve over ice – yum!

Taste of Paradise recipe

The former waitress in me wants to tell you to drink responsibly, but you already knew that, right?

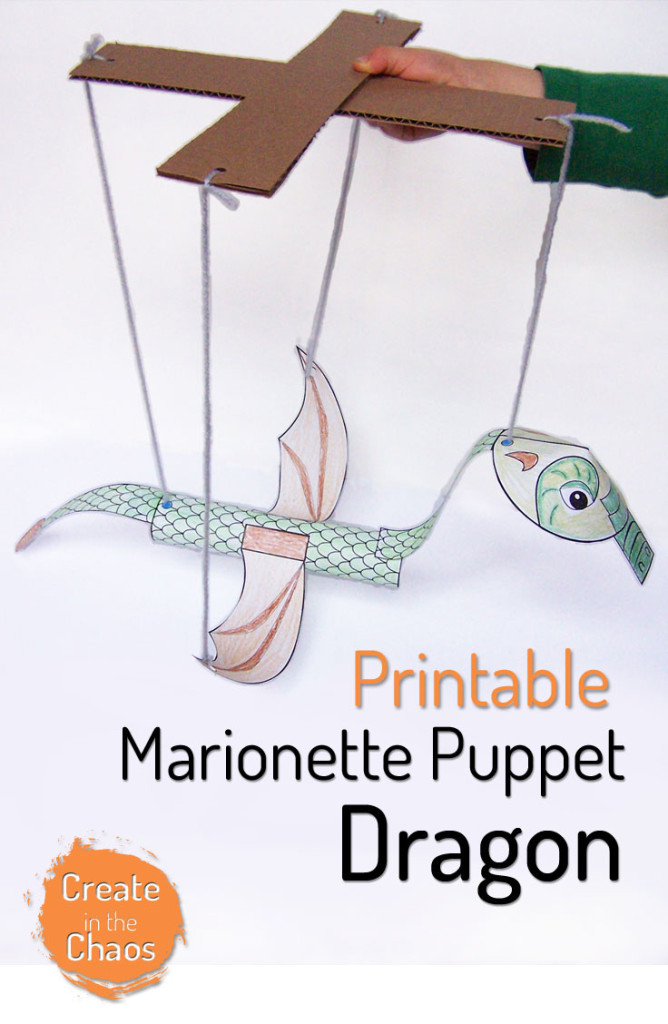
Printable Dragon Marionette

Looking for a fun summer project to keep the kids busy? This Printable Dragon Marionette is perfect! Print out the pieces with your kiddos, then get some things done around the house while they color it in, then come back to put it all together… and let them play while you prepare lunch! A craft that keeps them busy after it is made! And marionettes are so much fun – and just different enough to keep them entertained.

Printable Dragon Marionette - Create in the Chaos

Pin this to your “Crafts for Kids” Pinterest Board – but first click here to pin from the original source.