Search Results for: svg

Legoland Facemasks

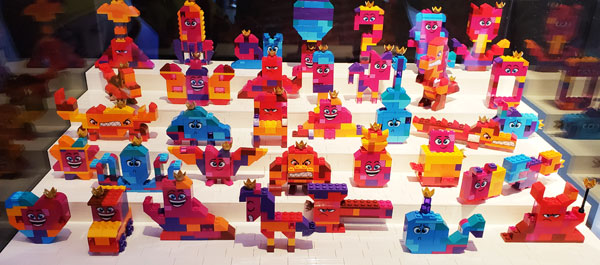
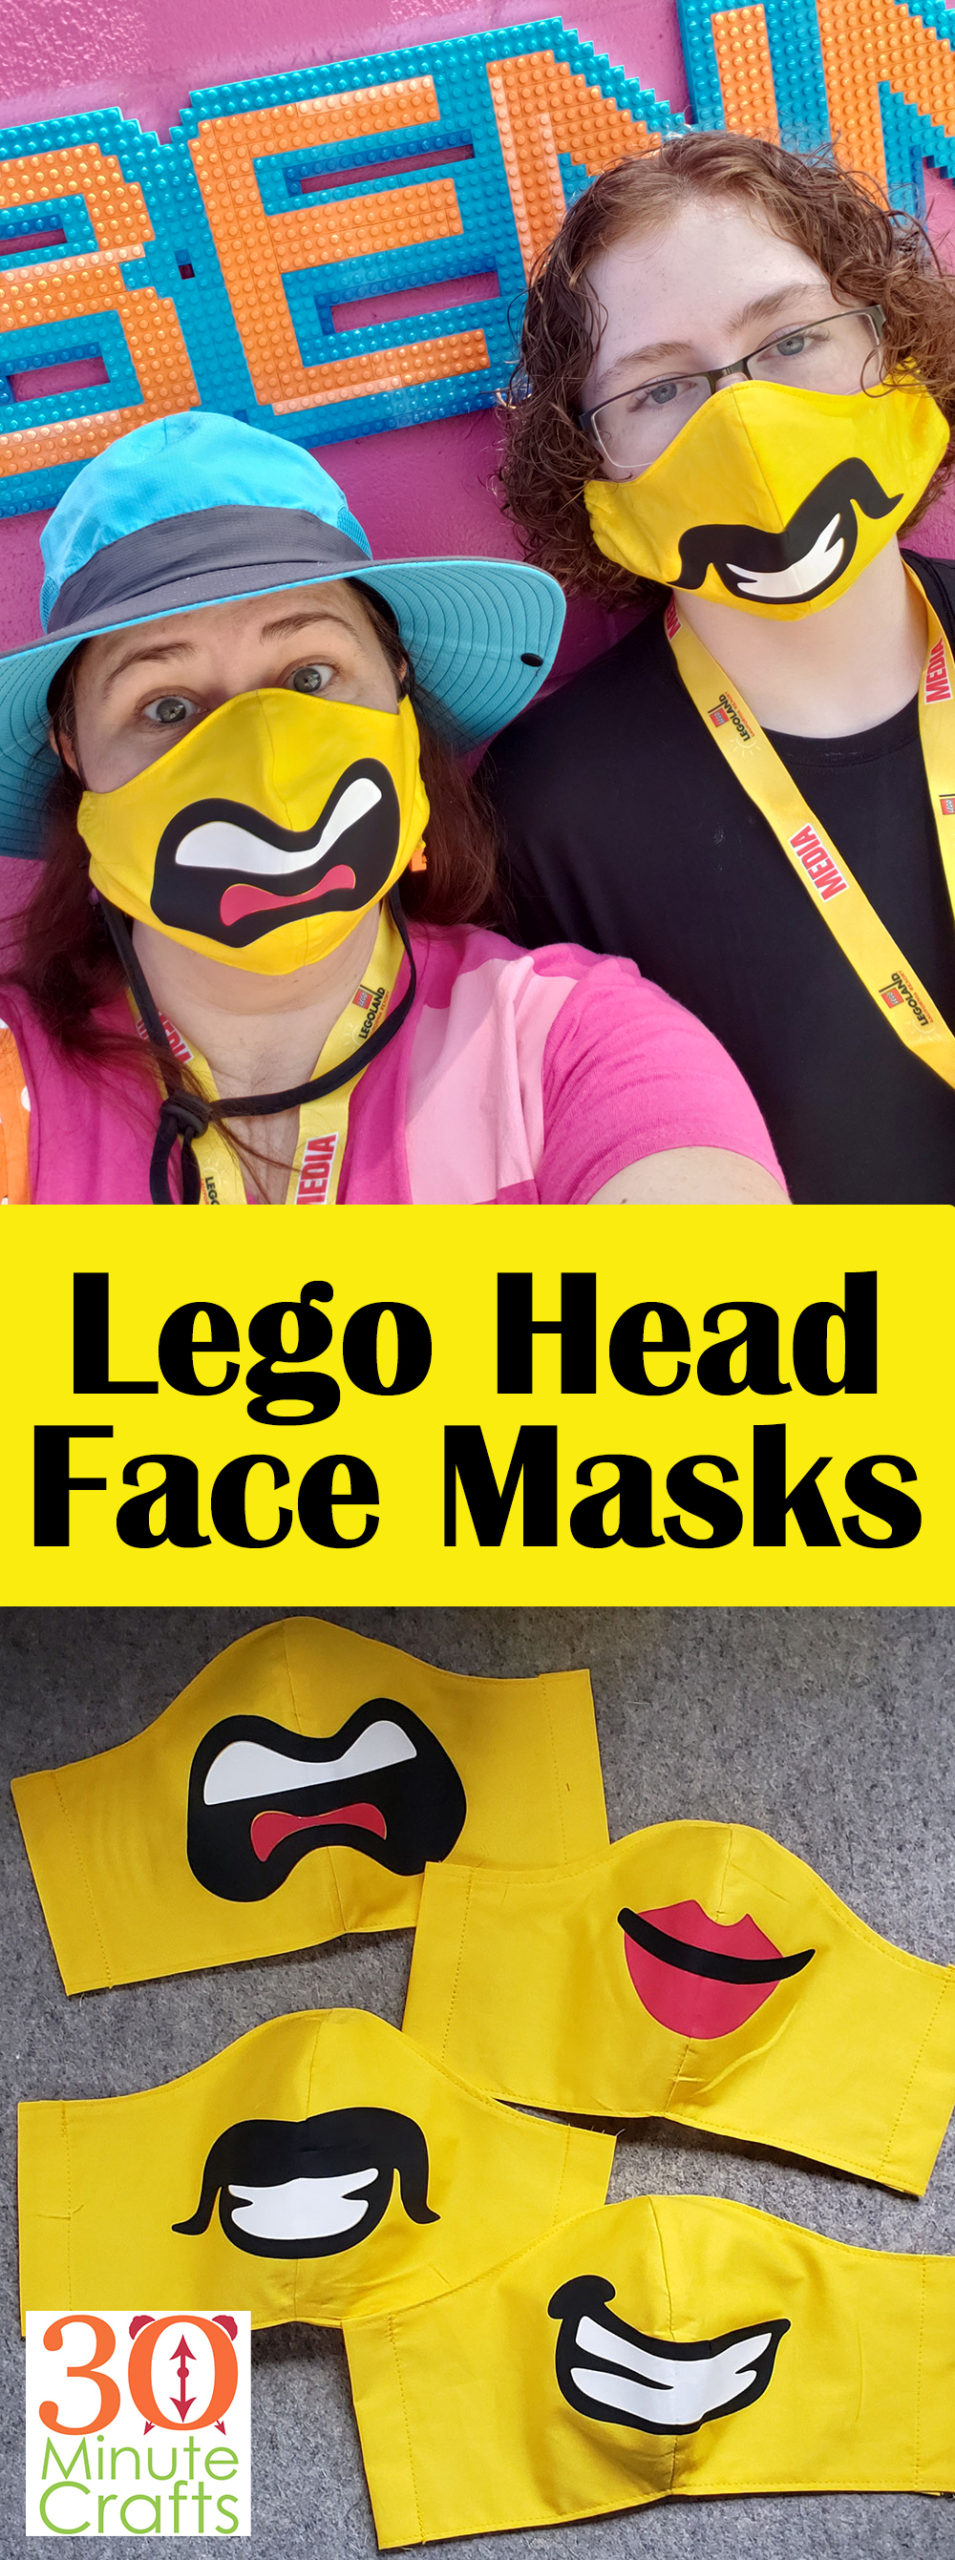
At some point in the future, this craft project may not be relevant. But, currently, facemasks are still required at theme parks in California. So when we headed to Legoland to check out the new section of the park – Lego Movie World – we wore our masks. But instead of putting on our regular masks, we wore some super fun Lego Head Facemasks! That’s right, these masks are super fun to make and are a total head turner when walking around the park!

You can use any mask you like. I used the Craft Passion Face Mask Pattern. We like the fit of this mask, but the curve makes applying vinyl to the front of the mask very tricky – especially for larger designs. If you’re not experienced with vinyl on curved surfaces, and don’t have a Cricut Easypress Mini, I’d recommend that you stick to the flat-front face masks.

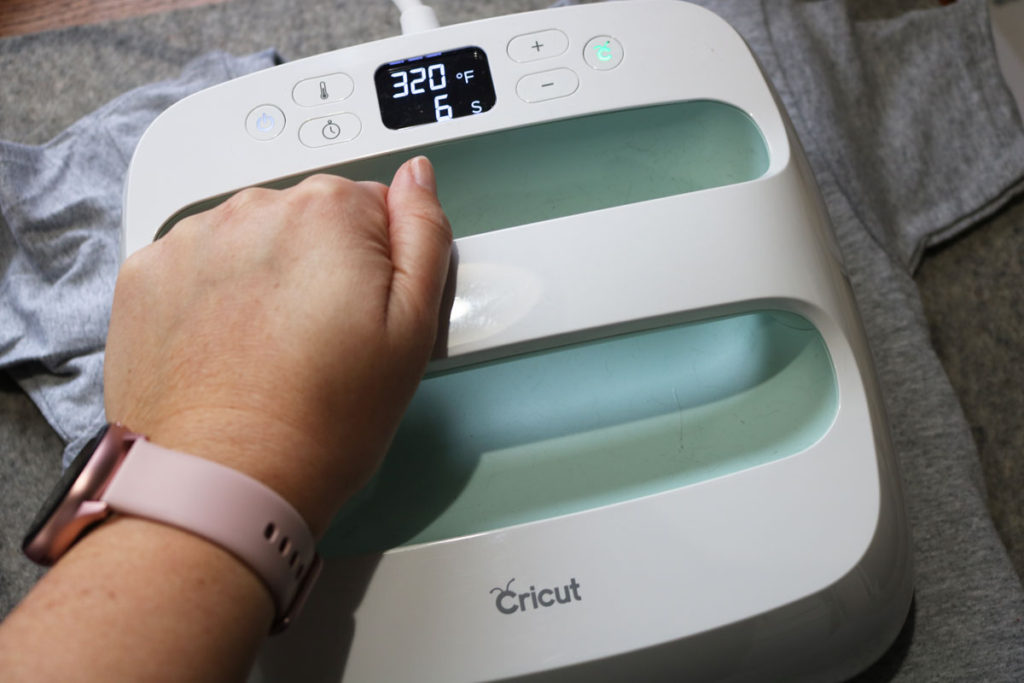
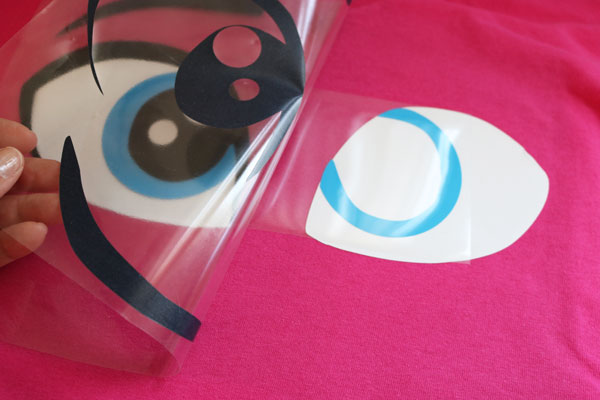
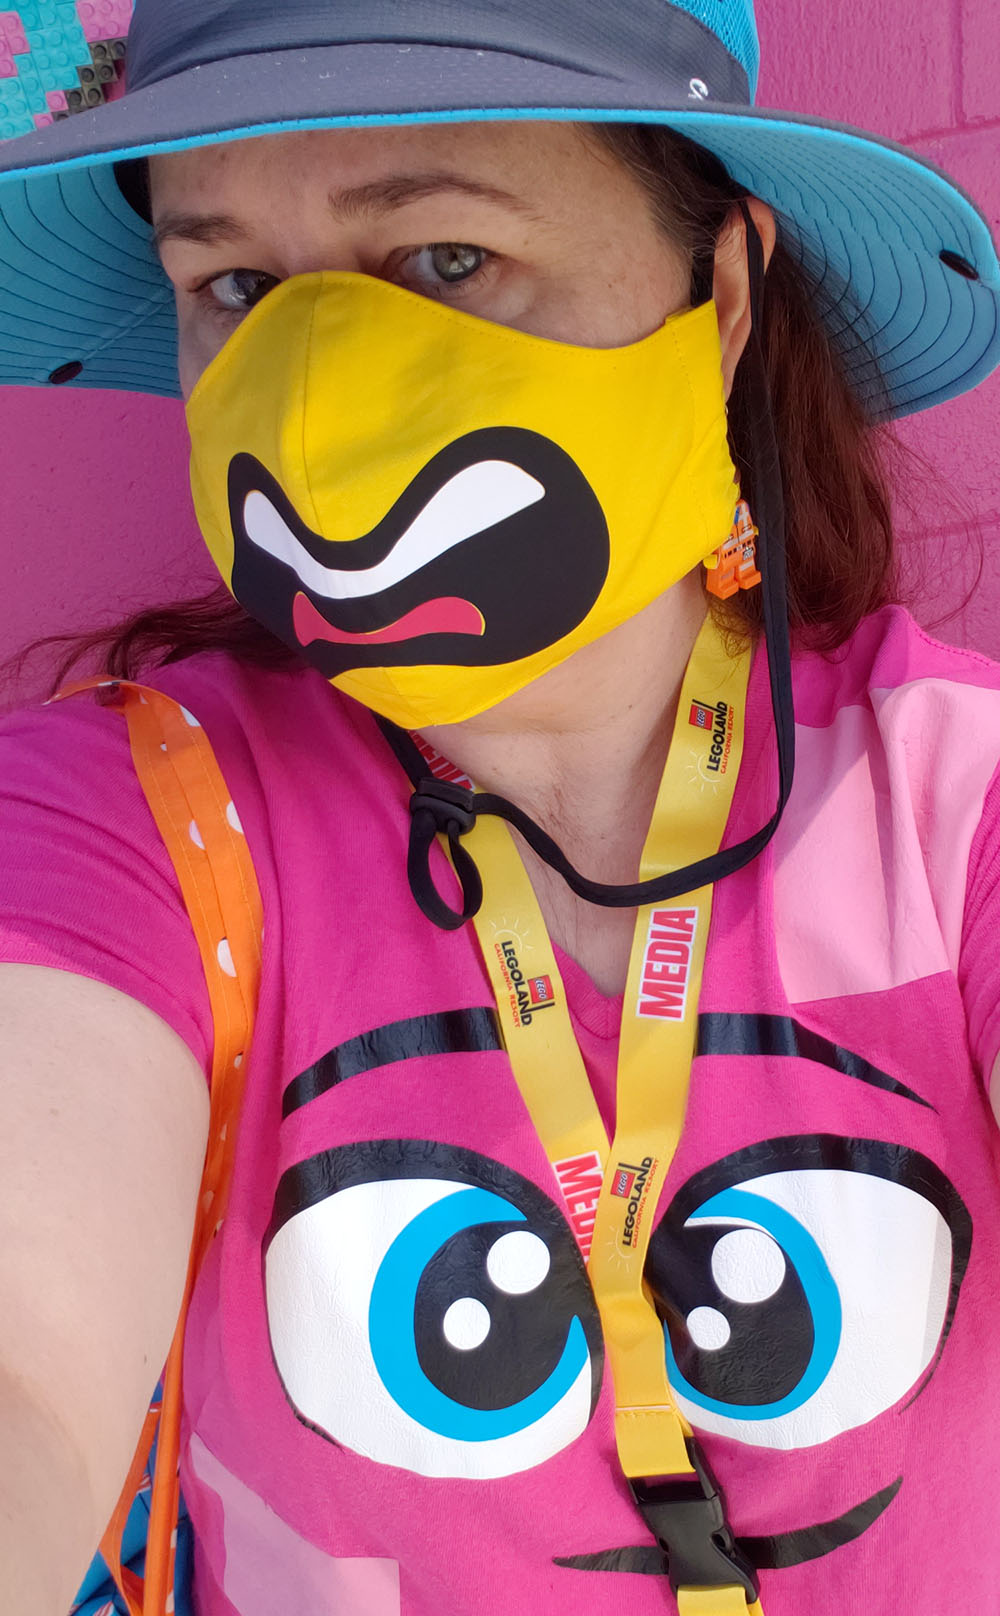
Use yellow fabric to sew your face mask, or purchase a ready-made yellow mask. The closer you can get to “Lego Head Yellow” the better! Then cut out and iron on the smiles. You can re-size them in your cutting machine’s software to fit the size of your mask.

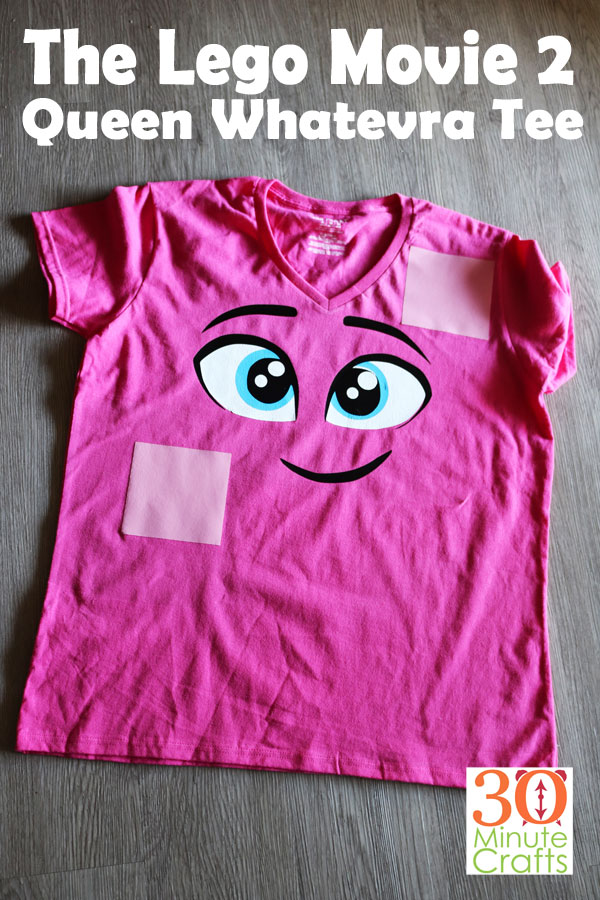
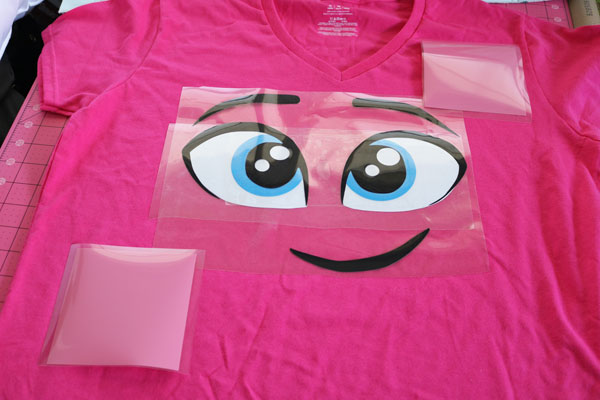
And, you can go for an all-lego outfit with some Lego Minifigure Earrings and a custom Queen Whatevra Tee!

To get the Lego Mask cut files, sign up below and the FREE download link will be sent directly to your inbox!


Get the FREE SVG!

Sign up for our email list to get your free SVG file!

You’ve successfully signed up! Check your email for details.

Have a great time at Legoland!

Maybe Tomorrow Mug Design

Are you addicted to the new Cricut Mug press? Making custom mugs has never been quite this fun or easy! Even if you don’t have a mug press, you can use the fun mug wrap designs with permanent vinyl to add some fun designs to your mugs. Though, these designs work best with the Cricut Mug Press and the specialty Cricut Mugs. You use the Cricut Infusible Ink – which is a sublimation process. The ink bonds with the surface of the mug making it dishwasher safe.

This fun mug wrap gives you two options – Not Today Satan and Maybe Tomorrow Satan. A cheeky way of indicating that we’re all a little worn down… but we’re not going to let it get the worst of us (or steal our sense of humor)!

Keep scrolling for more great mug designs as well as a chance to win a Mug Press of your very own!

You can get this file by signing up for my email list here:


Get the FREE SVG!

Sign up for our email list to get your free SVG file!

You’ve successfully signed up! Check your email for details.

Check out these other great Mug Wrap SVG files:

And enter here for a chance to win a Mug Press of your very own!

a Rafflecopter giveaway

Crafty Mug Design

Want to make a crafty mug for a friend? This FREE “Crafting Juice” SVG File is perfect for making a mug for yourself or a friend. Whatever beverage best suits your creative muse, you can drink it in your own custom-made mug! And, if you scroll down you’ll find lots of other mug design options!

You can use this SVG file to create your mug in whatever way you like! You can cut vinyl and stick it to the mug (be sure that you follow the instructions for washing the mug based on the type of vinyl that you use), or you can use sublimation and a tool like the Cricut Mug Press to fuse the design into mugs that have been specially treated for sublimation.

To download your FREE Crafting Juice SVG File, sign up below to join the email list, and you’ll be sent the download link:


Get the FREE SVG!

Sign up for our email list to get your free SVG file!

You’ve successfully signed up! Check your email for details.

Check out all these other awesome mug designs as well:

Printable Envelopes

These printable envelopes are an easy kid craft and fun for adults to make as well! Just print out these envelopes, cut them out, put them together… making these printable envelopes is super simple! And, go ahead and scroll all the way down to the bottom to check out more free Valentine’s printables!

Just a quick heads-up that these envelopes are square. And square envelopes do require more postage here in the US. If you’re in a country where square envelopes don’t require more postage leave me a comment so I can dream of moving there. Anyway, they require more postage here. Which is probably worth it. But if you feel like it isn’t, then I totally recommend that you hand deliver these cards. Because hand-delivered cards are the best. Just saying.

To make your printable envelopes, the first thing you’re going to need is the printable file. I’ve got that completely sorted for you. Just drop your email address below and I’ll send you the download link. By the time you’re done reading how to put them together, it should be waiting in your inbox (but be sure to check your spam folder – sometimes email programs get confused and think I’m spamming you when I’m actually sending all the goodness your way).


The printables are free!

Sign up for our email list to get your free Printable files!

You’ve successfully signed up! Check your email for details.

Start by grabbing your supplies. You’ll need paper, scissors, a ruler, a scoring tool, and some kind of adhesive – a good double-stick tape or glue will work.

Once you have your file, print it out. You can print it out on regular copy paper or some colored cardstock. There are really fun colored cardstock options available, so I vote you go for colored cardstock. But you do you.

Once you have it printed out, cut around the outline. The outline was made a really light grey so that if you’re not perfect at cutting nobody will notice. Probably.

After you’ve cut, use the ruler and scoring tool to mark the scoring lines. If you don’t have a scoring tool you can just fold on the dotted lines and it will work just fine.

Use glue or your double-stick tape on the sides to secure them to the bottom flap.

That’s it! Your envelope is ready for sending!

Be sure to check out all these other Valentine’s themed FREE printables!

Secret Decoder Ring

Have some STEM fun with your kids using these DIY Secret Decoder Rings! While they don’t fit on a ring finger, the two rings are put together to help you “unlock” the code and read and write your own secret messages. There is even a blank version so that you can make up your own secret code. And, if you love STEM projects, check out the whole list of STEM printables down below!

This post contains affiliate links that provide a commission to this site at no extra cost to you.

To get your STEM printable, sign up for our mailing list. You’ll get the link to all three files – the secret decoder rings with our code, the blank decoder rings where you can make your own code, and the sheets for writing to make it easy for you to write a code that your fellow secret agent can decode.

If your kids discover that they love playing around with “secret” codes, there are lots of codes they can learn about – Morse Code, which is made with Dots and Dashes, and Semaphore which is done with visual signals like flags. And while it isn’t a “code,” they may enjoy learning about Braille, which is how many visually impaired are able to read using touch!

These Secret Decoder rings take very few supplies to make. Just download the printables and print them out. You then cut out the circles and put them together with a brad. If you don’t have a brad, just line up a letter and a symbol and secure with a paper clip. In a real pinch, you can staple it in place with a stapler, but then you can’t change up the code without removing the staple.

To use the Secret Decoder ring to decode a message, you need to know the key. So if you’re writing someone a message, make sure that you’ve put the key in the boxes at the bottom of the page. This key shows how to line up the rings to decode the message. To decode our message, line up the bullseye with the letter X, and you’ll be able to decode what we wrote!

This is a great way to not only get kids interested in the very beginnings of code (that symbols can create new meanings), and in writing, but it also uses some great motor skills. The circles don’t need to be perfect at all, so kids can absolutely cut them out themselves. We used these scissors that are great for beginners because they spring back open after cutting, making them ideal for young children learning how to grip and squeeze.

Get your free files by signing up here:


The printables are free!

Sign up for our email list to get your free Printable files!

You’ve successfully signed up! Check your email for details.

Check out all these other fabulous STEM printables:

Printable Tangram Puzzle – Brooklyn Berry Designs
Steam Maker Space Lists & Observations – Hello Creative Family
Color Wheel & Walking Rainbow – Happiness is Homemade
Science Lab Matching Game – Crafting In The Rain
Straw Rockets – The Country Chic Cottage
Space Activity Sheet – Everyday Party Magazine
STEM Challenge Cards – Happy Go Lucky
Coloring Bugs Printable – 100 Directions
Science is Rad Poster – seeLINDSAY
Secret Decoder Rings – 30 Minute Crafts
28 Day Lego STEM Challenge – Mad in Crafts
Solar System Bingo – Artsy Fartsy Mama
Science Notebook Covers – Pineapple Paper Co.
Robots in Space Coloring Page – Fun For Little Ones
Space Rocket Coloring Page – Liz On Call
Math Coloring Worksheets – Printable Crush

Printable Thinking of You Cards

Everyone loves getting thoughtful mail. And now that we’re social distancing and spending lots of time away from those we love (and love to hang out with!), it is nice to add a little cheer to their day with a handmade card. And as an extra bonus – decorating and writing cards can keep kids busy for at least 90 seconds so that you can warm up your coffee for the fourth time.

If you scroll down, you’ll find links to several other free printable cards. Each is a bit different, so you can decide which works best for what you need.

To make the cards pictured here, you’ll need:
Access to printer and printer paper
Colored or decorative cardstock or construction paper
Coloring tools (crayons, colored pencils, etc)
Scissors
Paper Cutter (optional)
Glue Stick
Envelopes – see what you have lying around.

These four card fronts all print out on an 8 1/2 x 11″ sheet of paper. Depending on the age of the person helping you make these cards (if you have a helper), they can color and cut out the designs. And maybe cut the paper for the cards and glue it to the front as well!

Once you print out the cards (download information below), color them however you like. Colored pencils, crayons, watercolors, markers, or any specialty materials – have fun! The designs are simple so you can add your own style. I recommend skipping glitter unless you know the recipient loves glitter.

Once colored, cut them out. These designs have nice, big borders. You can cut inside the border if you want borderless, on the border if you want a thinner border, Or 1/8″ away from the border if you want a double border. You can also take out those fancy scissors that never get used to add a scalloped edge.

I have a paper trimmer with fancy edged blades, so I used that on some of my card fronts.

Then cut your cardstock for the cards. I went with 4″ x 8″ You can use 4 1/4 x 8 1/2″, but they may not fit in your envelopes. Check what size envelopes you have, first.

Fold the cardstock in half, then glue the card front on with a glue stick.

Add a note inside, address your card, and mail it off! Then feel good knowing you’ve sent a little happy out into the world!

To get your free card printable, sign up for the mailing list below and we’ll send you the download link!


The file is free!

Sign up below to get your free printable!

You’ve successfully signed up! Check your email for details.

Check out these other fabulous card printables!

100 Books for 100 Days of School

The days have flown by – if you’re looking for a fun way to celebrate 100 days of school, this free SVG file for 100 Days of school is perfect! These 100 books are also a great way to celebrate having read 100 books – either on their own or having 100 books read to them. If you’re celebrating 1000 books before Kindergarten, just duplicate one of the zeros, and now you have an SVG for 1000 books before Kindergarten! Such a versatile cut file!! Be sure to scroll all the way down for the details on how to get this file, and check out all the other fun 100 days SVG files – all totally free!

This post contains affiliate links which provide a commission to this site only when a purchase is made.

After you cut the file out of vinyl (make sure that you mirror the image if you’re using iron on), you need to weed it. Then you’re ready to apply it on a surface.

For adhesive vinyl, use transfer tape to apply the vinyl to your surface. For iron on, you can use a hot iron or the Cricut Easypress to apply the iron on.

Follow the instructions for the type of iron on and surface you’re using to know the temperature settings and time you need to heat the design. Once it has set, you can remove the carrier sheet.

It is that simple to make a 100 days shirt! This tee would be great for a teacher to wear on the 100th day, a librarian, or any student in class! You can also print out the PDF of the 100 image to use as a coloring sheet for students. If you have small handwriting, you might even be able to add the names of some books to the spines!

Leave a comment below to let me know how you’re using this 100 days smarter SVG file. And be sure to check out all the other fabulous totally free SVG files that you can find at the links below!


The file is free!

Sign up below to get your free SVG file!

You’ve successfully signed up! Check your email for details.

Frozen Elements Tee

The sequel to the popular Frozen movie is here with Frozen 2. And if you or someone you know is a fan, they’ll know exactly what these Frozen elements are. And I’ve hand-drawn a cut file for you to add them to a shirt (like I have done here), or add them to anything else you like!

If you haven’t seen the movie yet, I won’t spoil it for you. I was given early access to the film, and loved it. As expected, it had a great story and fun music. Viewers will be reminded to do the “next right thing” and possibly even to think beyond what they have seen themselves for the right answer.

You can make a shirt like this one by getting the free download of this cut file (sign up below). You can then use your digital cutting machine (like a Cricut or Silhouette) to cut it out. If you don’t have a digital cutter, I’ve given you a graphics file so that you can cut the design by hand from freezer paper to make a stencil, or you can place it behind a shirt that you put on a light box to trace it. All kinds of ways to use this fun file!

If you have a digital cutting machine, here is what you do:

  1. Download the file (below) then import it into your software.

2. Cut the file onto vinyl. Note that if you’re using heat transfer vinyl you’ll need to mirror the image.

3. Weed the negative space from the vinyl.

4. Following the manufacturer instructions, heat set the vinyl on your shirt using a Heat Press, EasyPress, or Iron.

5. Allow to cool, then remove the carrier sheet.


The file is free!

Sign up below to get your free SVG file!

Thank you for subscribing!

Queen Whatevra Shirt – The Lego Movie 2

When my kiddo and I were invited to see the new Lego Movie earlier this month, I fell in love with Queen Whatevra! I won’t give you any spoilers, but I do love how she can transform into whatever she likes! Since she was my favorite, I thought I’d whip up a Queen Whatevra Shirt, and share the cut files with you so that you can make your own!

To make the Queen Whatevra Shirt, you’ll need:

Pink Tee

Pink, Blue, White and Black Vinyl

The Queen Whatevra SVG File

Cut out the file using the SVG. You might need to make a couple adustments – I had the circles in the eyes cut out of the black instead of out of the white, to make layering easier. But, that is completely up to you.

Weed the vinyl, then stack the layers together. This will make it easier to line everything up on the shirt.

The top laoyer is the black, the blue is the middle, and the bottom is the white. So peel away all the layers but the white, then press into place.

Place the blue/black layers back for alignment, then peel away the black. Make sure all of the white vinyl is covered when you fuse (I just put the white vinyl sheet back on top).

Once your face is fused on, add the pink squares in the top and bottom corners to finish your Queen Whatevra tee!

And check out all these great forms Queen Whatevra takes! This is part of the Lego Movie 2 display at Legoland California.

Simple Card using a Hole Punch – Send a Card to a Friend Day

You don’t need fancy tools and punches to make a fun and simple card to send to a friend for Send a Card to a Friend Day (which is February 7th)! You can use a hole punch to make a decorative card that anyone would love to get in the mail!

This project is part of Craft Lightning Week. All week long I’ve been sharing fast and fun projects that can be made in 10 minutes or less to celebrate obscure holidays. And my friends Angie from The Country Chic Cottage and Lindsay from See Lindsay are joining in, along with some of our crafty friends! Be sure to scroll down to check out their fun obscure holiday crafts!

National Send a Card to a Friend Day is February 7th

To make your simple card, you’ll need:
Two contrasting colors of cardstock
Paper Cutter
Hole Punch
Glue Sticks

Cut the inner cardstock (black) to 5.25″ x 7.75″, and the outer cardstock to 8″ x 5.5″.

Fold both pieces of cardstock in half.

Use the hole punch to cut along the front edge.

Glue the two layers together.

Then pull out your address book and write a note to a friend letting them know what they mean to you!

Check out these other fun and fast crafts that celebrate obscure holidays!

Creativities Galore has another fun card option for Send a Card to a Friend Day.
Michelle’s Party Plan-it is celebrating Coffee Day with this fun Coffee Bar Sign.
The DIY Village has a great idea for celebrating National Margarita Day.
Celebrate Racoon Day with this adorable coffee sleeve from Creatively Beth.
Katie from A Sweet Berry is celebrating Gumdrop Day.
Over at Happy Go Lucky you can check out this fun idea for celebrating Mermaid Day.
See Lindsay is all set for May the 4th with this Jedi Shirt.
Check out Lindsay’s free Printable for Send a Card day.
National Donut Day is the perfect Excuse to make these cinnamon donuts from The Country Chic Cottage.
If National Cupcake Day isn’t already your favorite holiday, consider making yourself a cupcake stand like this one from The Country Chic Cottage.