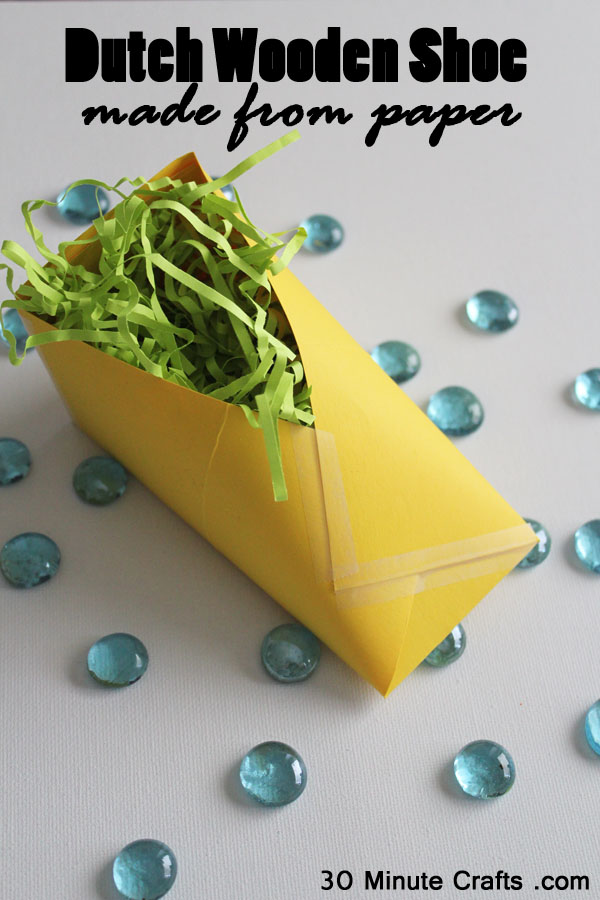
Dutch Wooden Shoe made from Paper

Dutch Wooden Shoe Made from Paper

When I told my mom that I was making Dutch-themed crafts for a crafting series, she told me about this paper wooden shoe she made in preschool when she was young. I loved it! I never had the chance to make these as a child, growing up mostly in the US, but I can see children making these at the beginning of December to celebrate Sinterklaas in school.

Sinterklaas is a Dutch holiday, most related to Christmas. It starts in November with a parade, as Sinterklaas comes to The Netherlands on his white horse, by ship. Children mind their manners as they wait for December 5th. Songs are sung by the fireplace, carrots are left out for the horse, and each member of the household leaves a shoe on the hearth in anticipation of a treat.

If you have been good, Sinterlaas might leave a chocolate letter, some Marzipan, and even a small toy. Treats like Pepernoten and Kruidnoten are often left by the Sint as well. However, if you have been bad, the Sint leaves a bundle of sticks in your shoe – the Dutch equivalent of a stocking full of coal, but with a corporal twist.

To make your wooden shoe from paper, all you need is:
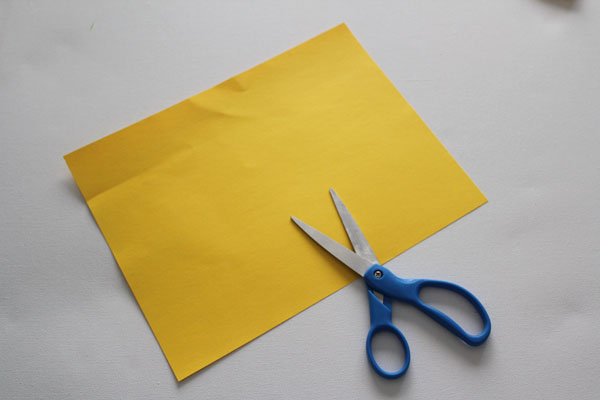
supplies for paper wooden shoe
Yellow paper (yellow is the traditional color, but you could use another color if you like)
Scissors
Tape or staples

Start by folding your paper in half.

fold in half

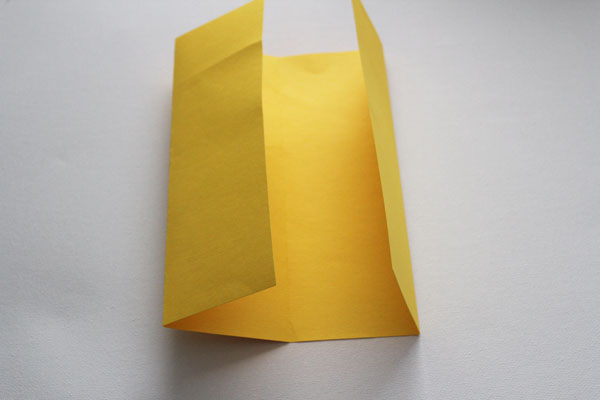
Then in quarters.

fold into quarters

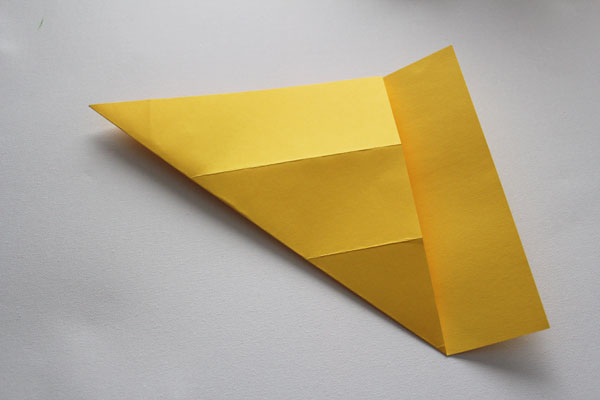
Now fold one corner in.

fold in corner

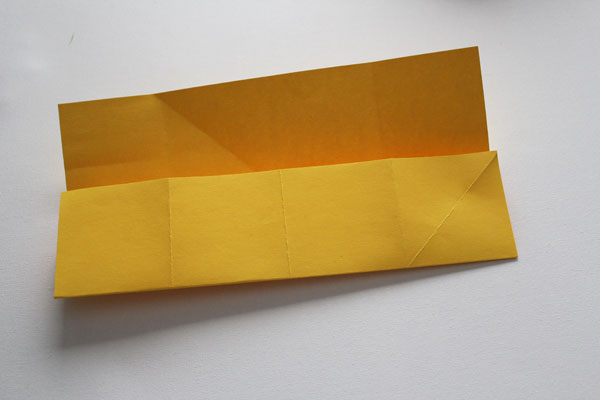
Fold the paper in thirds the opposite direction – the diagonal fold will help, because both spots where the diagonal fold meets a horizontal fold represents a third of the page.

fold into thirds

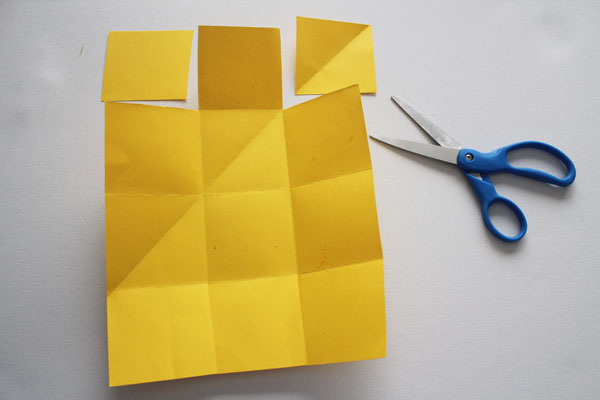
Cut away the top two squares, and cut slits into the bottom, splitting the bottom three squares.

cut shoe

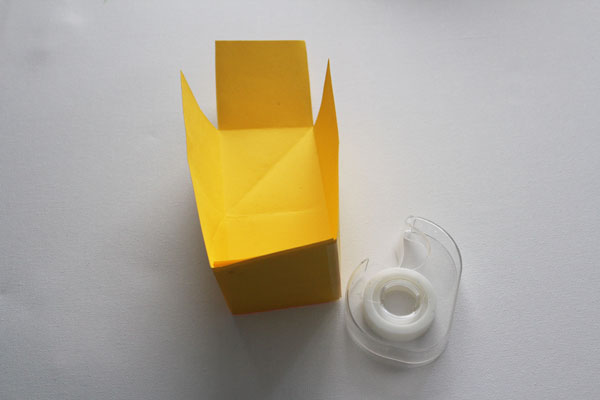
Use the slits to make the back of the shoe, then tape into place.

tape back of shoe together

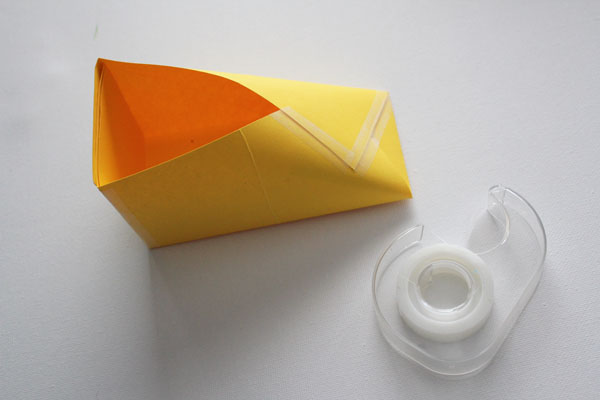
Fold together the front of the shoe, then tape or staple in place.

tape front of shoe

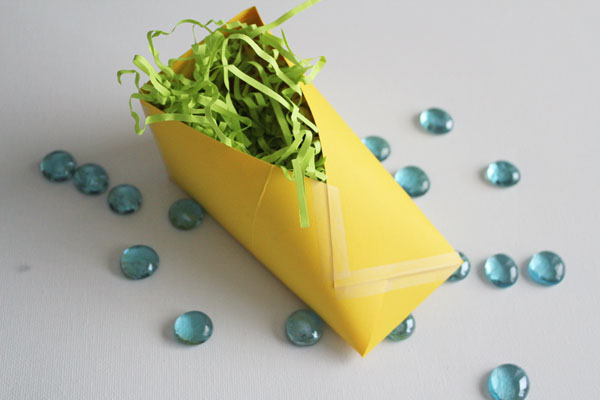
Stuff with fake grass or straw, and you have a wooden shoe… made from paper!

finished paper wooden shoe

Make sure to check out all the other awesome bloggers sharing their countries for the World Cup Series!

worldcup

Embroidered Tulip Shirt

I love stitching. I don’t share a lot of stitching projects on this site because many take more than 30 minutes to complete. But this tulip project wanted to be stitched, not painted – and it only took about 30 minutes to stitch up!

The tulip is strongly linked to The Netherlands. The Dutch have beautiful tulip fields, and have even used tulip bulbs as currency! There is even a National Tulip Day in The Netherlands each January. Two thirds of the world’s tulip bulbs come from The Netherlands. I thought that it would be fun to make this very Dutch embroidered tulip shirt.

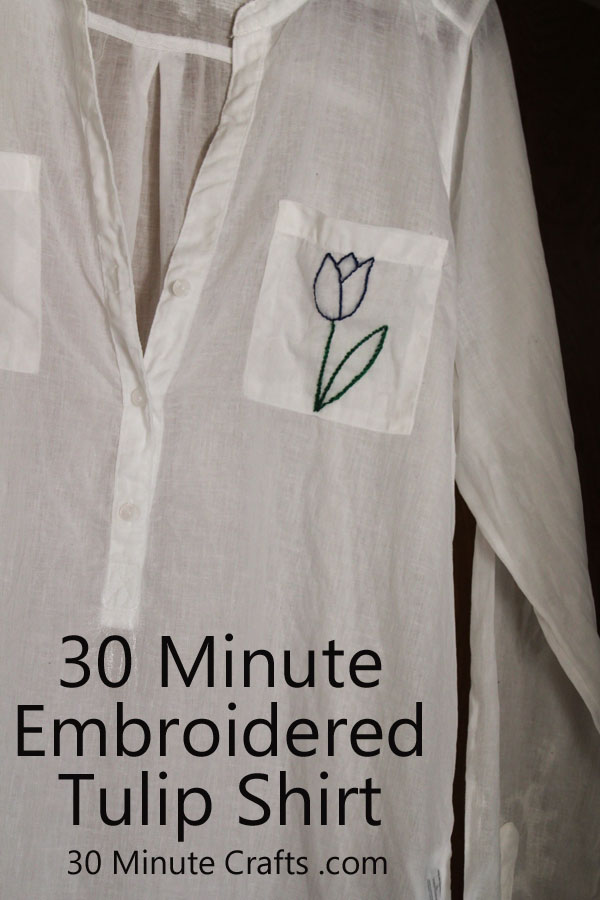
30 Minute Embroidered Tulip Shirt on 30 Minute Crafts

This is simple enough for a child to stitch, but stitching on plain fabric rather than a shirt pocket would be easier. To make this embroidered tulip you need:

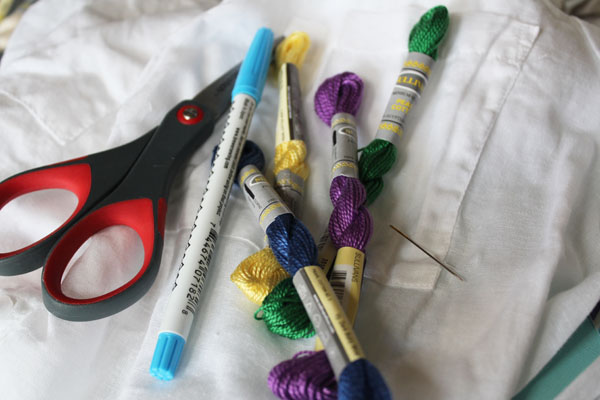
supplies for embroidered tulip shirt

Shirt or other fabric
Blue wet-erase marker
Blue and Green Perle Cotton
Embroidery Needle
Scissors

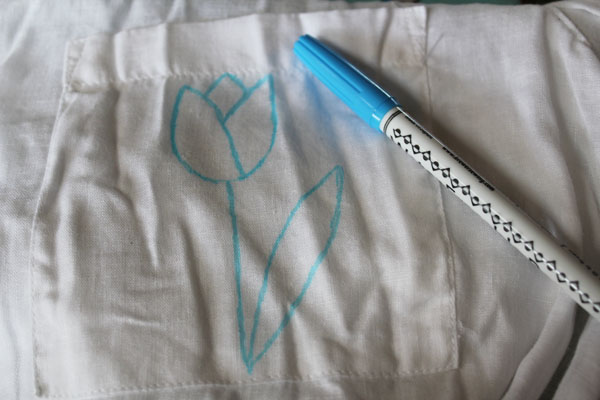
Start by drawing your design with the blue wet-erase marker on the pocket.

mark the tulip

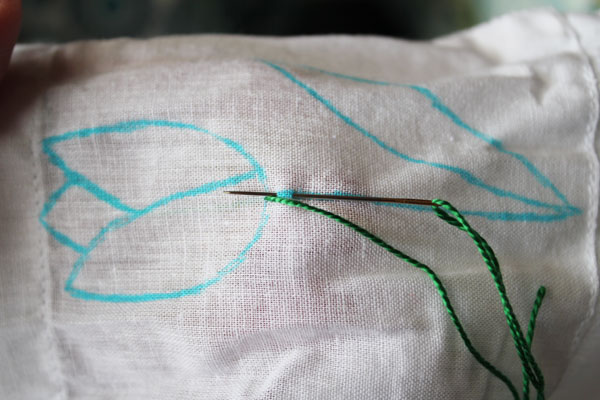
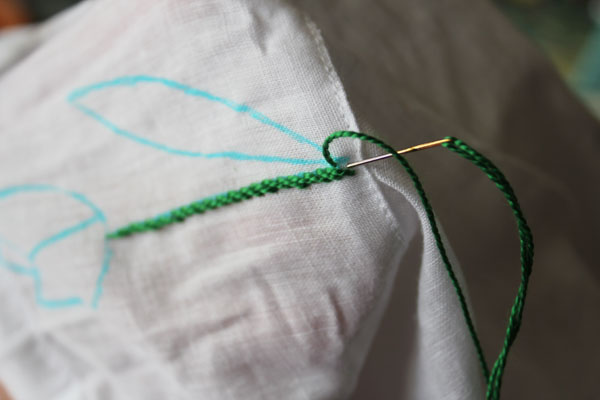
Thread your needle with the green perle cotton. I use a length of perle cotton that is about as long as the distance from my fingertips to my nose. Sometimes a little longer, but not much. Perle cotton is unlike embroidery floss – no need to split threads. Just use the whole thing. Start stitching at the top of the stem.

start stiching the stem

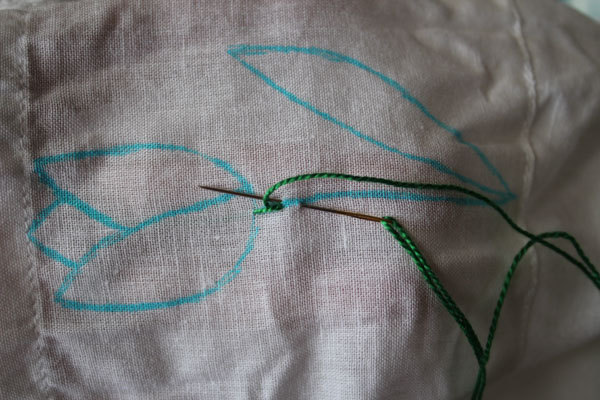
You can use whatever stitch you like – I used a stem stitch.

making the stem stitches

Keep going all the way down.


last stem stitch

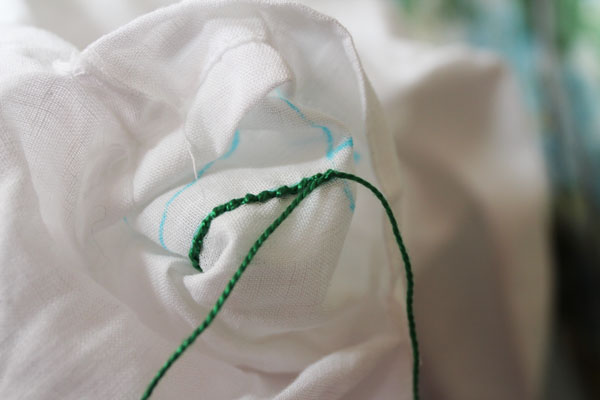
When you get to the bottom, pull the needle to the inside of the pocket, then run the thread up the back, to the top. Tie the two ends in a double knot, then trim the ends, and tuck the ends in the back as well.

tie a knot

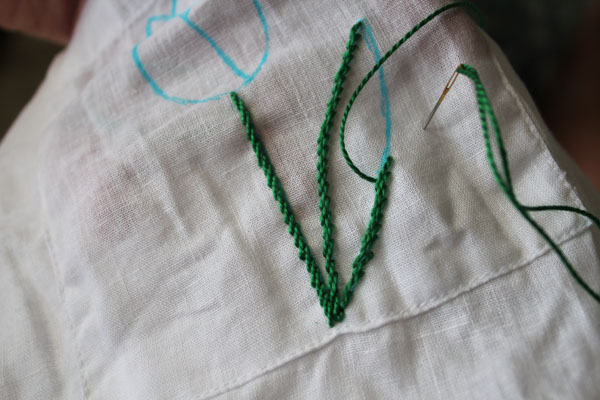
Do the same for the leaf.

stitching stem and leaves

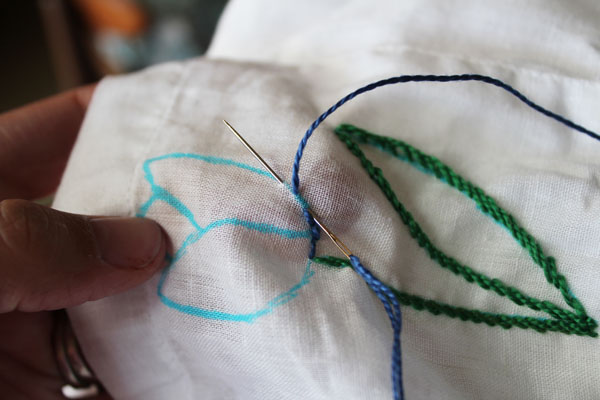
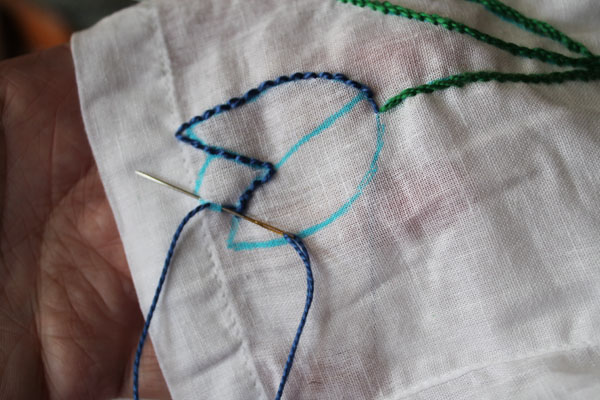
For the top of the tulip, I did a running stitch.

stitching the tulip

I followed my sketch lines to create the outline of the tulip.

embroider a tulip on a shirt

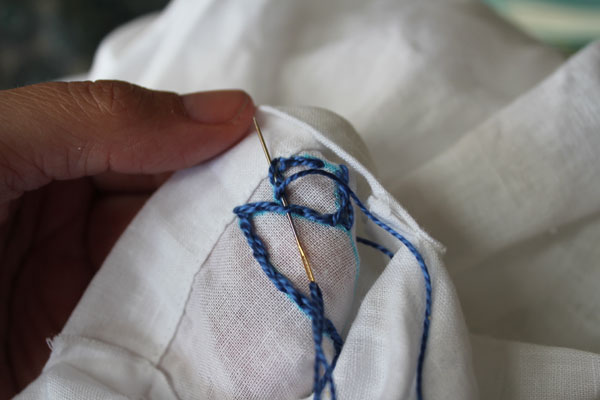
I pulled the needle through the threads on the back, then tied off the blue the same way I tied the green.

on the back to hide stitches

I then rinsed out the blue lines.

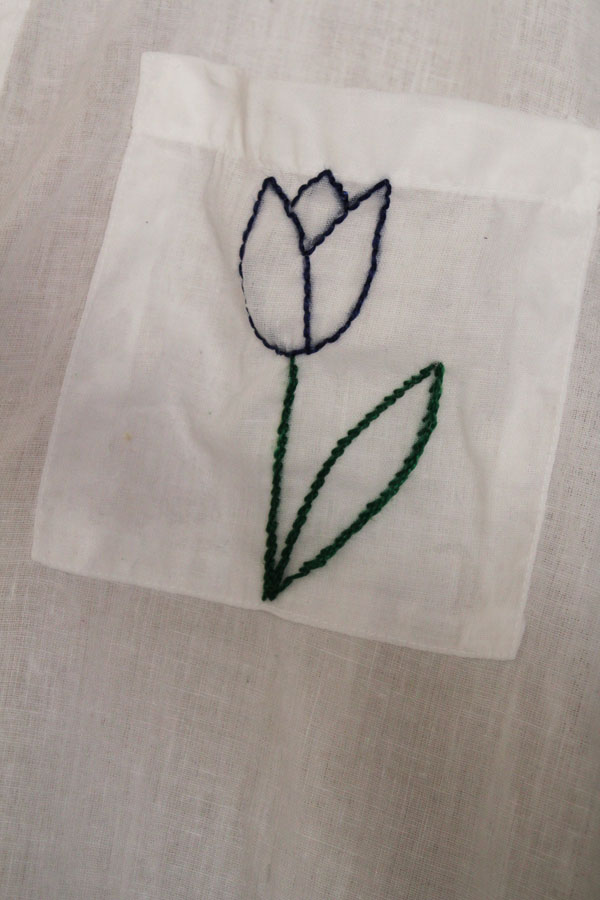
embroidered tulip on a shirt

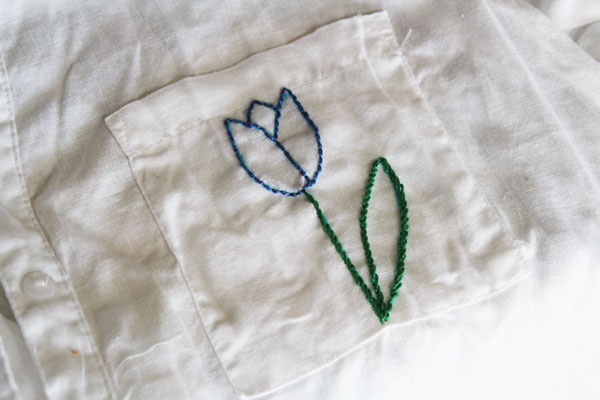
Fast, easy, and adds some color and fun to an otherwise plain shirt!

embroidered tulip

Make sure to check out all the other awesome bloggers sharing their countries for the World Cup Series!

worldcup

Simple Ribbon Bike Tassel

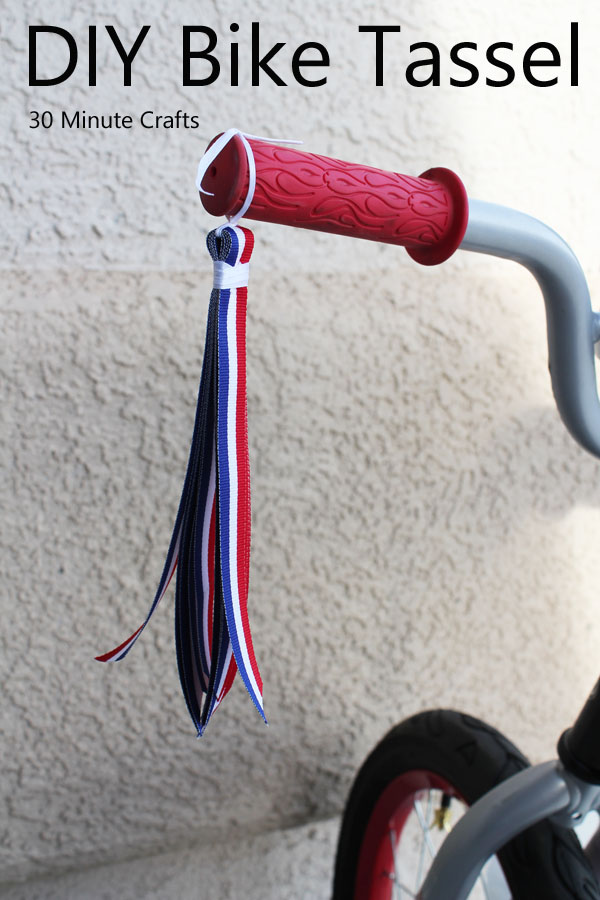
Make a DIY Bike Tassel

If you take a trip to the Netherlands, you will see bicycles. You’ll see people riding them alongside the roads, and on designated bike paths. You will see them chained to fences. And if you go to a train station, you will see lots and lots of bikes. Bikes are used on about a quarter of all trips in The Netherlands, and the country has more bicycles than people old enough to ride them!

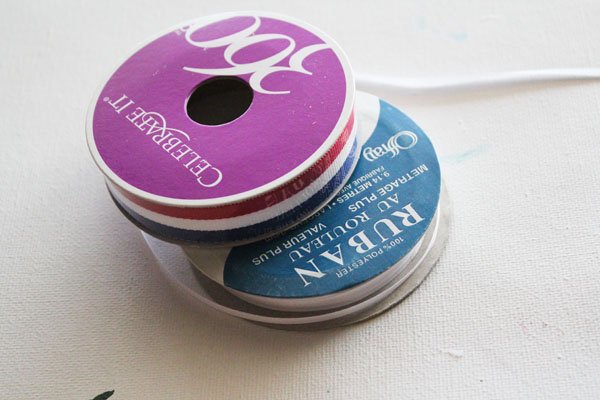
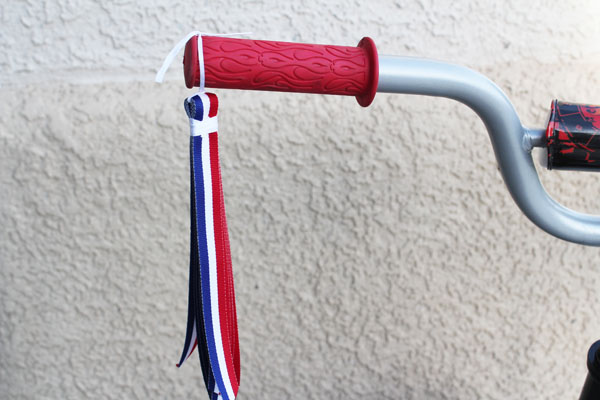
So when I was coming up with a project for today’s post, I knew I wanted to make a bike tassel out of ribbon. You can use any ribbon, but I used this red-white-blue ribbon that looks a lot like the Dutch flag.

ribbon for tassel

All you need to make your ribbon tassel is ribbon – wide ribbon and narrow ribbon – and scissors.

cut an 18 inch piece of ribbon

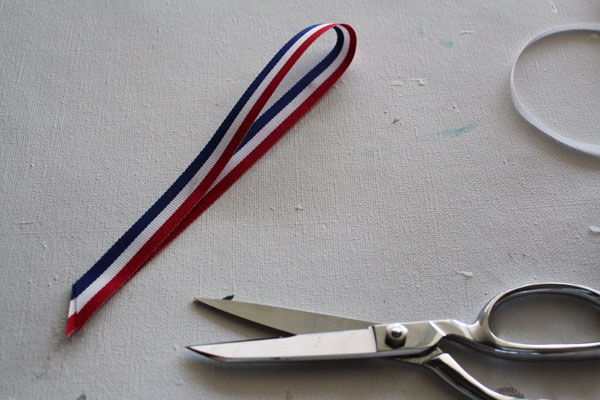
Start by cutting 18″ lengths of your wide ribbon. The more you cut, the fuller your tassel will be.

stack up the ribbons

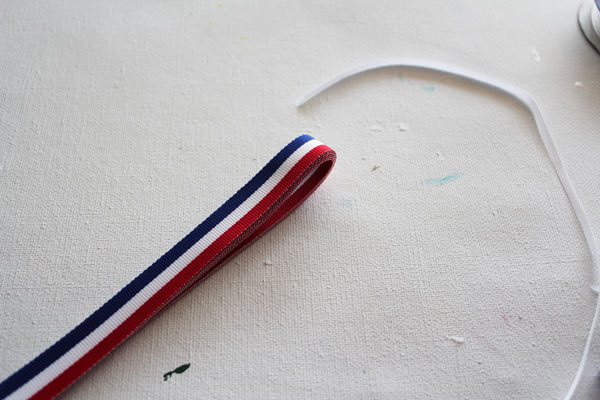
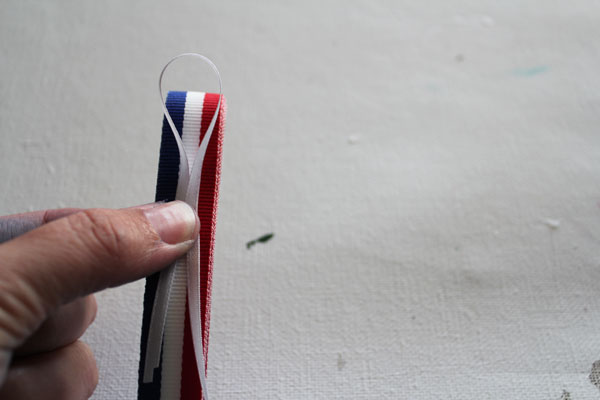
Stack them up and fold in half. Cut a length of thin ribbon. Place the thin ribbon on the stack of wide ribbon making a small loop.

make a loop

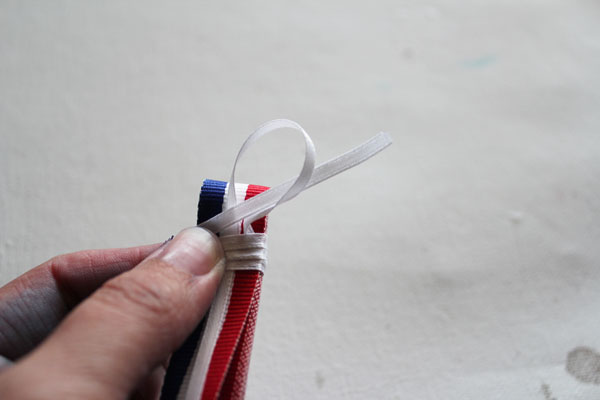
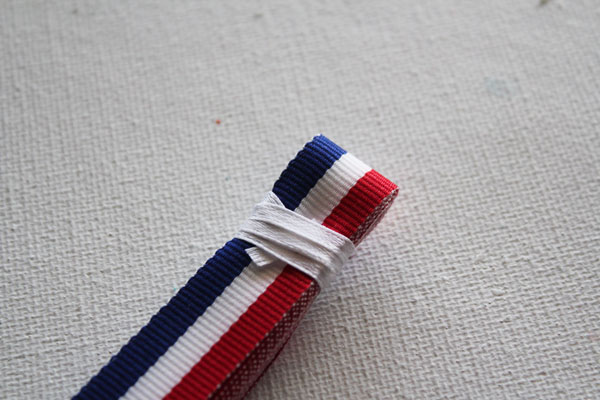
Then wrap the narrow ribbon around the stack of wide ribbon. When you are done wrapping, tuck the tail into the loop, then pull on the opposite end to tuck the ends in.

tuck in end of the ribbon

Trim off the ends. If you don’t feel your wrapping is secure, add some glue that will dry clear, just to secure it.


cut off ends

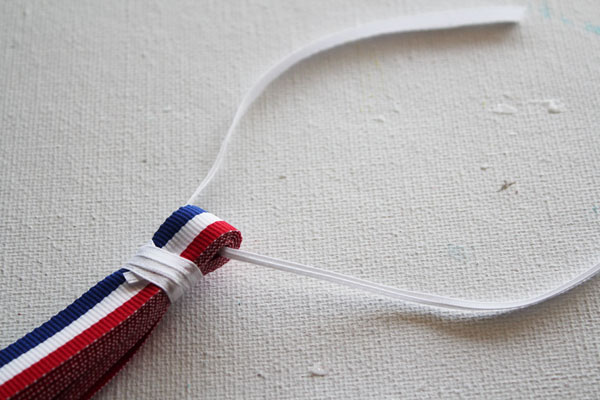
Use a second piece of the narrow ribbon to create a loop by threading it through the top of the tassel.

tie on the top

Tie to your bike handle, and take your bike for a spin!

DIY Bike Tassel tutorial

Make sure to check out all the other awesome bloggers sharing their countries for the World Cup Series!
worldcup

Iron on Butt Patch

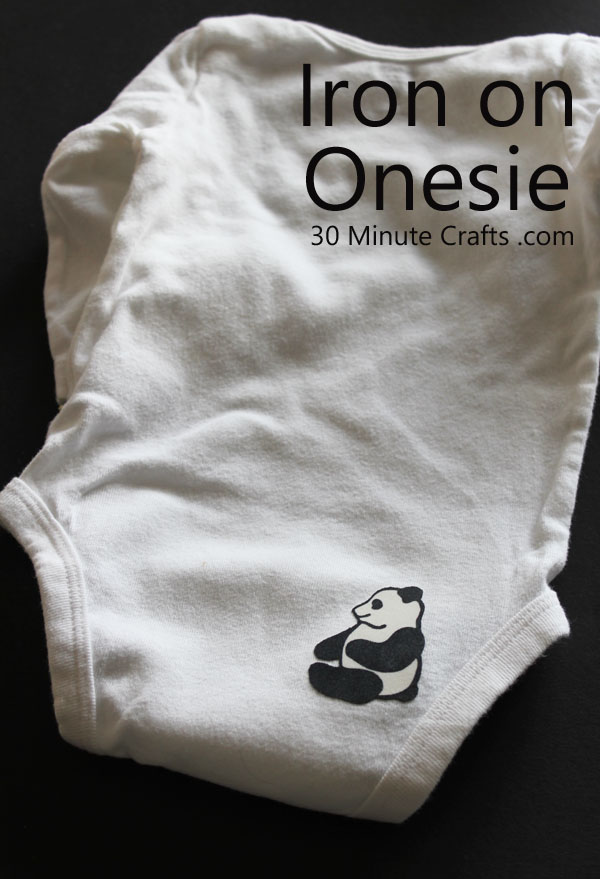
iron on onesie


All this week I’ve been sharing iron-on projects – simple crafts using iron on transfers. I showed you how to use iron ons on an iron on t-shirt and on an iron on transfer to decorate a onesie. I also showed you an iron on canvas bag and iron on chalkboard decor. I thought that this iron-on would be a fitting “end” to the week… because an iron on doesn’t just go on the front… it can be just as cute (or cuter) on the cheek of a onesie!

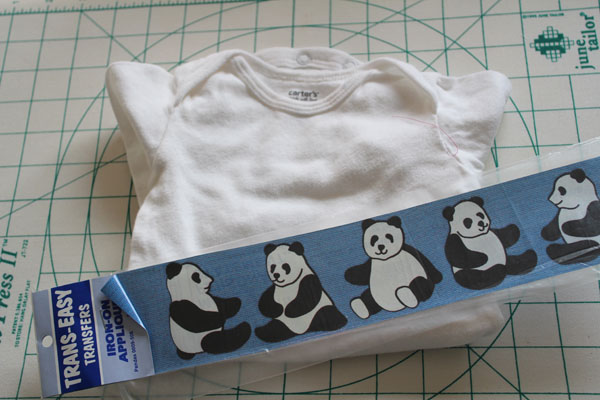
Start with a small iron on that will fit on the onesie.

iron on onesie

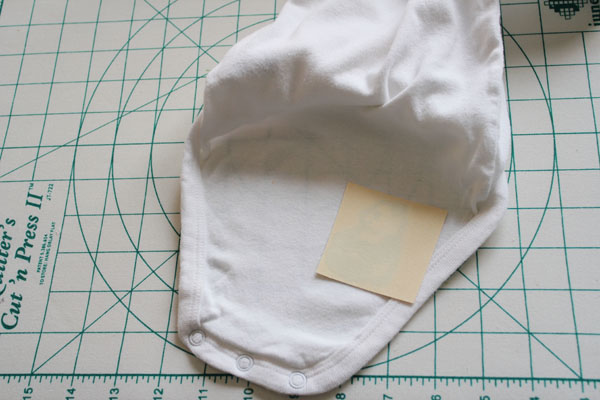
Trim down the piece you want to use, place paper-side-up in place, and then iron on following the instructions.

place iron on on onesie

Super simple! An iron on butt patch onesie!


Iron on Canvas Decor

Iron on decor

This post contains affiliate links.

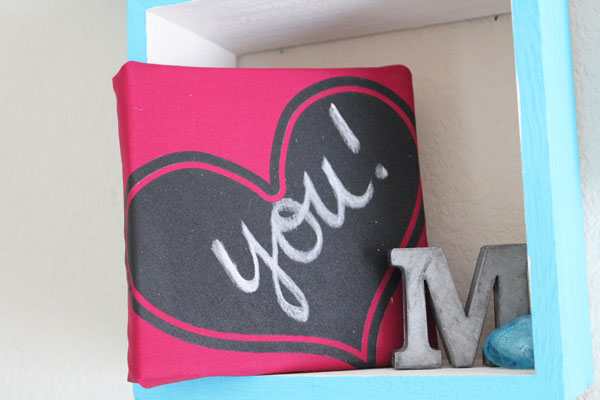
Earlier this week, I showed you how you can decorate clothes using iron ons like this iron on t shirt and this iron on onesie, and I also showed you how to decorate a canvas bag with an iron on. But iron ons can be used for so much more! You can use an iron on in your decor, like this iron on canvas decor!

Originally, when I thought about using an iron on in decor, I thought about adding an iron on to a pillow sham. But that felt too… well… easy. Iron ons are such a simple craft supply to use, I wanted to make my project just a little more complex than simply slapping an iron on onto a store-bought sham.

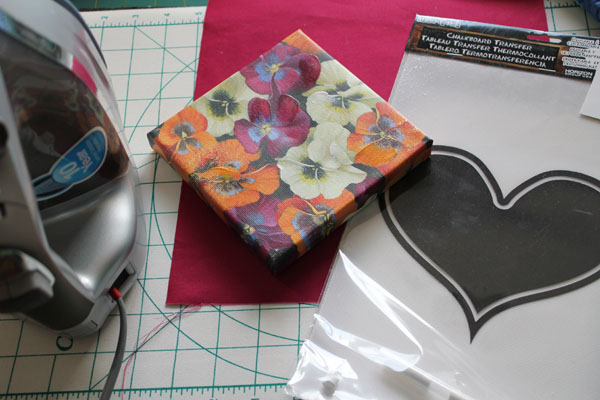
To make my iron on chalk canvas, I used:

supplies for iron on decor

Iron on Chalkboard transfer – the one I used can’t be found online, but these Jolee’s Easy Image Transfer Sheets are a great substitute
Canvas (this one came from the discount bin)
Solid color fabric
Staple Gun
Iron
White Liquid Chalk Marker Pens

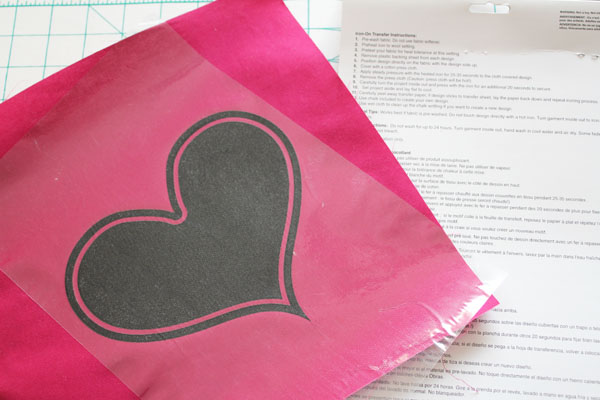
Make sure that your fabric is large enough to wrap all the way around the canvas on all sides, then iron your chalkboard iron on to the fabric, following the package instructions.

iron it in place

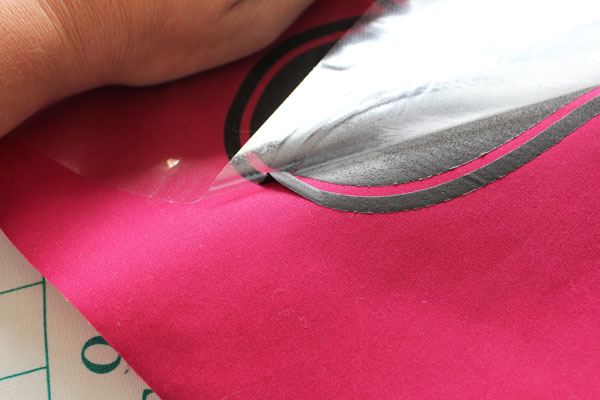
Peel away the plastic cover. If the iron on hasn’t transferred completely, carefully replace the plastic, and iron again.

peel away plastic

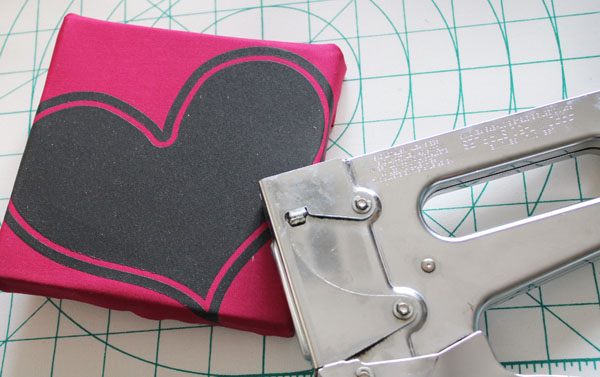
Use the staple gun to wrap the fabric around the canvas, and staple it to the back.

staple on fabric

Use your chalk marker to write your message! Your iron on canvas decor is complete!

make your own iron on decor

Iron on Canvas Bag

fuse onto bag

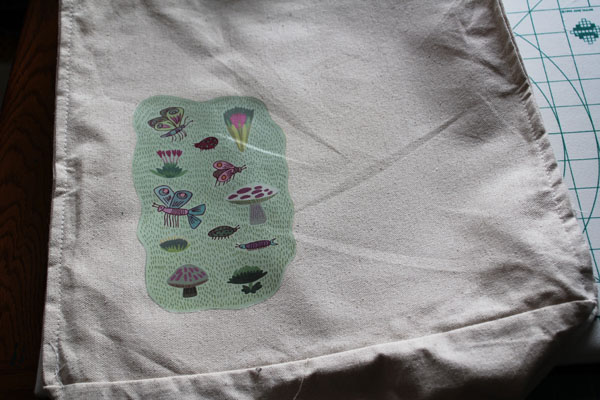
Looking for a way to spruce up your reusable grocery bags? Consider adding iron-ons to make your own iron on canvas bag! You can quickly decorate canvas bags with iron ons that you can buy at the store. You can look online or at your favorite craft store to find hundreds of different iron on options!

Follow the instructions on the package to place the iron-on paper side up on your bag. Then use a hot iron to fuse in place. When ironing onto a canvas bag you may need to use more heat, or iron on for a little longer to get the iron on to stick to the loose weave of the bag. First, follow the instructions, then carefully peel away the paper. If the paper doesn’t lift easily, try ironing for longer. In no time, you’ll have a custom iron on canvas bag!

In no time you’ll have reusable grocery bags you’ll love so much you’ll never forget them in the car while at the store!

Simple Iron on Shirt

Simple Iron on Shirt DIY

This post contains affiliate links.

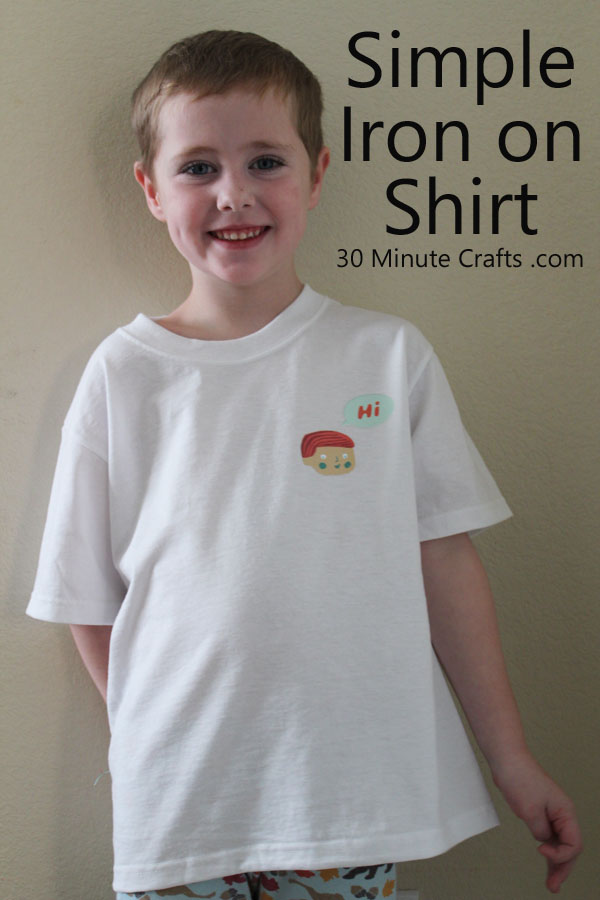
Looking for a simple craft to do with your kids? Iron-ons are so fast and easy to put on any shirt to give it new life – you can buy a brand-new shirt, or use an iron-on to cover a stain on an old shirt. You can even combine iron-ons to customize your design, like we did here.

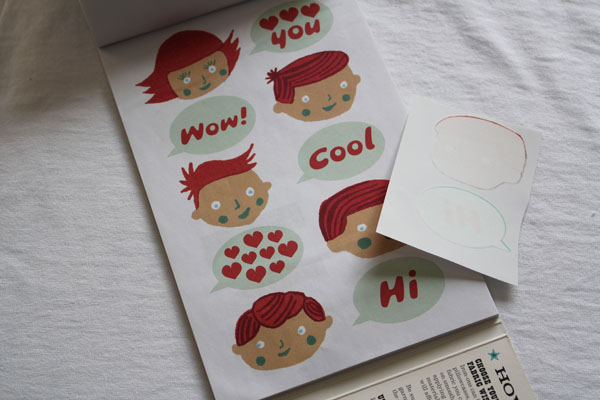
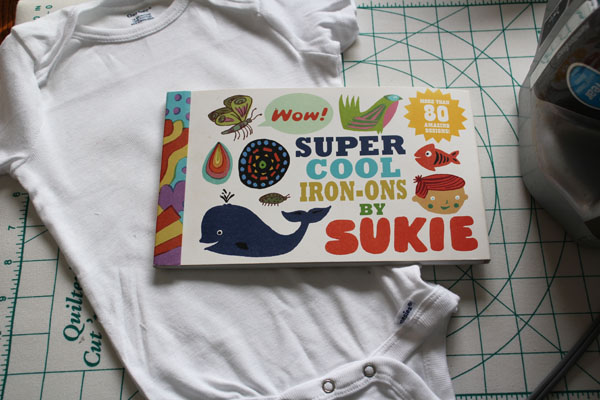
I used iron ons from the Super Cool Iron-Ons by Sukie book.

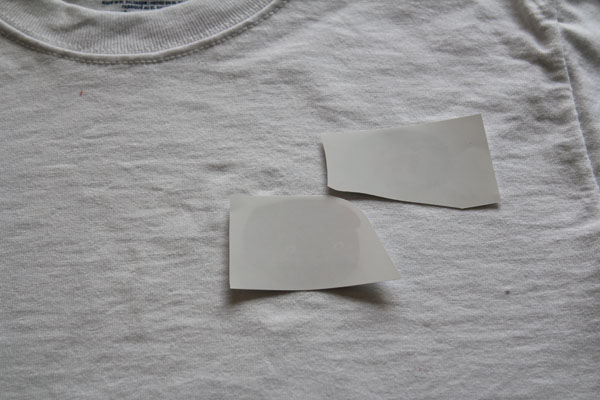
You or your child can cut out the iron ons you want to use.

select iron ons

Put them picture-down (paper side up), and iron on using the instructions in the book.

position iron ons

Peel off the paper, and you have a custom shirt that took only minutes to make! And your kids can say they made it themselves!


Decorate a Onesie with Iron ons

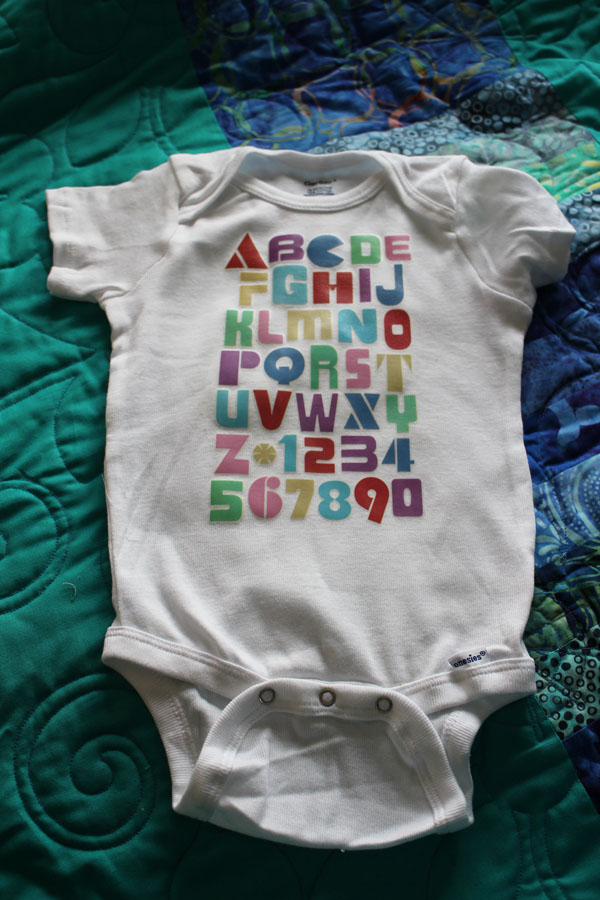
Iron on onesie front

People tell me all the time that they wish they were crafty. Which always makes me smile – everyone has it in them to be creative… with all the awesome products out that do the work for you, anyone can be creative, and everyone has time to create – no matter how busy they are! This iron on onesie is simple to make, and you only need three supplies! Let’s get started!

You’ll need:
Onesie or other shirt
Super Cool Iron-Ons by Sukie book
Iron

supplies for iron on onesie

The book, Super Cool Iron-Ons by Sukie, has iron ons in it, and is super easy to use. Just cut out the iron on you want to use, and fuse it in place. I chose this full-page alphabet iron-on.

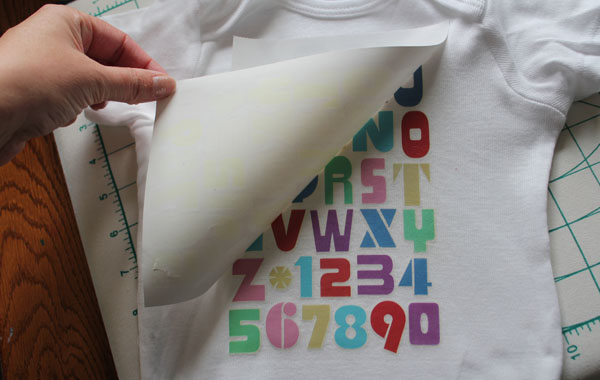
Peel paper back

Place the iron on paper-side-up on the fabric. Use a hot iron to fuse it in place. Allow it to cool, then peel away the paper. If you’re having trouble peeling back the paper, you may need to iron it again.

It is that simple! So easy to make fun crafts with iron ons… I’ll be sharing some more this week!

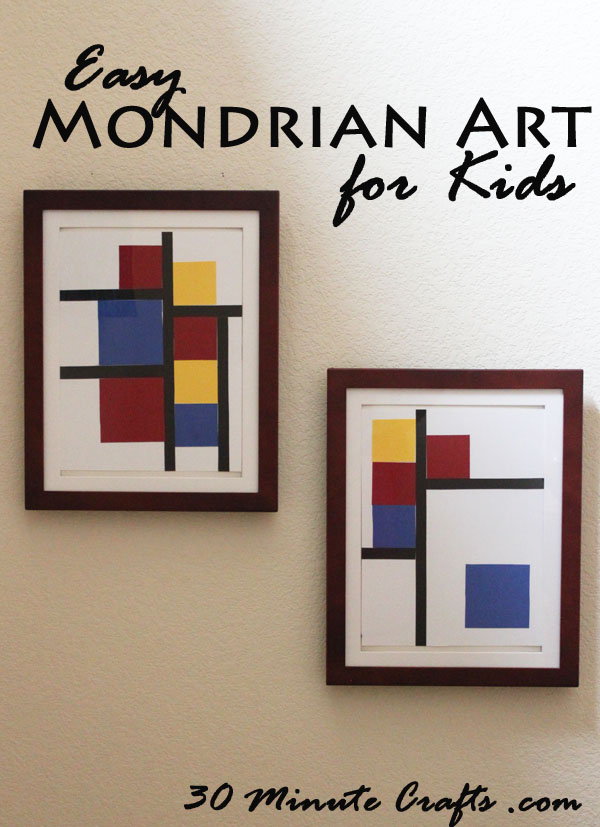
Mondrian Art for Kids

Easy Mondrian Inspired Art for Kids

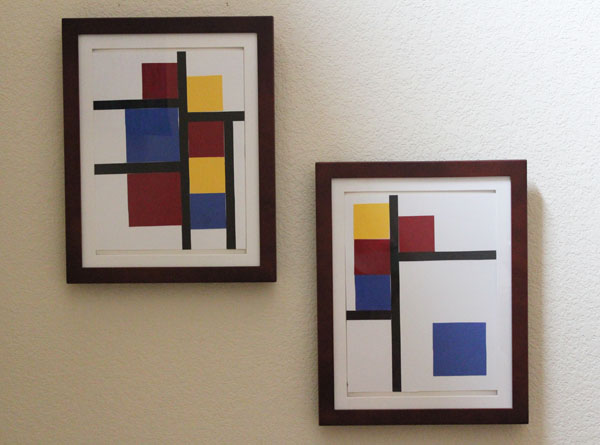
This Mondrian-Inspired art is so fun and simple for kids to make, with just a little bit of adult preparation! Piet Mondrian (born Piet Cornelis Mondriaan) was a Dutch Artist, known for his very memorable artwork, using black, primary colors, and sometimes grey. The black is often used in some kind of grid formation, and the rest of the colors are often squares or rectangles making patterns or designs.

I’m sharing this Mondrian art project as part of the World Cup for Kids series. A group of bloggers teamed up, and each of us has chosen to represent a country playing in the World Cup. Each time our team plays, we’re sharing a fun post that gives you a little insight into the history or culture of the team playing! I’m representing The Netherlands in this series (go orange!) and so far have shared faux Delft Blue, a Windmill Printable, and a Printable Birthday Calendar.

Today I wanted to share with you some more Dutch culture, and talk about one of the famous Dutch artists. There are lots of famous Dutch artists – Van Gogh, Rembrandt, and Vermeer are among the most well-known. Piet Mondrian is also well-known, and his artwork really stands out. Plus, it is simple to make artwork inspired by his using scrapbook paper!

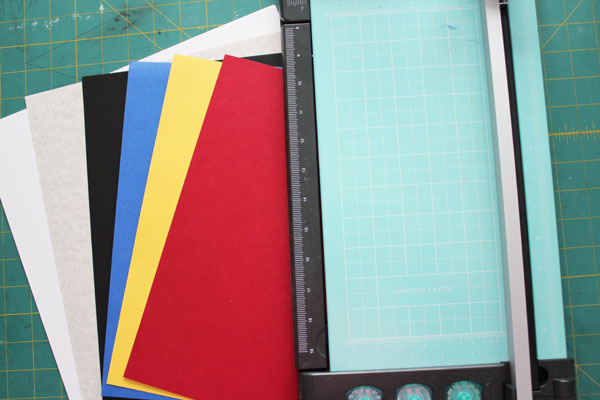
For your Mondrian art project, start with black, red, yellow, and blue scrapbook or construction paper, a paper cutter, and glue stick. You will need white paper for the background, and can add grey paper if you like.

mondrian art supplies

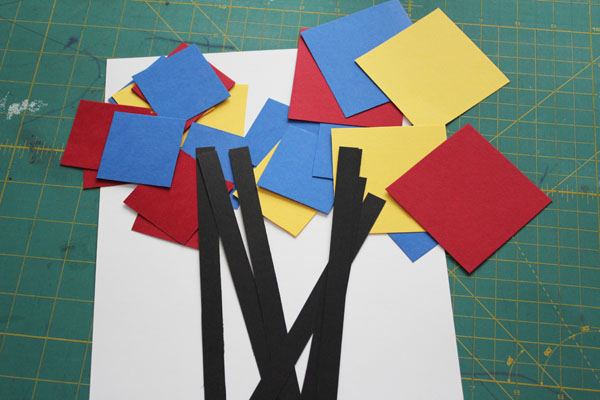
Cut the paper. The black gets cut into 1/2″ strips that kids can sub-cut if they like.

The rest of the colors get cut into squares. I made 2″ and 3″ squares. If you have older children crafting, they might enjoy 1″ squares as well.

cut out pieces

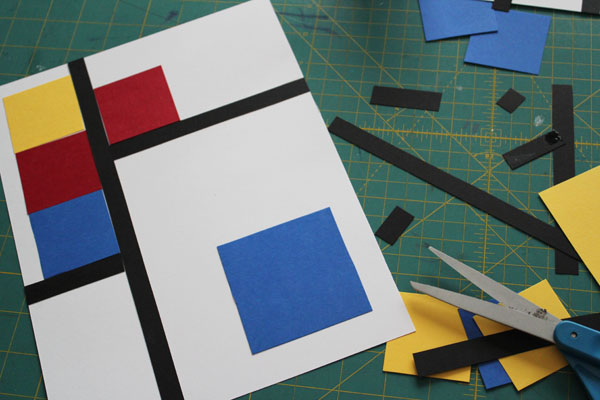
You can look up Mondrian Art on Google to get some inspiration images if you like. Use the black, yellow, red, and blue papers to create your art. You can lay all the pieces out to create a design you like, then glue them down… or you can glue as you go to create a fun piece.

glue down pieces

Once your artwork is done, you can hang it up!

easy to make mondrian art for kids tutorial

Make sure to check out all the other awesome bloggers sharing their countries for the World Cup Series!
worldcup

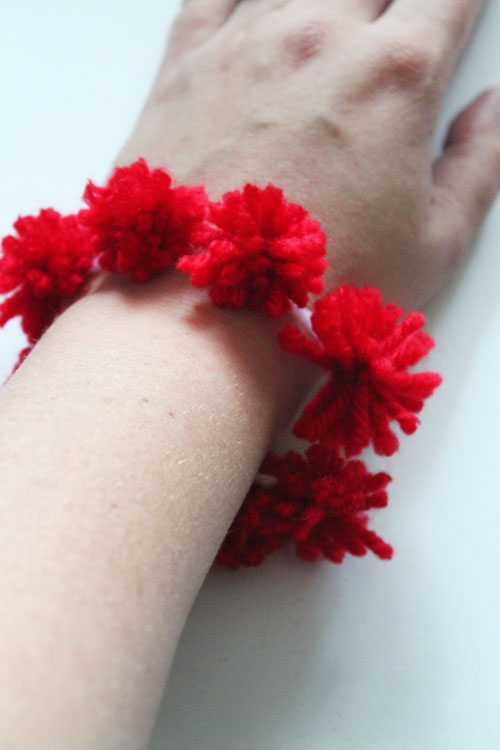
Simple Yarn Bracelet

I’m over at Skip to My Lou today, sharing a fun and simple bracelet that kids can make! I love making fun and fast jewelry – and this jewelry is kid-friendly to boot!
make a pom pom bracelet

Hop on over to Skip to My Lou (see what I did there? no? ok… wasn’t that clever then…), and check out the Pom Pom Bracelet tutorial!