Craft Lightning Craft Camp – Day 2 Roundup

It is day 2 of Craft Lightning Craft Camp – a whole week of camp crafts that can be made in 15 minutes or less! Angie from the Country Chic Cottage and I are sharing a fun, fast camp-inspired craft each morning, and each evening we’re rounding up crafts from our friends around blogland!


Here are today’s awesome projects!

Lisa from Mabey She Made It made this awesome secret message craft … so fun for passing notes to your bunkmate at camp!
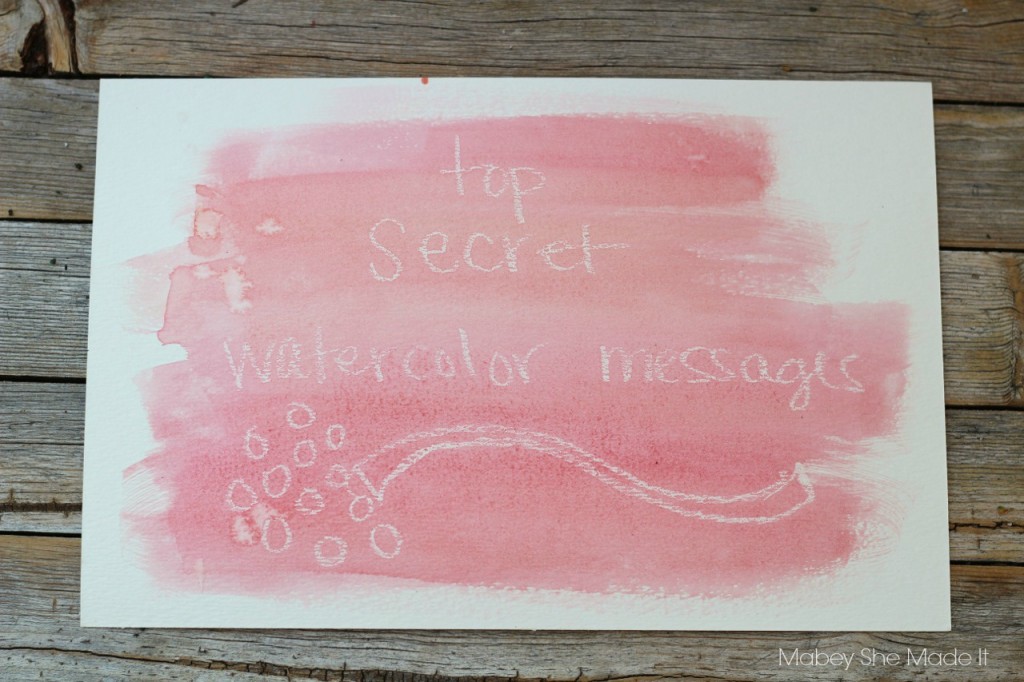
top secret watercolor messages


Katie from Made to Be a Momma got camp crafty with a great back to school idea – these painted pencils (with washi tape flags).
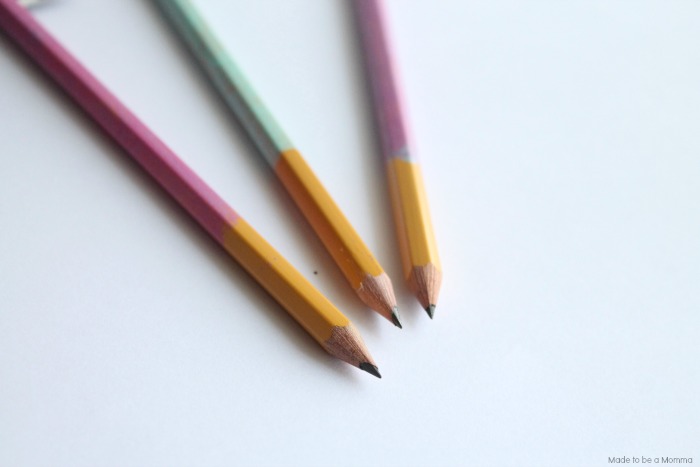
painted pencils

Digging into a bucket of pony beads always reminds me of my days under the trees at the camp craft tent – getting splinters on the weather worn picnic tables…  Kara over at Happy Go Lucky made this cute personalized beaded keychains (and they’re splinter-free!)
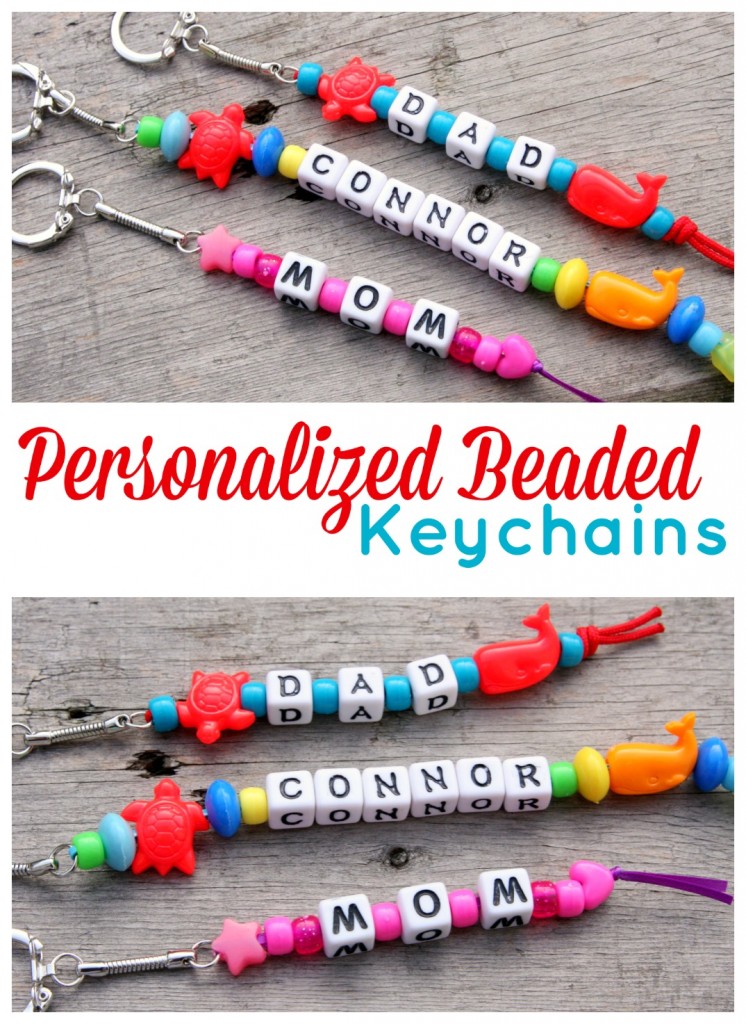
beaded keychains


Send your camper with a camp journal they’ll make sure to write in – like this Camp Journal that Tracy over at Scrappy Chick made. I wish I had journaled memories to go with my photos from my camp days.
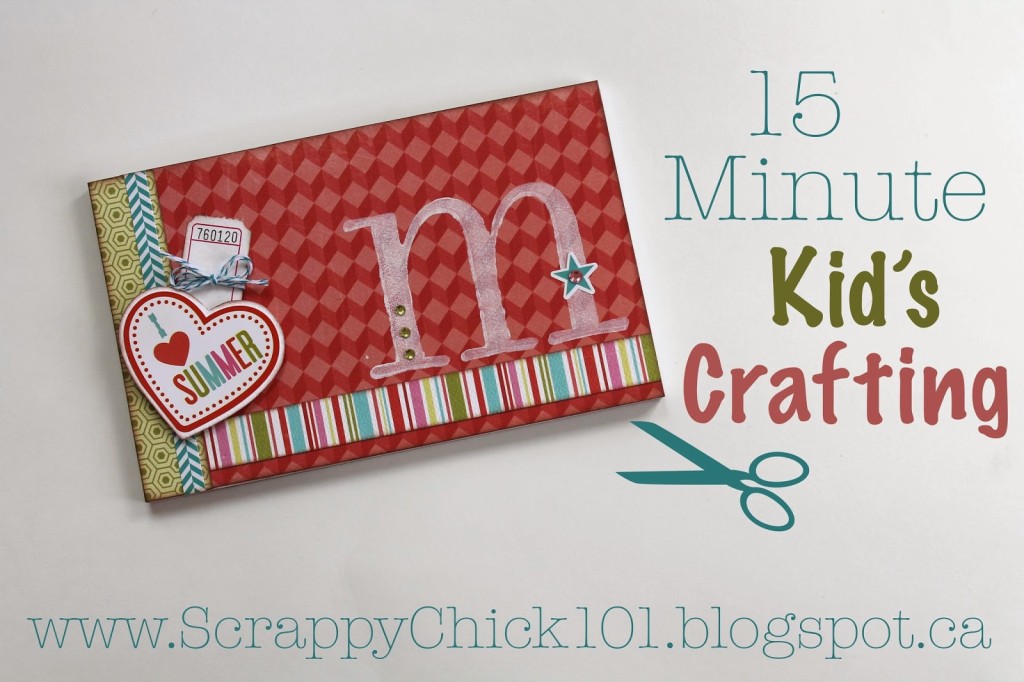
monogrammed journal


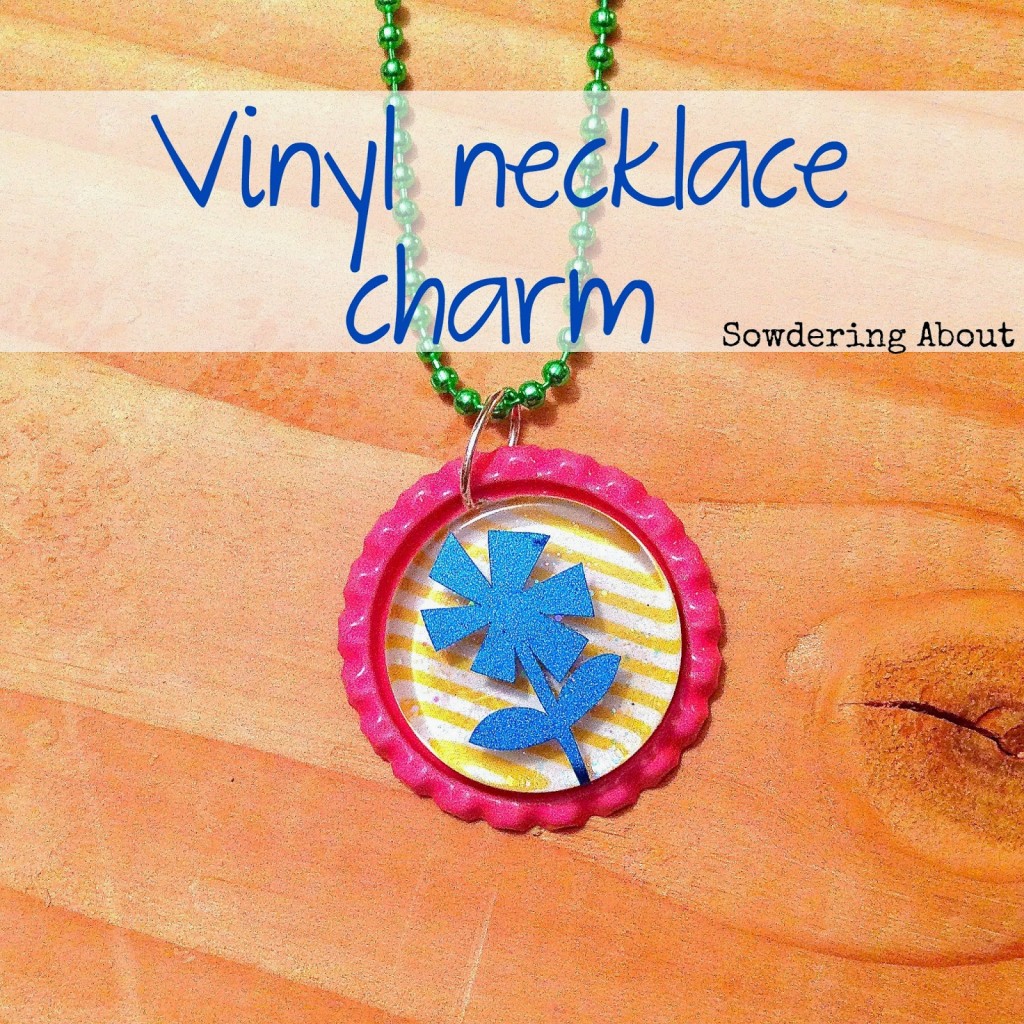
Randi from Sowdering about Seattle made this cute vinyl bottle cap necklace charm – what is more camp craft than using bottle caps?

vinyl necklace charm

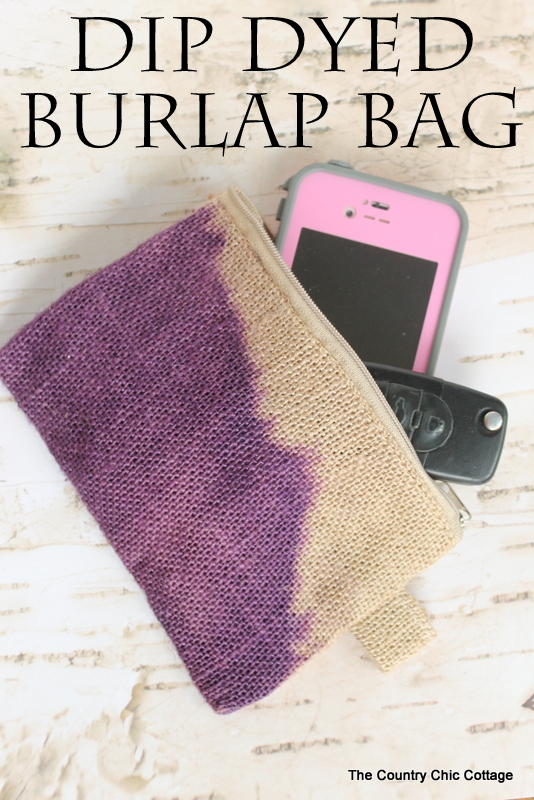
Over at The Country Chic Cottage, Angie whipped up a dip-dyed burlap bag. Simple, cute, and camper approved!

dip-dyed-burlap-bag

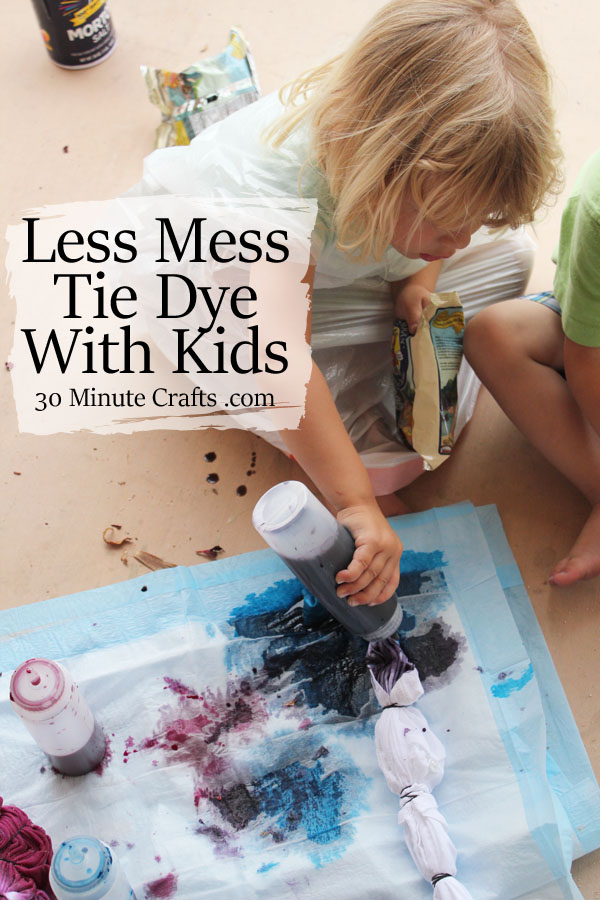
I played with dye, too – showing you a less-mess way to do some camp tie dye!

Less Mess Tie Dye with Kids - so smart!

Be sure to come back all week long for more fast and easy camp craft ideas!


Less Mess Tie Dye with kids

To me, camp means tie dye. I didn’t get to tie dye every time I went to camp, but it really was one of my favorite activities. One of my favorite camp photos is from a Girl Scout Day Camp where we all wore tie dye camp shirts. So, when trying to re-create traditional camp crafts here at home this summer, of course I had to include tie dye. All this week long, I’m doing a Camp Crafts series here on 30 Minute Crafts, as part of our semi-monthly Craft Lightning series. For Craft Lightning, Angie and I team up with tons of bloggers to create fast crafts that take 15 minutes or less. This week all those crafts are camp themed!

Less Mess Tie Dye with Kids - so smart!Less Mess Tie Dye with Kids - so smart!

I had my nieces over to visit earlier this month, and we got a chance to tie dye together. They had a blast dying their shirts, and I’ll show you how we made it easy for a 3 and 4 year old to dye with Rit dye!

Supplies:
Garbage Bags
Squeeze Bottles
Puppy Pads
Rit Dye (we liked pink, purple, and aqua, but go with colors that work for you)
Rubber Bands
Shirts
Rubber Gloves

We washed the shirts in the washer, to get out the sizing, and any other gunk from the manufacturing process. We did not throw them in the dryer, instead we just left them wet.

The easiest tie dye method is to accordion-fold the shirt (horizontal or vertical – doesn’t matter), then put rubber bands down the length of the shirt. Their mom and I did this part, because the girls are a little too young, and their hands too small, to handle the rubber bands.

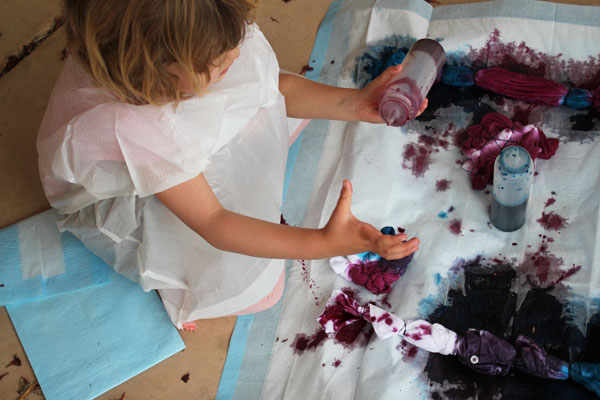
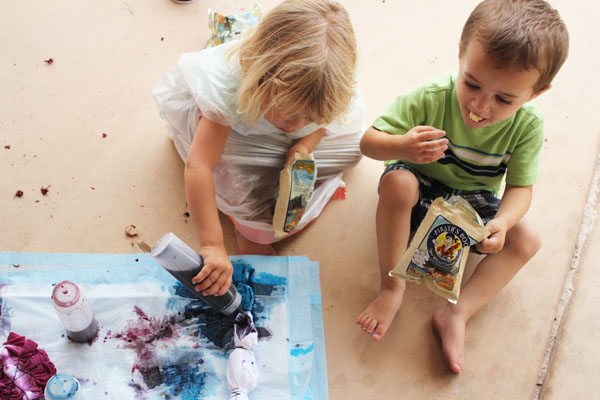
I cut a neck hole and arm holes into the garbage bags to use as smocks to protect the clothes the girls were wearing. In each squeeze bottle, I did a ratio of 1:3 dye to water. Then the girls got to squeeze out dye onto their (still damp) shirts.

squirt on dyesquirt on dye

The shirts were on puppy pads, which absorbed the extra dye. Between the squeeze bottles and puppy pads, we had almost no dye mess on the patio!

less mess tie dye

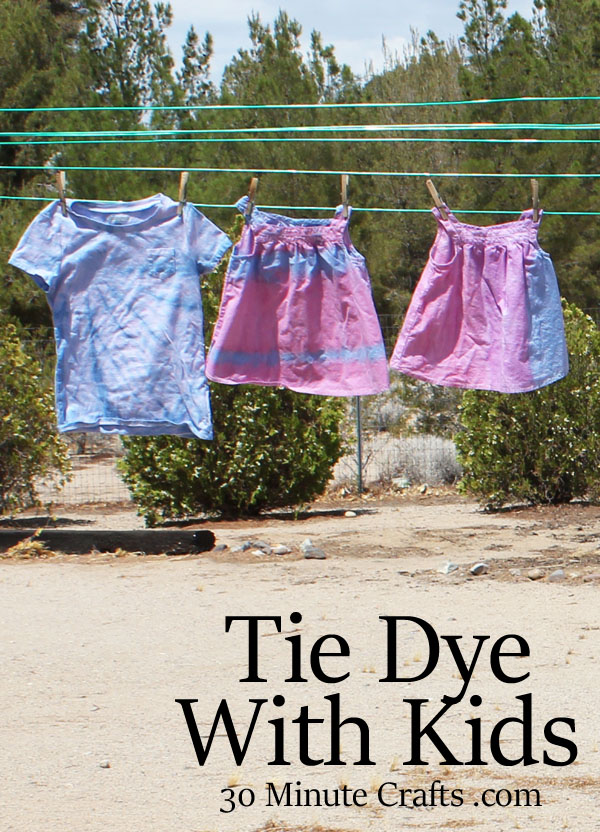
After getting the dye on, we let them sit for about an hour. Then I put on gloves to rinse out the shirts. Once the water ran clear, I let the girls help take off the rubber bands (cutting them is easy), and then they got to be surprised by how their creation turned out!

Tie Dye with Kids
Come back tonight for another roundup of awesome camp crafts… if you missed yesterday’s, go check out the Day 1 Camp Crafts Craft Lightning roundup!

Craft Lightning Craft Camp – Day 1 Roundup

Yay! Another week of Craft Lightning! This week we’re sharing camp crafts – crafts inspired by camp, crafts you might make at camp, or crafts you could make at home for your own “summer camp” experience! There is still plenty of summer left… these ideas are sure to help you through those last few weeks before school starts! All week long, Angie from The Country Chic Cottage and I are sharing fast (15 minute or less) camp crafts in the morning, and then each evening, we’re rounding up camp crafts from our blogging friends.

Here are today’s fun projects

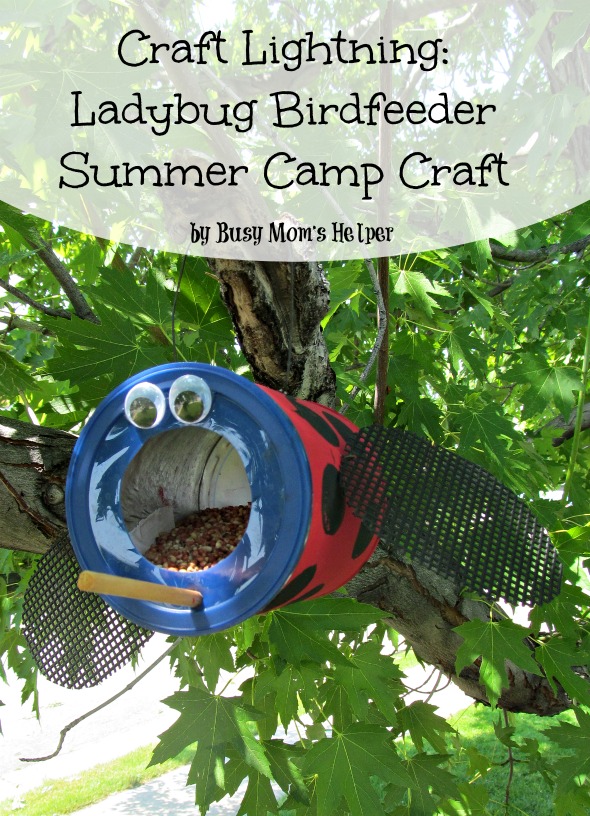
Danielle over at Busy Mom’s Helper made this adorable Lady Bug Bird Feeder. Bird Feeders are such an iconic camp craft – both for overnight camps and day camp!

ladybug-bird-feeder


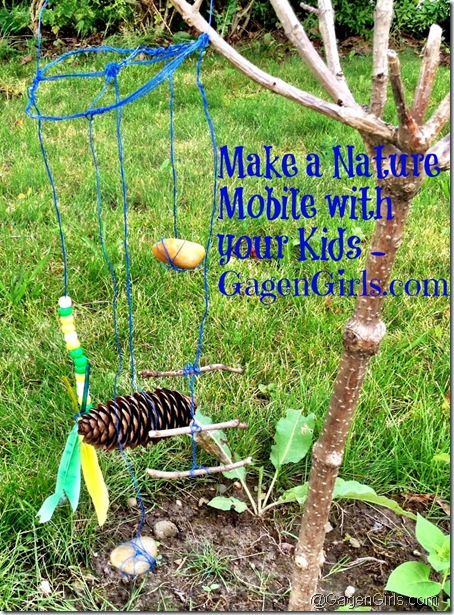
Bring the outdoors indoors with this fun nature mobile by Cyndi over at the Gagen Girls. Turn a walk into the woods into a way to sleep among the branches by hanging this mobile in your room when you get back from camp.


Nature_Mobile_GagenGirls_thumb


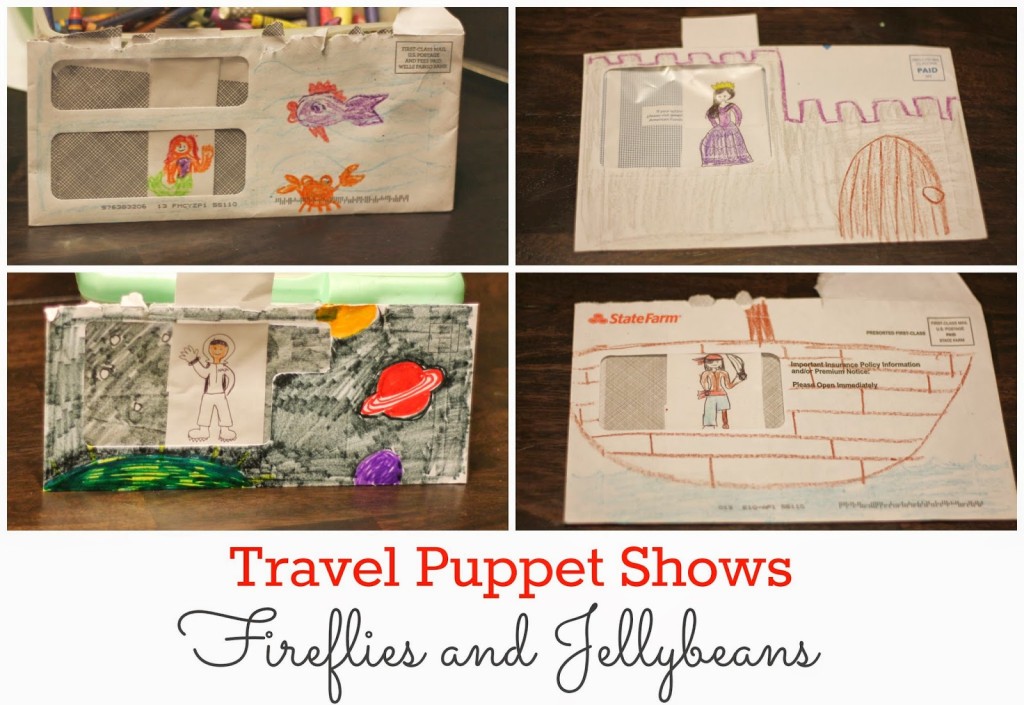
If you’re looking for something fun to entertain kids on the way to camp, or a great day camp activity, gather up your junk mail. Fawnda over at Fireflies and Jellybeans came up with these portable puppet shows made from window envelopes.

Travel Puppet Show 4

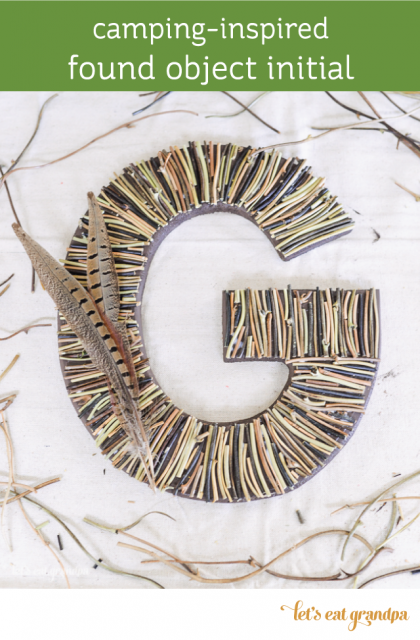
Take objects you find on a nature hike – leaves, twigs, feathers, rocks… whatever you can find… and glue them onto a letter to create a nature-riffic initial. You can use this as a decor piece, to hang on your door instead of a wreath, to set on a mantel… I love this found object initial.


twig letter


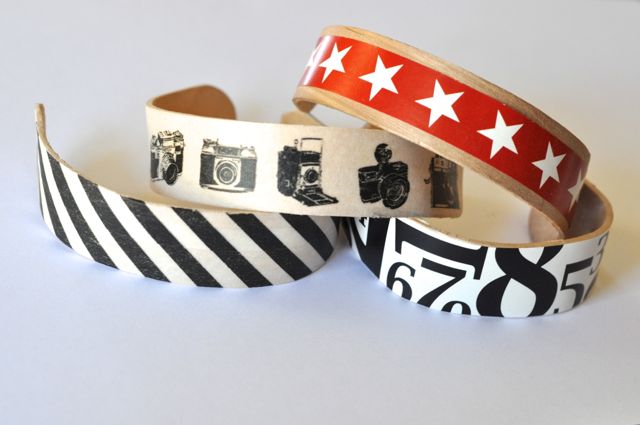
These popsicle Stick Bracelets were made by Laura at Make Life Lovely, simple to make, and so many fun ways to decorate them! Great for a crafty camping afternoon!

Washi-tape-popsicle-bracelets

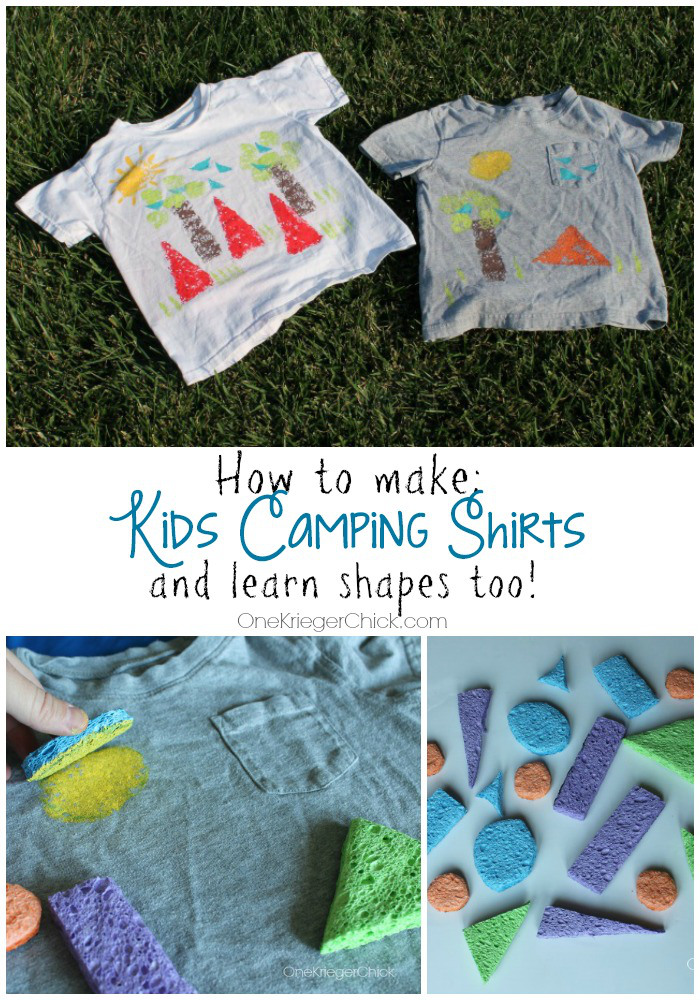
Each year at camp, I loved decorating the shirts – paint, dye, whatever – getting to decorate my shirt was like a crafty badge of honor. These sponge painted camp craft shirts by Ariean at One Kreiger Chick are too cute!

How-to-make-Kids-Camping-themed-shirts-and-learn-shapes-too-OneKriegerChick.com_

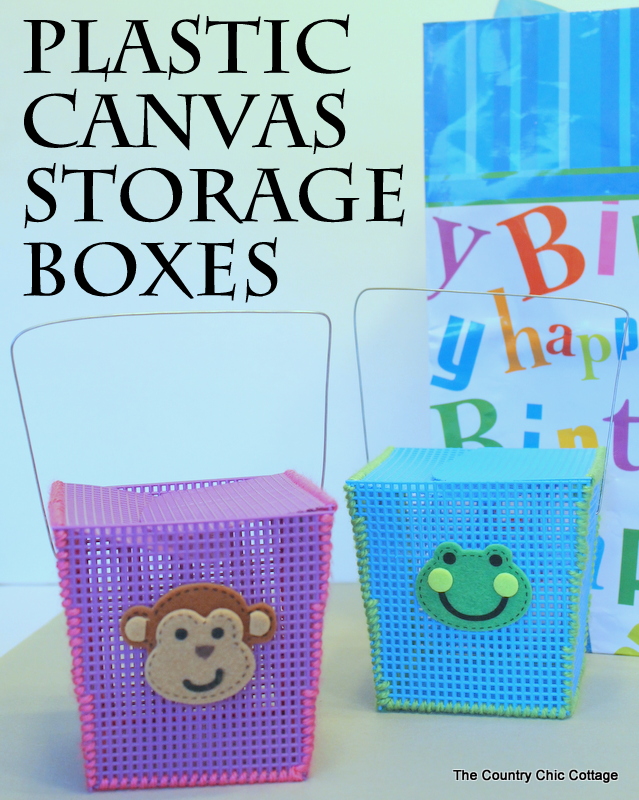
My crafty partner for the series, Angie from The Country Chic Cottage, made these fun plastic canvas storage boxes.

plastic-canvas-storage-boxes

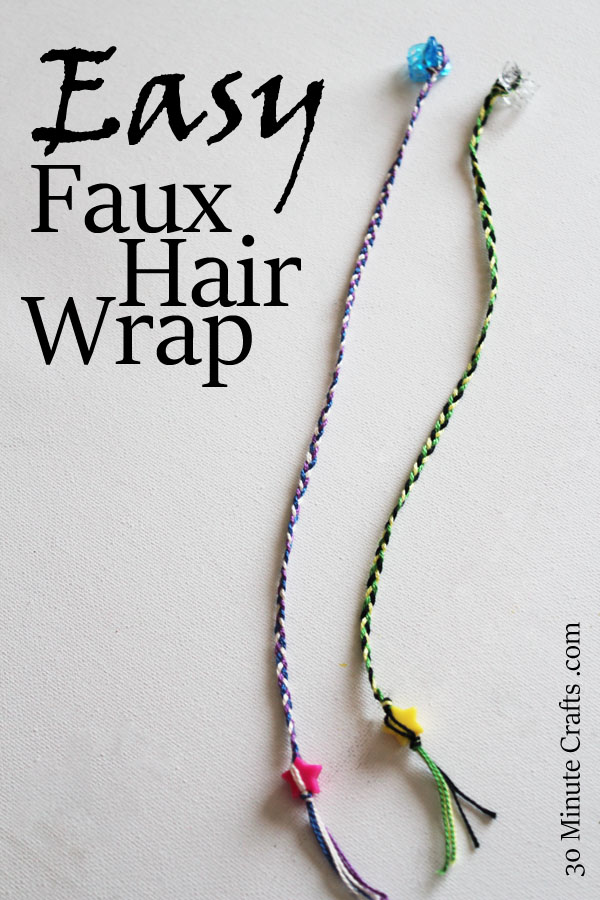
I made some faux hair wraps that reminded me of my camp days, and racing to make the fastest french braid at camp.

Easy Faux Hair Wrap

Be sure to come back tomorrow for more camp crafting fun!


Easy Faux Hair Wrap

Easy Faux Hair Wrap

I went to camp most summers as a child. Some years I went as a camper, riding horses and doing crafts, and some years I went as staff. I enjoyed my weeks in the mountains, under the trees, getting to create craft projects and hang out with other campers. I have lots of awesome memories from camp. One of my favorites is of braiding hair. My friend Dawn and I would braid the hair of the other gals in our cabin – we had hair braiding races to see who could French braid the fastest. We’d do fun hair, like hair wraps, as well. Hair wraps start with a small braid of hair that is then wrapped with embroidery floss. They are fun to make, and fun to wear, but a pain to take out! So, I came up with this simple version – faux hair wraps. These clip in and out of hair, making them reusable and easy to remove. They are also an easy to make craft for girls to make at camp! That’s why I’m sharing them as my first craft here in Camp Crafts Week for Craft Lightning! Each morning both Angie from the Country Chic Cottage and I will share a quick and easy camp craft with you, and each afternoon we’ll share a round-up of quick camp crafts from our friends around the internet!

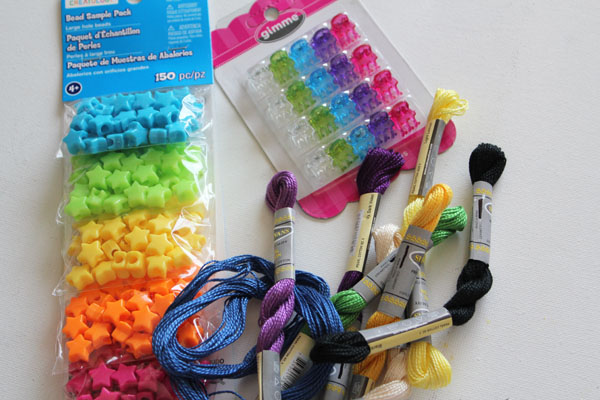
You only need a few supplies to make these hair wraps, and about 15 minutes of time.

supplies for faux hair wrap

You’ll need:
Embroidery Floss (or Perle Cotton)
Large Beads
Small Hair clips
Scissors

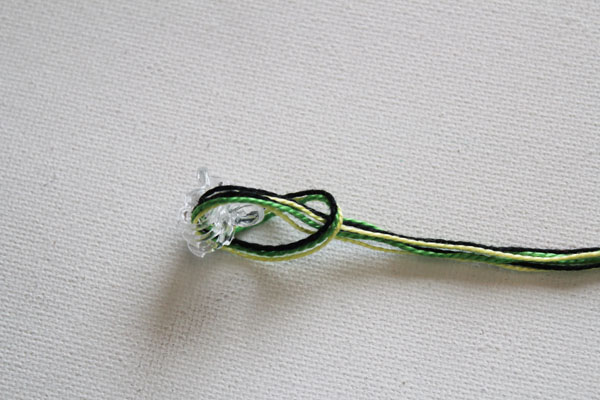
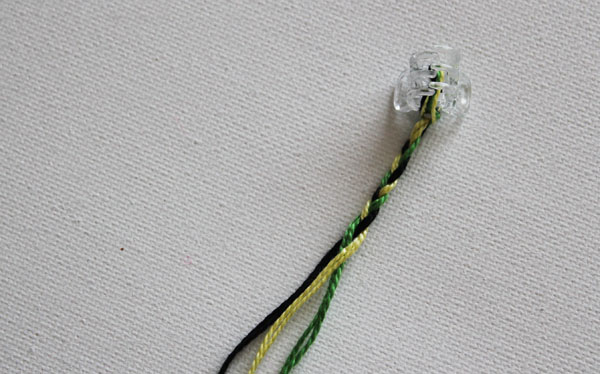
Start by cutting a yard each of 3 colors of floss. Fold in half, then loop through the clip to secure

loop thread into place

Divide the 3 colors so that each color is with it’s mate of the same color, then start braiding.

braid the strands

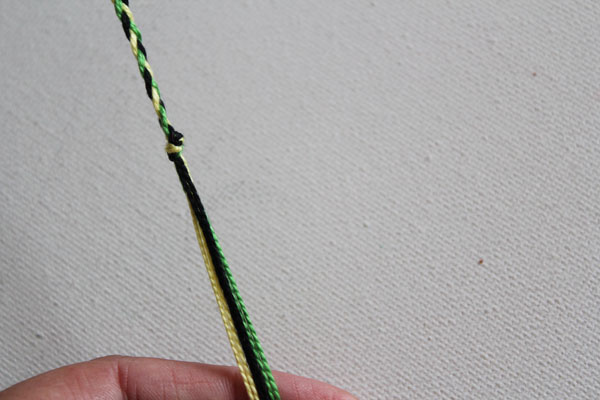
Braid until you only have about 5 inches left, then tie a knot.

overhand knot at end

Put on a bead, some threads through the hole and a couple on the outside to secure,

then tie another knot.

tie bead in place

Clip into your hair for a faux hair wrap look!

Make sure to come back by tonight and all week long for more fun and fast camp craft ideas!
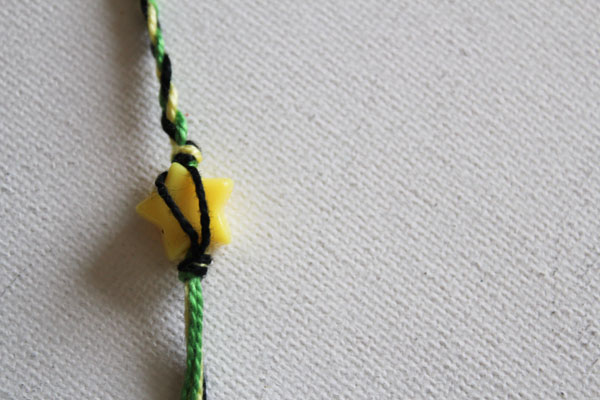
Dusty Flashlight Craft

Dusty’s latest movie comes out in theaters today – Planes: Fire and Rescue. I had the chance to see it earlier this week with my son, and we LOVED it! Disney really does a great job of creating movies that the entire family can enjoy. There were jokes geared towards my 5-year-old son (like the obligatory car-fart joke in the first 30 minutes of the film), 3D animation that drew us both in to the excitement of being a fire and rescue plane, and a story line that tugged at my heartstrings. Dusty finds himself training for a new career as a fire and rescue plane, and learns some important lessons about himself, while making some new friends.

I was in awe of the animation in this movie. In college my roommate and best friends were both animation/illustration majors, and I watched them agonize over projects like animating a falling leaf. In Planes: Fire and Rescue, the animation is absolutely stunning. Glowing embers, smoke, fire, lights from the planes in the dark forest… combined with camera angles and beautiful scenery.

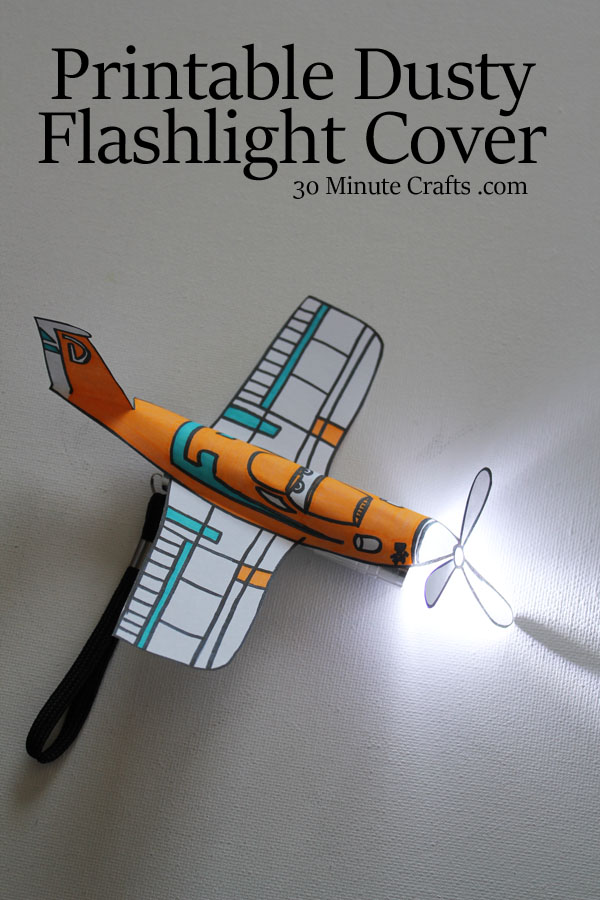
Dusty Flashlight Cover - free printable

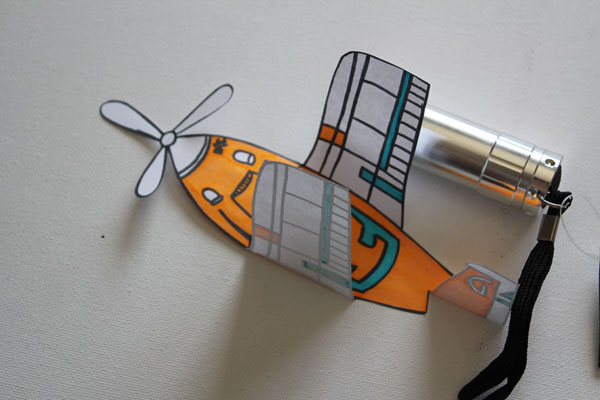
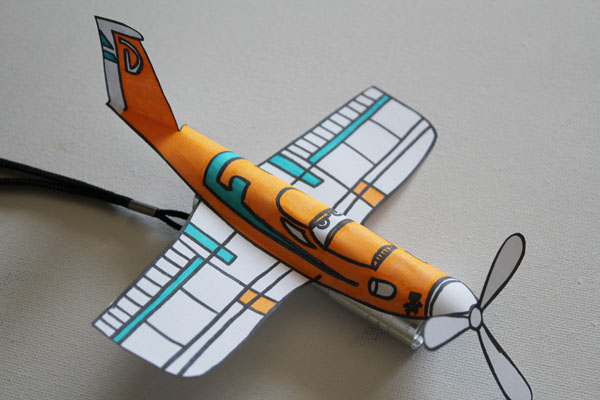
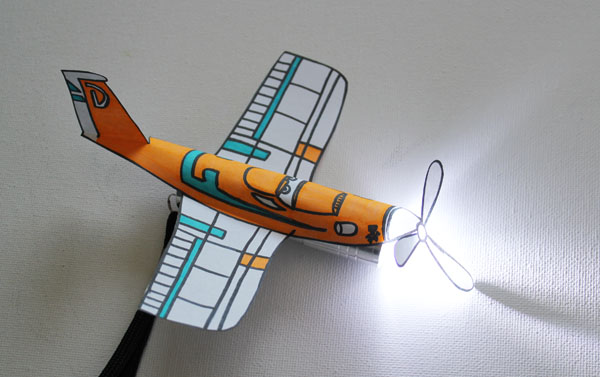
Since I loved the night scenes, and my boys love playing with flashlights, I thought I’d make a Dusty Flashlight Craft. This is a simple printable Dusty that you can color, cut out, and tape to a flashlight so your kids can do some of their own night-flying.

To make your own Flying Dusty Flashlight Craft, you’ll need:

Dusty Flashlight Cover Printable (I printed on regular copy paper, but cardstock will hold up better)
Markers (orange for traditional Dusty, red for fire and rescue Dusty)
Scissors
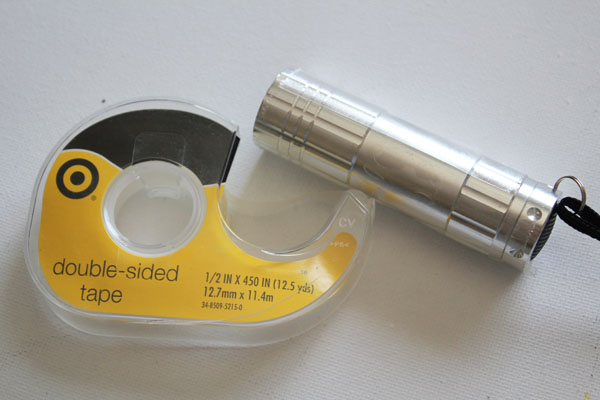
Double-sided tape
Flashlight (this one came from the dollar bin at Target)

supplies to attach printable dusty

Color and cut out Dusty. Fold the wings up, the propeller down, and the tail wing up.

color, cut out and fold

Use double-stick tape to plane to the flashlight. If your light has a switch on the side instead of the back, make sure you don’t cover it up!

attach paper to flashlight

Wait until it gets dark, then turn on the light! But be careful of flying too low… flying low at night could cause you to crash!

Printable Dusty Flashlight cover

Mini Food Flags

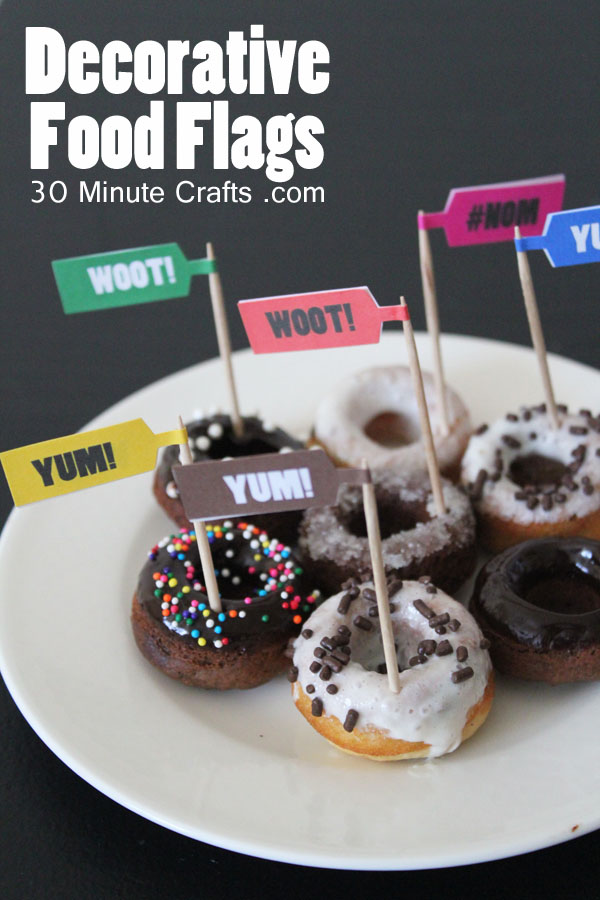
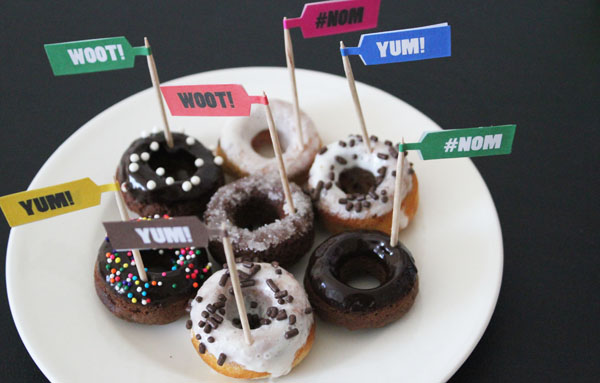
Decorative food flags

All week I’ve been sharing crafts and printables that are part of my Donut Party. While I made these cute food picks with my Donut Party in mind, they’re also great for lunchboxes and other (non-doughnut) parties! The different labels I’ve been using this week came from our awesome Crafty Hangouts Sponsor,  Online Labels.  The little flag labels I used for this project are just so much fun, don’t you think? I used Woot! Yum! and #Nom as the words on my flags, but you could absolutely make your own with whatever words or designs fit your party best.
To make these printable flags, download the flag printable file and order some of the jewelry labels from Online Labels. Yup, those little labels are actually jewelry labels! Who knew, right? You can see how I made the flags in this video, and you can see the cute cupcake picks that Angie made using a different set of labels!

Makes you want to play with your food, doesn’t it?


decorative flags on donuts


This is part of a two-week long series on Crafty Hangouts with Online Labels – we’ll be sharing 20 different party craft videos to inspire you to party all year long!


Follow along all week long as the Crafty Hangouts team creates fun party crafts using labels. You can also follow along on Google + using the #partycraftHOA hashtag.
Don’t miss the $300 Target gift card giveaway with three winners at $100 each!! Enter below!
a Rafflecopter giveaway

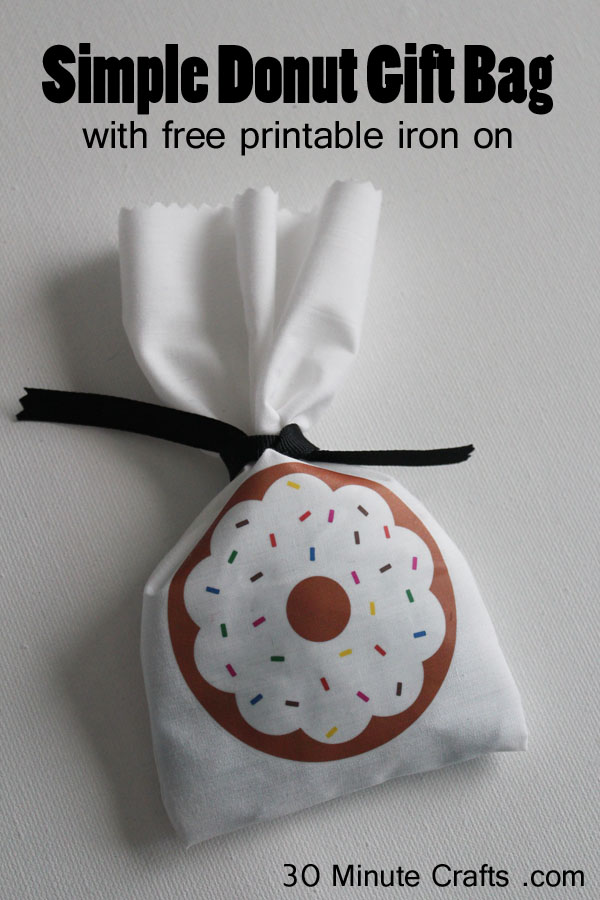
Simple Donut Gift Bag

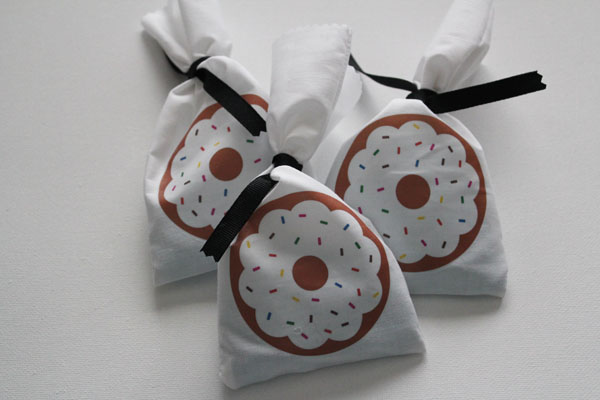
I’ve been sharing Donut Party Printables all week long. I started with my Donut Party Centerpiece, then Donut Party Invitations, and yesterday my Donut Party Favor Bags. Today I’m sharing this Simple Donut Gift Bag. They are super simple to make, and only require a little bit of sewing. These can be used to give a gift, package doughnuts, gift sprinkles, or really just about anything! I was sent printable fusible iron on transfers from Online Labels to create this project, and they worked beautifully!

Simple Donut Gift Bag

This gift bag measures at about 4″x8″, though you could make yours any size you like.

To make your Simple Donut Gift bag, you’ll need:
Plain white or other neutral color fabric
Grosgrain ribbon
Printable Iron-on transfer paper from Online Labels
Donut Printable for iron on transfer paper
Sewing Machine and Iron
Pinking Shears

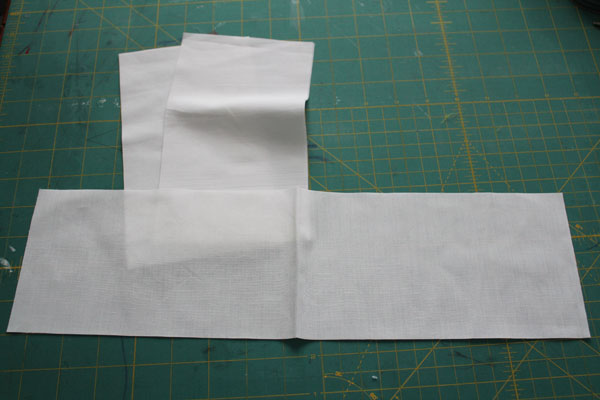
Start by cutting your fabric. You’ll want to cut pieces 4.5″ wide by 16″ tall. You can fold in half already, if you like.

cut the fabric

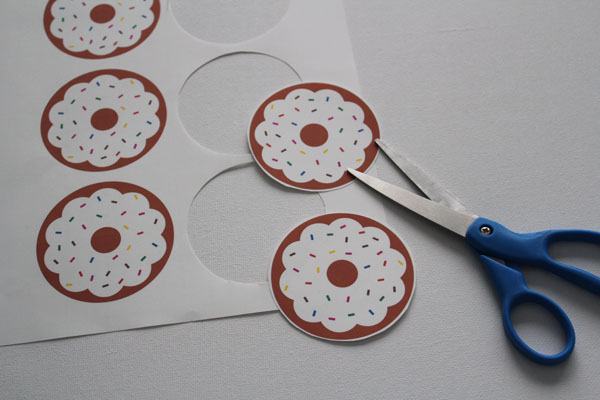
Print out the donut images onto the fusible side of the iron-on transfer sheet, and cut out.

trim iron ons

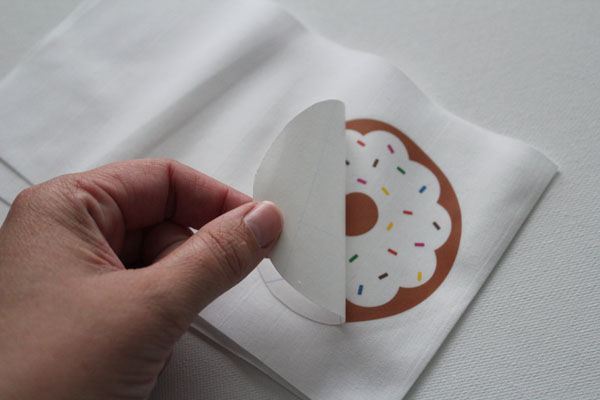
Place the iron-on image side down onto the folded fabric, about 1/2 inch from the bottom and each side. Press with an iron, allow to cool slightly, then peel away the paper.

peel away paper

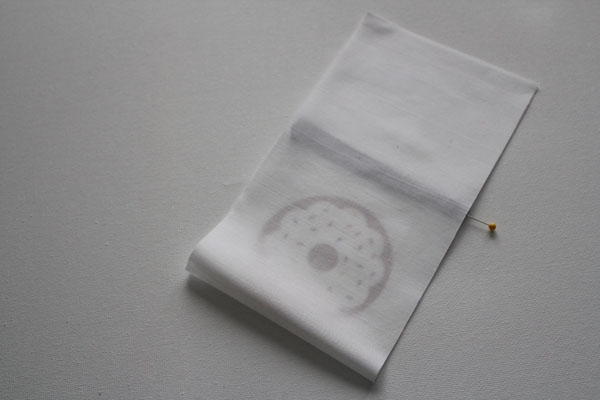
Cut about 8″ of ribbon, fold in half, then pin the fold above the donut image. Fold the fabric so that the donut image and the ribbon are on the inside.

pinned ribbon

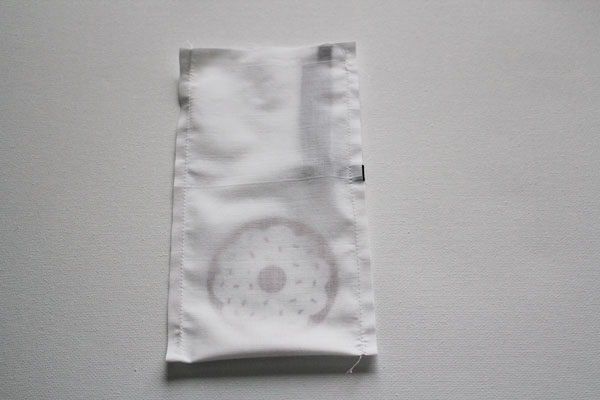
Stitch down the side with the ribbon, removing the pin. Move the ribbon out of the way, then stitch down the other side.

stitch sides of bag

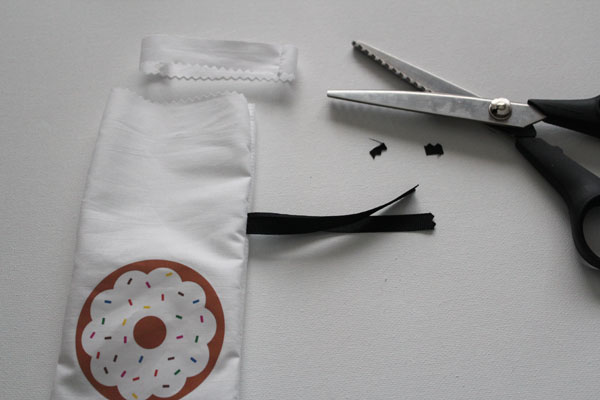
Flip the bag right side out, then trim the top and ends of the ribbon with pinking shears.

trim top and ribbon ends

Fill your bags with goodies, then tie off the top!

Simple Donut Gift Bag with iron on donut

Simple Donut Party Favor Bags

All week long, I’m sharing fun Donut Party projects, like today’s simple Donut Party Favor Bags. These go along with the Donut Party Invitations I shared yesterday, and the Donut Party Centerpiece I shared on Monday. These projects were inspired by Online Labels, who are sponsoring the party crafts we’re sharing all this week and next over at Crafty Hangouts.

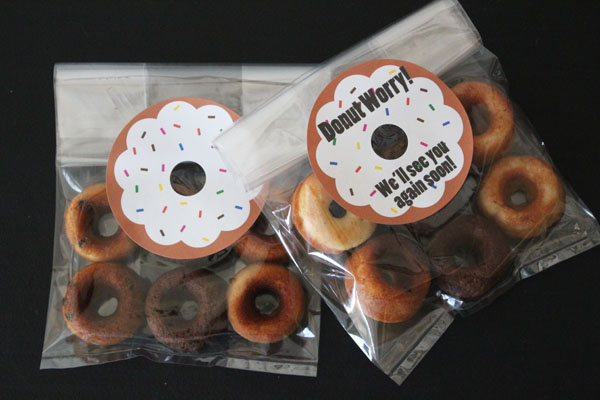
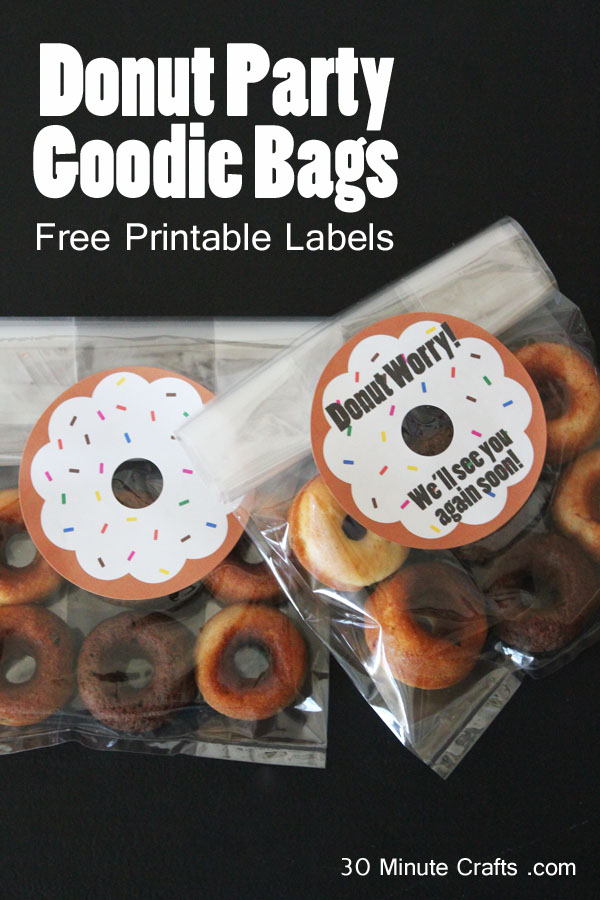
My whole party idea was inspired by these fun mini cd labels over at Online Labels. Sure, they are great labels for putting on mini CDs… but they also look like Mini Doughnuts! Which makes them the perfect way to seal my favor bags for the Donut Party!

Donut Party Goodie Bags with Free Printable Labels

I made the printable in two different ways – one is the Donut Printable without words and the other is the Donut printable with words. The words say “Donut Worry! We’ll see you again soon!” What better way to see off your guests than a doughnut pun and some treats for the road, right?

If you want to see how it all works, as well as hear me ramble on a bit about how fun and simple this project is, check out my video where I show you how it all comes together:


Simple and sweet –  does it get any better than that?

Donut Party Goodie Bags


This is part of a two-week long series on Crafty Hangouts with Online Labels – we’ll be sharing 20 different party craft videos to inspire you to party all year long!


Follow along all week long as the Crafty Hangouts team creates fun party crafts using labels. You can also follow along on Google + using the #partycraftHOA hashtag.
Don’t miss the $300 Target gift card giveaway with three winners at $100 each!! Enter below!
a Rafflecopter giveaway

Donut Party Invitation and Sign

This week I’m sharing lots and lots of fun Donut Party Printables! I whipped up about 200 mini doughnuts – Chocolate Doughnuts, Vanilla Chocolate Chip Doughnuts, and Banana Spice Doughnuts, and paired with these fun printables, I had a fast and fun party whipped up in the time it took to bake and frost! You could even cut down the time it takes to make this party by buying your doughnuts from a local bakery.

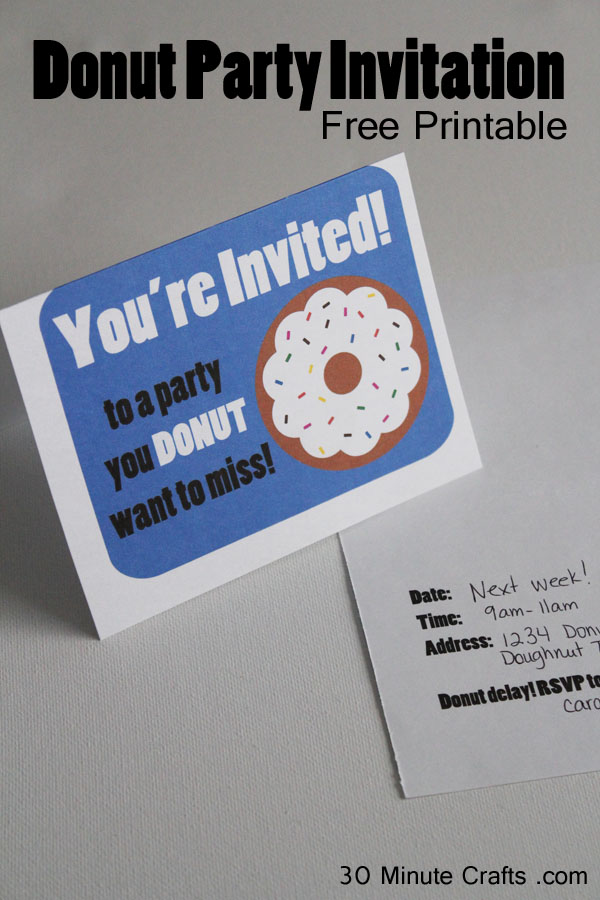
Donut Party Invitation Free Printable

You can print out these simple Donut party invitation printables onto cardstock, cut in half, and fold. I also have a generic invitation inside that you can fill out by hand, or you can create your own.

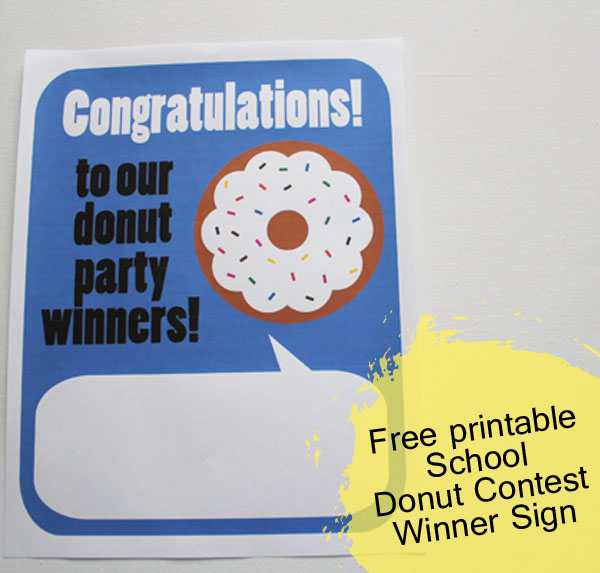
When I was in school, Doughnut parties were often given to a class that achieved a goal – a number of books read or money raised or some other educational goal. If you’re creating a school doughnut party or classroom doughnut party, I have a sign for you to use:

Free printable school donut contest winner sign

You can print out the School Donut Contest sign, and fill out the winning class information in the speech bubble.

I’ll have lots more printables and party projects for you this week, so be sure to check them all out – and if you missed it, yesterday I shared my Donut Bouquet that works great as a Donut Party Centerpiece!


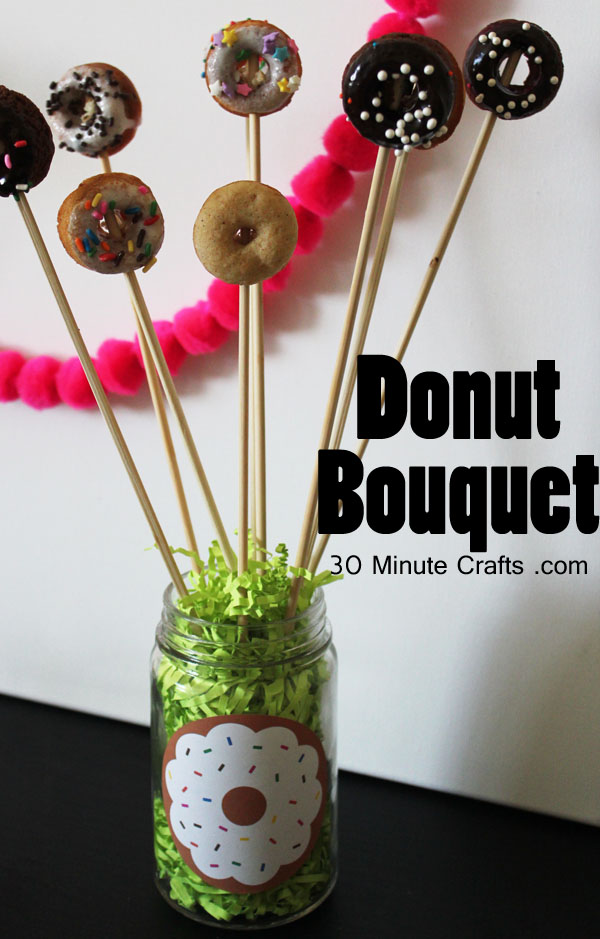
Mason Jar Donut Party Centerpiece

Donut bouquet - easy to make with mini donuts

Angie and I love video crafting, and we love it when awesome sponsors join us on our Crafty Hangouts! This week (and next!) have been sponsored by Online Labels. And I got so excited by the products sent to me by Online Labels that I created a whole week of Donut Party Printables! Yup – a whole pack of free printables for a donut party!

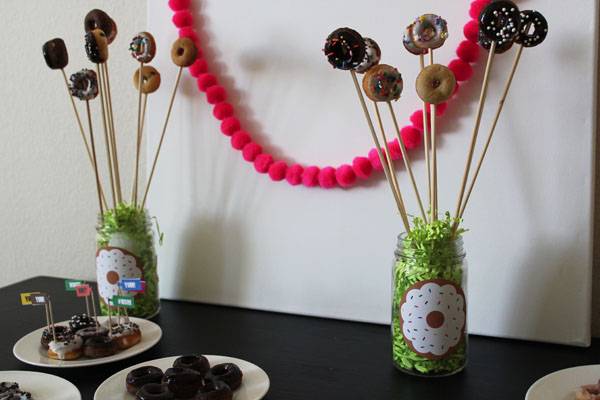
When I was in school, sometimes the school would offer up a doughnut party as a reward for a class contest. Today, mini doughnuts are gaining in popularity, as well as simple breakfast parties, so having a doughnut party is pretty popular! Whether you’re doing a simple get-together or an all-out-donut-bash, you’ll love this fun mini donut centerpiece. The donut party centerpiece is made like a doughnut bouquet – so it would work great as a gift for someone special as well!

I baked several kinds of mini donuts – Chocolate Mini Donuts with Cheater Chocolate Ganache, Banana Spice Sugared Donuts, and Vanilla Chocolate Chip Donuts, and added different kinds of sprinkles.

You can see in the video how I put it all together using this Donut Printable on the Online Labels 3.33″ Round Label


donut bouquet

This is part of a two-week long series on Crafty Hangouts with Online Labels – we’ll be sharing 20 different party craft videos to inspire you to party all year long!


Follow along all week long as the Crafty Hangouts team creates fun party crafts using labels. You can also follow along on Google + using the #partycraftHOA hashtag.
Don’t miss the $300 Target gift card giveaway with three winners at $100 each!! Enter below!

 
a Rafflecopter giveaway