Everything is Awesome Shirt

This post contains affiliate links.
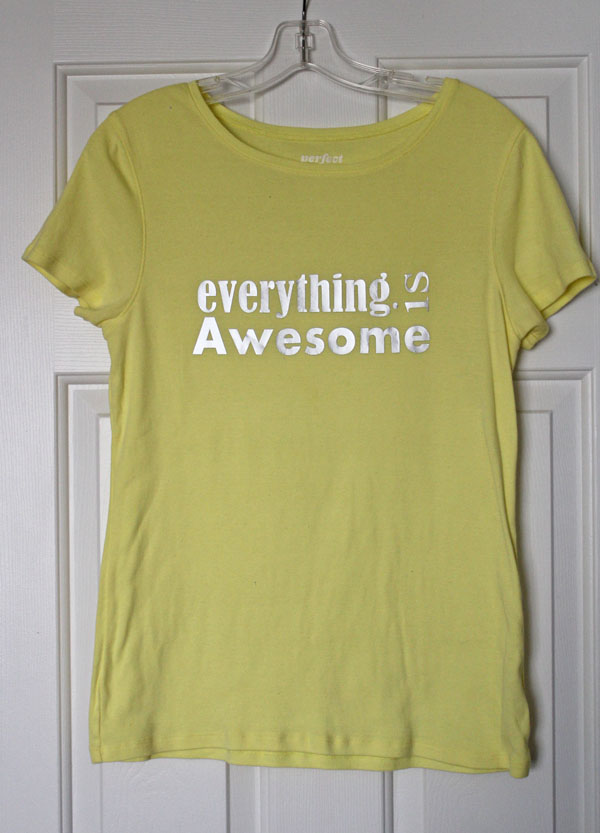
Everything is awesome shirt on 30 Minute Crafts

Are your kids obsessed with the Lego movie? My 5 year old and 2 year old are. In fact, they are sitting on the couch with me and their cousins right now watching it. My absolute favorite part is when Emmet falls down the pit – my 2 year old shouts “ouch! ouch! ouch! ow!” all the way down. So funny!

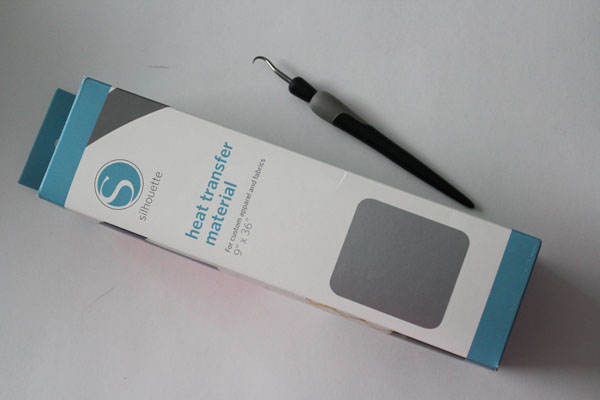
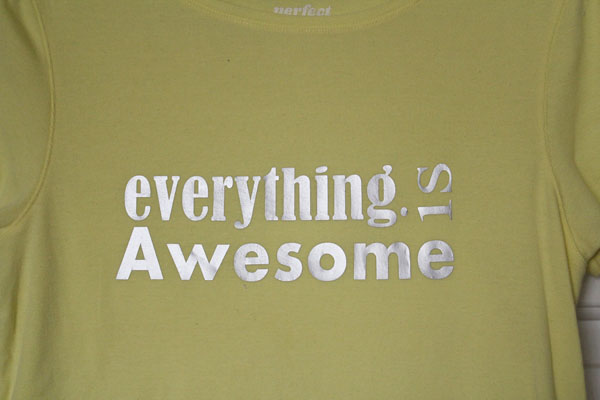
Even if you haven’t seen the movie, you’ve probably heard the song “Everything is Awesome”. My boys love running around the house singing “Everything is Awesome!!” It is such a part of my life right now, that when the folks at Silhouette sent me some heat transfer vinyl to use, I knew I had to put it on a shirt. Super simple with my Silhouette and fusible vinyl. I made it easy for you too… here is the Everything is Awesome Silhouette file that you can download. It is already in reverse, so all you have to do is cut, peel, and fuse!

Heat transfer materials

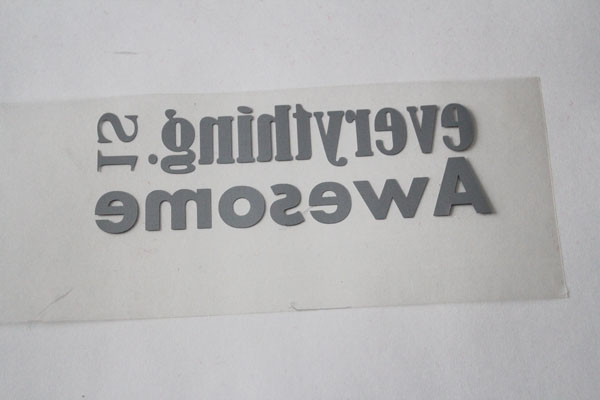
Once you download the Everything is Awesome file, feed the heat transfer vinyl into your Silhouette, and cut. I had a little trouble cutting at first because my blade was super dull. I switched out my blade, and it was perfect.

transfer in reverse

The file has the transfer twice – one larger and one smaller. This makes the best use of the vinyl – less waste – and you can make a shirt for yourself, and one for your kiddo!

everything is awesome tee on 30 Minute Crafts

If you’d like to make a shirt, you’re in luck – Silhouette has an awesome sale going on now through the end of June! 30% off of almost everything – including heat transfer vinyl in tons of colors!


30 Minute No-Sew Wall Decor

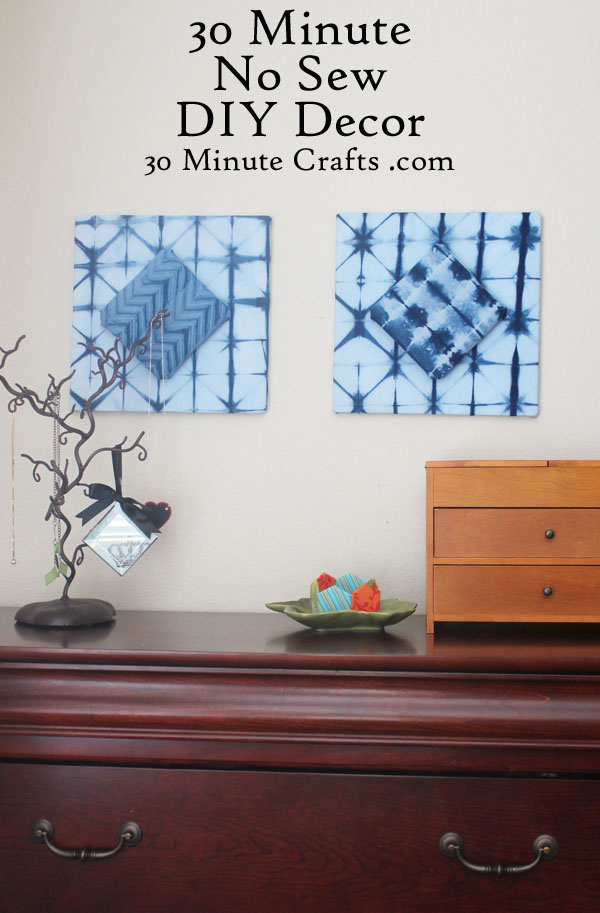
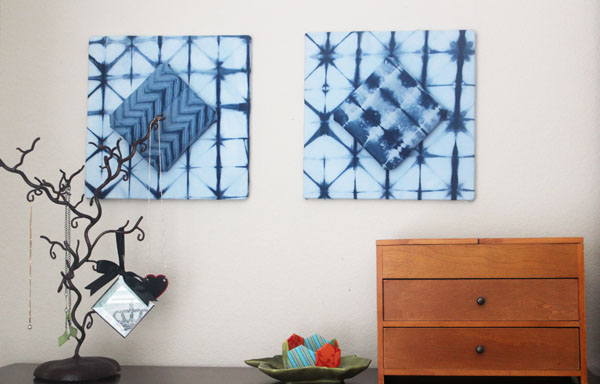
30 Minute No-sew DIY Decor

Have you ever seen fabric at the store that you just HAD to have? Maybe you didn’t have a project in mind for it, but you knew it had to come home with you. You could put it in your fabric stash, and take it out every now and then to pet it, consider chopping it up… and then put it back because no project would be able to do this fabric justice…

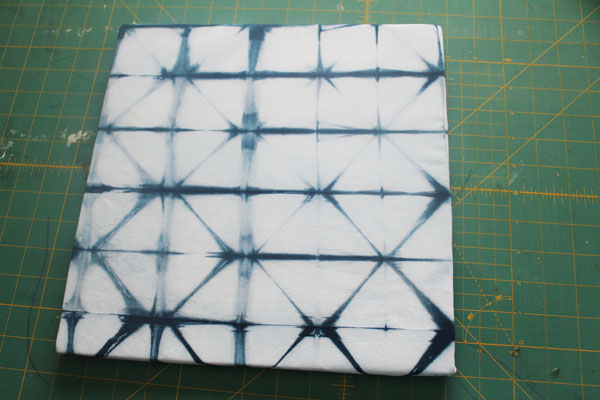
Fellow fabric hoarders – rejoice! I have found the perfect way to display our favorite fabrics – super simple, super easy, and NO SEW! The lovely folks at Fairfield sent me some of their new Foamology squares. These are pre-cut 12×12″ squares, with amazing adhesive on the back. Cut your fabric to 16″ x 16″ (perfect for a fat quarter), then wrap around the foam block and stick right to the wall. Or you can get a little fancy, like I did. But you don’t have to. Let me show you the basics…
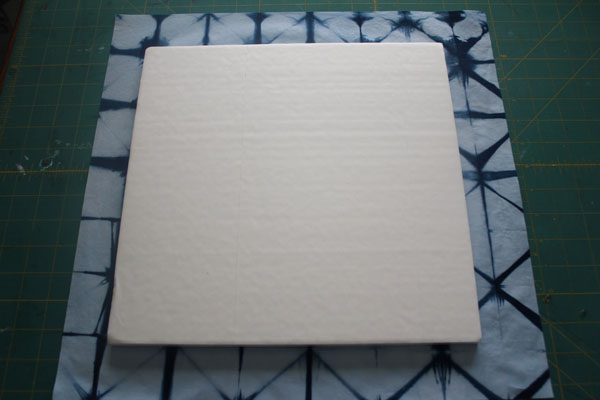
Start with a 16×16″ piece of fabric, and a square of the rigid design foam tiles. You could use the soft ones too, but I liked the rigid for this project. Place the fabric right side down, and the foam paper-side up.place foam on fabric

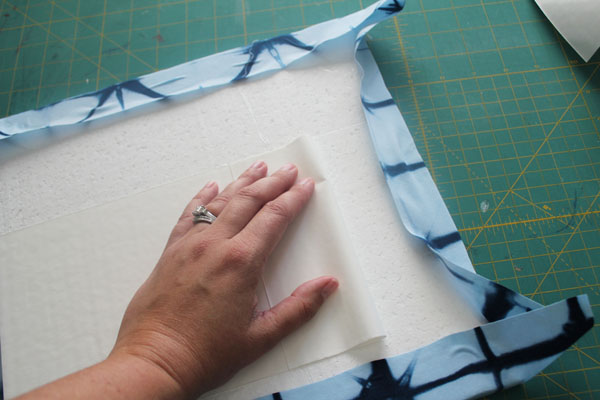
Peel away one side of the paper, and wrap the fabric over on that side. Repeat for the other side. To fold in the last two sides, peel away the middle section on that side to expose the adhesive, then press down the fabric.

peel away middle

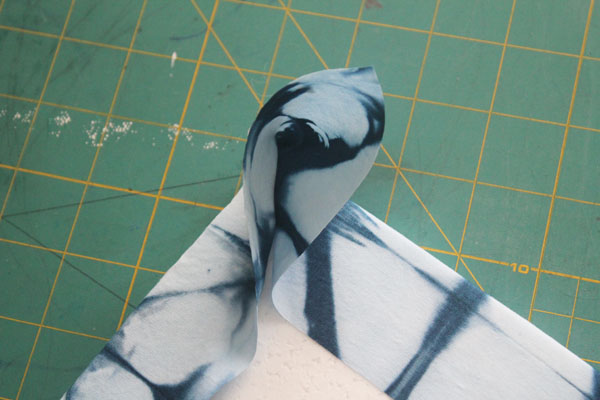
To get pretty corners, carefully peel up the fabric at the corner, then press down so that the two sides meet at a 45 degree angle.

mitered corners

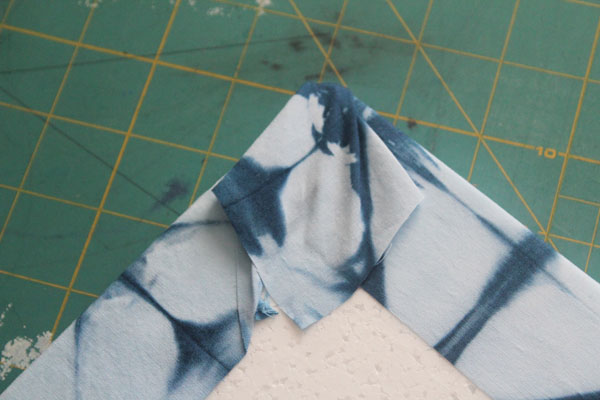
Then gently tug on the corner to pull it down and press it to the adhesive. Move fabric out of the way if you need to get more surface area to stick the corner down.

fold down corner

Once you’ve wrapped all 4 sides, you’re done! Peel off the rest of the paper, and stick you fabric covered tile right to the wall…

fabric covering foam

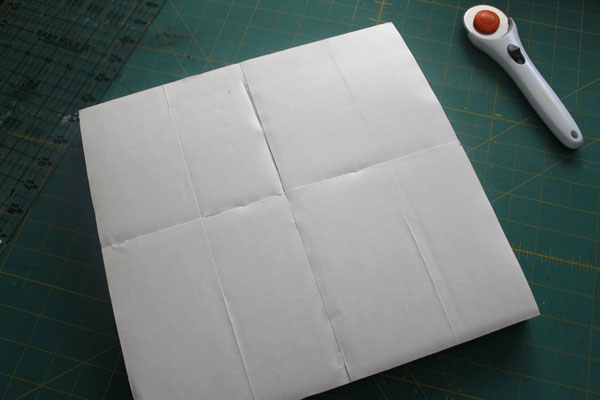
… or … if you want to get a little fancier, grab a 12×12″ soft foam tile, and some coordinating fabric. You can cut the foam into quarters to make smaller pieces.

cut foam with rotary cutter

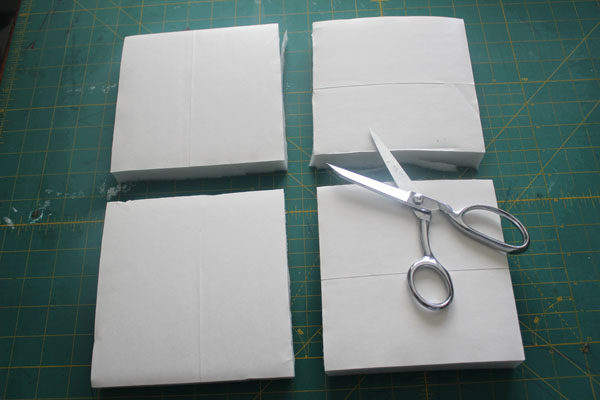
You may need scissors to cut through the thick layer of foam.

cut foam into quarters


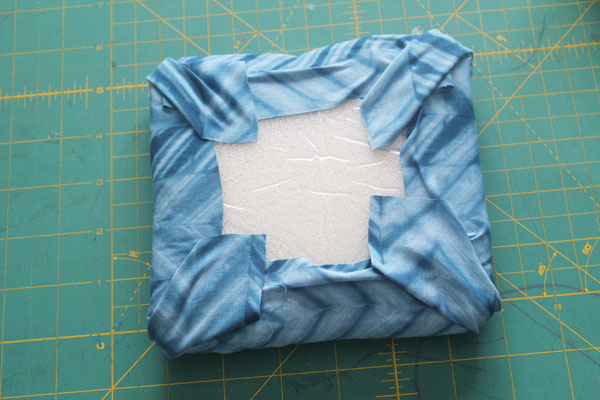
Cover a mini square with fabric, just like we did with the large square.

secure to back

Then stick to the center of the large square. Adds contrast, depth, and so much interest!

Make DIY No-Sew Fabric decor for your walls

I whipped up both of these decor pieces in less than 30 minutes, with no sewing at all!

Wasn’t that simple? What kinds of decor would you make using Foamology? While you’re deciding on your first project, head over to JoAnns or Fairfield to order yourself some foam squares! If you order on the Fairfield site use the promo code 14FOAM25 at checkout for 25% off of your Foamology order.
Make sure to check out Fairfield on on Pinterest and Facebook, and Foamology on Facebook for more inspiration!
Thanks Foamology for sending me this fun new product to play with! It makes home decor so simple!


Free Birthday Calendar Printable

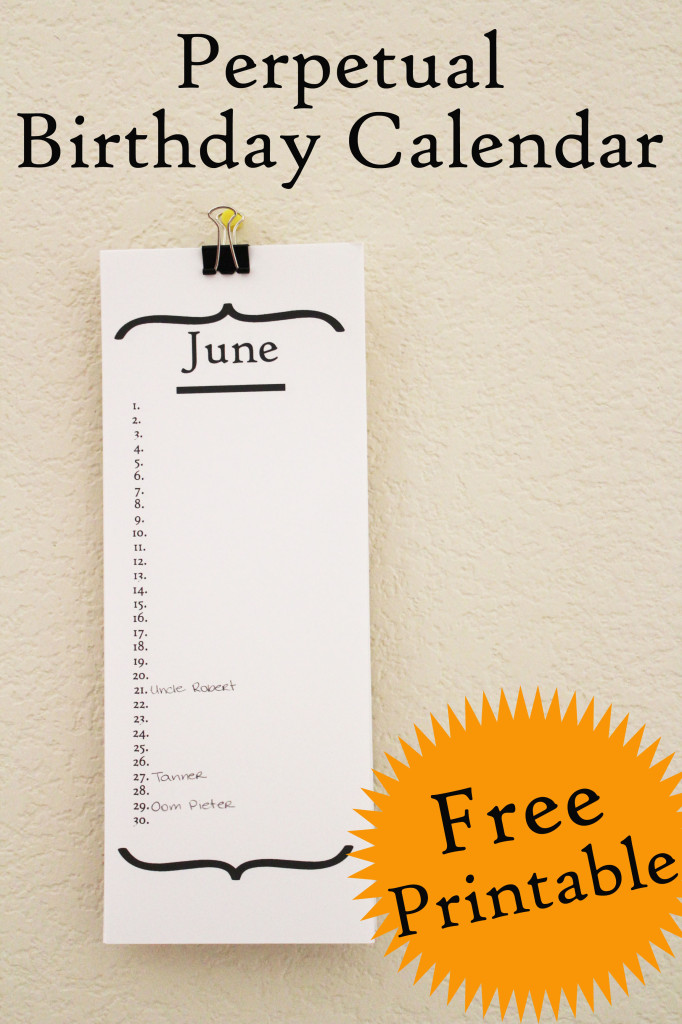
Free Printable Perpetual Birthday Calendar

If you’ve ever been in a Dutchman’s bathroom, you might have seen a perpetual calendar on the wall, with names written on it. This is the famous Dutch Birthday Calendar. You’ll find one in just about any Dutch home – usually in the bathroom. I’m not entirely sure why in the bathroom – it might be so that the calendar can get undivided attention when hung in the bathroom, whereas on the refrigerator it would compete with other information.

A birthday calendar reminds you to send a card or make a phone call to wish someone good health on their Birthday. You can put other special recurring dates on the calendar as well, like anniversaries. My mom always put birthdates on the calendar when she got birth announcements. Then she’d have their date on there for years. The calendar doesn’t have days of the week or a year on it, so you can keep using the same pages year after year. MUCH easier than having to write all those dates on your calendar each year!

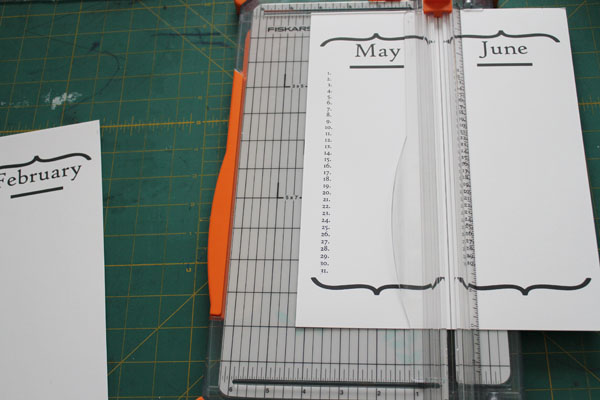
Print out the Birthday Calendar Printable Pages on Cardstock, then cut them in half.

cut printable birthday calendar

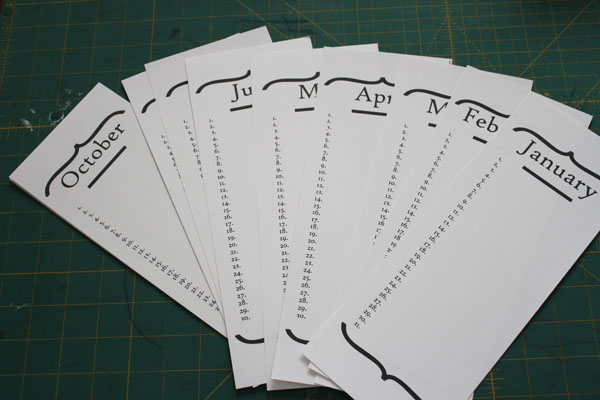
Put them in order Jan-December. Then write in the birthdays.

months in order

Hang up your calendar – in the bathroom or anywhere else you like – and never forget a birthday again!

I created this project as part of the World Cup for Kids series over at Multicultural Kids Blogs. All the contributors to this series have chosen a country, and are sharing information about that country (and often a craft or recipe) on the days that their country plays. This way, you get to watch the teams (go Orange!!), and learn about the countries behind the cleats.

Make sure to check out all the other awesome bloggers sharing their countries for the World Cup Series!

worldcup

Woven Patriotic Ribbon Coaster

A giant thanks to The Ribbon Retreat for sponsoring this week’s hangouts, and sending each of us a box full of ribbon! If you’d like to play with some of this awesome ribbon, you can head over to The Ribbon Retreat, and use this 10% off discount code: CH10 code expires 6/30/14.

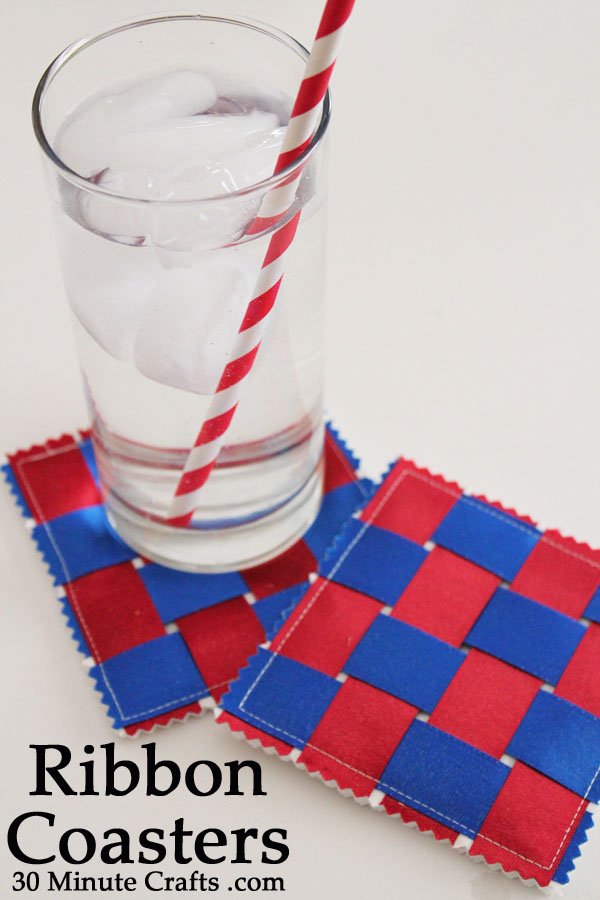
DIY woven ribbon coasters on 30 Minute Crafts

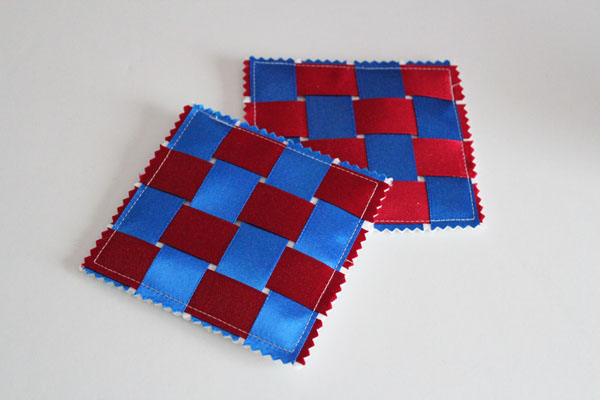
Another fun crafting video today! I’m hanging out with Angie again, and we’re doing more ribbon crafts! I’m whipping out the sewing machine in a video to show you how you can whip up a simple woven ribbon coaster, great for the 4th of July. And Angie is whipping up a ribbon centerpiece that doubles as a party favor. Check out both these fun videos – and if you missed it, be sure to check out our ribbon video from earlier this week.

woven ribbon coasters

We’re doing lots of fun video crafts over at Crafty Hangouts. Be sure to check out the videos from the whole team!


Make sure to check out our favorite source for ribbon (and much more!) The Ribbon Retreat, and use the discount code CH10  to get 10% off! Code expires 6/30/14.

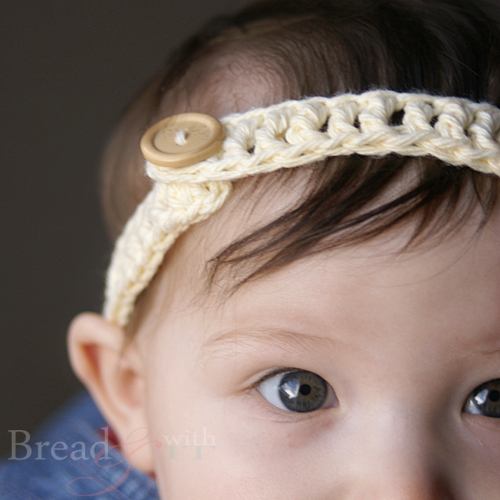
Simple Crochet Headband

Someone needs to come over here and teach me how to crochet. One of these days. Probably a day where the kids are off at the park playing with dad, the dishes are done, and I’ve found the bottom of the laundry hamper. And the folded clothes have all been put away. Which would be the Tuesday after never, because the stars will align and turn into jelly donuts before that all happens. In the meantime, I remain yarn-challenged, and love to look at cute crafts like this simple crochet headband. I say simple because if you know the proper way to hold a crochet hook, you’re already halfway. Or so I’ve been told.

I’ll just be glad I had boys. They don’t look as cute in headbands. And they’ll never ask me to teach them to crochet. Probably. If they do, I’ll just send them to grandma.

Simple Crochet Headband

Pin this to your crafts, yarn love, or crochet Pinterest board. But be sure to pin from the original source.

Printable Windmill

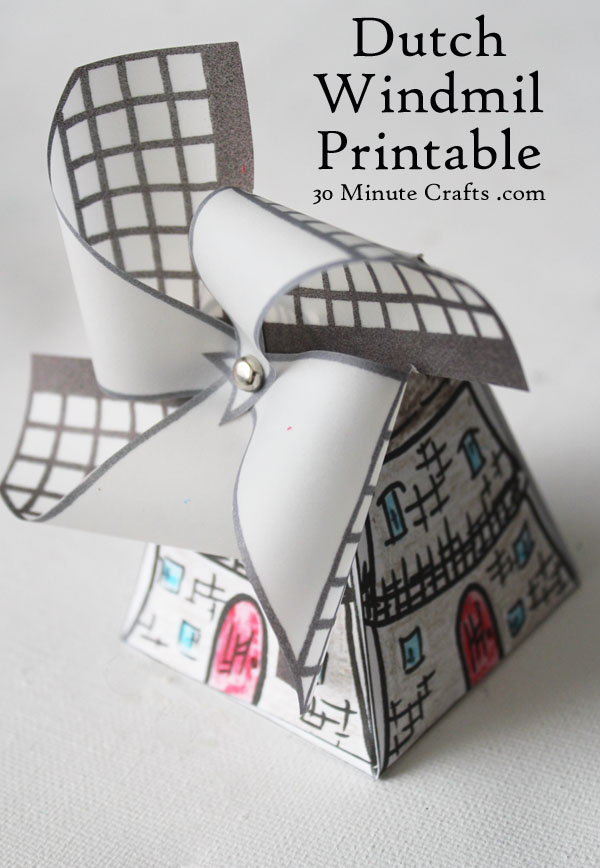
Dutch Windmill Printable

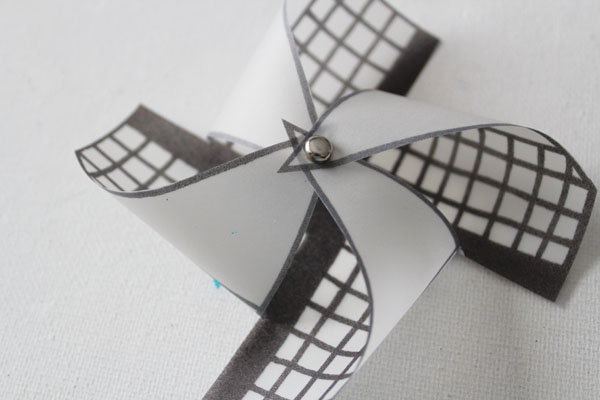
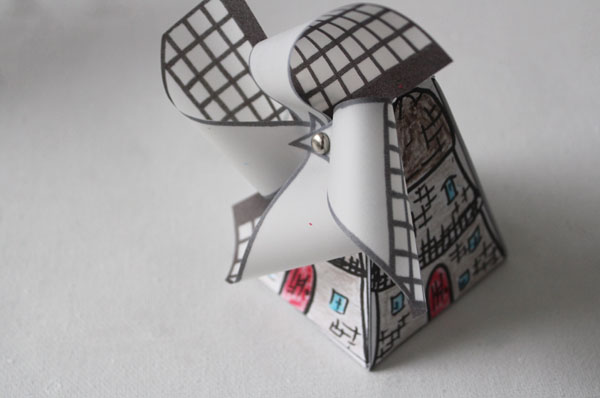
When you think of Holland, there are probably two things that come to mind – windmills and Dutch girls in wooden shoes. Windmills are an important part of the Dutch landscape. 20% of The Netherlands is under sea level. For a country that is right on the ocean, that would be a problem – except they figured out how to constantly pull the water out of the land, and push it back out to the ocean. That’s what windmills are for. The Dutch were able to reclaim a lot of land from the sea using this technology. Windmills could have other purposes as well – some milled grain or were used for other industrial purposes – but many of the iconic Dutch Windmills were used to pump water. So today, I’m sharing with you this simple little Windmill printable. Print out the parts, put them together, and you have a cute little Dutch Windmill decoration. Children will love coloring the windmill before it is put together, and older children can cut out the pieces, and even fold and glue or tape the tabs down. I’ve made it super simple with printable windmill pieces that go together easily!

This project is part of the World Cup for Kids project put on by the Multicultural Kids blog. They’ve put together a group of bloggers, each representing a different team, to bring in some of the culture of the different teams playing in the World Cup. I’m representing The Netherlands, and each time they play I’ll be sharing a fun Dutch-themed kid-friendly craft! Last week I shared a simple Faux Delft Blue Mug. Let’s get started on our Dutch Windmills!


To make the windmills you need:

Printout of Windmill base on cardstock or printer paper
Printout of Pinwheel for Windmill on vellum or printer paper
Crayons or markers
Scissors
Pin or tack
Brad or paper fastener
Glue or tape

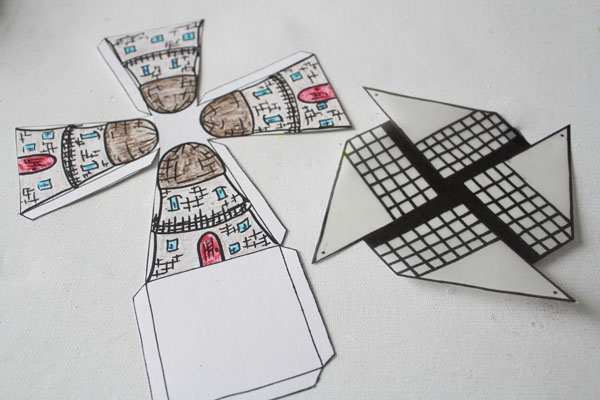
Start by coloring and cutting out the printable windmill pieces.

color and cut out pieces

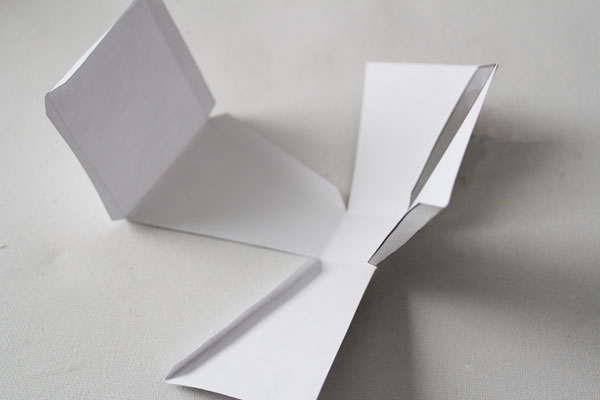
Fold up the base of the windmill, including folding in all the flaps.

fold up the base of the windmill

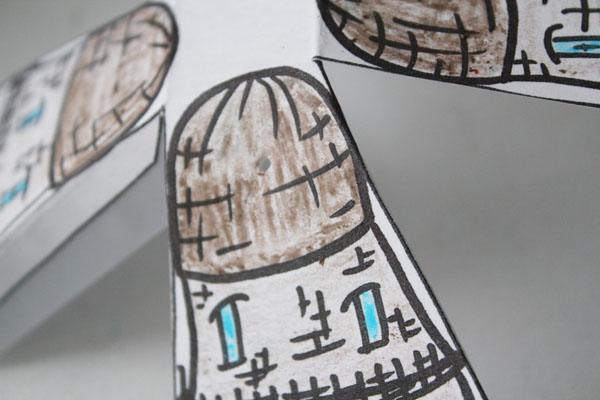
Poke a hole in the center of the roof on one side of the windmill.

put hole in top

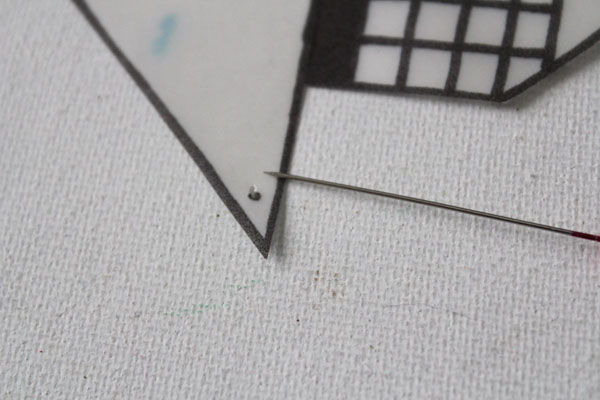
Poke a hole at each dot on each corner of the pinwheel portion of the windmill, and a hole in the very center.

make holes with a pin

Push the brad through each of the corners of the pinwheel, then through the center.

put together pinwheel top

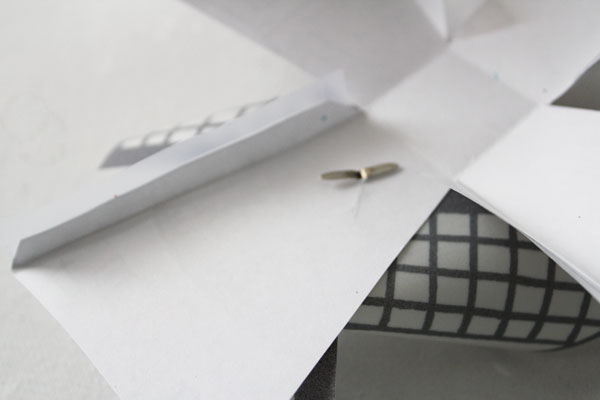
Push through the hole in the top of the windmill base, then open the brad at the back to secure.

put brad through the back

Glue or tape the flaps down, securing them in place to make a small 3D windmill. Print out as many as you like to decorate your home.

Printable Dutch Windmill


Make sure to check out all the other awesome bloggers sharing their countries for the World Cup Series!

worldcup

Molded Crazy Crayons

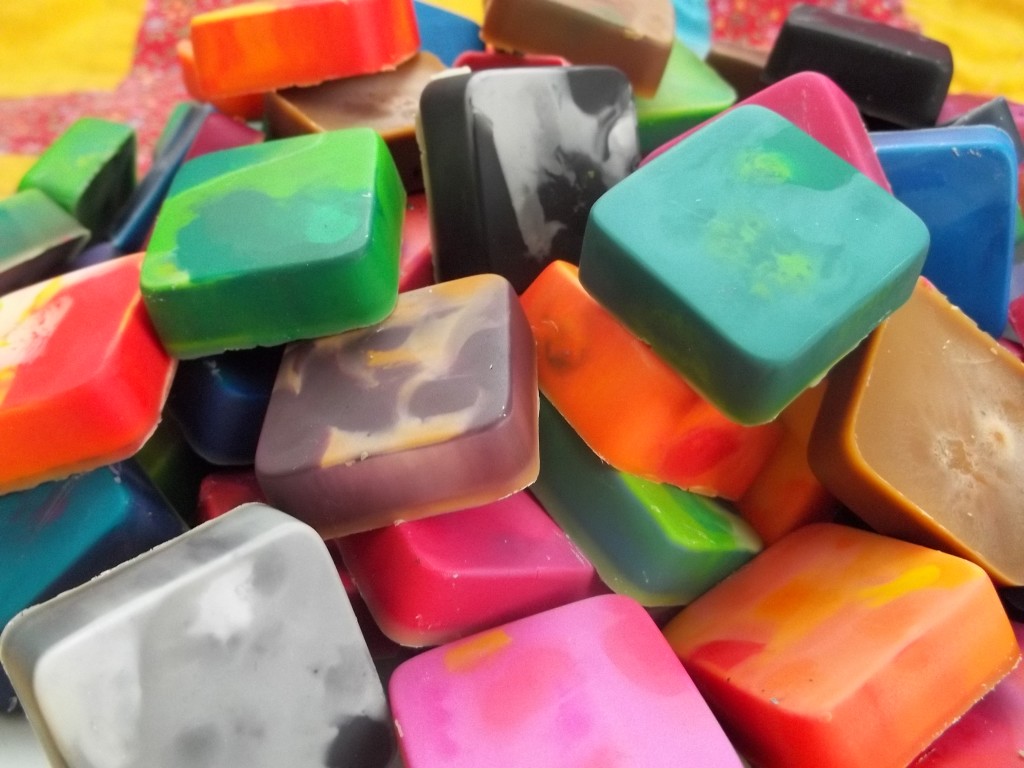
Looking for something to entertain the kids that won’t break the bank? Are they already tired of all the crayons in their box, and telling you that they’re bored? Put them to work peeling the wrappers off of all those old crayons so that you can melt them down to make crazy crayons! Fan of Stuff takes you through the steps for different methods of making these fun crayon shapes. I can’t believe how many crayons it took to make the egg shaped crayons!

molded crazy crayons

Pin this to your kids crafts or summer fun pinterest board… but be sure to pin from the original source!

Fourth of July Party Crafts using Ribbon

This week’s Crafty Hangouts are being sponsored by my favorite source for ribbon, The Ribbon Retreat! They are offering my readers 10% off if you use this code: CH10 code expires 6/30/14.

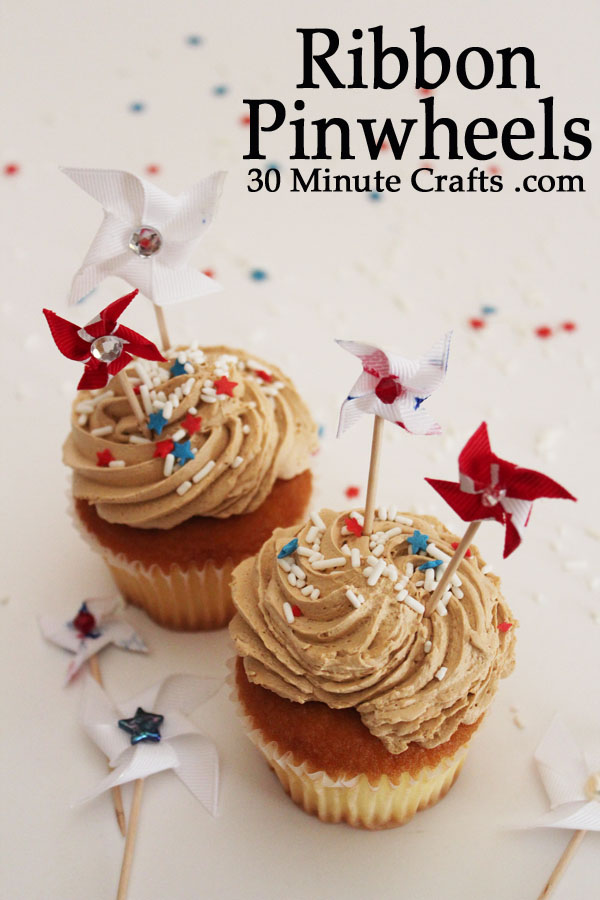
Ribbon Pinwheels - fun to make on cupcakes

In today’s video, I’m sharing how to make pinwheels out of ribbon. These pinwheels make great cupcake toppers or party picks, and with the awesome 4th of July ribbons from the Ribbon Retreat, they will add some fun and festive flair to your next patriotic gathering! Whether you’re bringing over your favorite dish to a of July Potluck, or you’re having a BBQ at your place, these cute little 4th of July pinwheels made using ribbon are such an adorable way to celebrate! And in the same video, Angie is sharing how to make cute 4th of July firecrackers using Rollo candies! A mini version of the big candy fireworks I made last year.


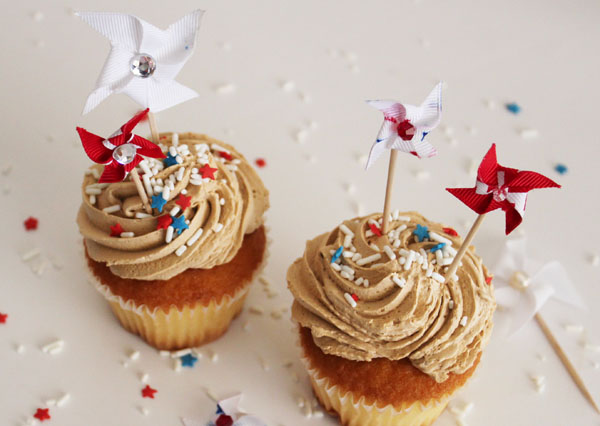
After making my super simple ribbon pinwheels, I added some sprinkles to store-bought cupcakes, and put the pinwheels on top. Just a couple minutes makes these plain cupcakes party-ready!

ribbon pinwheels

Check out CraftyHangouts.com for more fun patriotic ribbon crafts all week long – there is a whole team of bloggers posting all different kinds of ribbon crafts! You can also follow the #ribbonhoa tag on Google+

And check out all the awesome ribbon – and fabric! – over at The Ribbon Retreat, use the discount code CH10  to get 10% off! Code expires 6/30/14.

Easy to make Faux Delft Blue in just 10 Minutes!

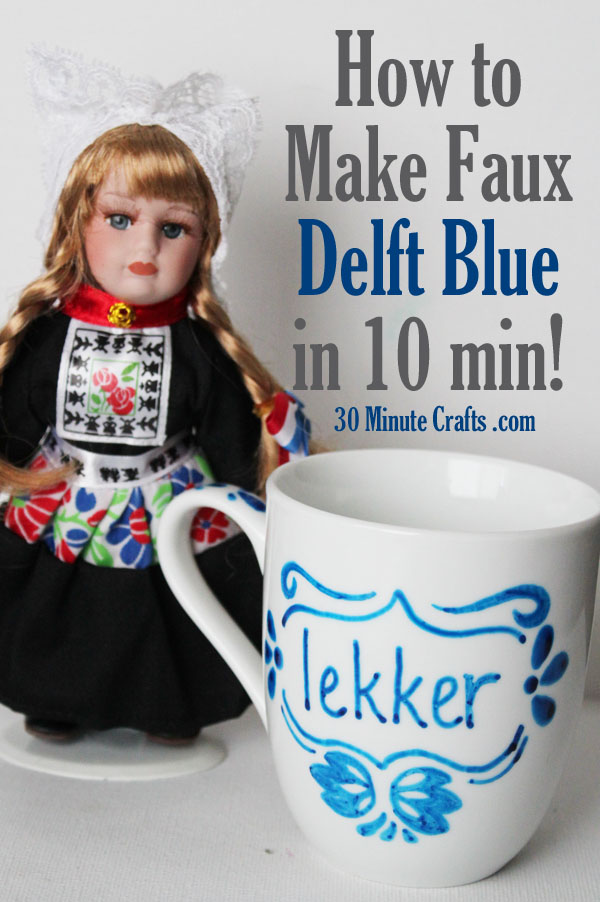
how to make faux Delft Blue in just 10 minutes!

If you’re a sports fan (and even if you’re not), it is hard to miss the big football game going on… oh, excuse me… soccer. What we in the US call soccer, the rest of the world calls football (not the only confusing language twist out there – what we call “fries” the British call “chips.” And what we call “chips” they call “crisps”.) Anyway, with all the awesomeness coming together with the World Cup, I’ve partnered up with some awesome bloggers over at the Multicultural Kids blog. They pulled together an all-star cast of bloggers. Each of us is representing a country, and on each day that our country plays in the World Cup, we’re sharing something related to that country on our site. Giving you a chance to learn more about the countries you’re watching play in the World Cup.

If you follow me on Instagram, you saw that I’m rooting for Team Orange. Which is the Dutch team. I’m actually Dutch – I was born in The Netherlands, and Dutch was my first language. So I’m excited to share some Dutch with you here on 30 Minute Crafts today! It might be confusing that even though the Dutch flag is red, white, and blue, that they wear orange jerseys at the World Cup (and their Olympics uniforms are orange too!).  This is because The Netherlands still has a monarchy. The monarchy are descendents of the House of Orange-Nassau. Here in the US, when there is a patriotic holiday, we fly the flag. The Dutch do the same… and when the holiday also has to do with the royal family, they add an orange banner to the top.

While orange may be the national color, the Dutch are also famous for another color – blue. Delft Blue to be specific. Delft Blue china is made in the city of Delft. It is white china painted with blue designs. If you go to visit The Netherlands, you can visit Delft and tour the factories where the pottery is made.

Since we can’t all hop in a plane and head to Europe, I thought I’d show you a simple way that you can make your own faux Delft Blue mug. It is super simple, and only needs a few supplies. Kids will have fun making their own Delft Blue mugs to drink out of.

To make your mug you need:

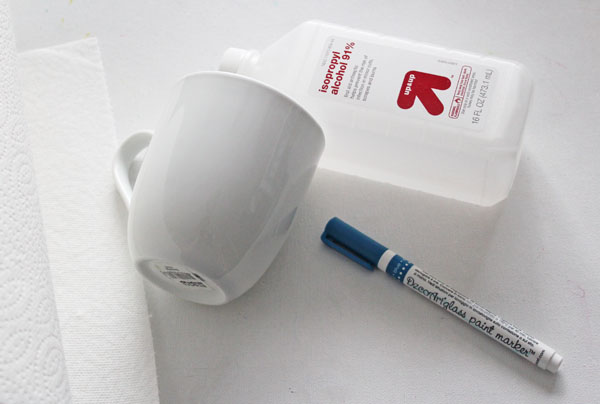
supplies to make a faux Delft Blue mug

A plain white mug
Blue DecoArt Glass Paint Marker
Rubbing Alcohol
Paper Towels
Oven to cure the piece in

Start by cleaning your mug using the alcohol and paper towels. You want to clean off any oils and residues so that the paint can really stick.

use pen to write on mug

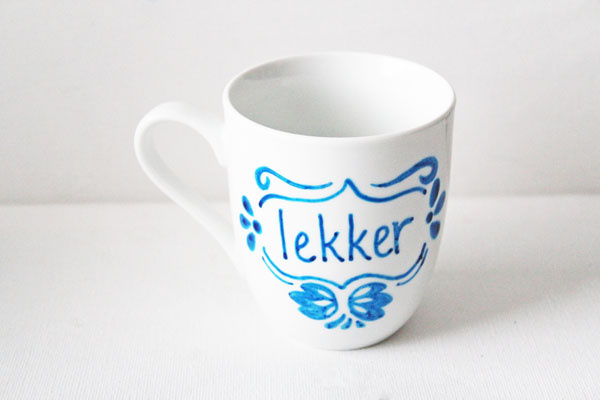
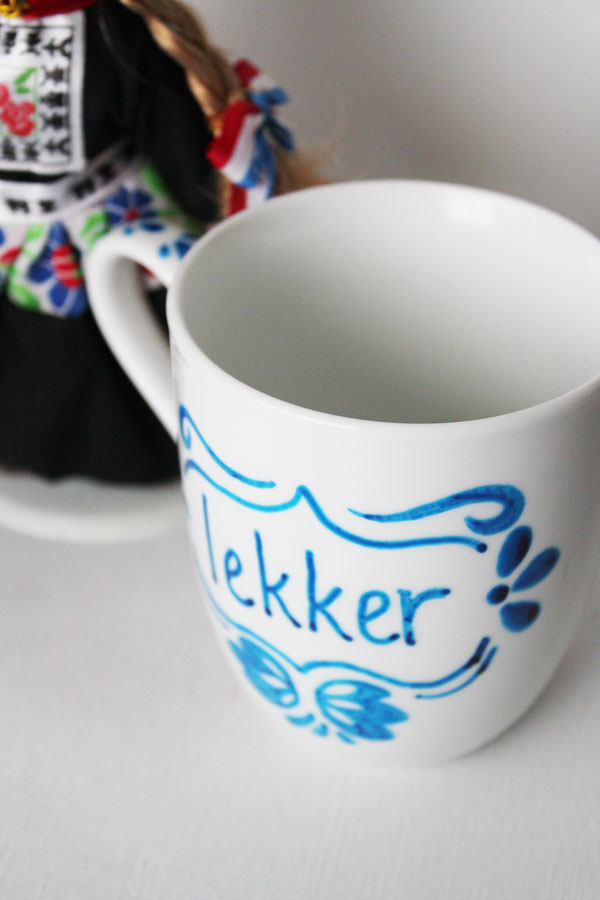
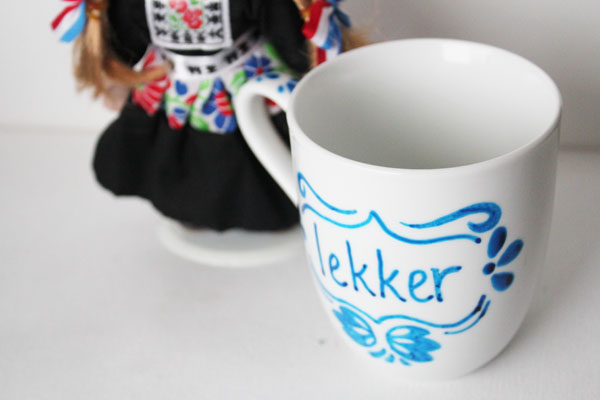
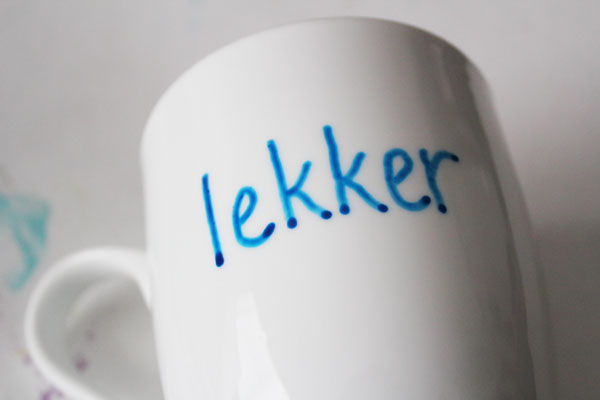
Then paint on your design. I chose the word “lekker”. Usually, when you first learn a language, you start with the swear words. Dutch has some awesome swear words, but if you want to learn Dutch, start with lekker. It means delicious, or yummy. It can be used to describe lots of things… from food and drink to a yummy-looking soccer player! You don’t have to use a Dutch word, if you have several kids, they can each write their name or initials on their mugs.

After I wrote my word, I googled images of Delft Blue designs to add some more traditional elements to my mug. Just flip through images until you find elements you like, and draw them on your mug.

faux delft blue mug

Once you’re done, follow the instructions to allow the paint to dry, and cure it in a hot oven. The mug will be completely dishwasher safe!

simple to make faux Delft Blue

Team Orange plays again on June 18th and June 23rd… come back for some more fun Dutch-themed crafting!

faux delft blue lekker mug

And make sure to check out all the other awesome bloggers sharing their countries for the World Cup Series!

worldcup

Reusable Baking Soda Volcano

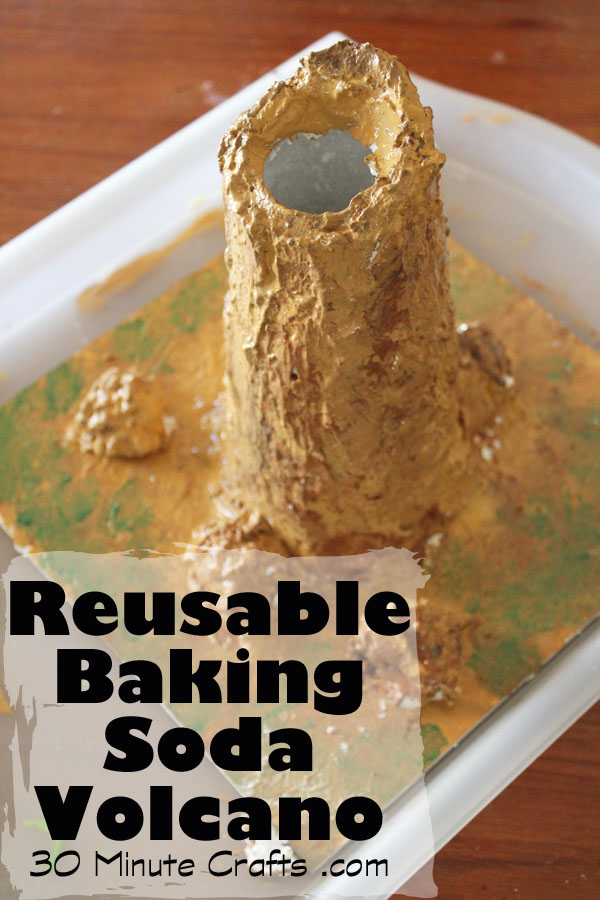
Make a reusable baking soda volcano
My son has been asking to make a baking soda volcano for weeks. And I’ve wanted to make one with him… but not a single-use volcano. I want one that will hold up to multiple blasts – one that we can enjoy all summer long. I came up with a way to make a long-lasting baking soda volcano that my boys and I could craft together… and that’s what I’m sharing with you for the Summer Survival Series I’m participating in. Kara from The Joys of Boys is a fellow crafter and blogger with FOUR boys (I love my two, but don’t know if I could survive double the kiddos). Kara invited a bunch of us to share some fun crafts for her Summer Survival Series. So, you want to know how to make this baking soda volcano? Let’s start by gathering up supplies!

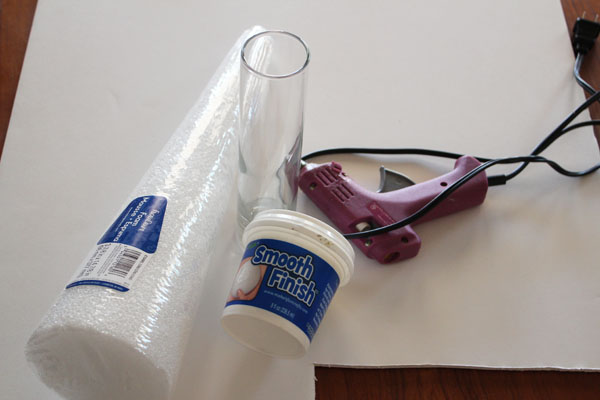
supplies for baking soday volcano

You need:
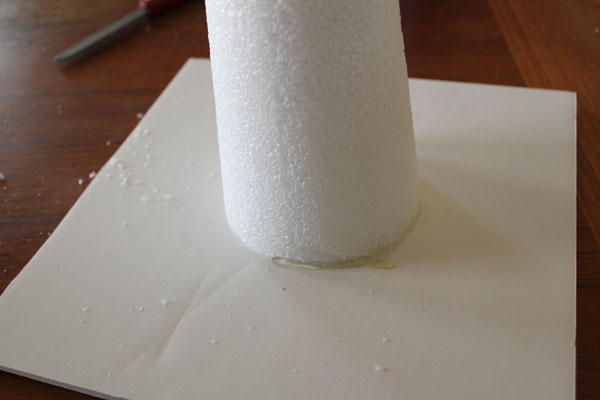
Styrofoam Cone
Foamcore for base (cut smaller than a tray or baking sheet)
Glass bud vase with straight sides
Smooth Finish for Styrofoam
Plastic spoons
Sharp Knife
Spoon (a long-handled spoon like an iced tea spoon works great)
Hot Glue
Brown and green Paint
Paintbrushes
Martha Stewart Decoupage (you can use another brand, but this one is water resistant)

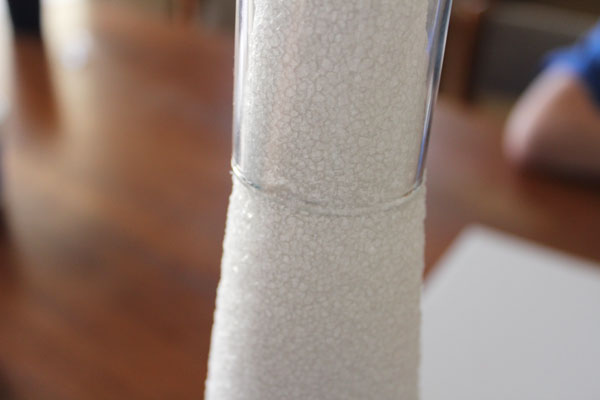
You’ll need to cut off the top of your Styrofoam cone. Push your vase down on top of the cone to make a mark.

mark top edge

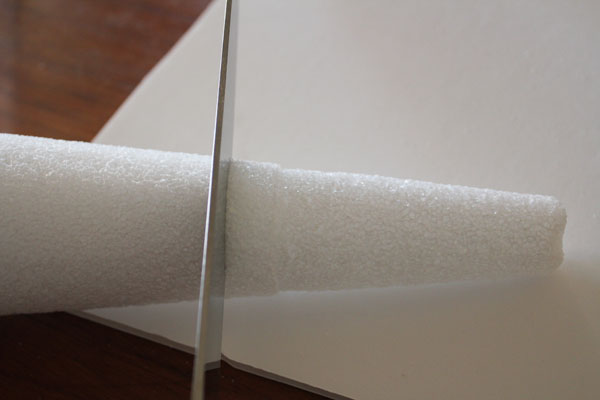
Cut several inches down from the mark. I ended up cutting more after cutting this.

trim top of cone

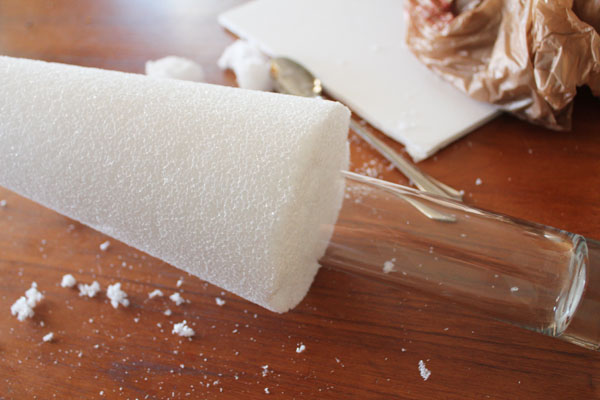
Hollow out the center of the cone to take the vase. The easiest way to do this is to push the vase into the base of the volcano to make grooves, then scoop out the styrofoam from the middle using a spoon. You can save the chunks you dig out to make rocks around your volcano later.

cut into bottom of styrofoam

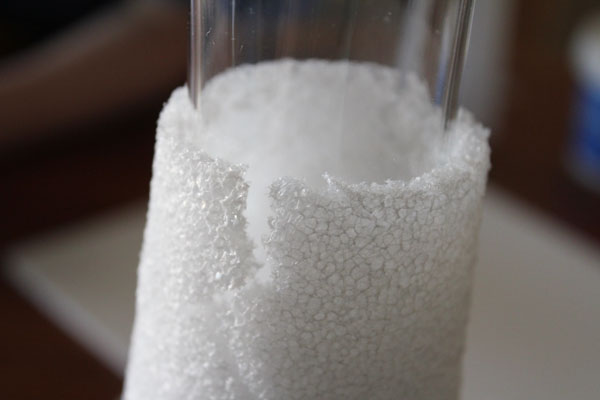
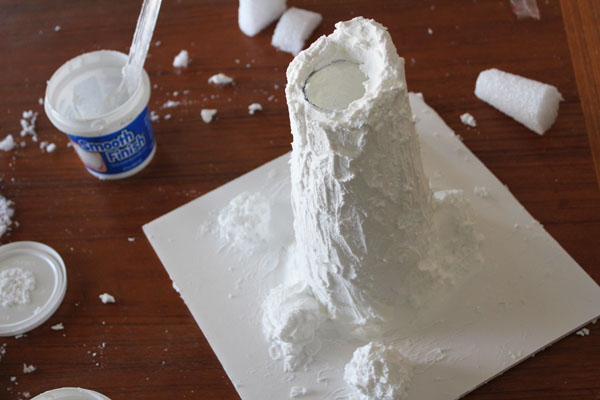
You can push the vase in from the top as well. If your top cracks a bit, don’t worry about it. You can use the smooth foam later to cover up any cracks.

smooth finish cracks

Once the vase fits inside, glue it to the foamcore base with hot glue.

glue to base

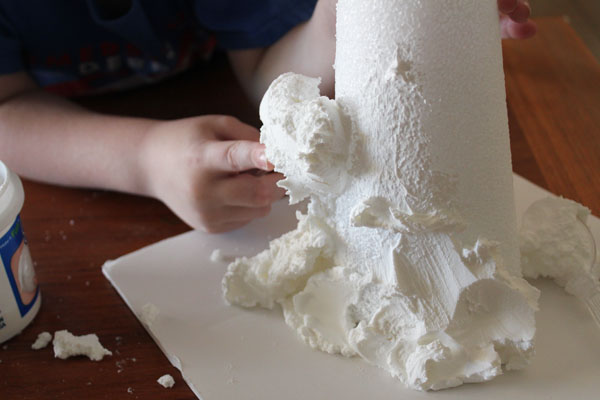
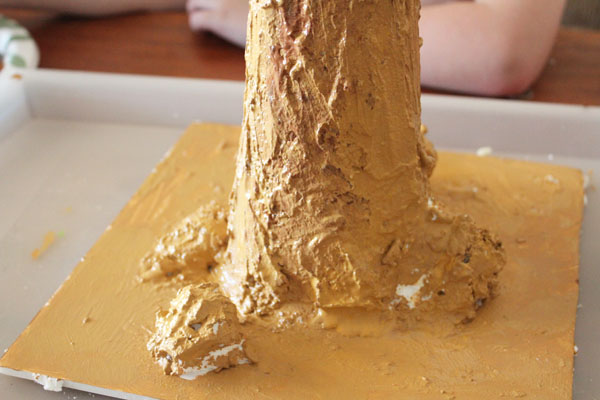
Now it is time to have fun. Use plastic spoons to apply the Smooth Finish to the styrofoam. We ended up using our fingers as well, but be sure to read the label warnings – it does contain VOCs. Don’t worry about making the sides smooth, go for a rocky, bumpy texture… just like a real mountain!

apply smooth finish

Let the volcano dry for at least 5 hours – overnight if you have lots of thick Smooth Finish.

Allow Smooth Finish to dry

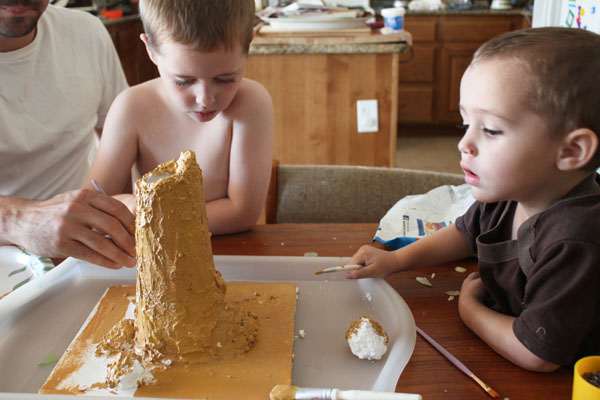
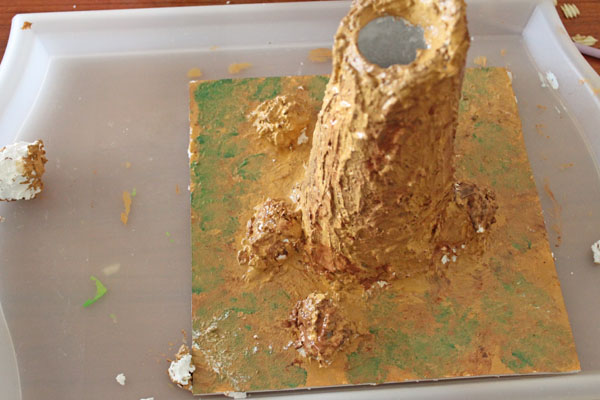
Time to paint! All the guys got in on this one… we started with a coat of light brown paint, then smudged in some dark brown on top.

family painting together

After the paint dried, I added a layer of Martha Stewart Matte Decoupage over the whole thing. It is water resistant (the bottle actually says dishwasher safe!), so it will help our volcano to hold up to multiple uses.

paint with second color

All we have to do now is add a couple tablespoons of baking soda into the vase, and add about 1/4 c of vinegar tinted red with food coloring… then watch my boys dissolve into giggle fits as it explodes all over the place! I love being a mom to boys!

making a baking soda volcano

And check out all these other great projects as part of the Summer Survival Series!

Summer Survival Series Button 250