Baby Shower Prize Bags

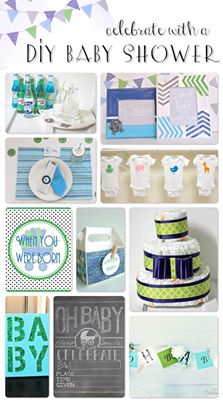
I love planning showers, and helping to plan showers. Which is why I’m so excited to be doing this online shower today with some of my blogging friends. I love baby shower games and I especially love the prizes!

super fast baby shower prize bags

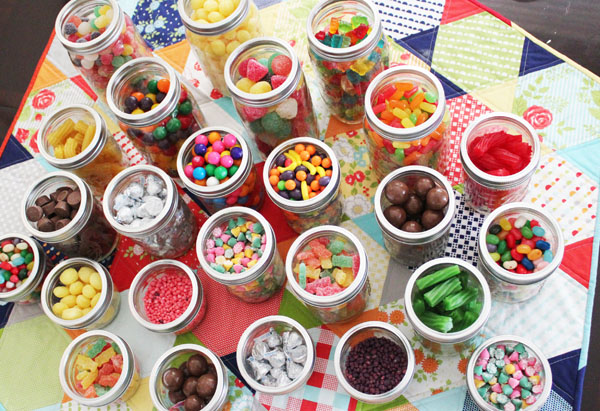
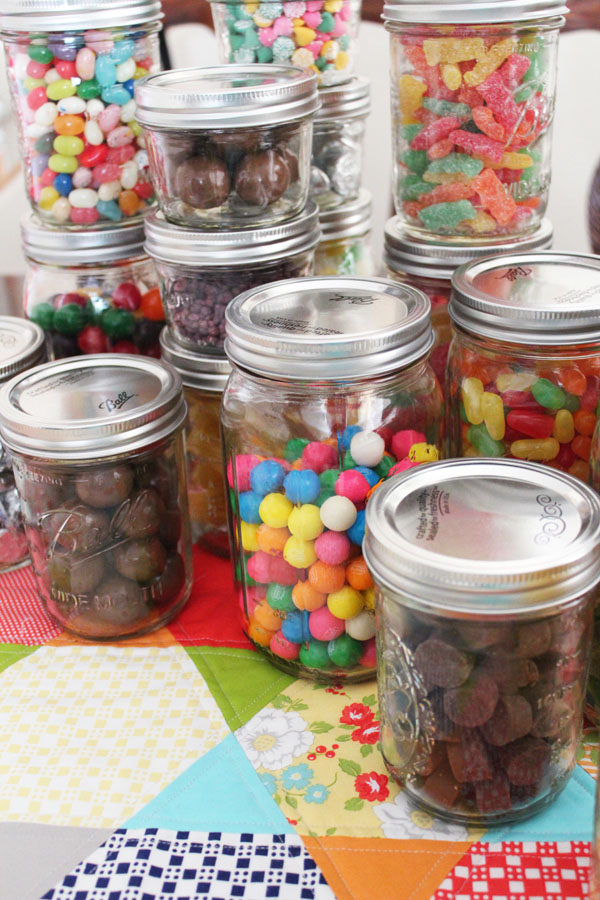
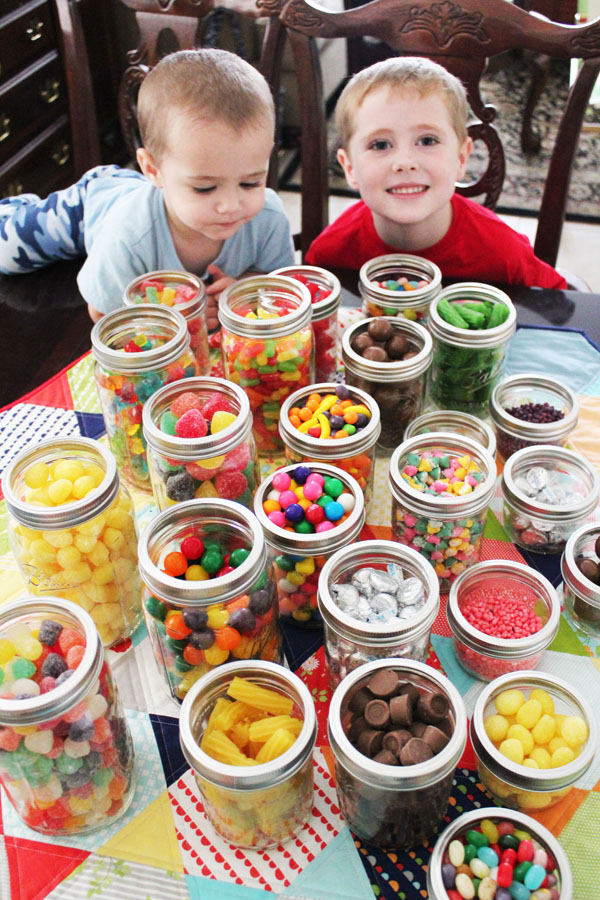
Here are some fun games that you can play at the next baby shower you throw. And if you’re planning the games, you’ll need prizes. I love wrapping up candy to give as a prize. There is nothing wrong with giving lotion, soap, candles, or a picture frame as a prize… I just like giving candy. Because just about everyone loves chocolate, right?

Depending on the number of games you play, and the number of guests you have, you’ll need to make sure you have enough prizes. For a shower of 20 or less people, I like to have 2 prizes per game I’m planning. I usually do 3 games, so that means 6 prizes. If I’m having more people, I like to add a prize per game – so 3 prizes per game (for those playing along, 3 games times 3 prizes is 9 total prizes needed). I like to do two hands-on games, and then a final game that helps use up all the leftover prizes that I have on hand. The baby shower bingo game is a great game to do at the end… you just keep playing until all the prizes are handed out!

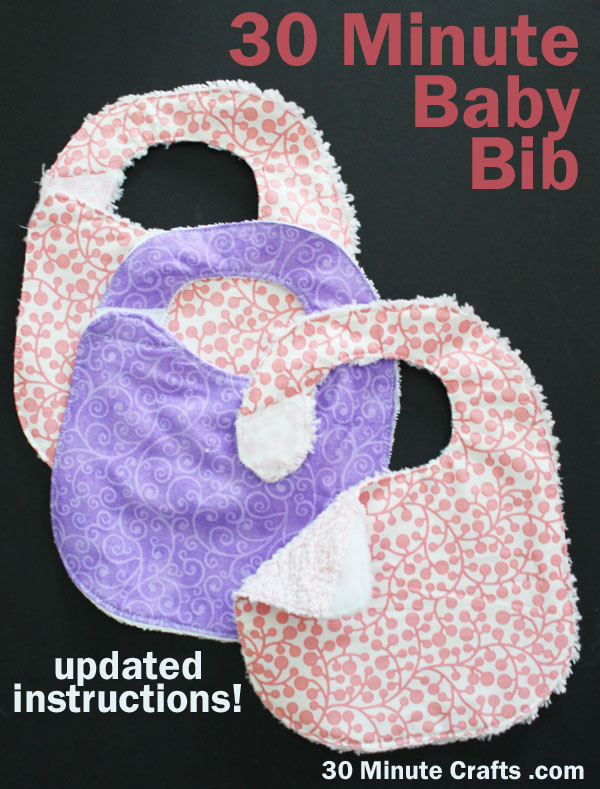
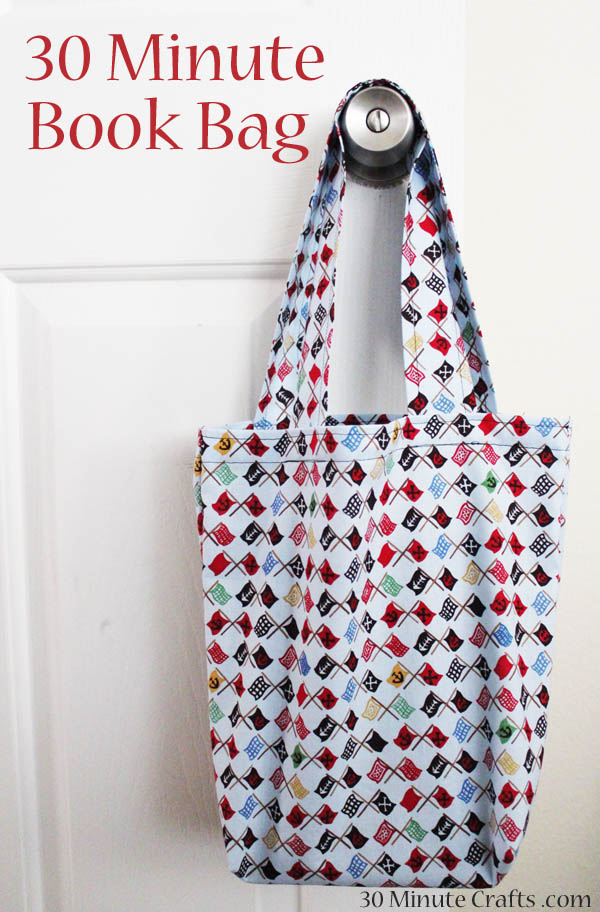
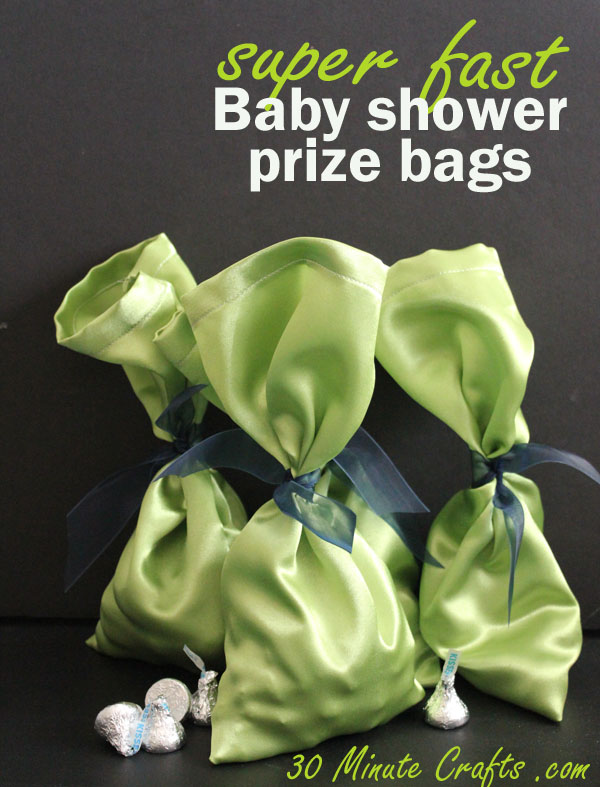
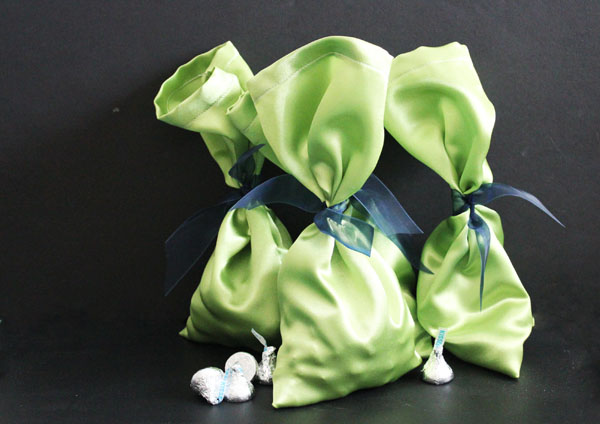
These prize bags are super easy to make. I whipped up four in a little less than 30 minutes. To make your own, you’ll need:

Fabric (I used a satin, but plain cotton will work fine)
Ribbon to tie the bags
Scissors, Rotary cutter, ruler, iron, pins, sewing machine, thread

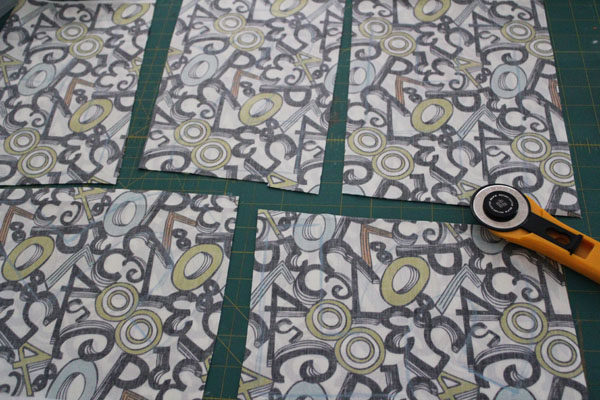
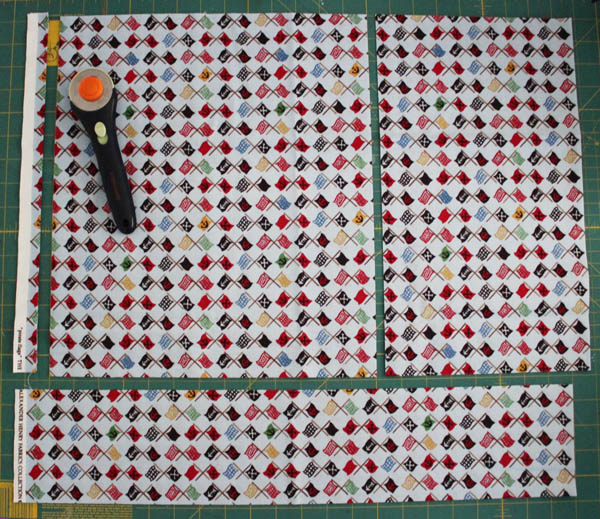
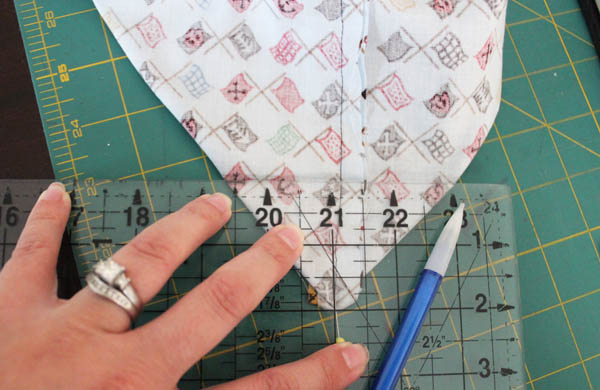
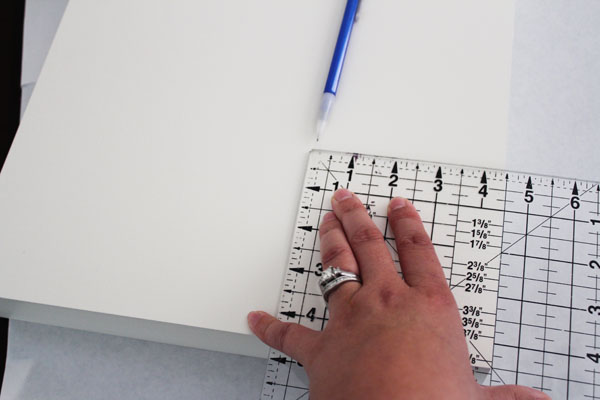
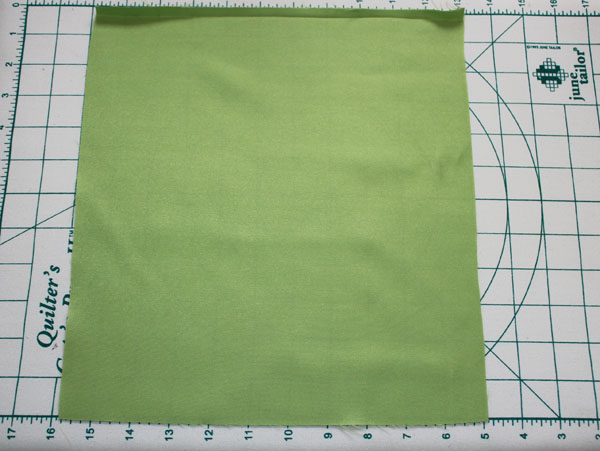
Start by cutting fabric rectangles – I cut mine 10″ x 12″, then pressed down 1/4″ on the short side.

cut fabric rectangle

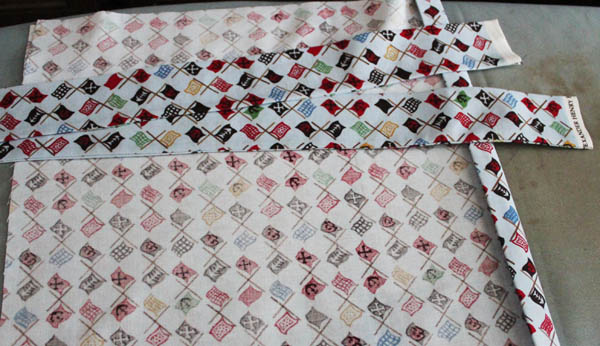
I folded it over and pressed down again, this time 1/2″

press over half inch

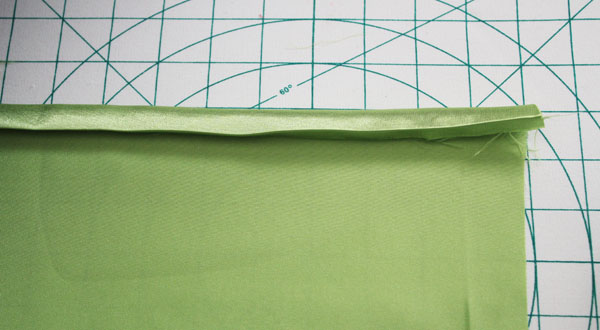
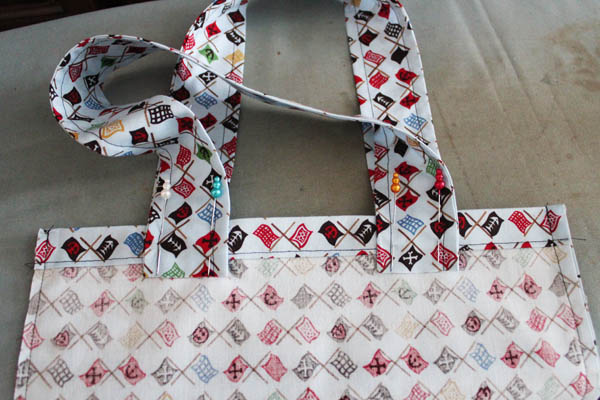
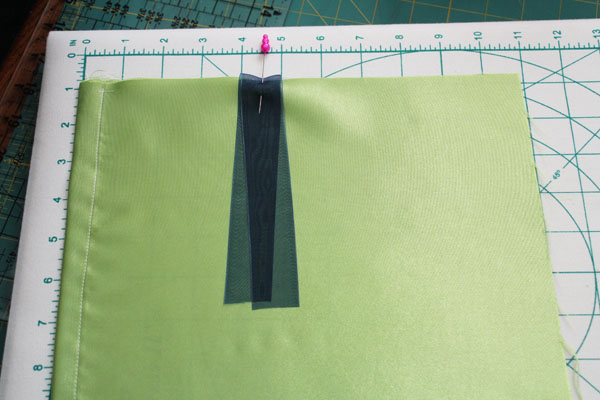
I stitched down this edge, as close to the inside fold as possible. I then cut 12″ of ribbon, and pinned it several inches down from the top, with the tails of the ribbon on the inside.

pin ribbon in place

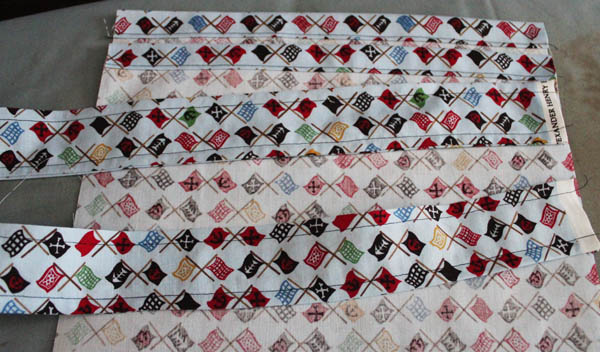
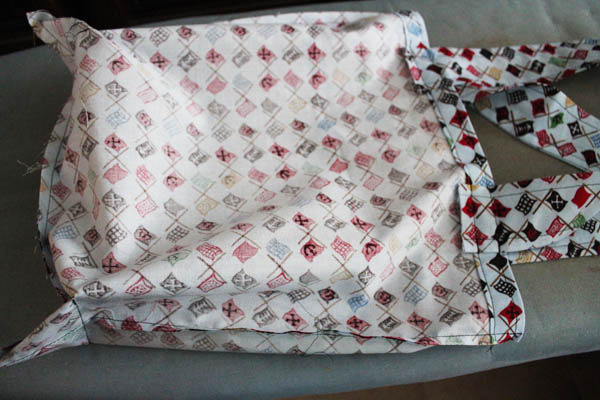
I folded the fabric in half, right sides together, and pinned where I was going to stitch.

fold and pin

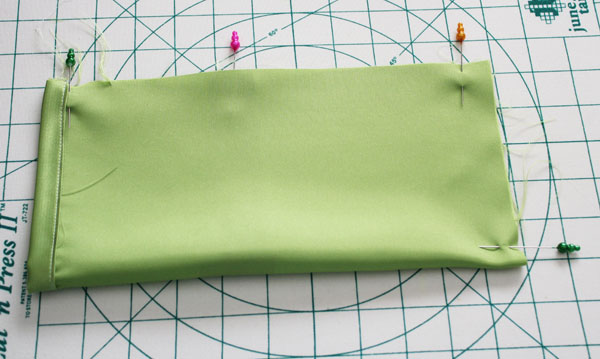
I stitched down the two open, raw sides, making sure to go back-and-forth at the beginning and end with my stitches. This locks the seam in place.

stitch edges

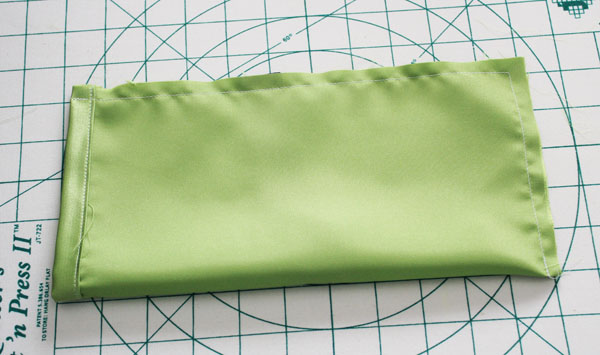
I then turned the whole bag right side out.

turn right side out

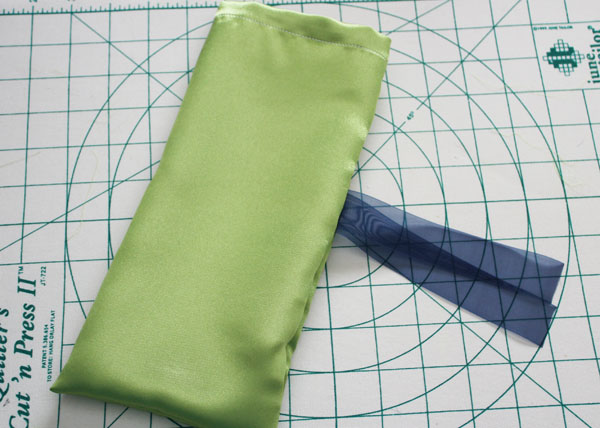
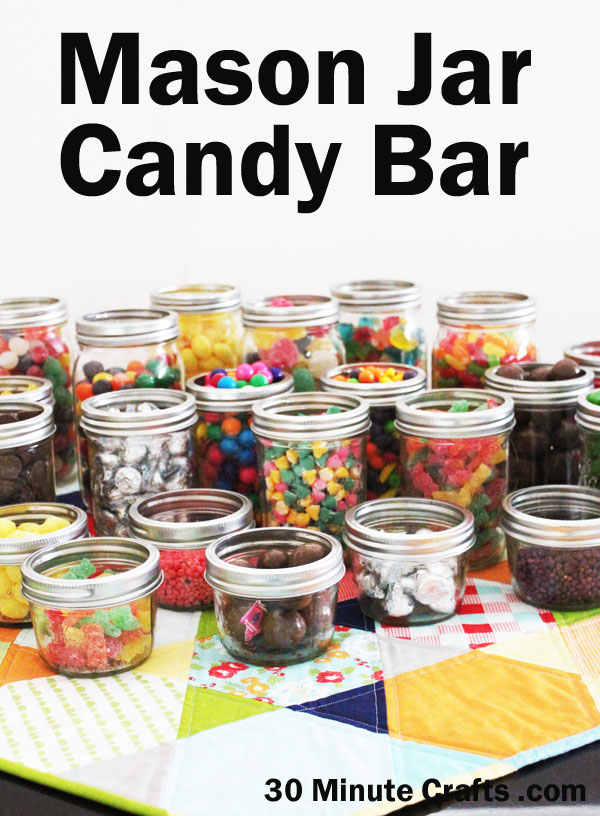
All that was left was to fill them with candy. Each bag takes about half a bag of Hershey’s Kisses, if that’s what you’re planning to fill them with… but you can really fill them with just about anything.

After tying the ribbon, I trimmed the edges of the ribbon to make it look a little prettier.

finished prize bags for baby shower

Be sure to check out all the moms-to-be

1237870_10201789757813247_1064446345_n

… and all the other great projects included in this fun virtual baby shower!

530558_10202323163146828_207973241_n


Mason Jar Spider Craft

Make a Spider out of a Mason Jar

I got together with my friend Angie from The Country Chic Cottage to make a fun video as part of our Crafty Hangouts series! We’re doing Crafty Hangouts for Halloween, and both decided to do some fun Mason Jar crafting. We both used the wide, squat mason jars for our crafts. These jars are just so fun looking! I paired mine with giant chenille stems (pipe cleaners) and a large pom pom to make a quick and easy spider! Watch the video to learn how to make one for yourself.

And be sure to check out all the other fun Halloween Crafting videos this week on Crafty Hangouts!

Mason Jar Spider


Mason Jar Candy Display for Parties

I’m sure you’ve seen photos of, or been to an event where there is a fancy candy display. Beautiful treats displayed in apothecary jars of various sizes and shapes, giving an inviting and charming look to the display.

mason jar candy bar

I wanted to make a candy bar like this for a party I was having, but didn’t want to collect all the apothecary jars needed to make a fancy display. So, I turned to another trend that has been popular in all kinds of crafts – mason jars. I bought three different sizes of mason jars, and a couple dozen different kinds of candy. I bought my candy at a store where candy is sold in large bins, so I could get exactly the amount I needed. I wanted the jars to be completely full, even slightly over-full.

candy display in mason jars

Setting up the candy bar was super easy. I opened the mason jars, removed the top plate, and screwed the rings back on. Then I filled the jars with the candy. Super easy! These jars are set up on my Hexie table topper, but you could put them on any tablecloth or table topper you like.

candy in different sized mason jars makes a great party display

This is a super project for an off-site party – one you’re not having at your own home. Set up the candy bar at your venue, and after the party pop the lids back on, and it is easy to toss the jars into a box or bag for the ride home.

close up mason jars for storage and transport

I really, really, really love easy clean-up!

stacks of candy in mason jars

And the kids… well… the kids just plain loved it.

kids at the candy display

30 Minute Baby Bib with Velcro Tabs

30 Minute Baby Bib with velcro closure

My 30 Minute Baby Bib tutorial is one of the most popular posts, month after month. And who doesn’t need a quick and easy baby shower gift? I’ve made many of these bibs myself. I’ve made them for showers I’ve planned where I did much of the planning and therefore didn’t have time to make a more time-consuming gift, but still wanted to add a touch of hand-made. I’ve made them when visiting a friend who just had a baby or who had a baby a few months ago, and I’m finally stopping by to meet the little one. Recently, I made them for a no-notice baby shower. If you’ve never been to a no-notice baby shower, it is a shower that your husband casually mentions to you the night before. These fast and easy DIY bibs come in really handy then!

But, with no notice, I didn’t have all of my regular supplies on hand. I was all out of snaps. So I decided I’d whip out some bibs using Velcro brand hook-and-loop strips. Because I DID have Velcro handy. And I figured I would give you a little update on my original 30 Minute Baby Bib tutorial in case you want to use Velcro instead of snaps.

Refer to the original 30 Minute Baby Bib tutorial for the pattern and overall instructions.

After you put the template in place, pin the Velcro to the right side of the fabric. This is what it will look like on the wrong side of the fabric, the side the pattern is on.

pins on front

You can hold your fabric up to the light, or a window, to check the placement.

placement

The right side of the fabric should look almost like this. In this photo, you see the hook and loop sides of the Velcro. What you really should see is either the hook or loop side on one piece, and the back of the opposite piece.

flip over one of the velcro and pin to the fabric

Then stitch around the pattern, trim, and turn as in the original instructions. Turning can be tricky if the hook side of the Velcro gets caught up in the fabric you are using. I used terrycloth, so I had a little of this.

turn right side out

After top stitching all the way around the bib, I trimmed off any excess Velcro and top stitched down the edge of the Velcro as well.

trim velcro

30 Minute Rockstar Costume

I’ve been wanting to share this with you for WEEKS and today is finally the day that I get to share this super fun and easy rockstar costume! I made this for my son about a month ago for summer camp. Each week, on Friday, the students dressed up according to that week’s theme. One week was Wizard Week, and I made a Wizard Costume for my son. Some weeks were easy, like wearing something you got on a trip, or wearing beach-themed clothes. The week he got to dress like a Rockstar was one of my favorite. Seriously, how cute is my little rockstar? And it was SO easy to make!30 Minute Rockstar Costume

I waited to share this with you because my friend Jamie from CRAFT is doing a fun series on her blog Really Awesome Costumes where TONS of bloggers are sharing fun DIY costumes! Seriously, head on over and check it out… she’s got lots of fun costumes over there that will really get your wheels turning for Halloween!

supplies to make rockstar costumeTo make this Rockstar costume, I started with an old shirt that had a bit of a rocker feel because of the faded fabric spray paint on it.
To that I added:
Tulip Shimmer Sheets (easy to cut and iron on)
Darice’s Bing on a Roll
Kid-sides 3D glasses from the movie theater
Gold Multi-surface paint and a Paintbrush
A bandana and black jeans
A little bit of hair gel to spike up my son’s hair
Scissors


I started by cutting of the sleeves of my son’s shirt. I cut the seam off with the sleeve so that the hole left would be loose and comfy.

cut off sleeves

Then I cut two parallel notches about an inch apart at the shoulder of the shirt.

cut up shirt

I used a permanent marker on the back of my shimmer sheets to draw 3 star shapes (they don’t have to be perfect), then cut them out.

draw on stars

The shimmer sheets are super easy to cut, and add bling without ANY glitter coming off! Yay for crafts that aren’t messy!!

I used my iron and a pressing cloth to iron on the stars, then I cut two lengths of the Bling on a Roll and tied it through the notch at the top of the shirt.

fuse stars to shirt

Next I made the sunglasses. This is just a free pair of 3D glasses from our last trip to the movies.

paint sunglasses

I started by painting on the outline.

trace stars on glasses

Then I filled in the outside area.

finished rockstar glassesSeriously SO easy! While the sunglasses dried, I got my rockstar dressed in his jeans and shirt, grabbed the guitar from our Guitar Hero game as a prop, spiked up his hair and tied on the bandana, and then gave him the glasses to put on.

Little Rockstar Costume

I think he wants to Rock and Roll all night… and party every day!

Wonky Stuffed Numbers

I can’t believe I have a 5-year-old. Yup, my oldest is five. To celebrate, I made these fun wonky number softies. Fun to use as photo props, decor, as learning tools, or just to play with. You can make these wonky numbers yourself, too! I made these with fabric from Modern Yardage. I love this fabric because it has numbers all over it, too! Numbers on numbers… fun, right?

You can make your own wonky stuffed numbers. My whole set of numbers 1 through 5 took about 90 minutes, but it would be very easy to whip one number up in 30 minutes or less.

number softies

I started with a half yard of fabric from Modern Yardage. I folded it in half, right sides together and drew large block numbers with a fabric marking pencil. I did these freehand, but you could use stencils or print out numbers and trace them onto the fabric.

draw numbers with chalk pencilI rough cut the numbers through the double layer of fabric.

cut out numbersI stitched on the outlines of the numbers with my sewing machine, stitching through both layers, the fabric still right-sides-together. I left a 1.5-2″ gap in the stitching between where I started and where I stopped. This hole will help me turn the numbers right-side-out and stuff my wonky number softies.

After stitching, I cut about 1/4″ from my stitching with pinking shears. Pinking shears are the scissors that cut in a zig-zag. They are great for cutting something out and clipping a curved seam at the same time. You can use regular scissors here, but using pinking shears will keep the curves from puckering when you turn the number.

stitch and use pinking shears

Through the gap I left in my stitching, I pulled the right side through the hole, turning the number right side out. Use a chopstick or other tool to gently poke the corners out.

turn number right side outTime to stuff! The trick to stuffing the numbers is to push in about a handful of stuffing at a time, and push it to the furthest end. Stuff the numbers by filling the ends first, and then keep adding stuffing until it gets to the middle.

stuff the numberStitch your hole closed, and you’ve finished your number! YAY!

number softiesI love my wonky numbers!

30 Minute Book Bag

School is back in session, and if you need a cute book bag or tote, you can whip one up in less than 30 minutes with whatever fabric you want! You can customize it with paint afterwards, as well… so many options once you know how to stitch up your own book bag tote! You don’t need any fancy closures or supplies… all you need is fabric, something to cut it with, and your sewing machine!

30 Minute Book Bag

Start by cutting your fabric:

cut fabricI put my fabric with the selvedge on the left and the fold on the right. The top left piece is 15″ tall by 13″ wide. The bottom strip is 5″ tall by the entire width of the fabric. The top right piece is a scrap. You can trim it down and use it to add a pocket to your tote if you want.

press flat

Fold the long strip in half with the right sides together to make a long and very skinny strip. Stitch down the side using a 1/4″ seam. Turn the tube right side out and press flat.

Fold the top (short) end of one of the large rectangles over 1/2 inch, then again. Press flat. Repeat with the second rectangle. Stitch down.

On the handle, stitch in 1/4″ from each side to add decorative topstitching.

topstitch

Put the two rectangles right sides together and stitch all the way  around the other three sides.

mark down cornersFold open one of the corners so that the seam is up. Draw a line 2″ from the corner and pin to secure. Repeat with the other side. Stitch on each line. You can trim off the excess fabric on these corners, or just leave it.

pin on handlesCut the long strip in half, and pin in place. Trim as needed to shorten the handles, then re-pin. You can eyeball the placement or measure 2″ in from each side.

Finished StitchingStitch the handles down, then turn the bag right side out, and you’re all set!


Friendship Headband

I love friendship bracelets! I used to make them and swap them with friends as a kid. Remember when I posted that simple twisty friendship bracelet tutorial? Well, I was totally missing out on a great opportunity – using a friendship bracelet as a craft supply! Ummm… wow! (and of course!) This craft is so stinkin’ easy to make, grab a headband and a friendship bracelet and you can whip up your own DIY Friendship Headband!

DIY Friendship Headband at Onelmon

Pin this as a great kid’s crafting idea… but be sure to pin from the original source.

Belt Loop Buddies at the Ribbon Retreat

belt loop buddies - lionI’m super excited to be guest posting over at the Ribbon Retreat today! I made these little Belt Loop Buddies… friends that hang right on your kiddo’s hip… though I might be tempted to wear a belt loop buddy, myself. Could this start a new fashion trend? Hmmm…

froggy belt loop buddyYou can whip one of these up in 30 minutes or less with a little felt, batting, ribbon, and glue… and I even have all the templates all set up over at the Ribbon Retreat!

Let me know if you end up whipping up your own belt loop buddies… and which is your favorite?

belt loop buddiesHead on over to the Ribbon Retreat to see the full tutorial and templates!

Stenciled Clock

stenciled wall clock on 30 minute crafts

When DecoArt offered to send me their new multi-surface paints, I jumped at the chance. What crafter couldn’t use paints that can be used on just about any surface, right? When they sent me the paints and stencils, they didn’t disappoint – these creamy paints in a variety of modern and traditional colors are awesome to work with! And as soon as I saw the stencils they sent along with the paints, I knew I wanted to make a clock.

I’m in the (long, drawn-out) process of putting my craft room together. Since moving into my new space, I lose track of time more often than before because there is no clock in there! I had a little clock kit with the mechanism and the hands, I just needed something to mount them on. These stencils gave me the perfect opportunity!

supplies for decoart multi surface clockTo make your own stenciled clock face you need:
Large background stencil (tree stencil from DecoArt)
Stencil Adhesive (optional)
Clock Face Stencil (also from DecoArt)
Wooden square (bought on clearance – score!)
3 colors of blue paint to blend (DeocArt Multi-Surface)
Paint for clock face and clock hands
Spouncer
Clock mechanism
Drill
Ruler
Pencil


I started out by marking where I wanted my clock face to go. I wanted it off-center to make the most of the tree stencil I was using.

mark location for clock hands

I then drilled a hole the right size for the mechanism.

drill hole for clock hands

After testing to make sure that the clock mechanism would fit in the hole. I sprayed the stencil with stencil adhesive and then mounted it in place. I used generous blobs of my three colors of paint right on the stencil.

pour paint on stencil

Then I used the spouncer to start blending them together.

blend in second color

and blending…

blend in darker color

until I was happy with the result.

peel away decoart stencil

I pulled off the stencil carefully. There was a little bit of bleeding, but nothing that made me unhappy. I liked the soft feel of the colors.

While I let the paint dry a little, I painted the clock hands. After all, these are multi-surface paints, so I can use them on the wooden clock face AND the metal clock hands – score!

paint over clock hands

I carefully placed the clock face stencil on the barely-dry wooden square (no stencil adhesive this time), and carefully spounced in the numbers.

stencil on clock face

I put the clock mechanism in through the back and followed the instructions to mount the clock hands. After popping in a battery and setting the time, I was all done!

wall arrangement with stenciled clock

For this project I used DecoArt’s Americana Multi-Surface Satins. You can find them available for purchase at Michaels, A.C. Moore, Hobby Lobby, and other fine craft retailers. And right now there is a great rebate going on! You can get the details below, and enter your rebate details here.

satin_rebate10

Linking up here: