25 Shamrock and Four-Leaf Clover Inspired Quick Crafts

25 quick and easy shamrock crafts

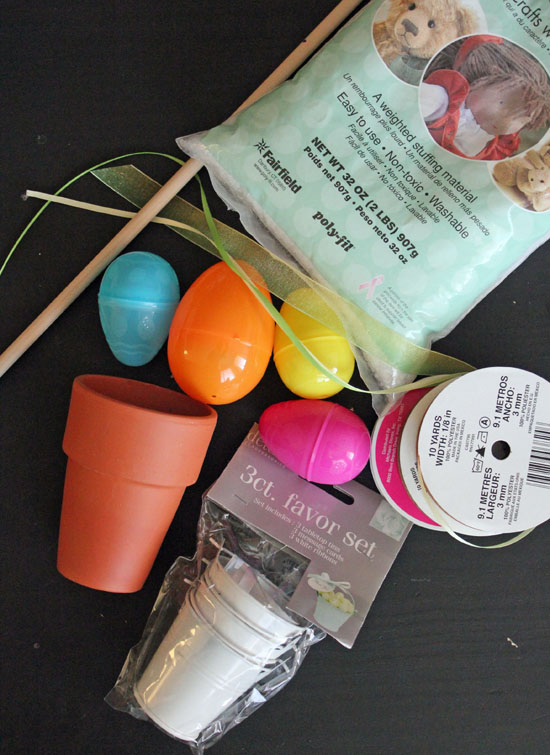
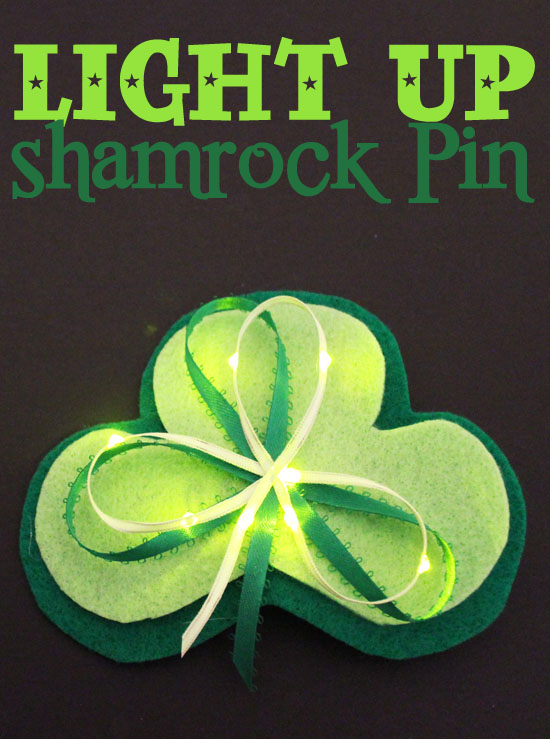
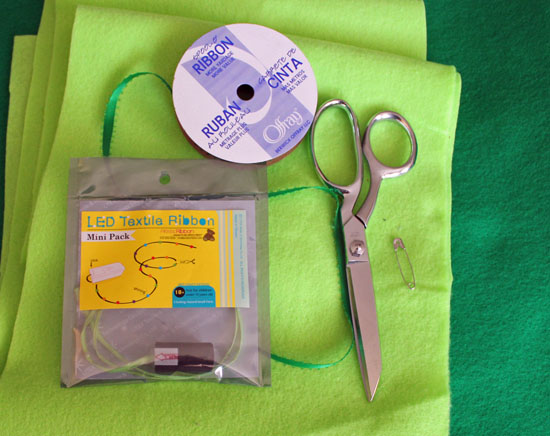
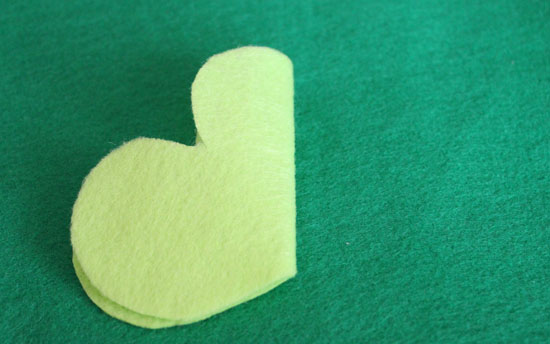
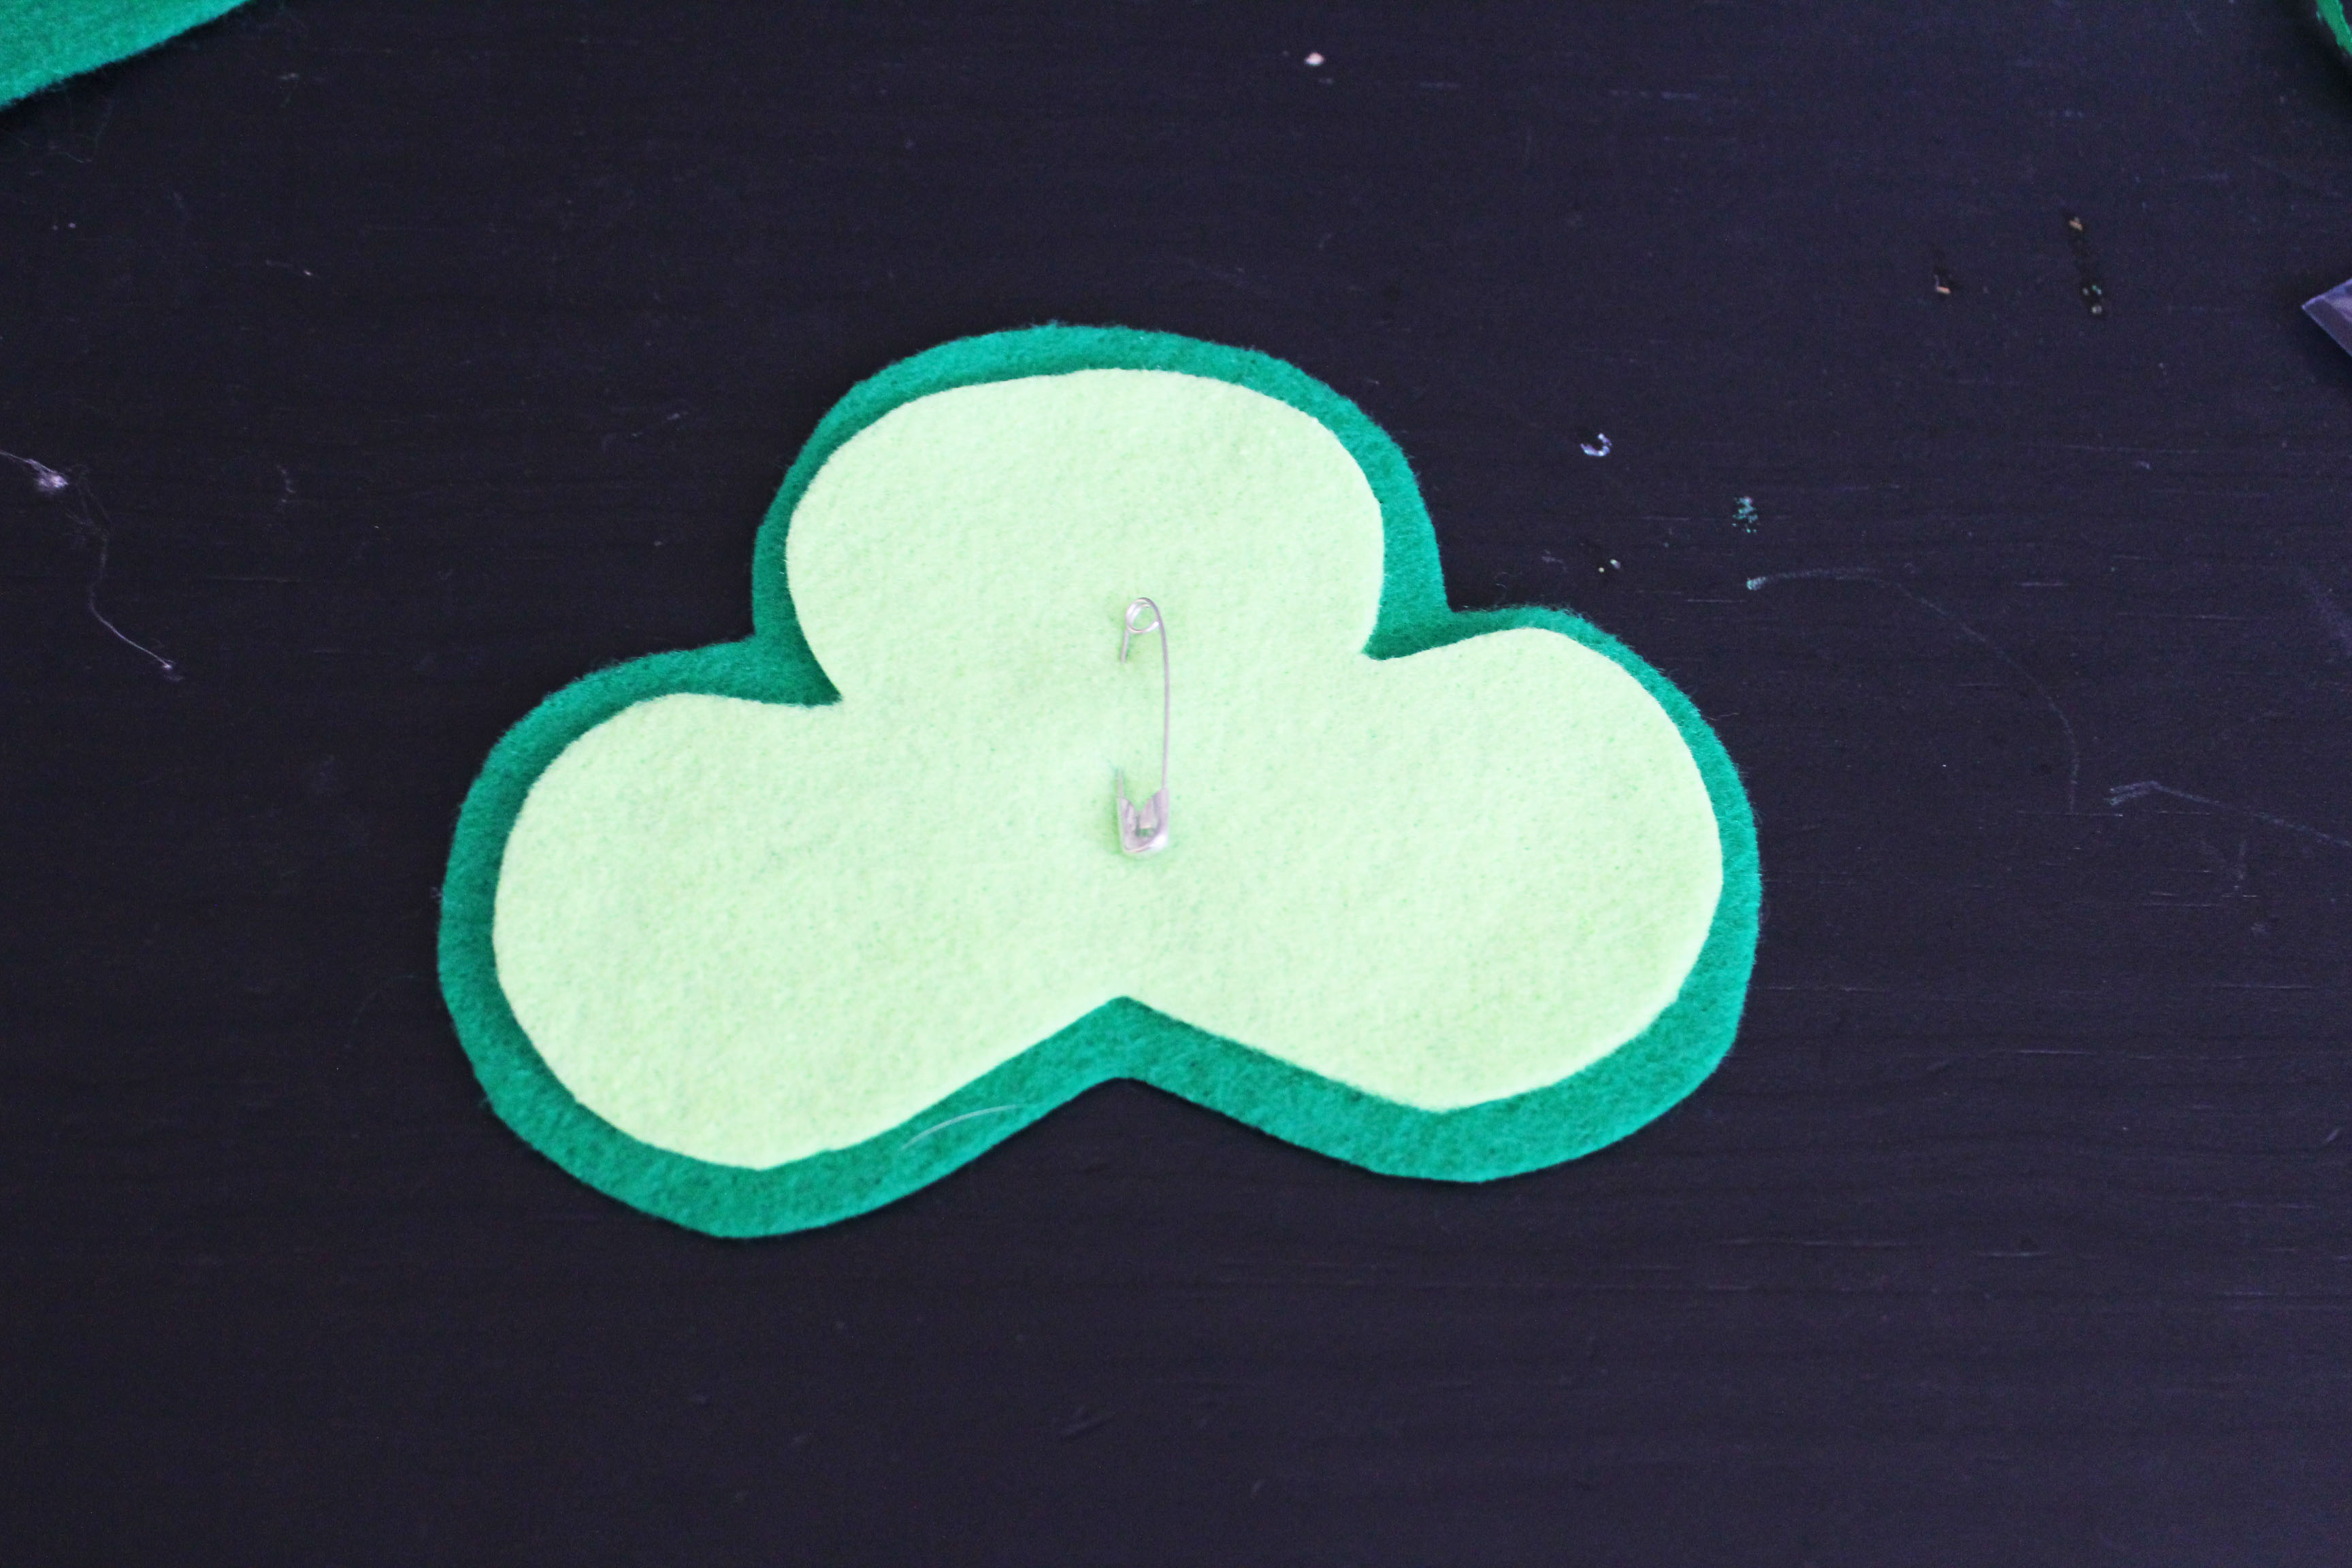
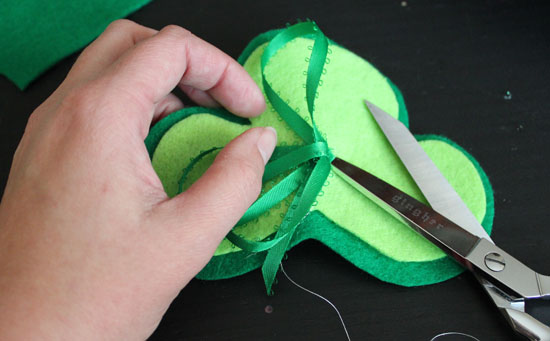
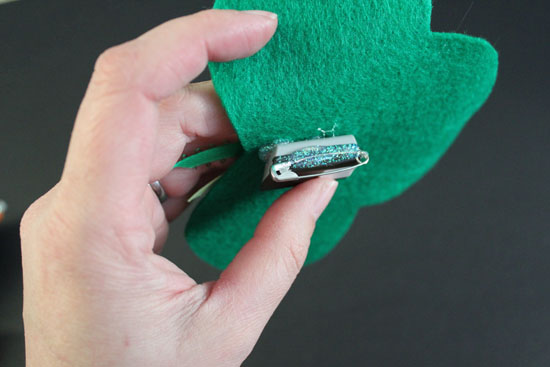
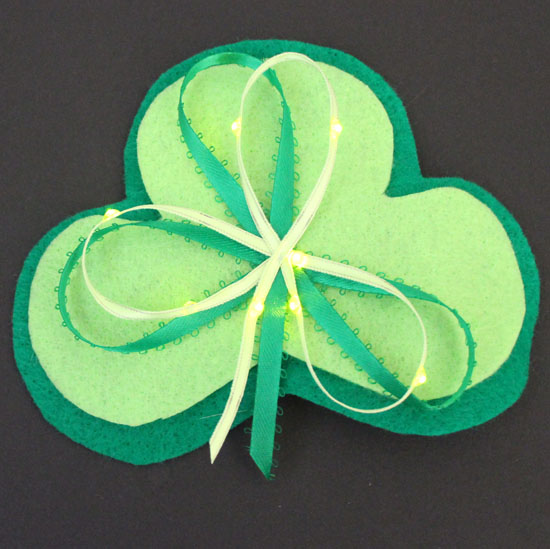
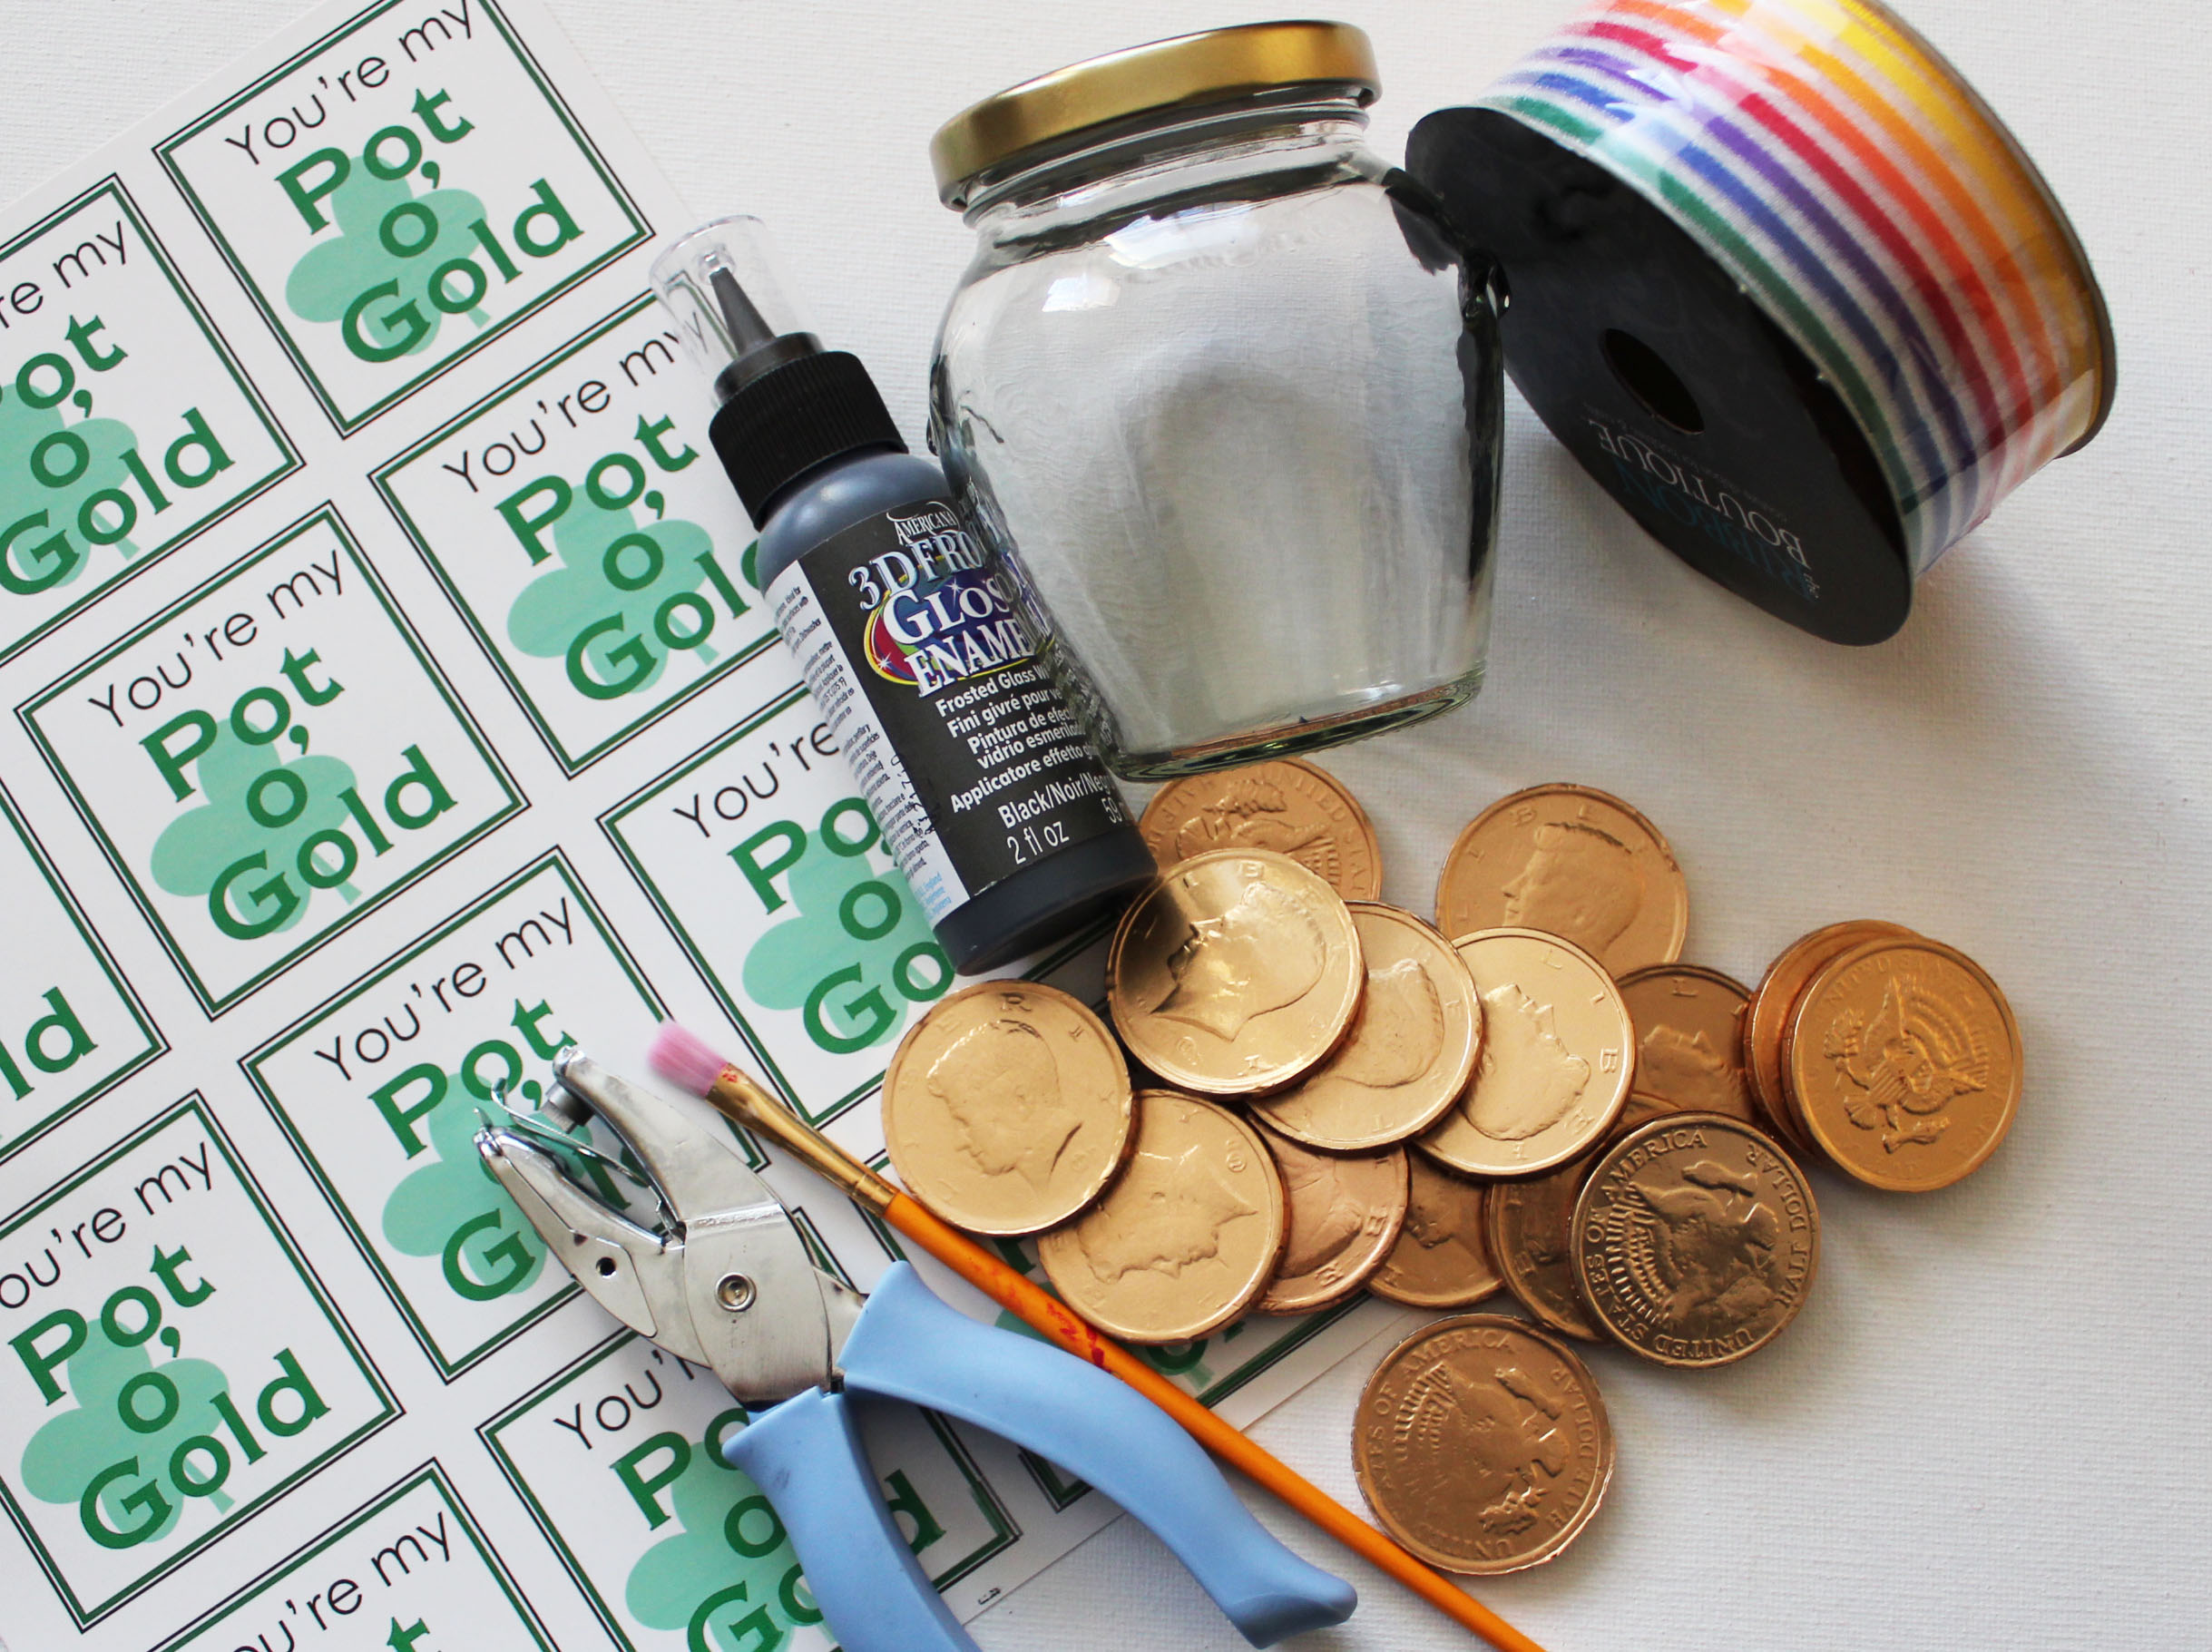
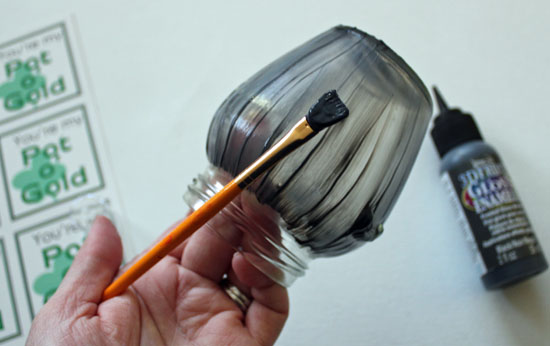
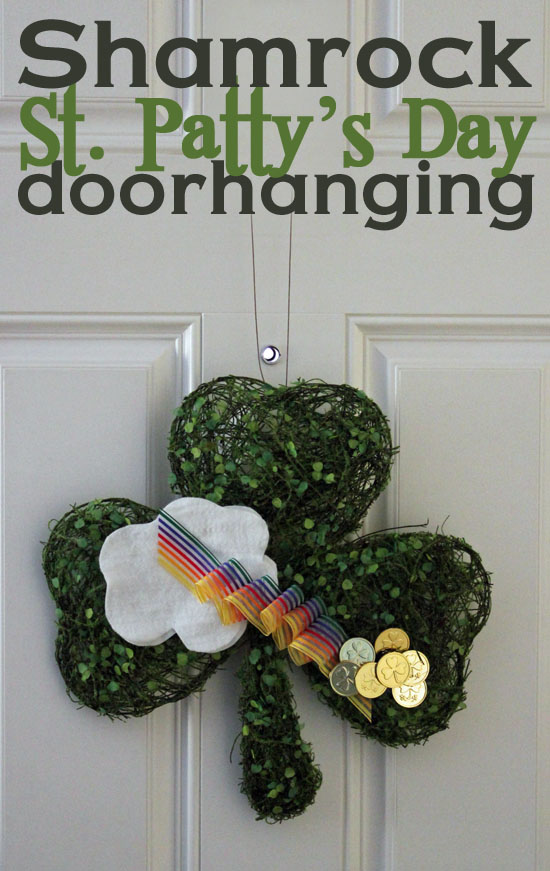
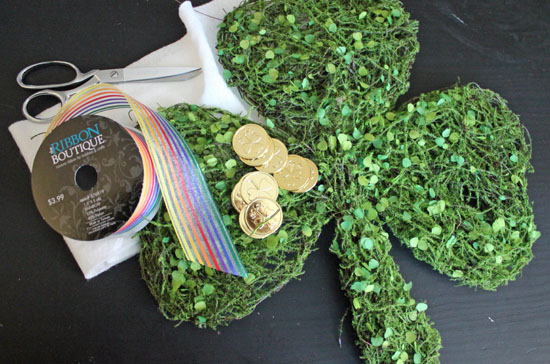
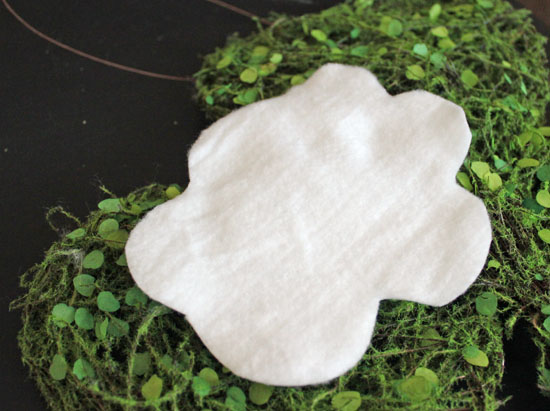
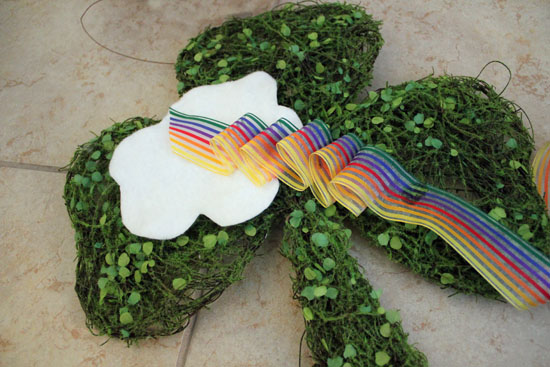
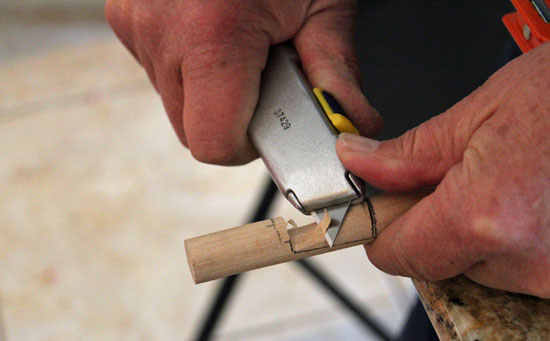
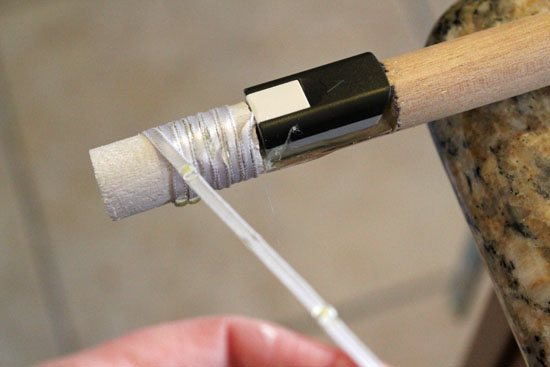
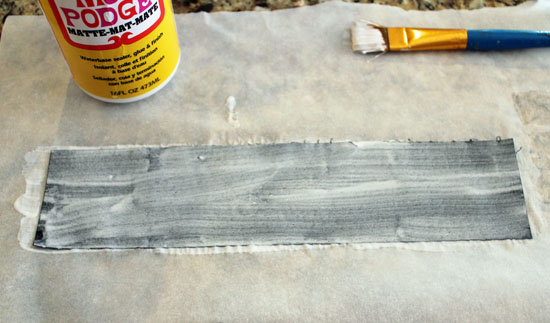
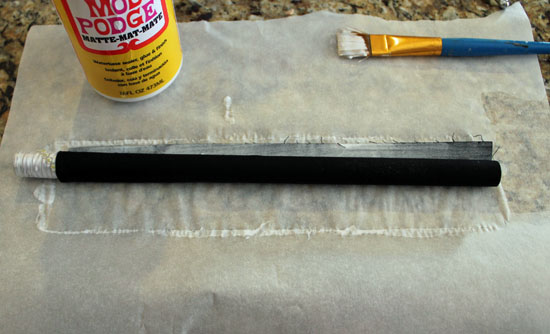
Saint Patrick’s Day is coming up fast… and with it a need to create the iconic Shamrock, or elusive 4-leaf clover. There are so many cute crafts dedicated to these St Patty’s Day Staples… I picked out some of my favorites… each of which can be done in 30 minutes or less! Great because the holiday is coming up fast… and who really wants to spend a month working on a craft dedicated to a day where middle-school bullies pinch their rivals who refuse to reveal green underwear. Yes, there might be some trauma in my past regarding this holiday… but that doesn’t affect my interest in creating fun crafts and decor to celebrate!


Easter Egg Topiary

easter egg topiary via @30minutecrafts

Quick and simple to make, these Easter Egg topiaries can be fun Easter Decor on your mantle or on your Easter table. You can leave them empty, or fill them with a few hidden jelly beans as a snack for later… Depending on your decor, you can change the colors of the eggs to whatever you like, change out the containers, paint the stems… the options for customizing are limitless!

easter egg topiary supplies

Start with a few basic supplies:
Plastic Easter Eggs (in at least 2 sizes)
Pots or other containers (I used a clay pot and some Dollar Store Weddng Favor Pails)
Dowel
Hot Glue
Assorted Ribbon
Scissors
Filler (I used Poly beads, you can use beans rice, or whatever you have handy)


Saw your dowel into parts… My tall topiary is 14″ high, and my small topiaries are 11″ high. Then put holes in your eggs. You want to put a hole in the top and bottom of your large egg, and only the bottom of the small eggs.

You do NOT want to use a drill to make your holes. I broke several plastic eggs trying different ways to make a drill bit work.

do not drill easter egg

Instead, use a craft knife. Put the tip where you want your hole, and turn back and forth like you are locking and unlocking a door. Apply steady, gentle pressure, and start with an egg you don’t care overly much about in case you push too hard. It doesn’t take long to get the hang of it, though! Just remember that different eggs are made with different plastics, and some will crack easier than others.

use stanley knife

Once you have holes in your eggs, thread them onto the dowels. If your holes are a little big, add a dab of hot glue to hold the eggs in place. If you are making multiple topiaries, make sure that you compare the height of the eggs on their sticks before gluing anything into place.

thread eggs onto dowels

Put a glob (that is a very technical term) of hot glue into the bottom of a pot, and insert the bottom of a dowel. Hold until the glue hardens. Add more hot glue if needed, then add your filler to keep the stick in place.

fill with poly beads

Tie a ribbon at the base of each egg, and you’re all set!

easter egg topiary at 30 Minute Crafts

If you like, you can paint your pots or your sticks to match your decor, and have lots of fun picking out just the right ribbons…

And be sure to check out all these fun Easter Egg crafts that my friends came up with!


Light Up St Patrick’s Day Shamrock Pin

Light up Shamrock Pin on 30 Minute Crafts

Want some pinch protection that really stands out? Looking for an out-of-the-ordinary pin for St. Patty’s Day? Planning on hitting the club and want to be seen? This is the project for you!

I love simple projects with a twist. Sure, this pin would be cute with regular ribbon instead of the light up ribbon (which, with a push of a button becomes blinking ribbon)… but the ribbon adds a little more fun and interest. If you want to make your own, here is what you need:

light up shamrock pin suppliesSupplies:

LED Textile Ribbon (I used Lime with Yellow lights)
Green ribbon
Dark Green Felt
Lime Green Felt
Scissors
Safety Pin
Hot Glue
Needle and Thread (optional)


Fold the lime green felt in half and cut a half-shamrock shape. No need to cut the stem, just one and a half of the leaves.

cut shamrock

Trim until you get the right shape. Then lay on top of the dark felt, and cut the dark felt around the lime green. I used the safety pin to hold the layers together while cutting.

cut back layer

Twist the green ribbon by making a loop, then a second loop, then a third loop. The loops will naturally form a shamrock shape. Make sure your loops are the right size for your pin and trim the end.

curl ribbon

You can hot glue or stitch your ribbon into place. Then, with sharp scissors, make a hole at the base of the ribbon, where the hole will be hidden by the ribbon.

cut through felt

With the battery pack on the back, thread the ribbon through the hole. Secure the battery pack to the back with hot glue. Make loops similar to the ones you just made with the green ribbon and secure into place with thread or hot glue.

Use hot glue to secure the pin to the side of the battery pack so the pin can be worn on a shirt, coat, or bag.

glue pin to back

The hot glue gun I used was still loaded with glitter hot glue, which is fine because it will be hidden on the back.

light up shamrock pin

St Patty’s Day Pot of Gold

St Patty's Day Pot of Gold

I had some glass honey pots left over after I did my glass jar roses, and I knew exactly what I wanted to make with them. My son loves chocolate coins. I’m fairly confident that the whole reason he picked a pirate themed party for his last birthday was so that we would have chocolate coins on hand. Making a pot of gold was the perfect craft to do for him, and oh so simple!

supplies for st pattys day craft


Supplies:
Glass Honey Pots from Freund Container
Black Glass Paint
Paintbrush
Rainbow Ribbon
Chocolate Coins
Pot O Gold Printable
Scissors
Hole Punch (I used a slotted punch rather than a round punch)


Start by painting the jar with a light coat of the black glass paint. Keep going until you’ve evened out the paint to a thin coat that will dry fast, and evened out all the brushstrokes. It won’t be entirely smooth, but that’s fine. A lot of the brushstrokes will get fainter as the paint dries. Make sure that you paint up to the mouth of the jar, but don’t actually paint the mouth of the jar, or it might not close.

paint jar

Make sure to paint the bottom as well, and put your jar aside to dry.

wait to dry

After the jar dries, fill it with chocolate coins. Cut out a tag from the printable sheet. Use the hole punch to make a pair of holes in the top left corner of the tag, and thread the ribbon through.

Add gold and ribbon

Put the lid on the jar, tie on the ribbon, and your Pot o’ Gold is ready to tuck under the nearest rainbow!

Some friends of mine also did some St. Patty’s Day crafting… check out the fun ideas they came up with:


St Patrick’s Day Shamrock Door Hanging

Shamrock St

Wreaths are great to put on a door, but sometimes it is fun to mix it up a little, like with this St. Patrick’s Day Door Hanging. Liven up your entry way this St. Patty’s Day with this quick and easy craft!

shamrock supplies


Supplies:
Shamrock form (I found this one at Hobby Lobby)
Faux Gold Coins
Rainbow Ribbon
Scrap Batting
Scissors
Glue Gun


Cut a cloud shape out of your scrap of batting, and glue it on the shamrock form.

cut cloud

Glue the ribbon into “ruffles” onto the form with hot  glue. Hot glue gun helpers are a good idea here so you don’t burn your fingers with the heat from the hot glue coming through the ribbon.

add rainbow ribbon

Cut the end of the ribbon, glue on your “gold” coins, and hang up your doorhanging! A quick and fun festive piece for St. Patrick’s Day.


Sock Bunny

I have more than one rogue sock in my laundry basket that has been waiting too long to find a mate. Instead, it can become one of these adorable sock bunnies! Make a warren of rabbits to take over a room in your house if you like, or to give as gifts. They are super simple to make!

You can see the details of how Crafting Hazard made hers, or you can skip through to the full sock bunny tutorial at Red Ted Art.

Cute Sock Bunnies - Crafting Hazard

These bunnies are super-pinnable! But please pin the photo from the original source.

Easter Bunny and Carrot Decor

The things you can do with a few sheets of paper amaze me. I’m in love with this carrot banner, but that is only the beginning of the cute projects shown in this Easter Party Paper Decor tutorial. No need to come back here and thank me. You’ll want to get started on these fun ideas once you see how baskets, placemats, cupcake toppers and more are given an upgrade with paper and a few tools!

Easter Party Paper Decor

You’ll want to pin these ideas. Make sure you click through to the original post and pin from there.

Go Fly a Kite Wreath

Wreaths can be so fun and fast to make. Especially if you have a great way to cover your wreath form. I don’t want to spoil the surprise for you, but you really should click over to learn how this Go Fly a Kite Wreath was covered. It is going to rock your world… or quite possibly knock your socks off! (sorry, couldn’t help myself!)

I also love that this is an “any occasion” wreath. Great for those in-between times in the spring, summer, or fall when a specific holiday just isn’t the right fit quite yet.

fly a kite spring wreath - the country chic cottage

You’ll want to pin this wreath, but before you pin it, make sure you click through to the original source.

Light-Up Magic Wand

light up magic wand

What little kid doesn’t love to do magic tricks? Make the wave of the wand even more fun with this Magic Wand with a light-up tip! You can set the wand to be light up, or you can set the lights to flash, or glow, depending on the trick being performed (or the preference of the magician). You can make this wand with just a few simple supplies…

magic wand suppliesLight up ribbon from Artistic Ribbon (I used white on white)
Wooden Dowel (I used .625″ x 12″ from Darice)
White paint and paintbrush
Black fabric (cut to 2.5″ x 11″)
Small saw
Heavy-Duty Craft Knife
Mod Podge
Hot Glue


About an inch and a half from one end on the dowel, I drew two parallel lines each 1.5″ long, and 1.5″ apart. We cut on the lines with a saw, and then using the craft knife, we cut out the space between the notches. It is where the battery pack/switch for the light unit will go. My mom was visiting for the weekend, so she helped with this part (LOVE having a crafty mom!). This was the most time consuming part… after this the last steps took just a couple minutes!

carve out the wood

I painted the end (a thin coat of paint which dried super quick), then hot glued the battery pack in place and started wrapping the ribbon around the end, securing with hot glue in several places.

wrap ribbon

On a piece of parchment paper, I put a layer of Mod Podge on the black fabric.

mod podge fabric

I wrapped the Mod Podge around the bottom of the wand.

wrap wand

I put another layer of Mod Podge over the fabric, avoiding the area where the battery pack is so that part wouldn’t get too stiff (I don’t want it to be hard for a kiddo to press the button. After it was dry, my kiddo couldn’t wait to try it out!

Abracadabra, Hocus Pocus… and PRESTO! A light-up magic wand in just 30 minutes!

30 Minute Reverse-Applique Dinosaur Pillow

30 Minute Reverse Applique Dinosaur Pillow

When Young House Love last week challenged readers to create something they pinned as part of the Winter Pinterest Challenge I started thinking. The goal is to stop just pinning and actually create one of my “must make” items. I love a good challenge, and I love checking something off my “do it someday” list! (ps – this challenge was also hosted by Decor and the Dog, The Remodeled Life, and BowerPower)

I LOVE this Pretty Polkadot Valentine Pillow by Katie over at Sweet Rose Studio. But since I have little boys, I decided to go with a dinosaur instead. And since I love quick crafting, I decided on a raw-edge reverse applique pillow, and still try to add some of the texture she created.

Pretty Polkadot Valentine Pillow

I loved the texture in her pillow, as well as the stripes/spots combination. I went to the fabric store with the intention of buying chenille fabric for the center, and a grey and white spot fabric for the border, but fell in love with the minkee/corduroy combination. If you want to make a similar pillow, here is what you need:

1/2 yard red dot minkee
3/4 yard grey corduroy
18″ Pillow Form
Freezer Paper
Marker
Pins
Sewing Machine

Cut the corduroy into a strip 19″ x 42″. Cut the minkee into a square 18″ x 18″. Fold The corduroy in half right sides together, and the minkee in half wrong sides together. Lay on top of each other with the folded edges lined up.

cut and fold fabric

Unfold the minkee, and pin the bottom half to the TOP layer of the corduroy.pin in place

Unfold the corduroy, then pin down the rest of the minkee.

On a 15″ x 15″ piece of freezer paper, free-hand a dinosaur. I referenced the fabric from my son’s Dinosaur Nursery. Remember that this is a reverse of the finished image.draw dinosaur shape

Iron the freezer paper to the back of the minkee. Make sure to center the drawing.

iron freezer paper in place

Lower the stitch length on your sewing machine and stitch around the dinosaur.

stitch dinosaur in place

Tear away the freezer paper and trim around the dinosaur.

trim and pull paper

Finish each short end of the corduroy by folding over 1/2 inch, folding over a second time, then stitching down.

stitch down sides

Right sides together, fold one end in 10″. Fold the other end in about 10″, more-or-less to make the pillow 18″ tall. Pin sides.

pin pillow

Stitch down sides, then turn the pillow right side out. Carefully snip into the corduroy dinosaur, being super careful not to cut the minkee. Trim the center away, about 1/4″ish from the stitching.

trim dinosaur

That’s it!

finished pillow

Now all that’s left is to add a pillow…

Corduroy and Minkee Dinosaur Pillow

And a baby… since it is going in his nursery!

baby with dinosaur pillow