Search Results for: valentines

Sucker Valentines

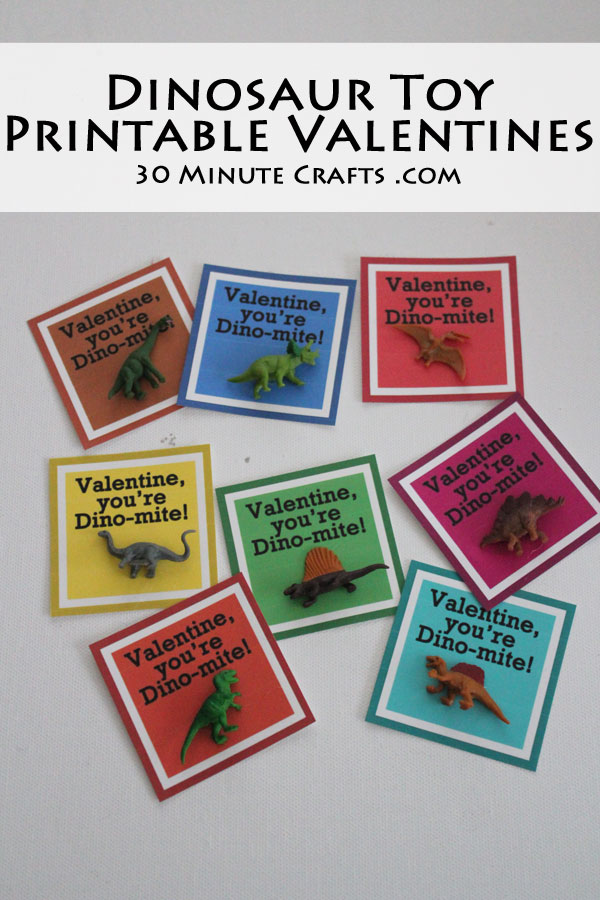
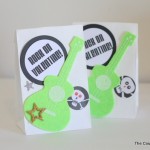
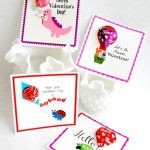
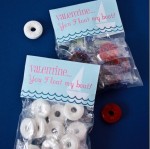
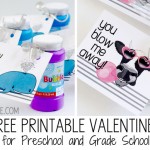
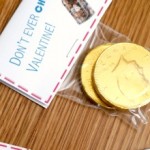
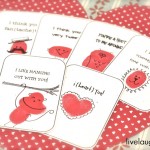
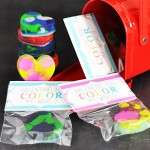
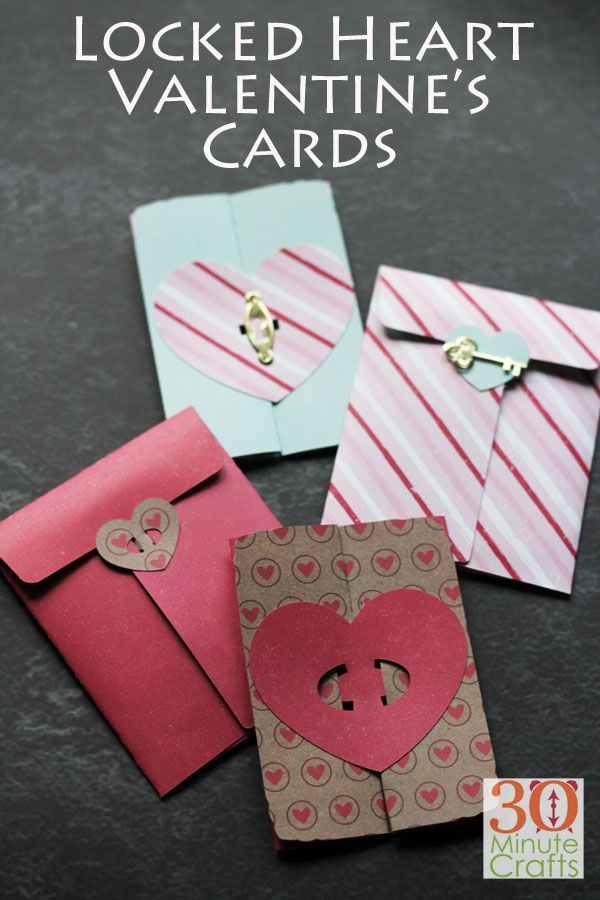
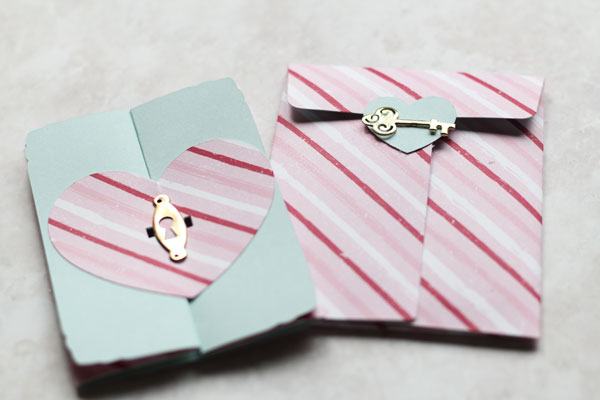
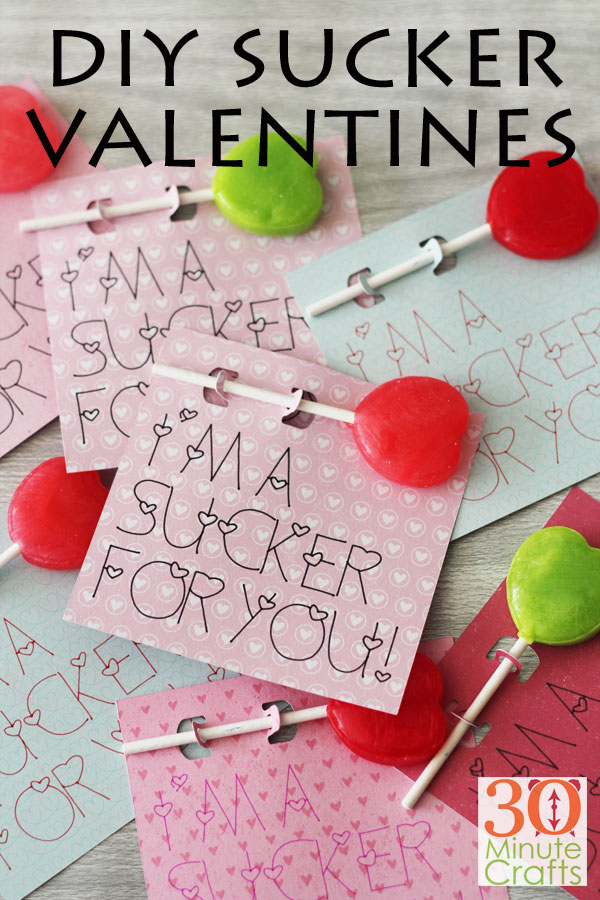
I’m a sucker for Valentines with Suckers on them! These simple and fun sucker Valentines were made using Jolly Rancher suckers and my Cricut machine. But I’ve also made these printable sucker valentines and these Valentine Suckers.

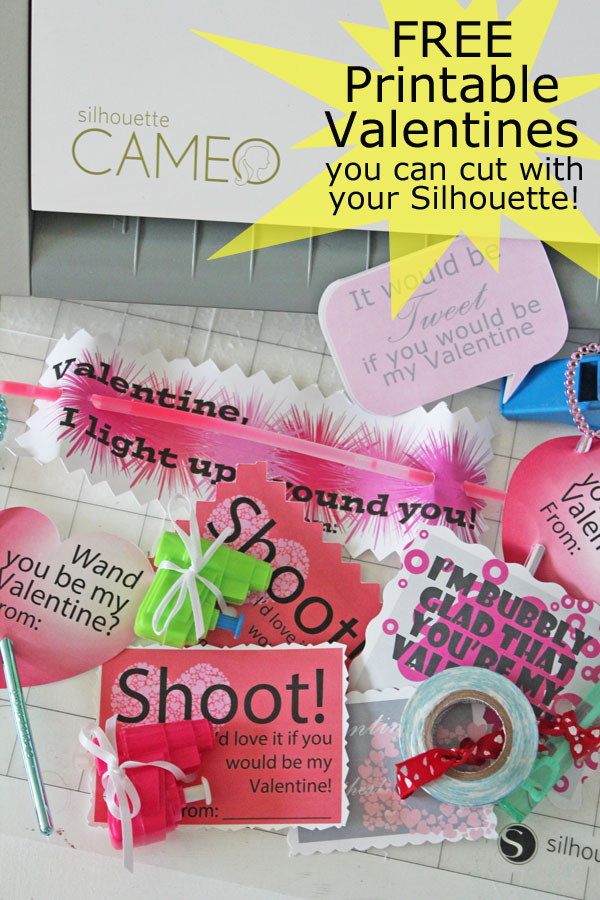
This project is part of a week of Valentine’s Crafts all made using the Cricut machine. My friends Angie from the Country Chic Cottage and Jen from 100 Directions and I are sharing a different Valentine’s craft made with the Cricut each day. And we’ve invited some of our craftiest friends to join in. Check out all of their awesome ideas down below!

DIY Sucker Valentines

This post contains affiliate links which help support this site at no additional cost to you.

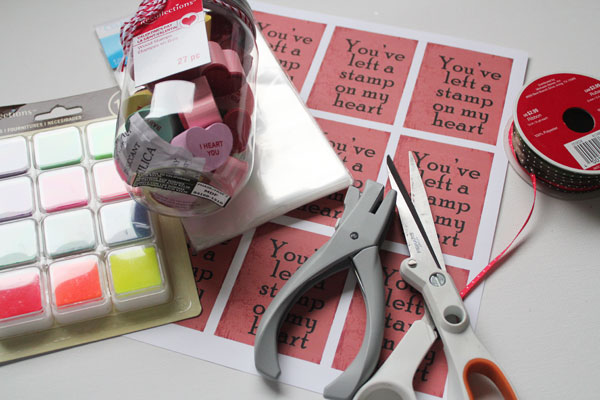
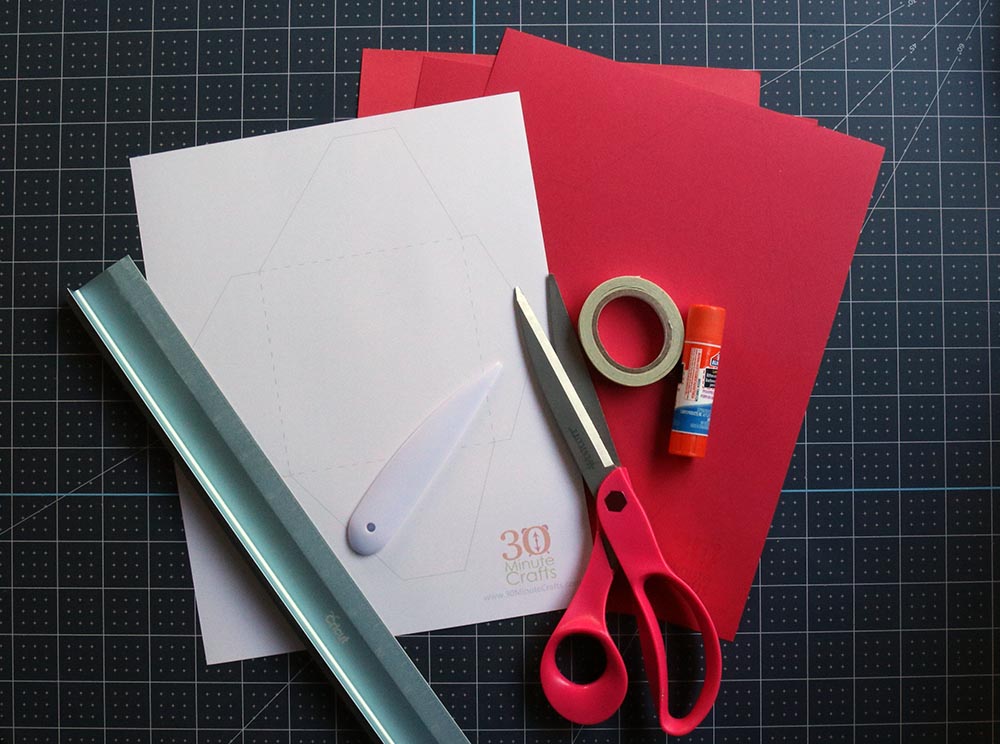
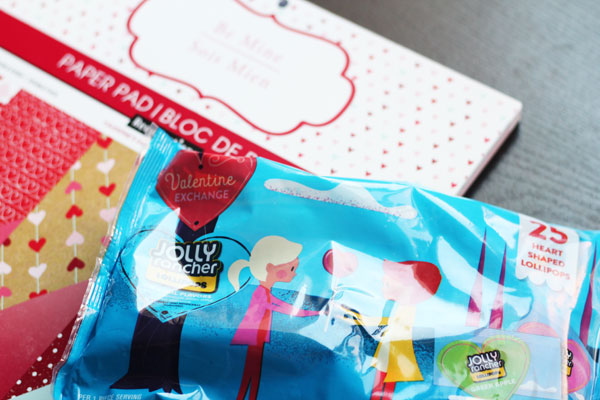
To make these Sucker Valentines, you’ll need:

Suckers (I used Jolly Rancher brand because that is what my kids like)
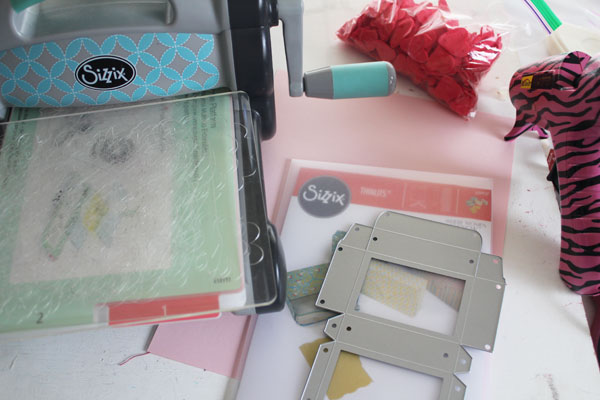
Cricut Machine
Valentine’s Scrapbook paper
Cricut Pens

supplies for sucker valentines

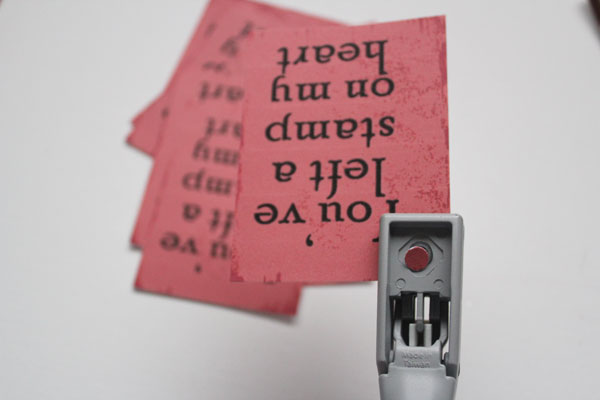
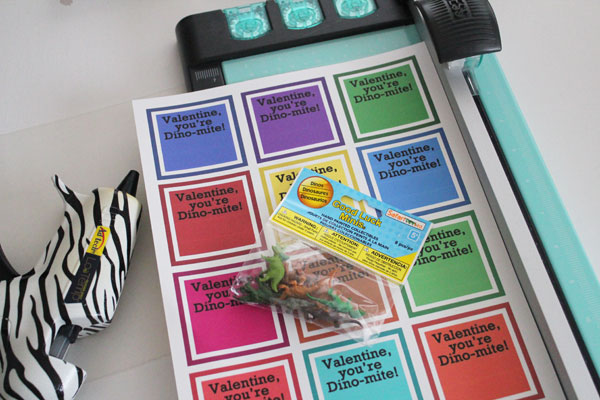
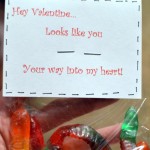
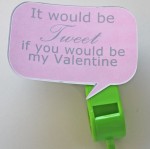
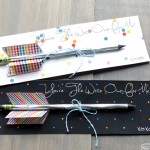
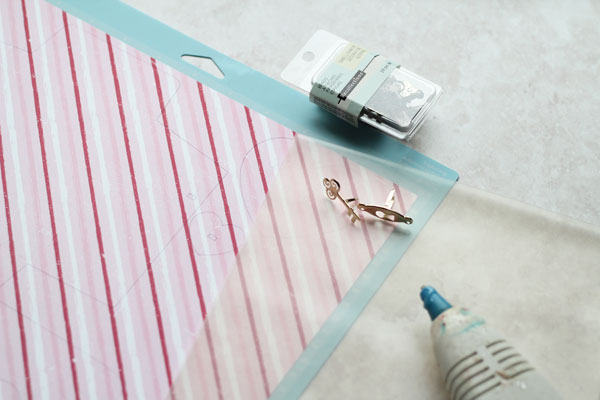
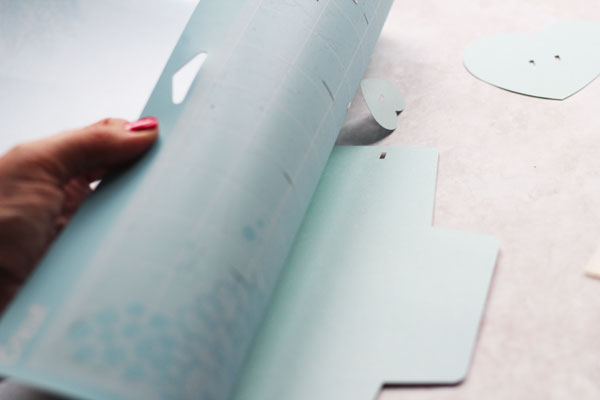
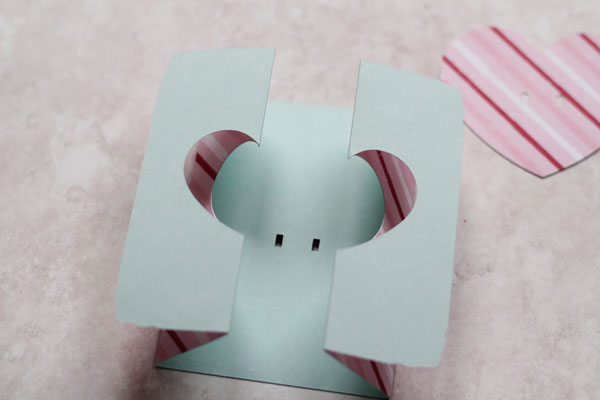
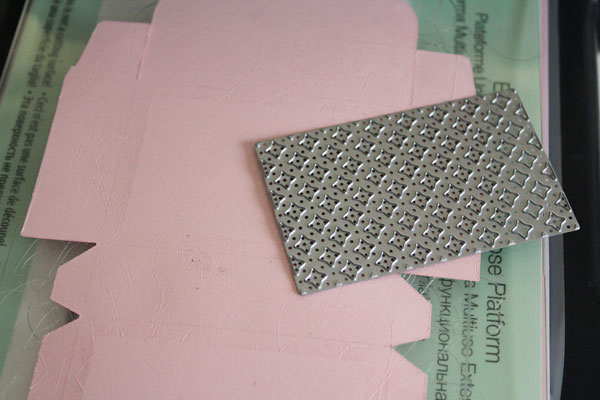
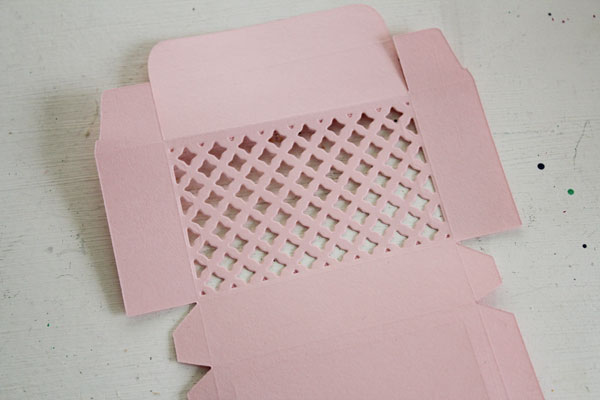
Use this Sucker Valentine Design Space File that I designed. Insert the Pen into the housing on the left, and allow the Cricut to draw the letters and cut the card.

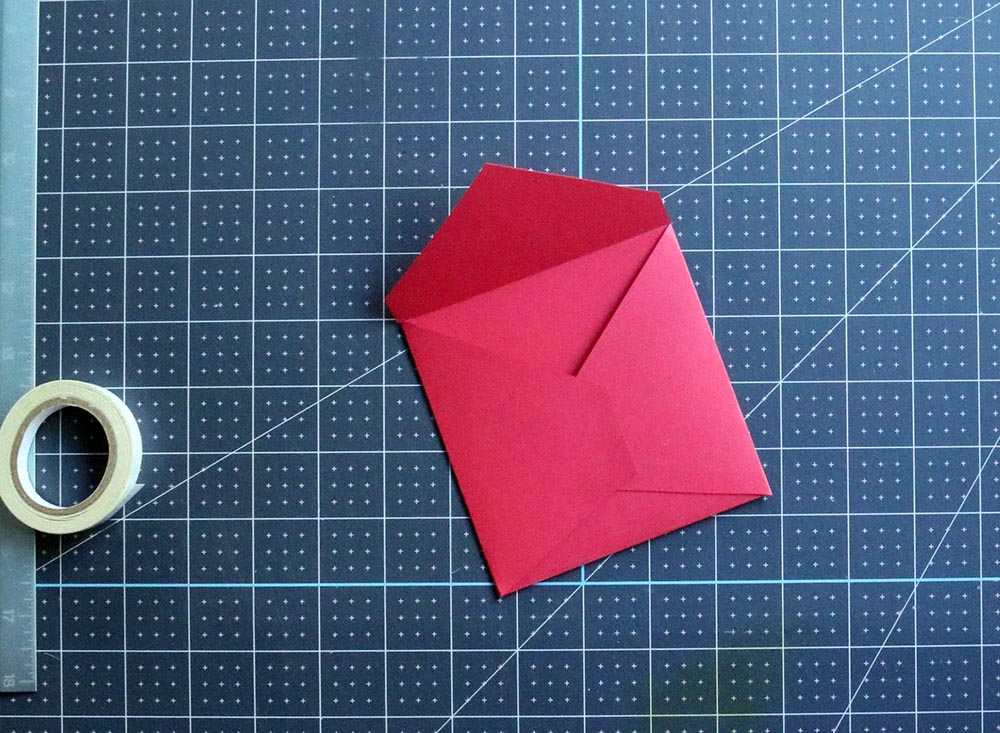
Peel from mat. I find they don’t curl if I pull the mat from the paper, rather than the paper from the mat.

peel off mat

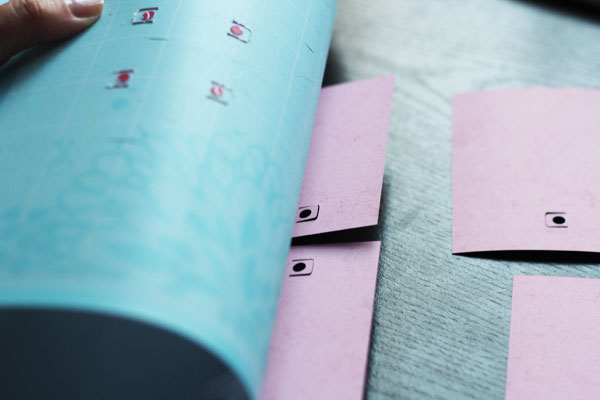
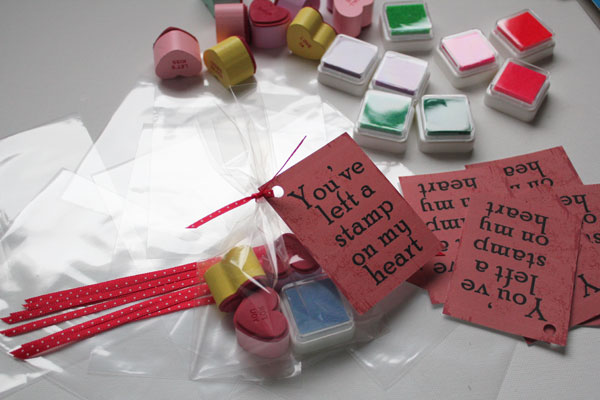
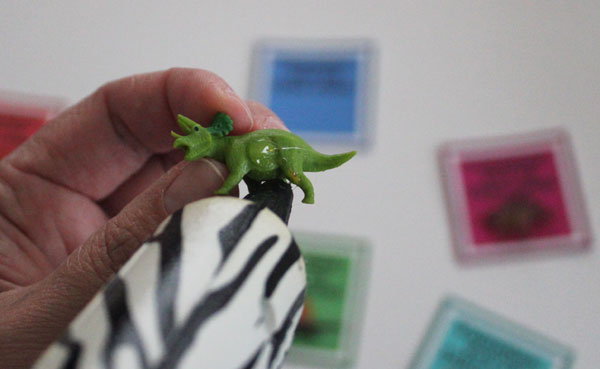
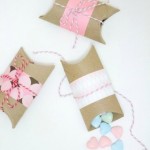
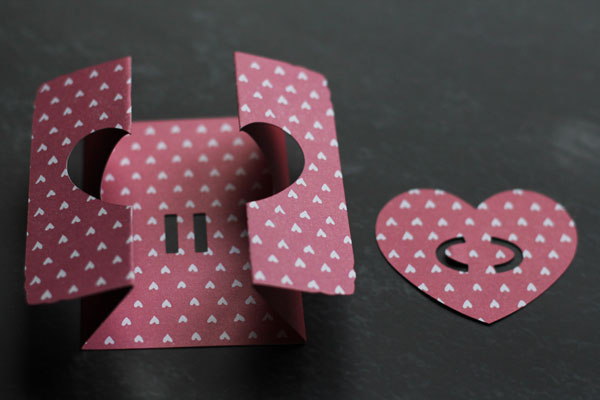
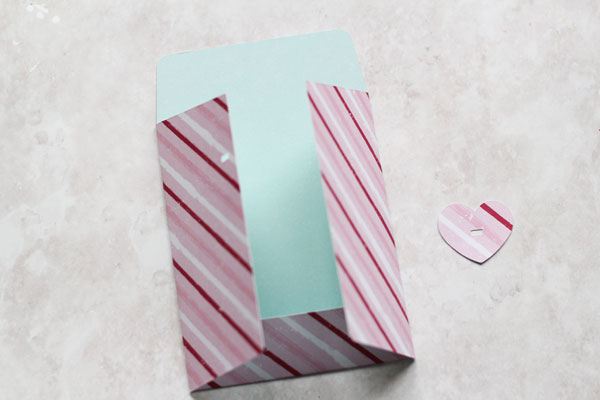
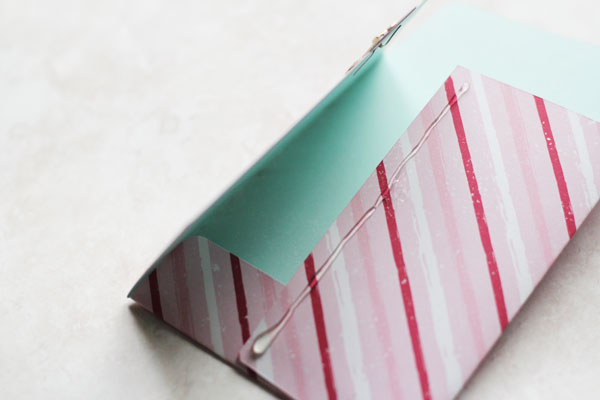
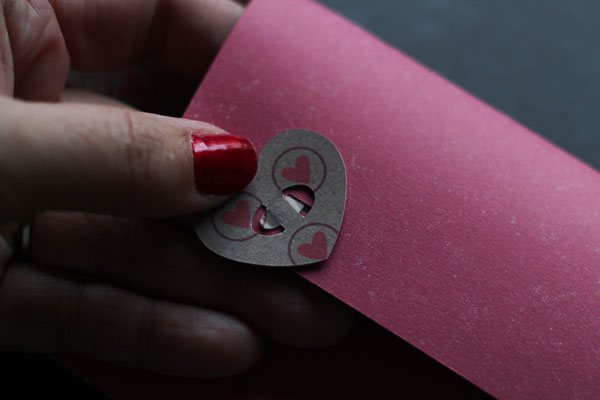
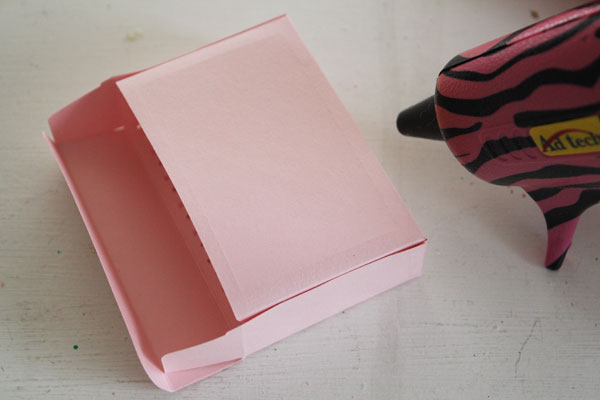
Lift up the tabs, then insert the sucker sticks. If you’re using these as classroom Valentines, you might need a piece of tape or dot of glue to hold the suckers in place.

finished sucker valentines

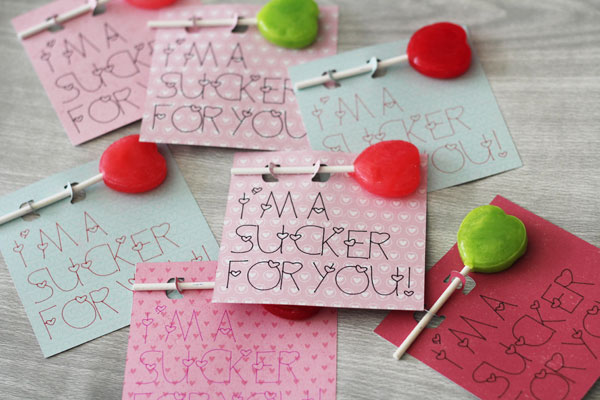
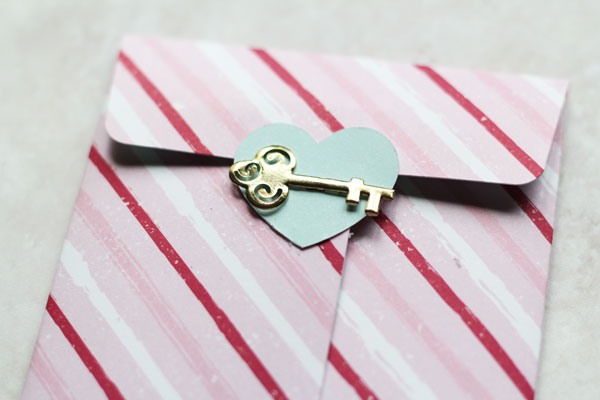
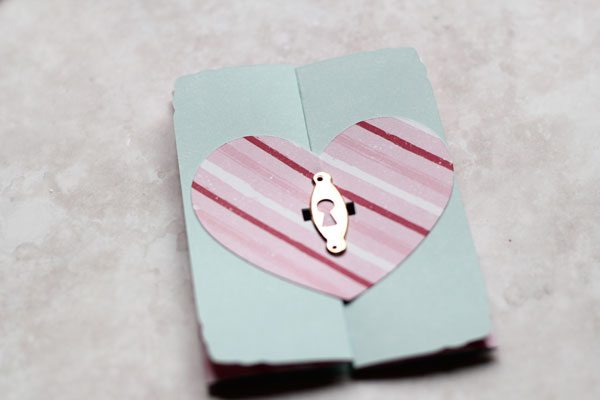
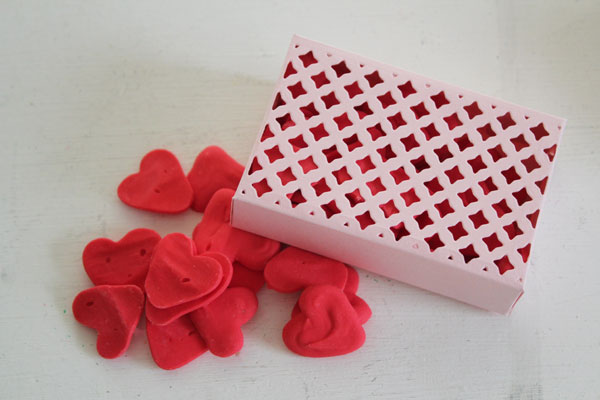
That’s how easy it is to make the Valentines! I liked using different colored paper with different designs. Go for simple patterns without a lot of contrast for the best results. I also used different colored pens. Black stood out the most, but I like using the reds and dark pinks.

Be sure to scroll all the way down and check out all these other great Valentine’s Day projects you can make with your Cricut machine!

Stamp Valentines

I think what I like most about Valentine’s Day is the puns. And gifts. This stamp valentine is the perfect combination of a pun and a non-candy Valentine’s gift. I combined my love of puns with my son’s love of rubber stamp to make these valentines that he’ll bring to preschool this year – these stamp valentines.

If you like non-candy valentines, check out this googly eye valentine and this dinosaur valentine.

Stamp Classroom Valentines

To make these valentines, you’ll need:
Heart Stamps (I found these at Michael’s)
Mini Stamp Pads
Plastic Bags
Ribbon
Hole Punch
Scissors
Cardstock with this stamp printable printed on it.

supplies for classroom valentine

Cut out the tags and punch a hole in each.

punch hole

Put the stamps and an ink pad in each bag. Tie on the tag.

tie up bag

Done!

you've left a stamp on my heart valentine

More Valentine Craft ideas

Jessica from Mad in Crafts made this fast-food Valentine’s Card.


You can make heart canvasses like these from Albion Gould.


Paula at Frog Prince Paperie made these Birdhouse treat boxes – and is offering up the printable for you to make your own.


You can learn how Kimbo from A Girl and a Glue Gun makes these adorable heart envelopes.


These Love Rocks at Artistic Endeavors 101 are adorable, and quick to make!


Carla Schauer has this fun Valentine’s Bookmark for you to color.


You’ll fall in love with your skin again with this Milk Bath Recipe from Mom off Track.


The Hot Chocolate lover in your life will love this Hot Chocolate card from Scrappy Chick.


Jen from 100 Directions created this awesome ombre nail art.


Angie from the Country Chic Cottage whipped up these cute EOS Lip Balm Valentines (yay for more puns)!


Get the free printable file

To get this “You’ve left a Stamp on my Heart” Printable, as well as all our other Valentine’s Printables, join the email list using the form below:


FREE Valentine’s Printables
Sign up for our email list to get access to the free Valentine’s Printable files!
You’ve successfully signed up! Check your email for details.

Dinosaur Valentines

It can be hard to find valentines for little boys to pass out to their class. I remember having one brother who was very particular about the valentines he gave to other kids. And he didn’t want to pass on a romantic message to anyone. These dinosaur valentines are easy to give, and have a simple message that most picky kids would be okay passing on. Plus, these are a non-food valentine, which many schools appreciate!

Dinosaur Printable Valentines

For these Dino-mite valentines, you’ll need:

Printable dinosaur valentine printed on cardstock
Paper cutter or scissors
Hot Glue
Dinosaur toys

You can find dinosaur toys at some craft stores in the diorama section. You can also find them at certain educational stores. Another fun option is to choose dinosaur erasers – which provide the fun of a dinosaur toy but also the usefulness of an eraser. There are lots of fun options for making these dinosaur valentines.

supplies for dinosaur valentines

Print out the dinosaur Valentines. Cut them apart. Hot glue the dinosaurs in place.

If you don’t have a low-temp hot glue gun, you can cut small slits in the valentines, and tie them in place with string or ribbon, If you choose this route, cut slits only as large as you need to get the string or ribbon through. And make sure that you print your valentines on cardstock rather than traditional printer paper. Printer paper is flimsy and won’t hold up well to the holes and the string. 

Another option would be to tuck the valentine and the toy in a small bag. Make sure that the age group the valentine is going to can handle small bags safely before choosing this option.

dab of hot glue

Your dinosaur valentines are done! Easy- peasy!

printable toy dinosaur valentines

Get the dinosaur valentines printable file:

To get this dinosaur printable valentine, as well as our other Valentine’s printables, join the email list below:

 
FREE Valentine’s Printables
Sign up for our email list to get access to the free Valentine’s Printable files!
You’ve successfully signed up! Check your email for details.

Check out these other fun non-candy valentines:

Googly Eye Valentines

Printable Valentine: Bubble Valentine

Silhouette Printable Cutable Valentines

Free Printable Valentines you can cut with your Silhouette

Looking to save some money on handmade Valentines this year, but don’t want to spend a lot of time designing, printing, cutting, and creating 30 Valentines for your child’s class? Well, I have you covered! Here are 7 Valentines that are ready to go. Each one has a Silhouette file you can download to print and cut your child’s Classroom Valentines in no time! If you don’t have a Silhouette, each one also has a PDF file you can use to print and hand-cut your Valentines this year.

Mini Duck Tape Valentine

Bubble Valentine

Glowstick Valentine

Whistle Valentine

Shoot! Valentine

Want you be my Valentine

Straw Valentine

Googly Eye Valentine

 To access all of these, and our other printable Valentines, sign up for our email list:


FREE Valentine’s Printables
Sign up for our email list to get access to the free Valentine’s Printable files!
You’ve successfully signed up! Check your email for details.

The Ultimate List of Free Printable Valentines for School

The Ultimate List of Printable Classroom Valentines

Looking for the perfect Valentine to send with your kiddos to school this year? I’ve got you covered. Over 75 Free Printable Valentines in this round-up. Some you can add candy, some a toy or other treat, and some are cute enough to stand on their own. Grab a bag of Valentine’s treats and click around! You’re sure to find a great Valentine you can print and cut at home.

Feel free to pin this post using the graphic above… if you’re in love with a particular Valentine on this list, click through to the post and pin from there to share the love with the creator of your favorite card.


Printable Envelopes

These printable envelopes are an easy kid craft and fun for adults to make as well! Just print out these envelopes, cut them out, put them together… making these printable envelopes is super simple! And, go ahead and scroll all the way down to the bottom to check out more free Valentine’s printables!

Just a quick heads-up that these envelopes are square. And square envelopes do require more postage here in the US. If you’re in a country where square envelopes don’t require more postage leave me a comment so I can dream of moving there. Anyway, they require more postage here. Which is probably worth it. But if you feel like it isn’t, then I totally recommend that you hand deliver these cards. Because hand-delivered cards are the best. Just saying.

To make your printable envelopes, the first thing you’re going to need is the printable file. I’ve got that completely sorted for you. Just drop your email address below and I’ll send you the download link. By the time you’re done reading how to put them together, it should be waiting in your inbox (but be sure to check your spam folder – sometimes email programs get confused and think I’m spamming you when I’m actually sending all the goodness your way).


The printables are free!

Sign up for our email list to get your free Printable files!

You’ve successfully signed up! Check your email for details.

Start by grabbing your supplies. You’ll need paper, scissors, a ruler, a scoring tool, and some kind of adhesive – a good double-stick tape or glue will work.

Once you have your file, print it out. You can print it out on regular copy paper or some colored cardstock. There are really fun colored cardstock options available, so I vote you go for colored cardstock. But you do you.

Once you have it printed out, cut around the outline. The outline was made a really light grey so that if you’re not perfect at cutting nobody will notice. Probably.

After you’ve cut, use the ruler and scoring tool to mark the scoring lines. If you don’t have a scoring tool you can just fold on the dotted lines and it will work just fine.

Use glue or your double-stick tape on the sides to secure them to the bottom flap.

That’s it! Your envelope is ready for sending!

Be sure to check out all these other Valentine’s themed FREE printables!

Simple Pretzel Pin for National Pretzel Day

Did you know that April 26th is National Pretzel Day? How do you choose to celebrate this fantastic snack food? I say you make yourself a simple Pretzel Pin that you can wear to proudly proclaim your love of pretzels! And you can whip one up with a few basic supplies, and in just a few minutes!

This project is part of Craft Lightning Week. All week long I’m sharing fast crafts that can be made in 10 minutes or less to celebrate obscure holidays. My friends Angie from The Country Chic Cottage and Lindsay from See Lindsay are joining in, along with some of our crafty friends! Be sure to scroll down to check out the obscure holidays they’ve chosen to celebrate!

DIY Pretzel Pin that you can wear to celebrate National Pretzel Day on April 26th

To make your Simple DIY Pretzel Pin, you’ll need:
Brown pipecleaner
Pin Back
Hot Glue

Start by folding the pipe cleaner in half, and giving it a light twist. This makes it a little shorter and a little thicker.

Fold in half and lightly twist

Fold into a loop, and twist about a half inch from the ends.

Then bend the ends down to complete the pretzel shape.

Use hot glue to secure the pin to the back. Allow to cool.

If you like, you can add some clear glitter to look like “salt” on your pretzel!

Check out these other simple crafts that celebrate obscure holidays!

Jessica from Everyday Party made this “Wine Not” tumbler to celebrate National Drink Wine Day!
Over at Tried and True, Vanessa is celebrating Valentine’s Day with this Valentine’s Wreath.
Our Crafty Mom shows you how to make a Poetry Journal for Great Poetry Reading Day.
Artsy Fartsy Mama is Celebrating International Waffle Day with the cutest waffle necklace!
Lindsay from See Lindsay shows you how to make a reverse canvas for International Women’s Day.
And Angie from the Country Chic Cottage is celebrating Dinosaur Day with this fun Dino Tagged Blanket!


DIY Felt Earbud Case

This little DIY Felt Earbud Case is super simple to make with only a few supplies – and you can whip up a Felt Earbud Case in about 15 minutes! I love the design of this Felt Earbud Case, and want to whip a bunch up in different colors! An earbud case is super handy to have, to keep earbuds from getting tangled up. This earbud case is also a great option for storing charger cables. If you have big, bulky charger cables you can make a larger one using a bowl as your template rather than a glass.

This project is part of Craft Lightning Week. If you’ve been around a while you know that my friend Angie from The Country Chic Cottage and I partner with another crafty friend (this time it is Laura from Laura’s Crafty Life) for a week to create a different 15-minute craft project each day. And we invite our craftiest friends to join in! This week, all the projects are made using FELT! Check out all of today’s awesome creations at the bottom of this page, and be sure to come back each day this week to check out all the other fun felt creations that take 15 minutes or less to create!

DIY Felt Earbud Case - this little earbud case is super simple to stitch up, and so handy! The perfect way to store your earbuds and keep cords from getting tangled!

To make the DIY Felt Earbud Case, you’ll need:

Square of Felt
Glass
Fabric Marking Pen
Coordinating Embroidery Floss
Scissors
Embroidery Needle

supplies for earbud case

Trace the glass three times, and cut out.

trace glass

Place the glass on one of the cut circles. Overlap a little over the midline, then draw an arc.

draw an arc

Cut two circles of felt to match this same arc. Place them on top of the remaining circle.

lay pieces on top

This is the design for the earbud case. Simple, right? Now just stitch all the way around. You can use whatever stitch you like, I prefer a blanket stitch.

stitch around edge

Make sure to place the second arc on top, and stitch all the way around. Then your earbud case is complete!

DIY Felt Earbud Case - super simple to stitch up in just 15 minutes!


Want some more fast crafts that can be made with felt? Check out these fun fast felt projects!

Over at Swordfights and Starry Nights, Christine made some cute felt Hearts that you can use on all your Valentine’s Crafts!

This Felt Valentine from Sew What Alicia is perfect for holding Valentine’s treats!

Lindsay, the Artsy-Fartsy mama made this adorable dog costume from felt!

How fun is this floral headband that Everyday Jenny made?

Learn how to whip up these felt versions of paper dolls that Pam at PS I Love You Crafts made.

Mary Beth at Cupcakes and Crinoline is getting you ready for Easter with these colorful felt Easter eggs!

My Co-hostess Laura made this fun felt rainbow heart banner.

Angie, my long-time co-hostess for Craft Lightning used felt in making these cute stock snowmen.

Be sure to come back tomorrow for more felt fun!


Locked Heart Valentine’s Day Card

As I was walking through Michael’s Crafts Store, I saw these adorable lock and key brads. I knew they would make the perfect card! I love lock and key symbols for Valentine’s Day, so I looked up Valentine’s Card designs in Cricut Design Space. I simplified and adjusted the “Dear to my Heart” card that is free in Design Space if you have Cricut Access. I’ll link to my revised versions of the card below so that you don’t have to make any adjustments, you can just cut them out yourself to make both versions of the Locked Heart Valentine’s Day Card.

This project is part of a fun week of Cricut Valentine’s projects that my friends Angie from The Country Chic Cottage, Jen from 100 Directions, and other friends from around the internet are joining together on. If you scroll down to the bottom of this page, you can check out lots of Valentine’s projects that you can make using a Cricut Machine!

Locked Heart Valentine's DayCards

To make the Locked Heart Valentine’s Day Card, you’ll need:

Double-sided 12×12 cardstock
Cricut Machine
Scoring Stylus
Lock and Key Brads (for one version)
Hot Glue Gun

card supplies

Cut out either the locked heart card using brads or the locked heart card without brads.

If you’re using paper with a directional print, be sure to place the paper right-side-up on the mat. Otherwise you’ll end up with something that looks like this:

directional paper

To keep the cardstock from curling, peel the mat from the cardstock instead of the cardstock from the mat.

peel mat from cardstock

Fold the envelope on the score lines.

folded envelope

For the version with the brads, put the prongs of the brad through the heart and then through the envelope.

insert key

Then glue the envelope flaps closed.

glue envelope

The top flap of the envelope rests under the heart to hold the envelope shut.

finished envelope

For the version without the brads, slip the toungues into the grooves to secure the heart in place before gluing the envelope together.

slip on heart


For the card, fold the creases to put together the gate-fold card.

folded gate card

Place the heart on top. If you’re using the non-brad version, the tounges and grooves will line up. For the version with the brads, place the lock brad through the heart and through the back of the card before securing.

Before closing up the card, write whatever sentiment you want to offer your loved one.

locked card

I love the way the double-sided cardstock really makes the heart pop!

finished locked card

All done! Gift your Locked Heart Valentine’s Day Card to someone special!

Locked Heart Valentine's Card

Be sure to scroll all the way down and check out all these other great Valentine’s Day projects you can make with your Cricut machine!


DIY Candy Hearts

Making your own Candy Hearts is a sweet way to Celebrate Valentine’s Day! It is so easy to make your own DIY candy hearts, and then box them up in little boxes to pass out to friends! You can add extracts to your hearts when you make them to give them a custom flavor… maybe you like peppermint, almond, lemon, or anise… each adds its own special touch to the holiday!

This project is part of Craft Lighting Holiday. Each day this week I’ve been sharing a fun and fast Valentine’s Day craft that can be done in 15 minutes or less. And my co-hosts Angie from the Country Chic Cottage and Laura from Handmade Home have been sharing in the fun! We’ve also asked our crafty friends to join in… check out all their great projects below!

Make your own Candy Hearts and a cut box to package them up in!

To make the candy heart boxes, you’ll need:
Paper
Sizzix Thinlets Mini Recipe Card Box (from the Where Women Cook Collection)
Sizzix Thinlits Plus Die Set – Box, Matchbox (optional – for the lattice cut-out)
Sizzix Die-Cut machine and baseplates
Hot glue

Candy hearts (check out the video below on how to make them)


Cut out the Mini Recipe Card Box shape:

If you like, cut out the lattice.

make box

Glue together using hot glue.

Add candy hearts, and you’re done!

Your friends won’t believe you made them yourself!

Check out these other fun and fast Valentine’s Day Crafts:

Ready for more quick and easy Valentine’s Day craft ideas?  See the ideas below!  Start with these fun Valentine mailboxes from See Lindsay.

Great quick and easy Valentine's Day crafts that can be made in 15 minutes or less!

Turn conversation hearts into sugar scrub with this recipe from Happy Go Lucky.

Star Wars fans will love the heart of Kyber from Doodle Craft.

Make your own heart stamps in minutes with this idea from My Craftily Ever After.

Turn a chipboard heart into something special like this one from Me and My Inklings.

This Valentine’s Day felt banner from A Sweet Berry is just too cute.

Give the gift of coffee in style with this idea from Scrappy Chick.

And Angie from The Country Chic Cottage made these adorable matchbook Valentines!