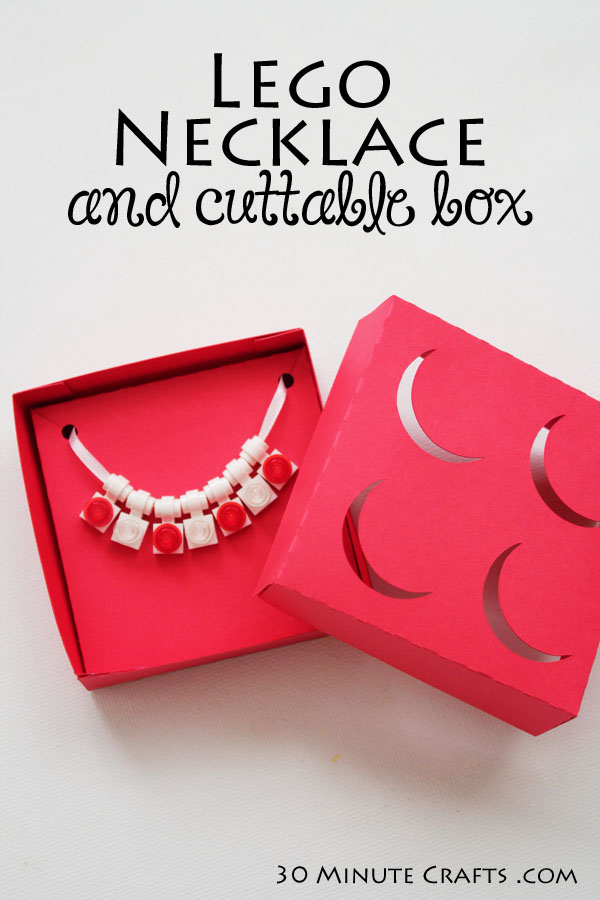
Lego Necklace and cuttable jewelry box

My boys love Lego. It is their favorite gift to open. We bring it with us when we go out to entertain the boys. It is all over our house. Just about any surface – odds are high you’ll find at least one Lego there. I’ve learned how to navigate the minefield of Legos on their floor… most of the time. So, it makes sense that we would make Lego jewelry. I’ve already made Lego earrings and a Lego ring. Today we’re whipping up Lego Necklaces. The Lego Necklace is super fun because you don’t need any special tools or heavy-duty adhesives… so kids can help with every part of making them!

DIY Lego Necklace and Cuttable Box

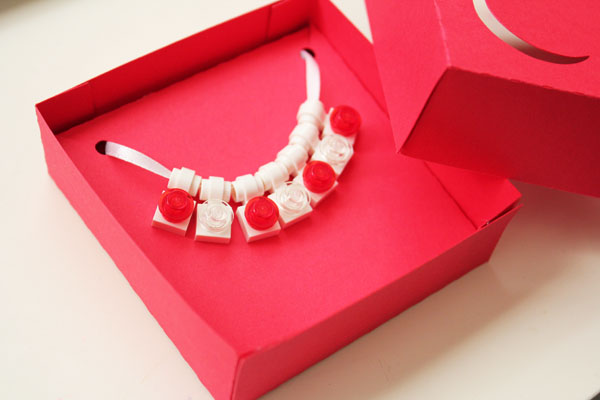
Oh, and I whipped up a Lego-inspired jewelry box. Along the same line as the Lego Inspired Gift bag and Gift Box from last year, but in three parts – a lid, a base, and a necklace insert.

So… to make your Lego Necklace, you’ll need:
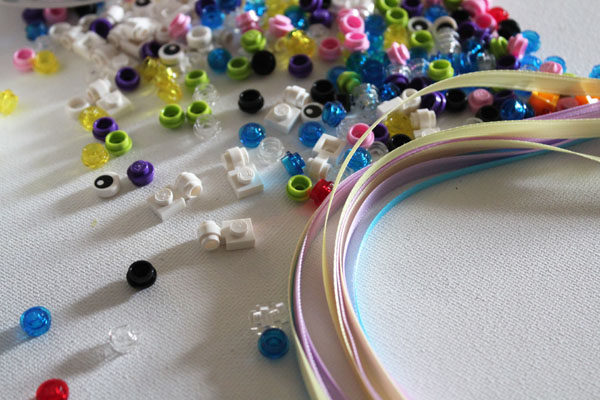
Lamp Holder – the ones at the Lego Store in Costa Mesa were white. Lego part # 4632566
Various small pieces – 3005740, 3005743, 3005741 are the transparent round plate 1×1 in various colors. I also used Eyeball 6029156 and Yellow tooth 4282860 … but you can use just about anything.
Ribbon – 1/8″ or 1/4″ wide, any color. I like Satin ribbon, but Grosgrain works fine, too.
Scissors

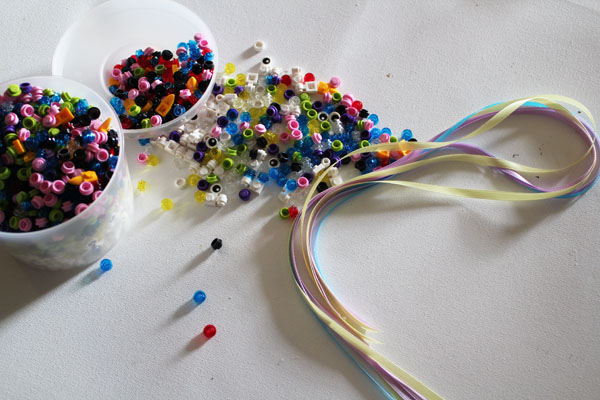
supplies for Lego Necklace

I found all these pieces in the pick-a-brick section of the Lego store. What they carry changes constantly, so I gave you the part numbers above if you can’t find the parts and want to order online.

pick a brick for lego necklaces

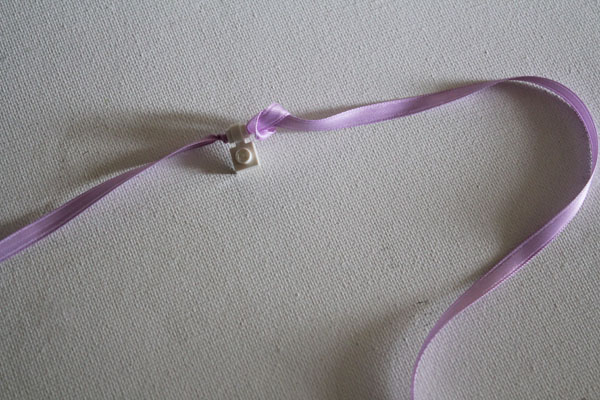
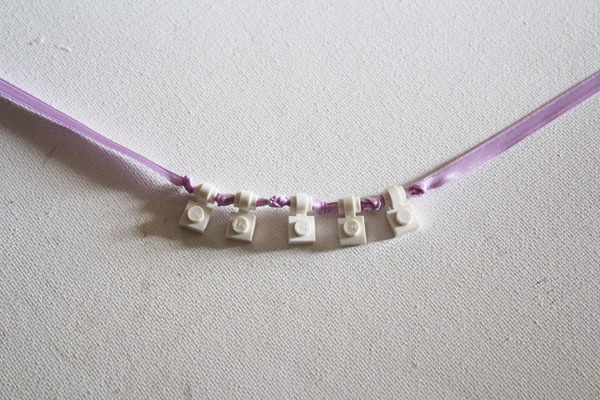
Cut 3 feet from the ribbon, if you plan to tie knots. If not, 2 feet is fine. String on a lamp holder piece by threading the ribbon through the hole like a bead. Tie an overhand knot on each side. If your ribbon isn’t very thick, you might want to put two knots on top of one another.

tie knots

Repeat, adding the number of lamp holder pieces you want.

knots between each piece

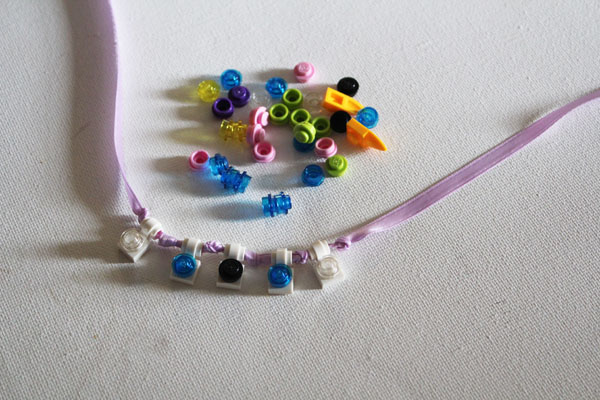
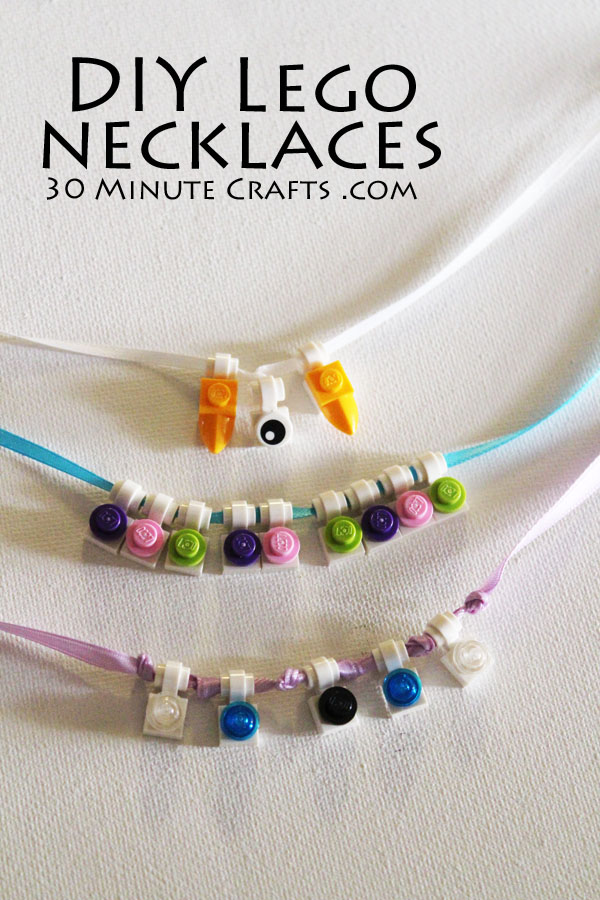
Then add accent pieces. I added round 1×1 pieces to look like jewels. My son had fun making different patterns with the colors.

add lego bling to necklace

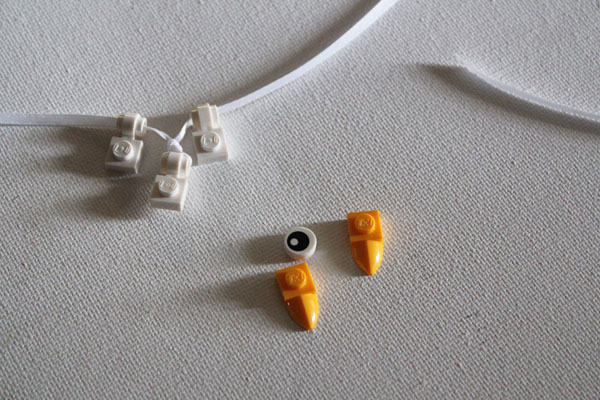
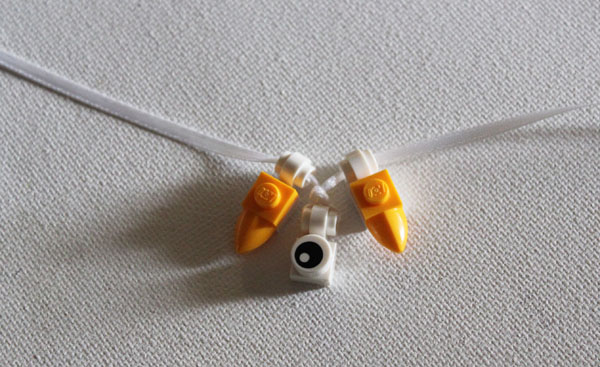
For a little different look, I put one lamp holder piece in the middle, and tied a knot with both ends. Then added another lamp holder piece to each side. I used the eye and tooth pieces.

add lego bitsFun, right?

lego eyeball necklace

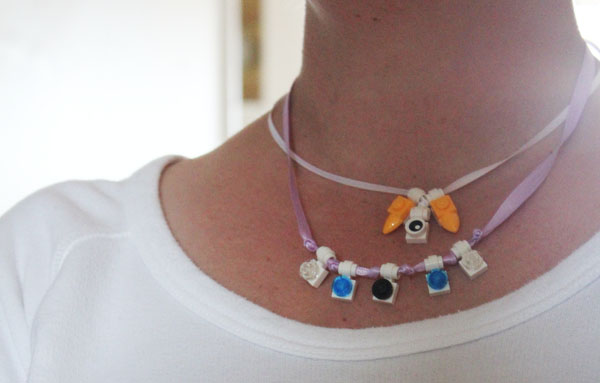
You can wear several Lego necklaces at once!

wearing lego necklaces

You can also make them without tying knots. But tie the ends together so your lamp holder pieces don’t slip off!

make your own lego necklaces

The box is simple to make. I created a Silhouette Cut file you can use. One sheet of 12×12 paper cuts all the parts of the box, which measures slightly larger than 3x3x1″.

Fold on the dashed lines, and glue the flaps down with hot glue. The lid is slightly larger so it will fit over the base. The necklace insert tucks inside the base.

put necklace in box

This is such a fun gift to give! We gave them to the Aunties at brunch for Mother’s Day. It would make a great birthday gift, party favor, Christmas stocking stuffer… any Lego fan would love getting one of these… and they make a great gift from a Lego fan as well (much more fun to make than a macaroni necklace!)

Have fun whipping up your own versions of the Lego Necklace, and be creative! You can use jewel-like pieces like we did, or add planks or other larger pieces for a Lego statement necklace… we chose not to Kragle ours, but you can if you like!

Converting Clip-on Earrings

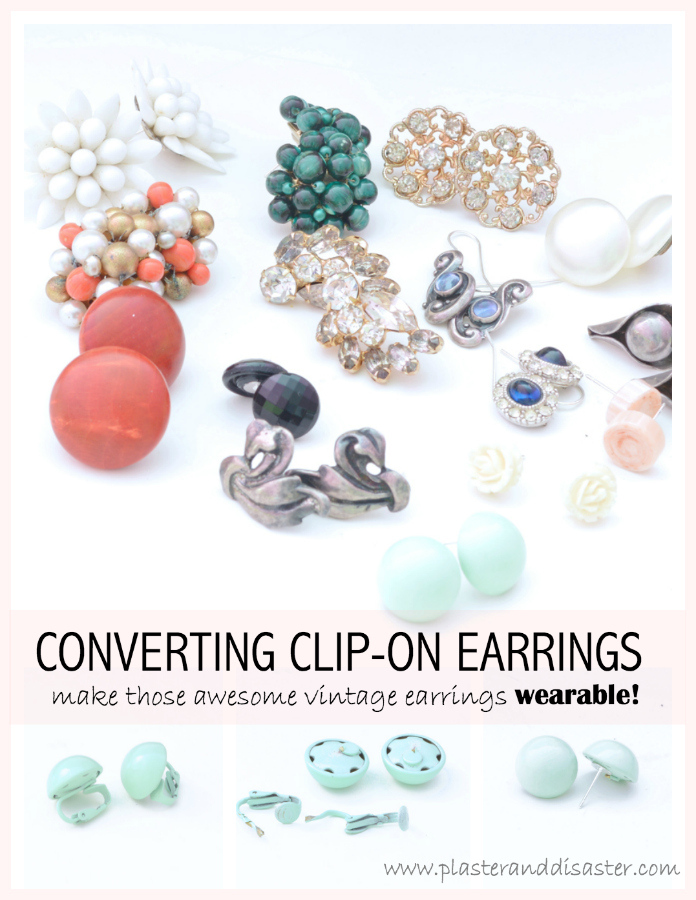
Maybe you’re like me and you didn’t pierce your ears until you were older. Or perhaps you were given a box of clip-on earrings from family or friends. Or perhaps you fell in love with a bag of costume jewelry at a yard sale or thrift shop. You can convert clip on earrings into pierced earrings, and Plaster and Disaster shows you how! It is easy to do for most kinds of clip-backs.

Plaster and Disaster - converting clip-on earrings

Make sure to pin these tips to keep them handy… but first click the link so you can pin from the original source.

Cocktail Recipe: The Honey Do

I’m super excited to share The Honey Do cocktail with you today, and the corresponding craft: a sweet little swizzle stick you can make this cocktail just a little sweeter. How can you resist? A quick and easy craft, a strong and sweet cocktail, and a completed “honey do list” at the end of the day!

Natalie’s sent me a cooler of their delicious juices, and I was determined to savor each one… what better way than to pair it with some liquor, right? I’ve promised them a few fun cocktail recipes, and some quick and easy craft projects to go alongside them. You ready? Let’s get started!

Cocktail Recipe The Honey Do copy

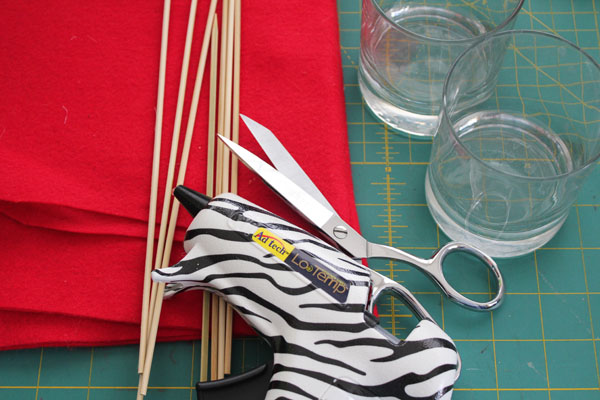
For the craft you’ll need:
Your highball glass
Bamboo skewers
Scissors
Red felt
Hot Glue gun
For the drink you’ll need:
Natalie’s Honey Tangerine Juice
Smirnoff Wild Honey Vodka

Before we get to the crafty portion, I just want to add that you should always drink responsibly. Know your limits, don’t drink and drive, and if you’re going to drink and craft… get a low-temp hot glue gun!

supplies for cocktail pick

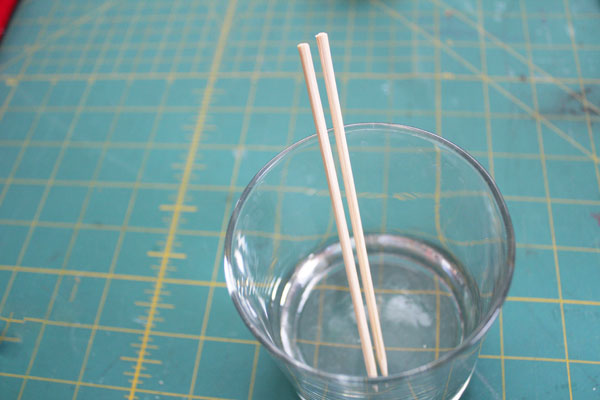
Cut your bamboo skewers so they extend about 1″ past the rim of the glass. Don’t use your good sewing shears. Use craft scissors, okay?

cut skewers to size

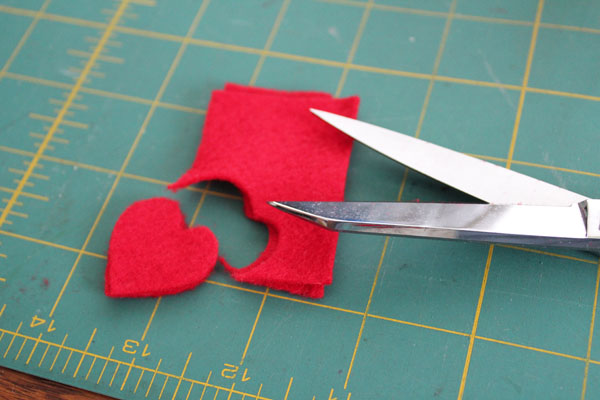
Fold a segment of felt in half, and cut through a double layer to make two hearts the same size. They should be about 1″ square.

cut heart shape

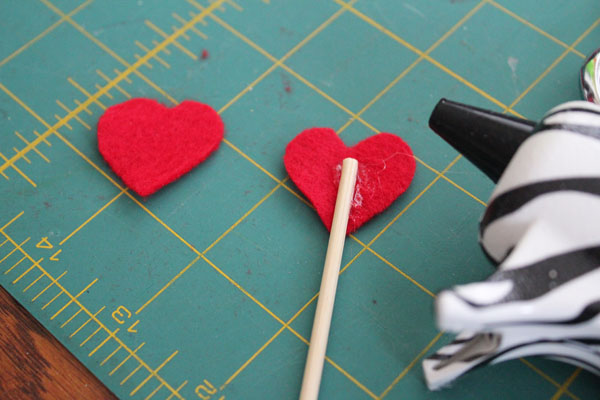
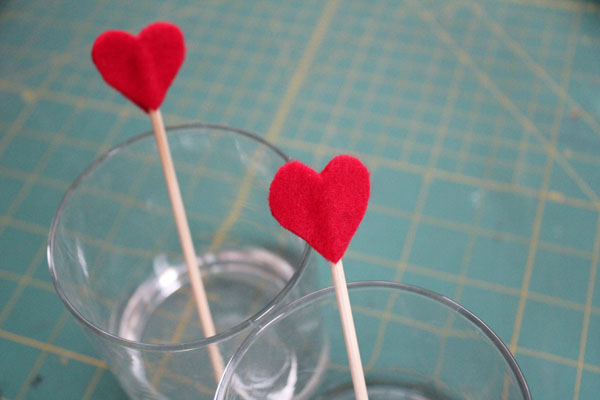
Separate the two hearts, add a dab of glue, then press down one end of the skewer.

hot glue in place

Another dab of glue, the second heart on top, and you’re all done!

finished heart cocktail pick

Now let’s add a sweet cocktail to go with these sweet swizzle sticks…

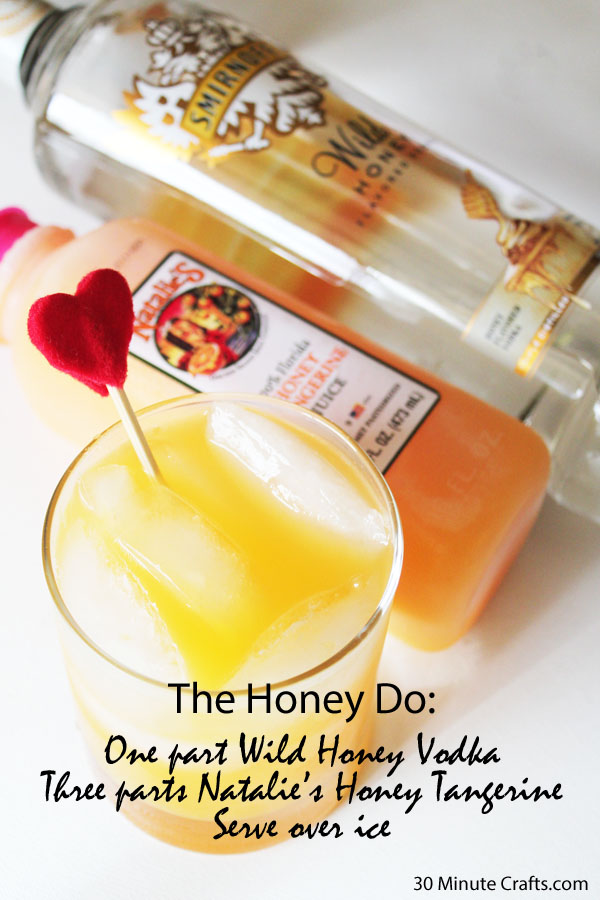
1 part Smirnoff Wild Honey Vodka
3 parts Natalie’s Honey Tangerine juice
stir well and serve over ice

… after the day’s honey-do list has been completed.

how to make the honey do cocktail

Mouthy Zippered Pillow

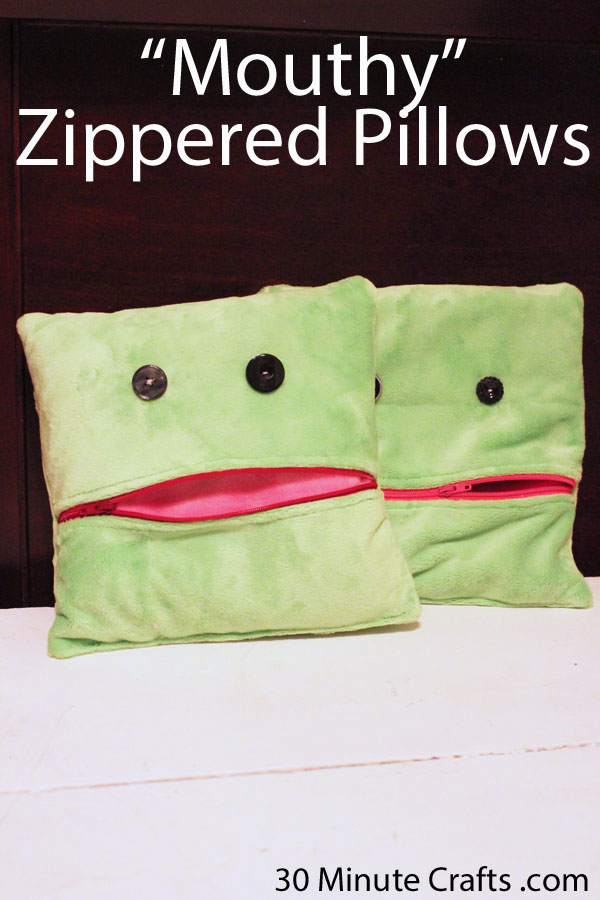
My kids love softies. And hiding things in pockets. And presents from Mom. And all those loves came together when I made them these Mouthy Zippered Pillows a couple weeks ago. I was going away for a conference, and left a gift for them to open each day. Day 2 included these fun zippered pillows made out of soft Shannon Cuddle fabric squares. I whipped them up the night before leaving. And inside each zipped-up mouth was a little bonus gift.

Mouthy Zippered Pillows on 30 Minute Crafts com

These zippered mouth pillows can hold their treasures, notes from mom, even allowance money! And they are super simple to make.

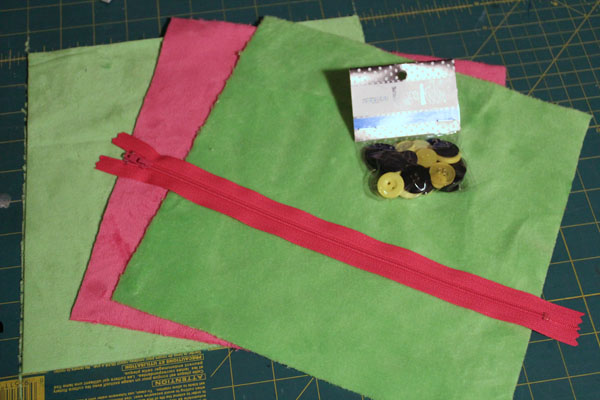
You’ll need:
3 – 10″ Squares of Shannon Cuddle Fabric. I went with two green squares for the outside, and a pink one for the inside “mouth”, but you can choose whatever you like.
2 buttons. These were from a collection of buttons for Buttons Galore by my friend Laura Kelly
12″ zipper (you can use a 10″ zipper, but longer is easier)
Sewing machine
Needle and Thread
Batting Scraps (at least 10″x10″, but larger is fine)

supplies for mouthy zippered pillow

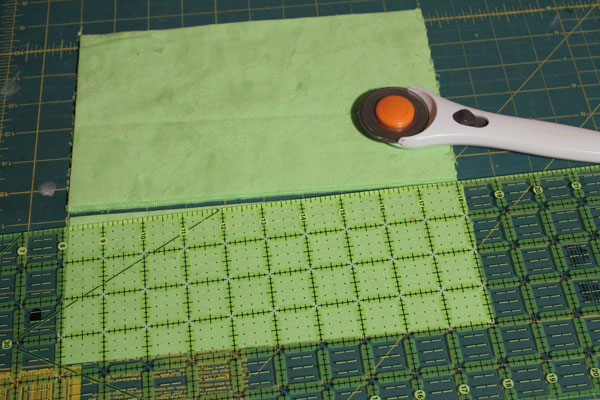
Start by cutting one of the outside squares.  I cut a 4″ wide piece off of mine, but you can divide yours however you like. I think 4″ looks better than right down the middle at 5″.

cut square

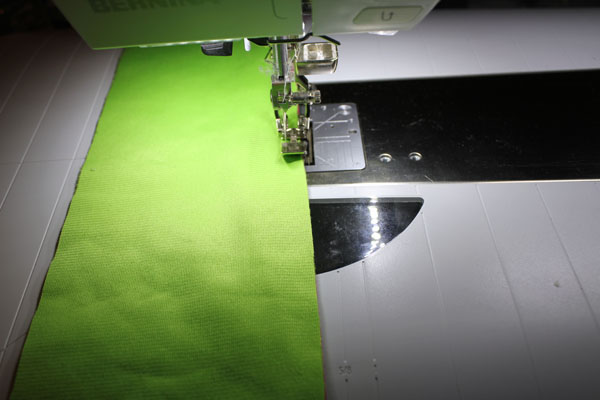
Because Cuddle is a knit, and doesn’t fray, there is no need for a lining fabric (yay!). This makes putting on the zipper easier. Just put the zipper underneath the strip of Cuddle (fuzzy size down – touching the zipper which is right-side up), and stitch down with your zipper foot. Make sure the edge of the zipper lines up with the raw edge of the Cuddle fabric.

stitch on zipper

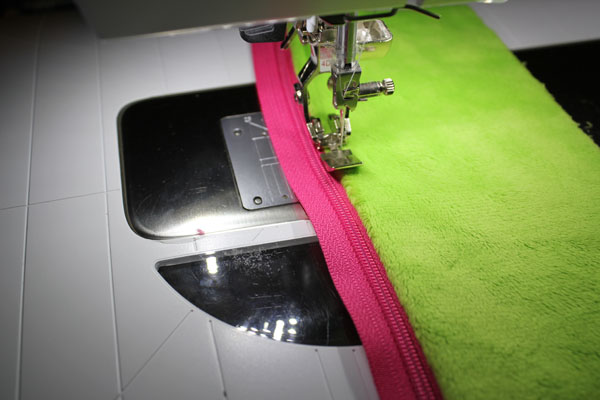
Now flip the fabric over so both the right side of the zipper and the right side of the fabric are exposed, and top-stitch down the fabric.

stitch down side of zipper

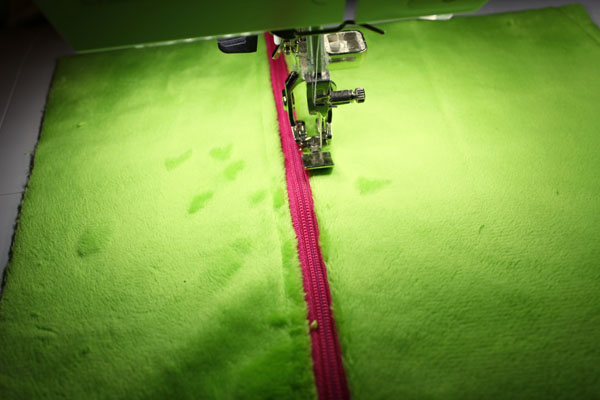
Repeat with the other piece of fabric, and the other side of the zipper.

topstitch zipper

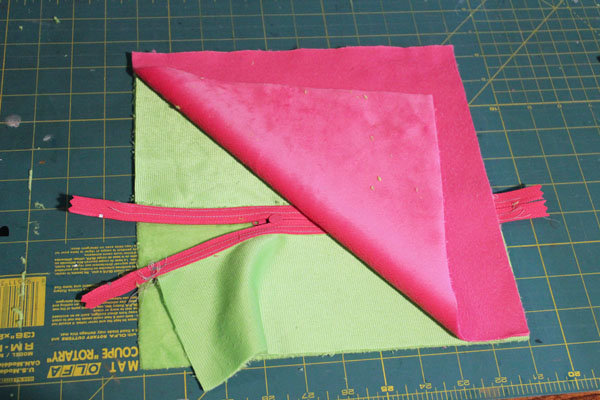
Time to put it all together! Layer your pieces: Back (furry side up), Front (furry side down), Pink (furry side down). IMPORTANT: Make sure that your zipper pull is on the inside, so that it isn’t outside the seam allowances after the next step.

layer pieces

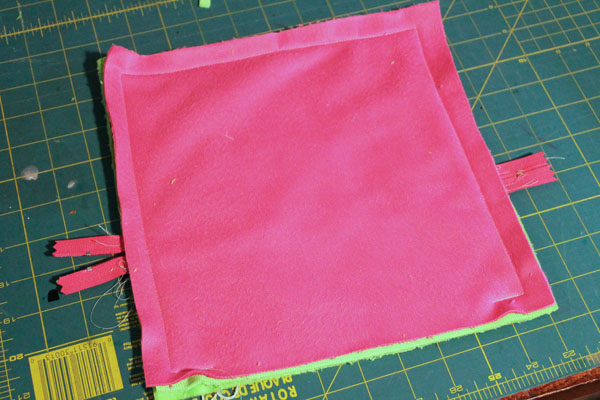
Stitch all the way around, leaving about an 8″ hole at the bottom. I used a 1/2″ seam allowance, but it really doesn’t matter.

stitch around leaving opening

Cut away the extra zipper pieces, clip the corners, and turn right side out. To turn, put your hand between the two green layers, and bring them to the outside (just like you would an inside-out sock).

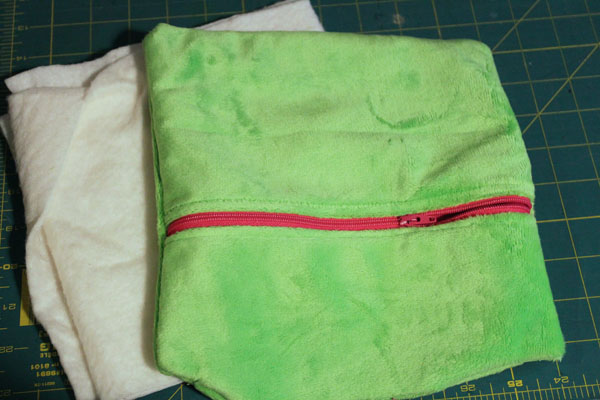
Fold up your batting scraps to make a layer about an inch or two thick, that is the size of your square, or a little smaller. Tuck inside, using the hole at the bottom.

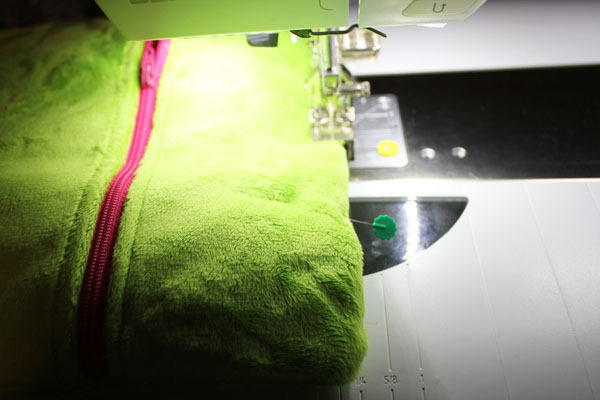
fold up batting scraps to insertPin all three layers at the bottom, and stitch closed.

stitch bottom closed

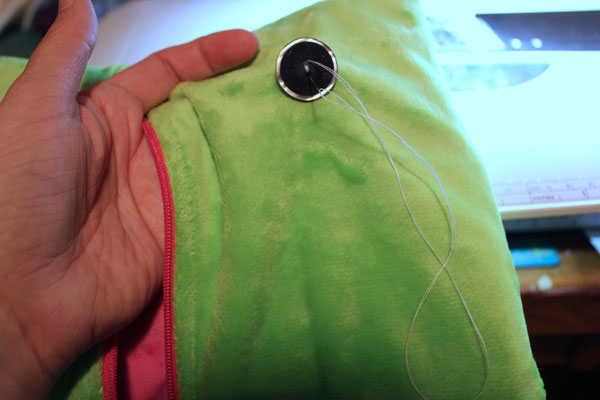
Open the zipper, and using a needle and thread, stitch the buttons to just the top layer, making the eyes. If you plan on giving this to a young child, use fabric paint instead so that you don’t have a choking hazard.

stitch on button eyes

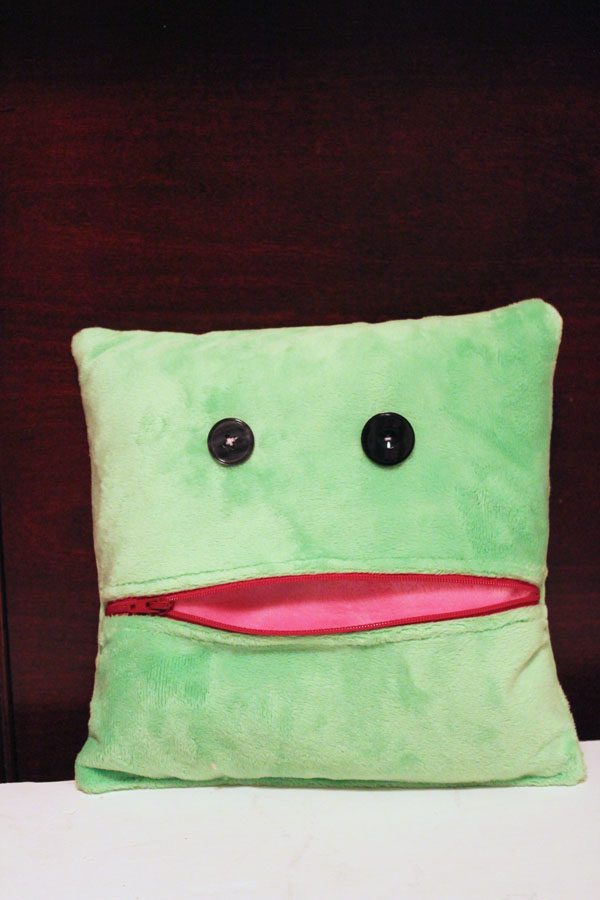
Your mouthy pillow is complete!

zippered pillow pocket

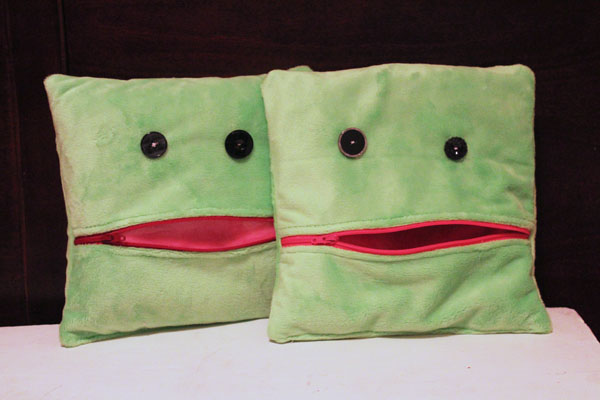
Make a friend for him, if you like…

finished mouthy zippered pillow pockets

Half Birthday Party

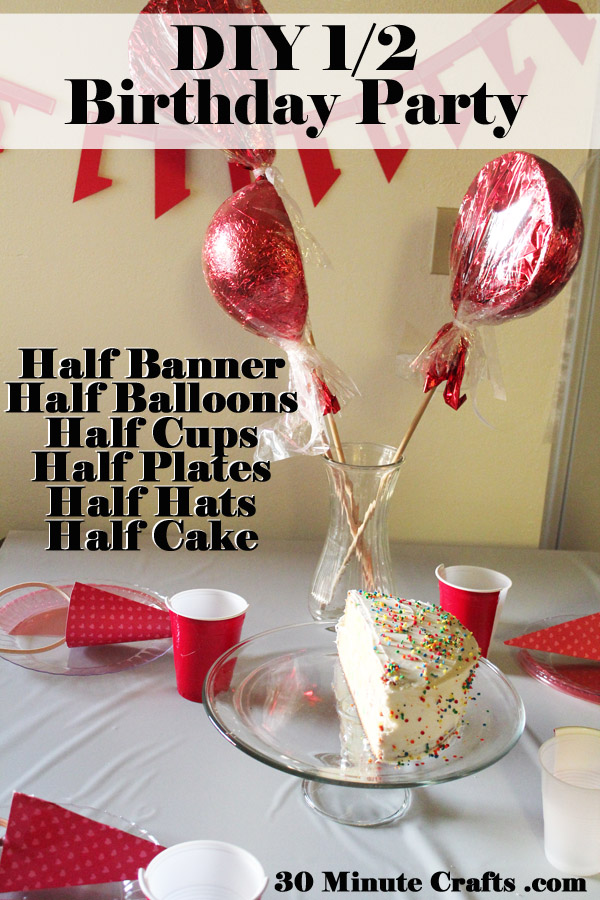
For my oldest, turning 6 1/2 was a big deal, so we decided to celebrate with a Half Birthday Party. I made all his decorations, including a half birthday banner, half party hats, half cups, half plates, half a cake, and even half balloons! It was so much fun to put it all together, and each of these projects can be whipped up in 30 minutes or less. He felt so special blowing out his half cake while we sang the half birthday song. Scroll through this post for all the details on how to make a special half birthday party for someone who could use a little celebration!

DIY half birthday party supplies

Half Cups

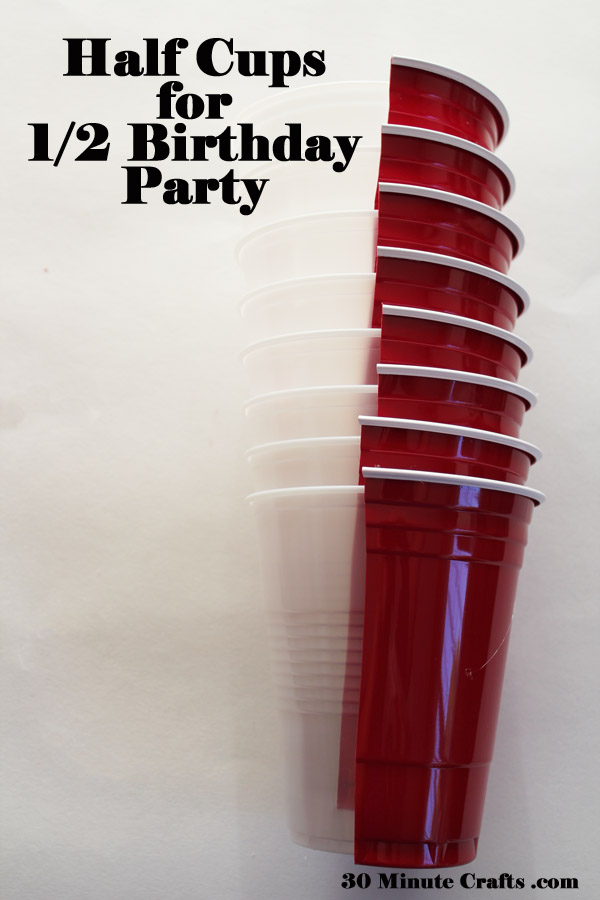
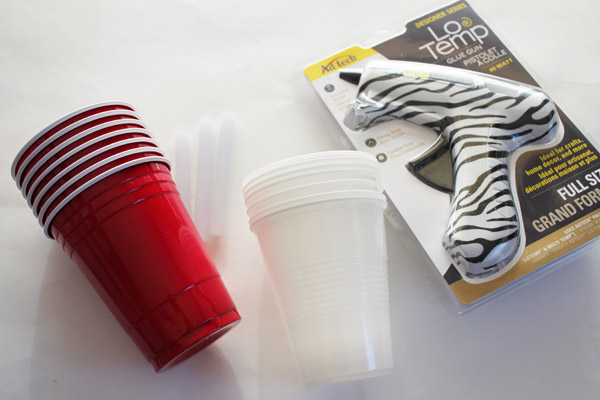
Making half cups for the half birthday party was a fun challenge. How to make cups that were cut in half, but would still hold liquid? The solution was to use whole clear cups, and surround them with half of a red cup, so that we could keep the “half” theme, without leaking KoolAid all over the place!

Half Cup Supplies:
Red Cups
Clear cups that fit into the red cups
Lo-temp Glue Gun
Scissors

supplies for half cups

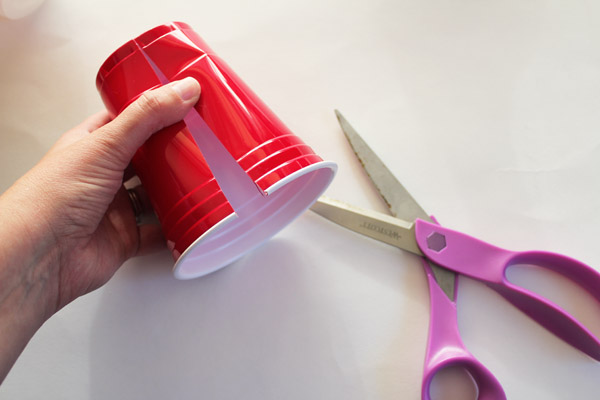
Cut each red cup in half. There are indentations at the bottom that you can use as a guide.

cut cup

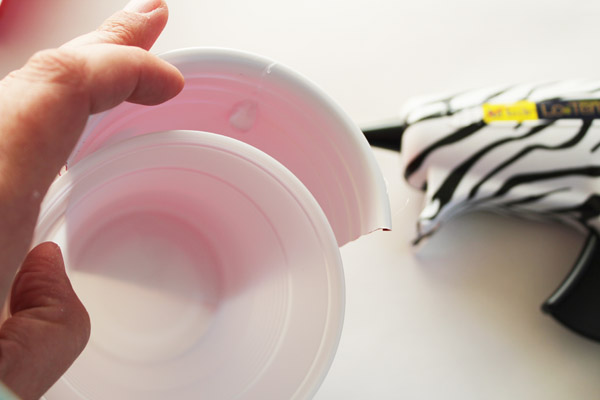
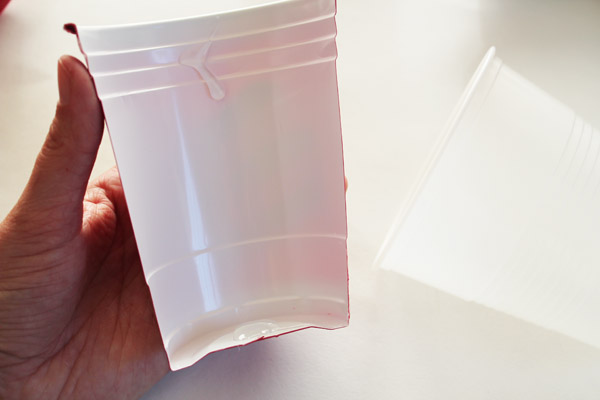
Use a Lo-temp glue gun (hot glue might melt the cups) to add a dab of glue at the bottom and side, securing the clear cup in place.

glue to inside of half cup


put cup inside half cup

Repeat until you have enough cups for your half birthday party!

half cups for half birthday party

Half Plates

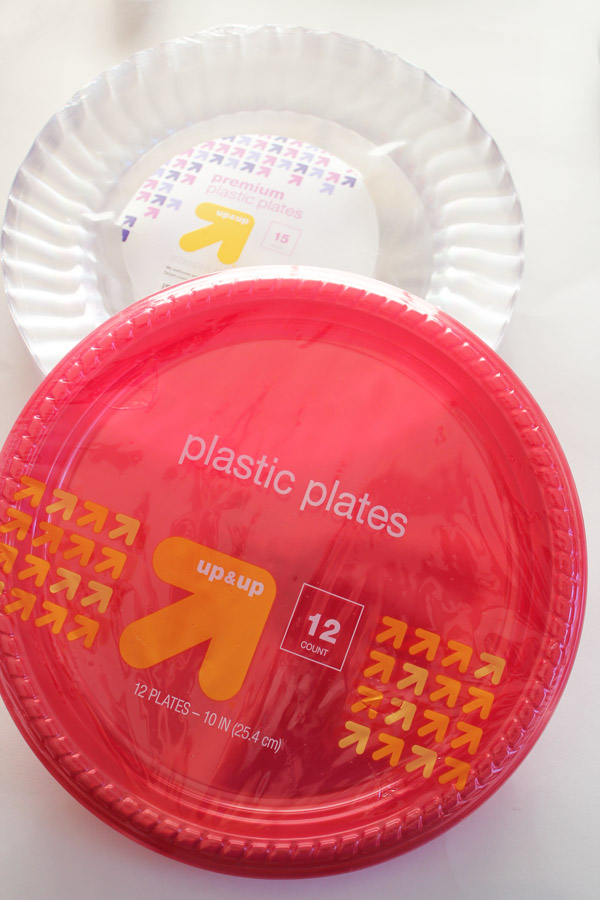
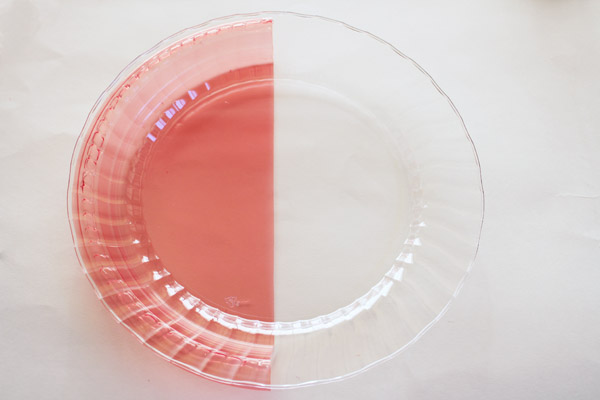
Once I had the half cups, the half plates were easy to make using the same basic idea. A clear plate fused to half of a colored plate.

Supplies:
Red Plate
Clear Plate
Lo-temp glue gun
Scissors

plates for half plates

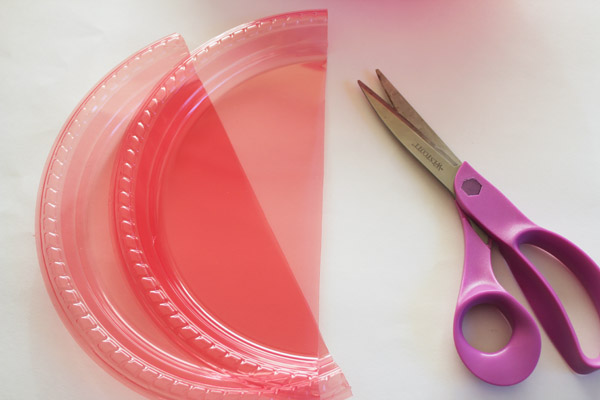
Cut red plates in half

cut plate in half

Glue to underside of clear plates.

glue plate pieces

Half plates done! You can make large ones for the meal and small ones for cake if you like. We had a small party, so we just did the large plates.

Half Party Hats

You can’t have a party without silly party hats, right? I created a Silhouette cut file to make the half party hats. Here are the Half Birthday Party Hat Silhouette Cut Files for two hats per sheet and one hat per sheet. If you don’t have a Silhouette, here is the Half Birthday Party Hat Template you can use.

Supplies:
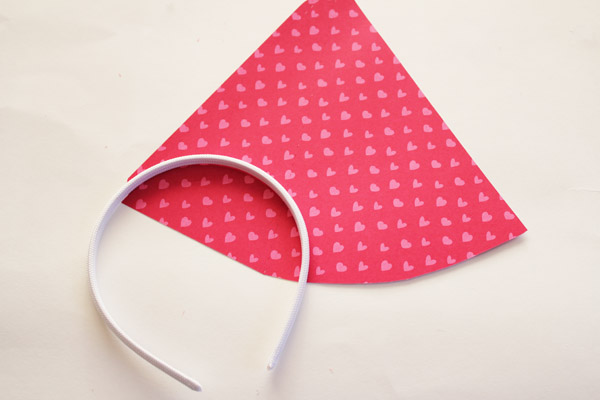
Scrapbooking Paper with hats cut out
Lo-temp or hot glue gun
Headbands

make a half birthday hat

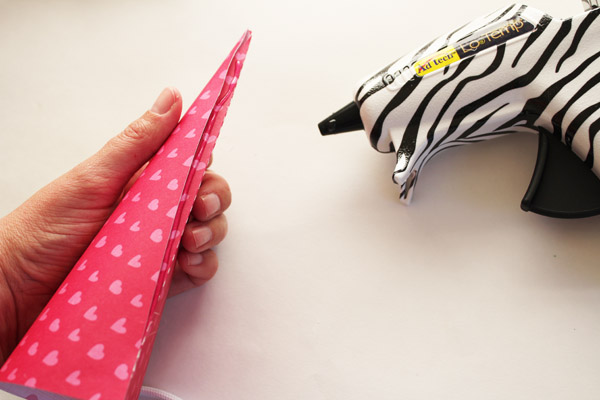
Once you’ve cut out the hats, fold on the score lines.

fold paper on dotted lines

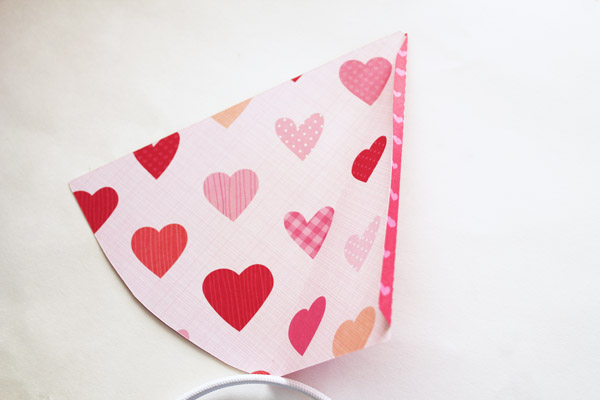
Curve the larger section towards the tab. Secure with a dab of glue at the base.

glue down corner edge

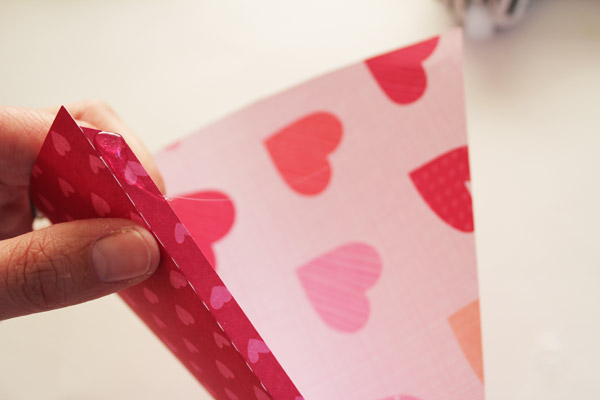
Now run a line of glue all the way along the edge of the flap, and secure the entire edge of the hat.

glue down edge of hat

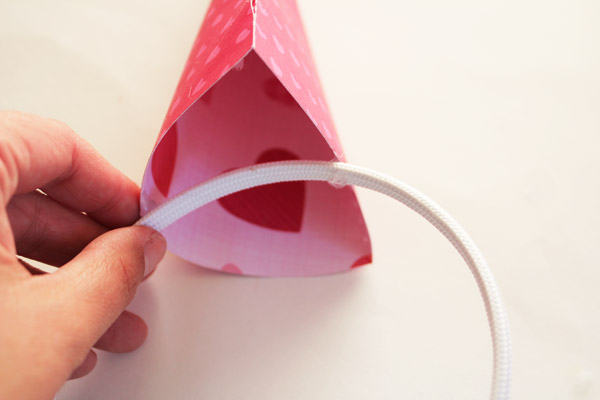
Glue to headband, slightly off-center.

glue hat to headband

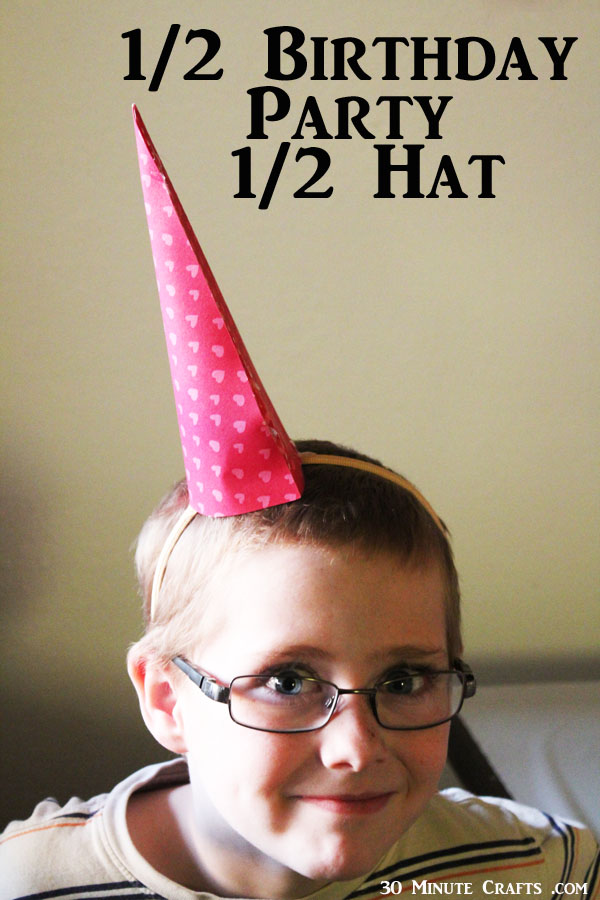
Once it has cooled, wear your half birthday party hat with pride!

half birthday party half hat

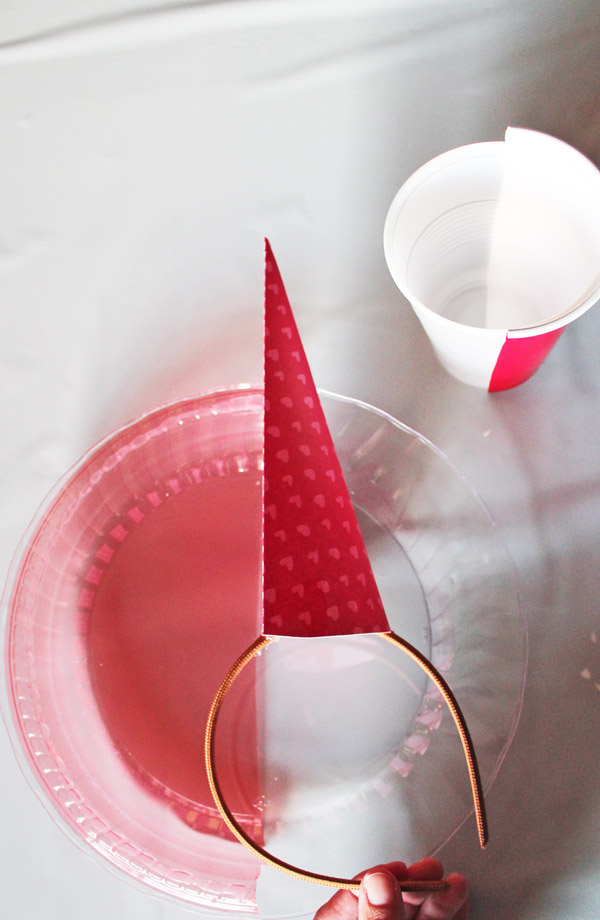
It makes a fun part of the Half Birthday Party place setting!

half birthday party place setting

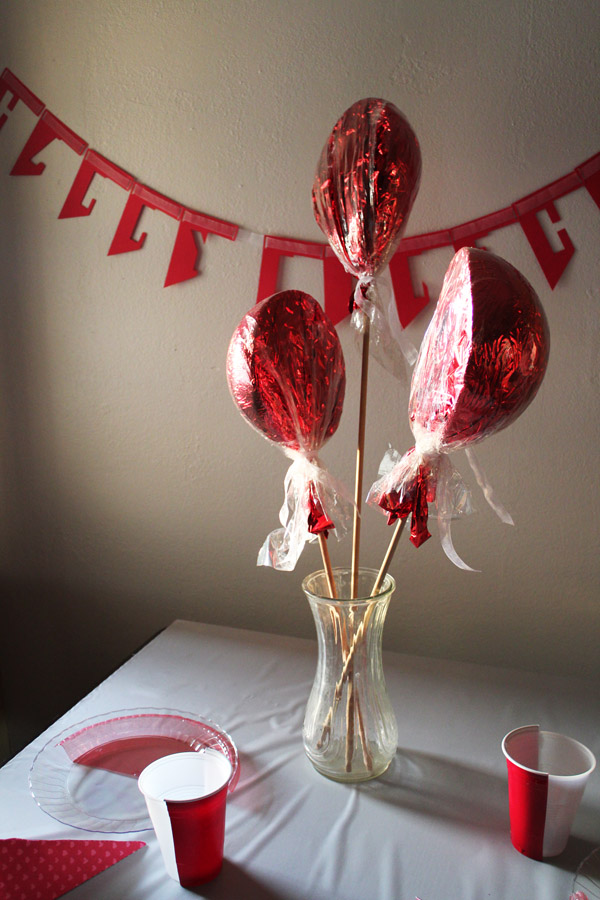
Half Balloons

Half Birthday Party Balloons? YEAH! It took me several failed attempts to figure out the best way to make these, but since it isn’t a party until you have balloons, I kept trying.

Half Balloon Supplies:
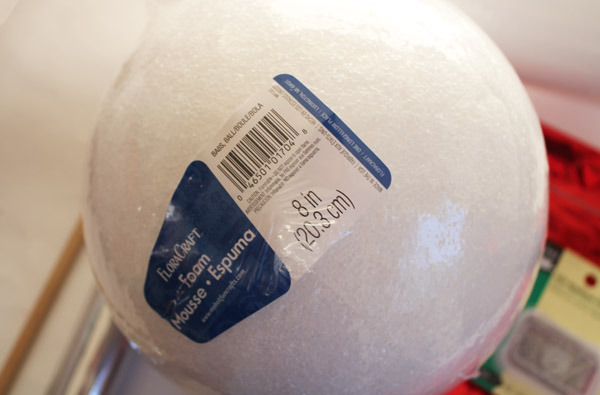
Large Styrofoam balls
Dowels
Styrofoam cutter
Colored Mylar Sheet (usually near the tissue paper in the craft store. In a pinch, you could probably use tissue paper, but the shiny Mylar looks a little more legit)
Clear heat-shrink cellophane
Hair Dryer
Pins
String or ribbon

supplies for half balloons

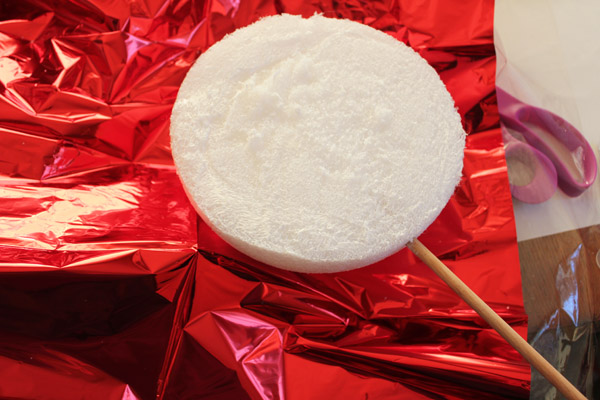
Start by cutting the ball in half, and inserting a dowel. Wrap in the colored Mylar sheet, gathering the ends at the stick.

cut styrofoam in half

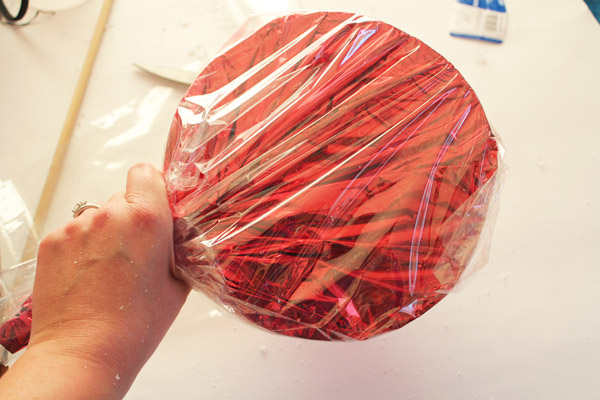
Wrap in the heat-shrink cellophane, just like the Mylar. If there is any area with LOTS of excess cellophane, you can cut some away, but the cellophane will shrink a lot, so it is better to leave it.

wrap with cellophane
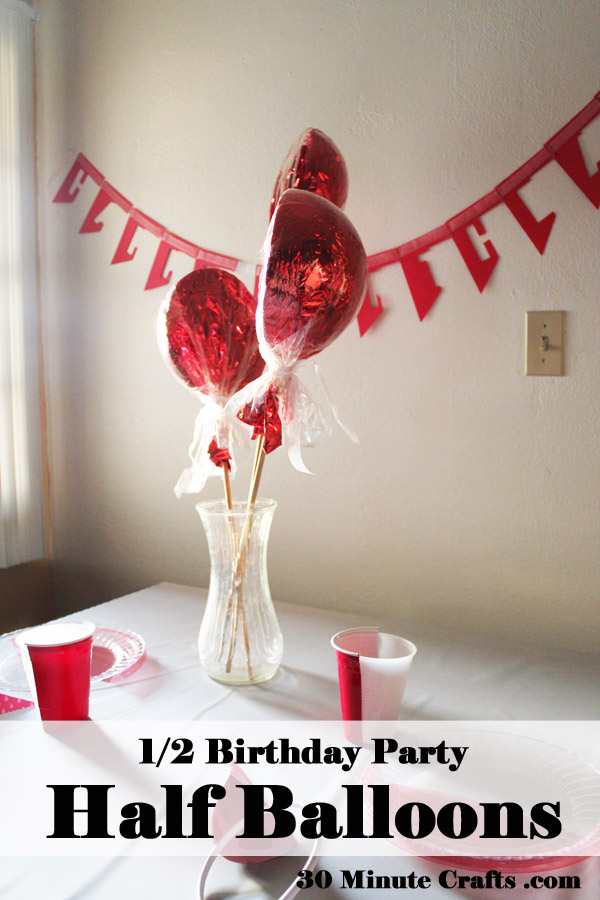
Tie the bottom with string or ribbon, and shrink with a hair dryer until smooth.

Half Balloons for half Birthday Party

Half Birthday Banner

The Half Birthday Banner is a fun backdrop for your party. Watch your guest try to read what it says! Which is particularly funny because they should know what kind of party they’ve been invited to, right?

Supplies:
3 sheets 12×12 Scrapbook paper
6-8 feet of ribbon

Cut out the Half Birthday Banner with the Silhouette Machine, using these files:
HAPPY B Letters Cut File
IRTHAY Letters Cut File
Letter D Cut File

Thread a ribbon through the notches at the top of the banners, and hang.

Half Birthday Party at 30 Minute Crafts com

Half Cake

A half cake is easy to make! Bake a round cake in a spring-form pan, following the instructions on the package. Trim any bulge off the top to make the top flat, and discard this bit(this is a yummy treat for you while doing party prep). Cut in half to make two half-circles. Put frosting on top of one half. Place the other half on top. Frost the entire cake as usual, but leave the flat side (the cut side) exposed for a fun “half cake” look.
To make half a candle, just cut the bottom half off of a candle. For this 6 1/2 party, I added 6 regular candles, then the shorter half candle.

And, be sure to sing the half birthday song! It goes like this:

(Hum hum) Birthday (hum) you!
(Hum hum) Birthday (hum) NAME HERE!
(Hum hum) Birthday (hum) you!

Click on the image below to hear us singing our Half Birthday Song:


You can serve all kinds of fun foods… half hot dogs, half hamburgers, half carrot sticks, half-popped popcorn (just add some kernels to the bottom of the bowl), fruit sliced in half (cherries, blueberries, oranges), twice-baked potatoes (served in half the skin)… have fun coming up with ways to serve halves of your favorite party snacks!


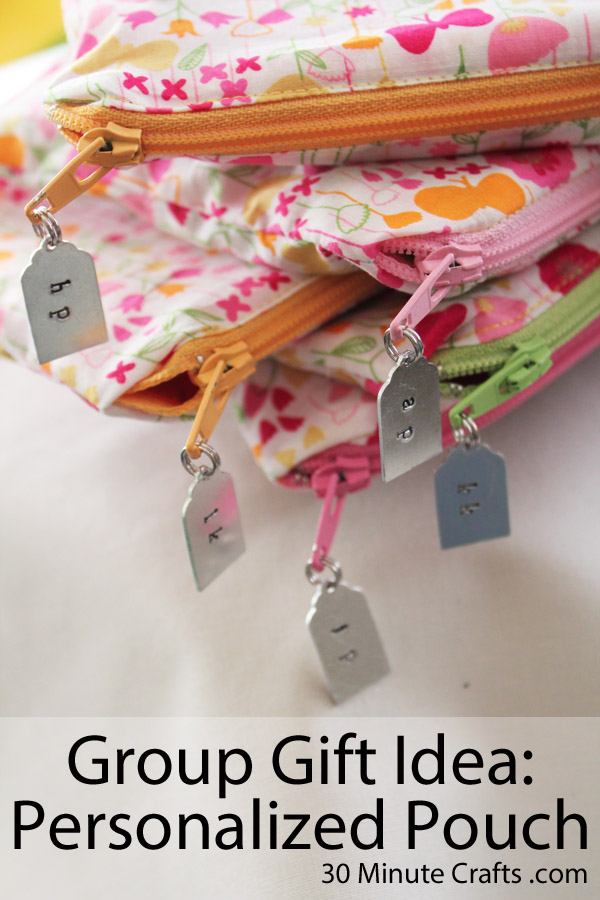
Group Gift Idea: Personalized Zippered Pouch

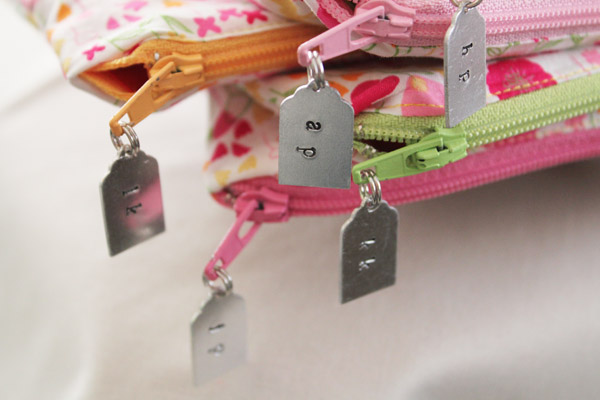
A couple times a year I get together with various groups of friends for various events. I like to bring little gifts along for my friends, and one of my favorite is a zippered pouch. They are inexpensive to make, don’t take a lot of time, and are a great all-around gift. Anybody can enjoy a zippered pouch – for holding business cards, makeup, sewing notions, pens and pencils… the uses are endless! I like to find fun ways to personalize them or make them unique. Impress Art sent me some supplies to play with, giving me the perfect opportunity to dress up this simple gift by adding tags with hand-stamped initials.

Group Gift Idea Personalized Pouches

Start by making a simple zippered pouch. If you have never made one before, they are easy! I’ll show you how, and then we’ll add the cute metal stamped zipper pulls.

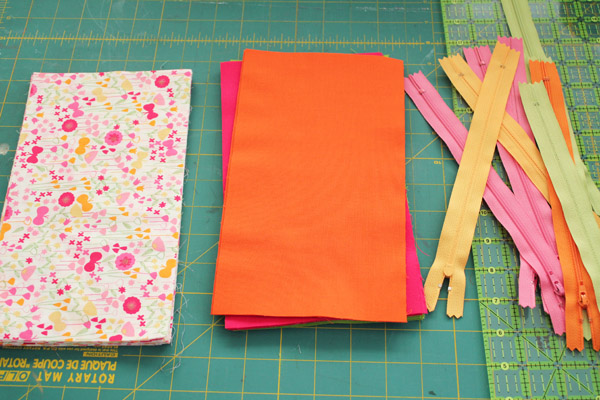
Cut the fabric. I cut my pieces 5″x10″. You’ll need two pieces for the outside, and two pieces for the lining.cut fabric for zippered pouches

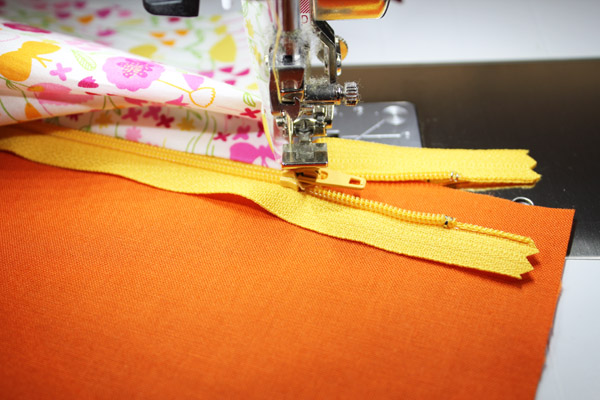
Sandwich the zipper against the raw edge of the fabric, with a lining piece on the bottom, right side up, and an outside piece on the top, right side down.

stitch on zipper

Using the zipper foot on your sewing machine, stitch the zipper in place. Open up the two pieces of fabric, exposing the zipper, then top stitch the fabric down to keep it in place. When you reach the zipper pull, stop. It will get in the way. Lift up your presser foot, turn the fabric so you have access to the zipper, then zip open partway. You can then put the presser foot back down and keep stitching.

turn presser foot and open zipper

Repeat with the other side of the zipper.

open up layers

Put the two top layers right sides together, and the two lining layers right sides together.

VERY IMPORTANT: Leave the zipper at least part way open, or your bag will be sealed shut (the good news is that most people only make this mistake once!)

Pin and stitch all the way around, leaving a 3″ hole in the bottom of the lining to turn. Then, through the hole, turn the bag right side out.

turn zippered pouches right side out

Stitch the bottom hole closed. You can hand stitch for a more finished look, or run it through the sewing machine.

pin closed and stitch

Turn the bag all the way right-side-out, and your little zipper bag is complete! I love making these assembly-line style.
pouches ready for tags

Now for the fun part! Let’s personalize them with little tags.
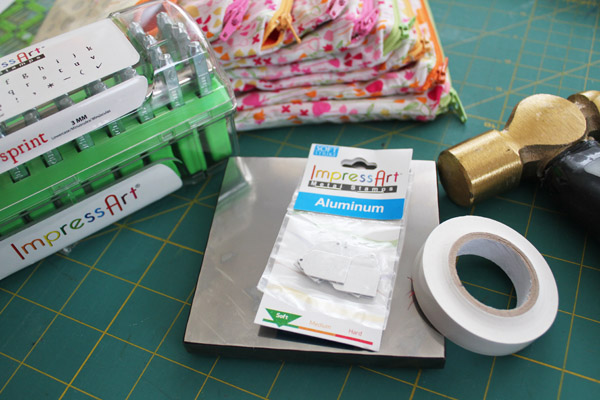
supplies for zipper pulls
You’ll need:
Impress Art Letter Stamps (I used the “Newsprint” font)
Impress Art 7/8″ Tag Stamping Blank
Stamping Block
Hammer
Stamp Straight Tape
Split rings or regular jump rings
Jewelry pliers
List with recipient names

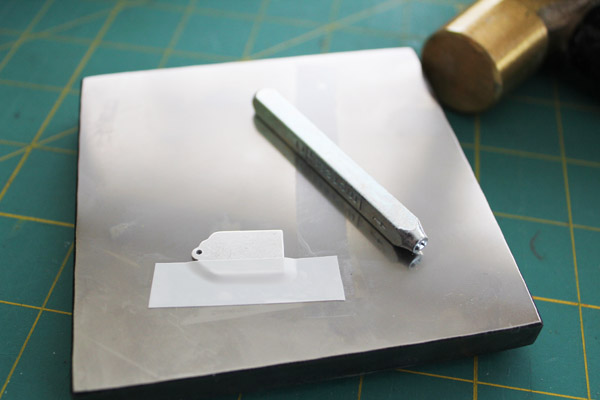
Place a blank on the stamping block. Use some Stamp Straight Tape to keep your stamping all lined up.

line up with tape

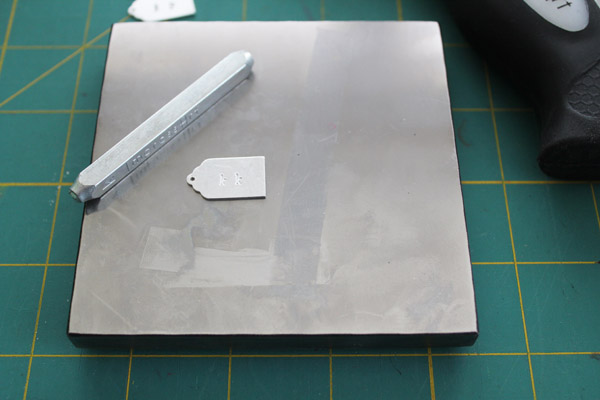
Stamp your letters, remove the tape.

stamp letters

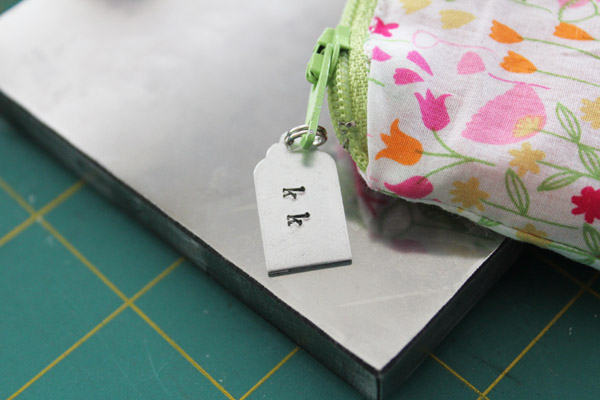
Use a Sharpie to rub ink into the stamped letters. This will help them stand out more. Attach with your jump ring. Because the zipper pull will see a lot of use, a split ring is a good choice, instead of a standard jump ring.

add sharpie ink


Repeat for all your bags.

finished zipper pouches

These little personalized gifts are almost as fun to give out as they are to make!

DIY Interchangeable Charm Bracelet

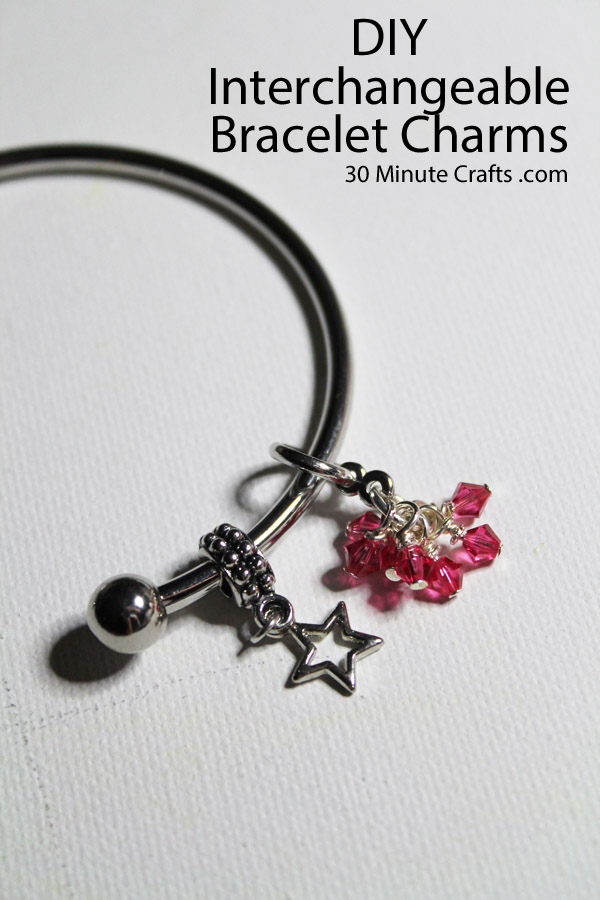
Do you love personalizing or changing out your jewelry? There are lots of great commercial bracelets you can buy that allow you to change out the charms whenever you like. These are lots of fun to play with… but also lots of fun to make! Did you know that you can make your own charms for these bracelets? It is super easy! I’m going to show you how to make your own sparkly charm with a cluster of crystals. Once you see how easy they are to make, you’ll be making lots of these fun charms!
DIY Interchangeable Bracelet Charms

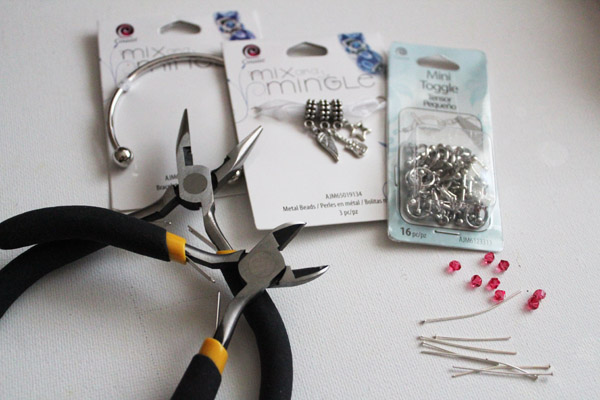
To make this yourself, you’ll need:
Mix & Mingle Bracelet
Mix & Mingle Charms (if you don’t want to make all your own)
Mini Toggle Clasps
Head Pins
Beads or Crystals
Jewelry Pliers

DIY Interchangeable Bracelet Charms

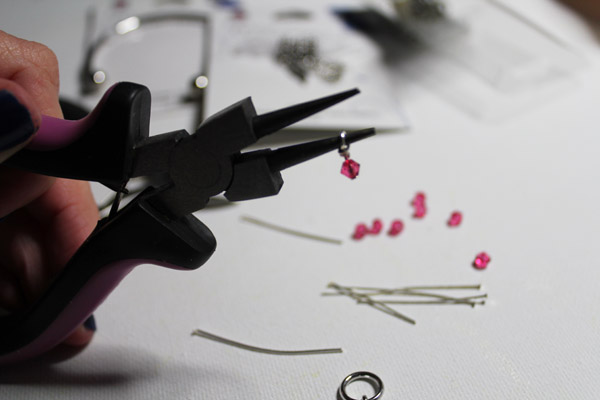
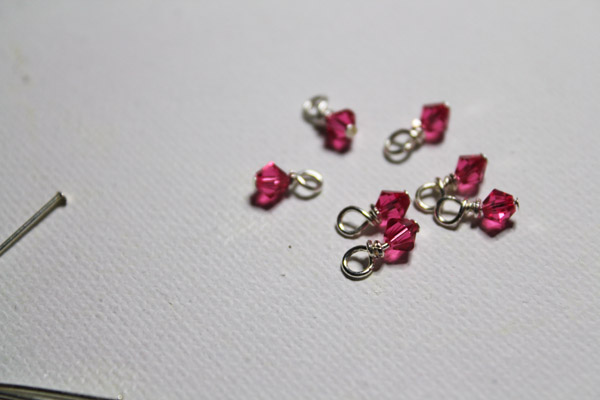
Start by turning the crystals into small charms. Place each on a head pin, then wrap to secure.

wrap crystals

wire wrapped mini charms

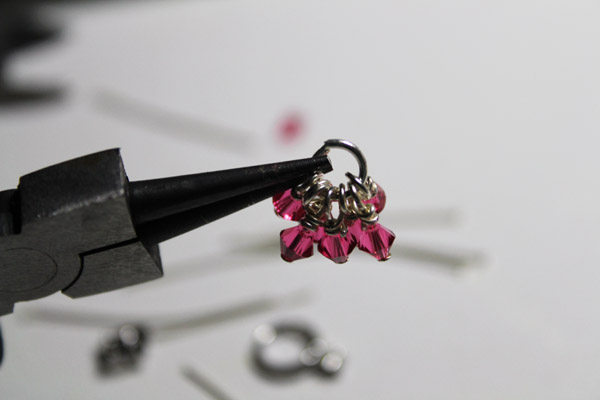
Open a jump ring, attach the crystals you just made.

Open jump ring
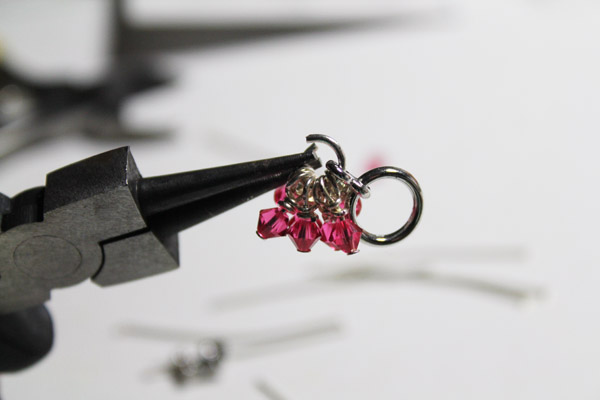
Add the O portion of the toggle clasp, attaching at the small O.

add toggle
Close the jump ring. You’re ready to add your custom charm!

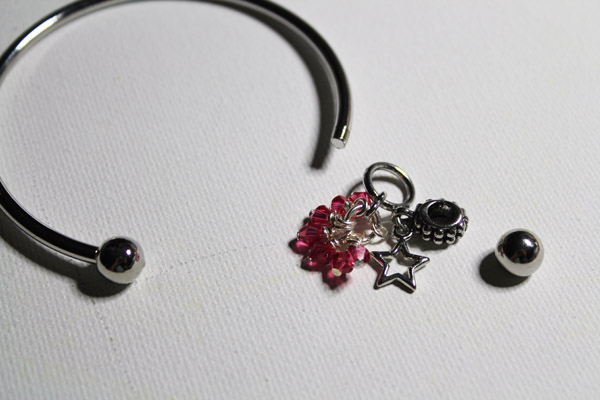
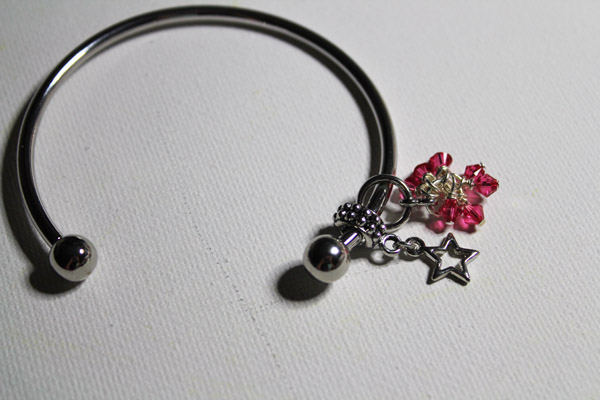
put charms on braceletPut your custom charm on your bracelet. So simple, and so sparkly!

finished bracelet

Teacher Appreciation Necklace

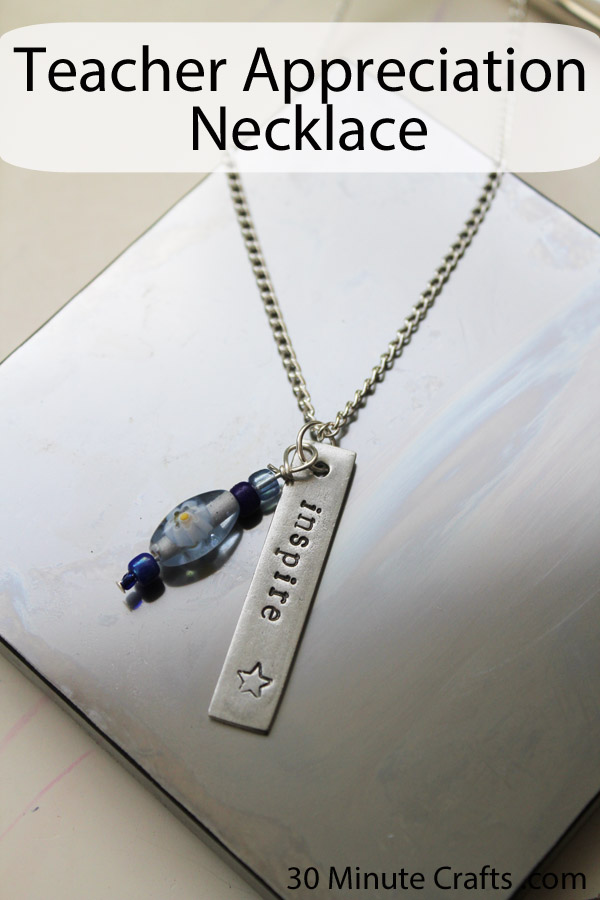
It is the last day of Teacher Appreciation Craft Lightning! Hopefully you’ve enjoyed all the fun and fast Teacher Appreciation Crafts we’ve been making this week. I want to share with you one last fun (and easy!) project you can make – this metal stamped teacher appreciation necklace. It is super simple to make, in just a few minutes, with the right supplies. And what child doesn’t love giving jewelry to their amazing teacher, right?

Teacher Appreciation Necklace

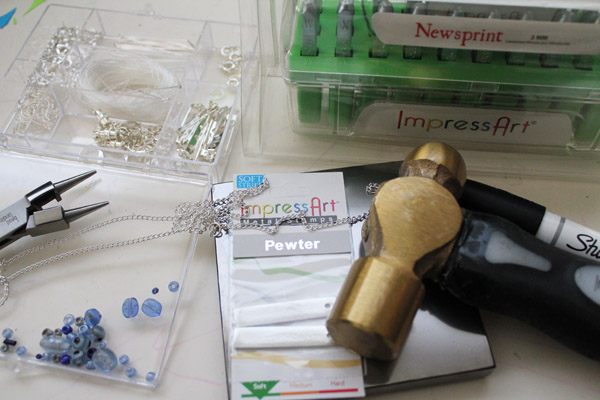
To make this necklace you’ll need:

Impress Art Letter Stamps (I used the “Newsprint” font)
Stamping Block
Hammer
Stamp Straight Tape

Impress Art Stamping Blank
Jump ring
Chain and jewelry clasp
Head Pin
Beads
Jewelry pliers

Teacher Appreciation Necklace Supplies

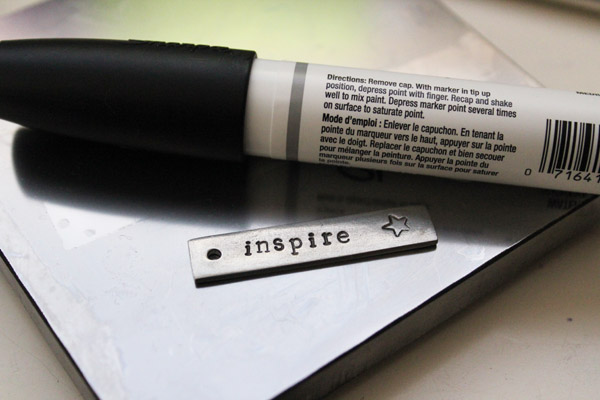
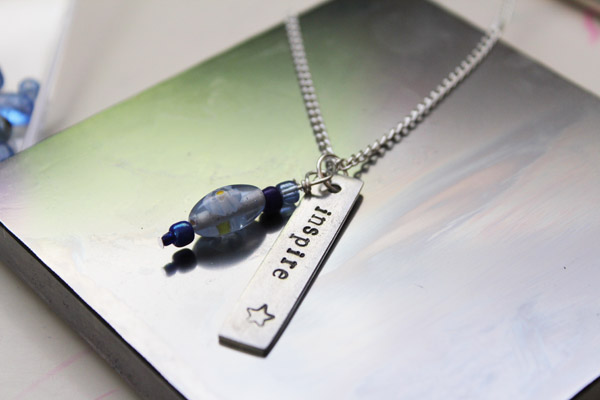
Start by stamping the blank with a word for your teacher, then use a Sharpie to get ink into the stamped area. I stamped “Inspire”, but there are lots of great words – teach, learn, read, grow, achieve, dream, create, passion… I’m sure you can think of lots of great words. But here we just need one.

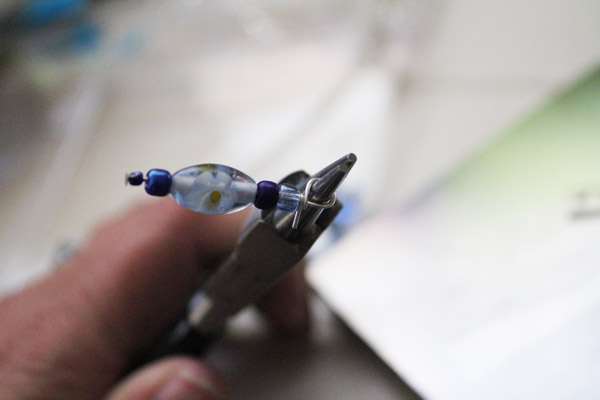
bring out with sharpiePut some beads on a head pin, then wrap the top of the head pin to create a loop and secure the beads in place.

make loop
Using a jump ring, attach the beads and the word to the necklace. If the necklace doesn’t have a jewelry clasp, add one.

Finished Teacher Appreciation Necklace

This necklace is very simple to make, and not at all an expensive gift to give. You can also personalize it with a word that has meaning for the teacher, and use beads that are in the teacher’s favorite colors.

Number One Teacher Ribbon

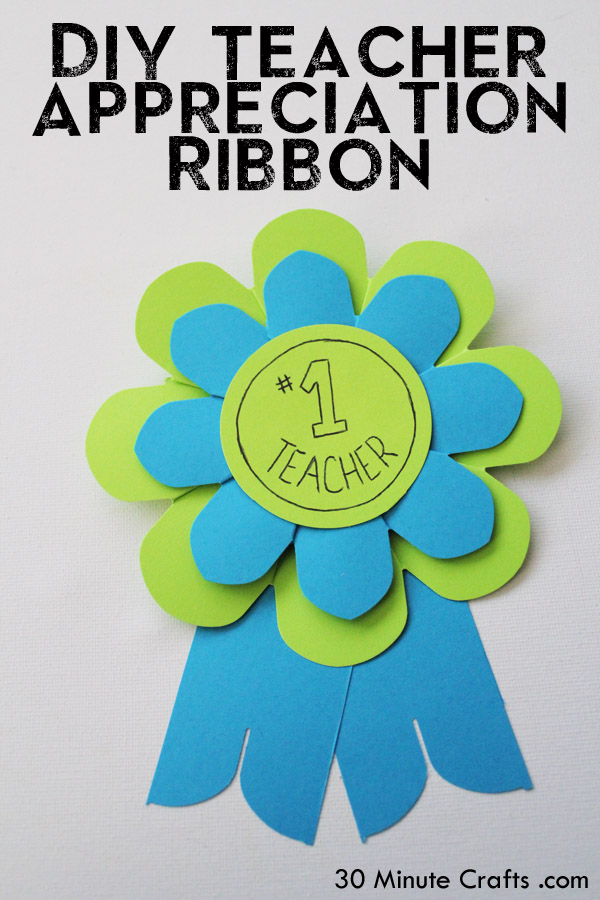
Do you have a teacher who goes out of their way to help your child (or you) learn? Do you have a teacher who can be found working early, late, or both to make sure that each child gets what they need? Does your teacher go above or beyond? For most of us, the answer to these questions is YES, because so many of our teachers are truly amazing. That’s why we have a whole week celebrating teachers (though, really, is a week enough?). Show your teacher how special they are this teacher appreciation week with a special teacher appreciation ribbon that is super simple to make!

I’m sharing this project as part of Craft Lightning Teacher Appreciation Week. All week long Angie from the Country Chic Cottage, Jessica from Mad in Crafts, along with our crafty friends, are sharing fast and crafty ways you can recognize your teachers for all that they do! Be sure to check out the end of this post for more of their ideas.

DIY Teacher Appreciation Ribbon

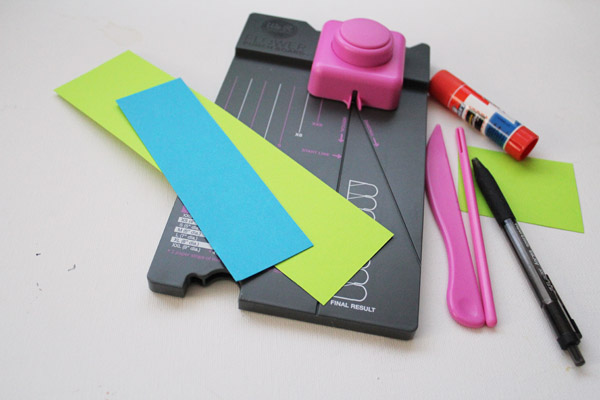
Making this ribbon is super simple! You just need a few supplies (affiliate links added for you):
Two colors of scrapbooking paper
Scissors
Paper Cutter
Glue Stick
We R Memory Keepers Flower Punch Board
Pen
Pin Backs
Hot glue gun

supplies for teacher appreciation ribbon

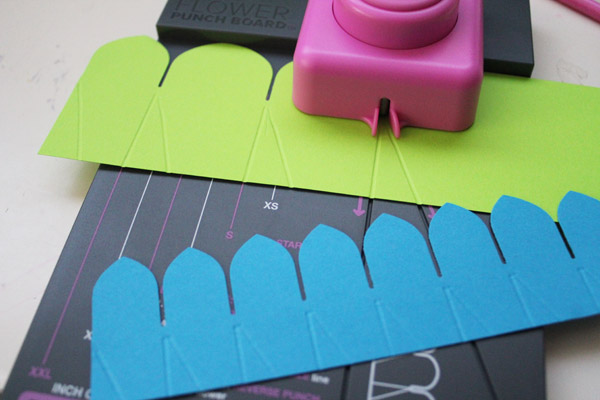
Cut paper to make a small and Medium sized flower, and punch according to the directions on the punch board.

make flower parts

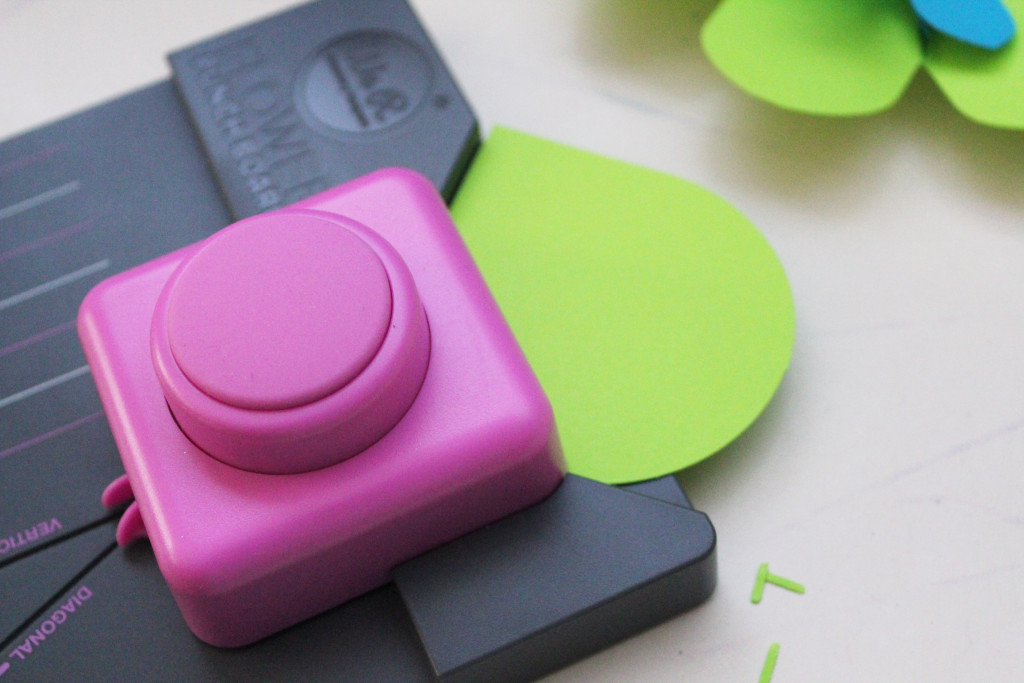
Cut a 2.5″ square, and use the other side of the punch board to punch it into a circle. Just clip off each of the four corners in the punch.

punch around circle

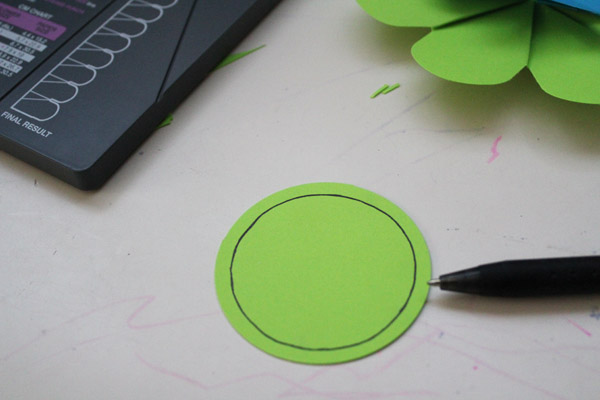
Write on the center circle. This is a great way for your child to be part of the project… let them decorate the center!

write in circle

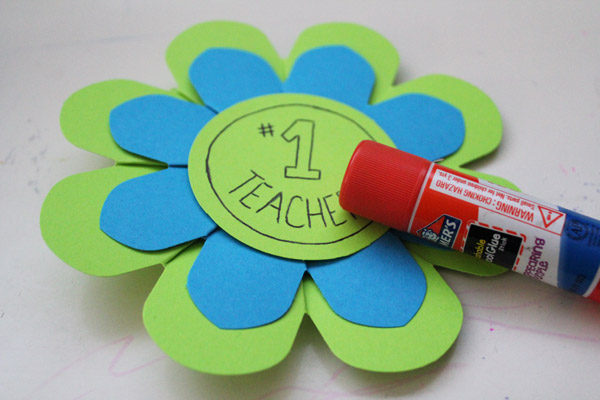
Glue the layers together.

glue together layers

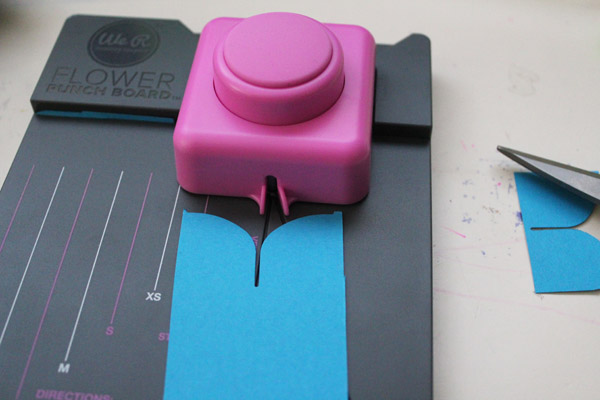
Cut a2.5″ x 9″ strip. punch each end.

punch base

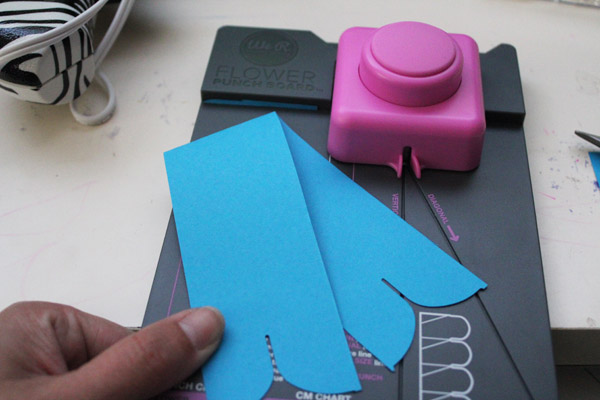
Fold in half at an angle.

fold paper ribbon

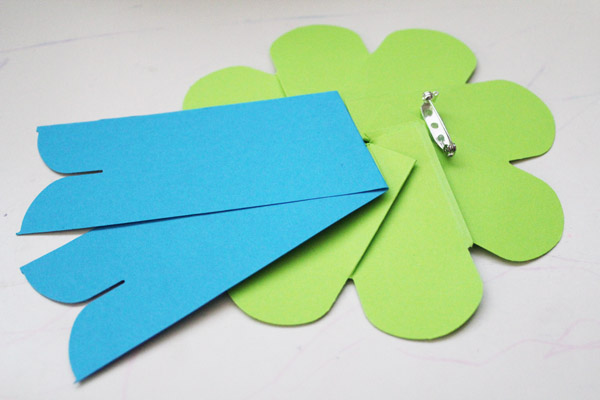
Glue to back, and glue on pinback.

glue paper ribbon to back

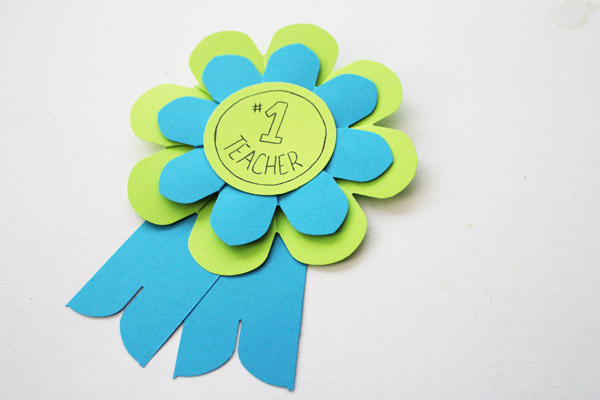
Ribbon complete! You can make a teacher ribbon in your school colors, your teacher’s favorite colors, or whatever colors you have handy!

finished teacher button

Check out these other fun and fast teacher appreciation gift ideas:


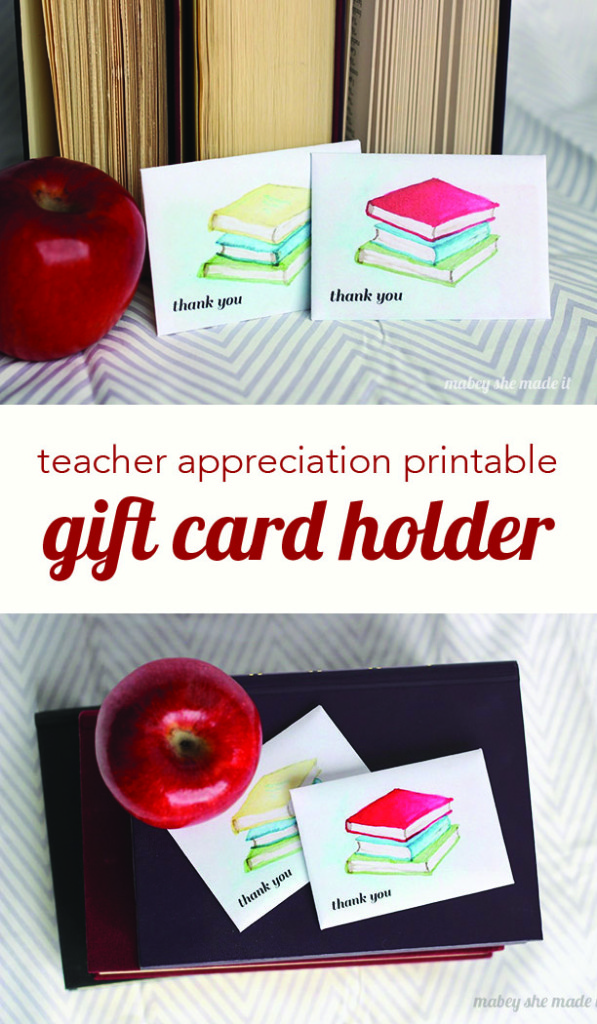
Printable Gift Card Holder from Mabey she Made it.

Gift-Card-Holder-Feature

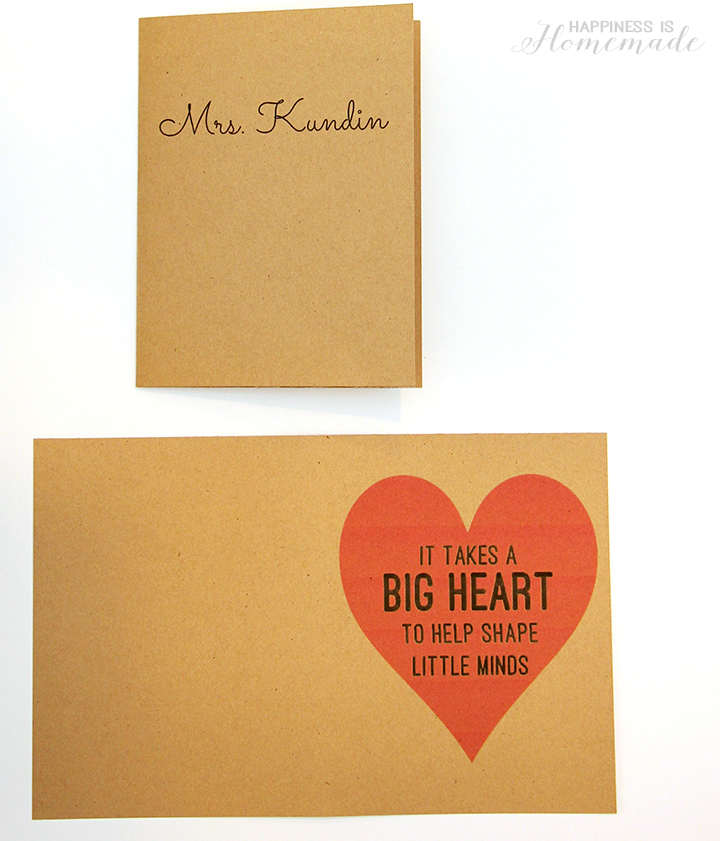
DIIY notebooks from Happiness is Homemade.

Mini-Notebook-CoversCheck out this teacher mason jar gift from Happy Go lucky Blog.


Star-Teacher-

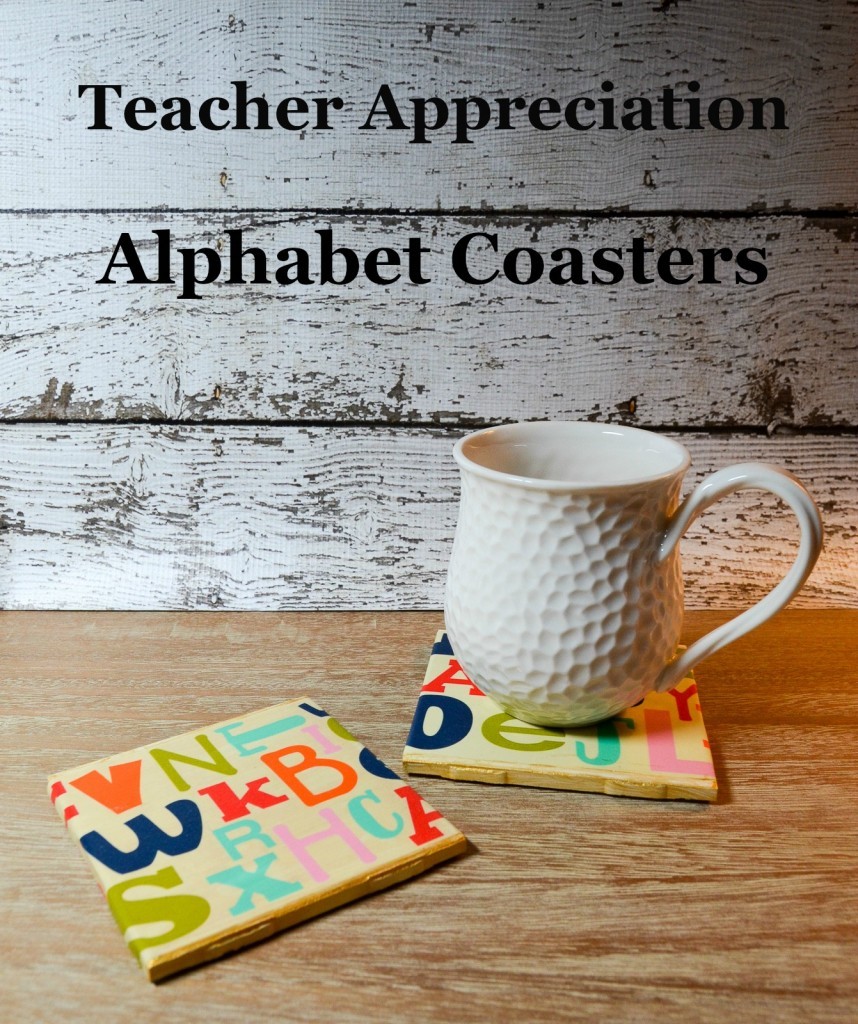
Albion Gould made these fun alphabet coasters.

Teacher-Appreciation-Alphabet-Coasters-858x1024 teacher-appreciation-gift-wrap-5

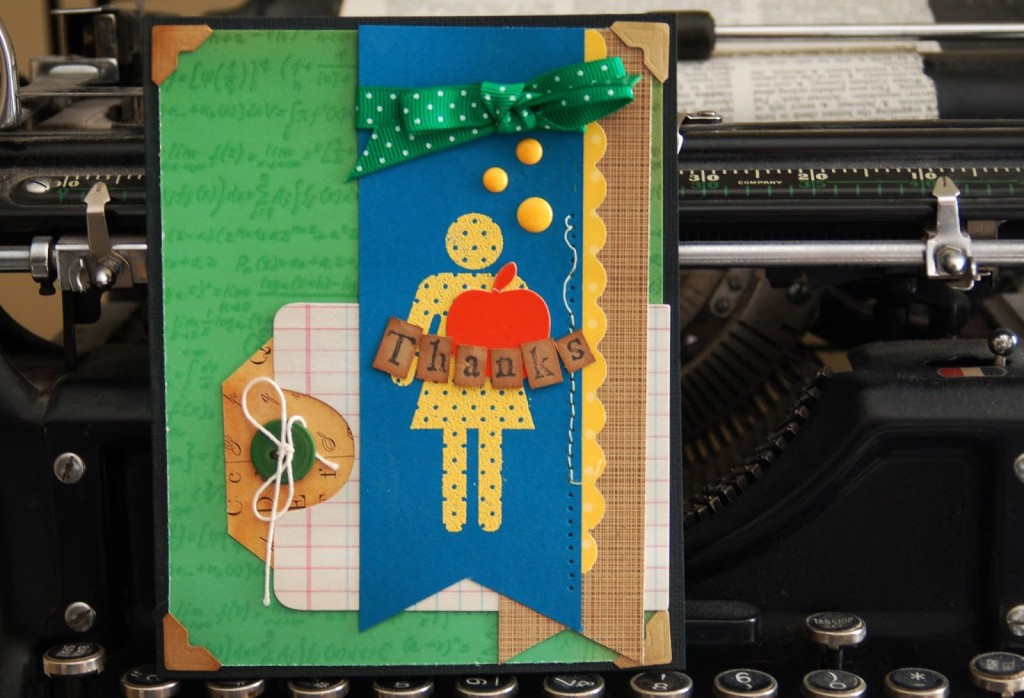
Jen Gallacher whipped up this great teacher appreciation card.

Thanks-Card-World-Card-Making-Day-by-Jen-Gallacher

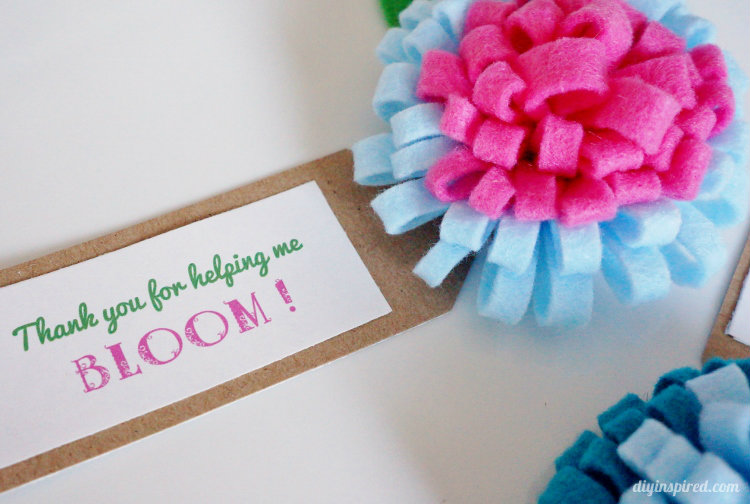
You’ll find instructions for these felt blooms at DIY Inspired.

Thank-You-for-Helping-Me-Bloom-Felt-Flower

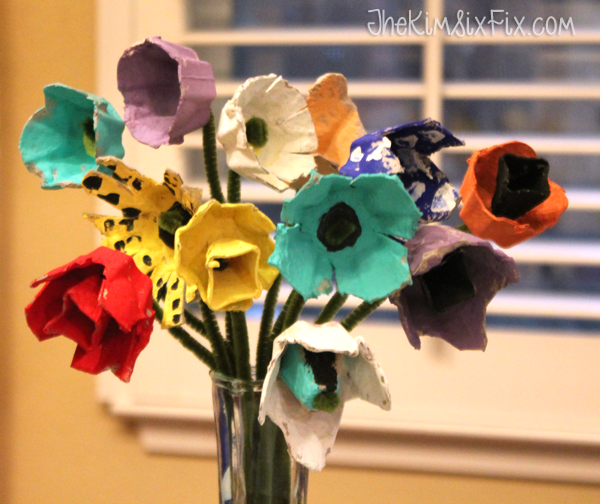
The Kim Six Fix shows you how to make these egg carton flowers.

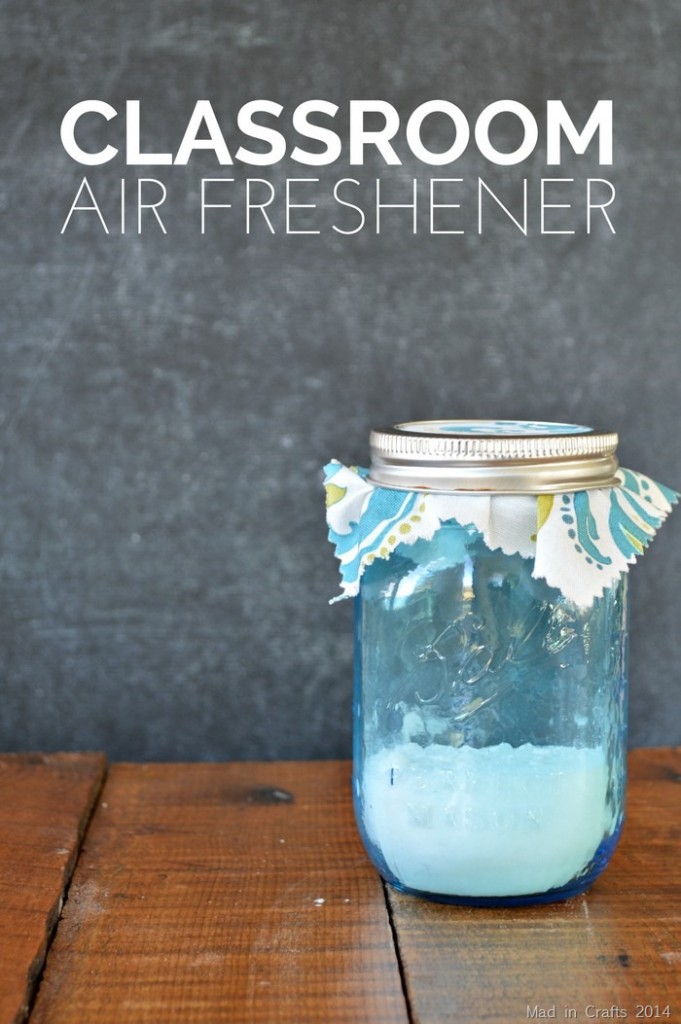
egg-carton-flowersMy guest co-host for the series, Jessica from Mad in Crafts has a great idea with this classroom air freshener:


Classroom-Air-Freshener-Teacher-Appreciation-Gift_thumb

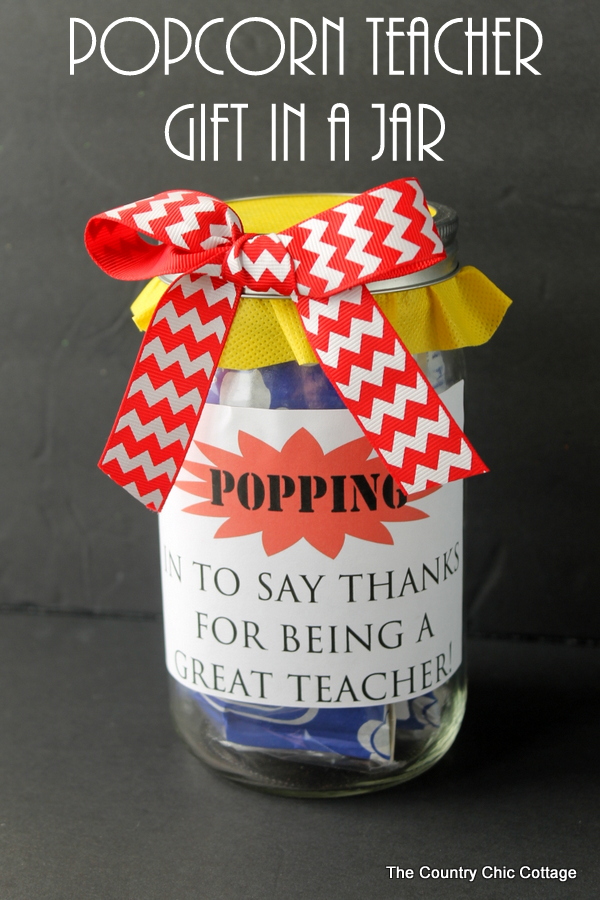
Angie from The Country Chic Cottage, my long-time Craft Lightning Co-Host made this cute popcorn jar teacher gift.popcorn-teacher-gift-in-a-jar

Be sure to come back tomorrow for more fun and fast Teacher Appreciation Gift ideas!

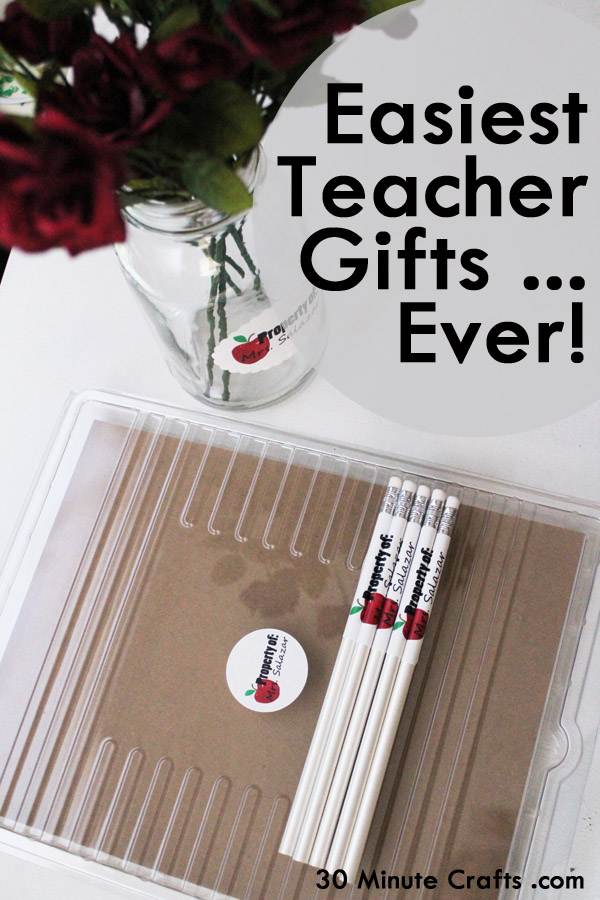
Easiest Teacher Gifts Ever!

Even if you’re not crafty, here are some of the easiest Teacher Appreciation Gifts ever. Because while we all wish we could whip up a perfect batch of chocolate chip cookies (that aren’t 5 shades darker on the bottom than they are on the top), wrap them in cellophane (or a mason jar) with a perfectly tied bow, and a great teacher appreciation printable in a Pinterest-worthy offering for our child’s teacher… we don’t always have time. Some days we just need to celebrate that we got our child out the door in clean clothes, and ignore the fact that homework isn’t done, their breakfast came out of a cellophane package, and if someone created a food pyramid based on the contents of your child’s lunchbox, it would collapse into a pile of sugar.

So, I’m sharing these super simple Teacher Appreciation gifts that will make you look like a DIY rockstar. It is all part of Craft Lightning Teacher Appreciation week… where all week long I’m joining Angie from The Country Chic Cottage, Jessica from Mad in Crafts, and a bunch of other crafty bloggers from around the internet to share 15 minute or less crafty projects to show teachers how much we appreciate the hours they spend teaching our children. Check out their great ideas at the end of this post.

Easiest Teacher Gifts Ever

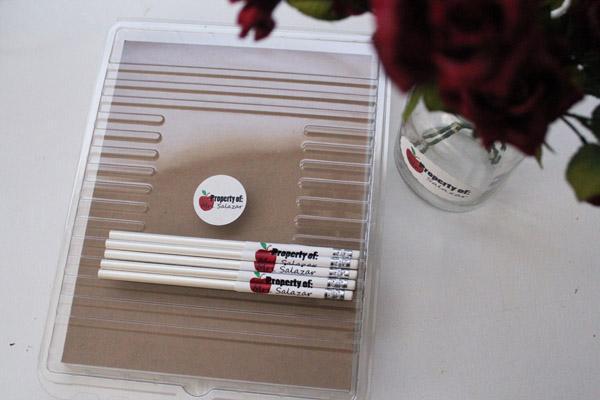
I whipped these up with the help of my friends over at Online Labels. Using their Custom Labels service I sent them my graphic, and they re-sized it and perfectly centered it on three different sized labels. That I then *painstakingly* applied the label … in seconds. Instant personalization. No stressing about margins or page justification, no cursing when I run out of ink. A gift that is super easy to make… and great to give!

Check it all out in the video below.


You can grab the image here:

online labels property of teacher namesimple teacher appreciation gifts

And check out these other fast and easy Teacher Appreciation gift ideas!

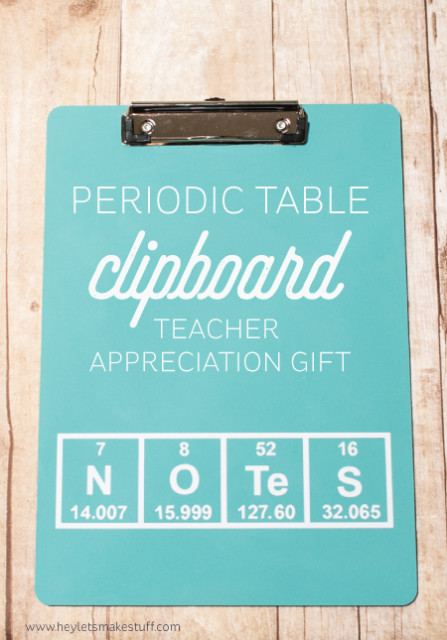
This adorable clipboard from Hey Let’s Make Stuff.

Periodic-Table-Clipboard-447x640

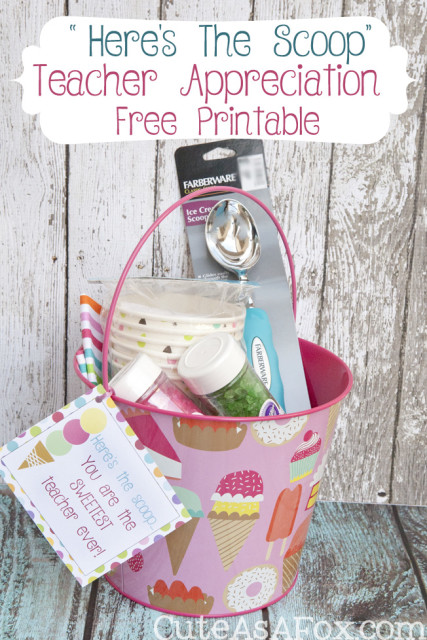
Ice cream teacher appreciation gift and printable from Cute As a Fox.

scoop teacher appreciation

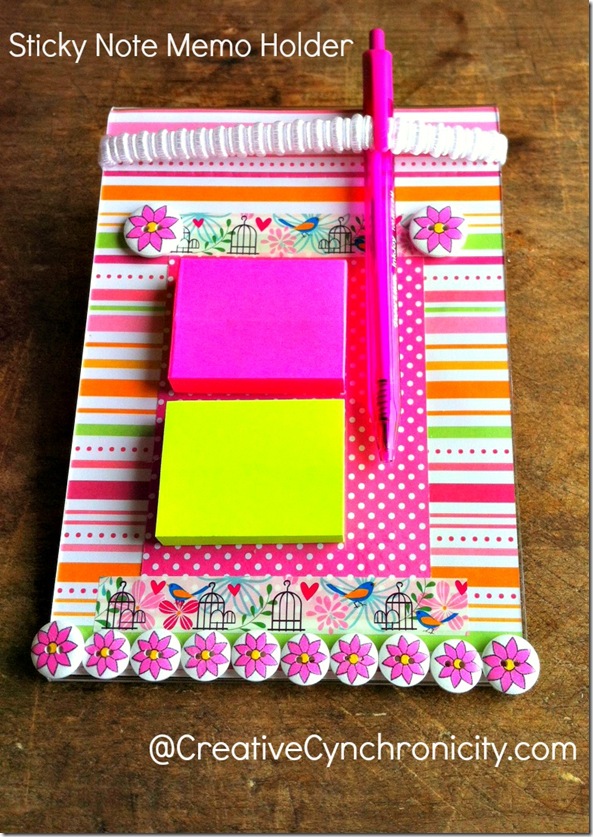
Creative Cynchronicity made this sticky note memo holder.

stickynotememoholder_thumb

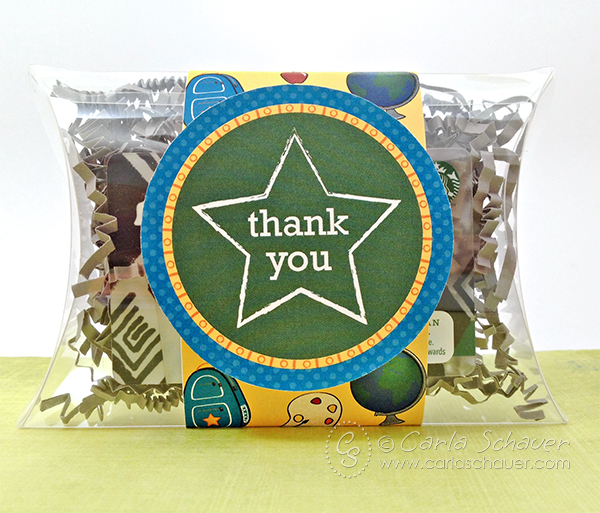
Carla Schauer made this cute Teacher Appreciation Gift Wrap.

teacher-app-wrap-gc_web

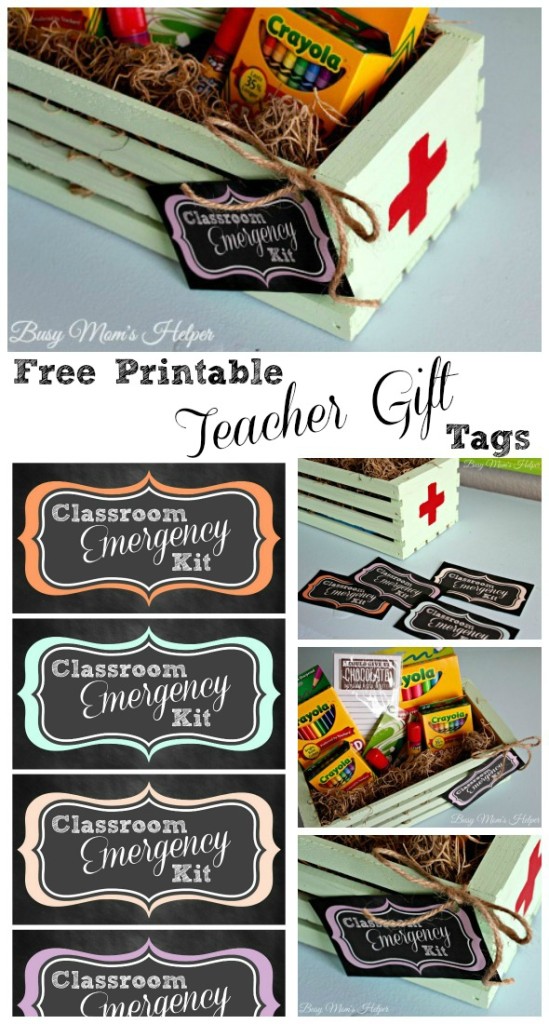
I love this Classroom Emergency Kit from Busy Mom’s Helper.

Teacher-Tag-Main

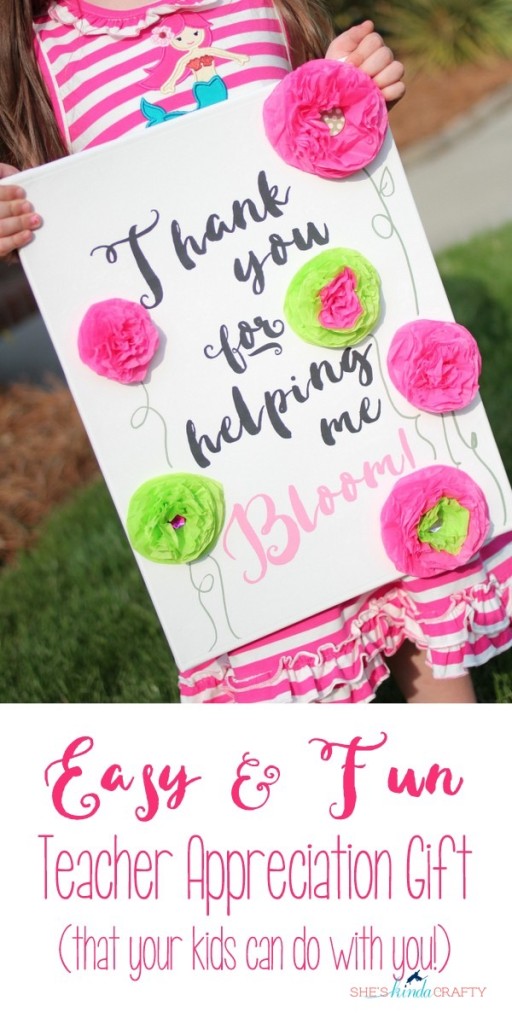
She’s kinda Crafty made this fun Teacher Appreciation canvas that’s sure to make any teacher feel loved!

bloom teacher appreciation


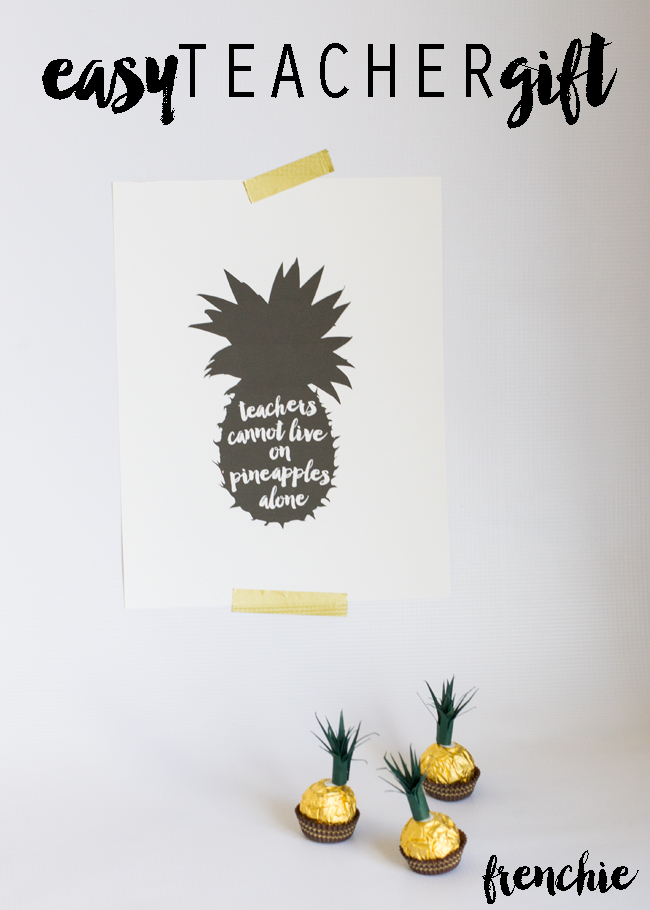
You’ll find instructions for this easy pineapple teacher appreciation gift on Frenchie Wraps.

Easy-Teacher-Gift

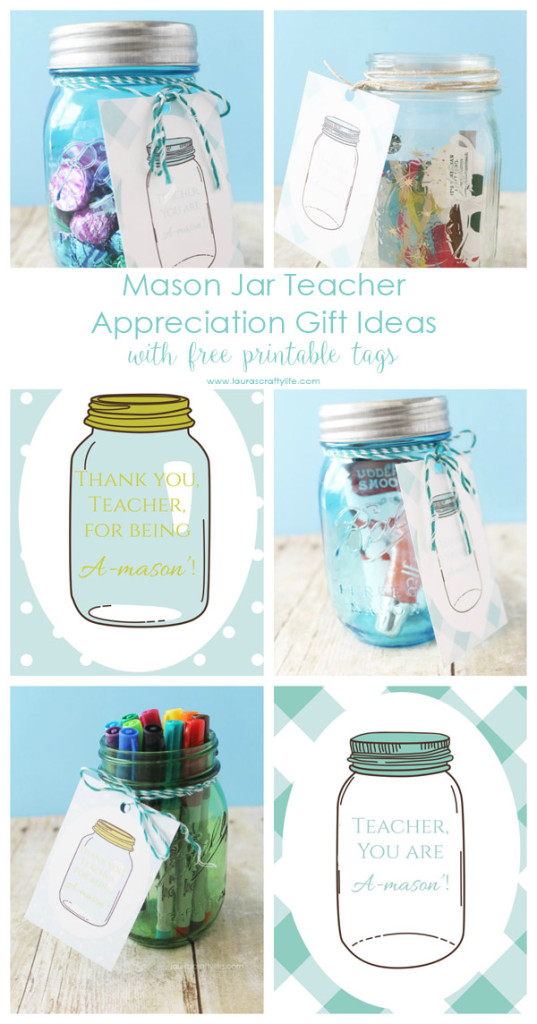
And how cute are these mason jar teacher appreciation gifts from Laura’s Crafty Life?

Mason-Jar-Teacher-Appreciation-Gift-Ideas-with-Free-Printable-Tags-Lauras-Crafty-Life

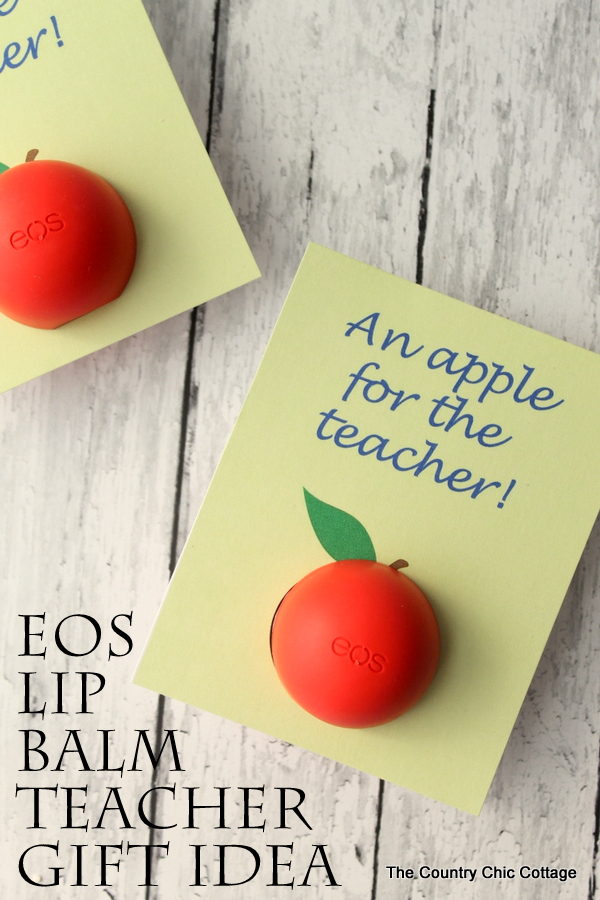
Angie from the Country Chic Cottage, my crafty co-host made this cute printable with EOS Lip Balm.

eos-lip-balm-teacher-gift-idea-with-free-printable


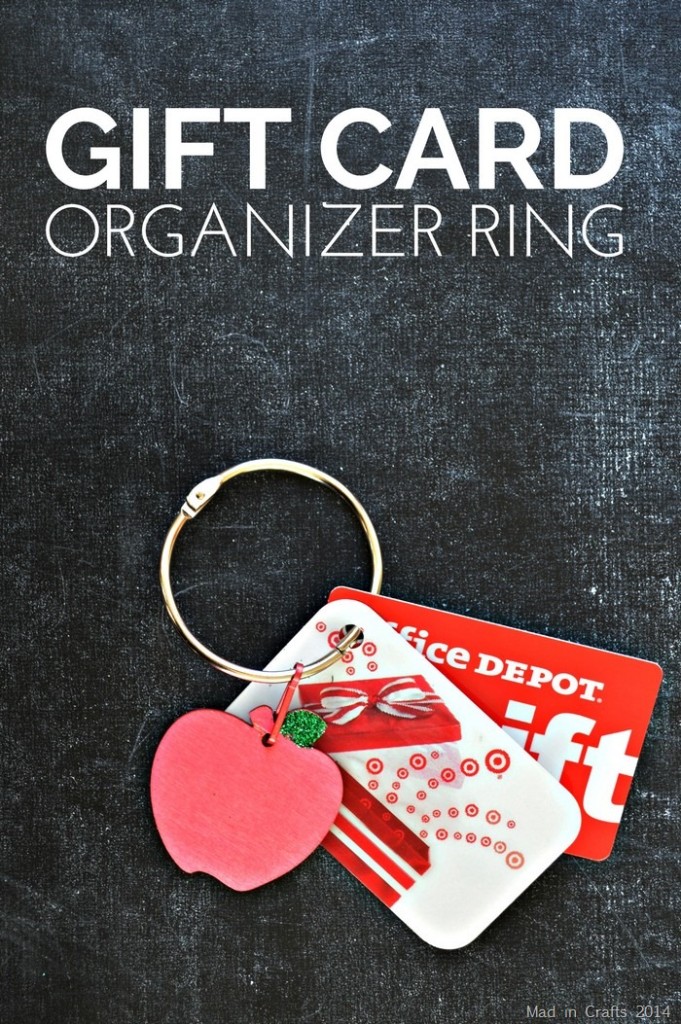
And Jessica from Mad in Crafts, our crafty guest-host made a great gift card organizer ring.Gift-Organizer-Ring-Tutorial_thumb

Be sure to stop back by tomorrow for more creative and crafty teacher gift ideas!