Mod Melts Charm Bracelet

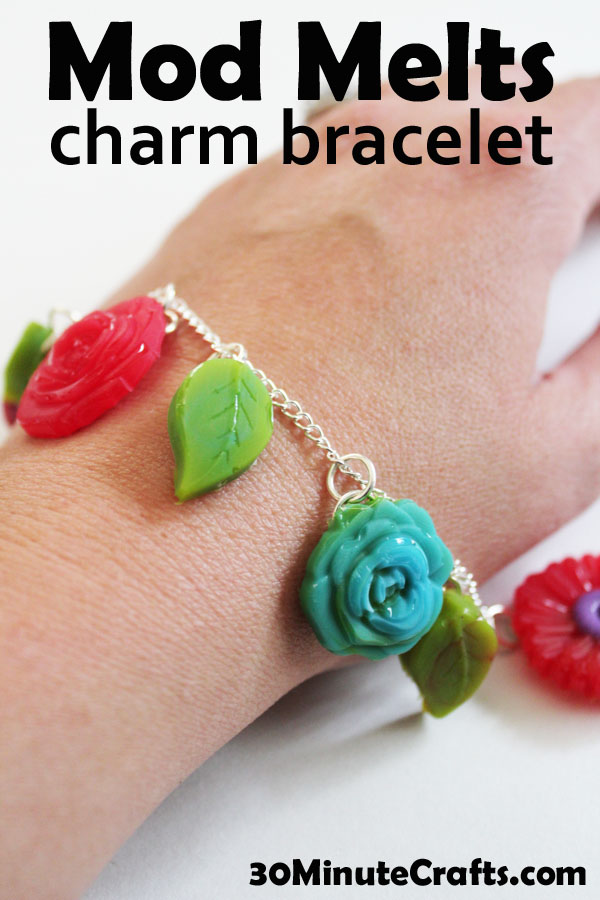
This charm bracelet is super simple and inexpensive to make… and you can customize it with whatever charms you like, using different Mod Melts molds. I used a mold with flowers… but there are lots of design choices for you to make your own charm bracelet.

Mod Melts Charm Bracelet

Plaid sent me the new Mod Melter, their Mod Melts, and some molds to play with. I’ve used their Mod Melts before, to make my Mod Melts Paperclips and Mod Melts Butterfly Decor. Once you make the melts, you can paint them, as I did in both of those projects… but for this project, I used the colored Mod Melts.

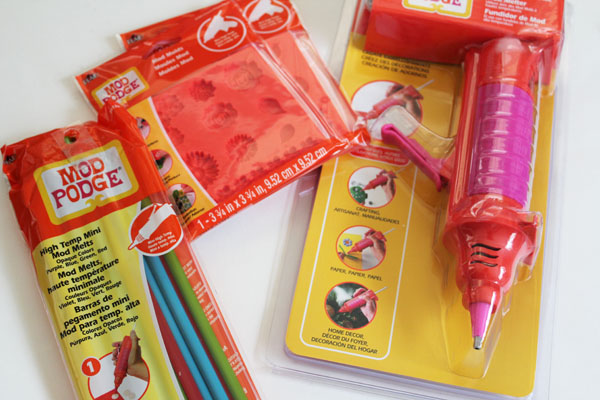
If you want to make your own Mod Melts Charm Bracelet, you’ll need Mod Melts Molds, colored Mod Melts, Mod Melter (or a glue gun), scissors, jump rings, jewelry pliers, chain, and a clasp.

mod melts supplies

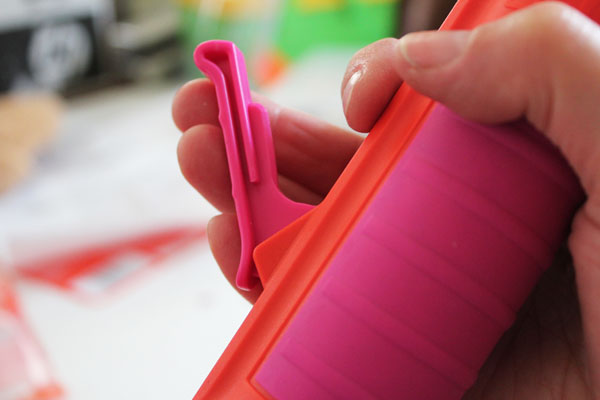
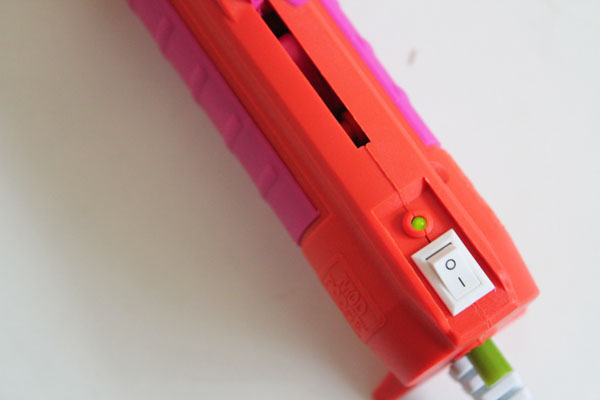
You don’t need a Mod Melter to use the Mod Melts and mold, but if you’re looking for an excuse to buy a shiny new tool, here you go! The Mod Melter is a glue gun with some serious bells and whistles. And not just because of the Mod Podge inspired orange and pink color scheme. It has a 6 foot cord (great for my new house where there are only 3 outlets in the craft room… none of which are conveniently located), a trigger that you squeeze with your hand instead of just your trigger finger, and my favorite feature of all – an on-off switch with an indicator light. This is absolute genius! I have burned-out glue guns by forgetting to unplug them for an entire weekend. Yikes! I’m loving the switch on the Mod Melter.

squeeze trigger


light on the mod melter

Go ahead and add it to your must have list. I’ll wait.

Now that we’re done drooling over new toys… let’s get started on making the Mod Melts charm bracelet, shall we?

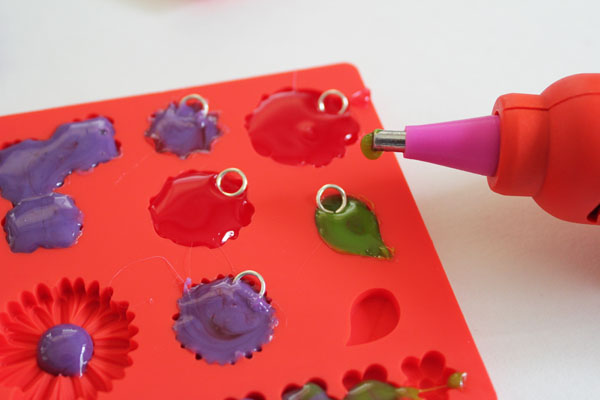
Heat up your Mod Melter, insert a stick of colored Mod Melts, and start filling the cavities. If you want to switch through lots of colors, cut the colored Mod Melts sticks in half (or even in thirds). You’ll find the colors blend a little as the melts change from one color to the next, but I love the swirly effect that gives. I also liked using a dollop of one color for the center of a flower, then coming back with another color to fill in the petals.

make charms

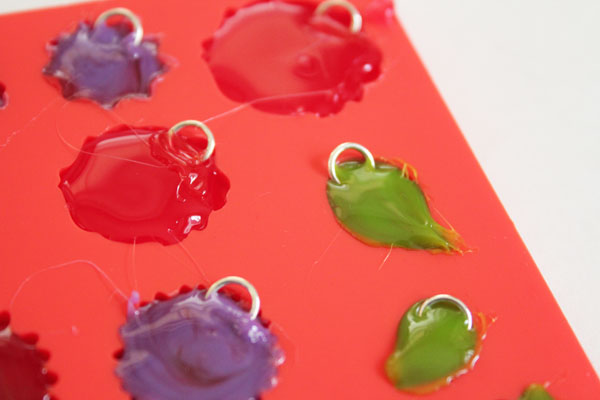
After each cavity is filled, insert a jump ring, then add a little more Mod Melt to secure it in place. Let the charms cool.

allow charms to cool.

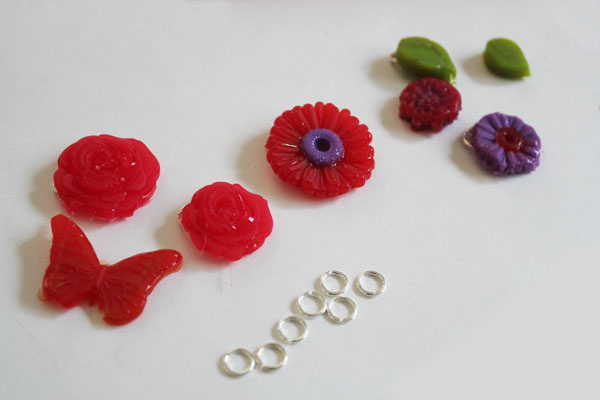
Once the Mod Melts are cool, just bend the flexible silicone mold to pop them out.

unmolded charms

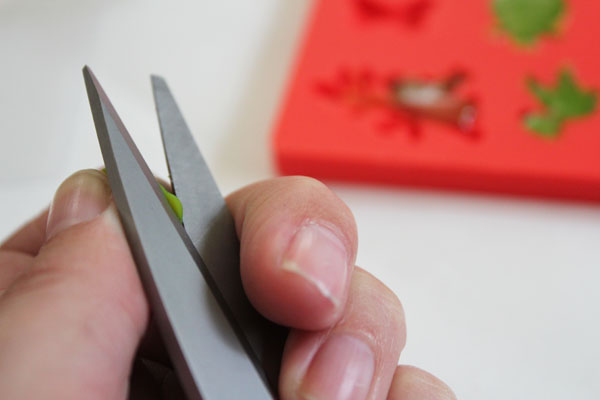
If your edges aren’t perfect, just trim off the excess with scissors.

trim edges

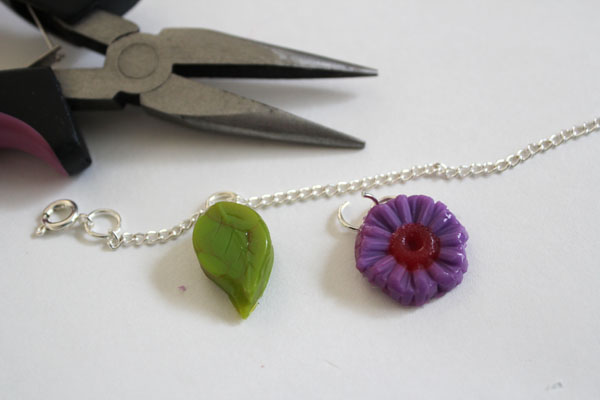
Cut a length of chain for your bracelet. Add the jewelry clasp. Use more jump rings to attach the charms.

attach charms with jump rings

It is that easy!

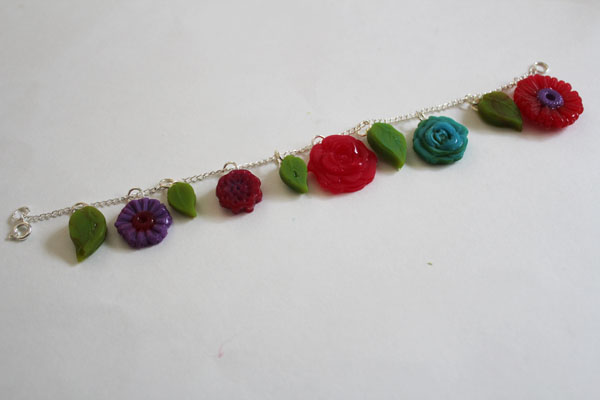
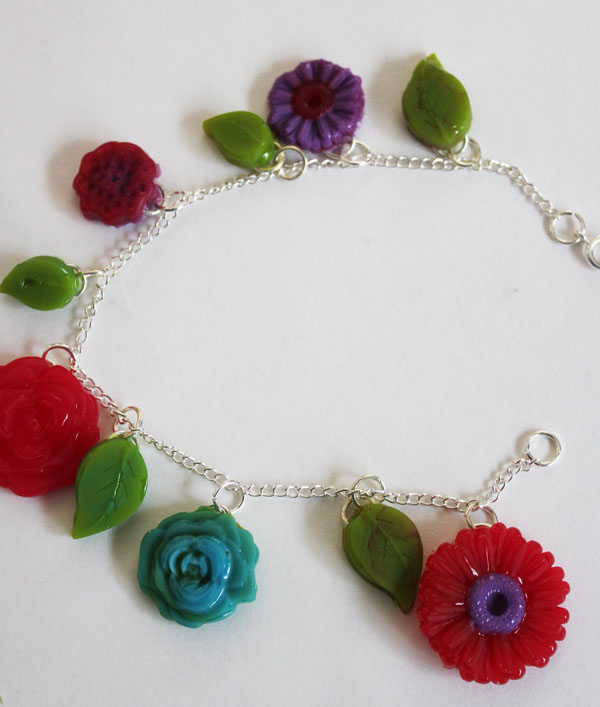
attach all the charms

Make more for friends!
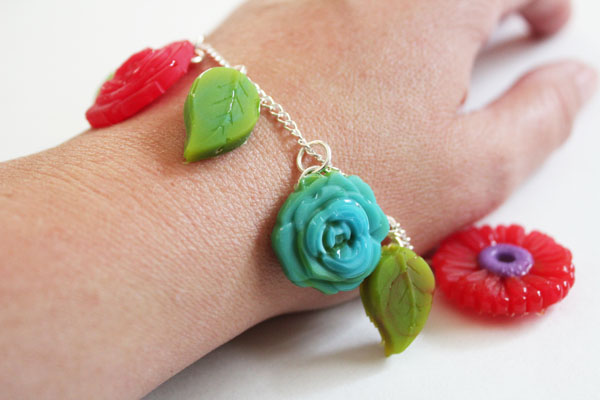
finished charm bracelet

Simple Mod Melts Charm Bracelet

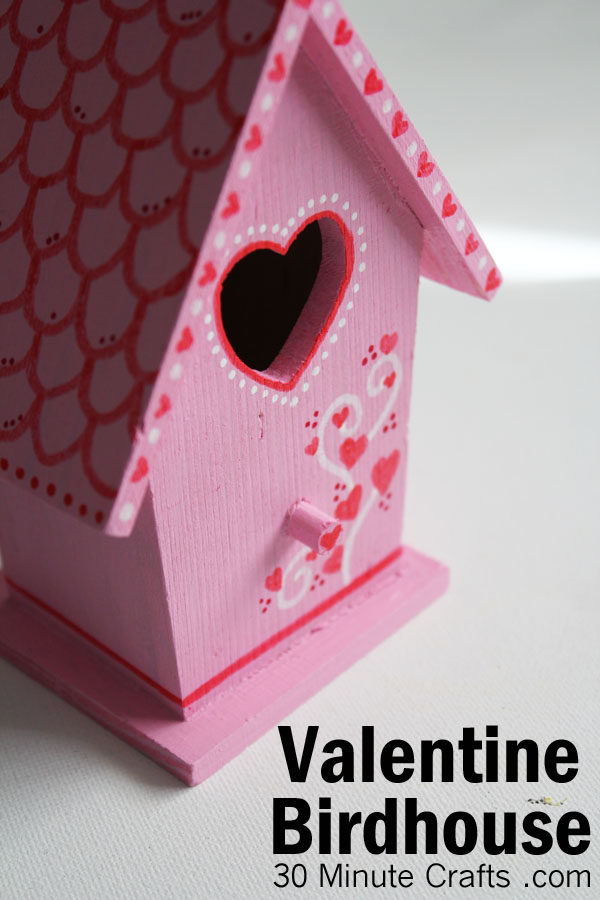
Valentine Birdhouse

This fun little birdhouse is so simple to decorate for Valentine’s day! Add a little decor, or give to a “tweet” someone in your life with a note tucked inside.

DIY Valentine Birdhouse

You’ll need:
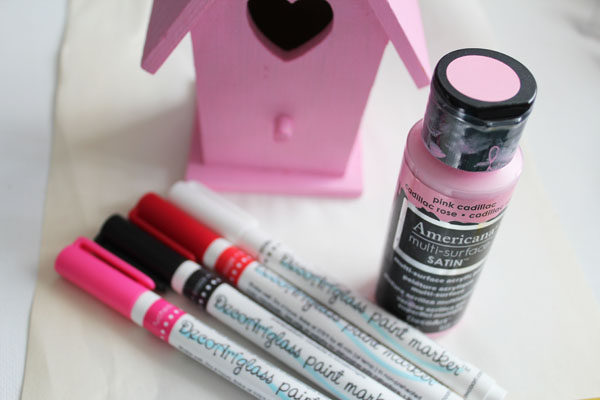
Wooden birdhouse
Pink Paint
Paintbrush
DecoArt Glass Paint pens

use glass paint pens

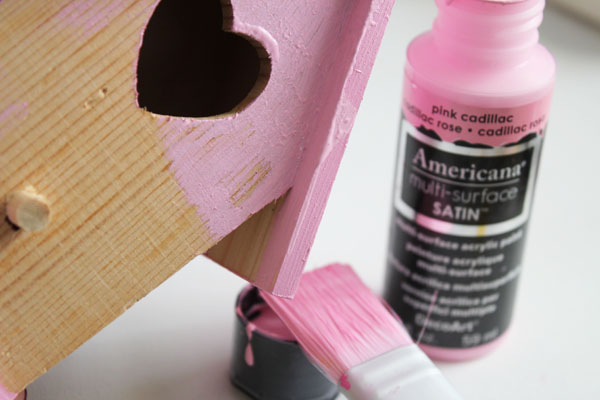
Start by painting the birdhouse, then letting it dry. One coat is perfect with the Americana Multi-Surface paints.

paint birdhouse

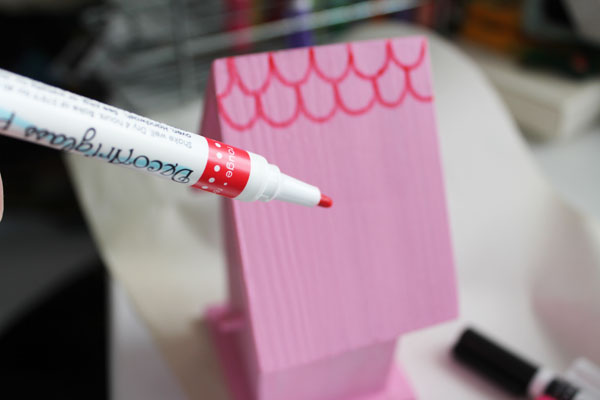
Grab your glass paint pens, and start doodling. I know the pens are designed for painting on glass, and they work great on glass… but I use them on all surfaces, because they work so well!

doodle with paint pens

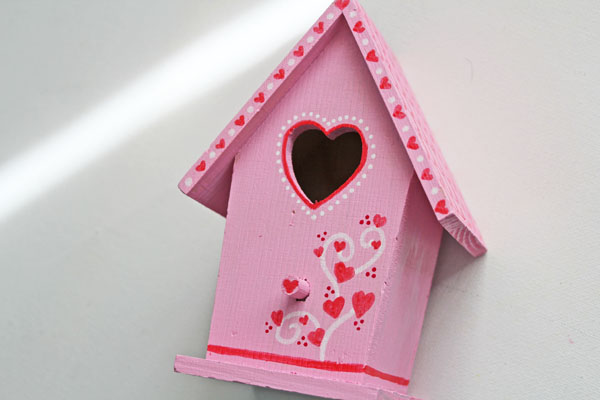
Add hearts, swirls, whatever you like, to make a fun and sweet design!

Valentine Birdhouse

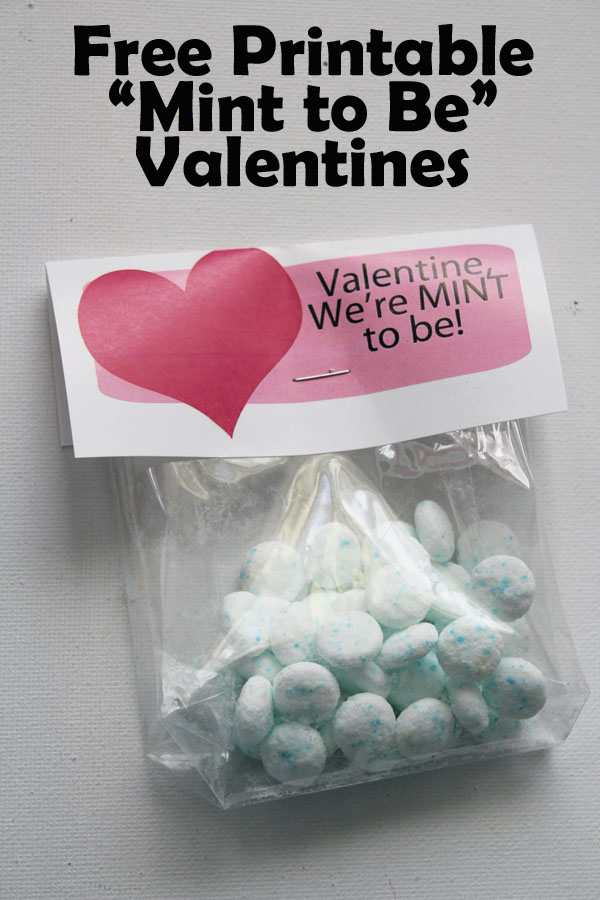
Mint to Be Valentine Printable

Looking for a simple printable valentine for one person, or an entire class? This “Mint to Be” Valentine is easy to print up, and you can use any mints you like! I used breath mints, but any leftover holiday mints would work great as well (this would look super cute with pinwheel mints)!

Free Printable Mint to Be Valentines

You’ll need:
Mint to be Printable (see below to download)
Mints
Paper Cutter or Scissors
Bag
Stapler

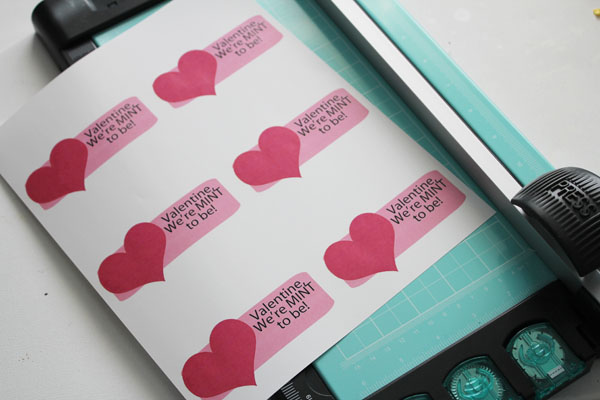
Start by printing the Mint to Be Printable.


Cut them out.

print valentines

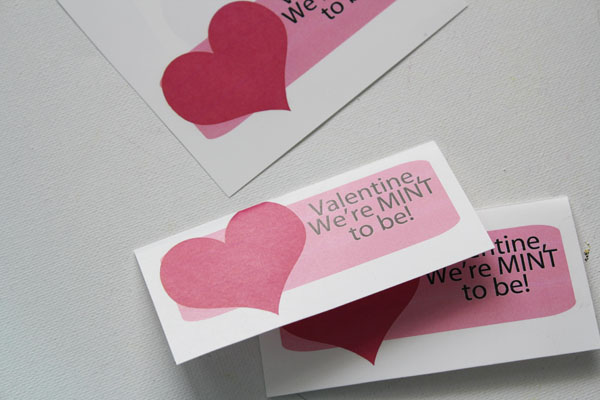
Fold in half.

fold mint to be valentine

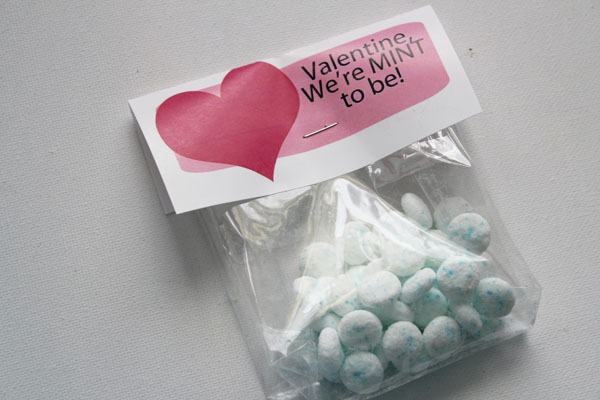
Staple to tops of bags.

mint to be valentines

Get the “Mint to Be” printable as part of our Valentine’s Files… available when you join our email list:

 
FREE Valentine’s Printables
Sign up for our email list to get access to the free Valentine’s Printable files!
You’ve successfully signed up! Check your email for details.
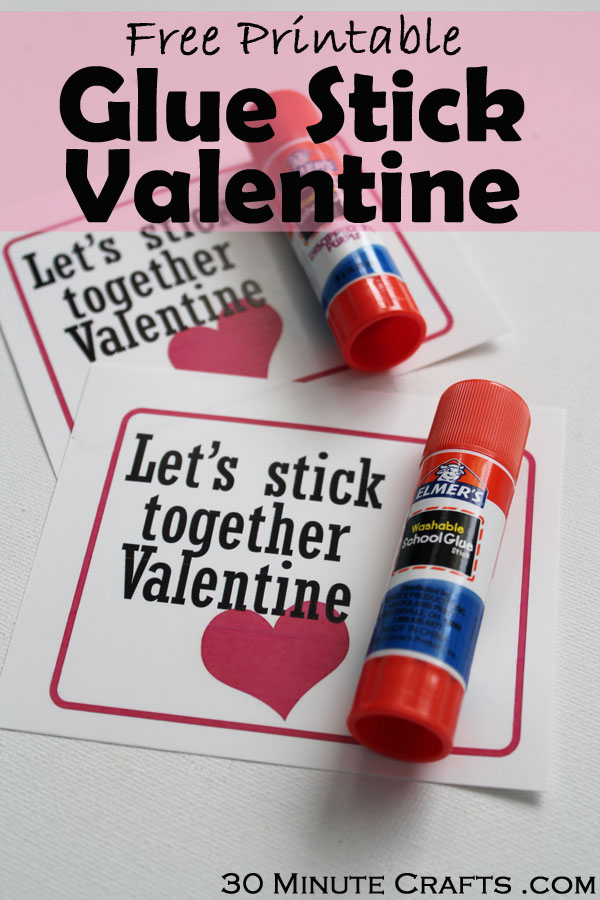
Free Printable Glue Stick Valentine

I love non candy valentines for classes, especially when you can make them inexpensively… and use a craft supply or school supply! These glue stick valentines are super simple to make, and kids will love them almost as much as candy valentines… though these are sure to last longer! If you want another fun non-candy valentine, check out my Crayon Valentine Printable.

Free Printable Glue Stick Valentine

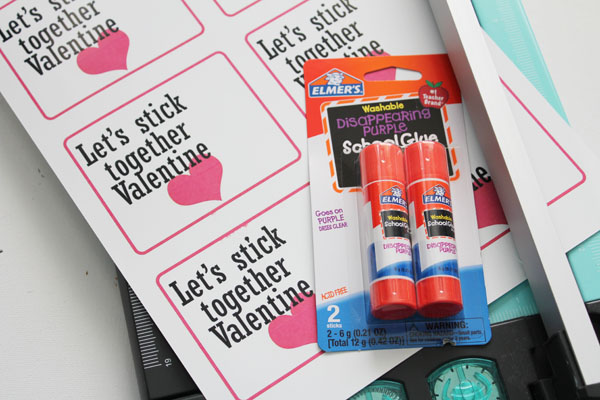
You’ll need:
Free Printable Glue Stick Valentine (see below for download instructions)
Glue Sticks
Hot Glue or Double-Sided Tape
Paper Cutter or Scissors

glue stick valentine supplies

Start by printing the Glue Stick Valentine Sheet.

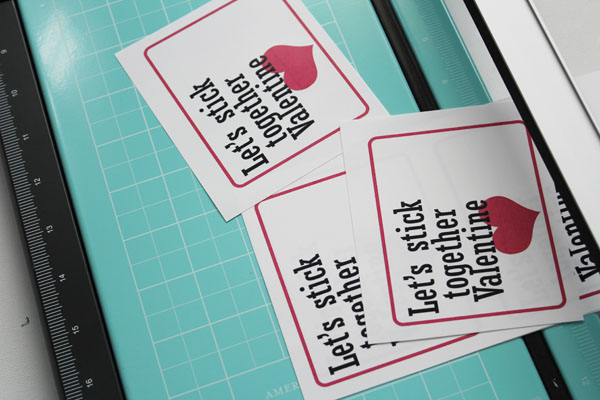
Cut them apart.

trim printables

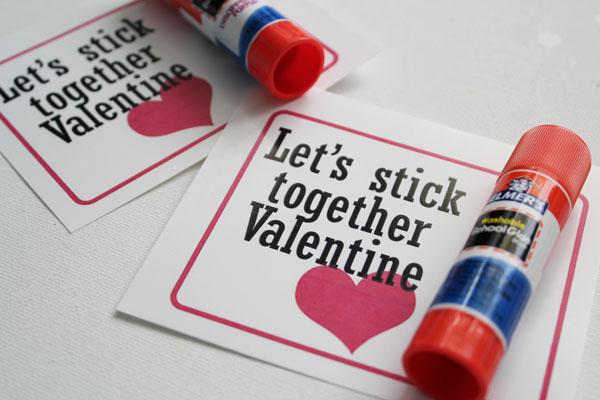
Use a small dab of hot glue, or double-stick tape to secure the glue stick to the valentine.

Glue stick valentine

Sign each valentine, and your Glue Stick Valentines are ready for passing out to the class!

Get all our Valentine’s files, including this glue stick printable, by joining our email list:


FREE Valentine’s Printables
Sign up for our email list to get access to the free Valentine’s Printable files!
You’ve successfully signed up! Check your email for details.

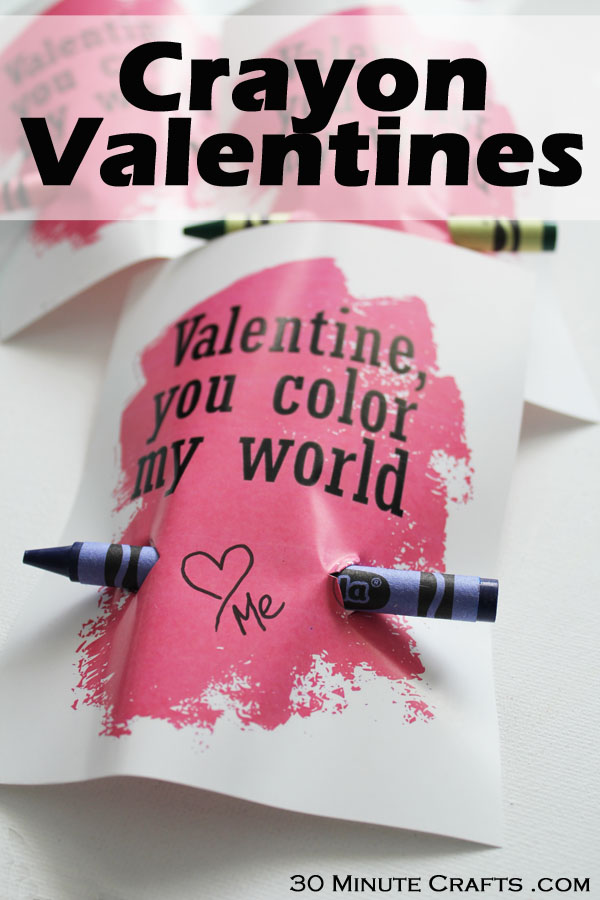
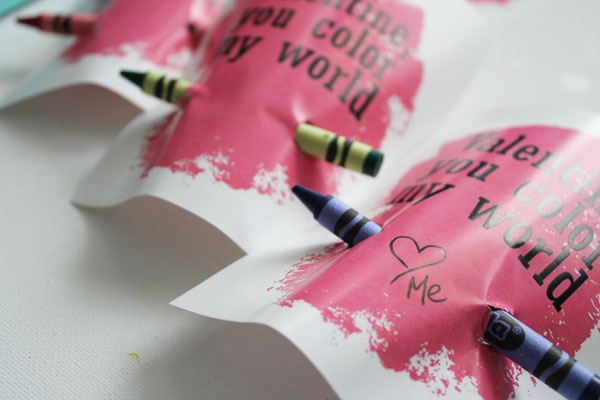
Free Printable Crayon Valentine

Looking for a simple classroom valentine? For the price of a big box of crayons (or a couple smaller boxes from the dollar store), you can make these simple no-candy classroom valentines!

Free Printable Crayon Valentines

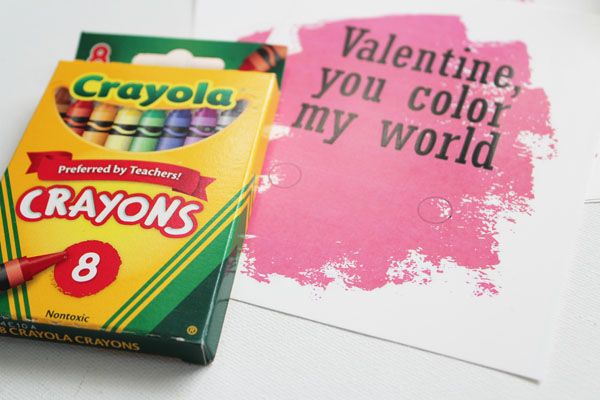
You’ll need:
Crayon Valentine Printable (see below for download instructions)
Paper Cutter (or scissors)
Craft Knife
Crayons

supplies for crayon valentines

Start by printing the printable.


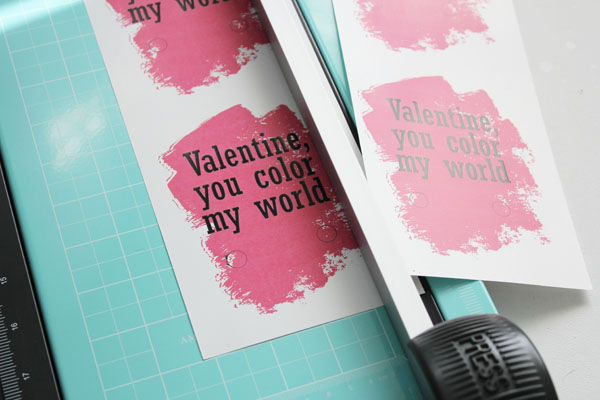
Cut out your crayon valentines.

trim valentines

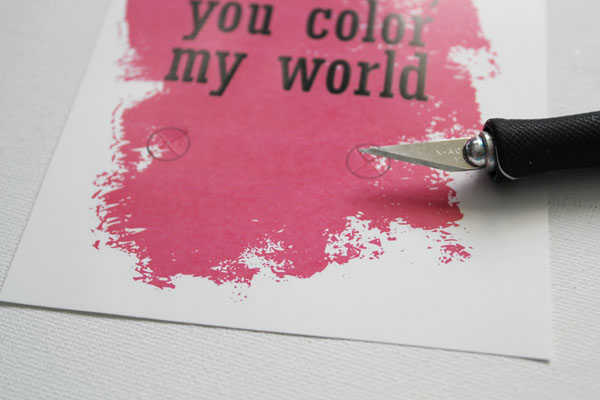
Cut an X on the circles with a craft knife.

cut into circles

Sign each valentine, then insert one crayon into each.

crayon valentines

Your Valentines are done!

To get access to this and all our Valentine’s Printables, join our email list below:


FREE Valentine’s Printables
Sign up for our email list to get access to the free Valentine’s Printable files!
You’ve successfully signed up! Check your email for details.

Super Simple Fairy Wand

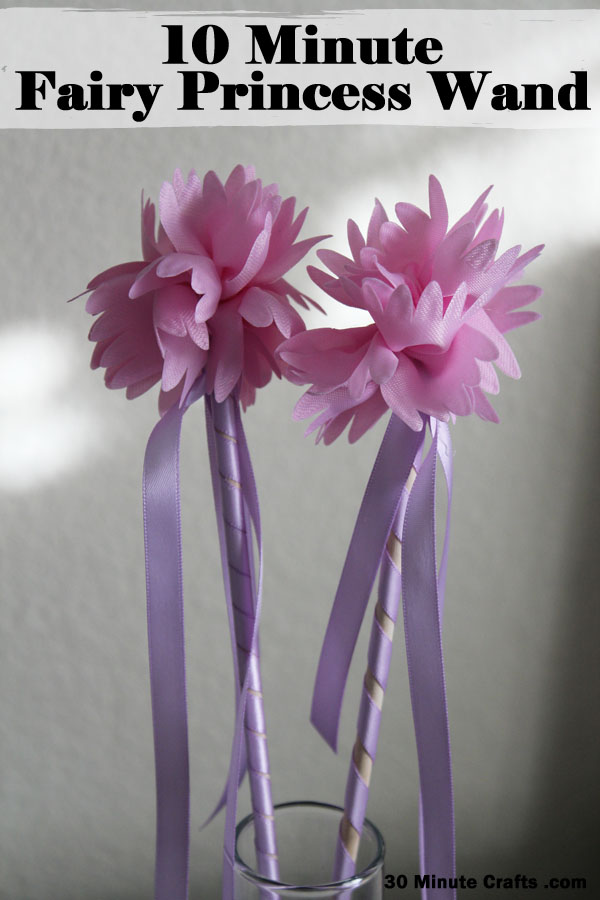
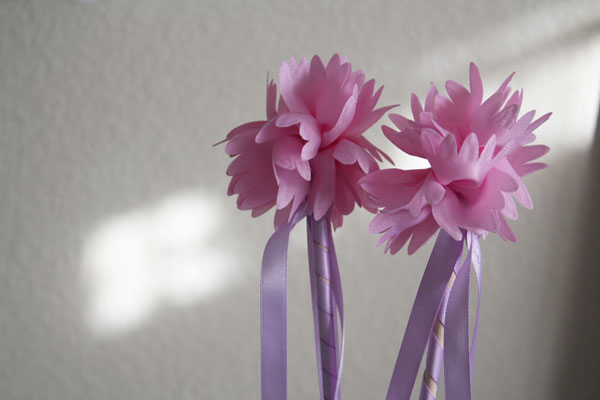
Looking for easy fairy wands or princess wands for a birthday party, playdate, or just an afternoon at home? These fairy wands are super simple to make, thanks to the fun pom-pom at the end from Little B! They’re also sturdy enough to hold up to countless spells… no matter how long it takes to turn a little brother into a frog!

10 Minute Fairy Princess Wand

You need the Little B pull flowers, a dowel, scissors, ribbon, and hot glue. I show you how easy these are to make in the video below:


Your kids will love helping pull the flowers together – it is so easy to do! If you’re not up for watching the quick video, here is how you make your own fairy princess wand:

1. Gather your supplies – ribbon, scissors, dowel, hot glue, Little B pull-string flowers.

2. Cut a length of the flower, and pull the ribbon. The more you cut, the more full your flower will be. Tie the ends.
3.  Cut about 2 yards of ribbon, and fold in half. Fold in half again, and tie an overhand knot. Glue the knot to the top of the dowel, and the flower to the top of the knot, to cover it.

4. Cut the loop at the end of the ribbon, and spiral around the dowel. Glue the bottom in place.  Trim the other ribbon ends.

simple fairy princess wand

Free Printable Sucker Valentine

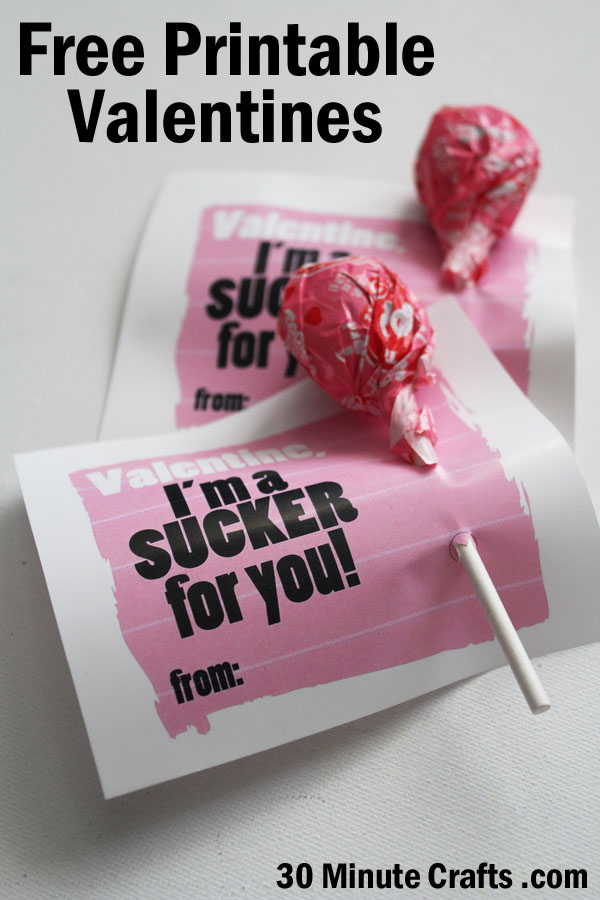
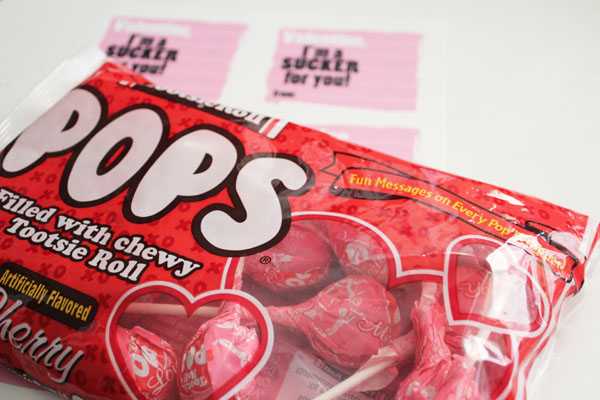
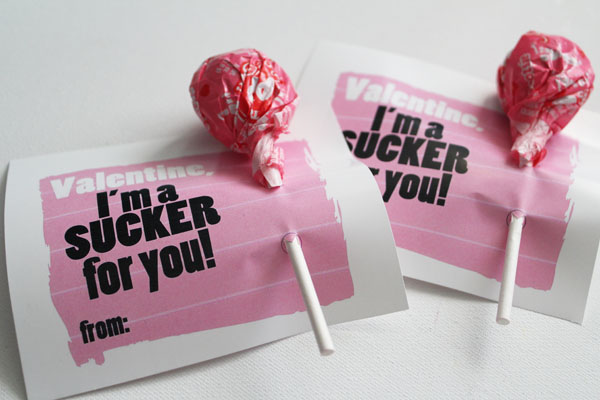
I love a good Valentine’s pun. These sucker Valentines are so fast and easy to whip up, you can make them for the whole class without spending a lot of time, or a lot of money! Pick whatever sucker you like (I went with Tootsie Roll Pops, but you can pick the heart shaped or swirly ones, of course).

Free Printable Valentines with suckers

You’ll need:
Printable Sucker Valentines
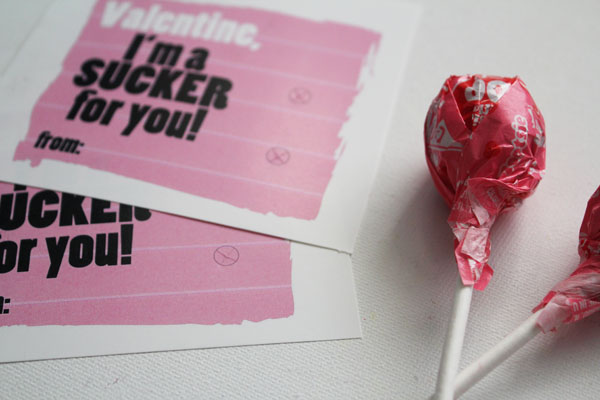
Suckers
Paper Cutter or Scissors
Craft Knife
Tape (optional)


suckers for valentines


Start by printing out the Sucker Valentine Printables.


Cut out the valentines, then cut an X into each circle.


cut X on circle

Slip the stick through the circles.

sucker valentines

You can add a little tape to the back to secure the sucker, if needed.

To get access to all our Valentine’s Printables, including this one, sign up for our email list:


FREE Valentine’s Printables
Sign up for our email list to get access to the free Valentine’s Printable files!
You’ve successfully signed up! Check your email for details.

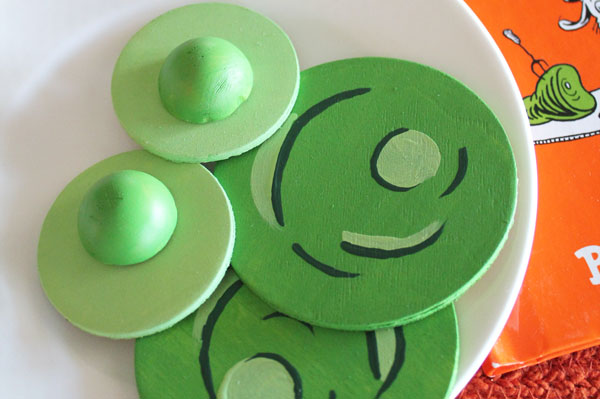
Green Eggs and Ham Wooden Play Food

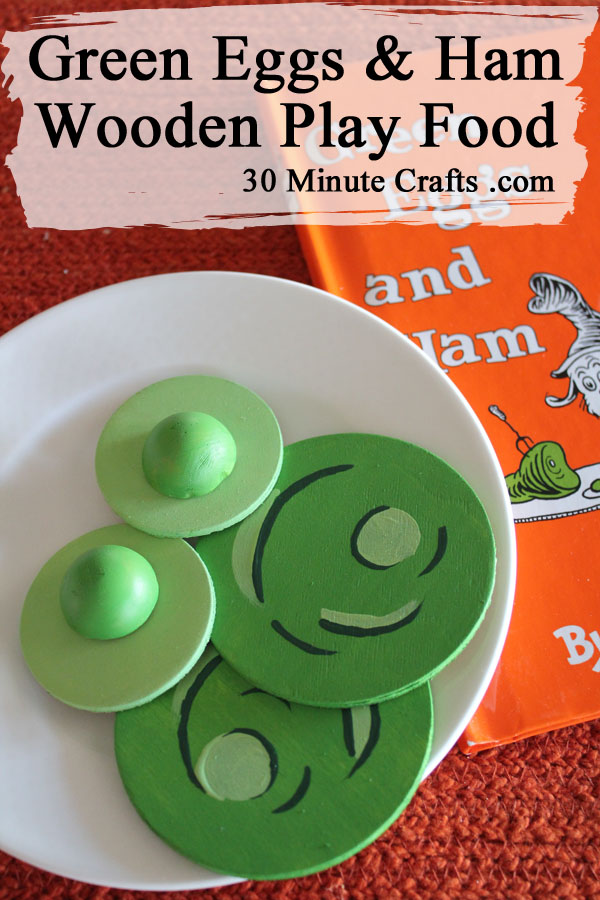
I’m hitting all the classics this week – the Dr. Seuss Classics! Green Eggs and Ham is a favorite of mine, and I thought it would be fun to make some wooden green eggs and ham play food! These sunny-side-up eggs and slices of ham are fun for kids to serve over and over again… even if they are picky eaters themselves!

All week long I’ve been sharing fast, 15 minute or less Seuss-inspired crafts as part of Craft Lightning Week. This week, I’m co-hosing with Angie from the Country Chic Cottage, and our Guest Co-Host Sara from Mom Endeavors, and we’ve invited a bunch of our crafty friends to join in! Be sure to scroll down to the bottom of this post to check out all of their fun projects.

Green Eggs and Ham Wooden Play Food

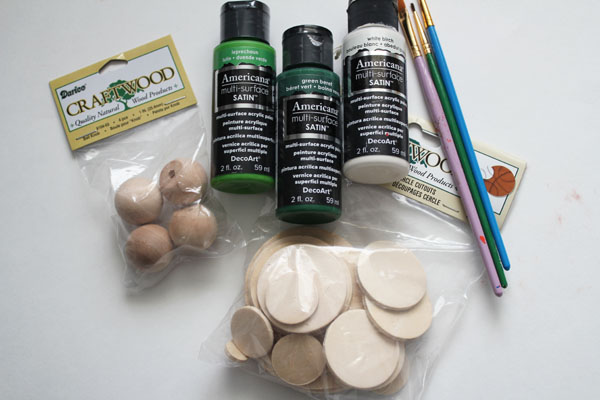
To make the wooden green eggs and ham, you’ll need:
Wooden circles
Wooden doll heads (like a bead, but the hole doesn’t go all the way through)
Saw
Clamp or Vise
Green Paint
Paintbrushes

supplies for Green Eggs and Ham Wooden Play Food

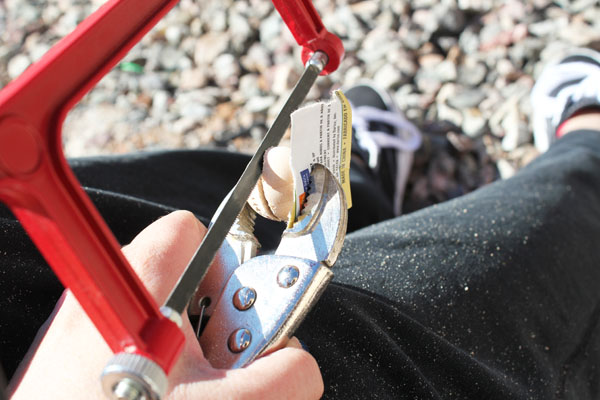
Start by sawing the wooden doll heads in half.

cut wooden bead

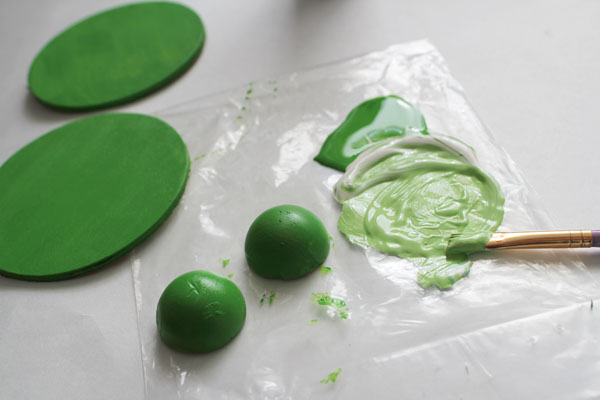
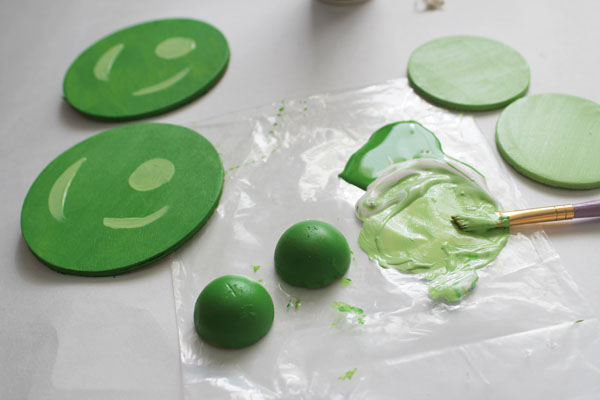
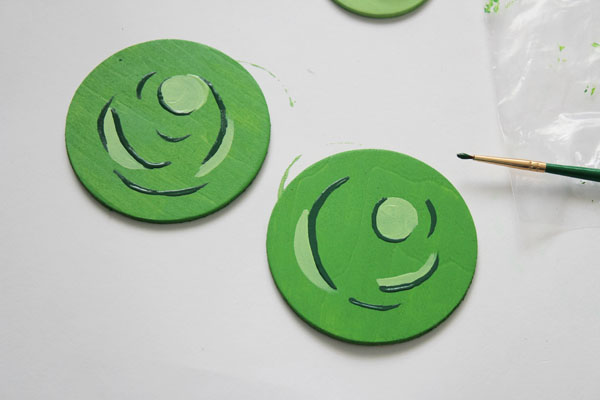
Paint the wooden pieces.

paint the eggs

paint the wood

painting the ham

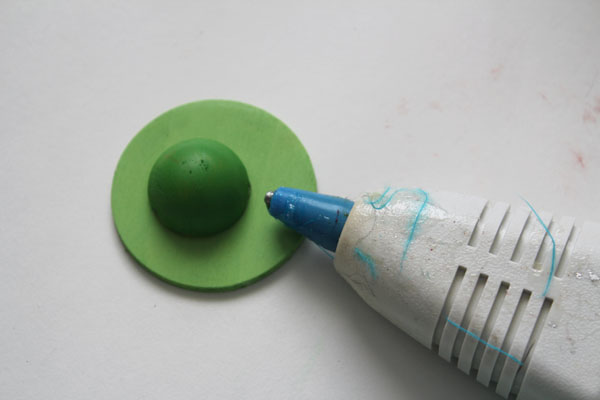
Glue the half spheres onto the eggs.

glue the egg

No matter how picky your eater is, they’ll love these wooden green eggs and ham!

wooden play food green eggs and ham

Check out these fun and fast Seuss inspired projects!

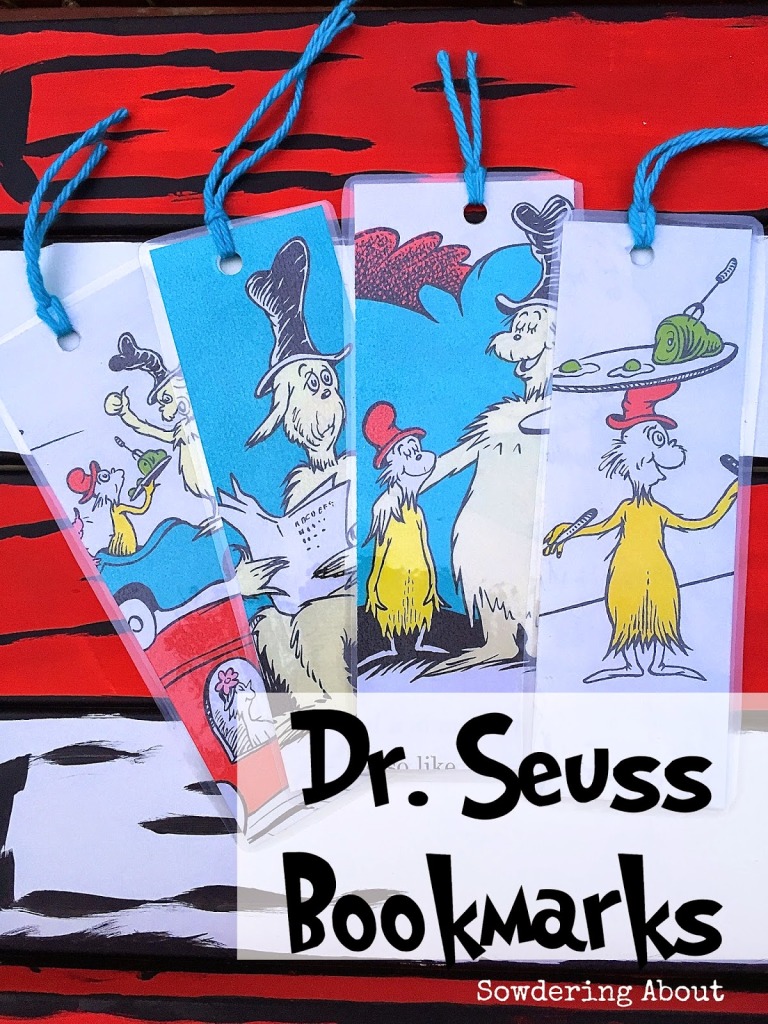
Randi from Sowdering About made these Seuss Bookmarks.


Dr seuss bookmarks

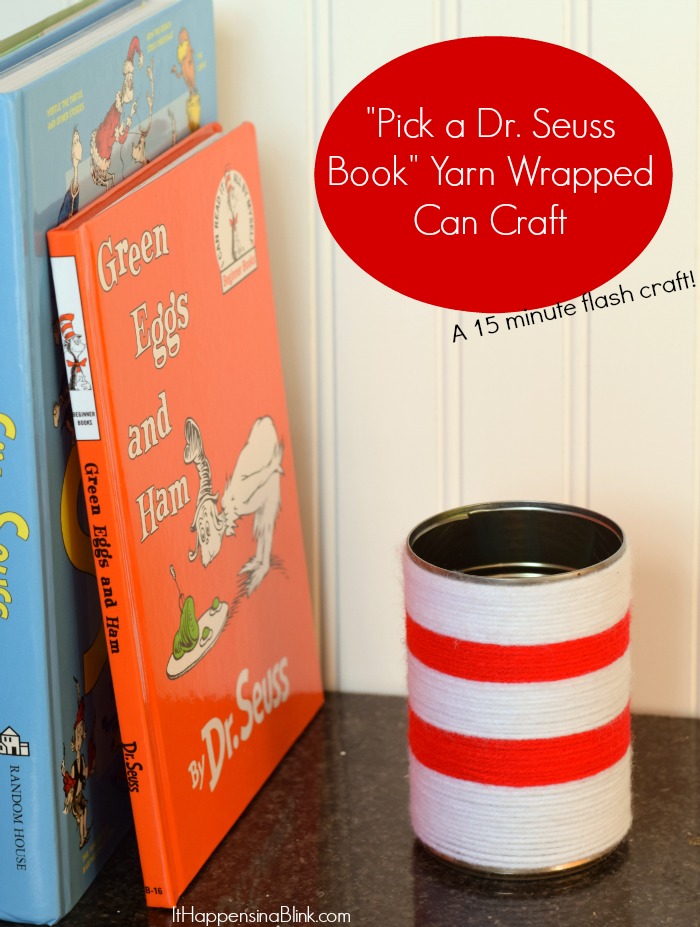
Not sure what Seuss book to read first? Try this fun “Pick a Seuss Book” project from Melanie at It Happens in a Blink.

Dr-Seuss-pinnable

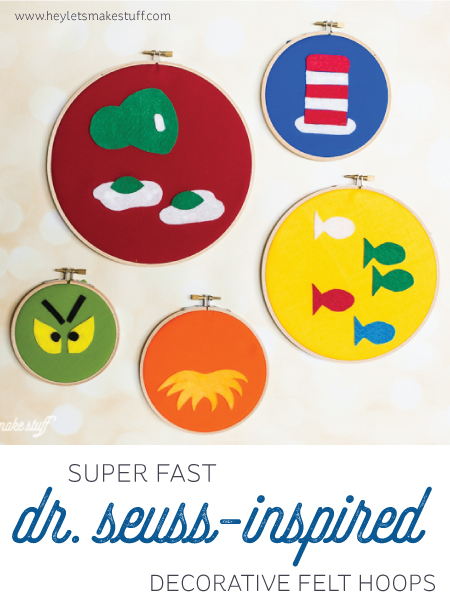
Love Seuss Decor? Then you’ll fall in love with these felt Seuss hoops from Cori at Hey Let’s Make Stuff.Dr-Seuss-Hoops

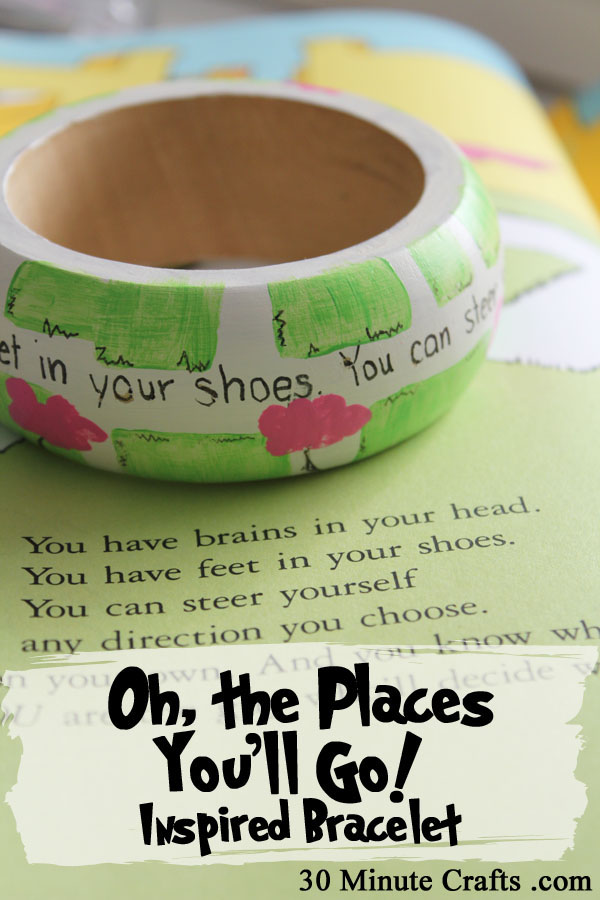
“Oh, the Places You’ll Go!” Inspired Bracelet

“Oh, the Places You’ll Go!” is an awesome Dr. Seuss book for anyone at a crossroads in life – a graduation, new job, a move, or even the loss of a job. As much as I love reading the book, I thought it would be nice to have a piece of jewelry with one of my favorite quotes from the book. Which was the hardest part. Picking a quote. “Oh, the Places You’ll Go!” is filled with page after page of inspiring quotes.

I made this Seuss Inspired bracelet as part of Craft Lightning week this week. All week long, my co-host Angie from The Country Chic Cottage and our guest co-host Sarah from Mom Endeavors are sharing fast, 15 minute Seuss-inspired crafts. We’ve also invited some of our blogging friends to come up with some fast Seuss-inspired crafts of their own. Check out their crafts at the bottom of this post.


Oh the Places You'll go Inspired Painted Bracelet

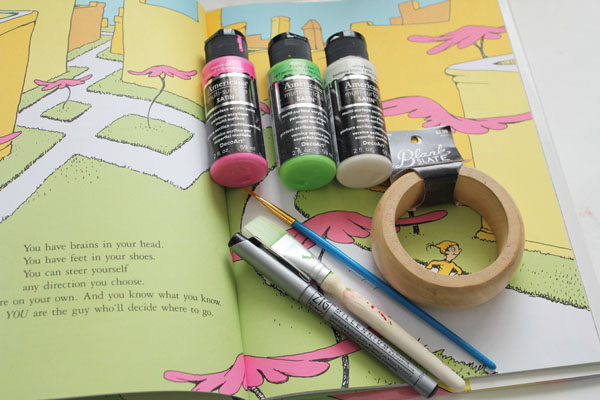
To make the bracelet, you’ll need:
Wooden Bracelet
DecoArt Multi Surface Paints (flamingo, apple green, and white birch)
Paint Brush
Permanent Ink fine-tipped pen

supplies for bracelet

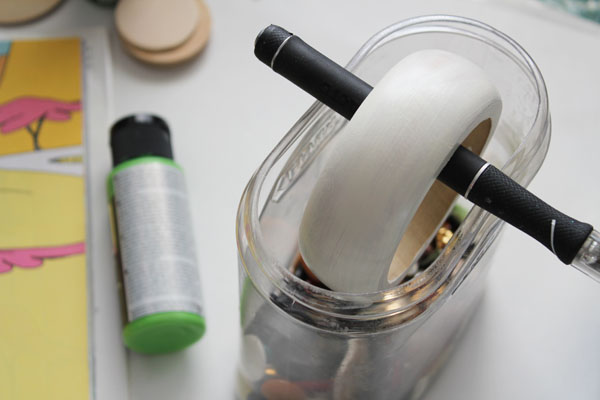
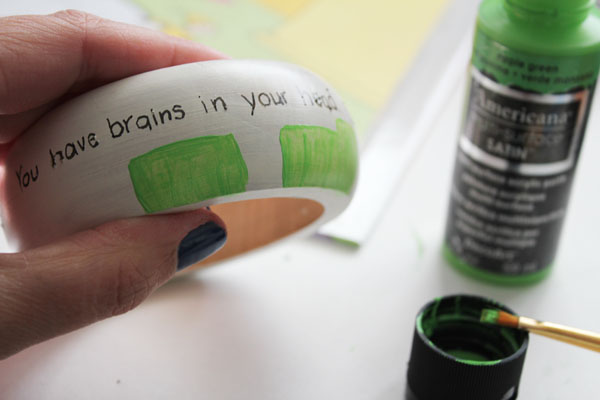
Start by painting the bracelet white, and putting it aside to dry.

allow paint to dry

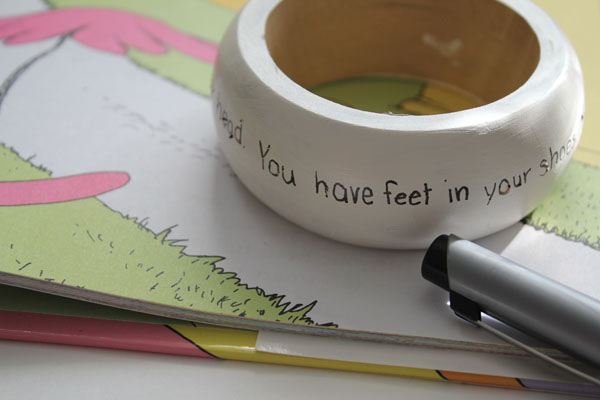
Write the quote around the bracelet.

write quote

Paint in the green grass areas.

paint grass areas

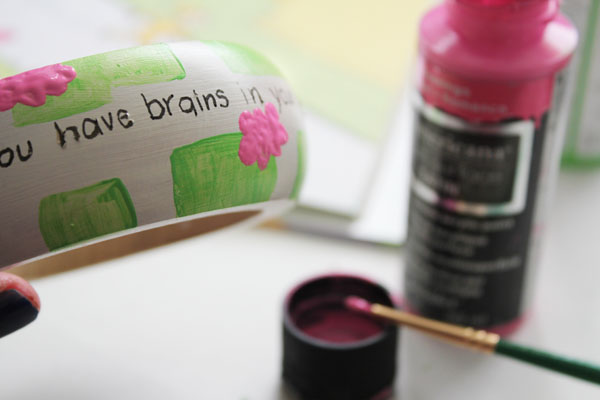
Paint in pink tree tops. Allow to dry.

paint trees

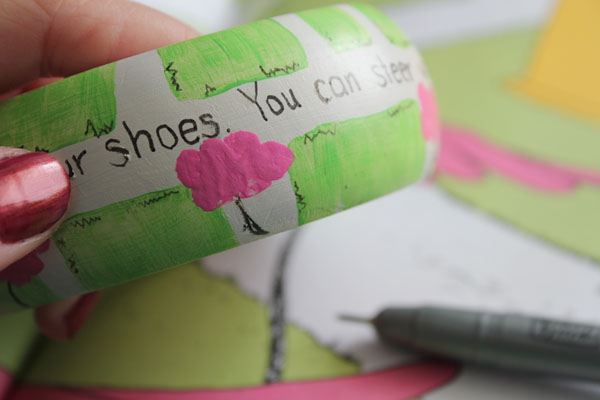
Draw in some wiggly lines around the grass, and the tree trunks.

draw in grass and tree trunks

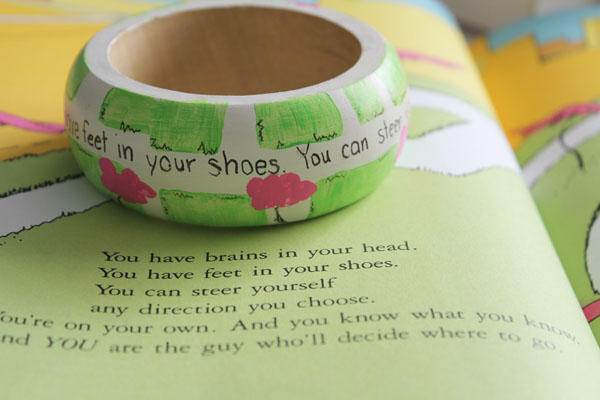
Bracelet complete!

Wooden Bracelet with Dr Seuss Quote

Check out these other fun Seuss inspired crafts:

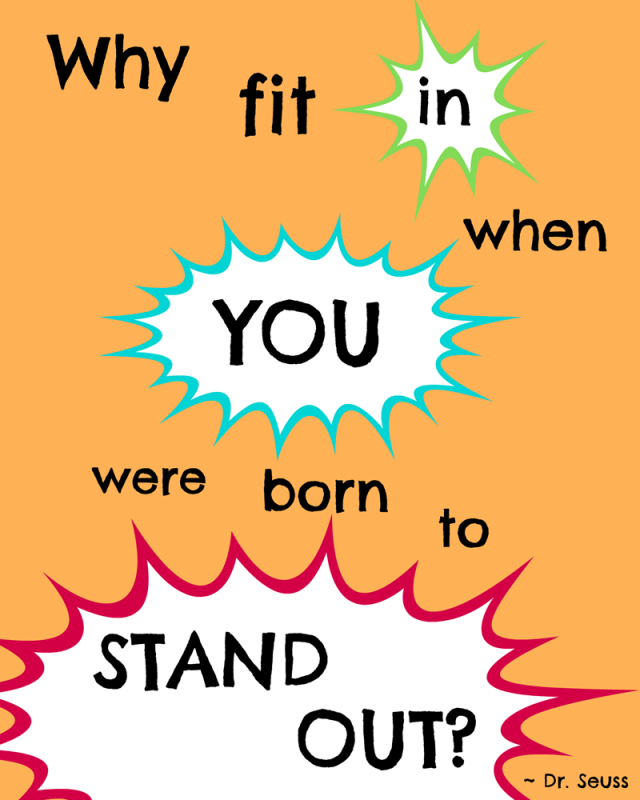
Pet Scribbles made this fun Seuss Printable quote.

Dr.-Seuss-Quote-640x800

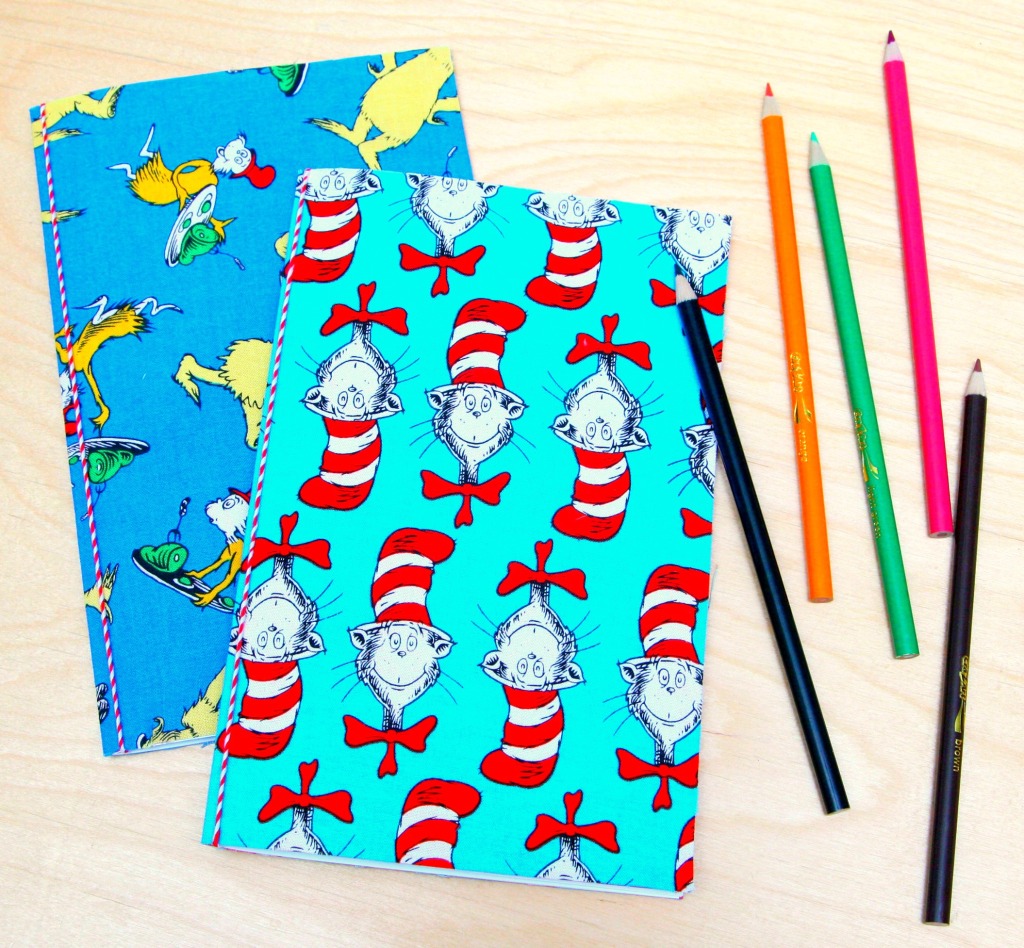
Happy Go Lucky whipped up these cute Seuss notebooks.

Dr.-Seuss-Notebook-21

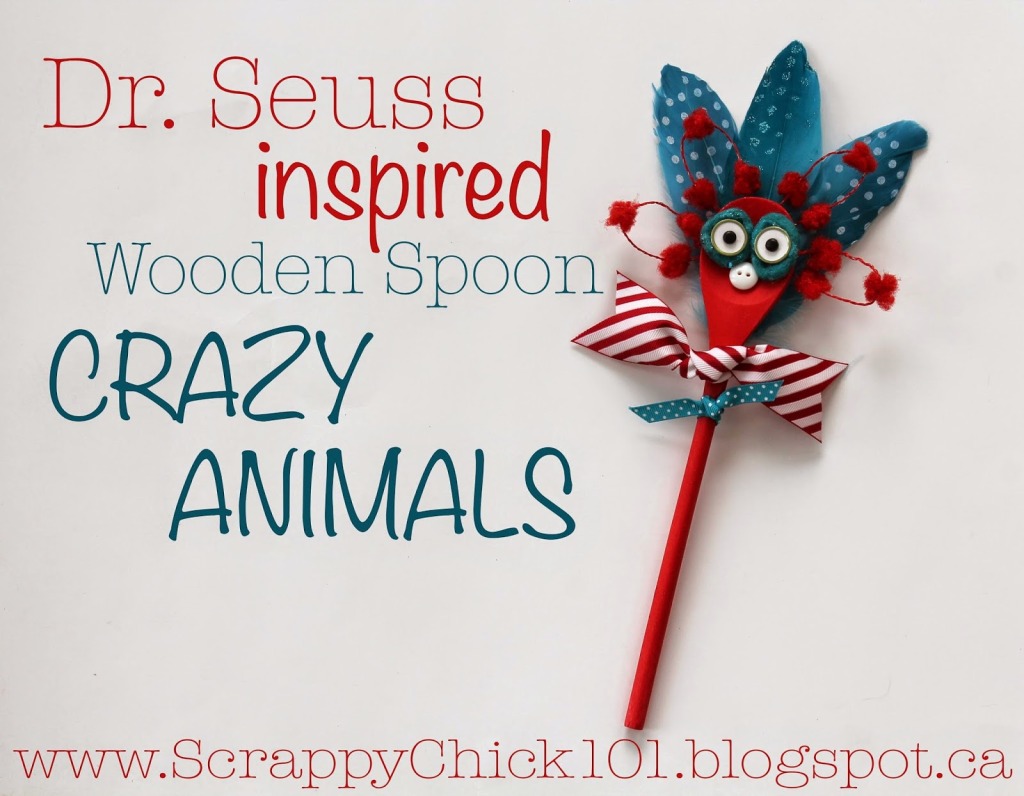
Scrappy Chick 101 created some imaginative Seuss-inspired wooden spoon creatures.

seuss inspired Seuss Characters

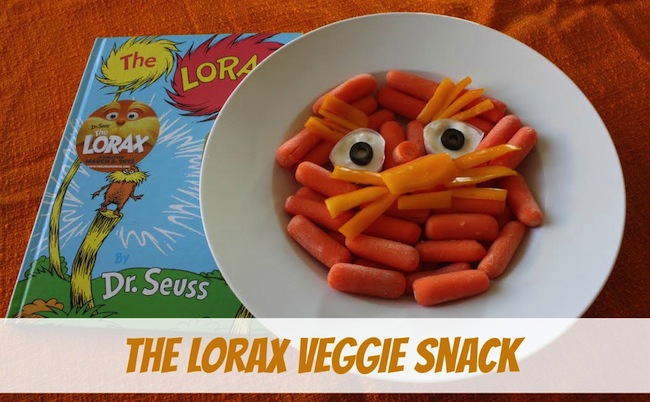
Looking for a fun snack to go along with your Seuss reading? This Lorax veggie tray from Desert Chica Ramblings is adorable!

Lorax-Veggie-Snack

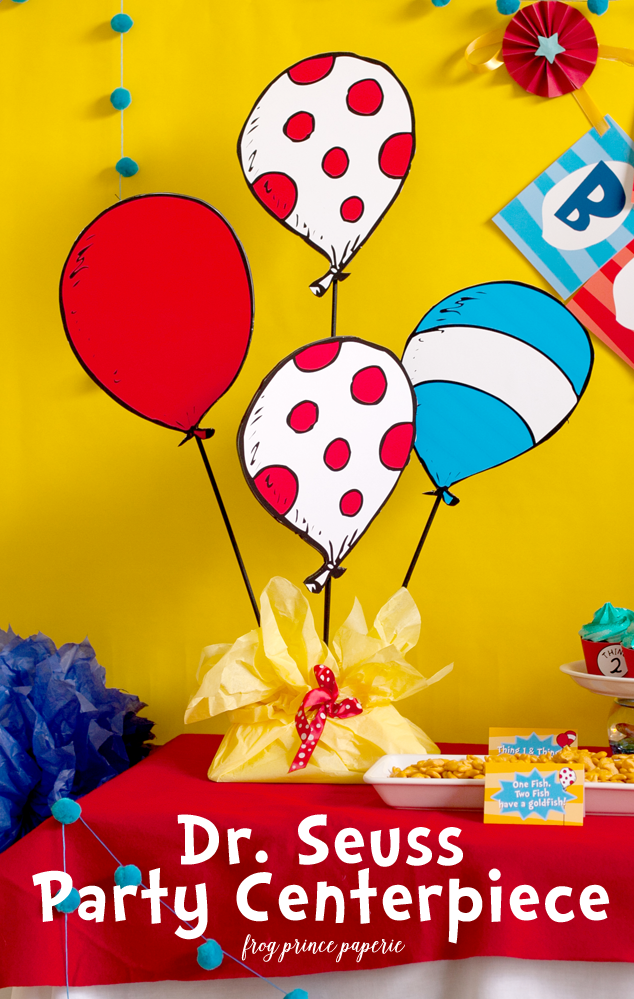
I’m in love with this Seuss centerpiece from Frog Prince Paperie.

suess-bday-centerpiece

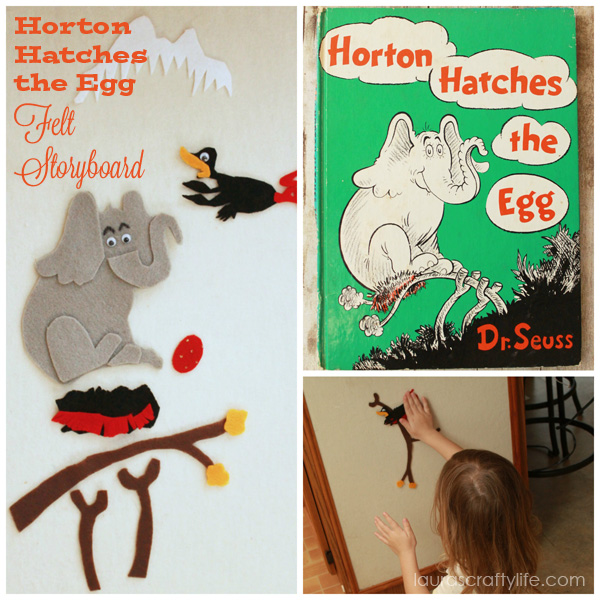
Laura’s Crafty Life shows you how to get interactive with your Seuss stories, making a Horton Hatches the Egg Felt Storyboard.

Dr.-Seuss-Craft-Horton-Hatches-the-Egg-Lauras-Crafty-Life

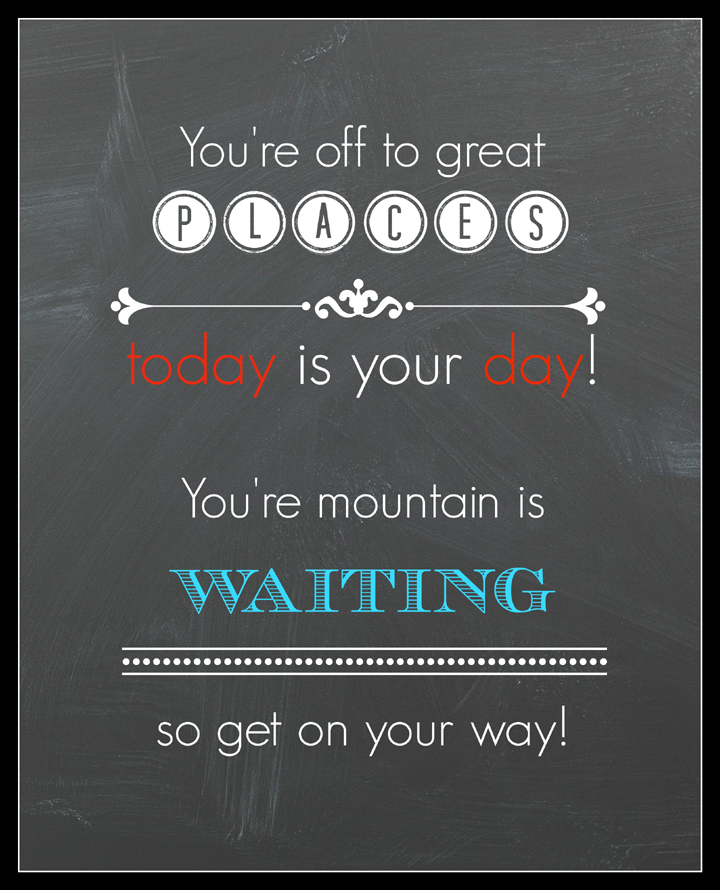
My Craftily Ever After also has a cute Seuss Printable:


oh-the-places-your-go-chalkboard-printable-dr-seuss-blog-size

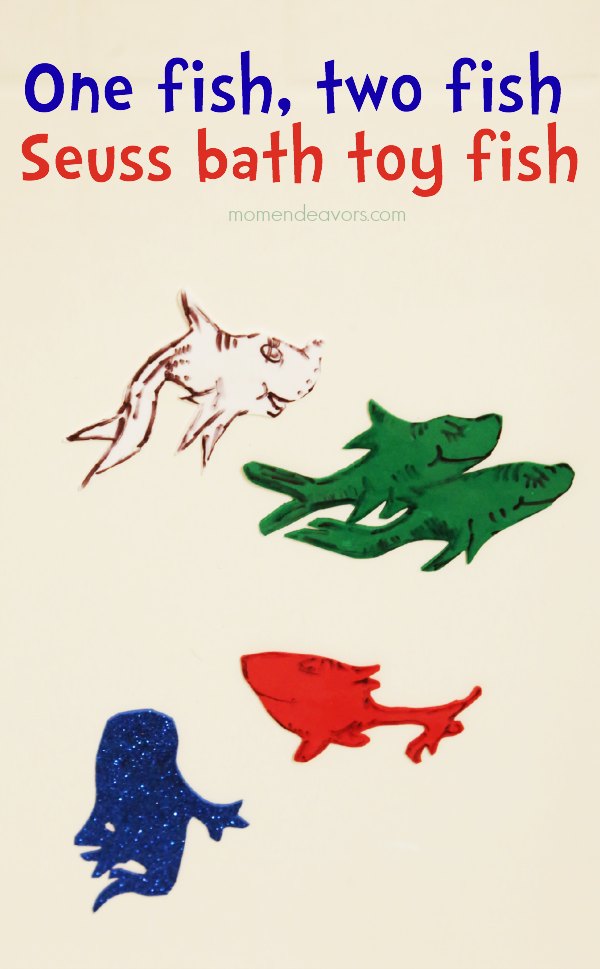
Sara from Mom Endeavors made a fun set of One Fish, Two Fish bath toys.

Easy-One-Fish-Two-Fish-Craft


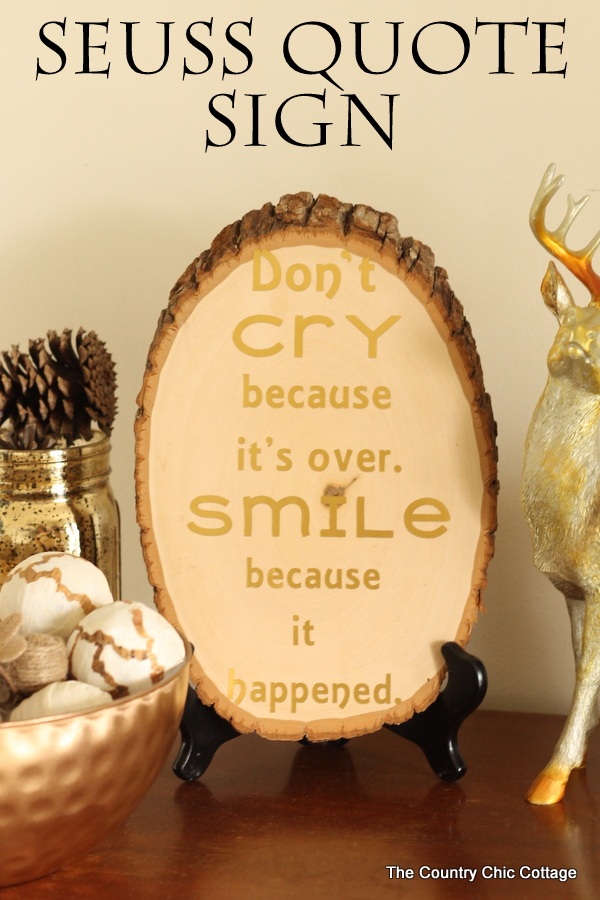
And Angie from the Country Chic Cottage, my long-time co-host for Craft Lightning, put a Seuss quote on a wooden plaque.

seuss-quote-sign-for-home-decor-003

Be sure to stop back by tomorrow for one last day of fun and Fast Seuss crafting!

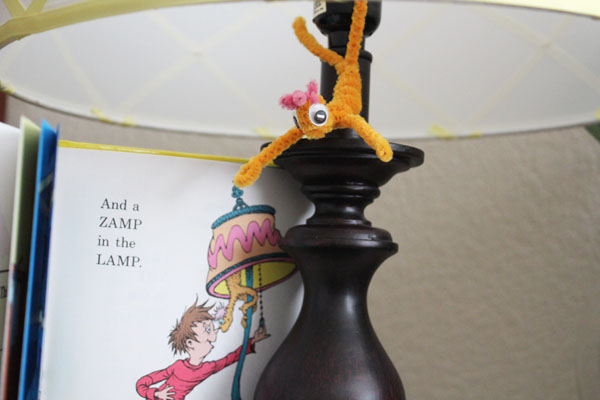
DIY Zamp in my Lamp

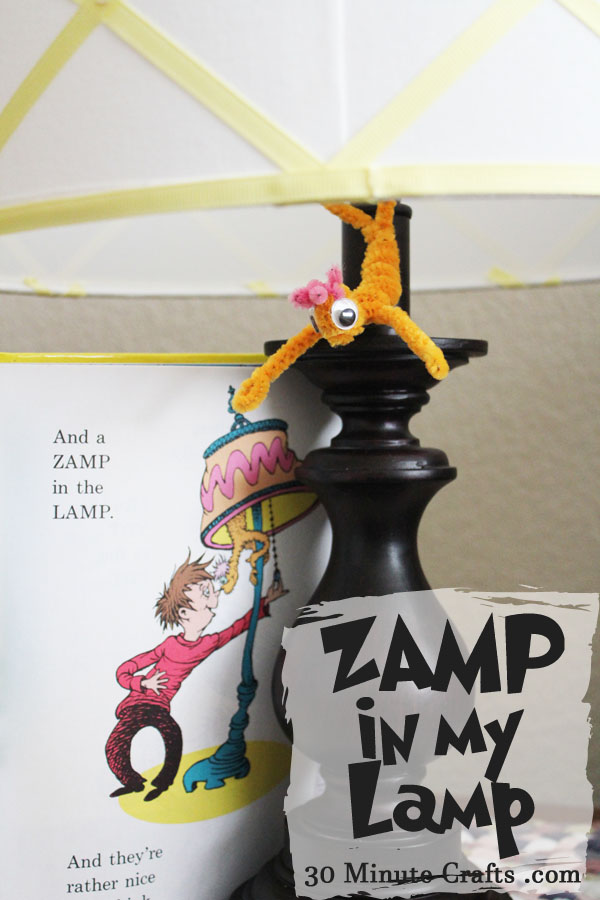
Last year I made a Wocket in my Pocket, two years ago I made a Yottle in my Bottle, and this year I’m showing you how to make a Zamp in my Lamp. I love the fun characters that Dr. Seuss made for his book “There’s a Wocket in my Pocket”, and I’m having a blast turning them into fun little characters in my own life. Maybe after a couple more years, I’ll have a house filled with Dr. Seuss’s crazy creatures, just like the boy in the book!

I’m doing this project as part of Craft Lightning week. This week, my co-host Angie from The Country Chic Cottage, and our Guest Host, Sarah from Mom Endeavors, are sharing a fun and fast Seuss craft each day… and having some of our crafty friends join in! Be sure to scroll down to the bottom of this post for more fun and fast Seuss inspired crafts!

Zamp in my Lamp

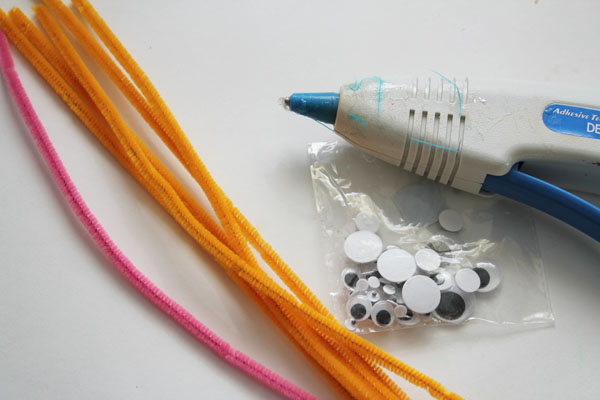
To make a Zamp in my Lamp, you’ll need:

Five Tan/Orange pipe cleaners
One Pink Pipe Cleaner
Googly Eyes
Hot Glue
Scissors

supplies to make a zamp for your lamp

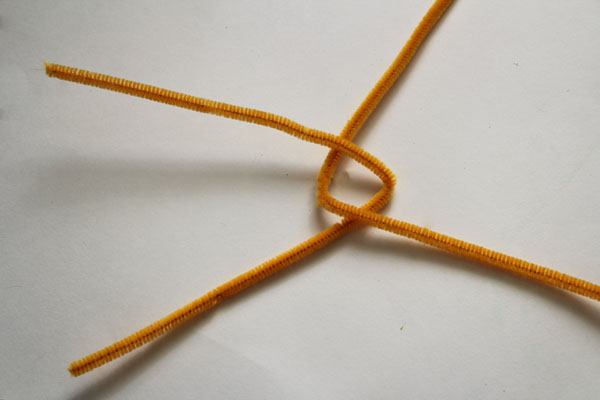
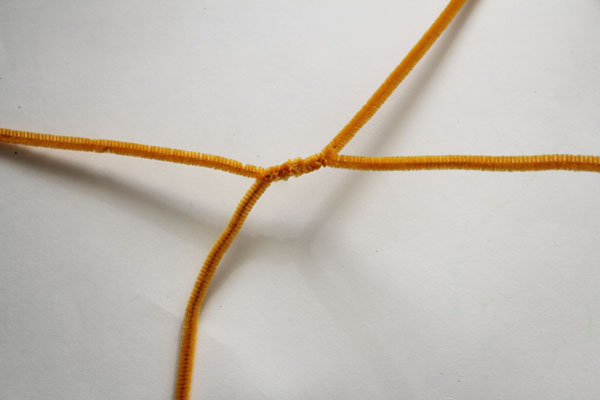
Start by folding two pipe cleaners in half, and link them together.

fold and hook together

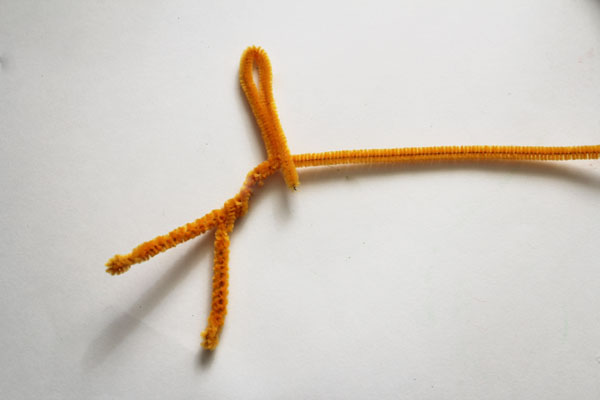
Twist the two pipe cleaners together.

twist to make body

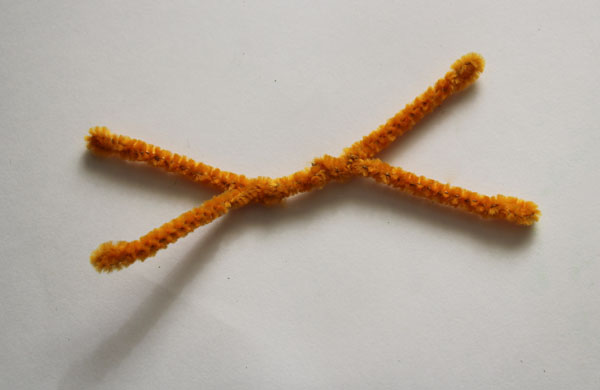
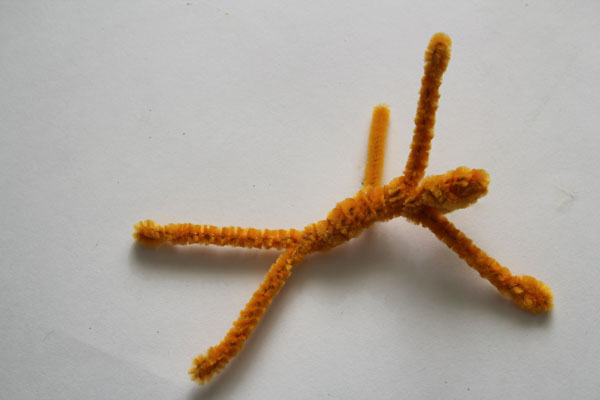
Fold each of the ends in half, and twist, to create the arms and legs.

twist arms and legs

create body

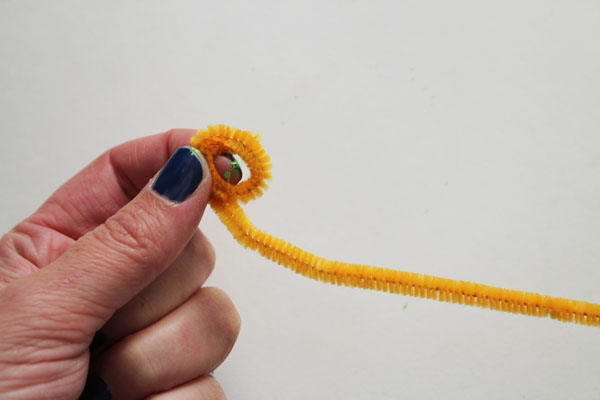
Wrap the end of a pipe cleaner around your finger to form the head.

wrap around finger

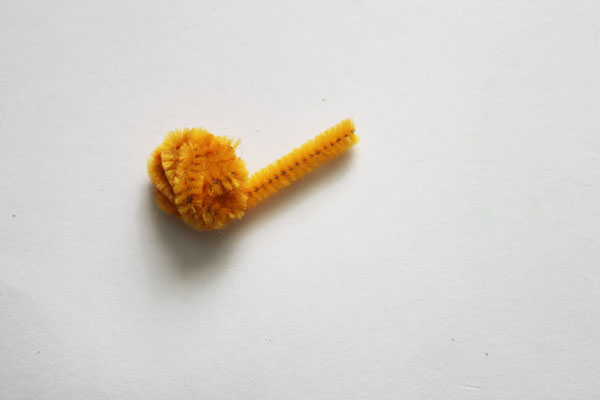
Wrap the tail around and around, like a ball of yarn.

wrap pipe cleaner

Attach the head. Wrap the two remaining pipe cleaners around the middle to thicken up the body.

wrap around body

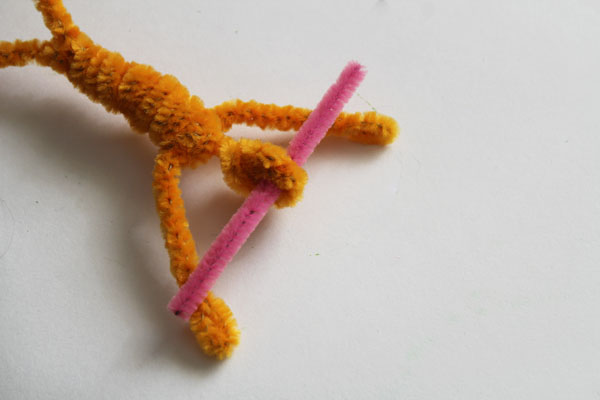
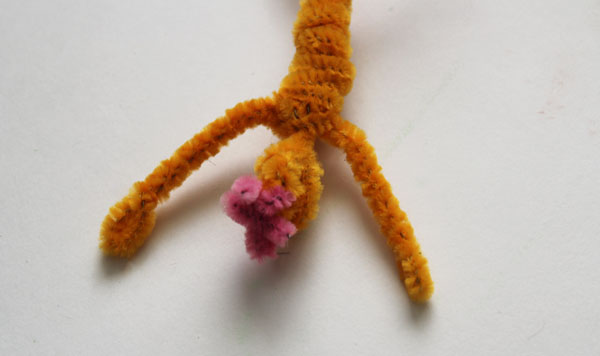
Cut 1/3 off the pink pipe cleaner, and insert it into the top of the head.

insert cut of pink pipe cleanerFold the pink pipe cleaner to create the hair.

bend hair

Glue on the eyes, then hang your Zamp from the nearest lamp! I love having a Zamp in my Lamp!

hang the Zamp in your Lamp

Here are the other awesome Seuss inspired crafts:


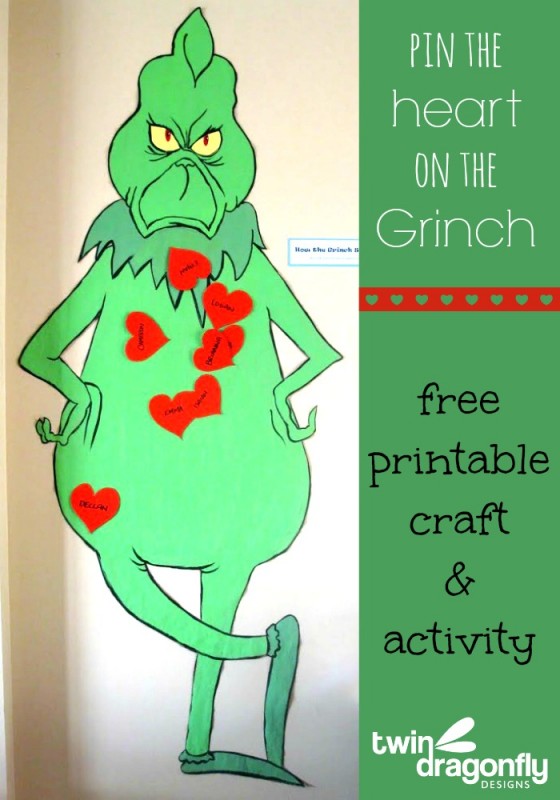
I love this Pin the Heart on the Grinch Printable from Twin Dragonfly Designs:

Pin-the-Heart-on-the-Grinch-Game-twin dragonfly designs


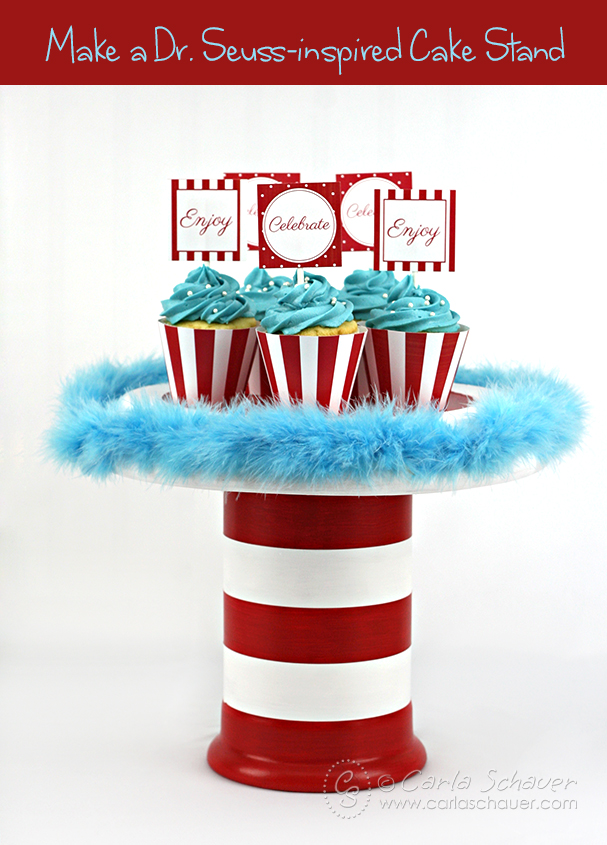
This Seuss-inspired cake stand by Carla Schauer is perfect for any young reader’s party!

Dr-Seuss-cake-stand_ Carla Schauer

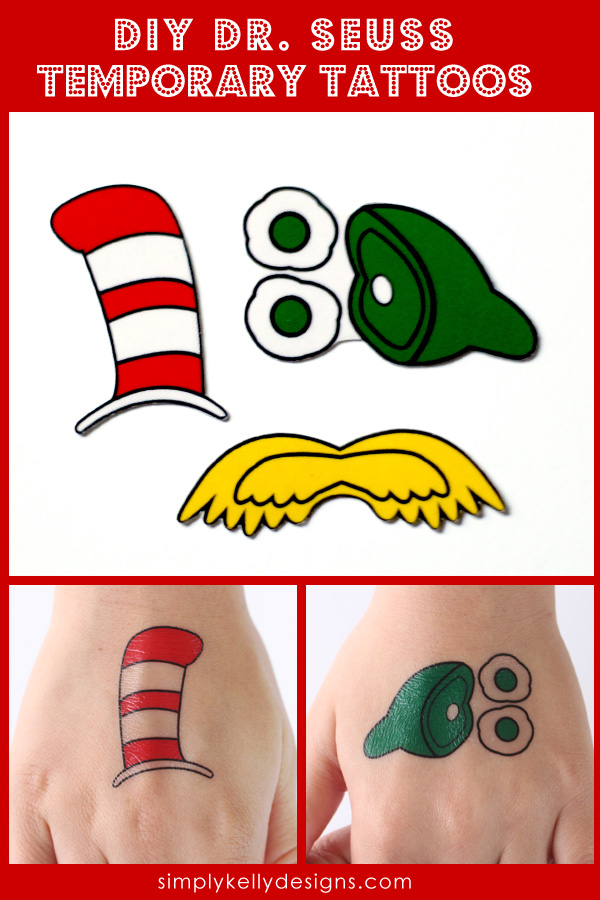
Did you know you can make your own temporary tattoos? You can! Simply Kelly Designs shows you how with these DIY Dr. Seuss Temporary Tattoos.

SimplyKellyDesigns_DrSeussTemporaryTattoos

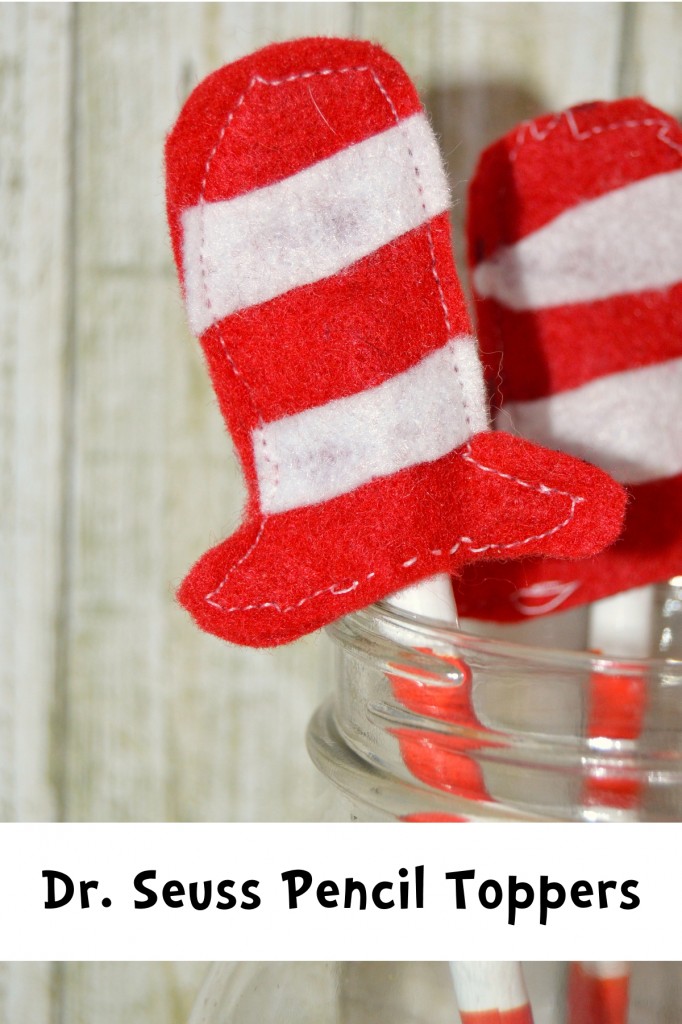
One Artsy Momma made fun Cat in the Hat Pencil Toppers.

seuss pencil toppers - one artsy momma


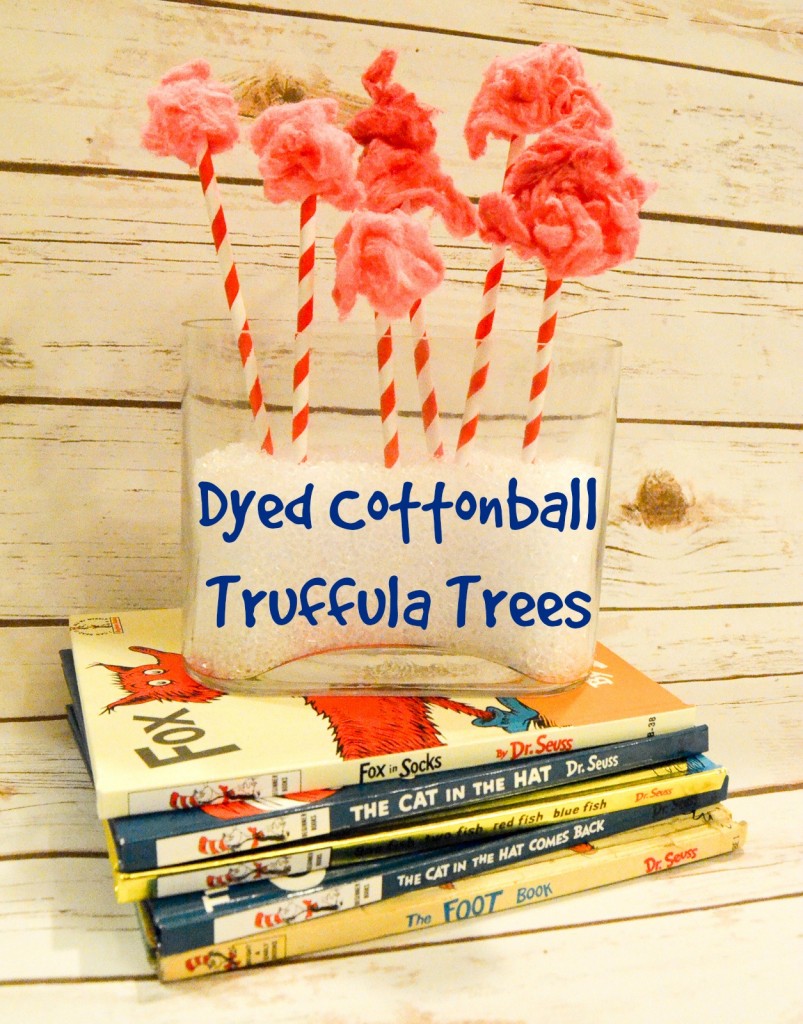
These Truffula trees were made by One Artsy Mama by dying cotton!

Dyed-Cottonball-Truffula-Trees-Albion Gould

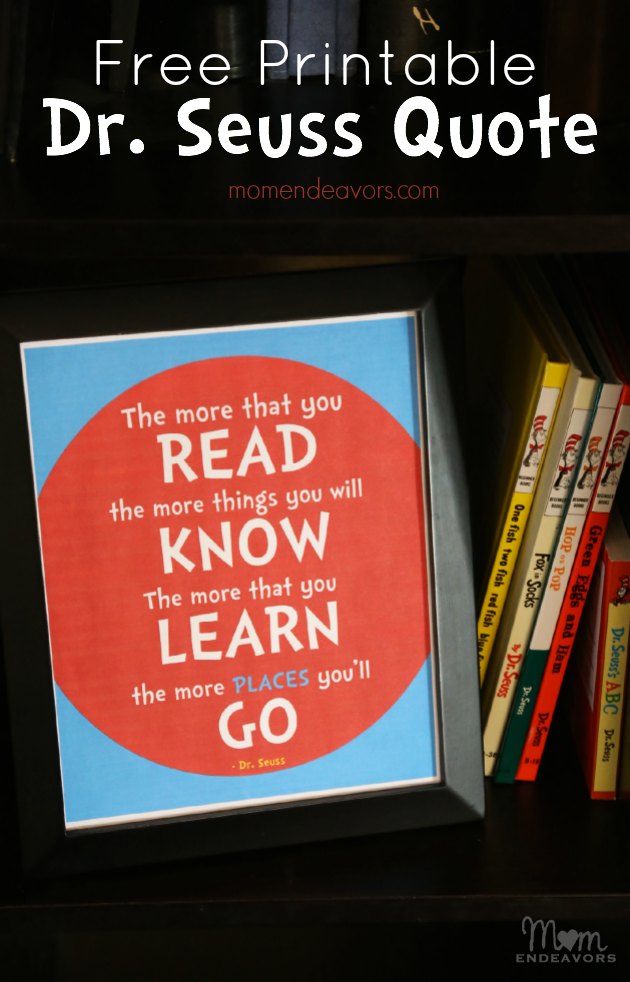
Our Guest co-host for this Series, Sarah from Mom Endeavors, made a Dr. Seuss Quote Printable.

Free-Printable-Dr.-Seuss-Reading-Quote


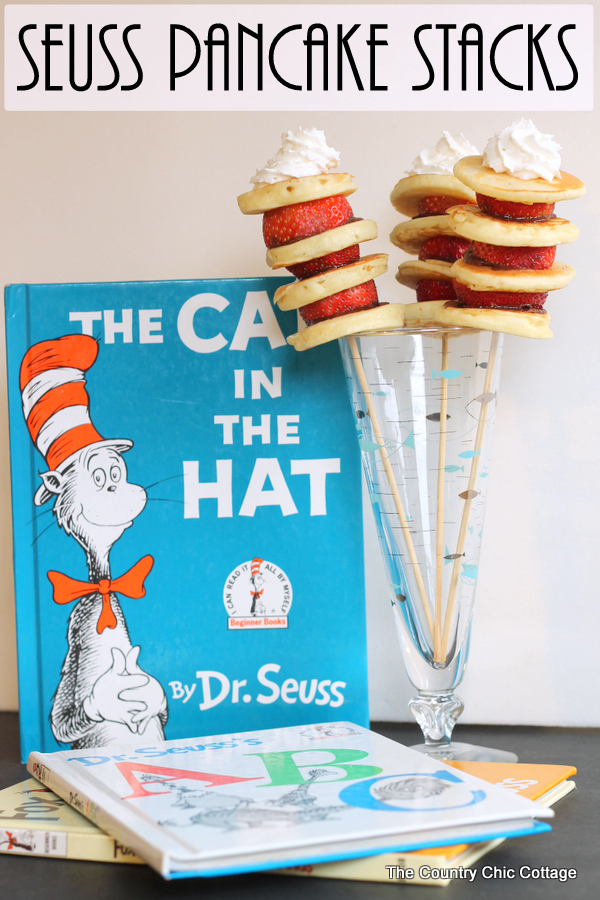
My long-standing Craft Lightning Co-host, Angie from The Country Chic Cottage, made this adorable Seuss Pancake Stacks – like a delicious breakfast kabob! YUM!seuss-pancake-stacks-004

Be sure to come back tomorrow for more fun and fast Seuss-inspired craftiness!