Star Stenciled Shirt with Frog Tape

This is a Sponsored post written by me on behalf of FrogTape Brand Painter’s Tape for SocialSpark. All opinions are 100% mine.
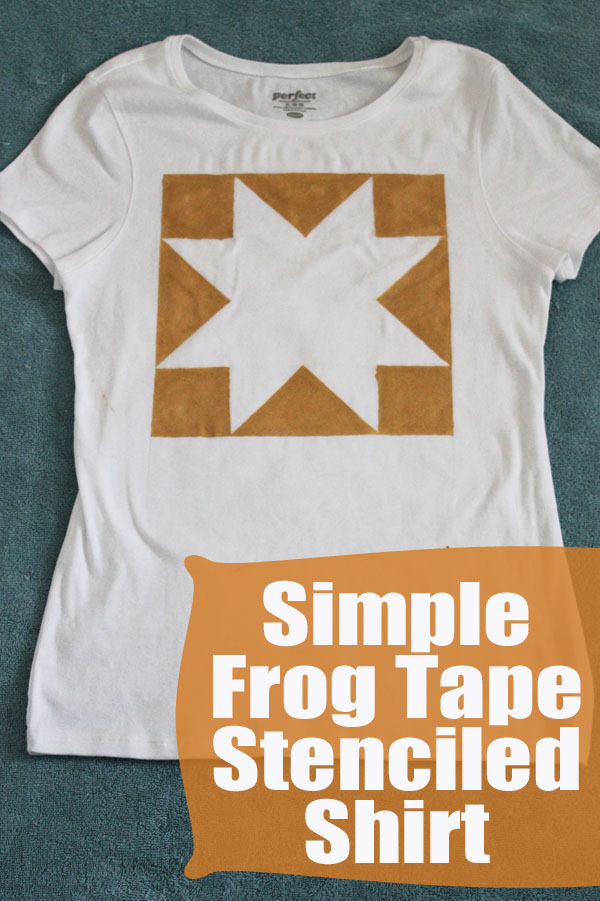
Simple Frog Tape Stenciled Shirt

When I was asked to create a project using Frog Tape and fabric I was skeptical. I've used Frog Tape, with the amazing paint-block technology on a holiday project last winter, but it was on bricks. I was doubtful about how successful a product I associate with painting walls would be on fabric.

To test out the Frog Tape on fabric, I decided to paint a shirt. I'm a quilter, and I've been wanting to put a quilt block on a shirt. I've been creating several projects lately using the sawtooth star block, so it was an obvious choice. You could make a different design, but I'm in love with this block!

To make your star stenciled quilt block shirt, you'll need:
Frog Tape with Paint block
Plain Shirt (something that fits well and is comfy!)
Fabric Paint (I went with gold)
Paintbrush
Ruler
Pencil
Scissors
Large Plastic Bag
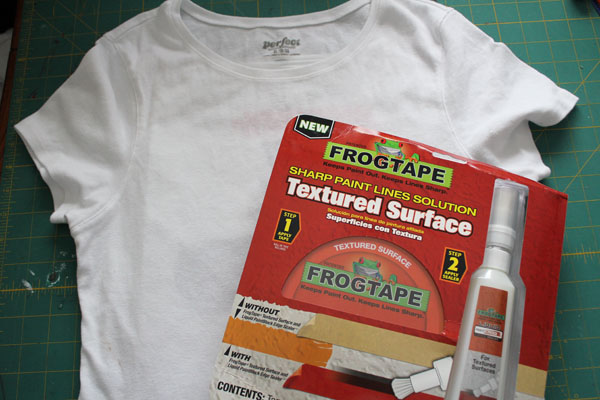
Frog Tape Stenciled Shirt


Use the ruler and pencil to mark off your painting area. I chose a 10" square. Use the Frog Tape to outline the area.
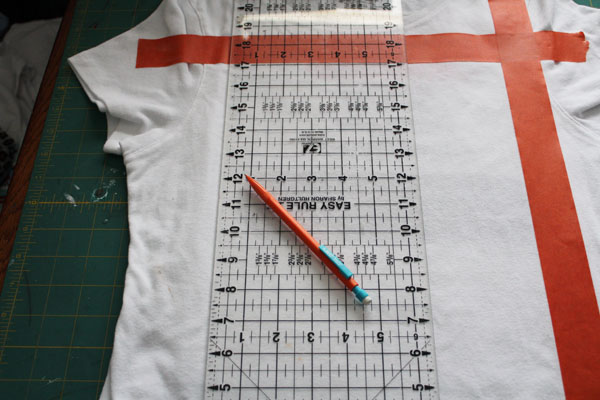
Draw Area

You might be able to see through the shirt fabric that I already inserted the plastic bag between the layers of the shirt. You can do this now, or later… just make sure to do it before you apply the paint block to the shirt.
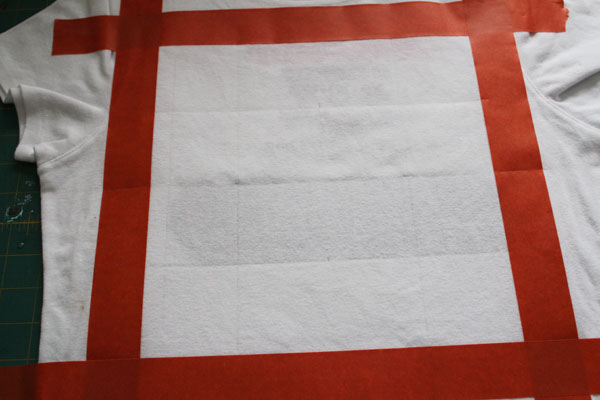
Mark off Painting Area

Mark the square into a 4×4 grid – each square is 2.5"x2.5". Using the points where the grid meets the tape around the square, mark off the center of the star.
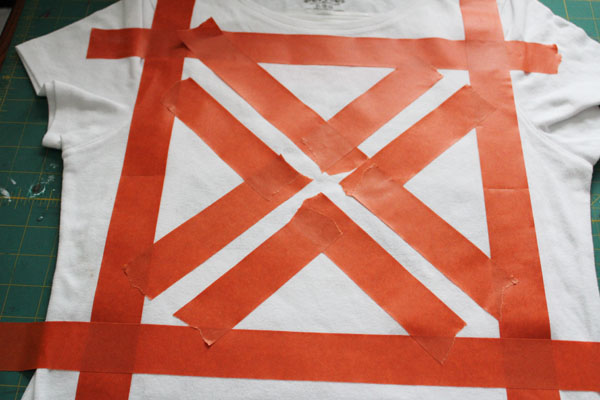
tape off middle

Fill in the center, then mark on the tape the areas that need to be cut away to create the star shape.
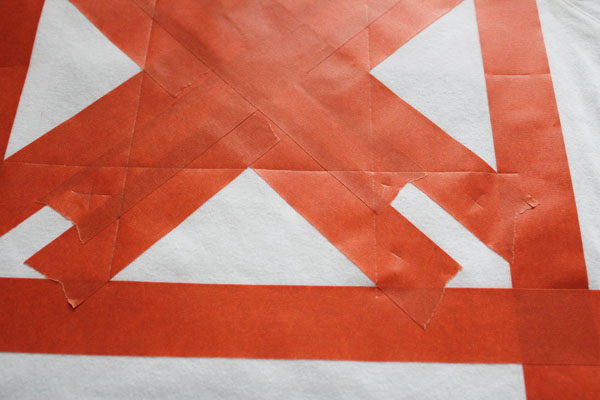
Draw Star Shape

Trim away excess tape using scissors.
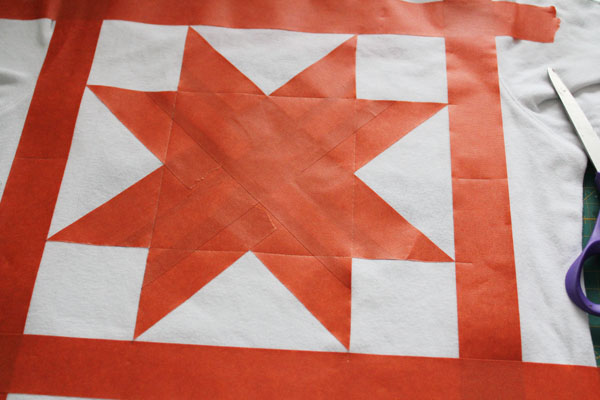
Trim Tape

Use a wet rag around the edges of the Frog Tape as directed on the package.
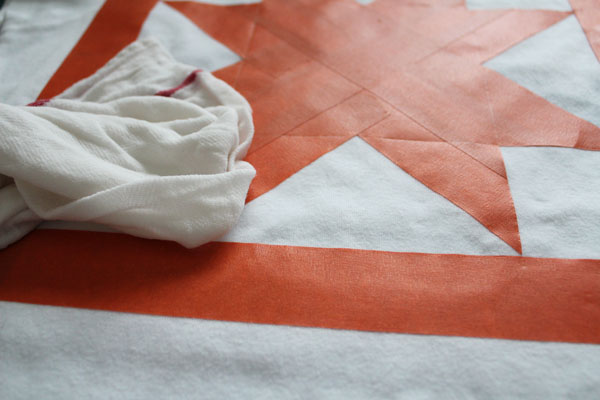
Moisten Edges

Follow the directions on the package to apply the paint block.
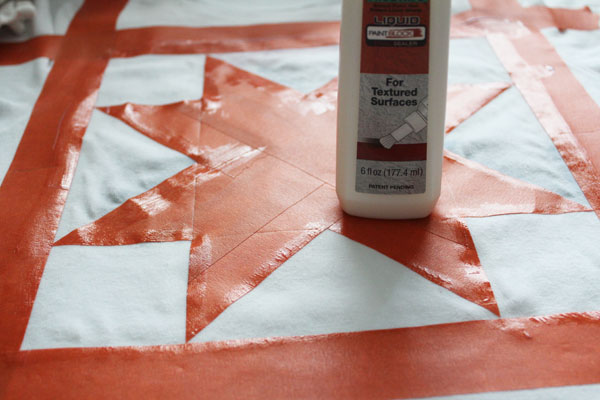
Apply Paint Block

Once the paint block has set, use the fabric paint.
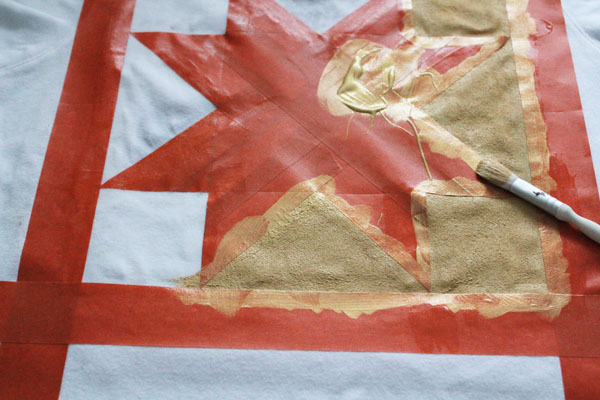
Paint in the Areas

Fill in all the areas, then allow to dry.
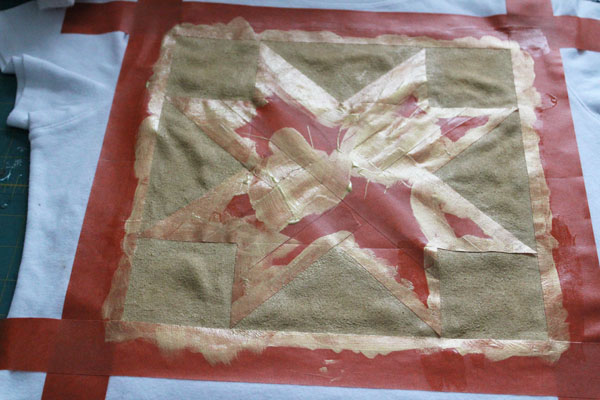
Allow to dry

Once dry, peel away tape. Your shirt is complete!
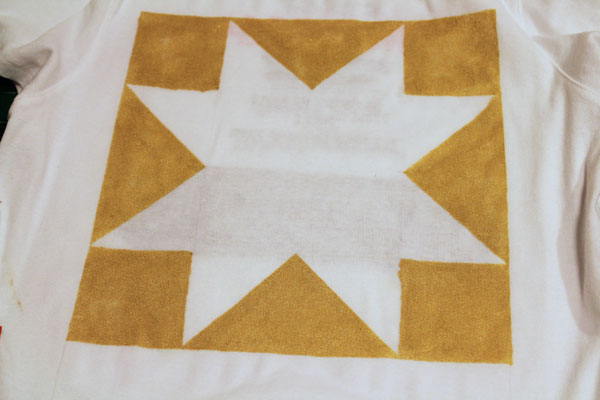
Remove Tape

To set the paint, I tossed my shirt in the dryer for about 15 minutes. I've since worn (and washed) the shirt twice. This was what I was most skeptical about. I thought that the paint block would wash right out of the shirt… and I was wrong! The paint block has held up fantastically!
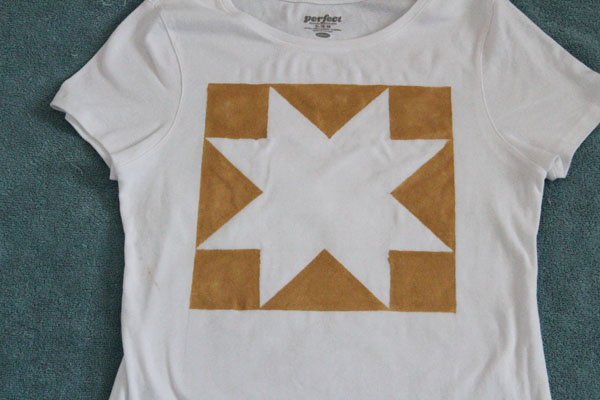
Frog Tape Stenciled Tee

I will absolutely use Frog Tape again for stenciling a shirt – I think I need a tiny bit more practice to get the most crisp lines – but of all the techniques I've used, I think this has been among the most successful.

If you're interested in playing with Frog Tape, be sure to check out this FrogTape how-to and follow Frog Tape on Twitter.

Visit Sponsor's Site

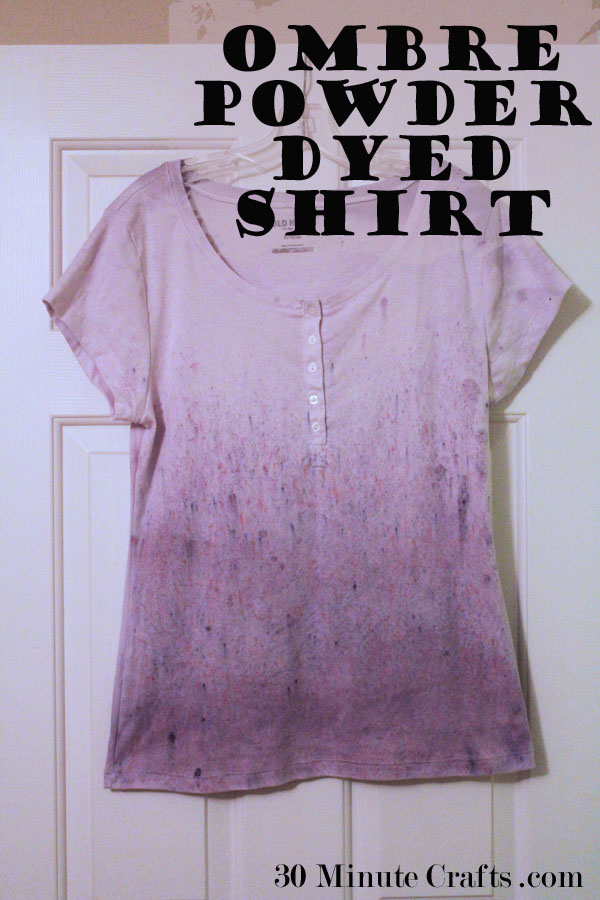
Ombre Powder Dyed Shirt

After making my orange powder dyed shirt, I knew I wanted to play around with powder dye a little more. Rit powder dyes are a solid color when you mix them with water, but when you play with the powder, you get a lot more tone and texture, which is so much fun!

how to make an ombre powder dyed shirt

To make an ombre powder dyed shirt you need:
Plain white shirt
Rit Powder dye (I used Royal Blue)
Spray bottle with warm water
Rubber gloves (NOT optional – unless you want to look like you squished a Smurf, you REALLY need them!!)
Large Garbage Bag (optional)
Bucket or other plastic container/bin
note: You’ll also want a scrubby sponge and some cleaning supplies on hand if you do this in the tub


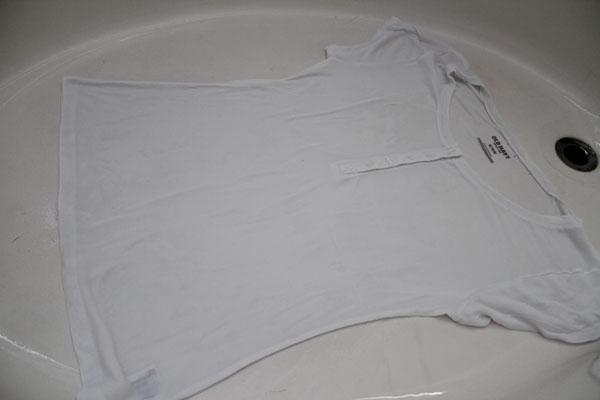
Start by laying out the shirt. I lay mine out in the bottom of my tub. If you’re worried about getting dye stains on your surface, lay down a large garbage bag to protect the surface. Spray the shirt so that it is damp.

lay out shirt


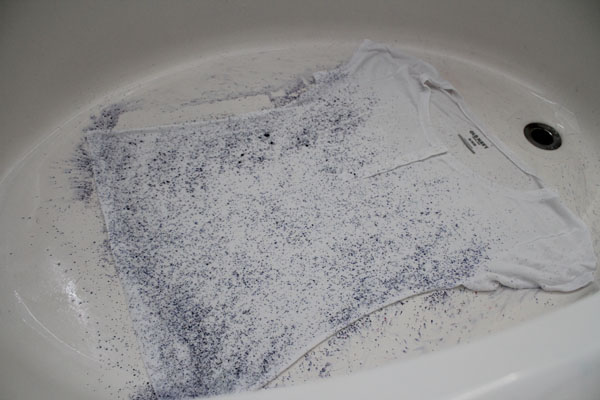
Open up the box of dye. Inside there will be a paper package. Tear off a corner, and start sprinkling the dye on the lower 3/4 of the shirt.

sprinkle shirt

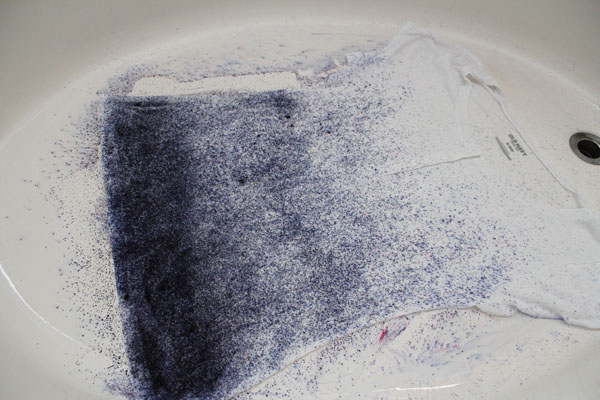
Keep adding layers, creating an ombre effect. The dye will look VERY dark – don’t worry! A lot of it will wash out.

sprinkle dye on shirt

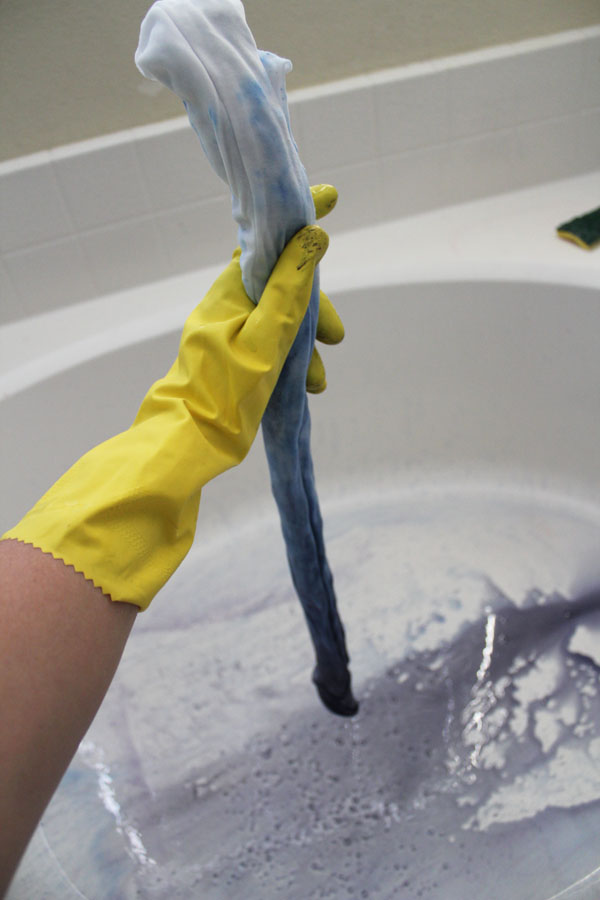
Now spray the shirt until it is soaking wet. This part is so much fun, as you watch the colors seep into the shirt. Once the shirt is completely soaked, it is time to color the back. You could flip the shirt over and repeat the process, but I decided to roll up the shirt from the right side to the left to transfer dye onto the back.

squeeze dye through shirtWearing rubber gloves, squeeze the water down the shirt. This will help the dye transfer, and help with the ombre look as well.

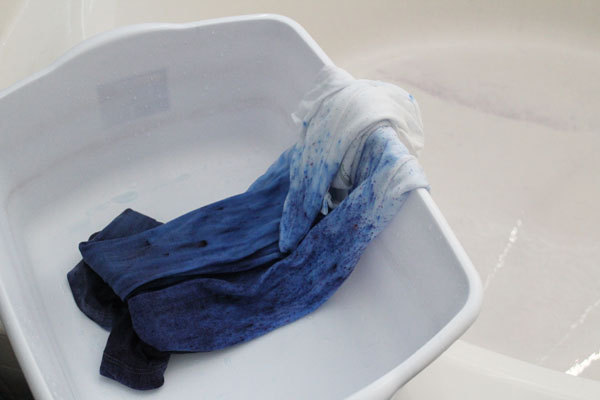
Once you’ve squeezed out most of the water, you can set the shirt aside. I left my shirt out for about 2 hours to let the dye set.

allow shirt to sit

Once you’ve let the shirt sit for as long as you like, quickly rinse off the excess powder dye, and toss it into the wash. You wan to wash it all by itself, using cold water, and set the washer to the largest washer setting possible (so the machine really fills up with water). Then toss it in the dryer, and you’re all set!

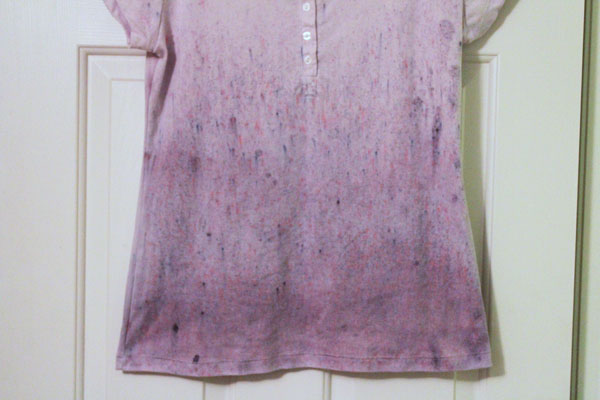
ombre powder dyed shirt

Amazing how the reds and purples in the Royal Blue dye really took over the shirt, isn’t it?

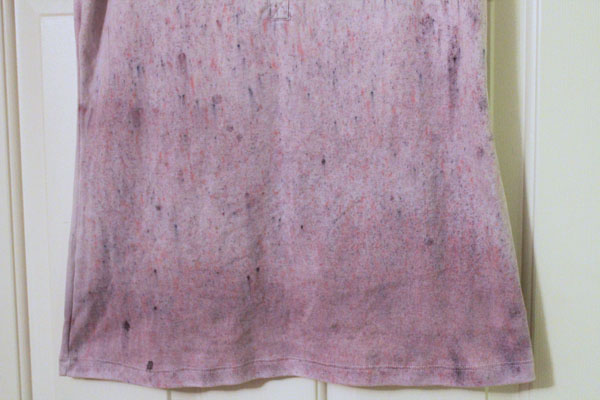
And I love all the texture that using powdered dye adds!

texture in the ombre

I can’t wait to try this in different colors!

Craft Lightning Day 5 Roundup!

It is the final day of Craft Lightning Week – I’m a bit late in getting today’s roundup posted because I’m off on a fun trip… you can check out my personal Instagram if you’re interested in details. Since I’m behind, we’ll get right down to it, and I’ll share with you all of today’s awesome fast crafting projects!!

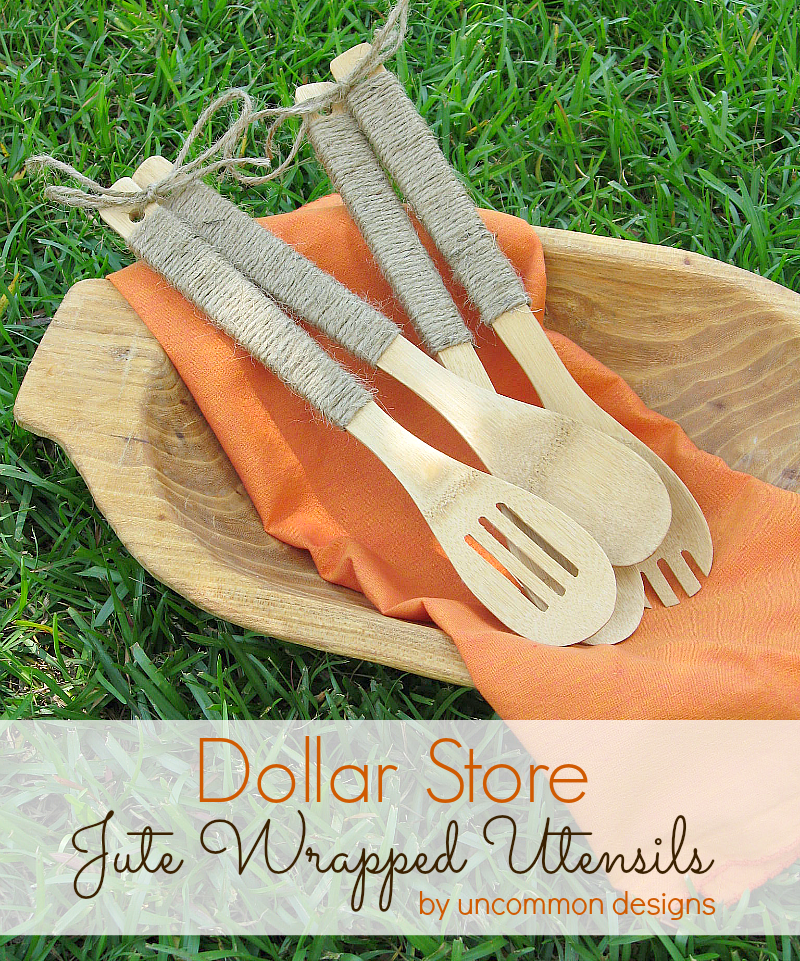
I love it when inexpensive items get a simple update that really classes them up, like these jute wrapped utensils from Bonnie at Uncommon Designs. You’d never guess that they were from the Dollar Store!

Dollar-Store-Jute-Wraped-Serving-Utensils

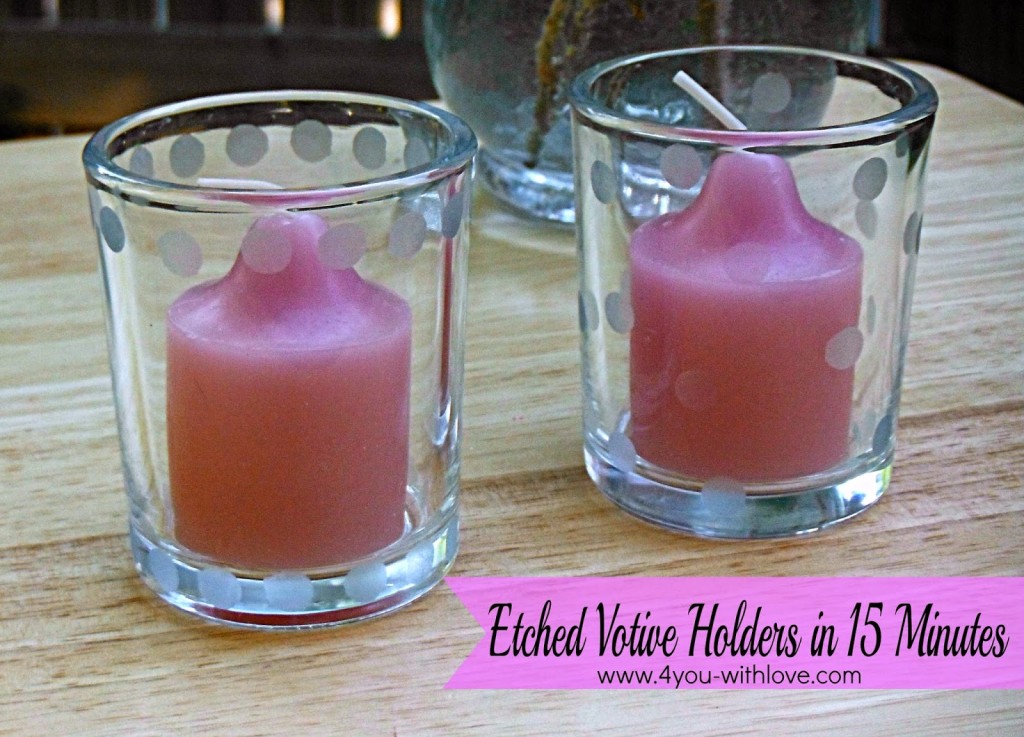
I have recently rediscovered etching cream, and I love what Marilyn over at 4 You with Love did with these adorable polka dot etched votives.

etched votive holders labeled

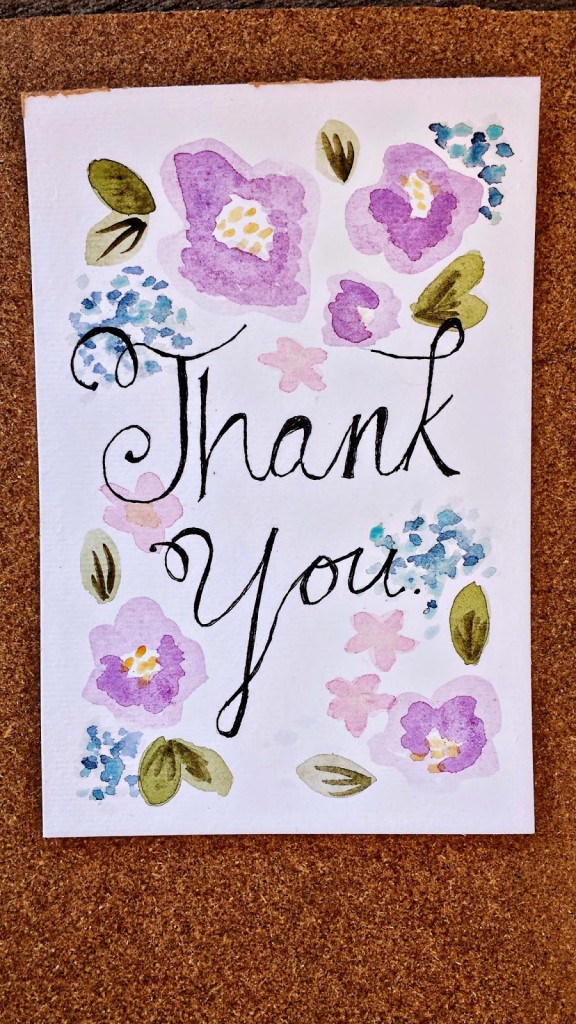
How beautiful are these watercolor Thank You cards that Carissamiss and her sister made? This is one card that would get framed at my house!

watercolor thank you cards

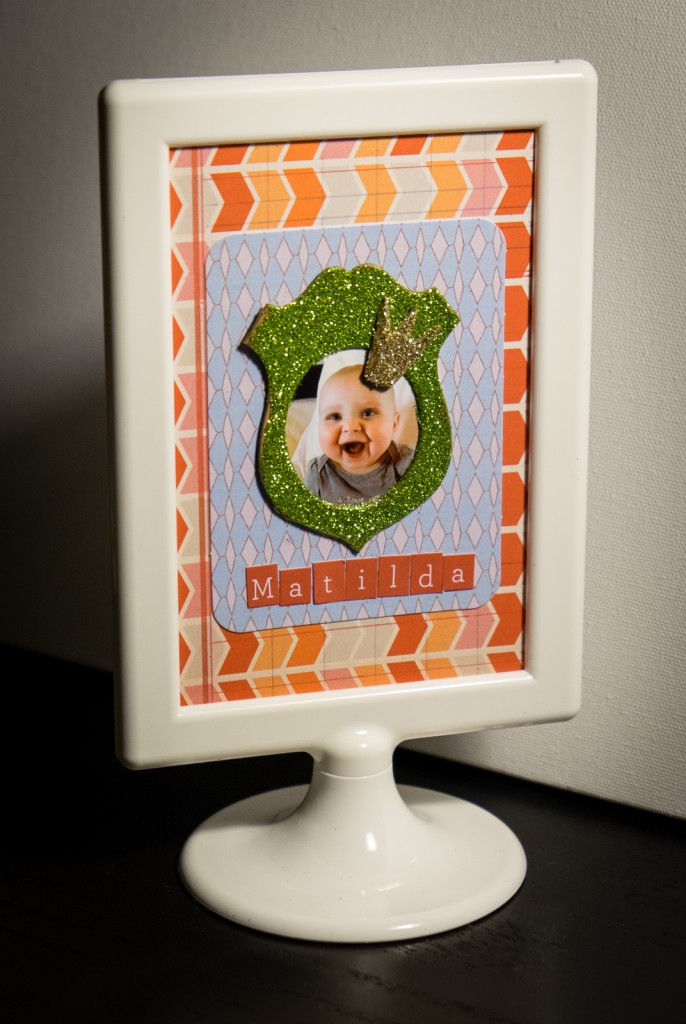
I love this scrapbook photo frame over at Albion Gould – how cute is this?? These would be fun to make for a party, using photos of the guest of honor at different ages… but it looks cute just like this as well!

scrapbook photo frame

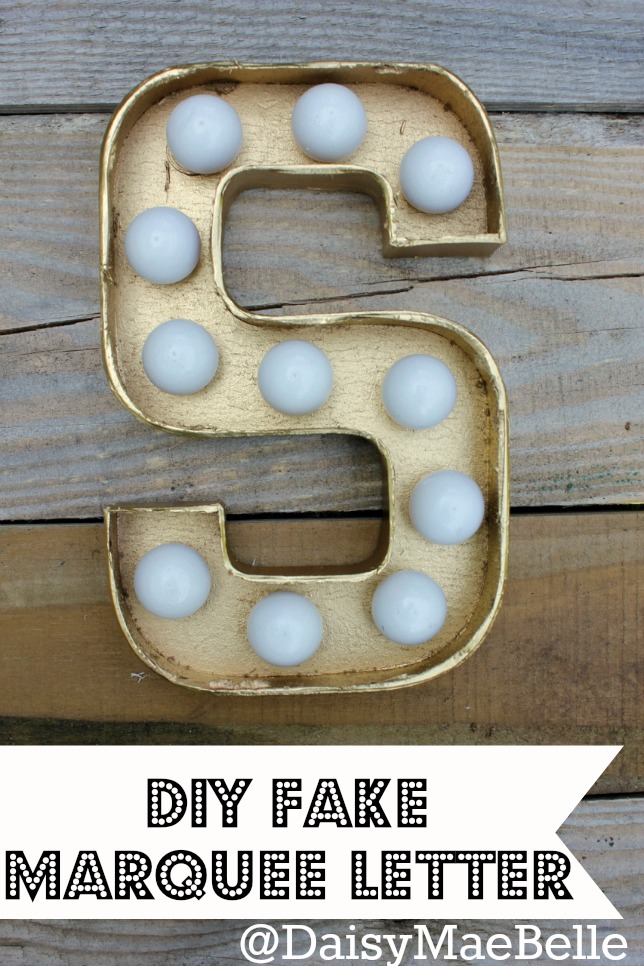
I almost fell off the bed when I saw these fake marquee letters on Daisy Mae Belle! This is genius. And the fact that you can whip one up in 15 minutes? Double genius with a cherry on top.

fake-marquee-letter13

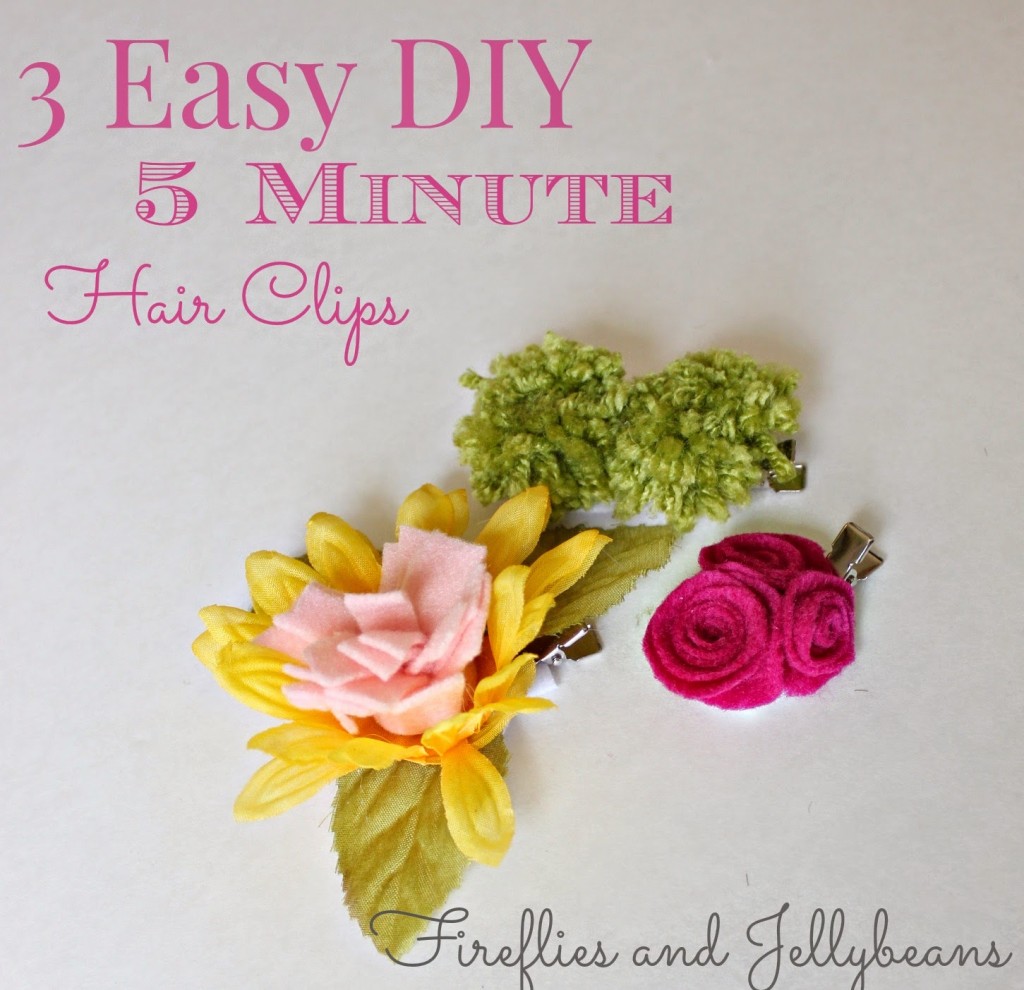
Fawnda over at Fireflies and Jellybeans is sharing not just one fast craft, but THREE that can be done in just 15 minutes! Aren’t these simple hairbows adorable?

Easy DIY Hair Clips 1

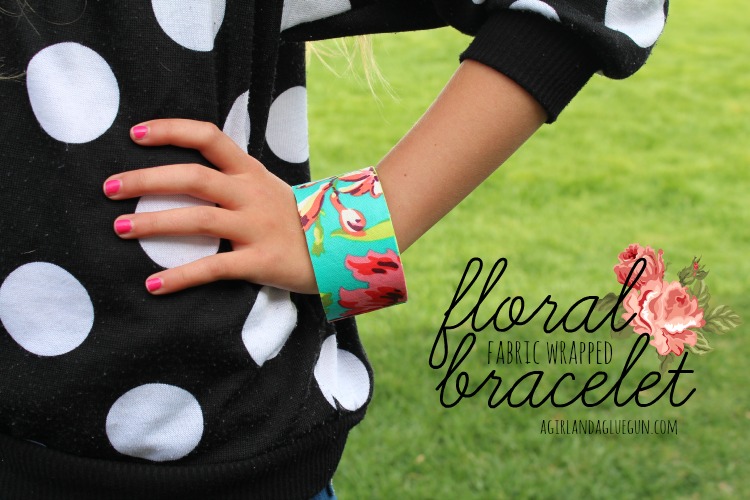
Kimbo from a Girl and a Glue Gun made this fun and fast floral fabric bracelet! I love me some fabric fast crafting…

fabric-wrapped-floral-bracelet

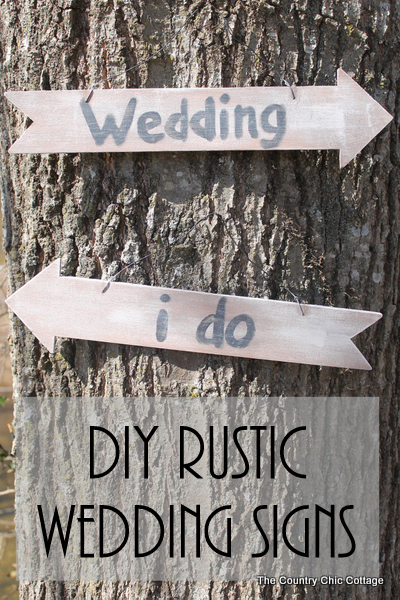
My crafty partner for this series, Angie from the Country Chic Cottage made these awesome DIY rustic wedding signs. Wedding Crafts in under 15 minutes? Amazing.

diy-rustic-wedding-signs-037

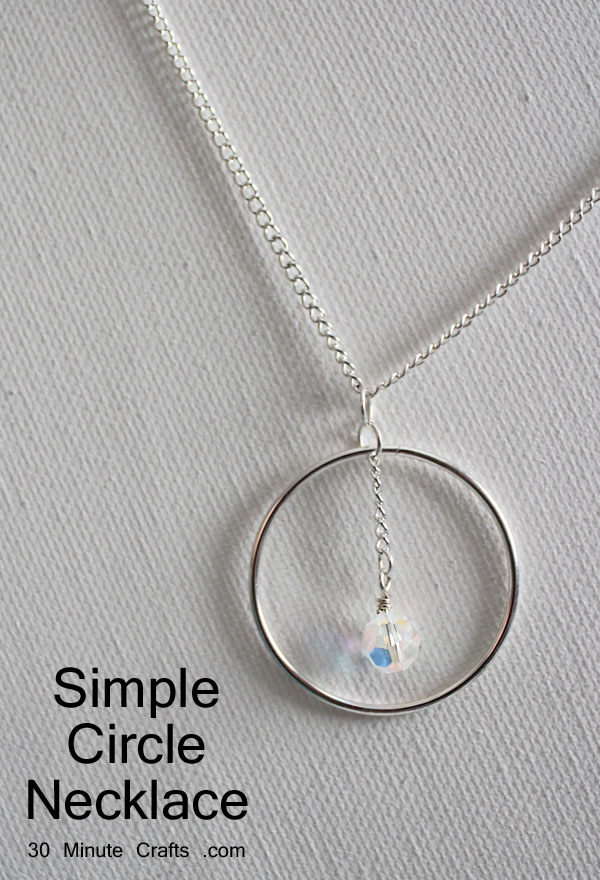
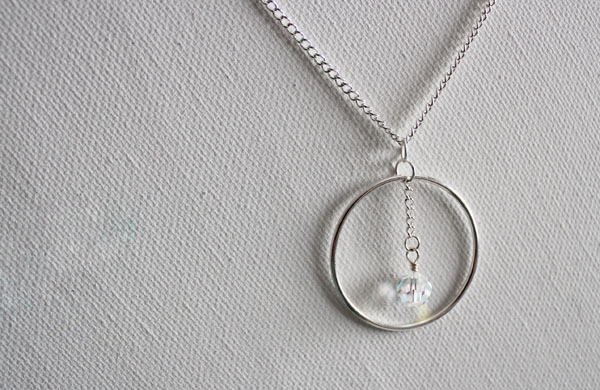
It seems like forever ago, or at least a flight and some jet-lag… but I whipped up my fifth simple jewelry project for the week – a circle pendant necklace.

Simple Circle Necklace

I hope you’ve enjoyed crafting along with us this week! All of our amazing bloggy friends have really knocked this one out of the park! If you missed any of this week’s awesome fast crafts, go check out Day 1, Day 2, Day 3, and Day 4.

See you soon!


Circle Pendant Necklace

It is the last day of Craft Lightning! All week long, Angie from the Country Chic Cottage and I have been sharing fast crafts that can be made from start to finish in less than 15 minutes. We’ve invited our blogging buddies to join in as well – I’ll share their projects tonight… right now I’m going to share with you my Circle Pendant Necklace. I’ve been sharing simple jewelry tutorials all week long, with my 2 minute earrings, simple charm bracelet, Dragonfly earrings, and metal stamped pendant. These project each build on the next. Today’s necklace is super simple to make, though, and you can make it as a first jewelry project if you have never made your own jewelry before.

Simple Circle Necklace

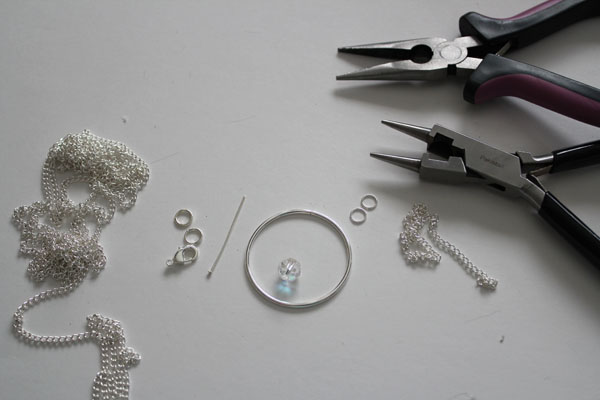
To make this necklace you need:
Jewelry chain
Lobster clasp
Jump Rings
Crystal Bead
Metal Circle
Head pin

Necklace supplies

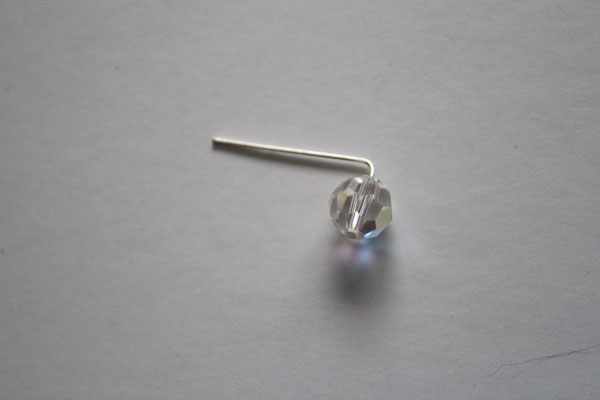
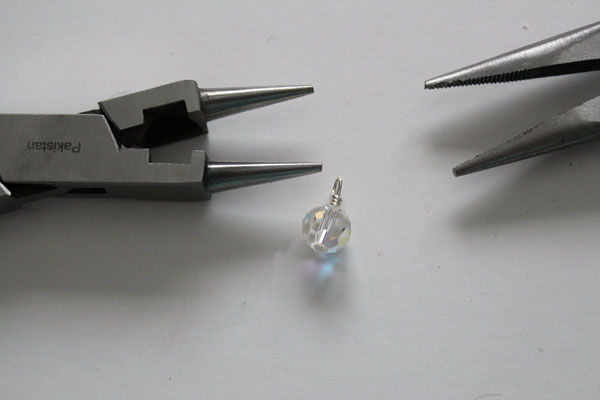
Put the bead on the head pin. Bend the head pin at a 90 degree angle, about 1/4″ away from the bead.

bend Headpin

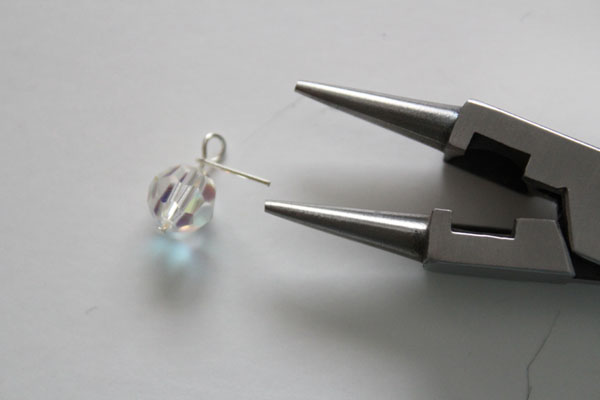
Now bend the wire into a loop, and start to wrap it around the wire above the bead.

start wrapping loop

Wrap the wire around the head pin 3 times, then clip off any excess.

wrap wire

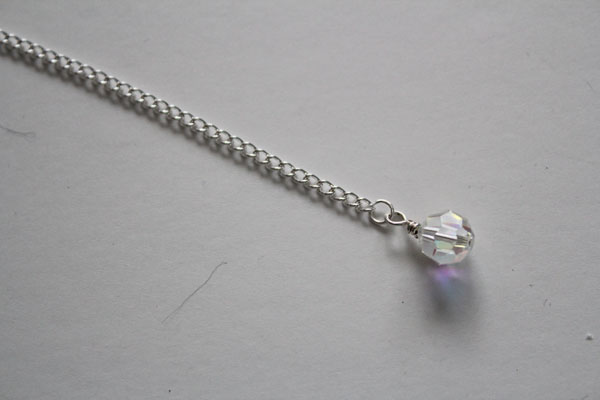
Use a jumpring to attach the bead to the chain.

add to chain

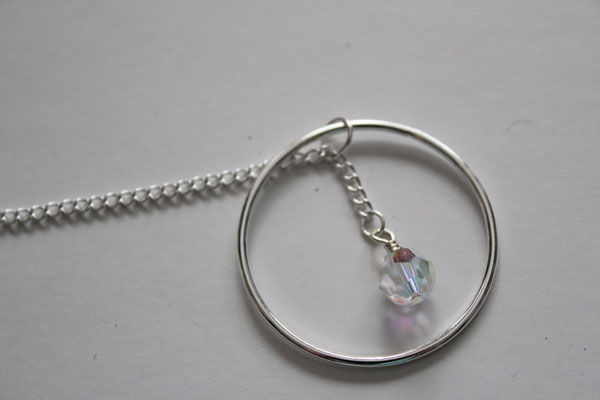
Add the large loop, don’t cut the chain until you decide how long it needs to be.

add circle

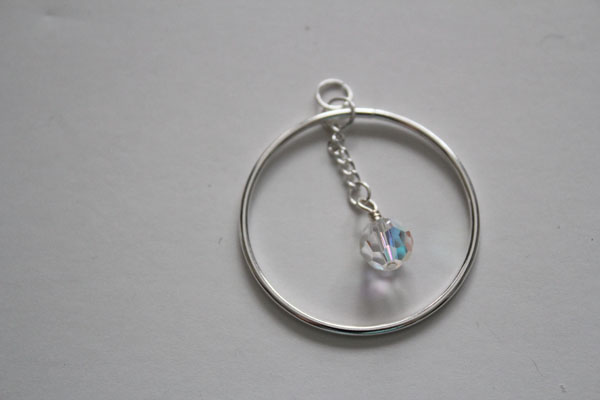
Clip off the extra chain, then add another jumpring.

finished pendant

Clip the rest of the chain to the right length for your necklace, then add the jumprings and lobster clasp to the ends. Then attach the pendant to the chain, and you’re all done!

circle dangle necklace

Be sure to stop by tonight for a final round-up of fast crafts from my Craft Lighting friends!

Craft Lightning Day 4 Roundup

We’re nearing the end of Craft Lightning Week, where Angie and I team up with other bloggers to share fast crafts that can be made in 15 minutes or less. I can’t wait to share today’s fantastic fast crafts with you!


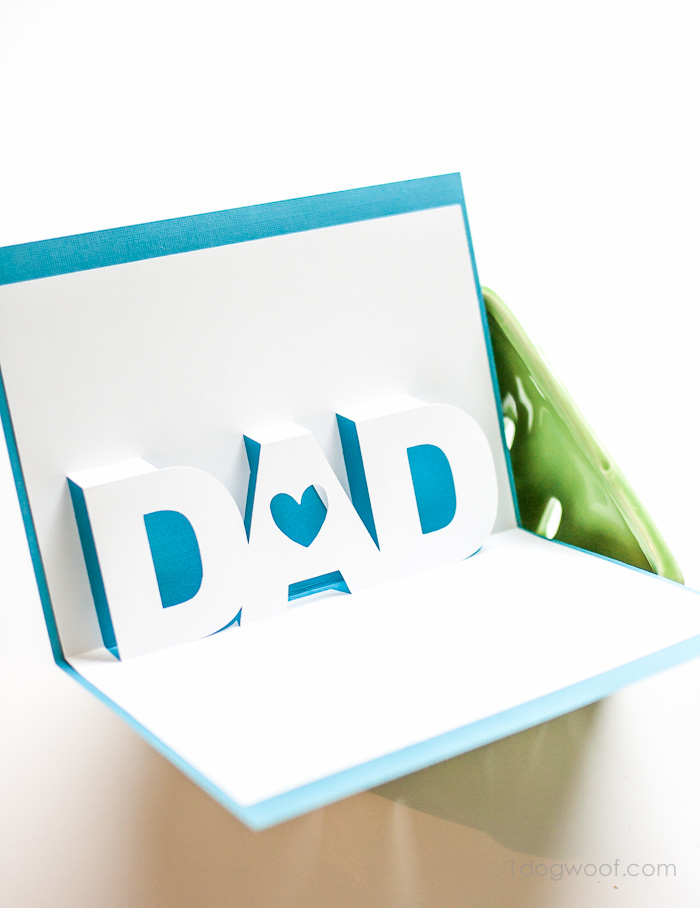
CheiWei over at One Dog Woof made this awesome pop-up Father’s Day card!

dad_popup_card-41


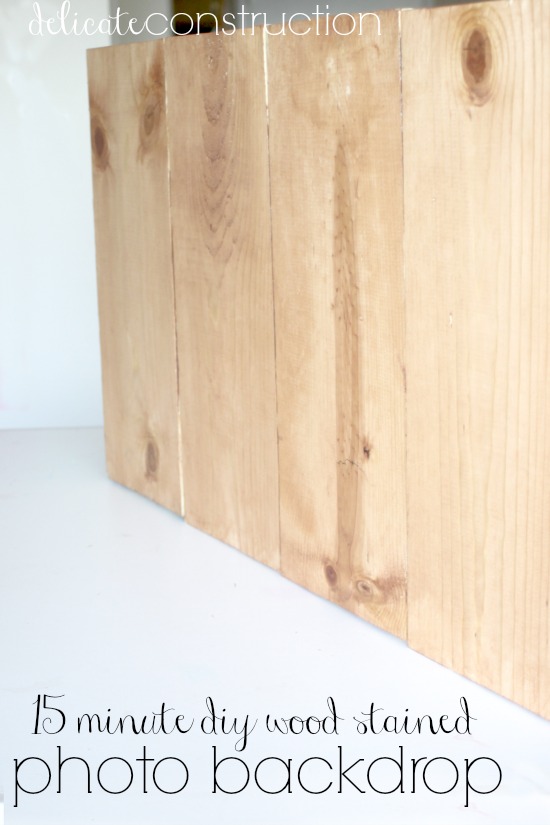
Michelle at Delicate Construction showed how to make this simple wooden photo backdrop.

photo-backdrop


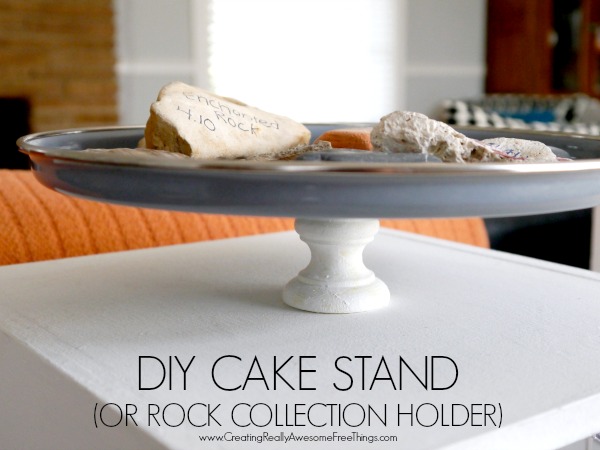
If you like to collect travel mementos, Jamie at CRAFT shows you how to display them with her rock cake stand.

rock stand


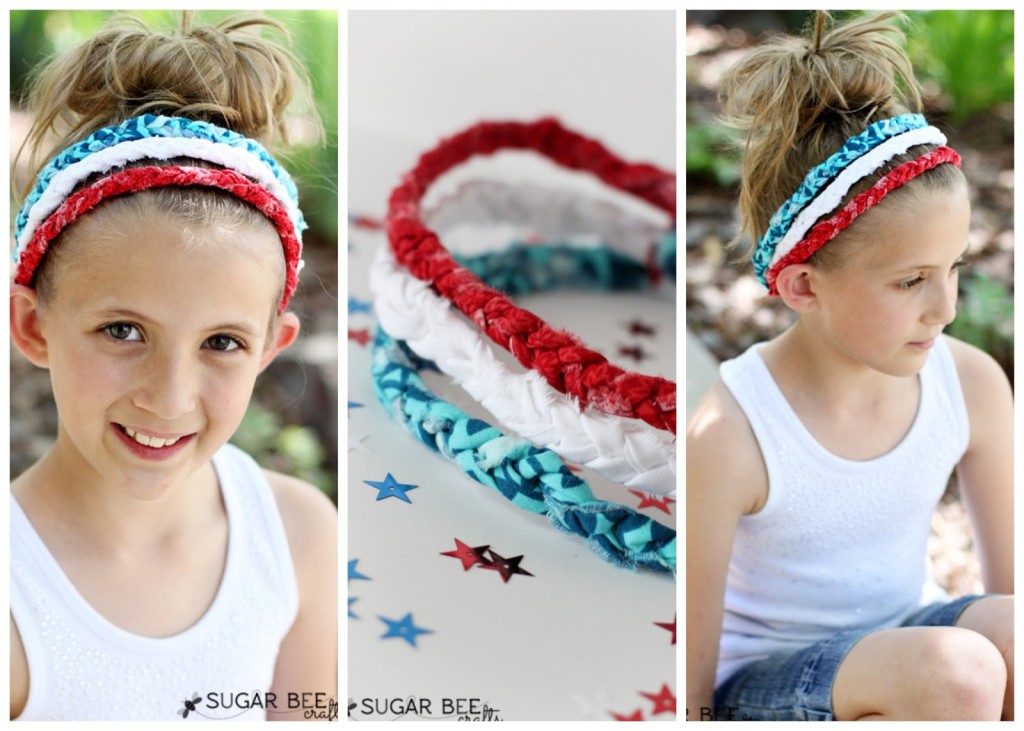
Learn how to make this patriotic headband – Mandy at Sugar Bee crafts shows you how.

how to make a patriotic braided headband

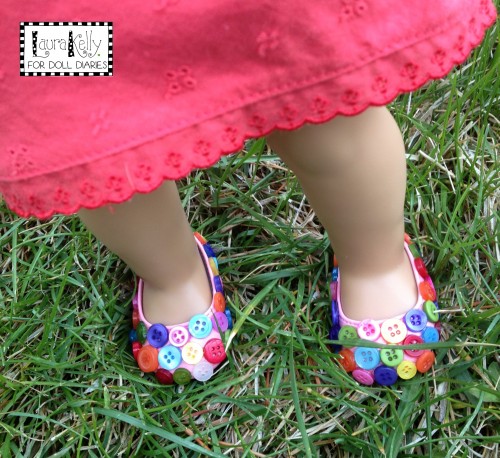
Over at Doll Diaries, Laura is sharing these adorable button doll shoes.

Button-Shoes-Doll-Final-Closeup-500x458

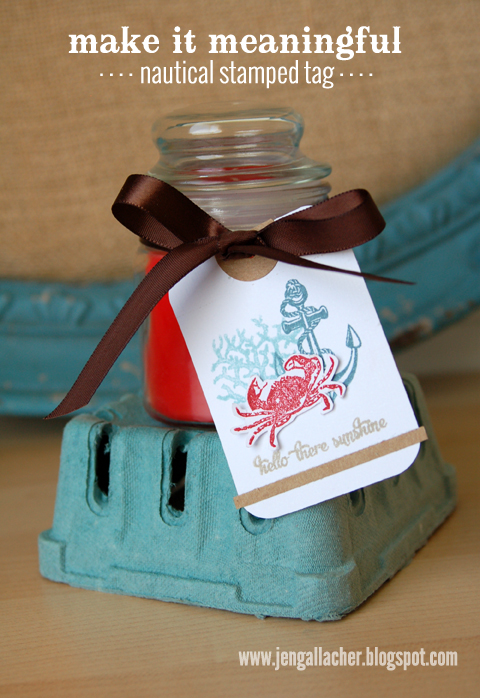
Jen at Insitefull Living stamped up a fun nautical tag.Nautical Stamped Tag

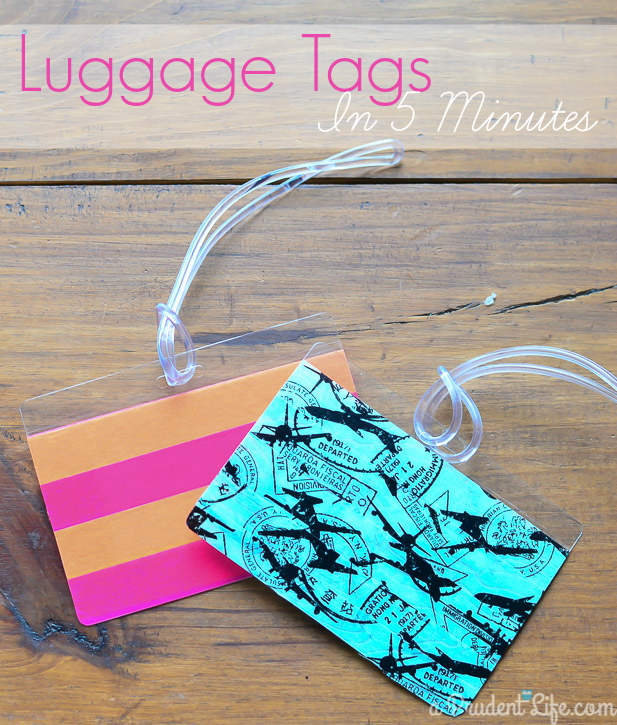
Speaking of tags, Melissa at a Prudent Life shows how to make these 5 minute luggage tags.

Luggage-Tag-DIY-Tall

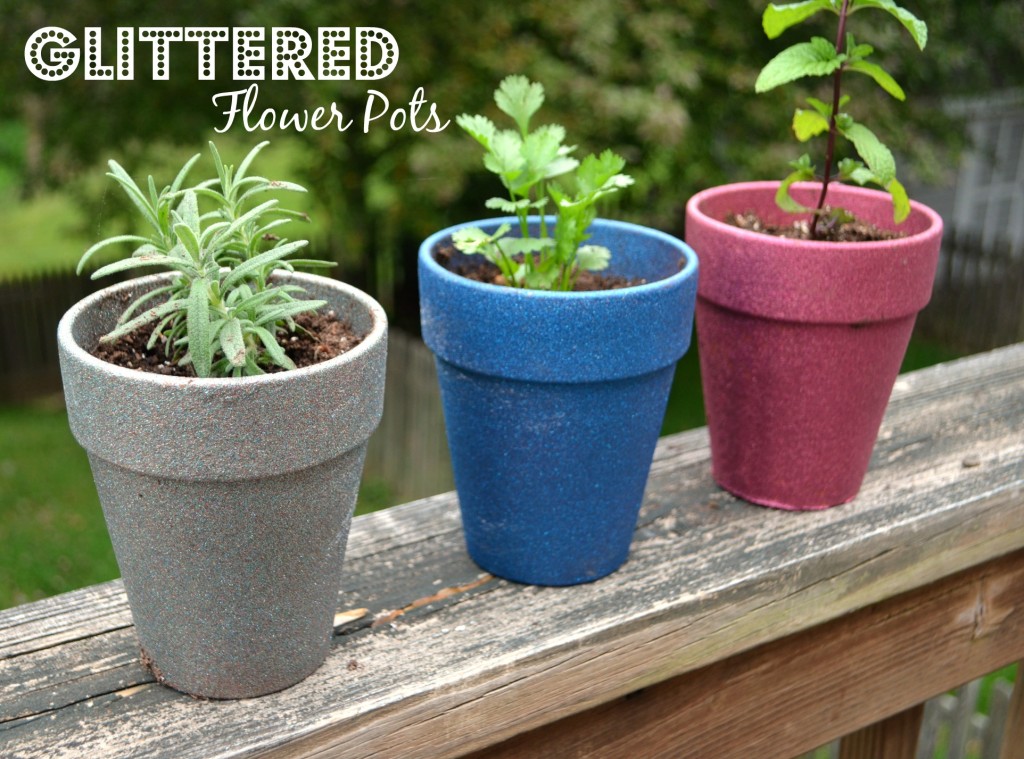
If you’re a glitter fan, you’ll love these glitter flower pots by Amy over at One Artsy Momma.

glittered flower pots

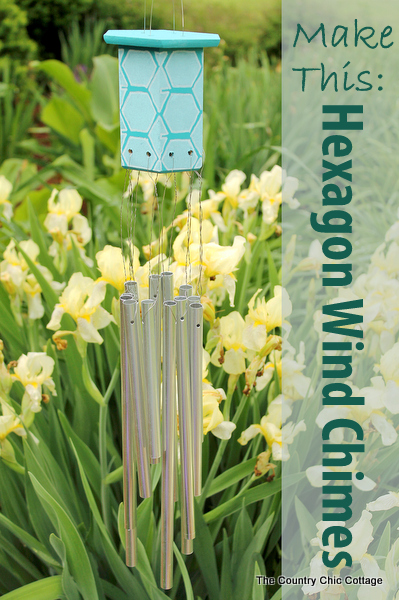
My partner for this series, Angie from the Country Chic Cottage made this adorable Hexagon windchime.

hexagon-wind-chimes-final-version

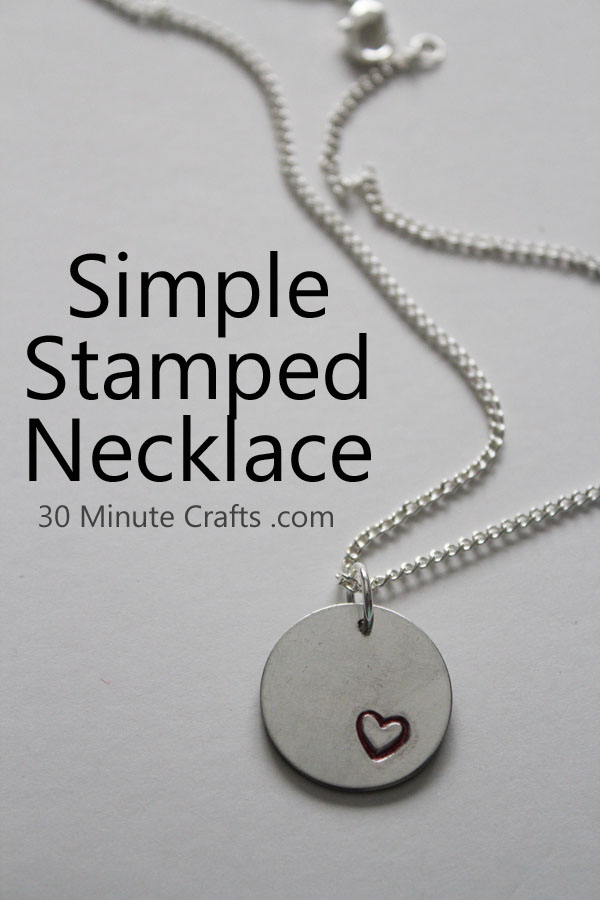
I’ve been sharing jewelry tutorials all week long. Today I shared a simple hand-stamped pendant.

Simple Stamped Necklace

Tomorrow is the last day of Craft Lightning – be sure to come back for more fun and fast 15 minute craft tutorials!

Simple Metal Stamped Pendant

Each day this week, as part of the Craft Lightning series I do with Angie from The Country Chic Cottage, I have been sharing a simple jewelry tutorial. Monday I shared my 2 minute earrings, Tuesday it was a simple Charm Bracelet, yesterday I showed you how to make dragonfly beaded earrings… today’s simple jewelry tutorial involves metal stamping – which is super fun, and also super easy to do. Just like all the crafts this week, you can make this simple metal stamped pendant necklace in 15 minutes or less!

Simple Stamped Necklace

To make a simple metal stamped pendant necklace, you need:
Metal Blanks
Metal Stamp
Hammer
Hard Surface (like a stamping block)
Permanent Marker
Soft cloth
Jump Ring
Necklace (or a chain and fasteners to make a necklace)

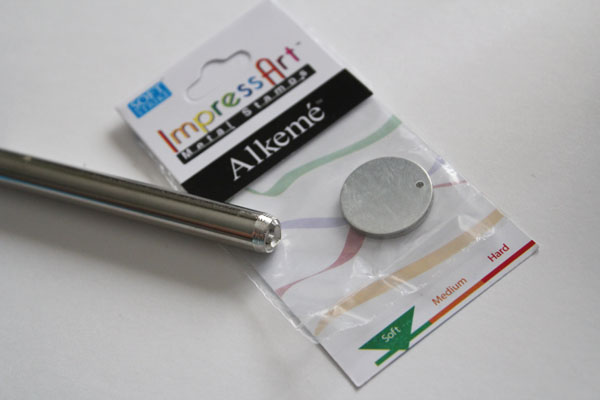
materials for metal stamping

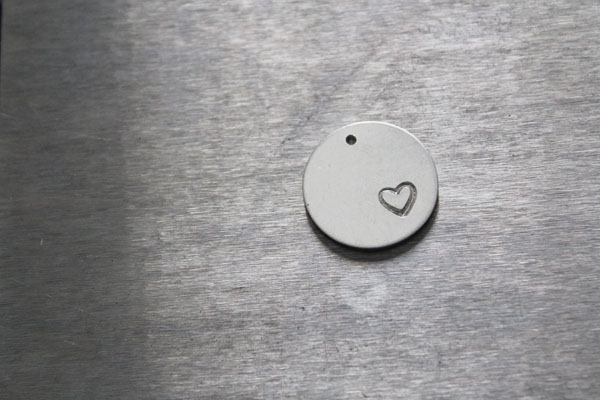
I used the new Alkeme blanks that were sent to me by Impress Art. They are soft for stamping into – making them great for beginners. I also used a heart stamp. You can purchase letter stamps as whole alphabet kits, but if you’re not sure if you’re going to love metal stamping, it is a big investment to make.

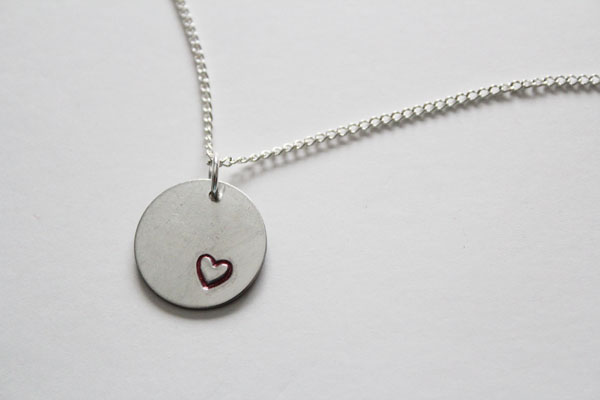
Place your metal blank on your hard surface. Place the metal stamp on your metal blank (make sure it is right side up) and hit it with a hammer. WHAM! I chose to place my heart off-center, but go with what you think will look best.

stamped pendant

Just like that, your pendant is done! Unless you want to add a little color…

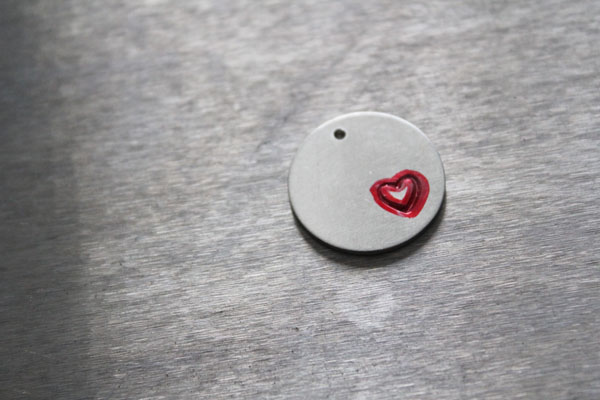
Using a permanent marker (I used red), draw in the indentations of your stamped shape.

sharpie on stamping

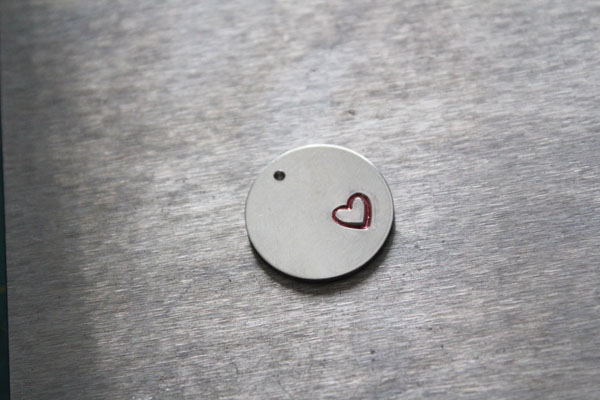
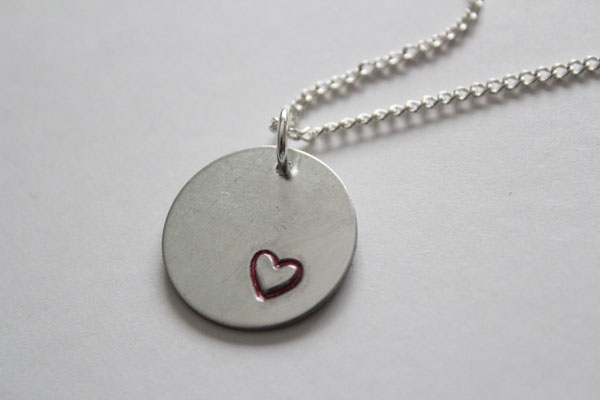
Then polish away the ink with a soft cloth. The ink in the indentations will be left behind.

finished pendant

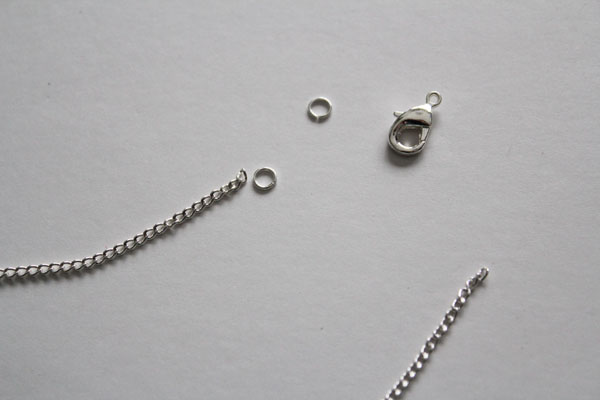
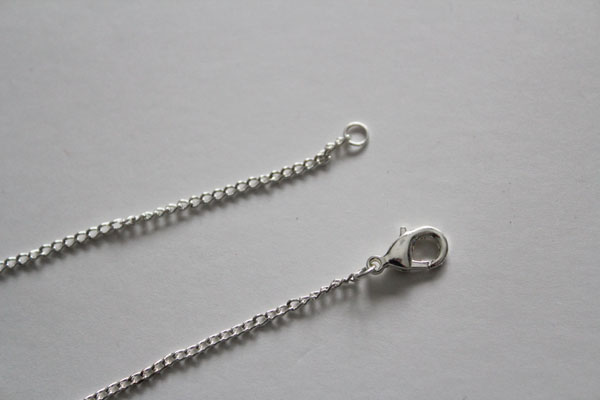
If you don’t have a necklace already, cut a chain to the right size, grab some jumprings and a lobster clasp.

cut chain for findings

Attach the clasp and the jumprings. Make sure you twist them open instead of prying them open. I showed you how in the 2 minute earrings project.

findings on chain

Open a jumpring to attach the pendant to the chain, and your necklace is finished!

attach to chain

Stamped jewelry can be customized with names, initials, birthdates, words… whatever you like!

wipe away excess sharpie

Be sure to stop back by tonight – I’ll be sharing with you lots more fun and fast crafts in tonight’s Craft Lightning Roundup!

Craft Lightning Day 3 Roundup

We’re more than halfway through Craft Lightning week, and I can’t wait to share today’s fast crafts with you… so no more preamble, here are the 15 minute or less crafts shared today!

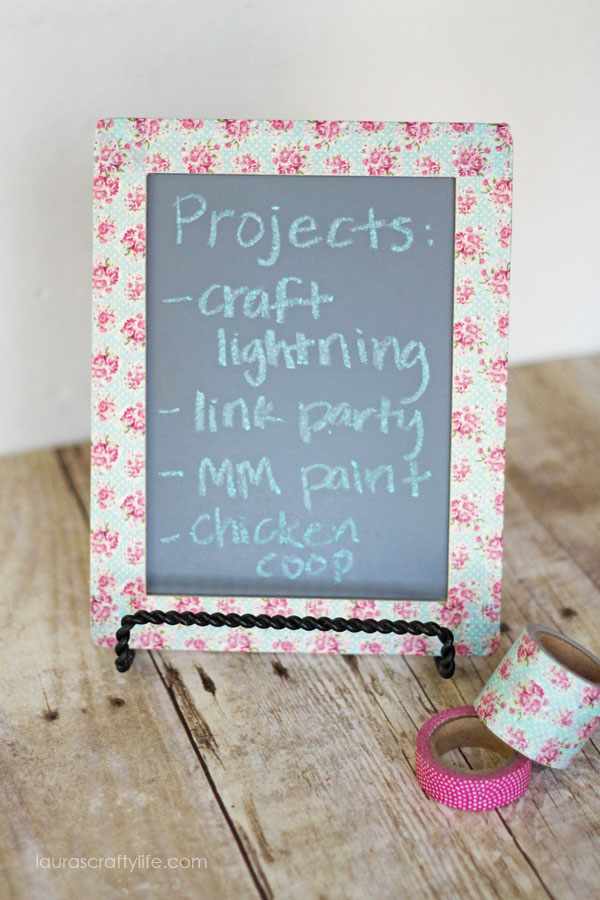
Laura at Laura’s Crafty Life made this adorable washi tape chalkboard.

Washi-Tape-Chalk-Board-at-Lauras-Crafty-Life


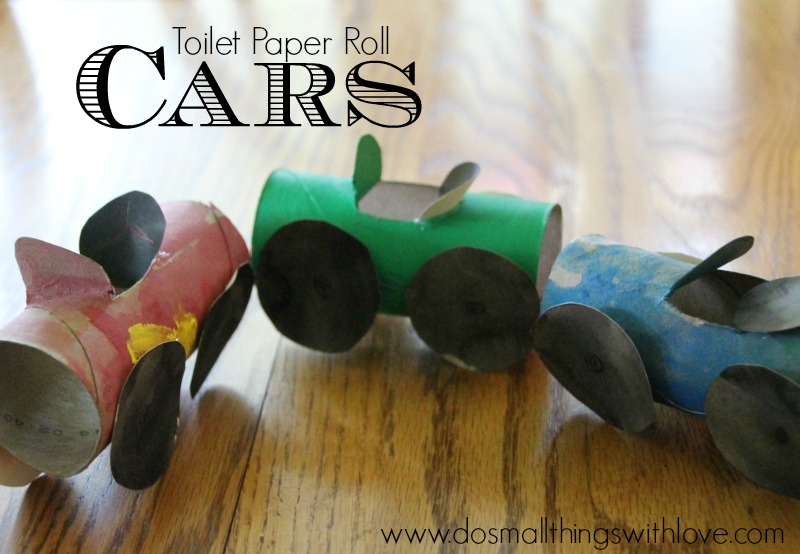
How adorable are these Toilet Paper Roll Cars by Nancy at Do Small Things With Love?


toilet-paper-roll-cars


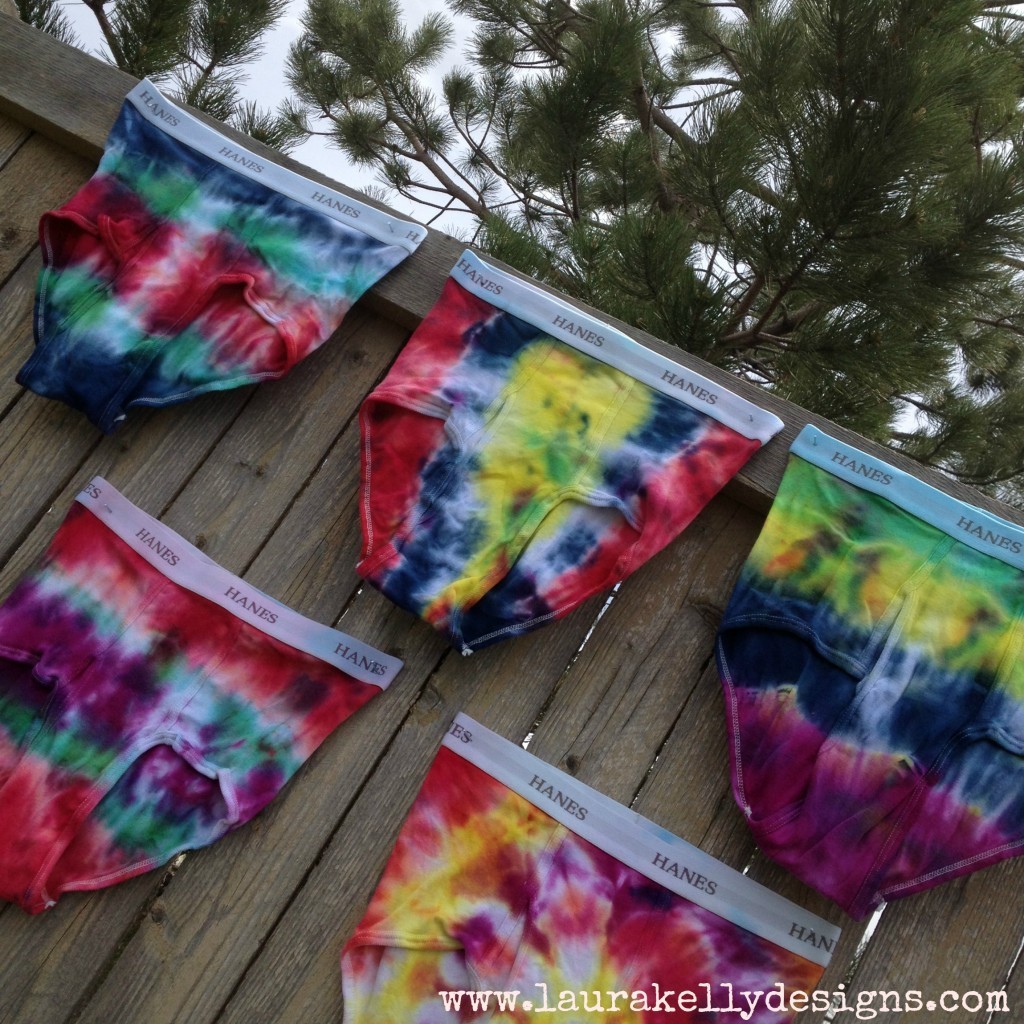
Laura Kelly tie dyed her husband’s tighty whiteies! Feel free to leave your thoughts on this one in the comments! HA!


Tie-Dyed-Mens-Underwear-1024x1024


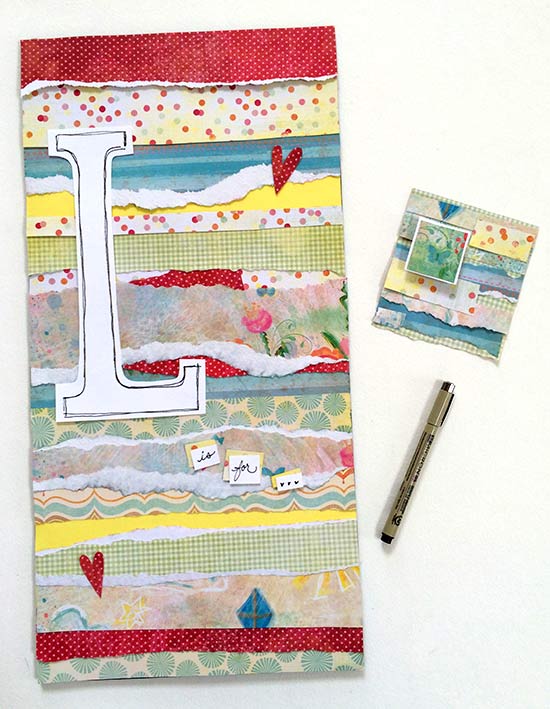
Jen Goode at 100 Directions made the most adorable collage art!

paper-collage-art


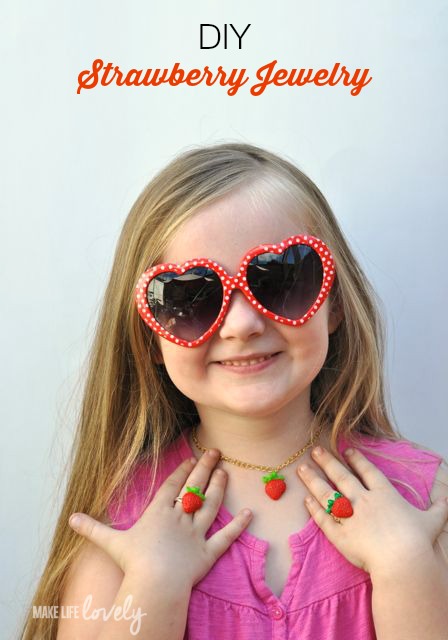
Laura from Make Life Lovely made this great strawberry jewelry, and styled the cutest little model! And, in case you are counting… that’s the third crafty Laura today!

DIY-Strawberry-Jewelry

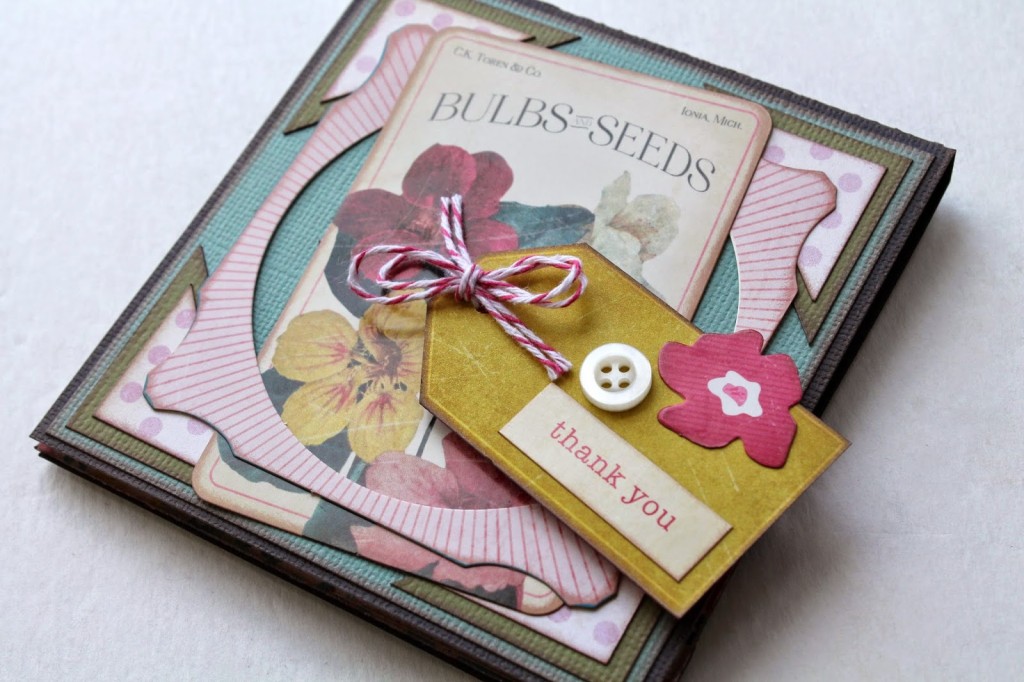
Tracy at Scrappy Chick 101 makes the cutest cards… and she whipped up this thank you card in just 15 minutes!

thank you card

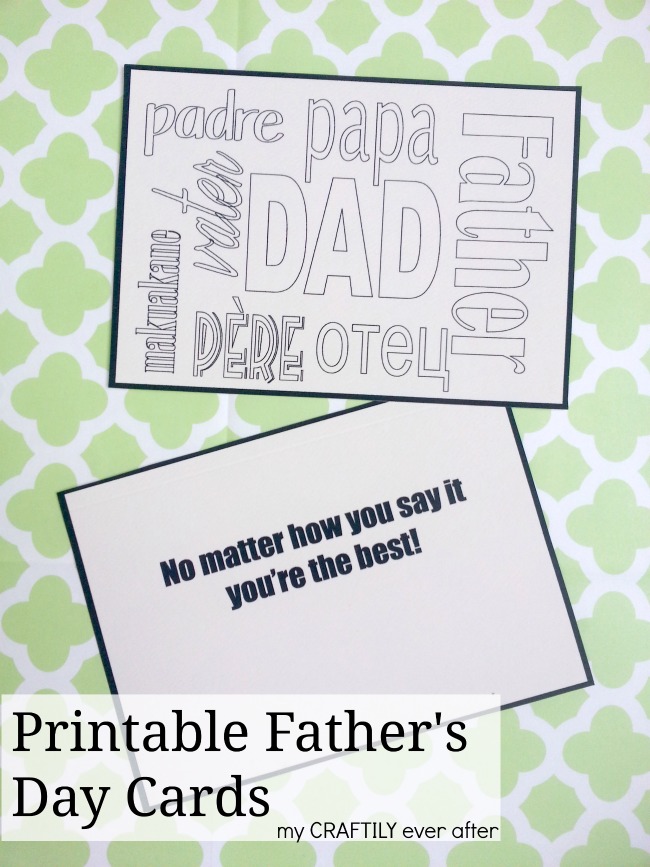
Speaking of cards, here is an easy printable Father’s Day Card whipped up by Ashley at My Craftily Ever After.
printable-fathers-day-cards

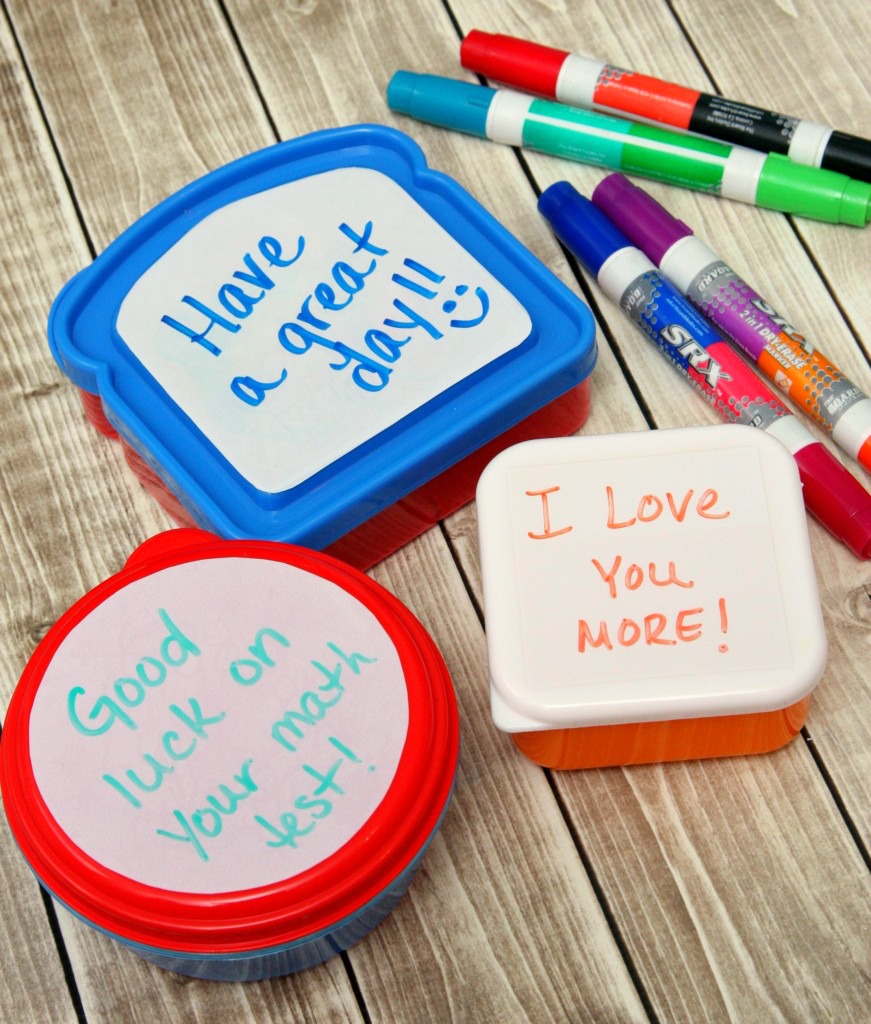
These Dry Erase Lunch Notes by Kara at Happy Go Lucky Blog are such a great idea.

dry-erase-lunchbox-notes-871x10242

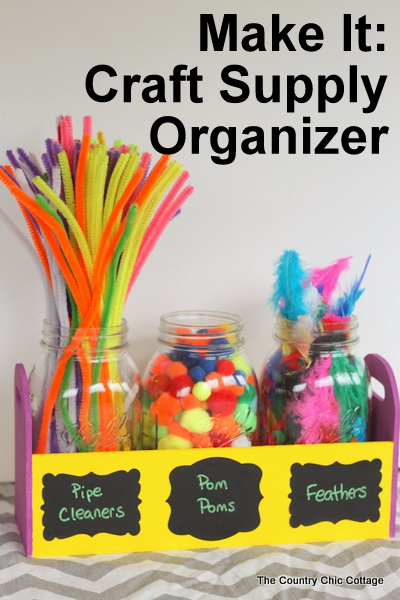
My crafty partner for this series, Angie from The Country Chic Cottage, made this cute Mason Jar Craft Supply Organizer.
mason-jar-craft-supply-organizer

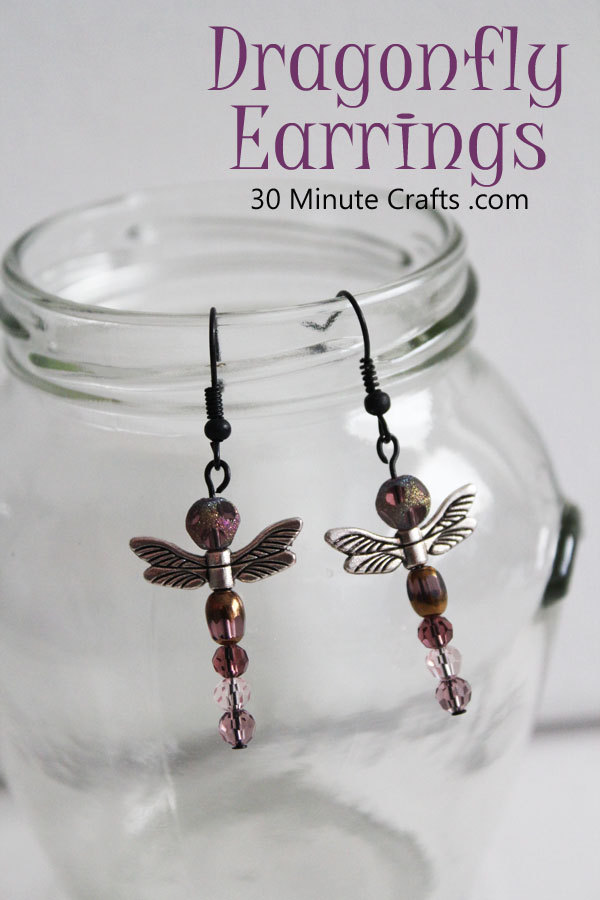
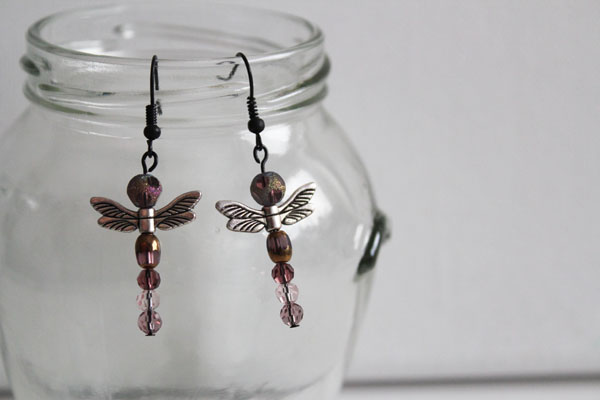
And I shared another simple jewelry tutorial, this time making these Dragonfly Earrings.

Dragonfly Earring Tutorial

Make sure to come back tomorrow for more fast crafting inspiration!

Easy Dragonfly Earrings in less than 15 Minutes

All week long, as part of the Craft Lightning week I do with Angie from The Country Chic Cottage, I’m sharing jewelry tutorials. Each of these jewelry crafts is simple to make. If you’ve never made jewelry before, I suggest you start with the 2 minute earrings, then the simple charm bracelet. Both of those projects just require that you open and close jump rings. You can make a lot of different jewelry designs with just that simple technique – opening and closing jumprings. For the next three days, I’ll be adding a new technique each day. If you can handle jumprings, and these three other techniques, you’ll be well on your way to creating all your own accessories! And all of these techniques are simple. Today’s technique is adding a loop to a headpin or eyepin. Let’s get started!

Dragonfly Earring Tutorial

To make this project you’ll need:
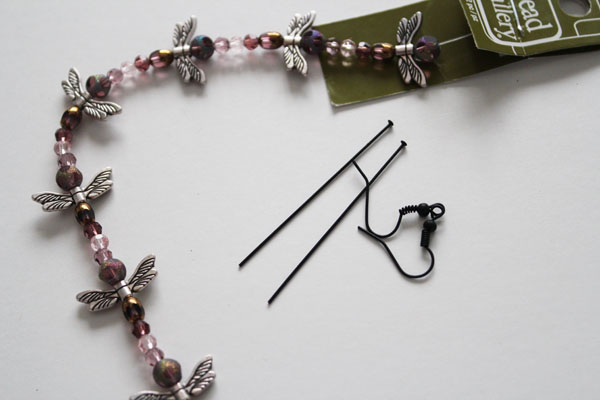
Dragonfly beads (these all came together in a strand from Michael’s)
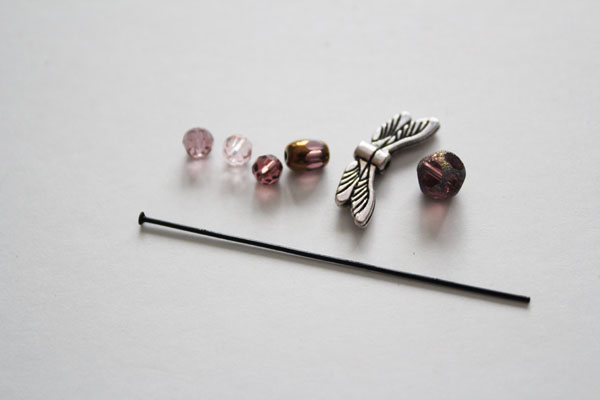
2 Headpins (looks very similar to a straight pin for sewing, but without the sharp end)
2 Earring wires
Wire cutters
Round-nosed pliers
Second pair of pliers for opening the earring wire loops

dragonfly earring supplies

Start by cutting the strand the beads come on, and laying out your beads. If you have problems with your beads rolling away, set them on a washcloth on the table. That helps them stay put.

lay out beads

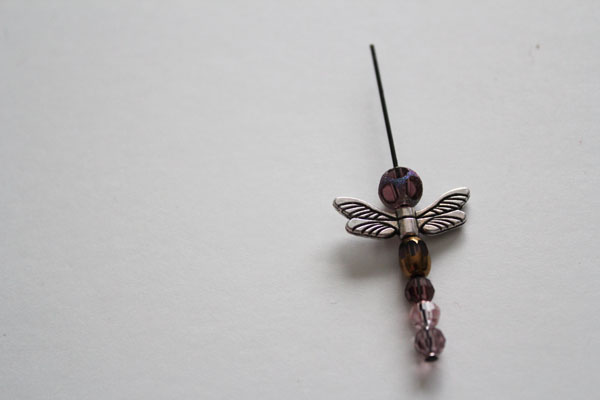
String your beads onto the headpin.

string beads on eyepin

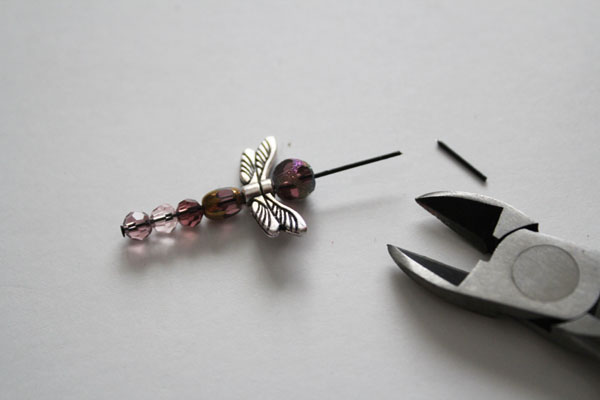
Clip the excess off of your headpin. In time, you’ll be able to figure out how much wire you need based on how big of a loop you are going to make… I do about a finger’s width. Try that, see how it works, and if you don’t like your loop you can always grab another headpin and start over.
clip eye pin

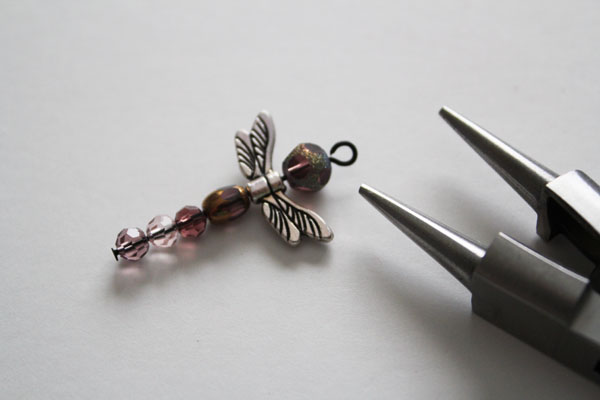
Make a loop with the round-nosed pliers. This is today’s technique, and takes a little practice. Start by bending the wire in the opposite direction, right at the base of the bead. Then curl the end around one barrel of the round-nosed pliers. If you have any excess wire, you can clip it with flushcutters.
create loop

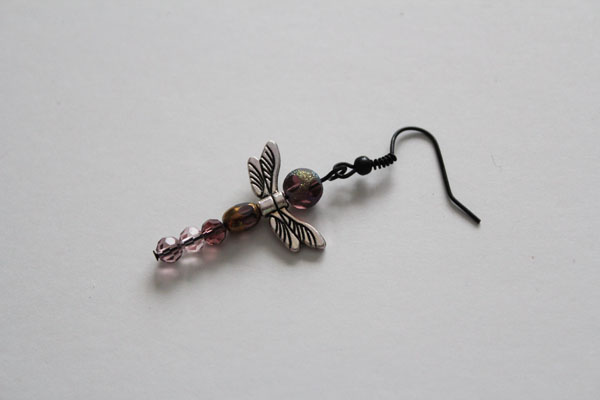
Open the loop at the bottom of the earring wire (open the same way you open a jumpring), and add your dragonfly.

finished earring

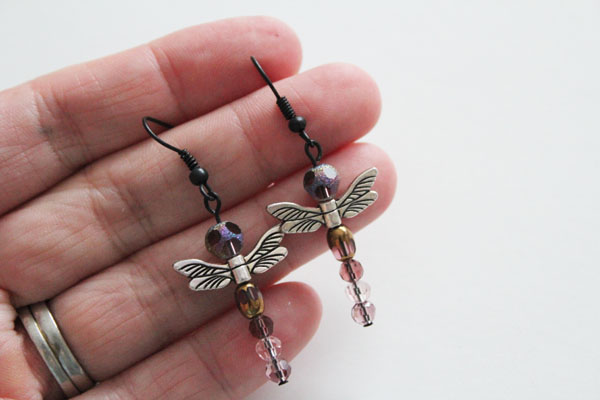
Repeat these steps for the second earring, and you’re all done!

finish second earring

Practice making these earrings with the rest of the beads on the strand, if you like. You’ll get better and better at making the loops with practice! Make sure to come back tomorrow for another fun jewelry making technique… but come back tonight as well so that I can share with you all the other fun crafts that are part of Craft Lightning Week! Each day Angie and I have invited craft bloggers to whip up some fast crafts, and every night I’m sharing a roundup of their fun projects!

Dragonfly Earrings

Craft Lightning Day 2 Roundup

I’m loving this week of Craft Lightning! Normally, when Angie from the Country Chic Cottage and I do these week-long series, we choose a theme. This week, we didn’t select any kind of theme – we are doing all kinds of fast crafts – leaving it wide open for ourselves and the bloggers that are joining us in crafting along. Though I love seeing all the different variations on a theme, I really love seeing all the variety this week as well!

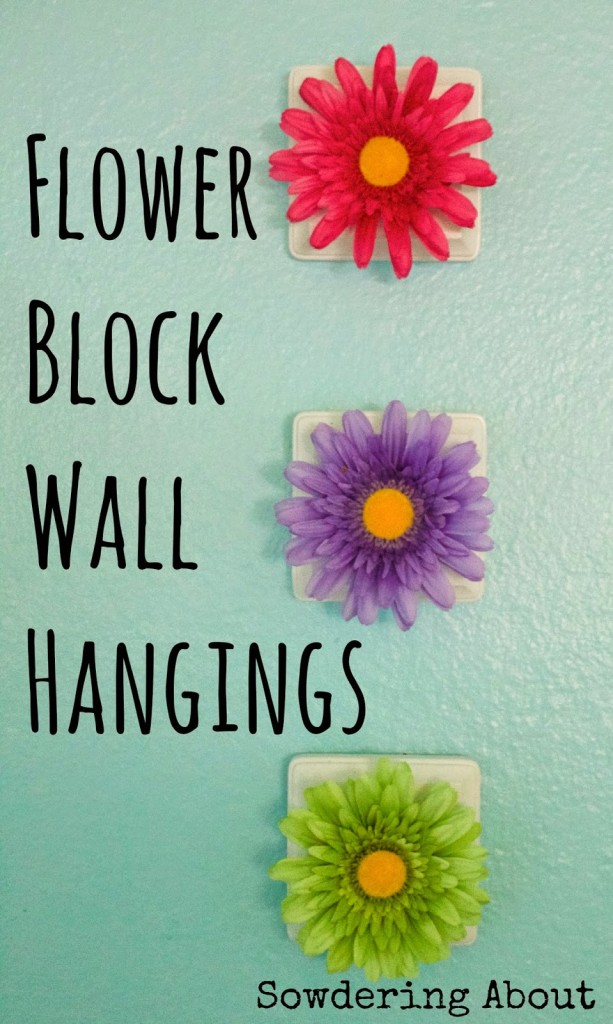
Randi from Sowdering About Seattle made the most adorable flower block wall decor.

flower block wall


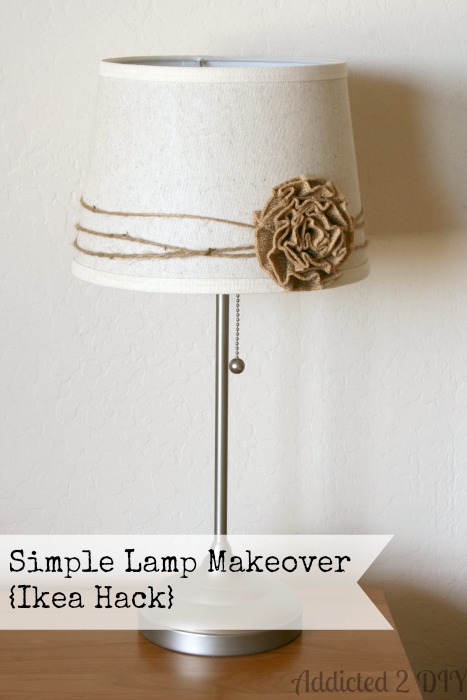
Katie from Addicted to DIY whipped up an adorable DIY lampshade.

simple lamp makeover

If you’re looking for a simple graduation gift, Danielle from Busy Mom’s Helper has you covered with this adorable way to wrap candy as a gift.

SONY DSC


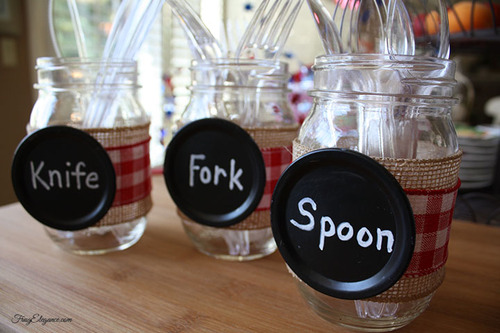
Summer is picnic season – make sure you’re ready with these utensil holders by Randi at FrugElegance.


mason jar utensil holders

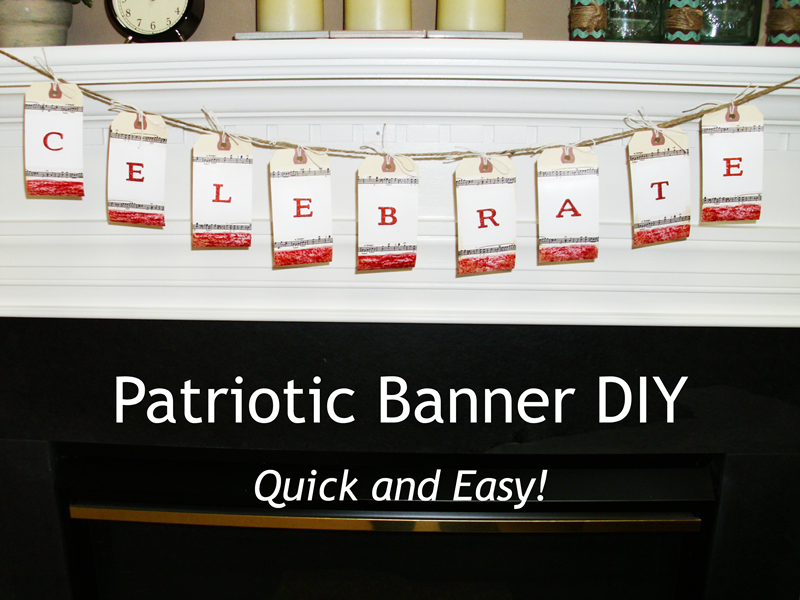
Speaking of Summer, it is time to get some Patriotic crafts done, and Laura from Pet Scribbles has a great way to get started… this adorable patriotic tag banner.

Patriotic Banner DIY

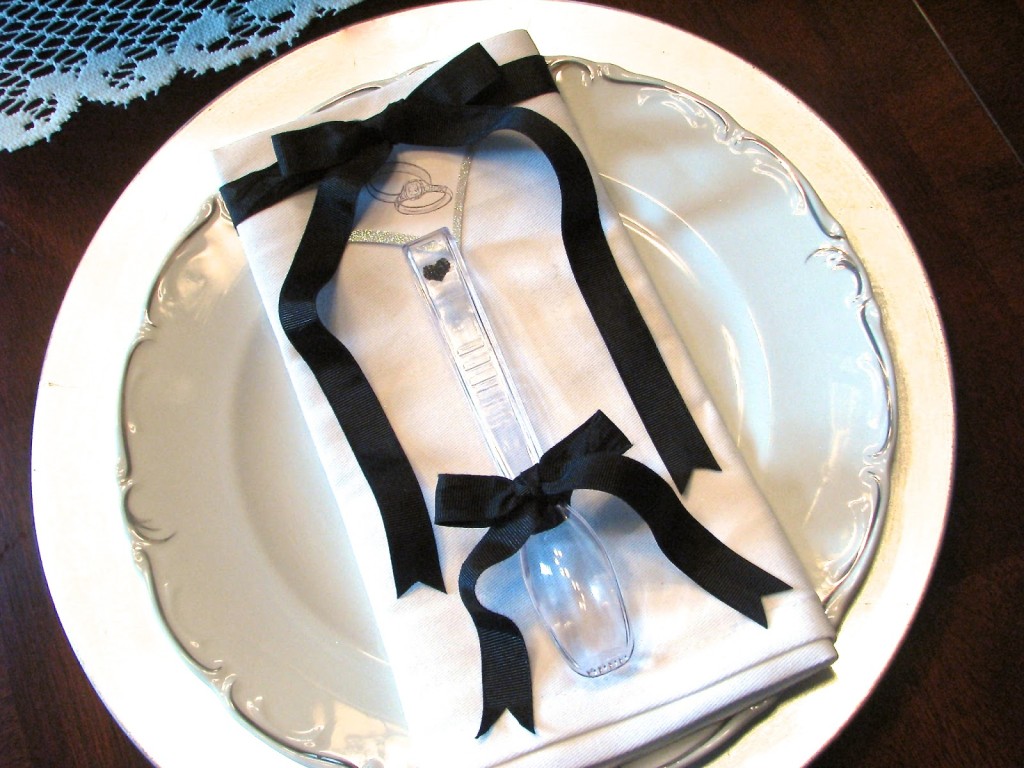
If you’re looking for an easy and inexpensive wedding favor, Niki from Homemadeville has the cutest idea. These Stenciled Tongs Wedding Favors are adorable!


tongs wedding favor


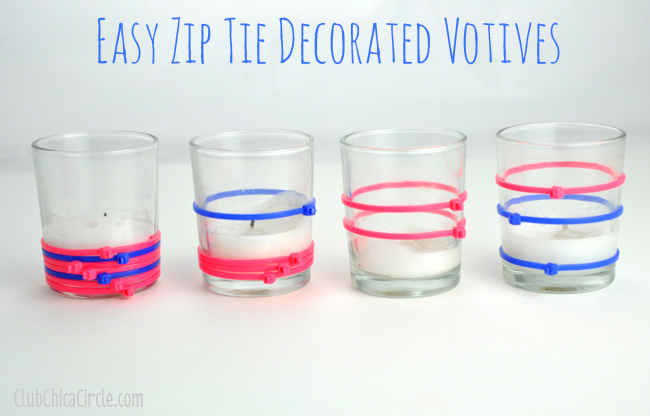
Pauline over at Club Chica Circle decorated votives with zip ties! Such an original idea, and I bet they look awesome when they are all lit up!

zip tie votives

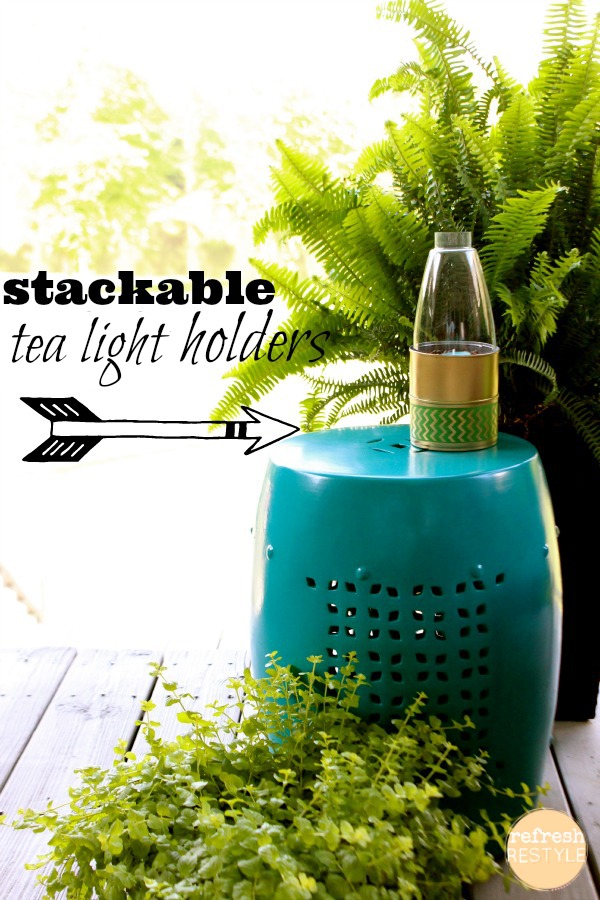
Speaking of candles, these stackable tea lights are super fun – head over Refresh Restyle to see what Debbi filled them with to help her home smell amazing!


stackable tea light holders

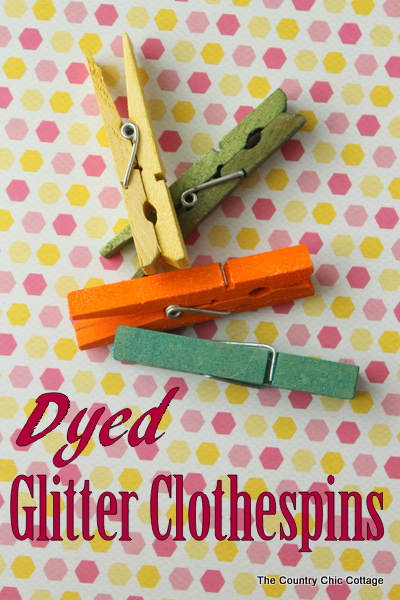
Angie, my crafty partner for this series made some dyed glitter clothespins. These are great for all kinds of uses – from clipping together papers, to securing the top of chip bags in the kitchen.

dyed-glitter-clothespins-006

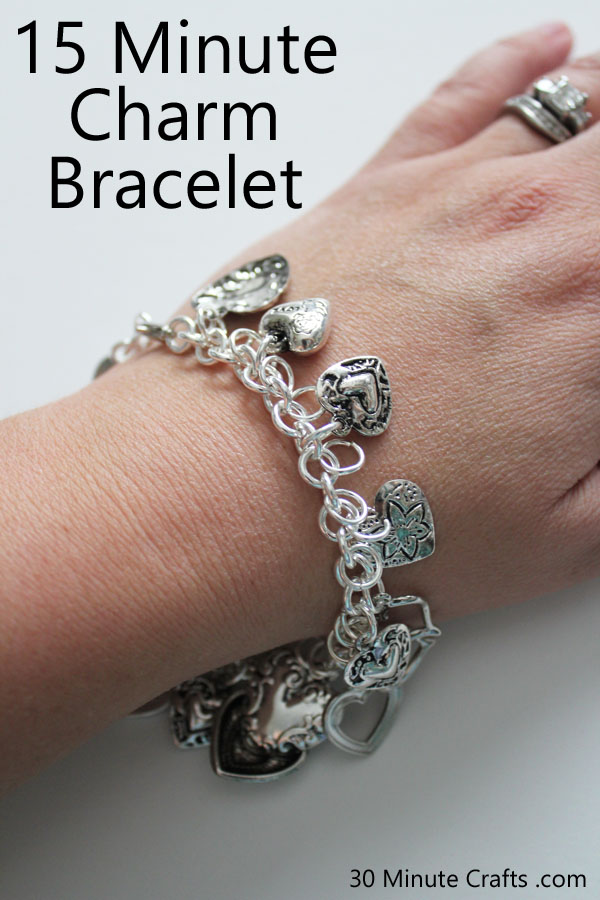
And I whipped up a fun DIY charm bracelet! I’m sharing jewelry tutorials all week long, each project building on what we did the previous day… but all simple enough to tackle as your first jewelry project!

15 Minute Charm Bracelet Tutorial

If you have a fast craft you’d like to share, be sure to add it to the craft lightning linky! And come back tomorrow for more fast crafting goodness!


Super Simple Charm Bracelet

Yesterday, I shared with you earrings that can be made in just 2 minutes. It is as easy as opening and closing two jumprings. Jumprings are found in so many jewelry pieces, and so easy to open and close! So today, I’m sharing with you how to make a super simple charm bracelet. And it is no more complicated than yesterday’s earrings. The only difference is that this time you’ll be opening more than two jumprings.

This whole week I’m sharing fast and simple crafts – projects you can complete in 15 minutes or less. I team up with Angie from The Country Chic Cottage about half a dozen times a year to put together these quick crafting series. Each morning, we each share a fast craft – and each evening, we share a roundup of projects from other bloggers around the web. So you’ll want to come back lots this week to see all the great fast crafting projects!

15 Minute Charm Bracelet Tutorial

This bracelet is so simple to make. I promise. All you need to do to make it is wield some pliers.

To make the bracelet, you need:
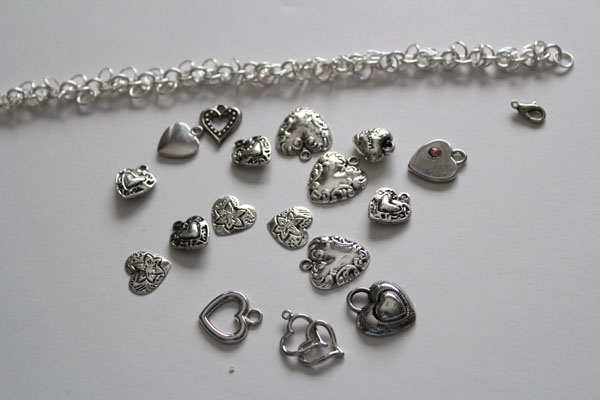
Jewelry Chain (I used a chain that has extra links already on it. If you have a regular chain, you’ll need more jumprings)
Assorted heart charms – I had leftovers from my Baby Shower Bracelets
2 pairs of pliers
Lobster clasp

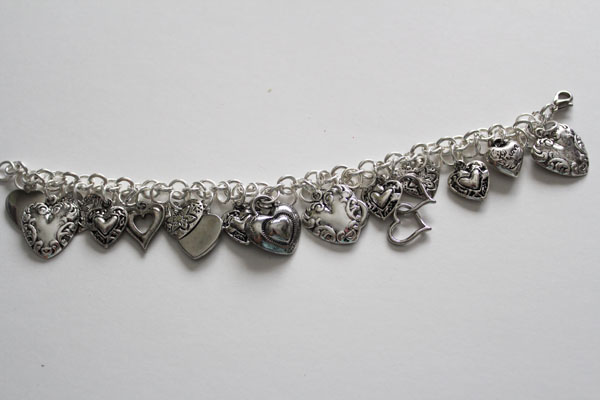
Make a heart charm bracelet

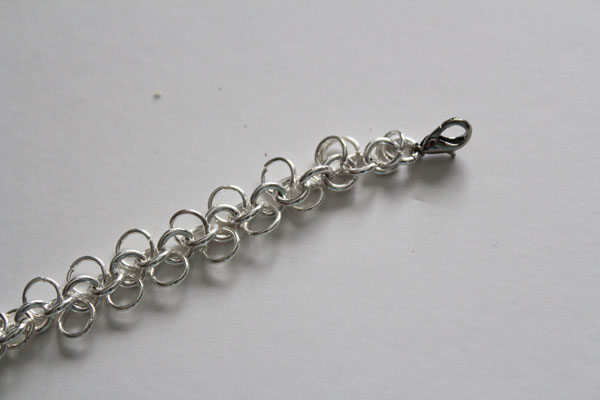
Start by wrapping the chain around your wrist to see how long you want it, then open one of the chain links to cut it to the right length.

open link to remove length

You can add the lobster clasp to this ring before closing it.

add lobster clasp to one end

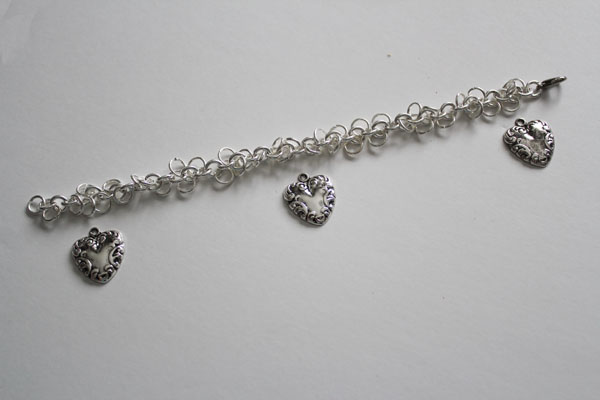
Pick three charms. I picked three that were all the same. Space them out on the chain. Make sure to leave several links at the end for attaching the clasp when you want to wear the bracelet.

space out hearts

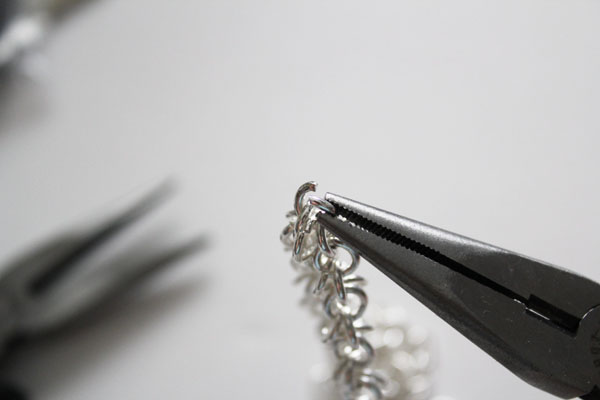
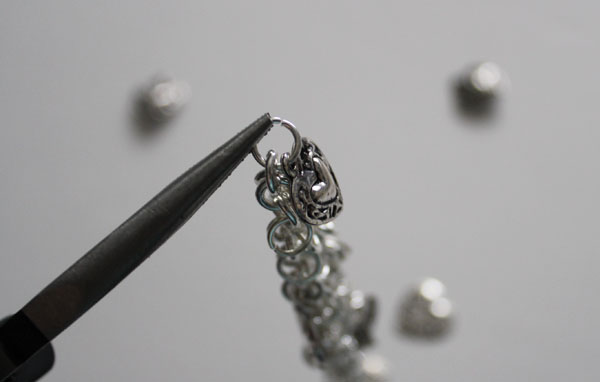
Add the hearts by opening one of the jumprings on the chain. Remember that when you open jump rings, you want to twist the jumpring open, not pry it apart.

add charms along length

Once you have the first three charms in place, start adding the other charms evenly in the spaces between.

put on first charms

They don’t have to be perfect – the more charms you add, the more full and jingly your bracelet will be.

all charms added

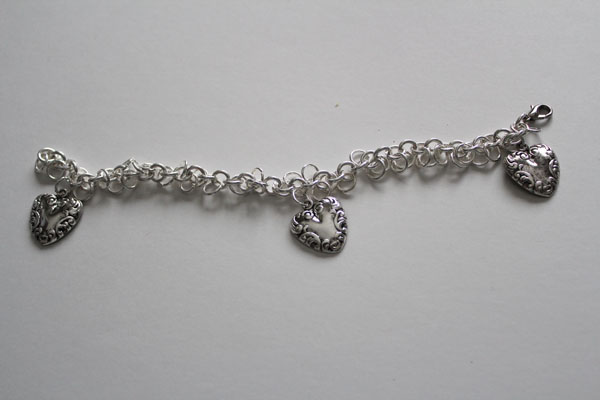
When you have enough charms on your bracelet, you’re done! It is that easy!

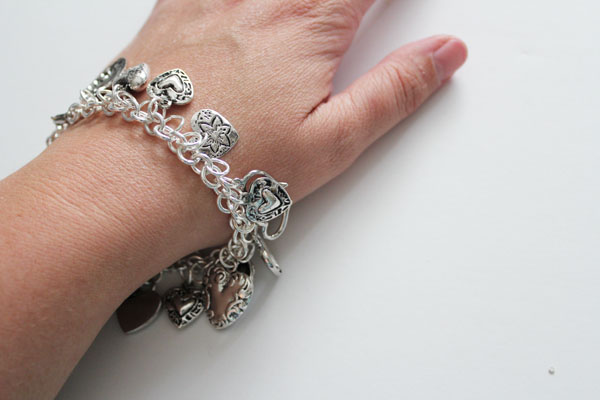
Easy Heart Charm Bracelet

Be sure to stop back by tonight for more fast crafting ideas!