Craft Lightning Day 1 & Day 2 Wrapups!

Whew! The first TWO days of Craft Lightning has already come and gone, with lots and lots of fast and fun Valentine’s Crafts (and even more fast Valentine’s Day crafts to come)! Yesterday was a travel day for me as I headed back from CHA. I’ll tell you more about that sometime soon, but I can tell you that I had a great time, and got to hang out with my partner for Craft Lightning, Angie from The Country Chic Cottage. But, I know you’ve been waiting, so I won’t keep you in suspense any longer… here are the awesome Craft Lightning Projects from yesterday and today!

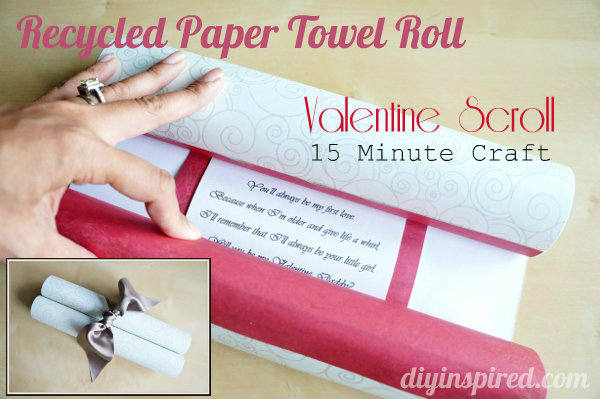
Check out this adorable Paper Towel Roll Scroll from Dinah at DIY Inspired. What a fun way to give a note to a special Valentine, or invite someone to a Valentine’s Party!

diy-scroll-valentine-2-Copy

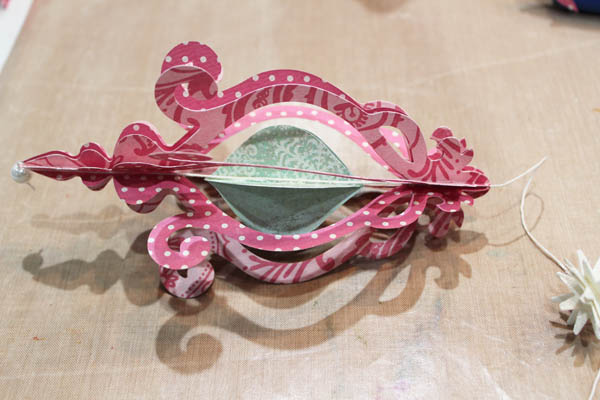
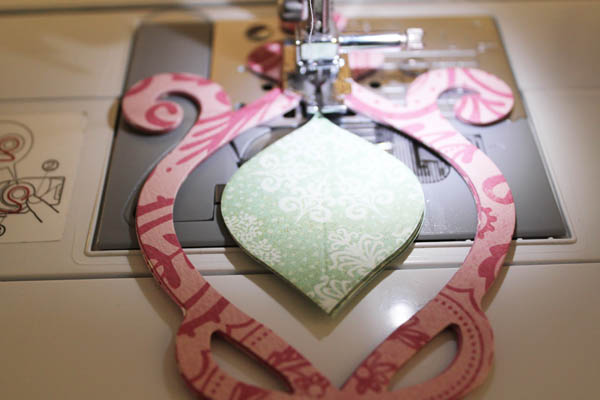
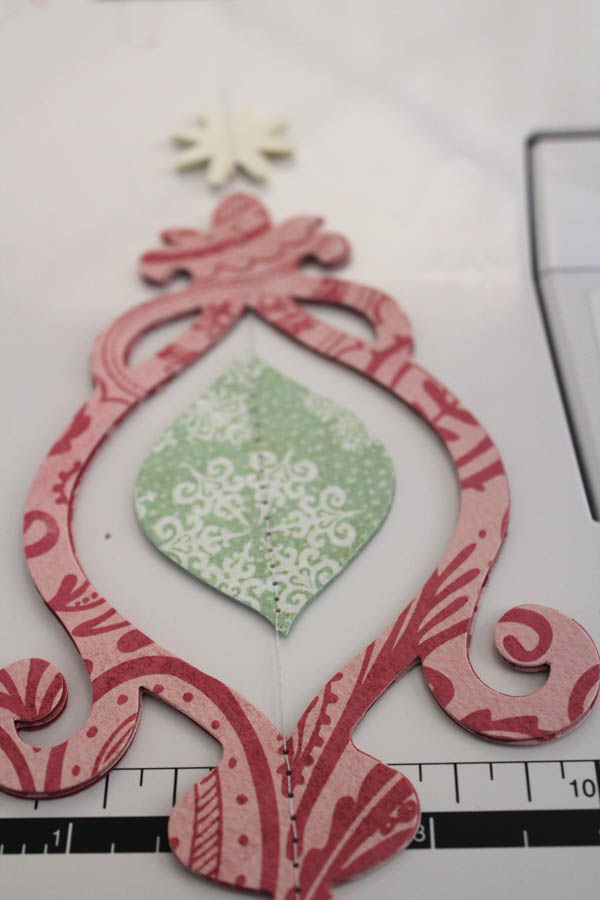
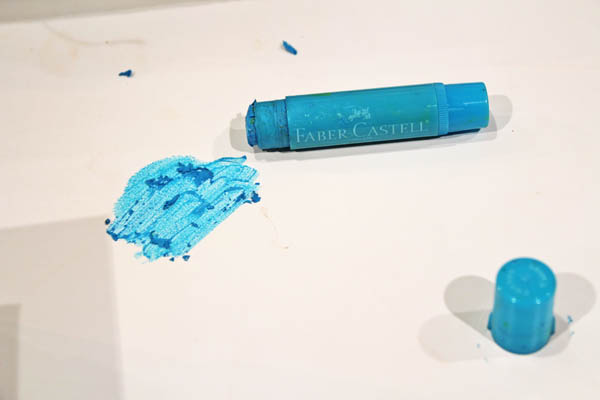
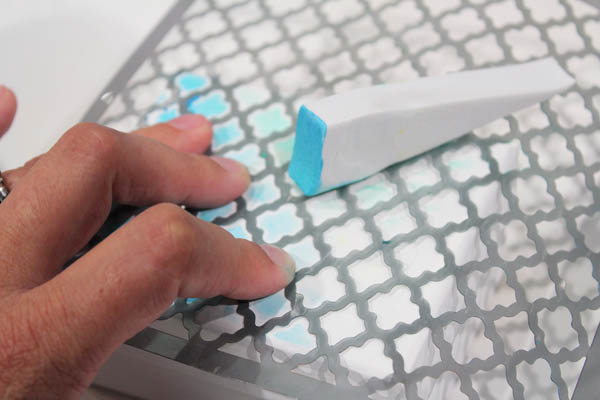
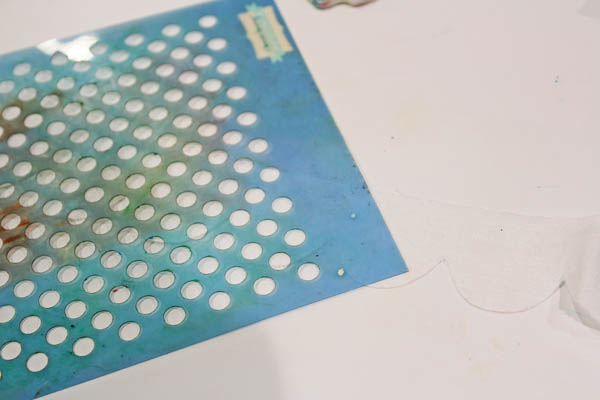
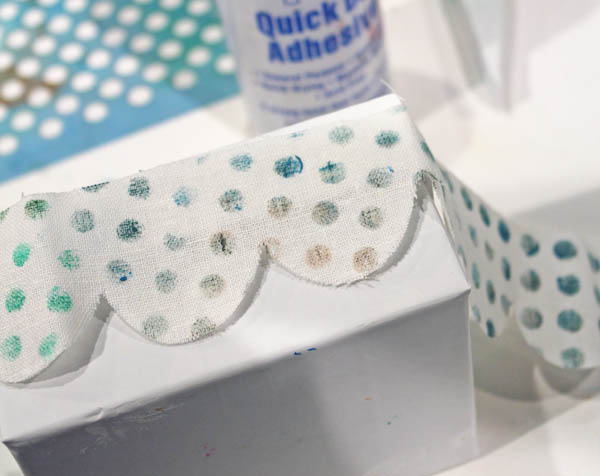
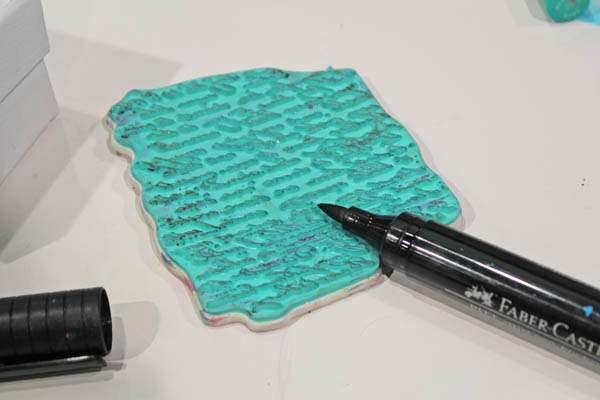
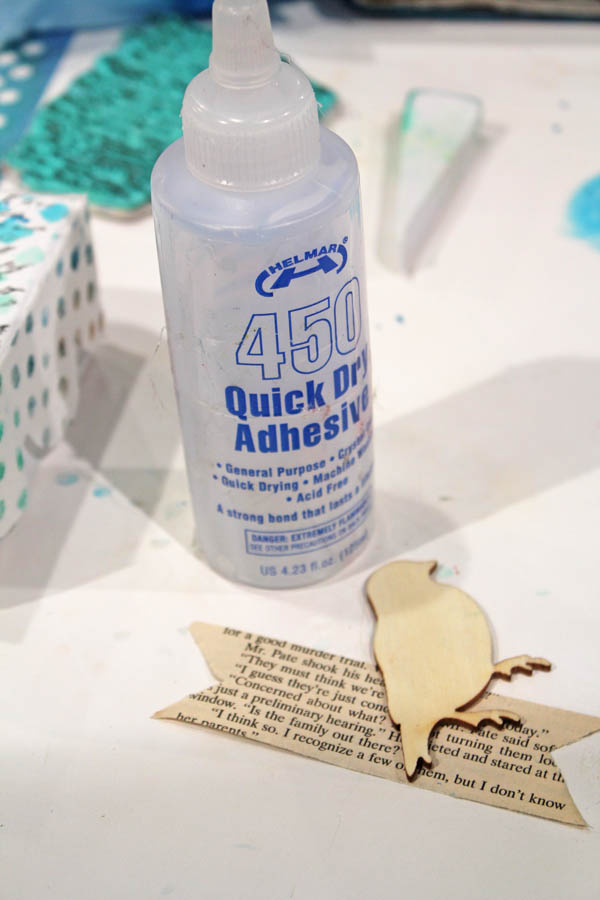
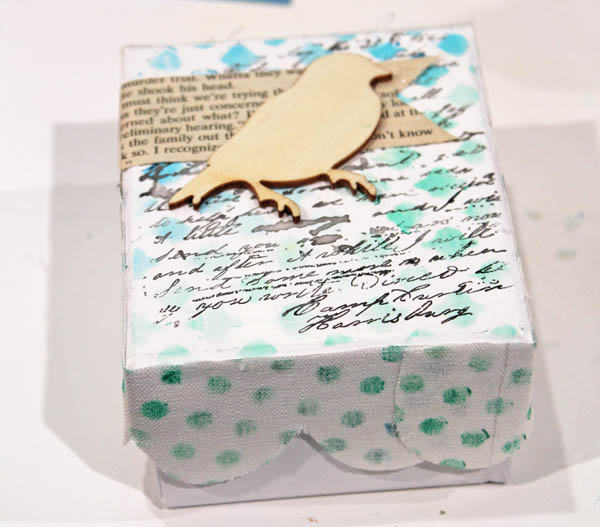
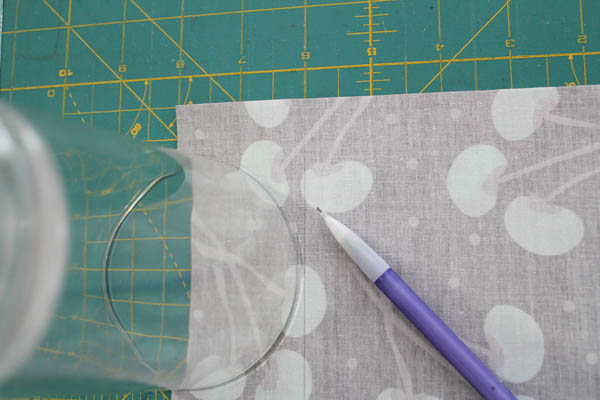
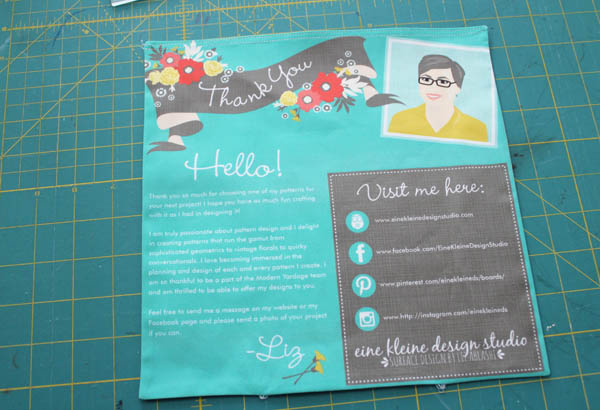
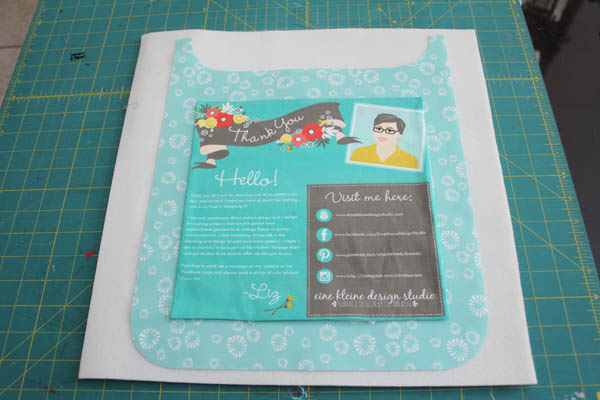
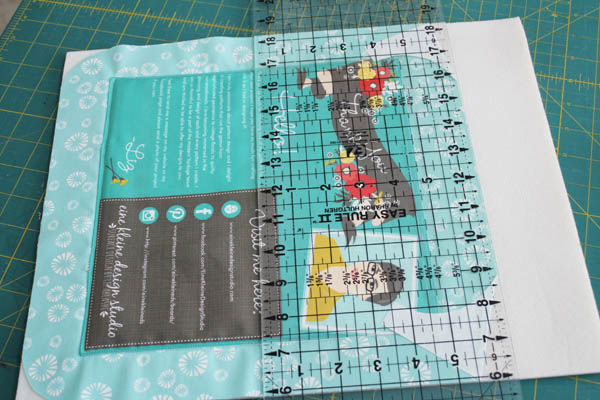
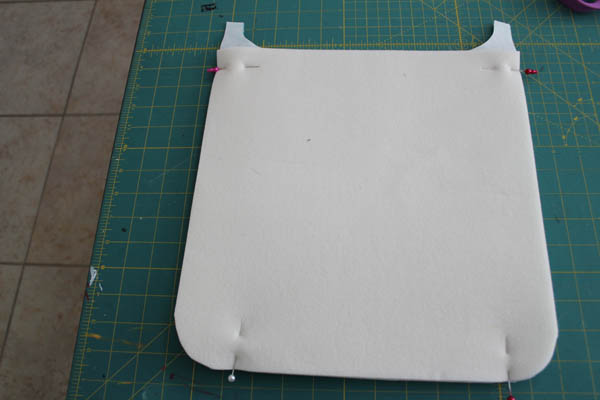
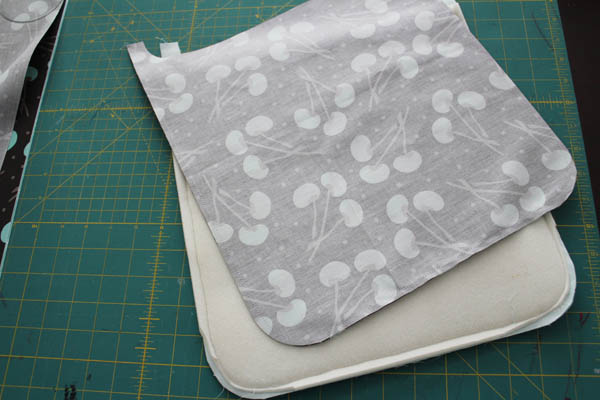
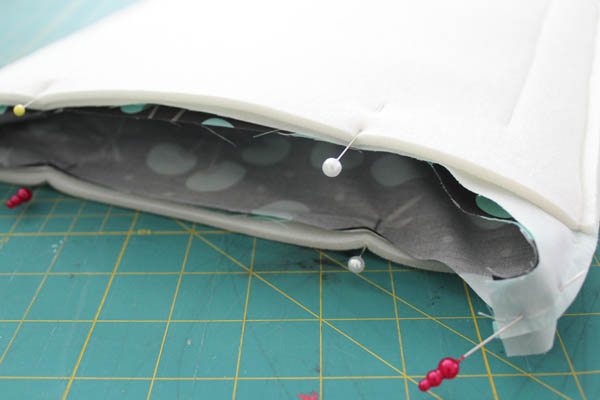
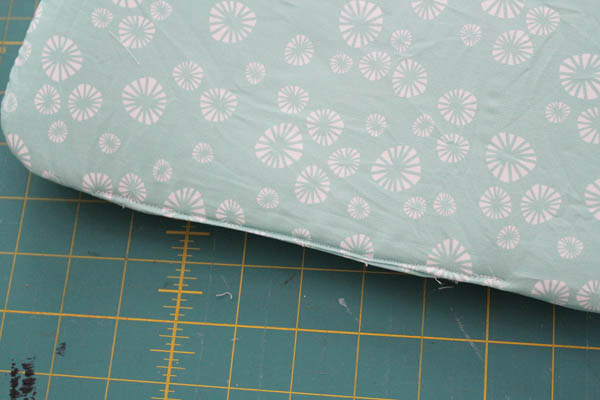
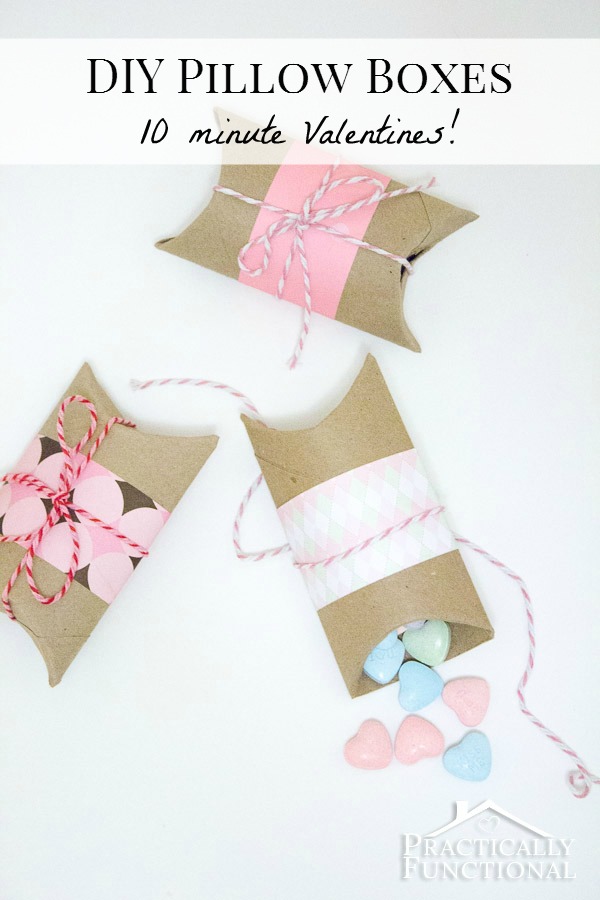
These Valentine’s Pillow Boxes from Jessi at Practically Functional are such a sweet Valentine’s idea… if you’re a germaphobe like me, she gives us a couple non-TP-roll options in her post.

Valentine's Pillow Boxes


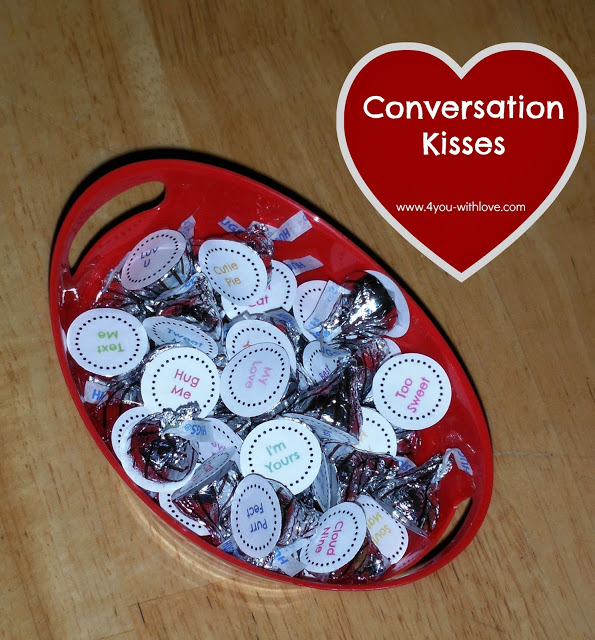
Marilyn at 4 You With Love has a free printable so that you can turn chocolate hugs and kisses into conversation chocolates.

Conversation Kisses


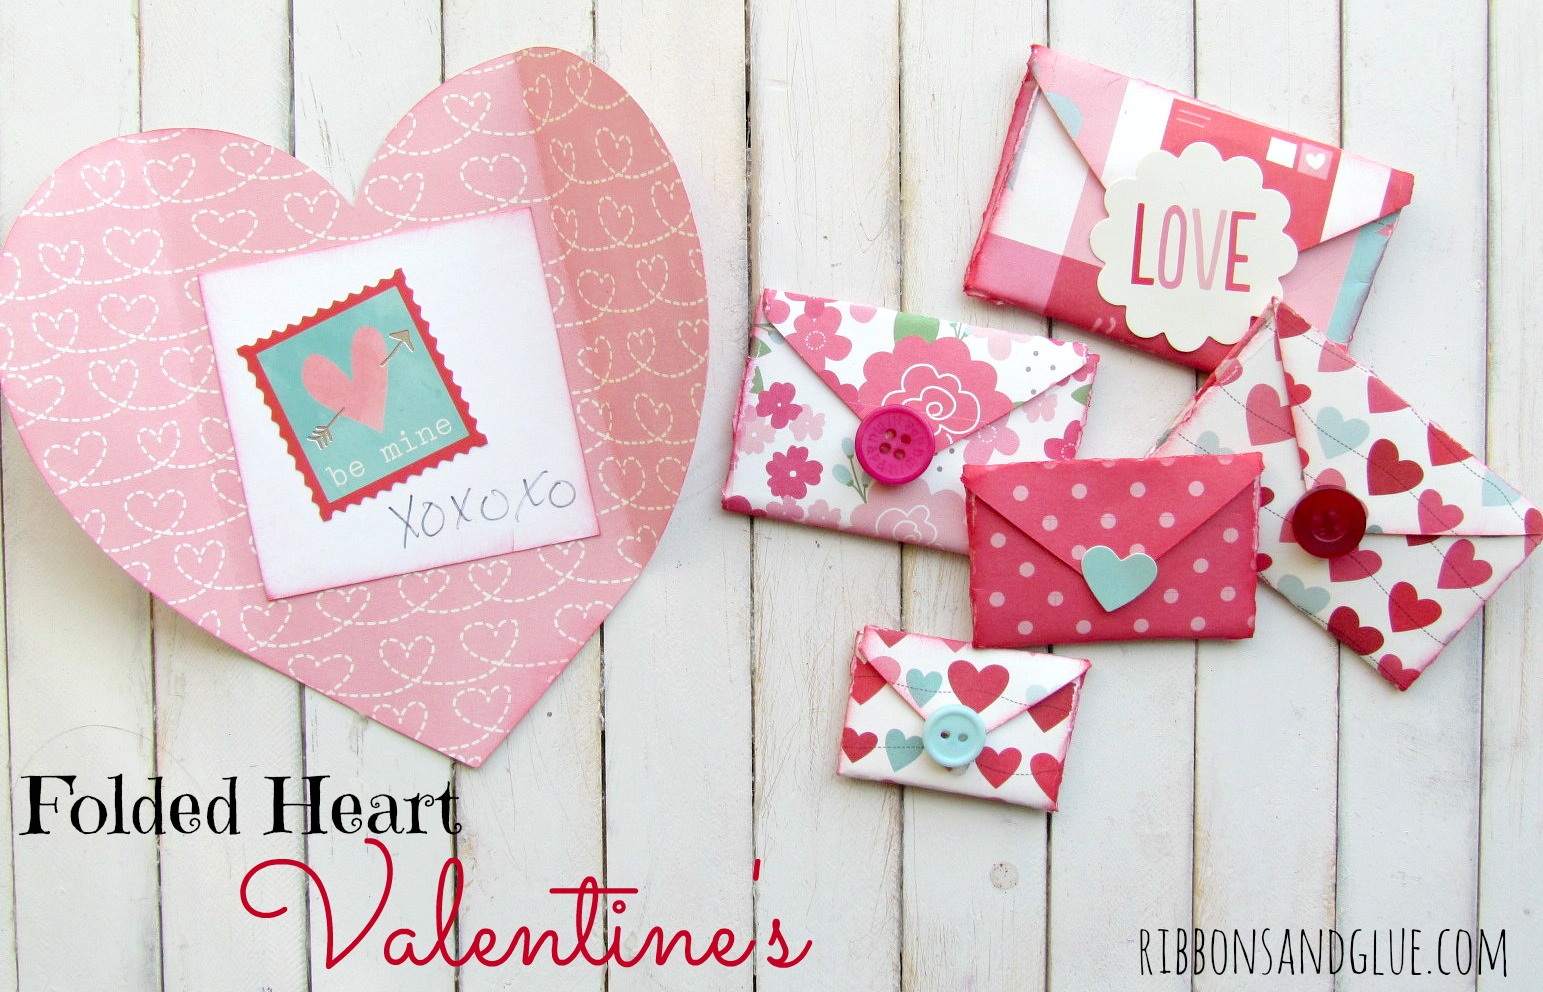
This folded heart Valentine from Holly at Ribbons and Glue is super simple to make! Use your Silhouette to cut hearts, or just cut them the old-fashioned way…

Folded Heart Valentines

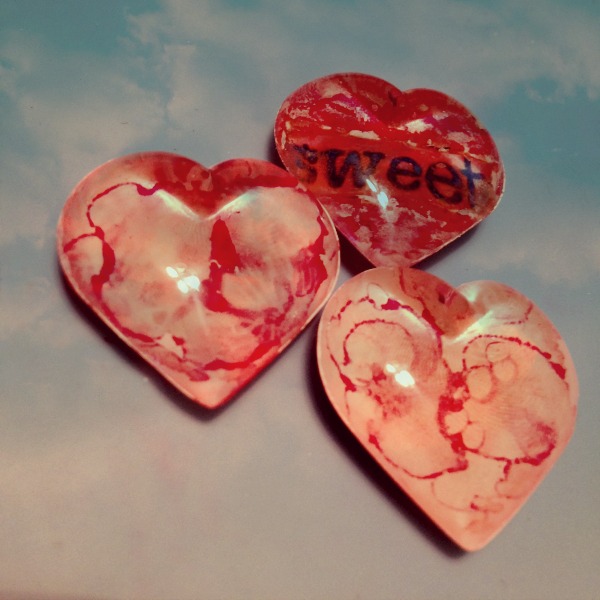
Allie made some simple conversation hearts using pre-made resin hearts as a base. These are super simple to make, and you can customize them in so many ways!

simple conversation hearts

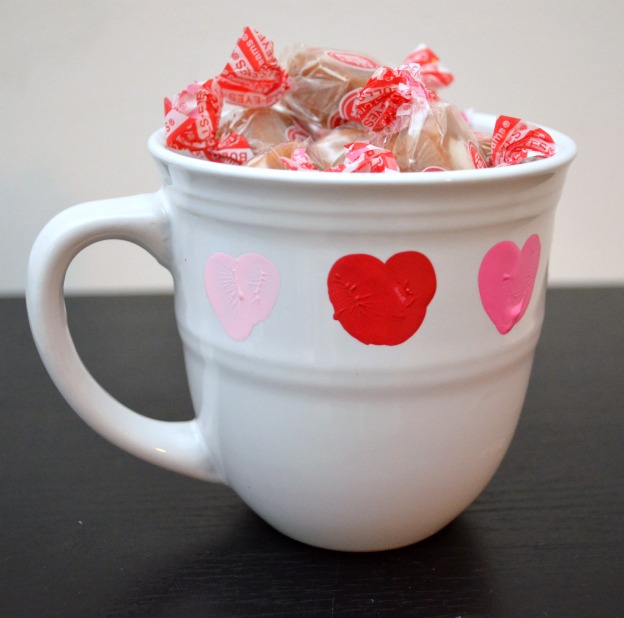
Amy from One Artsy Mama made this adorable thumbprint heart mug.

thumbmug

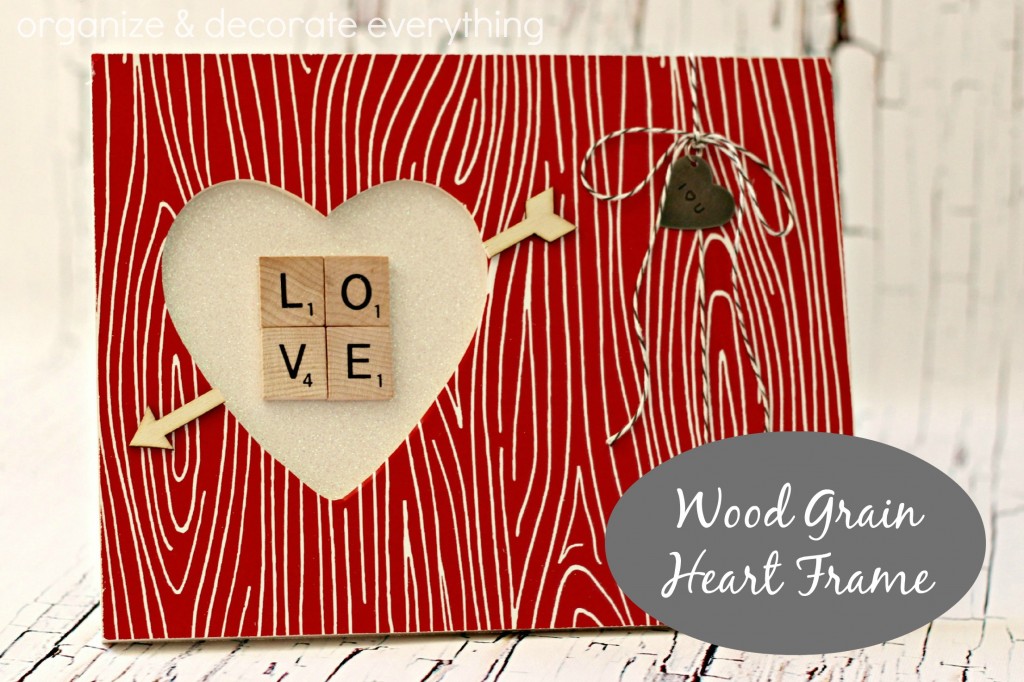
Leanne from Organize and Decorate Everything turned a Heart Frame into fun faux wood Valentine’s decor.

Wood-Grain-Heart-Frame-.1-1024x682

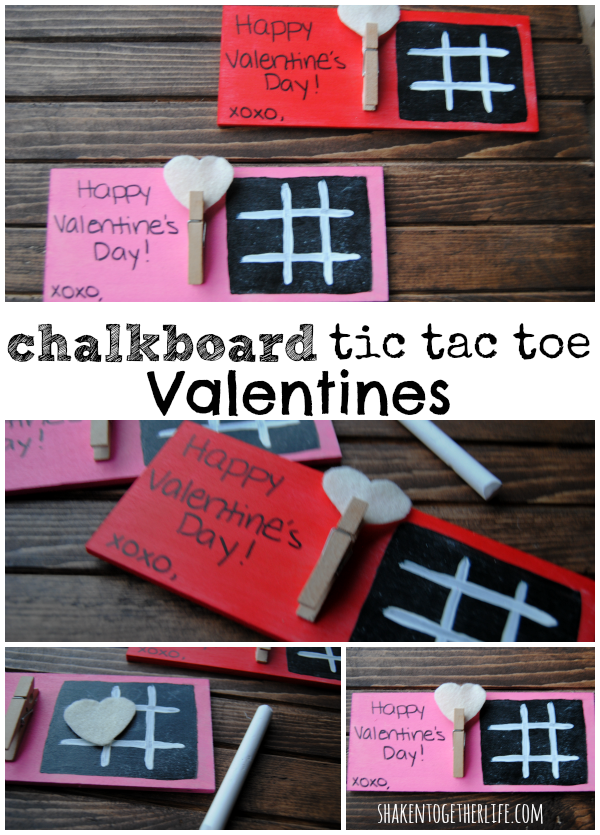
Keri at Shaken Together Life made some seriously adorable tic-tac-toe Valentines.

Chalkboard Valentine's Tic Tac Toe


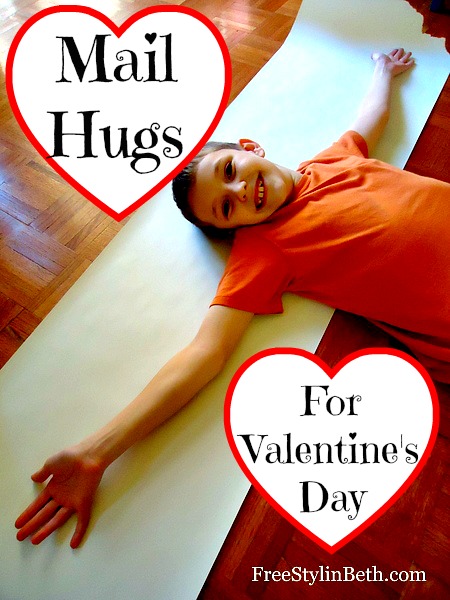
Beth from FreeStylin’ has such a super cute idea with this quick craft, I can tell you that I will be sending out some of these mailable hugs with my kiddos this year.

MailHugs

You should also check out the Shrink plastic Mason Jar Necklace that Angie made yesterday. How awesome is this? I need to make more things with shrink plastic… such awesome stuff!diy mason jar necklace

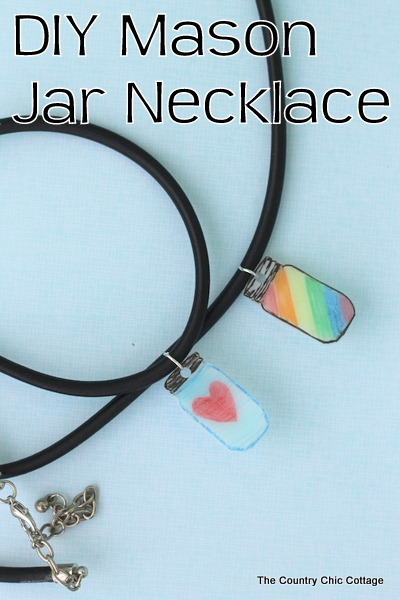
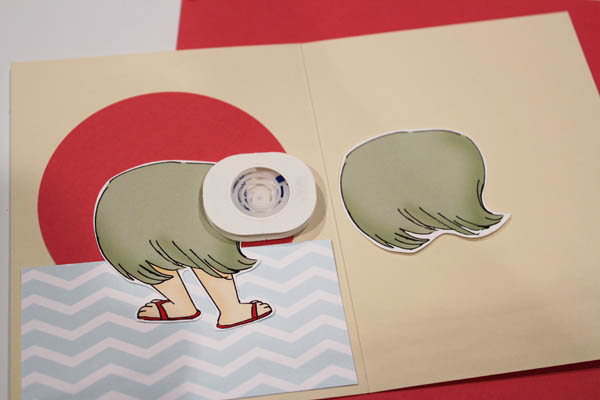
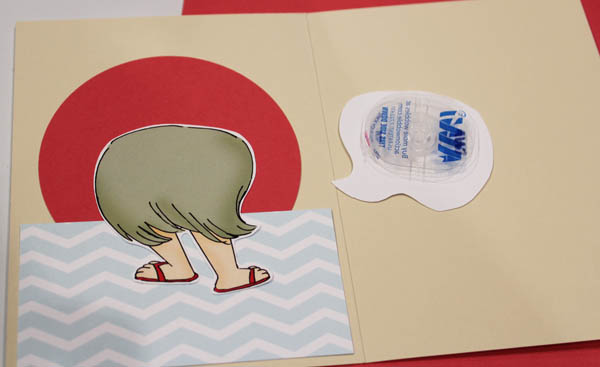
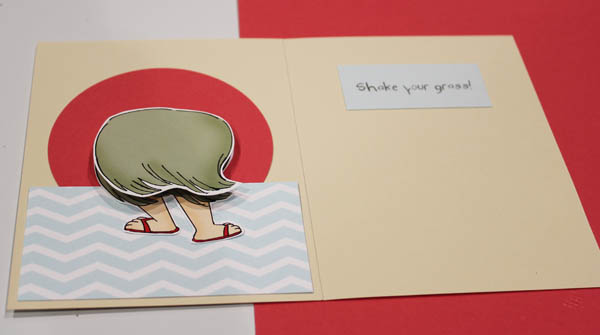
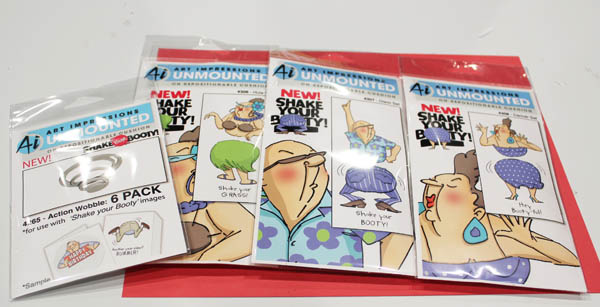
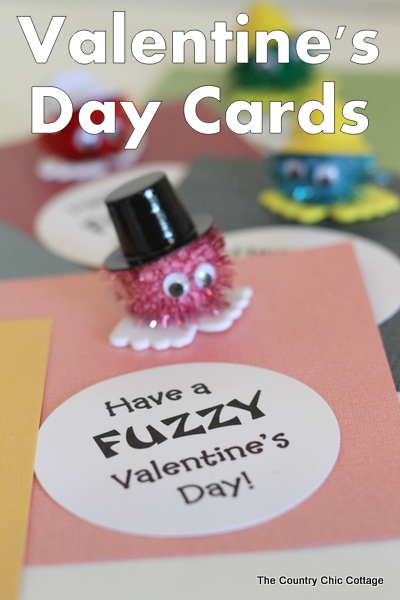
And today, Angie shared her fun and easy Valentine’s Cards.

Valentine's day cards

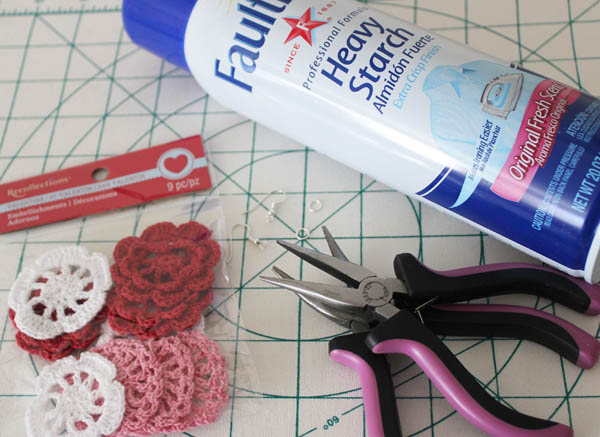
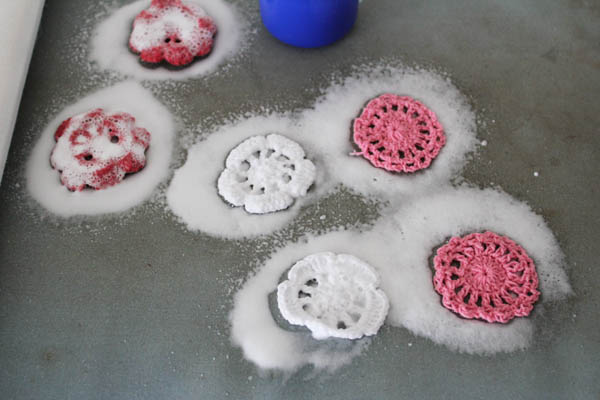
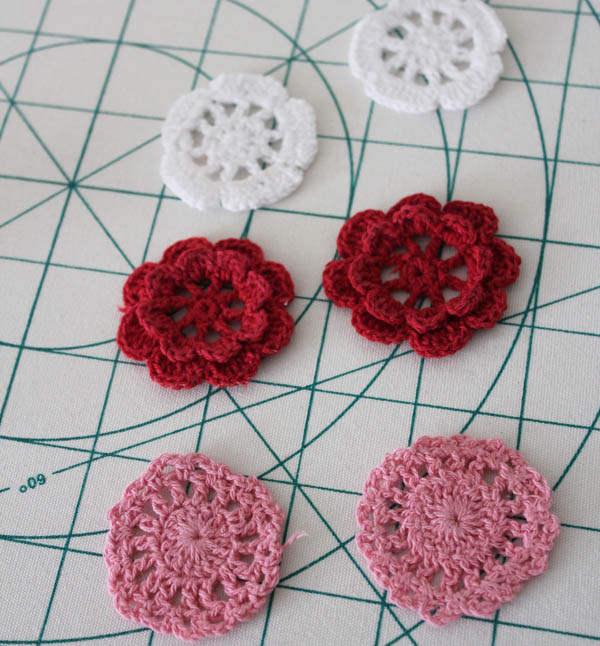
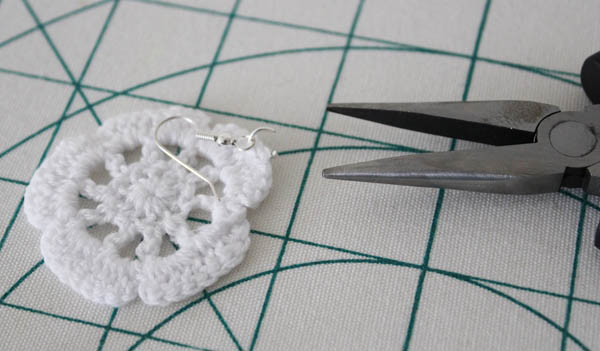
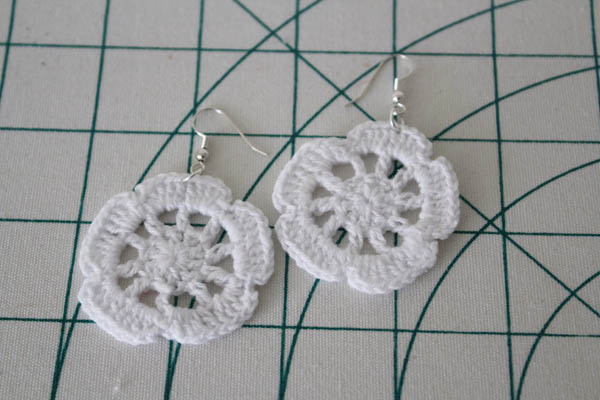
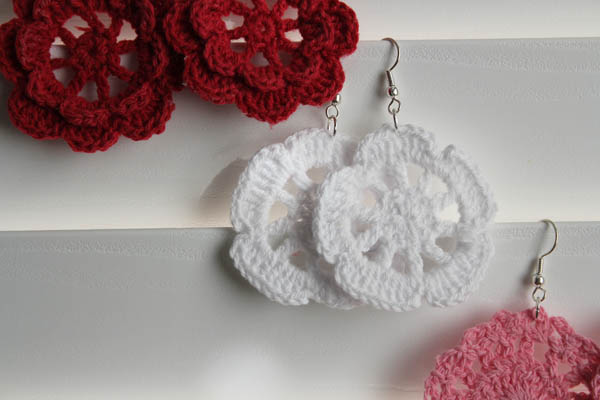
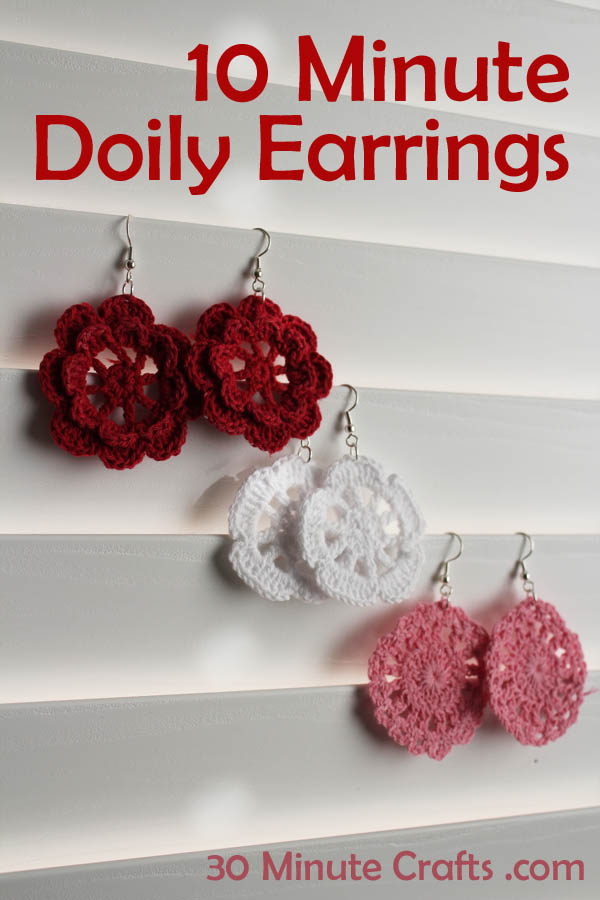
In case you missed it, yesterday I shared my super easy doily earrings.

10 Minute Doily Earrings at 30 Minute Crafts

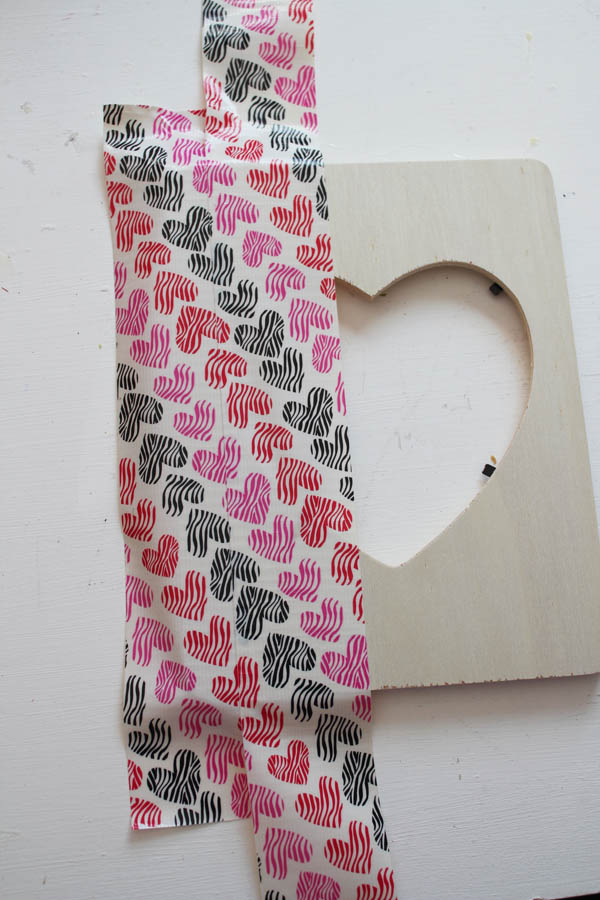
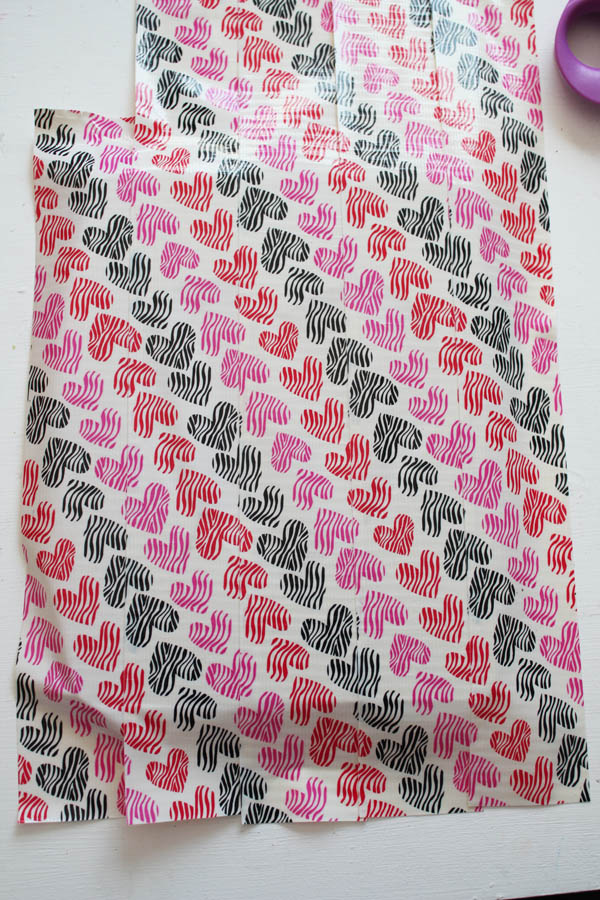
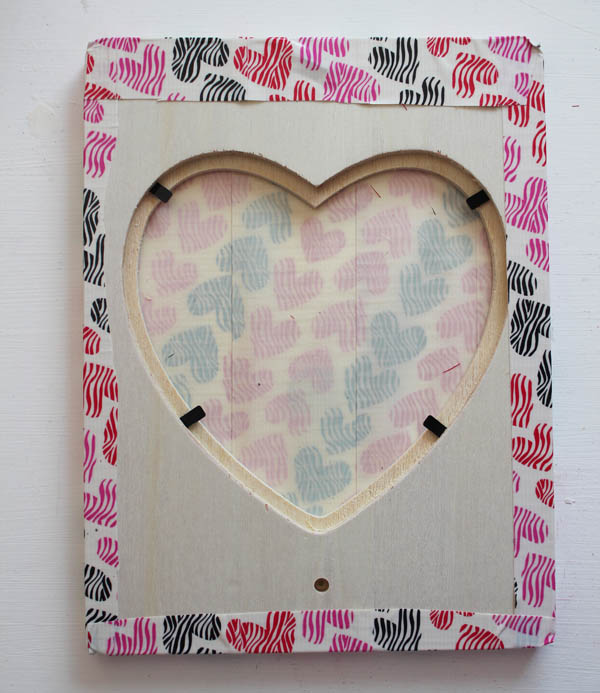
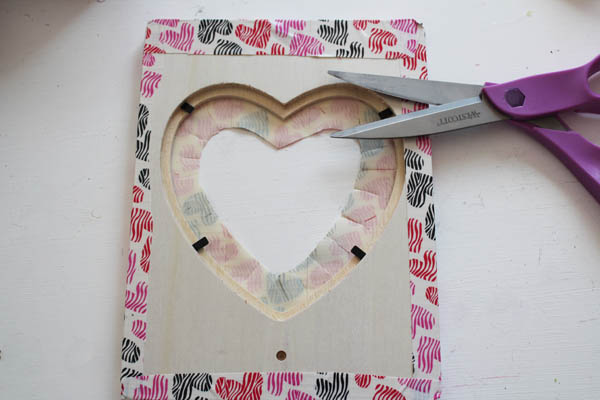
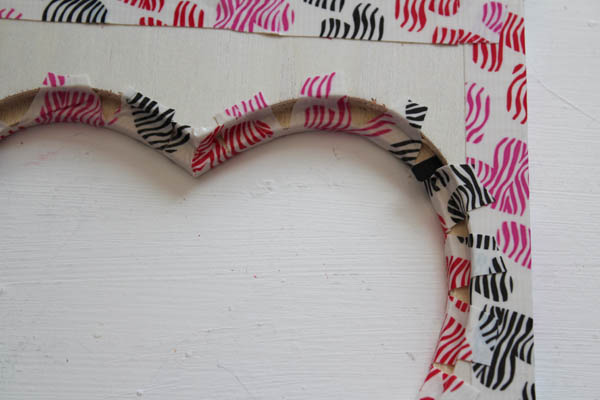
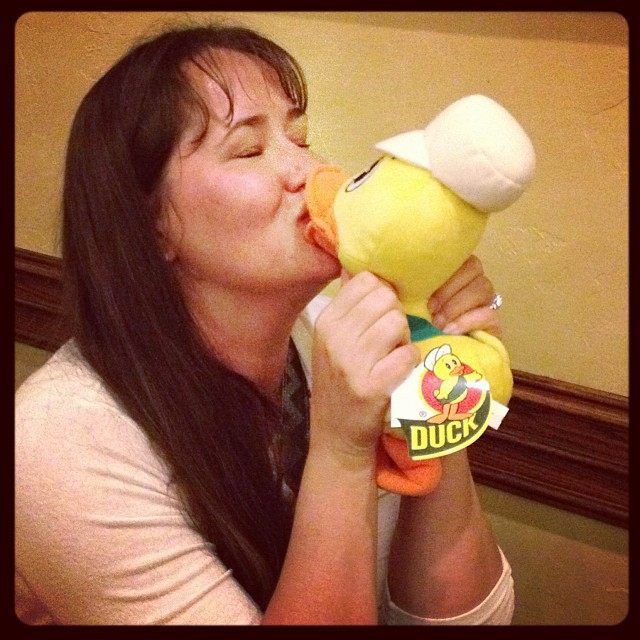
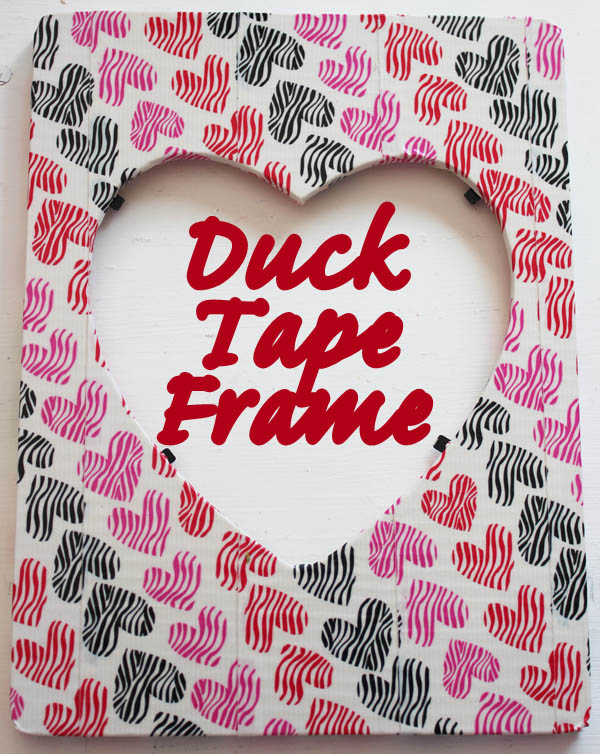
And today I shared a fast and easy Duck Tape Frame!

Duck Tape Frame

Come back tomorrow for some more fun and fast Valentine’s Crafts. And be sure to check out the tutorials for all of these fun and fast crafts!

Duck Tape Valentine’s Frame

Duck Tape Frame

Yay! It is another week of Craft Lightning projects – crafts that can be done in 15 minutes or less! I’m teaming up with Angie from the Country Chic Cottage and a whole collection of other bloggers to share with you dozens of fast and easy Valentine’s Day Crafts. I hope you’ll join us each day as we share these fun Valentine Crafts! Today I’m sharing a Duck Tape Frame. This project is super fun and simple to make, and only takes two supplies (ok, three if you count the scissors). Duck Tape is easy to use, and comes in so many fun prints and colors, especially for the holidays!

This Valentine’s Day Frame is easy to make. You need:
Wooden heart cut-out frame
Duck Tape with a Heart or Valentine’s print
Scissors

Before I get started, I should add that Duck Tape makes Duck Tape by the sheet, and you could very easily do this with a sheet of Duck Tape instead of using Duck Tape off of the roll. I bought the roll because I can also use it for sealing packages for Valentine’s Day, making another set of Duck Tape Earrings, or so many other things. But, if you’re just wanting to make a frame, you can absolutely buy a sheet of your favorite Duck Tape instead of the roll.

Start by cutting or tearing a strip of tape off the roll. Put it on the frame. Start on one side, we’re going to move our way across. Make sure that you have enough tape hanging off the edge that you can wrap it around the back later.

strip of duck tape

Add a second strip of Duck Tape. You’ll need a longer strip so that you can match up the pattern. If you use this pattern (which I love!) you’ll find that the hearts vary in size, making them difficult (or impossible) to line up perfectly. Just do the best you can, and it will hardly be noticeable (and if anyone does notice, just call it a “design element”).

Match up pattern

Keep adding strips of Duck Tape, matching up as you go, until the tape extends all the way across.

continue on entire frame

Trim the top and bottom so that there will still be overlap on the back, but not excessive, then flip over the frame. Tuck the edges down.

tuck edges over back

With scissors, cut out the center, leaving about 1 – 1.5″ of tape on the inside. Cut the tape into half-inch segments, so that it looks like fringe.

clip curved inside

Tug on the individual fringe pieces as you pull them to the back of the frame, and secure them to push them down. Duck Tape has a little bit of give to it, and pulling as you bring it to the back will help it stretch around the curves of the heart-shaped frame.

stretch edge over lip

That’s it! Grab a photo of your valentine, insert it in the frame, and you’ve some fast and easy Valentine’s Day decor!

PS – I’m thinking I might put this picture of me with Trusty, the Duck Tape Mascot… my hubby won’t get jealous, right?

Carolina with Trusty the Duck

10 Minute Doily Earrings

10 Minute Doily Earrings at 30 Minute Crafts

I found these little doilies at the craft store and knew immediately that I wanted to turn them into earrings. I love making jewelry, especially for these Craft Lightning series. Jewelry doesn’t have to be time consuming or complicated. It can be simple and fun. Like these doily earrings. It doesn’t get much simpler than this for Valentine’s jewelry!

doily earring suppliesSupplies for Doily Earrings:

Mini Doilies
Starch
Iron
Earring Wires
Jump Rings
Pliers


Start by starching the doilies. This is optional, but gives them more stiffness. You could also use a stiffening agent like Stiffy Fabric Stiffener, but it has to be put aside to dry. Whereas with the starch, you’re done in 10 minutes.

spray doilies with starch

The trick to keep the starch from scorching is to spray the starch on one side, flip the doilies, then apply heat to the back.

starched doilies

Open a jump ring with the pliers, and feed it through the edge of the doily. Add the earring wire, then close the jump ring.

put jump ring through

It is that simple to make some super cute Valentine’s jewelry.completed doily earrings

A friend of mine stopped by, saw the earrings, then saw the package the doilies came in. She looked at me in surprise and said (almost accusingly) “You BOUGHT the doilies.”
“Um, yeah.” I replied, “I’m not about to crochet them. This is so much faster!”
Sometimes I really, really love being a 30 Minute Crafter.

finished doily earrings

Craft Lightning Valentine’s Edition

craft lightning valentine edition

It is Craft Lightning time again! Angie from The Country Chic Cottage and I are teaming up again to bring you a new 15-minute-or-less Valentine’s craft every day. And we’ve rounded up a bunch of our best blogging pals to play along. This week you’ll be getting dozens of fast and easy Valentine’s Day Inspiration! And if you’re impatient, go check out yesterday’s Beer Flowers. A fast, fun, and easy Valentine’s gift for any beer lover.

If you’d like to join in, add your 15-minute-or-less Valentine’s projects to the linky below… who knows, we might be featuring you as well!


Beer Flowers for Valentine’s Day

Will you Beer my Valentine

Want to tell your sweetie how much they are loved, but don’t want to go with traditional flowers? Go with nontraditional flowers! These beer flowers are super easy to make, and don’t take much time at all. You could turn a 6-pack into a romantic offering in less than 30 minutes!

Supplies for Beer Bottle FlowersTo make your own beer flowers you need:
Bottles of your sweetie’s favorite beer (if you’re underage – go for bottles of soda. I’m a fan of cream sodas, myself)
Fake daisies (I bought mine at Michael’s)
Scissors


Pull your fake daisies apart, Mine had two layers on each flower, so I only needed 3 flowers for my 6-pack.

Take apart daisy

Cut slits into the center of each daisy. Careful not to cut all the way through. The goal is to cut the center so that it is slightly bigger than the neck of the bottle.

Cut slits in daisy

Pull the daisy over the top of the beer.

Pull Daisy over top of bottle

Tug on the petals to adjust them, so that they face up instead of down. It is that easy!

Valentines Six Pack

These will be the prettiest beers you’ve ever put in the fridge!

Wiggling Card


front of shake your booty cardWhen I went to CHA over the summer, this was the make and take that made me giggle the most. Because this wiggle-butt card is just so much fun! This is the last of the make and takes I’m sharing from Summer 2013. If you missed any, go catch the Sizzix Ornament, Simple Faber Castell Box, Crystal Christmas Tree Card, Fast Floral Necklace, Super Fast Button Ring, Spray-Dye Scarf and Mini Quote Canvas. I’m looking forward to more fun make and takes at CHA this weekend, that I’ll be able to share with you! Be sure to catch me on Instagram for some sneak peeks!

supplies for shake your grass cardTo make this card you need:
Card base
Art Impressions Shake Your Booty Rubber Stamp
(body/head and 2 of the bottom of the body)
Action Wobble

background paper
embellishments
adhesive
paper punch
printed sentiment: “Shake your Grass”

Start by putting together the pieces of your card. A circle, the body, and background. Secure them all with adhesive.

pieces for front

For the inside, secure the circle, background, and one of the body/rear pieces.

wiggle piece for the inside

secure wiggle piece

Secure one side of the wiggle piece to the spare bottom piece. Then secure in place on the card. Add your sentiment, “Shake your Grass”.

inside of shake your grass card

There are tons of different bodies and tops to use with the wiggle pieces.

different stamp options

I’m a big fan of the Santa Shake Stamp.

Art Impressions Santa Stamp

Such a fun way to add some wiggle to your next card!

Sizzix Ornament

Sizzix Ornament

This weekend I’ll be at CHA, so I thought it would be fun to share more of the make and takes I did at CHA this summer. If you missed any of the past tutorials, I did a Simple Faber Castell Box, Crystal Christmas Tree Card, Fast Floral Necklace, Super Fast Button Ring, Spray-Dye Scarf and Mini Quote Canvas. Today I’m sharing an ornament I made at the Sizzix booth. This ornament would make great wedding decor, Valentine’s decor, or really decor for just about any season depending on how you switch up the colors. While I was at the booth making the project, I was talking to the person running the demo about ways to whip up this ornament. We decided that it might be much faster to SEW the ornament together. I’m going to show you how it was done at the booth, and then I’m going to show you how to sew this ornament in a fraction of the time down at the end of this post.

supplies for sizzix ornamentSupplies:
Sizzix Chandelier Die
Papers – 3 colors for body, center, and star
Pearl Bead
Hot glue and string if going the traditional route, or a sewing machine if you want to make it fast.

You’ll need the Sizzix Chandelier Die. It cuts papers like this:

ornament die

Here are the directions for gluing the ornament:
Start by cutting your pieces on the Sizzix machine. You’ll need 4 of each. Then fold all the pieces in half.

fold pieces

Run a small thread of glue down one fold, then attach a second piece at the fold. Do this with all the pieces.

sets of two

Repeat this process, gluing the double pieces into single pieces using all 4 layers.

pieces all glued up

Tie a knot at one end of the string, add the pearl bead to the end.

knot on bead

Glue the string down between one of the sets of layers of each piece.

glue thread down the seam

Your ornament is done!

ornament created

If you’d prefer to stitch up your ornament, stack up all the matching pieces, then stitch the pieces in order. The thread from the sewing machine will take the place of the string in the glued version. Increase your stitch length to a 3.5 to keep the paper from being too weak at the seam.

stitch ornament pieces

Tie the pearl bead to the bottom, using the two threads from the machine.

stitched ornament

Fold open the layers, and you’re all done! That was super simple!

Just a note: After sewing on paper, you’ll want to switch out your needle before sewing on fabric again. Nothing dulls needles (or scissors) like paper does.


Simple Decorative Box

Simple Decorative Box

Because I’m going to CHA this weekend, I’m sharing some of the make and takes I did at CHA over the summer. If you’ve missed any, go check out the Crystal Christmas Tree Card, Fast Floral Necklace, Super Fast Button Ring, Spray-Dye Scarf and Mini Quote Canvas. The project I’m sharing with you today was super fun to make. It was one of the last make and takes I did at summer CHA, and I just got to sit at the Faber Castell Booth, rest my feet, and play for a while! Really, the best part of going to a craft show, if you ask me.

To make your own Simple Decorative Box, you need:
Plain Box
Stencils
Faber Castell Gelatos
Makeup Sponge
Fabric Trim
Glue
Faber Castell Marker
Stamp with scripty text
Wooden Bird
Old Book Page

Start by spreading out the gelato onto a piece of scrap paper.

spread out Gelato

Pick up the color with a makeup sponge, and stencil it onto the box.

Stencil in Gelato colors

Do the same, stenciling on your fabric trim.

stencil trim

Glue the trim around the edge of the box.

glue trim on box lid

Ink up a stamp with a marker, and press it right on the top.

Ink Stamp

Grab your embellishments. In this case a wooden bird and a trimmed up piece of book page.

Glue on wood and book page

Your box is all done! Enjoy!

Simple Decorative Box Finished

Crystal Christmas Card

crystal christmas card

This weekend I’m heading off to CHA. That’s the Craft and Hobby Association Trade Show in Anaheim (close to Los Angeles if you’re not familiar with the West Coast). I enjoy going to CHA because so many amazing craft companies are there, showing their latest and greatest products in their booths at the trade show. And many of them offer “make and takes”. A make and take is a quick craft that can be done right at the booth. I did several at the Summer CHA show here in Vegas, and shared them with you… the Fast Floral Necklace, Super Fast Button Ring, Spray-Dye Scarf and Mini Quote Canvas. I have more that I’ll be sharing with you this week!

Today I’m sharing with you one of the make-and-takes from the Connie Crystal booth. This is a simple way to make a card with a little bling!

christmas card suppliesTo make your own card you’ll need:
Colored Crystals
Card Base
Die Cut Tree
Glue
Crystal “Rope”
Scissors


Start by gluing the die-cut tree to the card base. Cut short lengths of the crystal “rope” and glue those down on the tree. Then add dots of glue for the colored crystals.

dots of glue

Glue the colored crystals in place, and you’re all done! Just wait for it to dry before mailing it.

glue gems in place

If you mail a card with this much stuff on the front, you’ll want to cut a piece of felt or foam to cover the front for mailing – that way the front of the card won’t get damaged. You may need to pay more for postage in order to have the card hand-canceled as well – cards with beads and crystals on them don’t always go through the postal machines very well. Bring a sample card to your post office to find out what special measures you’ll need to take.

The One Hour Bag

The One Hour Bag

Before you start wondering why I’m sharing a 60-minute project on 30 minute crafts… let me explain. This bag takes about an hour to make… but you can make a version in 30 minutes, and I’ll give you the steps on how to make a 30 minute version right in this tutorial. Basically, the 30 minute version has a different handle and no pocket. But I really, really love the 60 minute version. So, if you’re looking for a super quick bag that you want finished today, go ahead and make the 30 minute version. But, if you have a little more time to spare (or are willing to spend 30 minutes today and 30 minutes tomorrow), indulge in the 60 minute bag. It’s worth the extra half hour, I promise!

I made my 60 minute bag with fabrics sent to me by Modern Yardage. They’re a fun online fabric company that prints the fabric as it is ordered. And when the fabric comes, they have an extra-wide selvedge that they print little goodies in. Which comes in handy on this pattern. You’ll see.

To make the 60 minute bag, you’ll need:
1/2 yard each of 2 different fabrics (I used Burst in Chocolate – printed medium – for the outside, and Float in Mint – printed small- for the lining)
1/2 yard By Annie Soft and Stable (you can use fusible fleece if you don’t have Soft & Stable. Your bag won’t be as firm, but it will be fine)
Standard Sewing Supplies – ruler, rotary cutter, scissors, sewing machine, pins, etc.
Drinking Glass (for marking)
Pen or Pencil
Nancy Zieman’s Create a Strap in both 1″ and 3/4″ sizes

To make the 30 minute bag, substitute 1.5 yards of 1″ wide grosgrain ribbon for the create a strap.

cut strips for straps

(SKIP THIS STEP IF MAKING THE 30 MINUTE VERSION) Start by cutting your fabric. You’ll need to cut a strip off of your outer fabric for the 1″ Create a Strap and a strip off of your lining fabric for your 3/4″ Create a Strap. Follow the package instructions. If you want more information on Create a Strap, you can find my full Create a Strap review here on Craft Test Dummies.

(START HERE IF MAKING THE 30 MINUTE VERSION) Cut the outside fabric and the lining fabric. You’ll need 2 pieces from each, each piece 15×12.5. You can adjust this size to make it larger if you like. I wanted a small bag that was still big enough to carry around my keys, cell phone, wallet, and a magazine or couple of toys for the kids.

cut to 15 by 12 5

Put the two lining pieces right sides together, then the two outer pieces on top of those (also right sides together)

Use the wide mouth of your drinking glass to cut the bottom two corners into curves.

trim bottom of purse

Draw a line across the top, 2″ down from the top edge. Mark in 3/4″ from each side. Use these markings to position the water glass to mark curves on the top edge.

mark top of purse

use water glass to create curve

To make the pockets, find the “fun bits” that Modern Yardage puts in the selvedge, and cut into a large rectangle. You’ll need two pieces. I used the designer’s square and the Modern Yardage social media info (trimmed down). If you’re using store-bought yardage, you’ll still have enough fabric to make a pocket – cut two pieces 9″x10″.

trim down bonus fabric prints

Put the pieces right sides together, and stitch all the way around, leaving about a 4″ hole on the bottom for turning. Clip the corners.

stitch and clip pocket

Turn the pocket right side out through the hole, use a pen or other pointy object to push the corners into place.

Topstitch across the top to hold the pocket together, and give it a finished look. For the 30 Minute version, do just one line of stitching. If you’re splurging, add a second line of stitching… it looks good. Don’t worry about stitching the bottom yet.

top stitch edge

Put the lining piece on top of a piece of the Soft and Stable. Pin the pocket on, pinning through all the layers.

place pocket

Stitch down the pocket, stitching from the top, down one side, across the bottom, and up the other side.

Cut the Soft and Stable to size with a rotary cutter. To make cutting the top easier, and to reduce bulk, fold down the handle flaps (so they are out of the way), then cut the top with a rotary cutter.

trim down soft and stable

Repeat this cutting process with the second lining piece and piece of Soft and Stable. Since there is nothing holding them together, be careful to make sure the pieces don’t shift.

Put the outer pieces and lining pieces right sides together, and stitch all the way around each. Leave a 6″ hole at the bottom of the lining piece for turning later.

pin soft and stable to lining

stitch together lining and shell

Trim the excess Soft and Stable in the corners.

Turn the outer piece right side out, and insert into the lining piece. Line up the top edges and pin.

pin lining and shell rst

Sew all the way around the top.

stitch around top

Turn the bag right side out through the hole left at the bottom of the lining. Stitch the hole closed.

Stitch Lining Closed

Adjust the top of the bag so that the lining and outer shell meet properly. Pin. Top stitch all the way around to secure.

pin lining to outside to top stitch

(IF YOU ARE MAKING THE 30 MINUTE VERSION, SKIP THESE HANDLE STEPS AND GO DOWN TO THE 30 MINUTE VERSION’S HANDLE) Stitch the outer of the two handle pieces made with the Create a Strap in place, tucking 1/4″ of the raw edge under to cover it.

Secure First Handle

Try on the strap, adjusting the length to make it perfect for you, then pin the other side. Stitch the other side in place.

Pin Strap in Place

Repeat this process with the inner handle piece, by stitching one side down on the inside. Before securing the other side, topstitch down both sides to secure.

Topstitch handle

Then secure the other side of the inner handle, stitching it into place. The bag is complete!

Finished One Hour Purse

I love the little peek of the pocket made with the bonus fabric!

30 MINUTE VERSION HANDLE:
Tie an overhand knot in the Grosgrain ribbon, right on the handle nub that sticks up from the main body of the purse. The length of the ribbon should go up, with a few inches sticking down. Topstitch the tail at the bottom in place. Cut the ribbon handle to the desired length, then repeat the process of tying and stitching the ribbon in place. Your 30 Minute Bag is Complete!