The Ultimate List of Fast & Easy Halloween Crafts

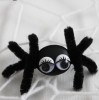
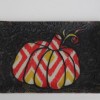
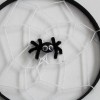
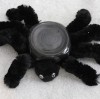
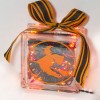
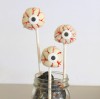
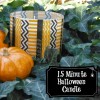
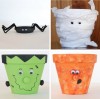
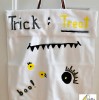
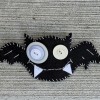
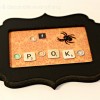
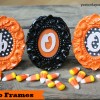
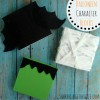
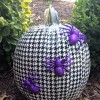
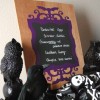
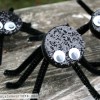
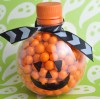
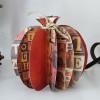
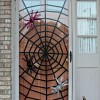
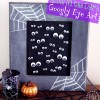
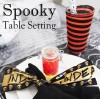
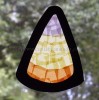
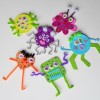
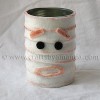
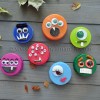
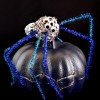
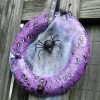
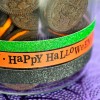
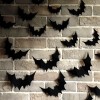
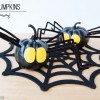
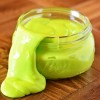
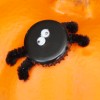
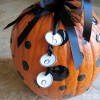
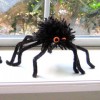
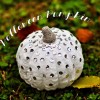
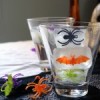
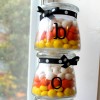
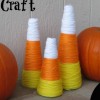
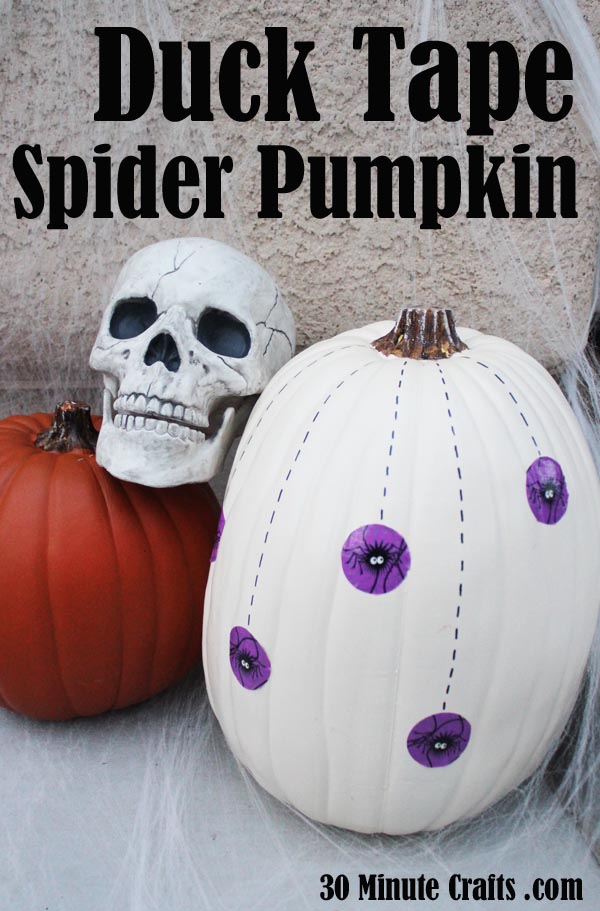
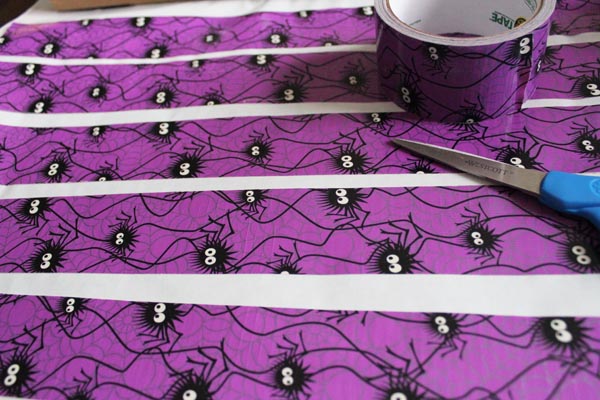
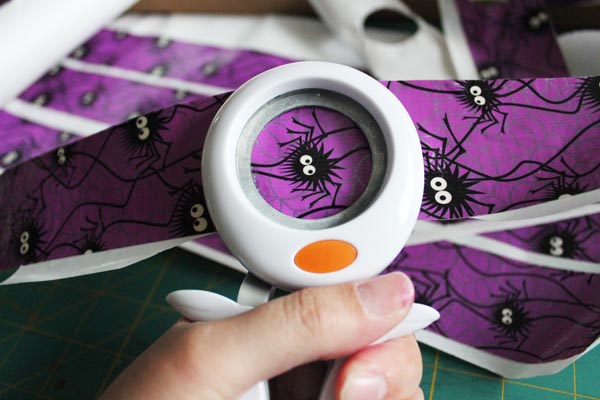
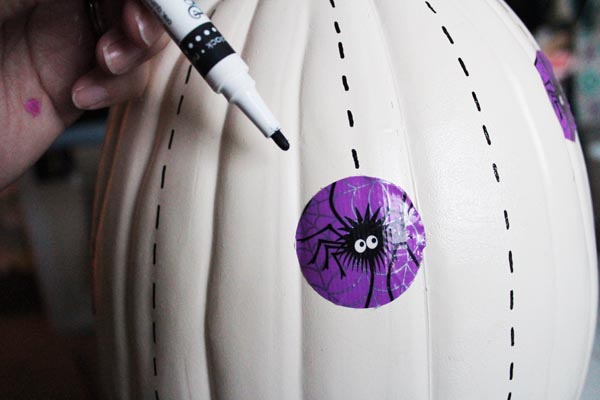
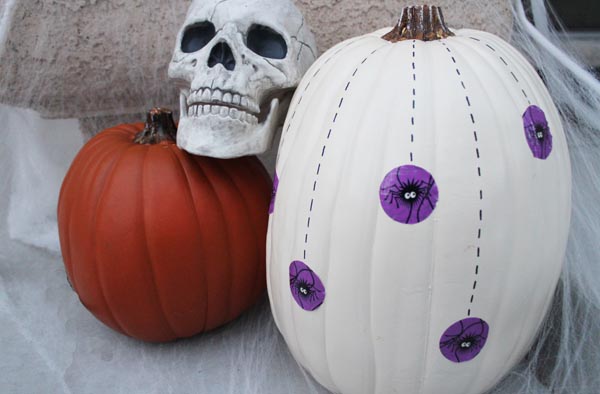
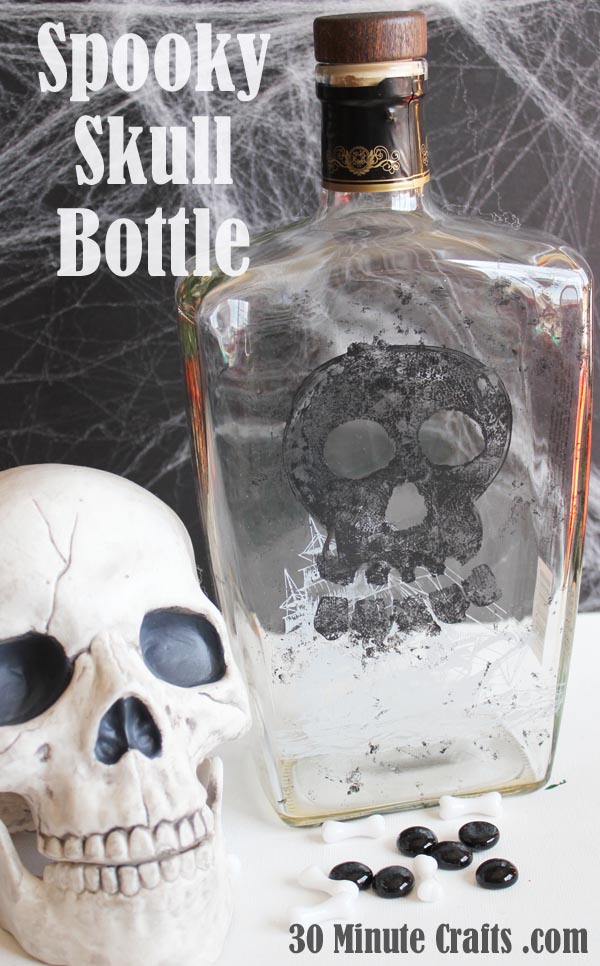
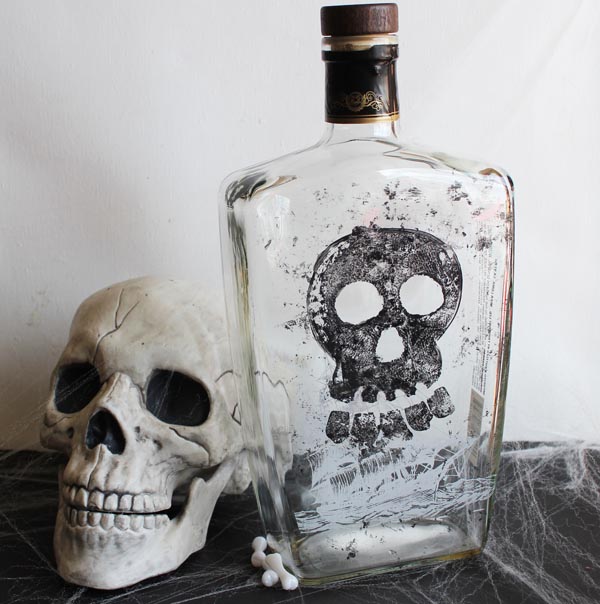
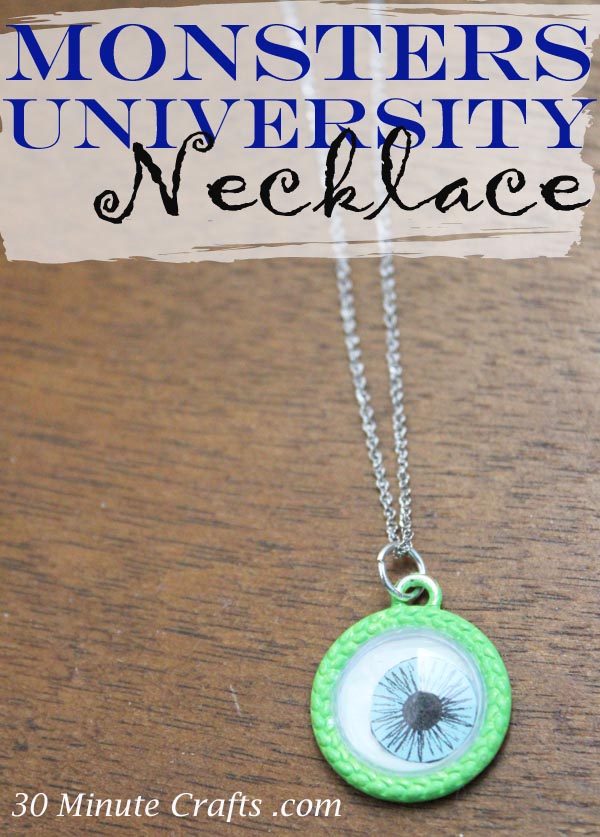
Looking for some fast and easy Halloween Crafts? Maybe you want a fun Kid’s Halloween Craft… or you’re looking for a Halloween Craft to do at a party. Maybe you need to DIY Halloween party decor? Whatever your reason for wanting some easy to make Halloween crafts, I’ve got you covered with over 100 Halloween Crafts that will each take 30 minutes or less to make. Fast spooky crafts, simple pumpkin crafts, and quick spider crafts… plus a whole lot more!

And if you’re looking for the Ultimate List of Last Minute Halloween Costumes, I have over 50 ideas to inspire you to craft up a fantastic Halloween costume, or costume accessory, in less time than it takes to scare up some TP on Halloween.

The Ultimate List of Fast & Easy Halloween Crafts


The Ultimate List of Last Minute Costumes

Looking for a Halloween Costume for yourself, your spouse, or the kids? Think you can whip up a costume at the last minute? Well you CAN whip up a Halloween costume shortly for heading out for Trick or Treating. And your Halloween costume can be awesome! Here are over 50 tutorials to help you put together an amazing, and amazingly fast costume. If you want some awesome tips for costume-making in general, check out this great post full of amazing tips on making costumes by my friend Marissa. She is a costume-making pro (fast, fancy, and everything in between), and she’ll help set you straight on the kinds of supplies you need, and how technical you want to get when making a Halloween costume. And if this list of last minute costumes isn’t big enough for you, or you’re looking for a specific idea (regardless of time commitment), check out Really Awesome Costumes. There you’ll find tons of costumes, of varying skill levels and time commitments. The Ultimate List of Last Minute Halloween Costumes at 30 Minute Crafts

Fast Candy Corn Crafts for Halloween

Over 30 Fast and Easy Candy Corn Crafts at 30 Minute CraftsWhether you’re looking to make a craft with candy corns, a craft that looks like a candy corn, or if you want to look like a candy corn yourself… I’ve got you covered! You could even cover yourself in candy corn… like with a candy corn necklace. A Halloween staple, this iconic candy is fun to munch and to glue. Get you candy corn fix without the calories when you craft with this sugary sweet. Check out this great list of over 30 fast Candy Corn Crafts for Halloween.


30+ Halloween Googly Eye Crafts

Call them Google Eyes, call them Googly eyes… whatever they are, they are super fun to craft with. And so easy to craft with! They add dimension and whimsy to just about any project. I love popping googly eyes on all kinds of projects… especially Halloween projects! During the month of October, google eye crafts are at their finest. Really, Halloween is the peak of googly eye crafts, and here are over 30 awesome googly eye crafts to give you some inspiration!

Over 30 Fast and Easy Googly Eye Crafts at 30 Minute Crafts

If you love any of these projects, click on the picture to be taken to the tutorial.


Dia de Los Muertos Craft – Ribbon Headband

Dia De Los Muertos Headband tutorial on 30 Minute Crafts

My friend Vanessa from De Su Mama and I were chatting a little about Dia de Los Muertos, and thought it would be fun to put together a couple simple and fun Dia de Los Muertos crafts you can make to celebrate. So I’m sharing this Dia de Los Muertos headband here, and a colorful Dia de Los Muertos banner on her site.

This headband is super easy to make. You can use the same basic steps to make a hairclip or other accessory if you like – just glue the finished embellishment onto whatever you like.

dia de los muertos headband suppliesFirst, gather your supplies:

Colorful Ribbons (1/2″ in width)
Skull Beads (I got mine at Oriental Trading)
Liquid Glue (whatever you have on hand)
Large silver button
Hot Glue
Scissors
Small scrap of felt


Cut your ribbon into 10″ pieces. Tie a knot in one end of each piece, then string the bead down to the end. Add a drop of liquid glue to the top of the knot to keep the bead in place.

knot on end with bead

Repeat with all the other ribbons. When finished, stagger them at different lengths, then tie them all together with a knot at the un-beaded end.

knot ribbons together

Trim the ribbons close to the large knot, then glue onto the back of the button. If the button is metal, be careful not to burn yourself – the hot glue will make the button very hot!

glue knot into button

Using more hot glue, attach the back of the button to the headband. Cut a small circle of felt to cover up the back of the button, where the ribbon is attached, and glue in place. This step is optional, but makes for a much nicer finished look.

hot glue felt pad over back

It is that simple to put this fun and festive headband together! You can use ribbon colors that you really like, or you can glue the button with skull ribbons onto another accessory… this project is really versatile!

Dia De Los Muertos Headband

If you want another fun Dia de Los Muertos craft, make sure to go check out the fun banners I made over on the De Su Mama blog. You won’t believe how easy they are to make!

30 Minute #StickOrTreat Pumpkin

This is a Sponsored post written by me on behalf of Duck Brand provided by ShurTech Brands, LLC for SocialSpark. All opinions are 100% mine.

Duck Tape Spider Pumpkin

I love supplies that help make fast crafts. There are several craft products out there that are perfect for fast crafting, and Duck Tape® is one of them.

To make this project you need:
Pumpkin
Duck Tape (I used the spider one for obvious reasons)
Freezer Paper
Circle Punch
Black Paint Pen

Start by lining your freezer paper with strips of Duck Tape. Put the sticky side of the Duck Tape on the shiny side of the freezer paper.

Duck Tape on Freezer Paper

Cut the freezer paper into strips along the edges of the Duck Tape, then use your circle punch to cut circles around the spiders. You could do this with scissors if you don't have a punch.

Punch out Spiders

Peel the Duck Tape spiders off, just like a sticker, and stick them on the pumpkin. Stagger them at different heights.

Dotted lines on pumpkin

Add some dashed lines, and you're all set – a super cute pumpkin in about 30 minutes!
 

Duck Tape Spider Pumpkin is fast and easy to make

Did you know that Duck Tape is having a Stick or Treat Contest? Go make your Duck Tape® pumpkin, enter the Stick or Treat Contest™ … it is so easy to do! Be sure to come comment on this post with a link to your finished pumpkin! The contest ends 10/31, and the winner get $1,000 and a Cricut Mini® Personal Electronic Cutter. Seriously, $1000 buys a lot of crafting supplies!

And be sure to follow Duck Tape® is on Twitter and Instagram as @TheDuckBrand… they've always got fun inspiration going on there.

Visit Sponsor's Site

Spooky Skull Bottle

spooky skull bottle

4My hubby is a fan of rum and Dr. Pepper… good for me because it left me with a great bottle to craft with! Making this spooky skull bottle was super easy, and it makes a great piece of Halloween decor, and would look perfect in a Halloween Vignette. It would also make a great Pirate prop – either as part of a pirate costume, or as part of pirate decor.

empty Kirkland rum bottle

To make your own Spooky Skull Bottle you need:
Empty Rum Bottle (This is Kirkland brand – found at Costco)
Duck Tape (any kind)
Glass Paint (I used DecoArt)
Paintbrush
Paper Towels
Cotton Swab
Rubbing Alcohol

READ THROUGH ALL THE STEPS. For many of my tutorials, you can just follow along with the tutorial to make your project. For this one, some of the steps need to be done quickly, so read through the whole tutorial before you get started, so you know what is coming next.

Start by taking off the label. This bottle already had a great ship painted on the front, I wanted to keep that on there. After peeling the label off, I had to be careful about how to take off the residual adhesive. I couldn’t use a solvent, that could mess up the ship on the bottle. Instead I used Duck Tape. I had a Halloween pattern on hand, but any pattern will do. Push the tape onto the adhesive residue, and pull up. The residue sticks to the tape and pulls right off the jar.

remove adhesive with duck tape

Keep using the Duck Tape to pull off the adhesive until it is all off. Wash the bottle with soap and water to make it clean.

cleaned bottle

Here is where you want to start working fast. Paint on your skull shape. I used a clean, dry paintbrush to practice drawing on the bottle a couple times, just to practice the motion. Then I added the paint. Add a generous layer of paint.

paint on skull

Use a crumpled paper towel to dab away the paint, giving a distressed look. Let the dabs of paint on the paper towel touch the jar in random spots, helping the bottle look like it has changed hands several times, and has the scars to prove it.

dab with paper towel

Dip a cotton swab into alcohol to wipe away the paint in the eye, nose, and teeth areas. If you’re swabbing over areas where the white ship is, go gently. You don’t want to swab the ship away.

clean away areas with alcohol

The first cotton swab will make the areas look smudgy. After two or three passes with fresh swabs, it will look better.

second cotton swab

Let the paint dry completely, cure according to the instructions on the glass paint if you want it to be dishwasher safe.

skull bottle


Mike Wazowski Monster’s University Necklace

Monsters University Necklace

Earlier this week I posted a fun and fast Google Eye necklace. It was super fast and easy to make. A new reader, Shawn from Crafty Chicks, left a comment that her daughter is a big Mike Wazowski fan and that she would love to make the necklace to look like Mike. We are big Mike Wazowski fans around here (I made a Mike Wazowski shirt for my son for the Monsters University movie), and I thought it was such a clever idea that I whipped one up (which is now in the mail on its way to Shawn’s daughter).

It was a little trickier than I had originally imagined, so I thought that I would give you some quick instructions so that you could make your own, if you like.

You still need the same supplies:
google eye
Martha Stewart Jewelry pendant
Jewelry Glue

add to that:
Multi-Surface craft paint (I used DecoArt)
Craft Knife
Blue Scrapbook paper
Fine tipped pen

I grabbed my google eyes, and realized that they were great monster colors – green, purple, orange… but there wasn’t a blue eye in the bunch! Mike Wazowski has a blue eye, so I couldn’t make it with a different color. I decided to try to dissect the google eye.

I’ve done a lot of google eye crafting, but dissecting a google eye was a first for me. And it was pretty awesome.

I carefully ran my craft knife along the seam where the clear meets the white, to separate the two. Carefully. Very Carefully. It wasn’t too difficult, and only took about a minute to take the eye apart.

dissect a google eye

The top shows an eye, and the bottom shows the three parts.

I painted my charm green…

paint charm greenWhile that dried, I made a new iris. I traced the original iris on the blue paper, drew in a pupil, and then drew zig-zag lines out from the pupil.

draw iris

I cut out the iris and set it, face down, inside the open google eye shell, and painted the inside of the pendant white.

paint charm

I added a rim of glue around the inside of the pendant. Less is more here.

add glue to rim

Then I set the pendant down on top of the google eye, and let it dry.

necklace ready to dry

And that was it! Just don’t lift it up for 24 hours or so to make sure that the iris stays googly.

And on that note, I feel I need to say… stay googly, my friends!

Save

Quick Thanksgiving Crafts

Mini Felt and Ribbon Turkey


Angie and I are back with some more fun Thanksgiving crafting! She’s making some great wood-burned tags to use as napkin rings that double as placecards. This is Angie’s second time woodburning, and she’s doing a great job! Way better than I’m doing… I manage to get my project done, but just barely! Watch me flub and fumble my way through making this Turkey feltie that you can use as a brooch, on a hair clip, or add to your Thanksgiving decor.


5 Minute LadyBug Costume

5 Minute Ladybug Costume on 30 Minute Crafts

As a person who loves to craft, I’m supposed to love making costumes. And I do. I really, really do. But in October, I start going into manic-craft-mode, and it doesn’t end until February. Maybe April. But really… there are so many things to do! So many Halloween Crafts to work on… and costumes are just one of them. While I love making handmade costumes for my boys, I often forget to make something for myself. So if you’re looking for a quick and easy no-sew costume you can whip up in 5 minutes, I’ve got it for you.

Ladybug costume suppliesTo make your no-sew ladybug costume costume you need this red felt that comes with polka dots already on it. You can buy it in the package like this at Michael’s in the aisle with the felt. I’ve also seen it sold at JoAnns on the bolt.

You also need:

a black shirt (Mine has 3/4 sleeves, but whatever is right for your weather is fine. A sweater would work, too)
4 Safety Pins
Scissors
A pen or pencil for marking fabric


Pull the felt out of the package, and fold it in half, with the wrong side up. Draw a semi-circle-ish on it. Mine is more like half of a sideways wonky teardrop.

draw wing shape

Cut out the shape, through both layers.shape of the wings

Place the two wings on the back of your shirt. You can see I had a little helper while working on my ladybug costume…lay out the wings on the shirt

Use a safety pin from the inside, poke through the shirt, through both layers of felt, and then back.Pin felt to shirtRepeat, adding a safety pin on the right and left, near the shoulder, and one a couple inches down from the first.pin wings in place

… and you’re all done! Pair the shirt with a pair of black pants, and if you’re feeling especially crafty, add some pipecleaner antennae to a headband. It is that easy to make a LadyBug Costume in 5 minutes or less.