DIY Wedding Favors with Chalky Finish Paint

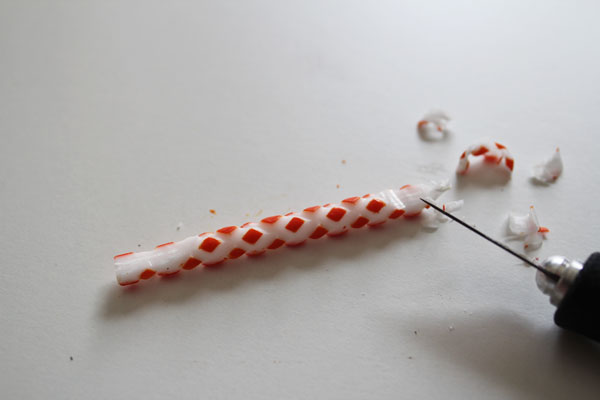
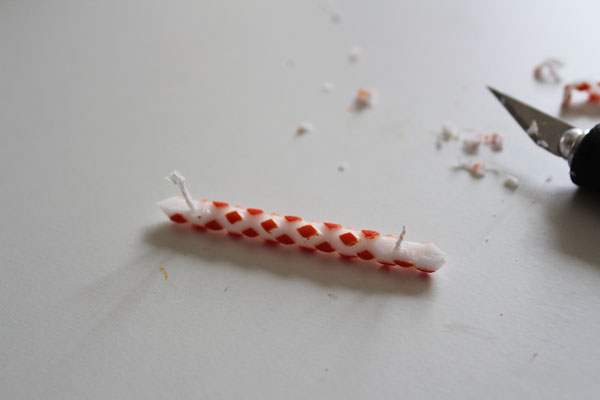
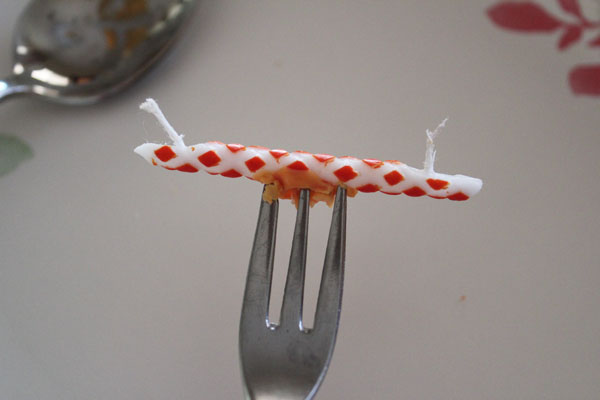
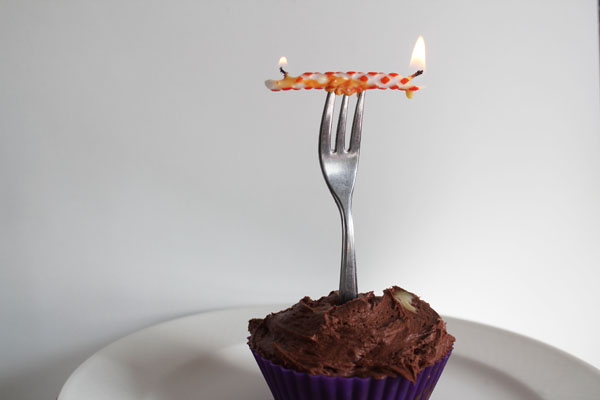
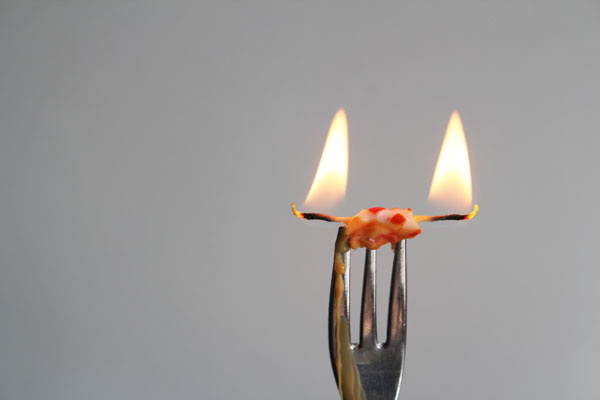
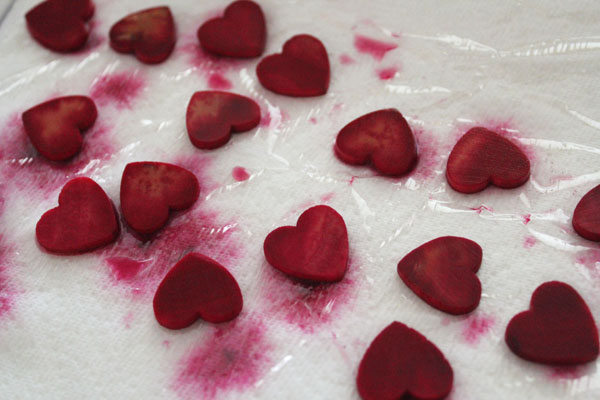
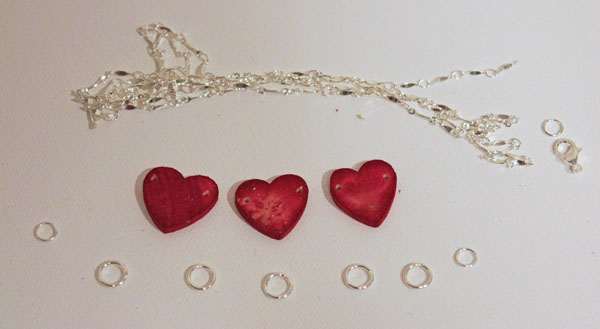
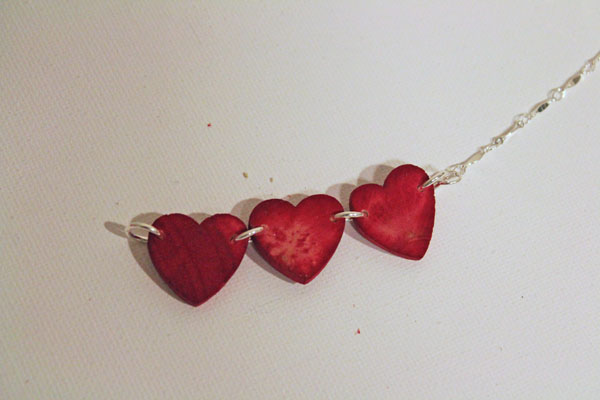
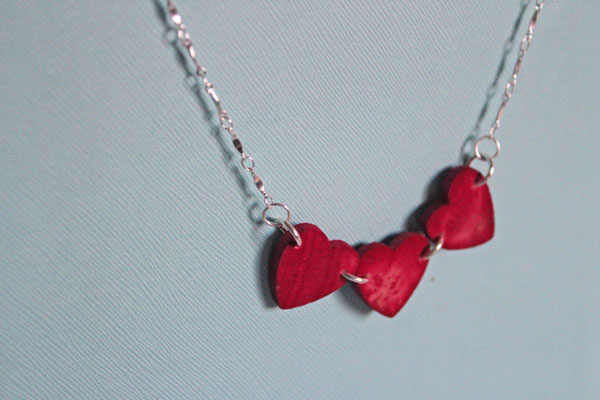
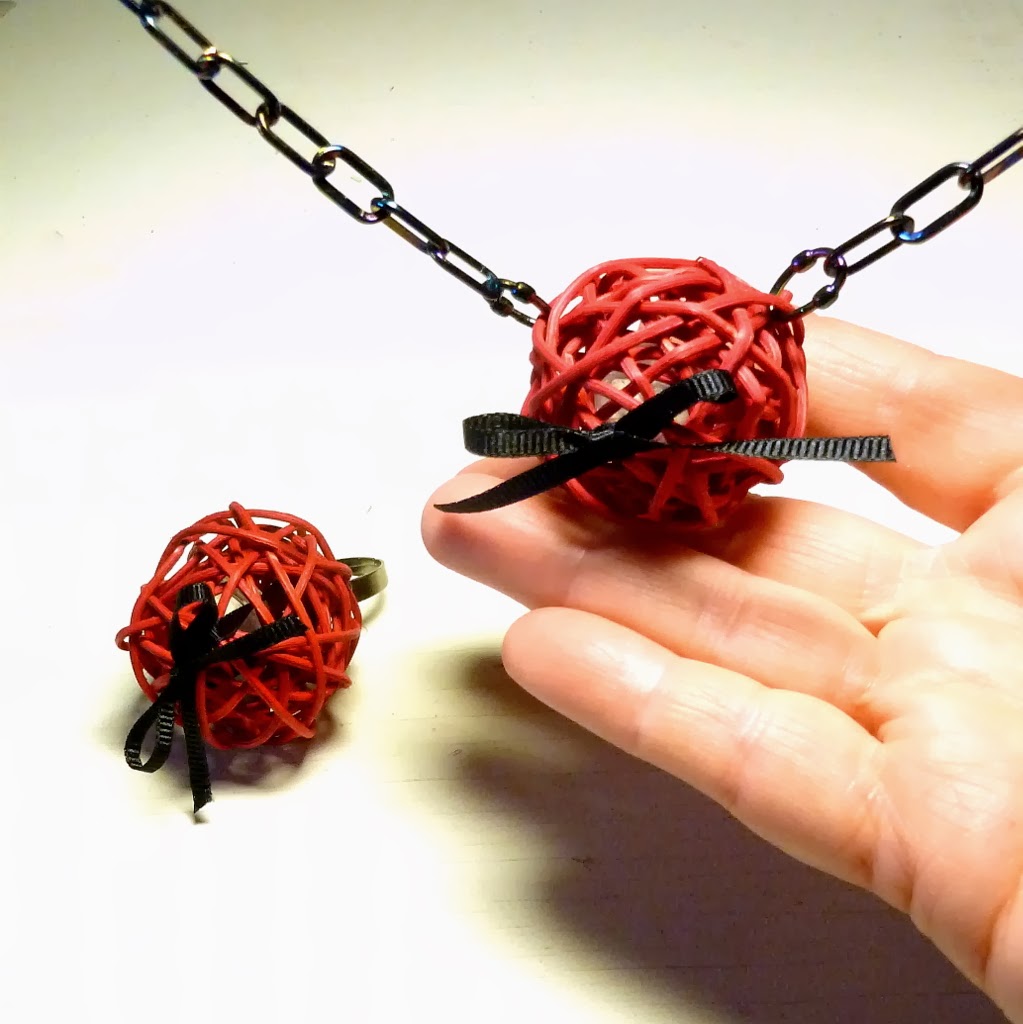
All week long over at Crafty Hangouts, we’ve been sharing wedding crafts. I hope you’ve had a chance to pop over there to check out some of the fun videos. DecoArt sent us some of their new Americana Chalky Finish Paint which is perfect to use for wedding crafting!

Here is one of the videos from the series – Ange and I are making different wedding favors using the chalky finish paints. We each have completely different techniques for making our wedding favors, but I think they both turned out fabulous!


Duck Tape Mailbox

This is a Sponsored post written by me on behalf of Duck Brand provided by ShurTech Brands, LLC for SocialSpark. All opinions are 100% mine.

Duck Tape Mailbox on 30 Minute Crafts One of my favorite parts of Valentine's Day has always been making the Valentine's Mailboxes. I remember being in gradeschool and transforming shoeboxes into lace-trimmed masterpieces. The reason I'm a crafter today probably has a lot to do with making those Valentine's boxes.

So, when I was asked to make a Valentine’s Day craft out of Duck Tape, and was tossing around ideas with a friend, when she mentioned a mailbox, I was all over it. Duck Tape is so fun to work with, and you can really make just about anything with it… including a mailbox! Duck Tape for MailboxTo make the mailbox you need: 3 rolls silver duck tape 1 roll heart duck tape 1 roll red duck tape 1 roll glitter duck tape Self-healing mat (the kind quilters use) 1 sheet cardstock scissors and a craft knife marking pen brad (paper fastener)     Start by making two large sheets of Duck Tape. One will be 11"x16". The other 6"x11". These sheets are easy to make. Cut strips about 1-2 inches longer than you need, and lay them sticky-side-down on a self-healing mat. These are the mats often used by quilters for cutting fabric. You can purchase one at most craft stores. Overlap the strips about 1/4", and keep laying down more strips until you get the required width. put tape down on mat Peel up the strips, lay them sticky-side up, then cover with strips of Duck Tape so the two sticky sides are touching. sheet ready for trimming Use a ruler and a craft knife to cut the piece down to size. trim to size Line up the two 11" edges, about 1/4" apart. Tape with a piece of tape. put pieces an eighth of an inch apart Flip and tape with a second piece of tape. Repeat with the other side to create the body of the Duck Tape Mailbox. Create two more sheets of Duck tape, each 6" by about 8.5". Tape the bottoms and sides in place on one side of the mailbox, leaving the curve untaped. Use a pen to draw the curve, then trim and tape. make line for edge Cut the adhesive into tabs along the curve so that the curve lies smooth. cut flaps around the curve Trace the back end onto a piece of cardstock. trace end for door Cut the cardstock, smoothing out the top curve. cut the cardstock smoothly Cover both sides of the cardstock with the silver tape, trimming the edges. Cut a long strip, and fold almost in half, leaving about 1/2" of the adhesive showing. attach the flap to the door Wrap that around the edge of the front piece, clipping the adhesive at the curve into tabs so that the curve is smooth. finished mailbox door Attach the base of the door to the front of the mailbox body with tape on both sides. If you like you can add a piece of tape at the top to secure the door. tape door to mailbox To make the flag, cut a flag shape out of the remaining cardstock, cover in the heart duck tape on both sides. Flag for mailbox You can decorate it further with a heart cut out of glitter Duck Tape. Flag for mailbox Secure the flag to the side of the mailbox with a brad. finished Duck Tape Mailbox You can add additional embellishments with colored Duck Tape. Put several strips together, cut out heart shapes, and attach to the front or sides of the mailbox. Add as few or as many as you like. cut heart out of duck tape Just like that, you have a Duck Tape Mailbox! Duck Tape Mailbox ready for Valentine's Day

Have you made a Valentine’s Day craft out of Duck Tape?

Oh… and go check out Duck Tape on Twitter to keep up with all the great holiday Duck Tape Crafts!

Visit Sponsor's Site

Burning a Candle at Both Ends: a Tutorial

how to burn a candle at both ends - tutorial

I’m just going to come out and say it: it is my birthday. Usually, I NEVER tell people on my birthday that today is the day, because it always results in an awkward “Oh! Happy Birthday”, and then they feel like maybe they should have known, and I feel weird because of course they shouldn’t know. Between their grocery list, remembering if it is their day for carpool, and making sure their kids have clean clothes, knowing that today is my birthday doesn’t even make the list. Plus, I’m awful at remembering birthdays, so I feel it is hypocritical to expect other people to remember when I constantly drop the ball.

Ok… now that we’ve gotten all my hang-ups about birthdays out of the way, let’s talk about burning a candle at both ends, shall we?

First. Commit to way more than you can handle. Second. Stay up late at night and get up early in the morning to get things done. While doing this, commit to even more… oh, wait. You’re probably here for the actual candle tutorial, right? Don’t worry, I’ve got you covered.

Supplies:
Candle (I just used a birthday candle)
Craft Knife
Fire Source- I used a lighter
Small fork (a pickle fork would work)
Spoon
Cupcake or cake to put the candle in

Start by cutting away the candle at each end. You want to cut off just less than half, to get to the wick. Cut a little less than halfway down so that you expose the wick without cutting it. You’ll cut about 1/2 an inch in on each side. Save your wax bits, you’ll need them in a few steps…

cut away sides of candle

Then carefully pull up the wicks.

pull up wicks

Put the wax bits in a spoon, then melt them with the lighter. I found that applying the heat right to the wax worked better than trying to heat up the spoon.

melt candle wax in spoon

With the prongs of the fork, pick up the wax bits, and use them to secure the fork to the bottom (formerly known as the side) of your candle.

secure candle in place

Put the handle end of your mini fork into your cupcake. If you want to know the truth, mine isn’t in a cupcake. It is sitting in pure awesomeness. That’s because I didn’t have a cupcake handy, so I filled the cupcake liner completely with frosting. Winning.

candle burning at both ends

Only light the ends of the candle when you’re truly ready. This candle burns a LOT faster than a traditional candle, so you want to make sure that you are ready to go with camera, birthday boy/girl, and whatever else you need.

candle burning at both ends burning out

Don’t forget to make a wish when you blow out the candle!

Simple Jungle Book Craft and a Giveaway

Jungle Book Door Hanger

Disney is releasing their Diamond Edition DVD of The Jungle Book today, and I thought we could celebrate with a super simple Jungle Book craft – this Man Cub door hanger. Oh, and I thought it would be fun to have a giveaway. Details on that down at the bottom of the post.

Supplies for door hangerSupplies:
Door Hanger Printable Template
Pins
Green Felt
Scissors
Black Paint (I used DecoArt’s Americana Multi-Surface Paint)
Paintbrush

Start by pinning the template to the felt and cutting it out.

pin and cut

Use paint to write “beware of man cub” on the felt leaf. Feel free to be very “rustic” in your lettering – it will make it look very jungle-made!

paint lettering on door hanger

Add a little extra lines to the edges of the leaves for some depth, if you like.

completed door hanger

Hang it on the door of your nearest Man Cub’s cave.

Beware of Man Cub Mess

Oh, and I promised you a giveaway to celebrate the release of Disney’s The Jungle Book: Diamond Edition DVD, right? I teamed up with some of the most awesome craft bloggers on the internet who also love all things Disney (with or without mouse ears). We’re giving away the “Bare Necessities of Crafting!” Cute, right? Be sure to check out their fun blogs:

Mom Endeavors

30 Minute Crafts

Brie Brie Blooms

The Country Chic Cottage

Mad in Crafts

The Scrap Shoppe

Seven Thirty Three

Yellow Bliss Road

All for the Boys

A Night Owl

These bare necessities of crafting are perfect for a new crafter just starting out, or for an existing crafter who is wearing out their tools (I’ve broken more than one glue gun in my time as a crafter).

Jungle Book Bare Neccesities of Crafting Giveaway

WIN IT!!!!!

One lucky winner will get our awesome Bare Necessities of Crafting prize package shown above! That’s $100-worth of craft supplies, along with a copy of Disney’s The Jungle Book: Diamond Edition DVD (you can watch while crafting!). And, as a special bonus, TWO runner-up winners will each get a copy of Disney’s The Jungle Book: Diamond Edition DVD. Woot!

Giveaway is open to U.S. and Canada residents, ages 18+. Enter using the rafflecopter widget below. Giveaway ends at 11:59pm MST on Tuesday, February 18th. Good luck!!

a Rafflecopter giveaway

Wooden Heart Necklace

RIT Dye Wooden Heart Necklace

I love creating things that I can wear. Jewelry doesn’t need to be complicated to be beautiful. Like this dyed wooden heart necklace. It is simple to make. And really hard to mess up – I promise!

You can make this heart necklace in 30 minutes – but you need to break that down into 3 parts, since we’re dying the wooden hearts first.

Supplies:
RIT Dye
Small container
HOT water
Paper Towels
Plastic Wrap
Thumbtack
Drill with small drillbit
4 Jumprings
Necklace Chain
Necklace Closure
Pliers

Start with your dye and wooden hearts.

wooden hearts and dye

I used about a cup of boiling hot water right out of the kettle, and about a tablespoon of dye. Then I tossed the hearts in.

hearts tossed into dye

They didn’t immediately get fully covered in dye, so I thought, “hmmm… I bet they’d look cool if I just left them like this.” So I did. I didn’t touch, giggle, or shake the container for 30 minutes, and I had this:

dyed hearts after 30 minutes

I scooped the hearts out with a plastic spoon onto a prepared surface. My prepared surface was several layers of paper towel covered in plastic wrap, with holes poked in the plastic wrap with a thumbtack. I don’t know if this is totally necessary, but my thought was that the wood might stick to the paper towel, and be hard to get off when dry. And plain plastic wrap would keep the water from draining. This seemed like the best of both worlds.

drying hearts

After the hearts dried (I let them dry overnight), I picked my favorites, and drilled a small hole on each side.

Hearts ready for Necklace

I put jump rings between the hearts to connect them.

connect hearts with jumprings

Then I connected the necklace chain on either side.

attach chain to necklace

I added the necklace clasp to the back, and the necklace was complete! Super fast and simple!

Dyed heart necklace

Silhouette Printable Cutable Valentines

Free Printable Valentines you can cut with your Silhouette

Looking to save some money on handmade Valentines this year, but don’t want to spend a lot of time designing, printing, cutting, and creating 30 Valentines for your child’s class? Well, I have you covered! Here are 7 Valentines that are ready to go. Each one has a Silhouette file you can download to print and cut your child’s Classroom Valentines in no time! If you don’t have a Silhouette, each one also has a PDF file you can use to print and hand-cut your Valentines this year.

Mini Duck Tape Valentine

Bubble Valentine

Glowstick Valentine

Whistle Valentine

Shoot! Valentine

Want you be my Valentine

Straw Valentine

Googly Eye Valentine

 To access all of these, and our other printable Valentines, sign up for our email list:


FREE Valentine’s Printables
Sign up for our email list to get access to the free Valentine’s Printable files!
You’ve successfully signed up! Check your email for details.

Sunday Shares

One of my goals in starting this site was to feature other bloggers. There are so many amazing bloggers of all sizes, and there is no way that we can read them all. I love it when other bloggers share their favorites with me… and I’d like to share some of my favorite quick crafts with you!

This week is a busy one with my birthday on Wednesday, and Valentine’s Day on Friday. Plus, I have a nephew turning one on Saturday. Lots of reasons to celebrate!

If you’re busy, but still need a quick (yet personalized) Valentine, check out this Paper Pieced Valentine’s Postcard by Nancy Zieman. This is also a great paper-piecing pattern for a beginner… check it out! But, if you’re looking for something simple, I made some stitched Valentines for Sew Mama Sew earlier this week. Just print, poke, and stitch.

If you need some fun Valentine’s Decor, check out this fun Valentine’s burlap banner from Just Us Four. Simple to make with just a few supplies.

Valentine's Burlap Banner

Last night my oldest wanted to make a Valentine’s Card and had trouble drawing a heart – I wish I would have thought of this idea – using a cookie cutter as a stencil! Elise from Grow Creative is a genius.

scribbled heart valentine's cards

I don’t have any little girls in this house, but I’m thinking of making a cute ombre heart hairpin like this one from Pretty Prismatic anyway. You know, for me. I’m going to be spending Valentine’s in my son’s classroom… so I might as well get dressed up, right?

Ombre Hairpin

I have some Valentine’s Jewelry that I’ll be sharing tomorrow… but when it comes to jewelry, Mich L in LA is my idol. Seriously, I need to hang out with her sometime. If creativity is contagious, I’d love to catch some of whatever bug she’s got going on. I’ve featured her here before, but this jewelry made out of kitty toys!! Who would have thought? Mich, that’s who.

kitty ball jewelry

Speaking of people with the creative bug, have you checked out any of Mark Montano’s posts or videos lately? I’m loving the simple ribbon zipper pouch from his book “The Big Ass Book of Crafts”. He whipped up a blog post and video showing how you can make this simple lined zippered pouch, that you can create to match your style, using ribbons that you love.

lined ribbon zipper bag

And speaking of fun bags, here is a fun no-sew tote bag you can make using fabric, Duck Tape, and… staples! If you have a fear of the sewing machine, make this bag. Then get over your fear of sewing. Because while there are some great no-sew options, there is a lot more you can make with a simple sewing machine and a straight stitch.

no sew tote bag

Speaking of Duck Tape – I started a couple new Pinterest boards this week. If you’re not already following me on Pinterest, make sure to follow my Duck Tape Pinterest Board, and the new 30 Minute Sewing and 30 Minute Jewelry boards.

And while you’re pinning… pin some of these featured projects to your favorite Pinterest boards. But be sure to click on the link and pin from the original post!

Googly Eye Valentine

Googly printable valentines

I couldn’t help myself! I had to slip in one more printable classroom Valentine. It is my weakness for Googly eyes.

In all fairness, I’m not the only one in my household who has a passion for google eyes. My not-quite-2-year-old son pulled all the google eye rings off of these cards shortly after the photos were taken. I can’t really blame him. Google eyes are awesome.

To make these fun Valentines you need some Wiggle Eye Rings. I found mine at Michaels. Grab some ribbon, print out the file, and punch some holes. If you want to make your life a little easier, and you have a Silhouette machine, use the printable cutable Silhouette file to do all the cutting and hole-punching for you.

make the googly ring valentine

Fast, easy, and best of all… googly. The best kind of Valentine.

Googly ring valentines

Get all of our free Valentine’s Printables, including this one and the Silhouette cut file, when you sign up for our email list:

 
FREE Valentine’s Printables
Sign up for our email list to get access to the free Valentine’s Printable files!
You’ve successfully signed up! Check your email for details.

Straw Valentine: Without You Today Would Suck

without you today would suck valentine

I like my Valentines, and my puns, with a side of snark. For those of you who want to spice up your romance with a little humor, I’ve got a fun Valentine Printable for you. Print up these hearts, cut them out, punch holes, and thread through a straw (or use the Silhouette file to print and cut them for you).

valentine without you today would suck printable

Use these straw printables at the breakfast table, in your child’s lunch, at Valentine’s dinner, or a fun way to share a snack.

straw valentine


Get both the PDF and Silhouette cut files for this valentine when you join our email list below:

 
FREE Valentine’s Printables
Sign up for our email list to get access to the free Valentine’s Printable files!
You’ve successfully signed up! Check your email for details.

Stitched Valentine’s Day Cards

I’m over at Sew Mama Sew today sharing three different printable stitched Valentine’s Day cards! Head over there, print out the PDF, and follow the instructions to stitch up a fun Valentine’s Day card!

Here is one of the fun designs I created… you’ll have to go to Sew Mama Sew to check out the other designs…

You make me SEW happy Valentine