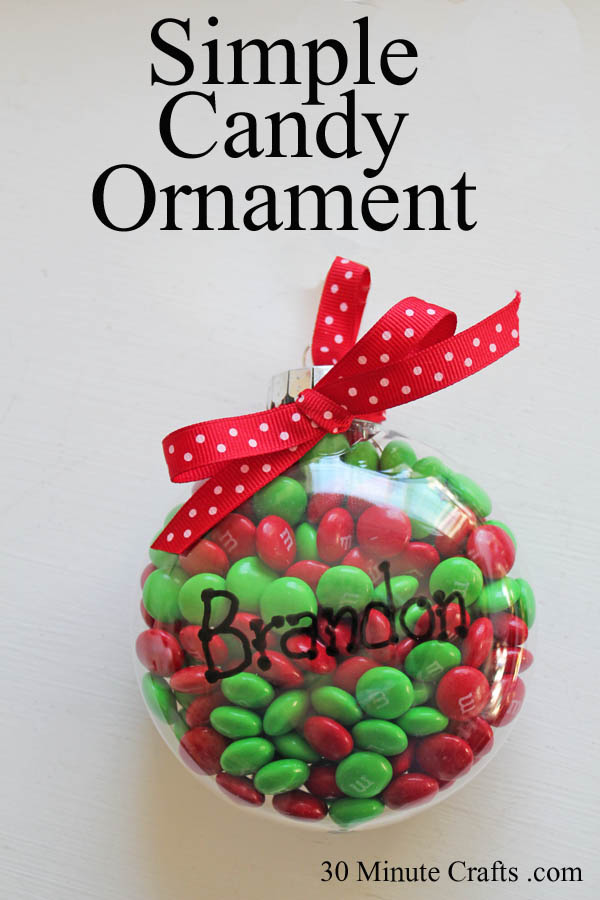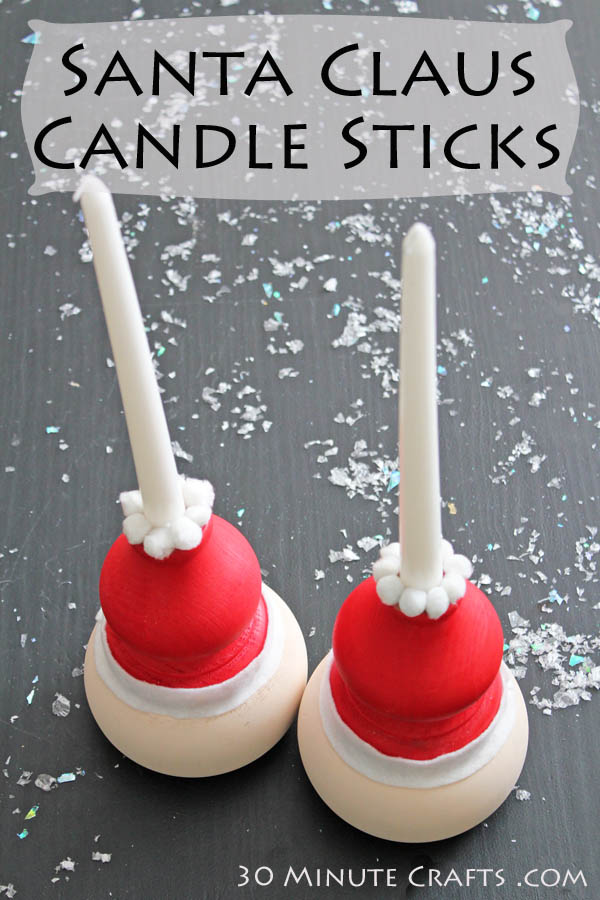
Earlier, I made some cute wooden Santas from a piece of trim I found at the hardware store. On that same trip, I found more wooden pieces that I just KNEW would make super-cute Santas as well! These Santa candlesticks are mostly easy to put together… if you have the right tools. If you don’t, they take a bit longer (or give you the excuse to go shopping for some new tools! yay!).
 To make these Santa Candlesticks, you’ll need:
Two wooden pieces from the hardware store (sold with all the finials and trim) – one looks like a hat and one like a head
Red paint and skin-tone paint (whatever skin tone makes you happy)
White felt
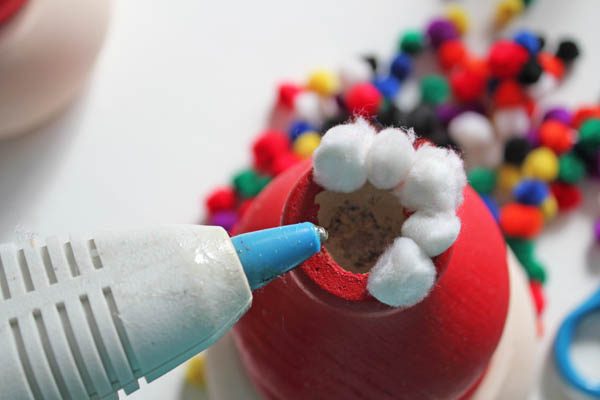
White pom-poms
Hot Glue
Drill and drill bit – the larger the better… if you only have small bits, also grab a hammer and chisel and wood filler.
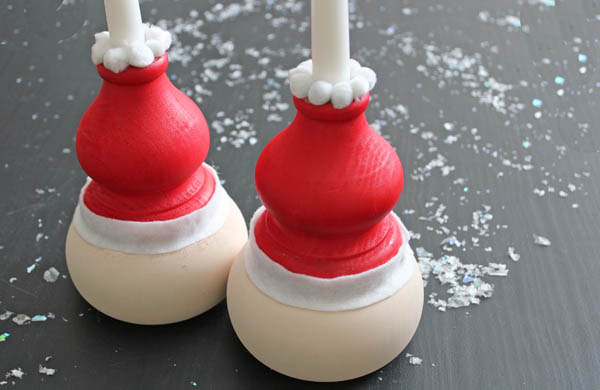
Remove the screw piece from the bottom of the hat piece.
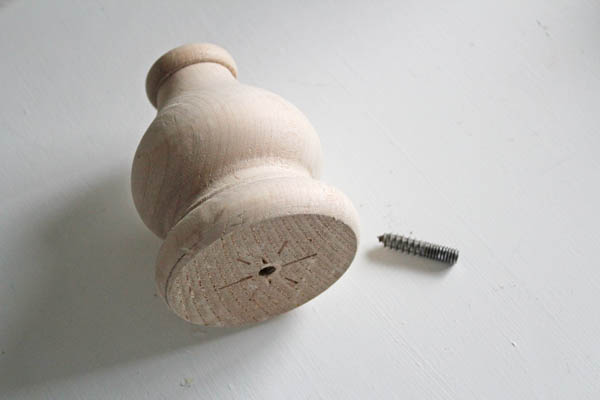
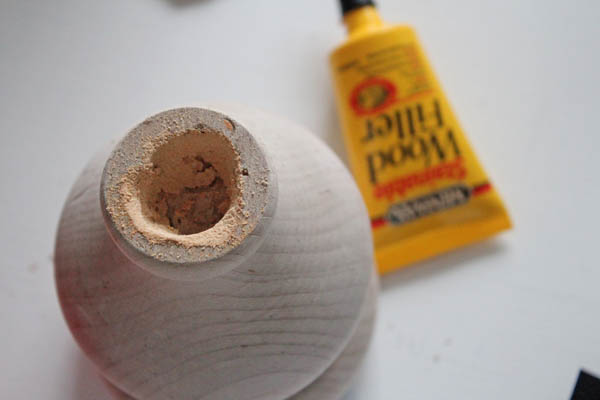
Use a large drill bit to drill a hole in the top of the hat piece. The hole should be big enough to fit the base of your candle. If you don’t have a large drill bit, drill a lot of small holes, then use a hammer and chisel to remove the rest. It won’t be pretty, but it will be covered… Fill any gaps with wood filler.
Paint the hat piece red and the face piece with your flesh tone.

Screw the pieces together. Glue pom poms around the top edge. This will hide any rough edges on the hole you drilled.
Cut a strip of white felt. Glue it around the bottom of the hat. Put candles in the top of your santa candlesticks and enjoy!