Craft Lightning Day 1 Roundup

Yay! Craft Lightning week is here! Which means that every day I’m sharing two posts with you! Each morning, I share with you a fun, fast, fifteen minute (or less) craft, and each evening, I share with you a roundup of fifteen minute crafts from my bloggy buddies! And, if you don’t want to wait until evening for more fast crafting goodness, you can check out The Country Chic Cottage each morning. She’s my partner for Craft Lightning, so she posts her fast craft each morning as well!

I’m so excited to share today’s fast crafts with you, so let’s get started:


This “Relax” pillow by One Krieger Chic is super simple to make – and she shows you a whole outdoor sofa makeover as well!
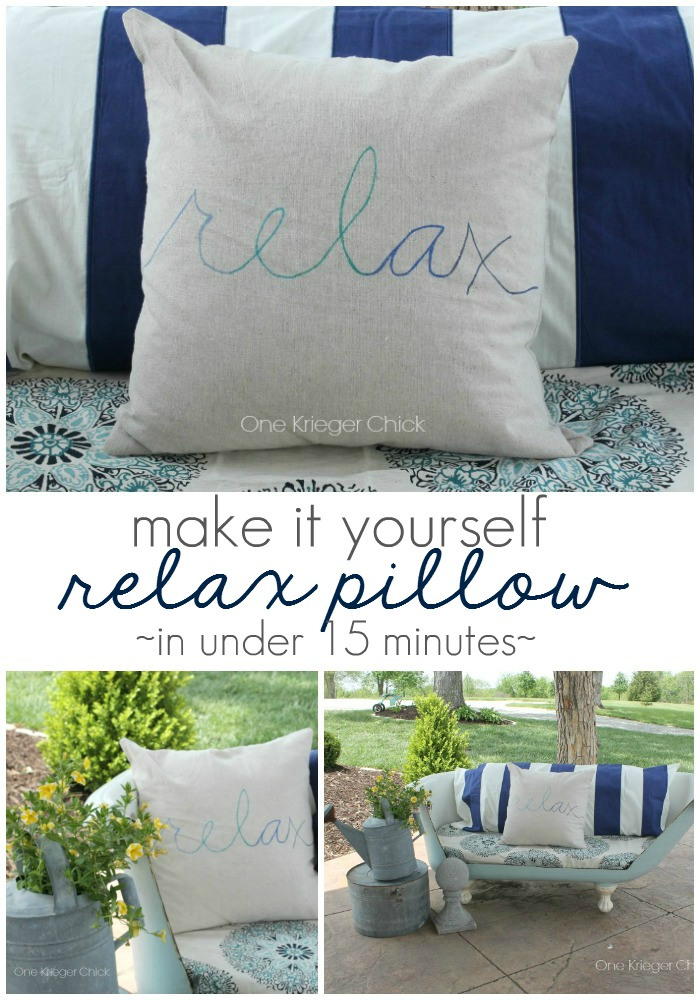
Relax Pillow One Krieger Chick


Over at Lisa Stuf, see how she used her scrap fabric to make this adorable fabric picture frame.
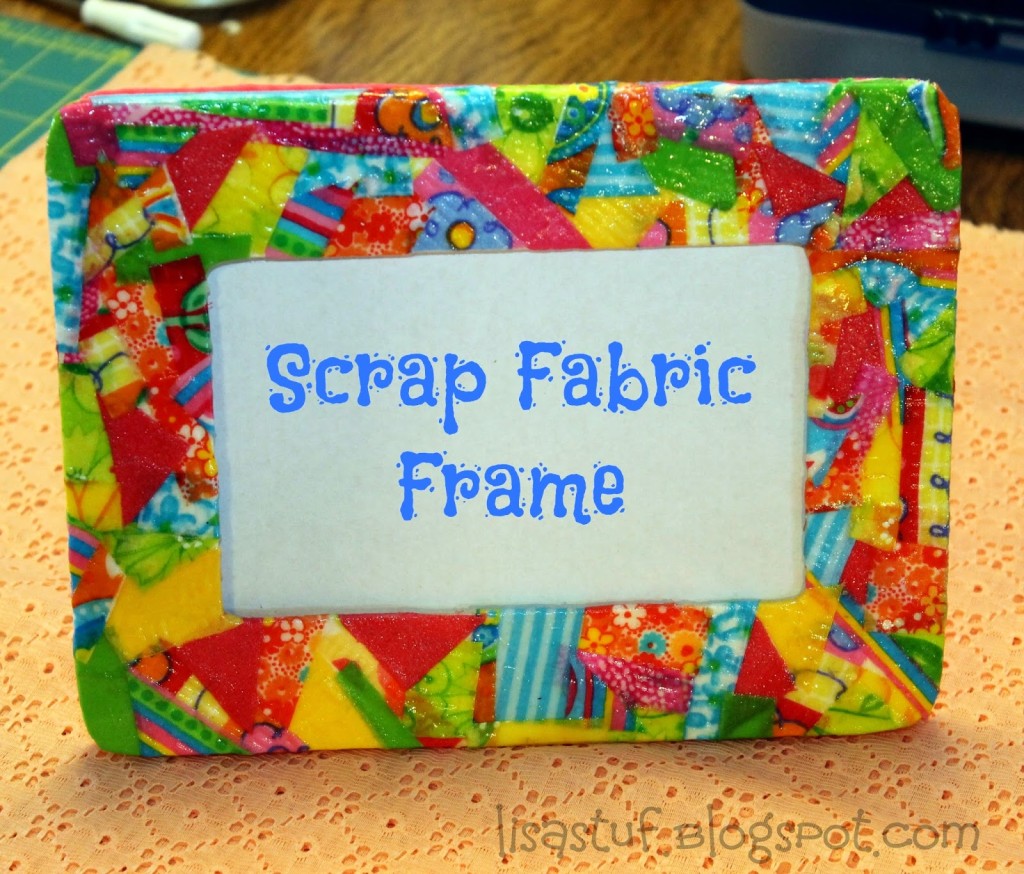
scrap fabric frame Lisa Stuf


I love this carnival ticket garland from Dolen Diaries. Super simple to make, and a great craft to do with all those raffle tickets – they might not all be winners, but they can be part of this winning craft project!
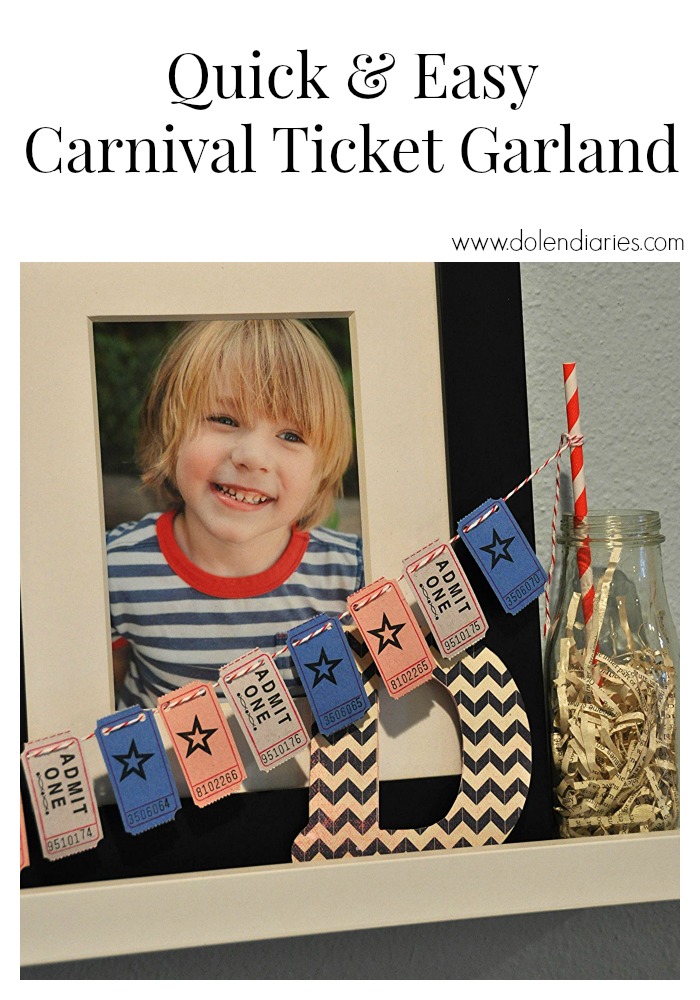
ticket garland - dolen diaries

PinkWhen made a Duck Tape boat that actually floats! My boys will love making these this summer!
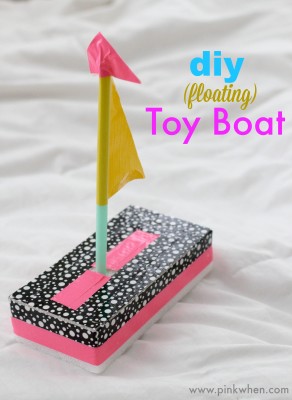
DIY floating toy boat - PinkWhen


These glitter-dipped bowls by Two Thirty Five Designs are sure to add sparkle to any party. Or meal. Or endtable. Wherever they go in the house will be glitterful and happy!
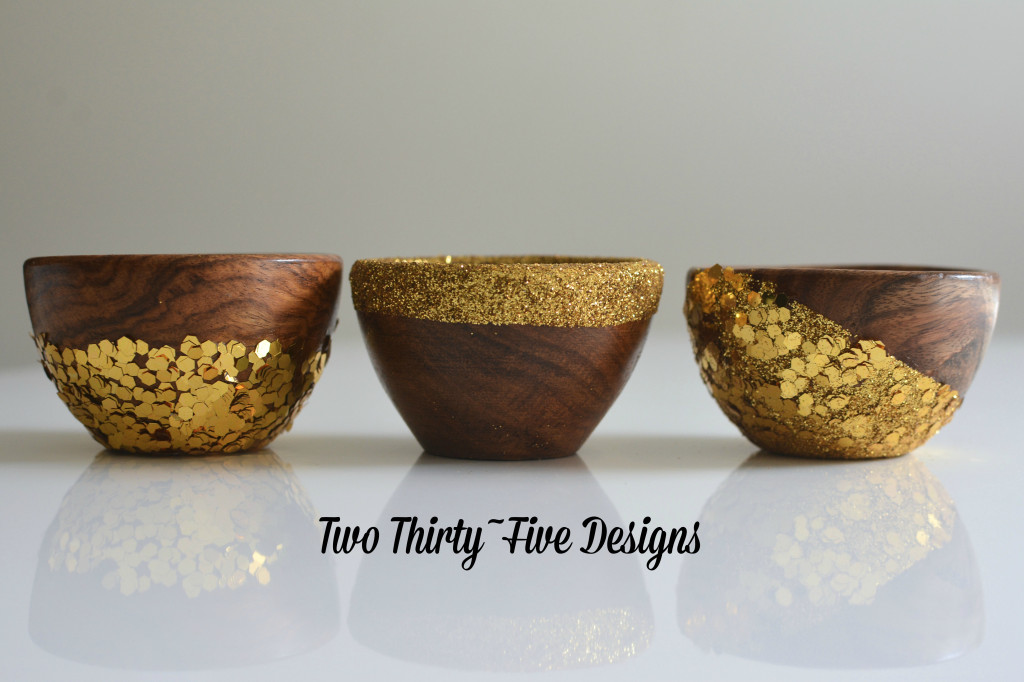
glitter dipped bowls - two thirty five designs

I love this grab-n-go picnic silverware kit! We like to do impromptu picnics, and having these around will come in handy!picnic silverware kit - made to be a momma
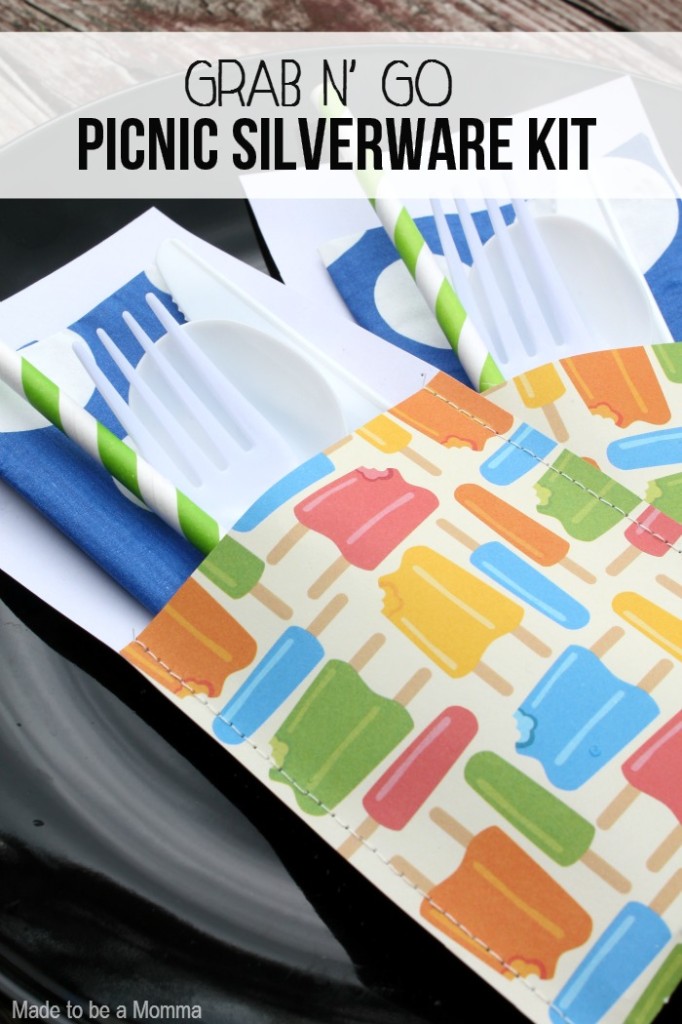
Having two rough-and-tumble boys in the house means we have our share of boo-boos… some days more than our share. Since most boo boos bruise the ego and don’t break the skin, we keep cold packs around at all times. I love how easy it is to make these diy hot packs over at Rae Gun Ramblings… which she uses as hot packs now, but can easily transition to cold packs when her kiddo gets older.
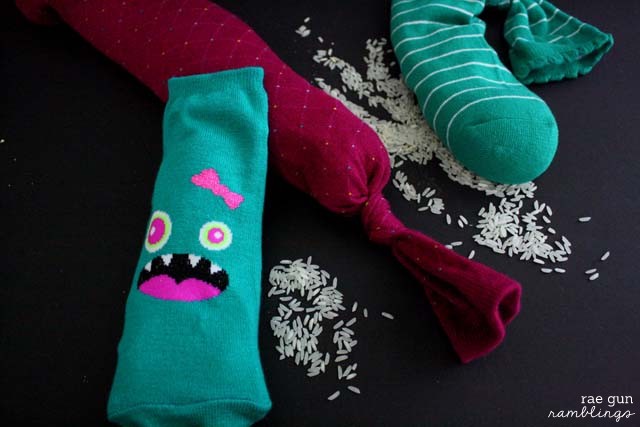
Hot Pack - Rae Gun Ramblings

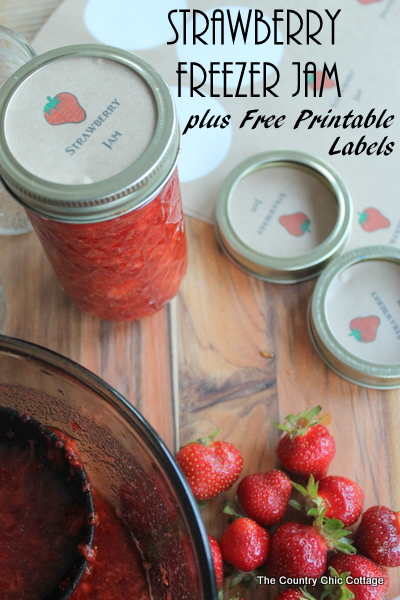
Angie, my crafting buddy over at The Country Chic Cottage made strawberry freezer jam with just 3 ingredients. Super simple, and sounds delicious!

strawberry-freezer-jam-with-free-printable-labels-001

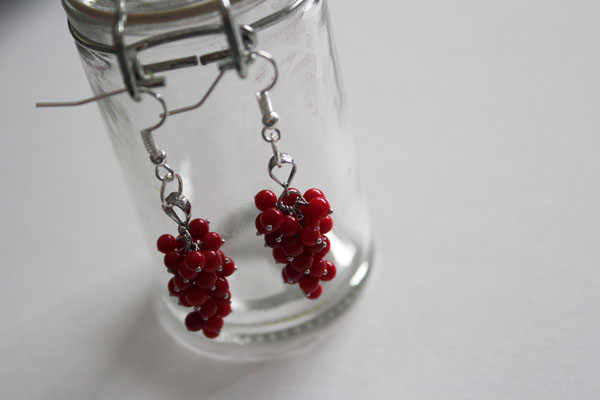
I’m spending the week doing simple jewelry tutorials, and I started the week off with the easiest – fun earrings in just 2 minutes!

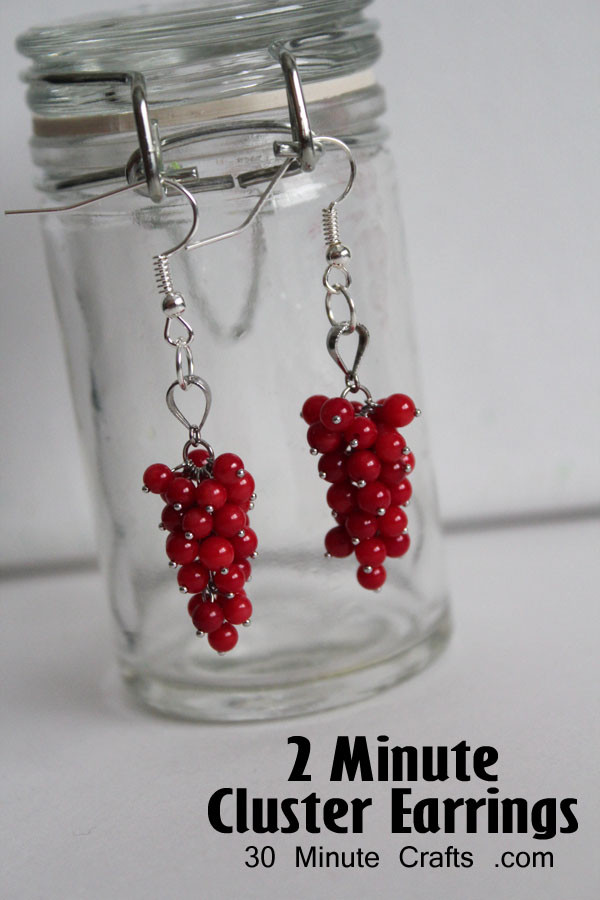
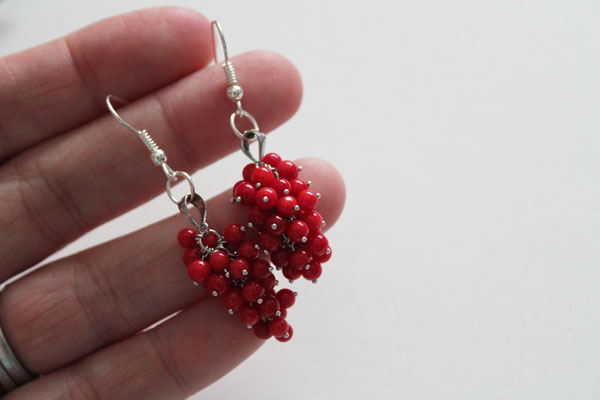
Make 2-minute cluster earrings

Be sure to come back tomorrow, and all week long, for more fast and easy 15 minute crafts!

2 Minute Earrings

For all my friends who say they can’t make jewelry, or are afraid to try their hand at making their own jewelry… this post is for you. In fact, this whole week is for you, but let’s start with today. Today I’m sharing super-simple 2-minute earrings. And that includes opening the packages. I can make these earrings in less time than it takes me to get the kiddos out the door and buckled up. Way less. And they still look pretty fancy.

Minute Cluster earrings

This week is a Craft Lightning Week – which means Angie from The Country Chic Cottage and I are each sharing a fast craft each morning, and doing a roundup of fast crafts from our blogging pals each evening. We didn’t set a theme for this week, so I thought that it would be a great week for me to share fast jewelry crafts. Each day this week I’ll be sharing a different fast and easy jewelry craft – each one builds on the jewelry craft from the day before. If you follow along, by the end of the week, you’ll be making your own jewelry!

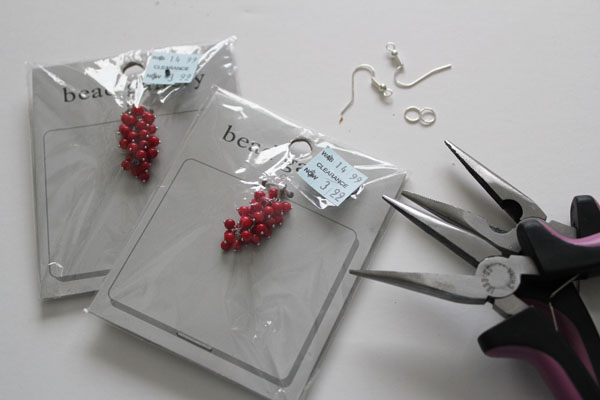
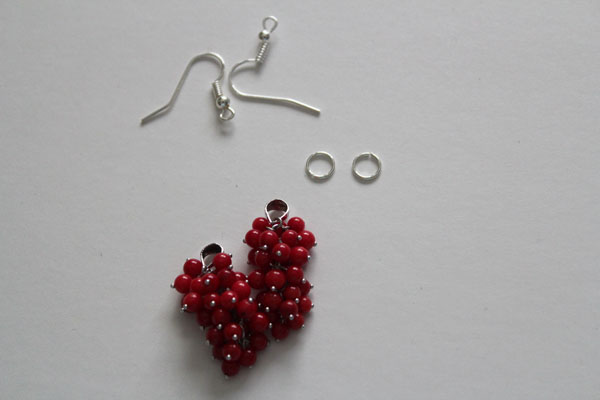
The trick to making simple and fast jewelry is getting the right supplies. There are tons of beads, wires, and other supplies in the jewelry section of the craft store. Many of them will make your life a lot easier in jewelry making. For today’s project you’ll need:
2 pairs of pliers
2 earring wires
2 jump rings
2 pre-made bead clusters

supplies for cluster earrings

That’s right – I bought the bead clusters pre-made (and on sale)! Sure, I could have sat down and made them, bead by bead, but that takes longer. This is so much faster and so much easier! It is like the boxed cake mix of jewelry making. Sure, you can measure out all the ingredients – but the pre-made is still good, faster, and you can still say that you made it!

Now for making the earrings – open up the packages, and put the bead clusters aside.

findings for cluster earrings

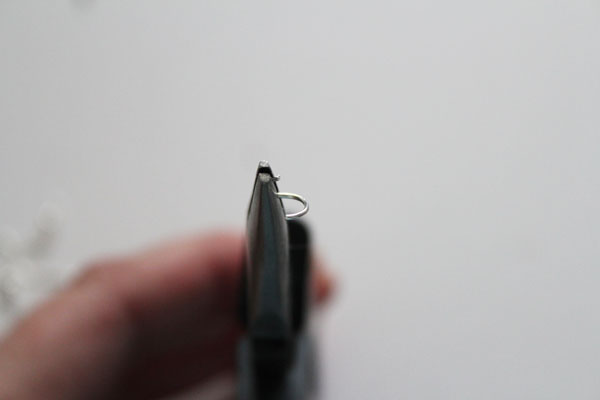
Using the pliers, open up one of the jump rings. The right way to open up a jump ring is to put a pair of pliers on either side of the slit in the jump ring, then twisting one towards you, and one away from you.

twisted jumpring

When you lay it down, it won’t lay flat. You absolutely don’t want to open the jump rings any other way, because that can distort the jump ring.

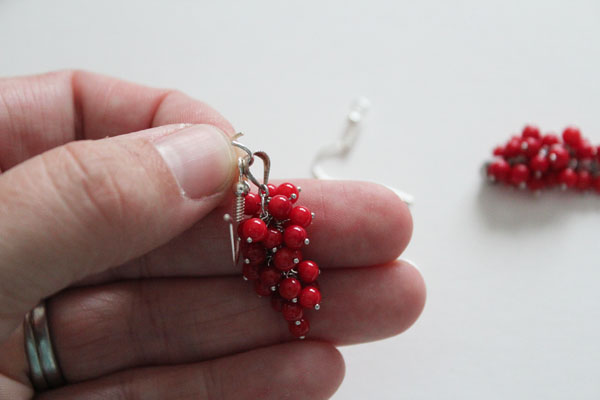
Add the earring wire and the bead cluster onto the jump ring.

finished cluster earring

Close the jump ring by twisting the two sides in the opposite direction.

close jump ring to finish earring

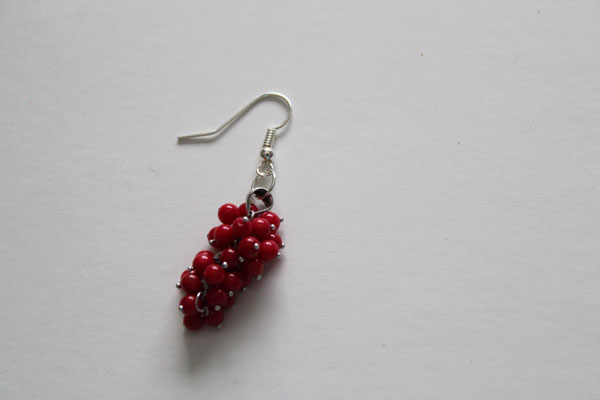
Repeat with the second jump ring, making the second earring.

finished cluster earrings

That’s right – making these earrings was as easy as opening up two jump rings. It doesn’t get much easier than that!

Tomorrow I’ll be showing you what you can make if you’re willing to open up some more jump rings. But make sure to come back tonight, and I’ll share with you some other fun fast crafts from my other fast crafting friends!

Craft Lightning Week – Link Up

I’m teaming up with Angie from the Country Chic Cottage again, rounding up an awesome group of bloggers, and dedicating an entire week to super-fast crafts. Crafts that take 15 minutes or less. Angie and I will be sharing a simple 15-minute craft each morning, and each evening we’ll round up all the other fun bloggers who are also sharing fast crafts!

Craft Lightning May button

Often we have a theme, like our teacher appreciation crafts and Dr. Seuss crafts Craft Lightning series… but this week we’ve opened it up to anything. Any kind of crafts at all (as long as they are fast)! So, I came up with my own fun theme for the week… I can’t wait to share it with you tomorrow!

Oh, and if you have a fast craft of your own you’d like to share, please add it to the linky below!


Paper Doll Clothes with Phoomph

A special thanks to Coats and Clark and Phoomph for sponsoring this Hangout series.

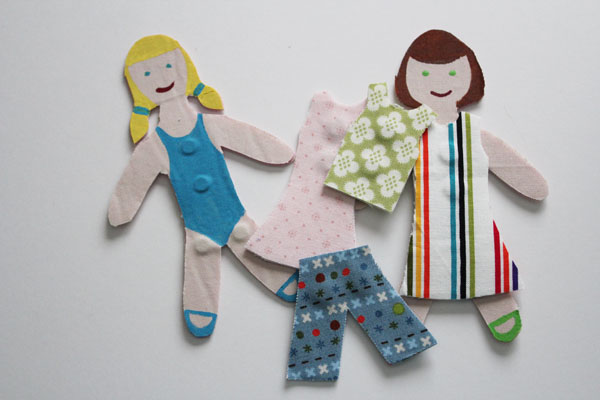
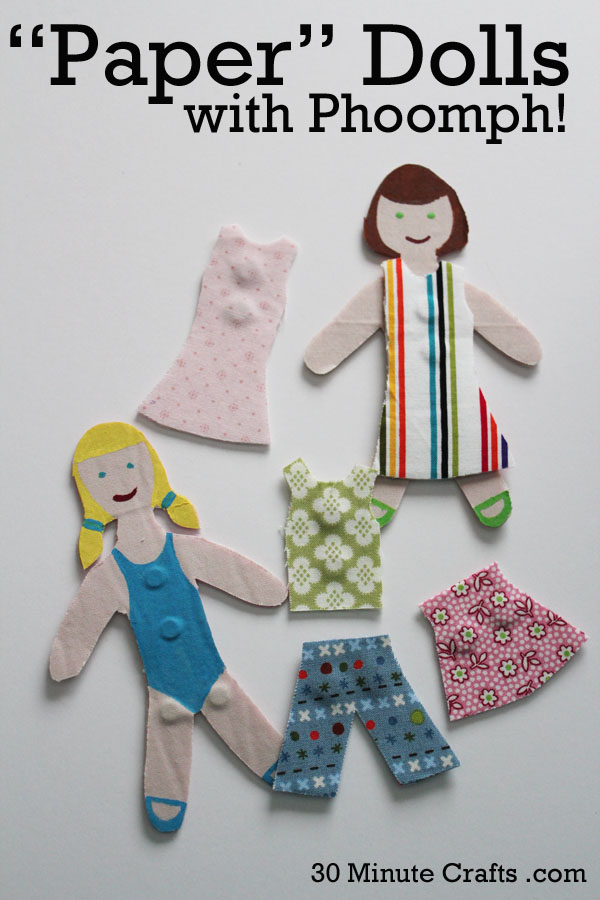
Magnetic paper dolls with phoomph

Earlier this week, I shared how to make these “paper” dolls using Phoomph. As promised, here are the instructions for making the doll clothes. Use soft Phoomph and fabric scraps for your doll clothes. You’ll also need metal fasteners so that the clothes stick to the dolls – the metal fasteners should stick to the magnets, and be flat. If you can’t find flat ones, do what I did – pound them flat with a hammer.

You’ll also want the doll clothing printable patterns. Of course, you can create your own patterns if you’d like more clothing options for your dolls! Just remember to position the metal pieces over the magnets so that they will be secured safely in place.


We have been sharing Phoomph projects all week long on Crafty Hangouts. If you missed any you can also go check out the #kidscrafthoa hashtag on Google+!

Phoomph Paper Dolls

Earlier this week I shared with you a fun Kids craft using Phoomph – my Phoomph building squares – and later this week I’ll share with you another fun Phoomph video… but before I do, I need to share with you how to make these “paper” dolls made with Phoomph and magnets! They are easy to put together, and make a fun gift for any little girl to play with.
paper dolls made with phoomph

To make your Phoomph dolls you need:
Phoomph (the stiff, not the soft)
Small magnets
Assorted Fabric
Hole Punch
Paint
Paintbrushes
Phoomph Doll Printable Template

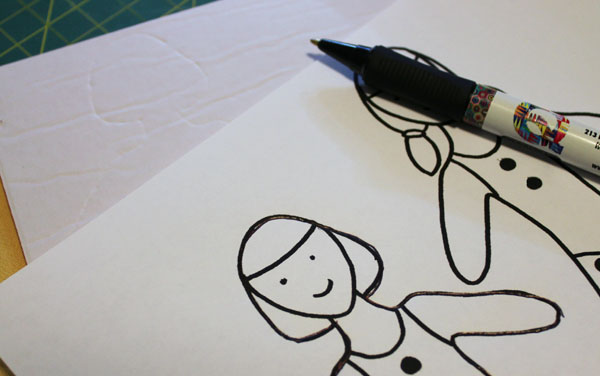
Print out the template, then trace onto the Phoomph. If you press down through the paper, you can use the indentation as a guide.

trace outline

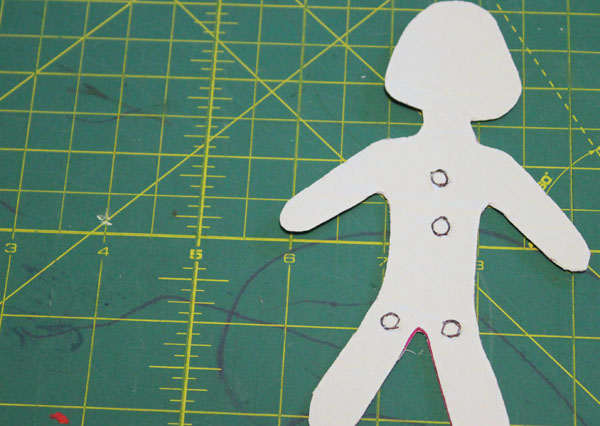
Cut out the doll shape.

cut out doll

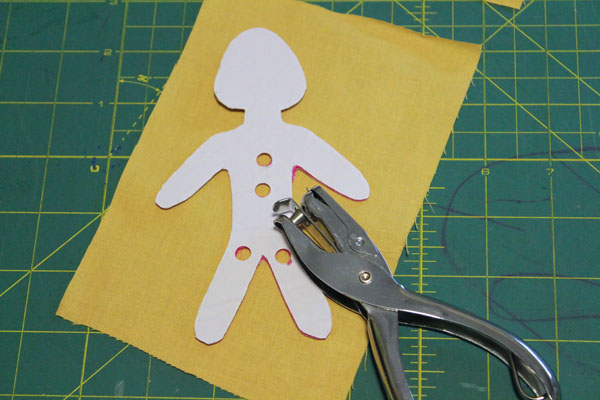
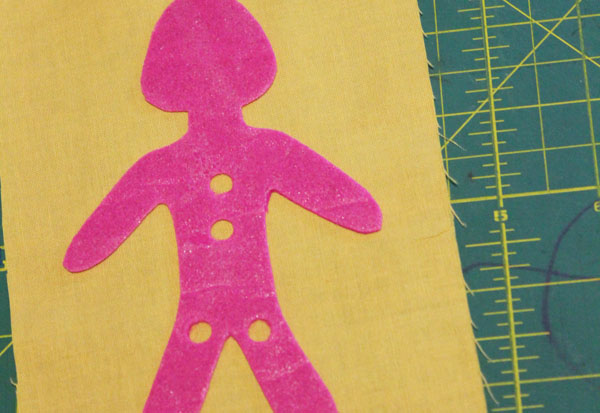
Use a hole punch to cut out the circles for the magnets. Peel off the backing and stick to the fabric.

punch holes

Remove the paper from the front, and carefully put the magnets in the holes.

adhere to back fabric

You might need to put in the magnets one at a time, then cover with fabric. I found if I didn’t, they stuck together.

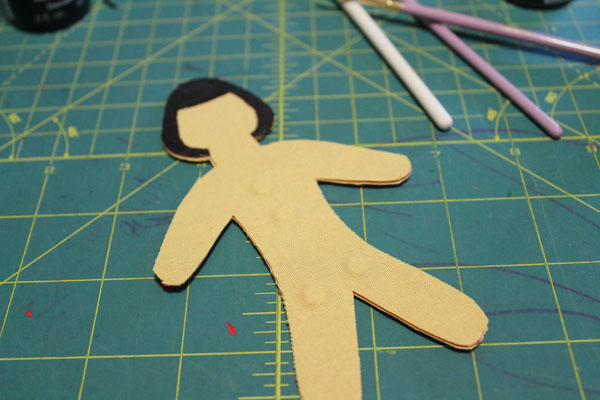
Once you have the second piece of fabric on top, trim off the excess, and you’re ready to paint on the details.

paint on hair

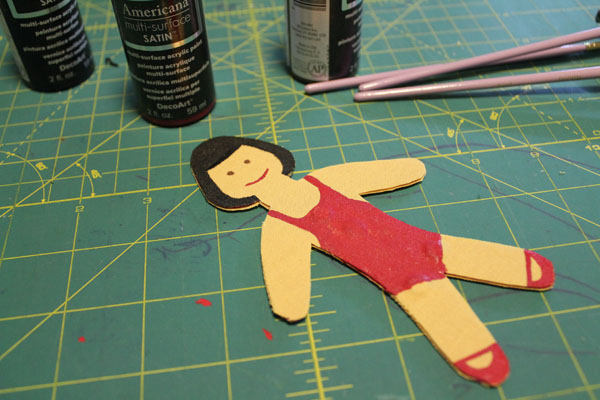
I painted on hair, and a face. I added a swimsuit so that my dolls could have a little modesty, and added shoes as well.

paint on features

You can use whatever color of fabric you want – these dolls are for my nieces, so I chose colors that are close to their skin tones… but you can pick whatever colors will work best for you. I have two different hair styles for my dolls, but you can always change those up, as well as the hair and eye color. If the little girl in your life has a favorite color, you can make her swimsuit and shoes that color.

On Friday I’ll share with you the templates for the doll clothes, and how it all comes together!

Powder Dyed Shirt

I’ve been having lots of fun with Rit dye lately… you might have seen my simple dyed shoes and my orange shoes. Well, I’ve dyed more than just shoes! I dyed a shirt with my logo on it for a conference I went to recently. Usually, when I dye, I reach for the liquid dye. It is pre-disolved and easy to use. But sometimes, using the powdered dye lets me try completely different techniques, like this fun shirt! Sure, I can dissolve the Rit powder into water and use as usual… but this powder technique is so much fun for creating a completely different look… and it is so easy!
Powder Dyed Shirt

I started with a clean white shirt. I ironed on my logo first – in the future I would wait to put on the iron on until the shirt is fully dyed.

lay out shirt in tub

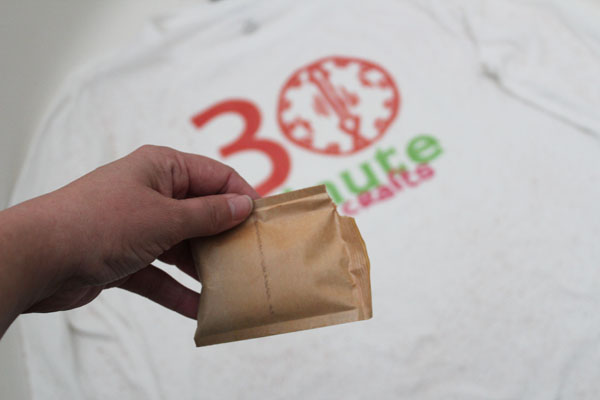
I spread out the shirt at the bottom of the tub for easy clean up later, then tore a corner off of the Rit powder packet.

tear off corner of dye packet

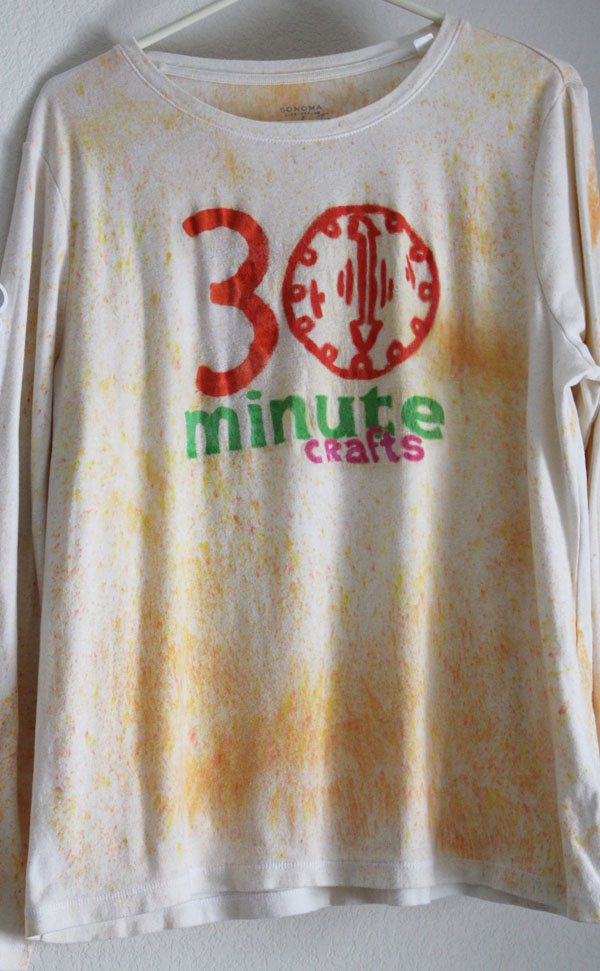
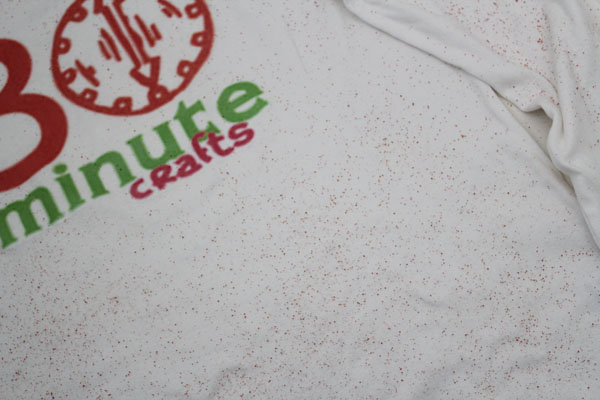
I shook the powder gently over the shirt, sprinkling it across the fabric.

sprinkle dye on shirt

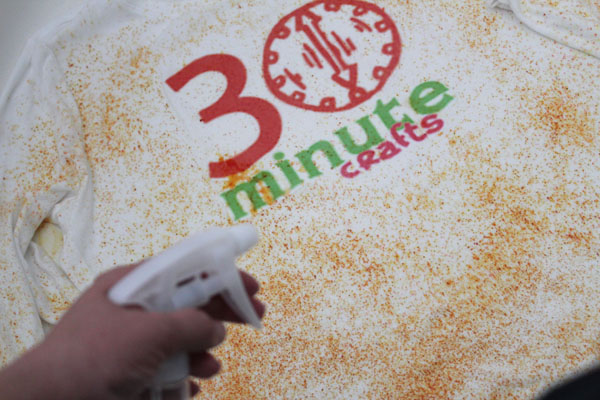
Then I spritzed the shirt with warm water to activate the dye.

spray dye with water

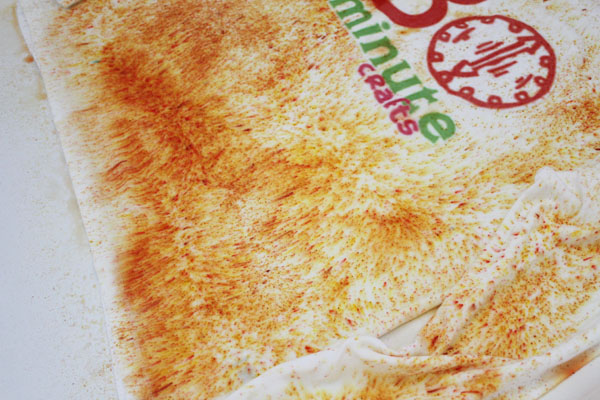
I kept spritzing until the front of the shirt was completely moist. Then turned the shirt over and did the same to the back.

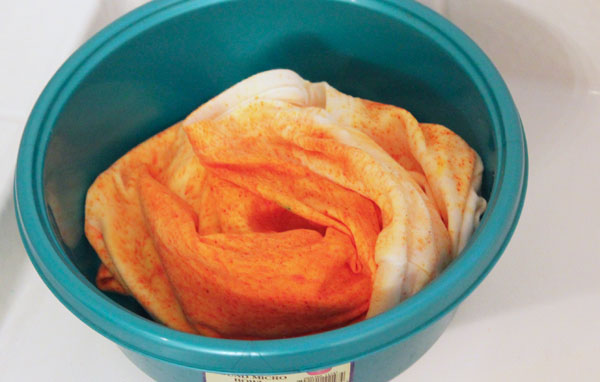
powdered dye sprayed with water

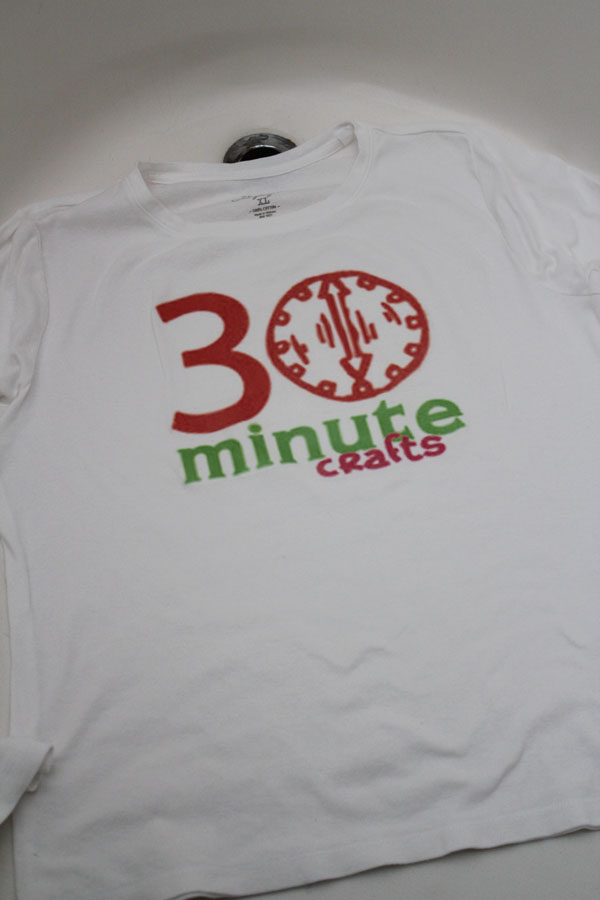
To make sure that the dye really soaked into the shirt, I put it into a bucket to sit for an hour or so. Then I ran it through the wash on its own to rinse out any excess dye.

allow shirt to sit

I ended up with a fun shirt with a very different look to it. All the different shades of orange in the dye really added a lot of texture and color to what would have otherwise been a very plain shirt!

Powder Dyed Shirt

Phoomph Building Squares

A special thanks to Coats and Clark and Phoomph for sponsoring this Hangout series on Crafty Hangouts.

Phoomph Building Squares
Time for another fun week of hangouts over on Crafty Hangouts! This week, we’re all working with Phoomph. If you’ve never used it before, it is awesome stuff. It is a felt-like material that comes in different colors and thicknesses, and is adhesive on both sides. You peel away the backing paper to expose the adhesive, and press any piece of fabric in place. So it turns any regular fabric into a felt-like crafting material!

You can watch the video to see how I use Phoomph to make Building Squares that you and the kids can put together to make houses or other fun shapes. While I whip up the squares, Angie is making a fun Foam Finger for Father’s Day! You can watch us craft (and join along) in the video below.


I hope you pick up some Phoomph at your craft store to whip up some fun projects!
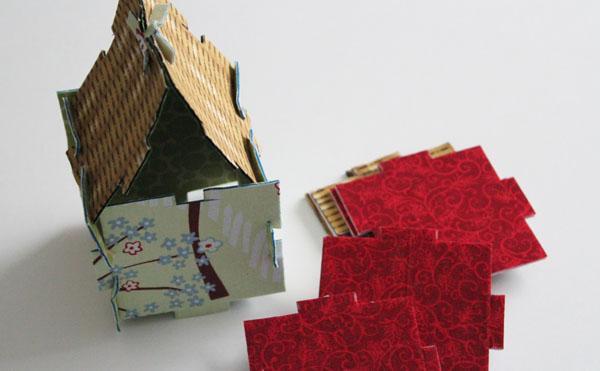
building squares with phoomph
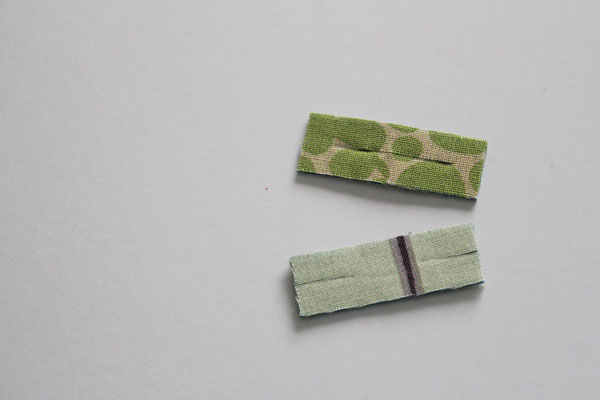
And just in case you needed a close-up, here are what the connector pieces look like:
connecting pieces

We’ll be sharing more fun Phoomph projects all week long – if you want to follow along on Google+, check out the #kidscrafthoa hashtag!

Duck Tape Shoes

At a conference a couple weeks ago, I wore an entire Duck Tape outfit – you can see my Duck Tape Dress and Accessories in this post. As part of the outfit, I needed Duck Tape shoes. They were simple to make!

Duck Tape Shoes

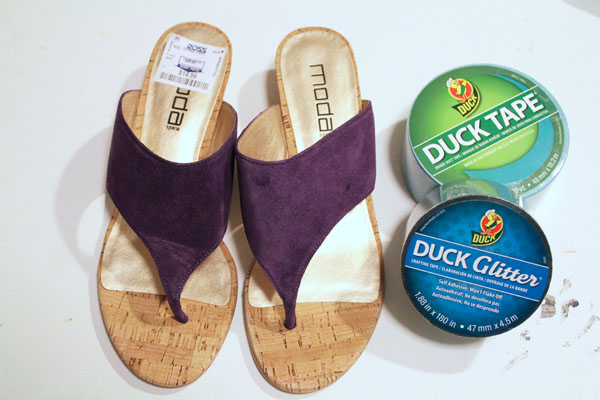
I started with a pair of sandals I bought at a discount clothing store, and Duck Tape that matched my Duck Tape Prom Dress.

supplies for duck tape shoes

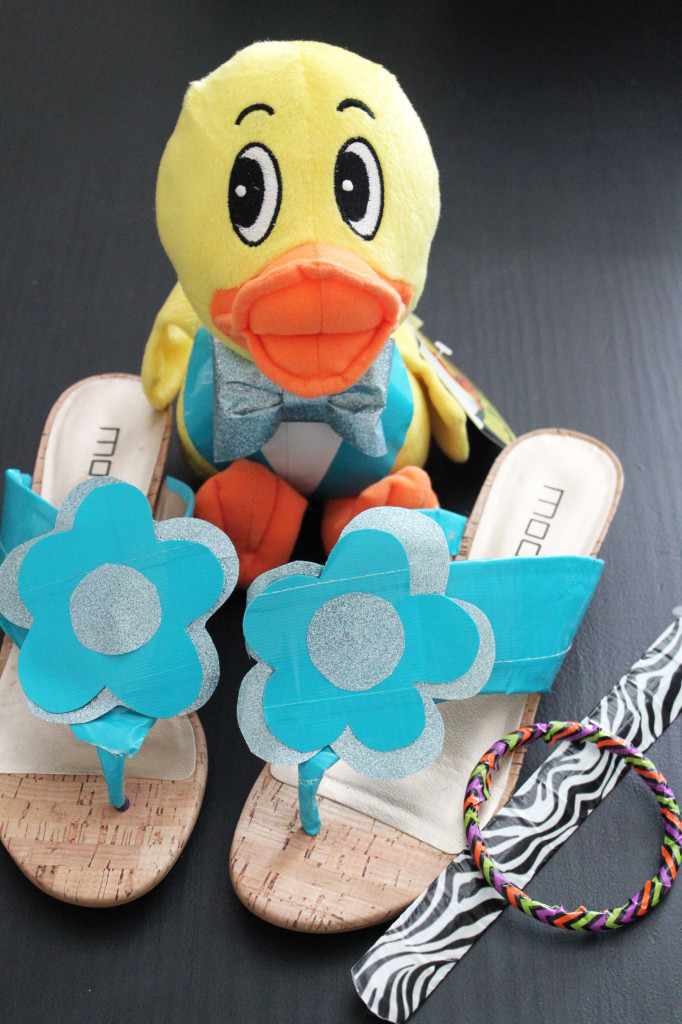
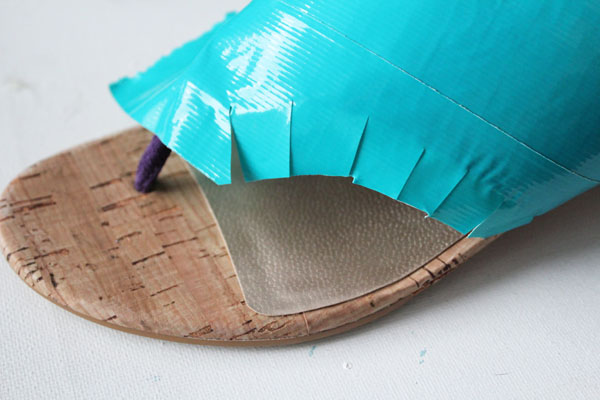
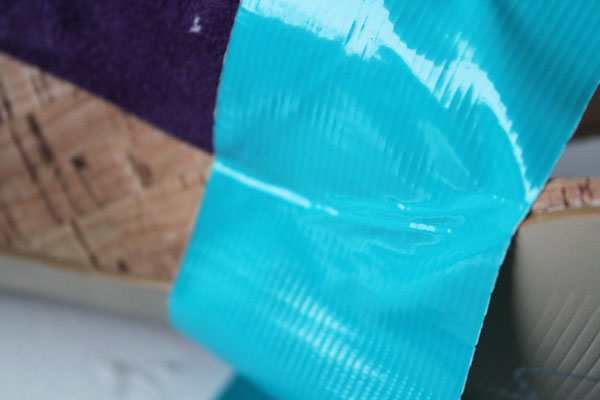
I covered up the faux suede on the shoes with Duck Tape. To finish the edges, I clipped the excess tape into tabs, then folded the tabs under.

trim duck tape for shoesWhere the sides of the shoe meet the bottom of the shoe, I couldn’t fold tabs under. Instead I used a very sharp craft knife to very carefully cut down the crease on the side of the shoe, then I pulled away the excess tape.

add duck tape to shoesAll that was left was to add some Duck Tape flowers for decoration!

I used brand new shoes for my Duck Tape kicks, but Duck Tape would be a great way to dress up an old pair of shoes and give them new life!

Watercolor Dyed Shoes

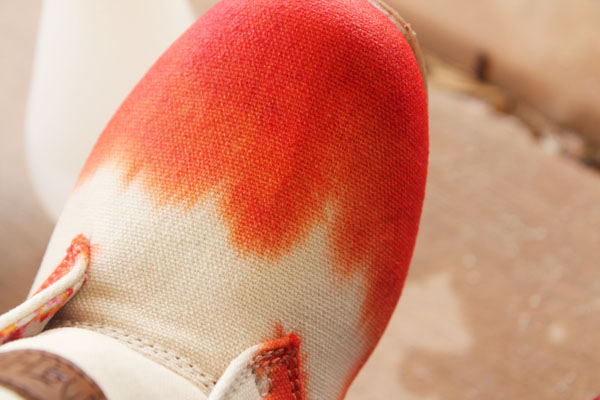
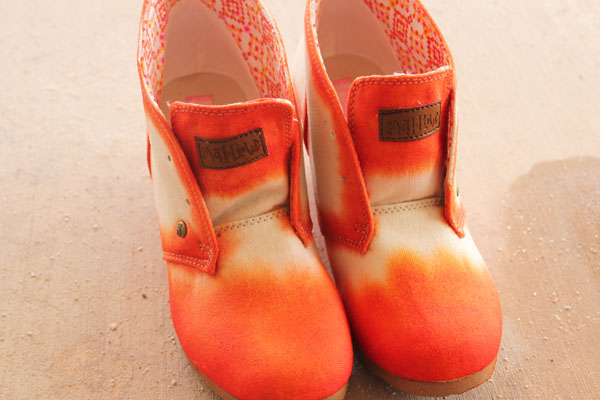
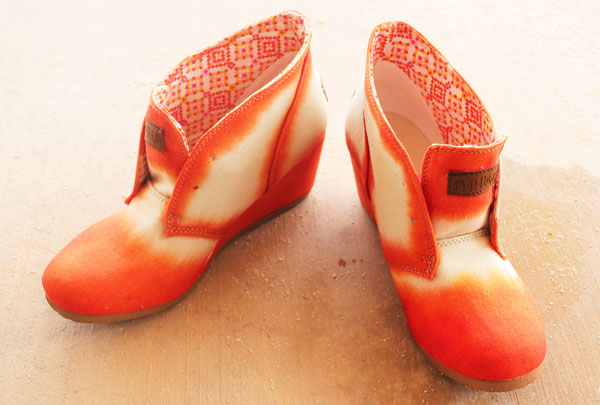
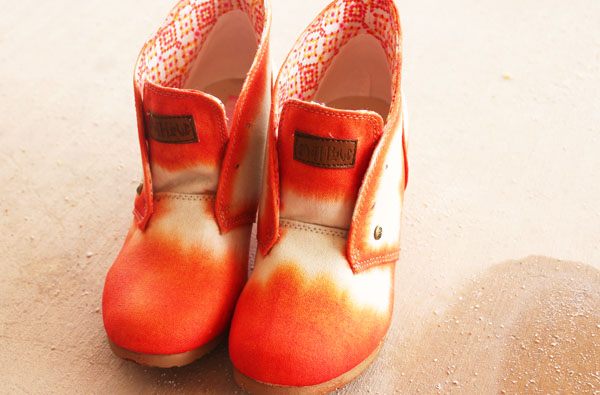
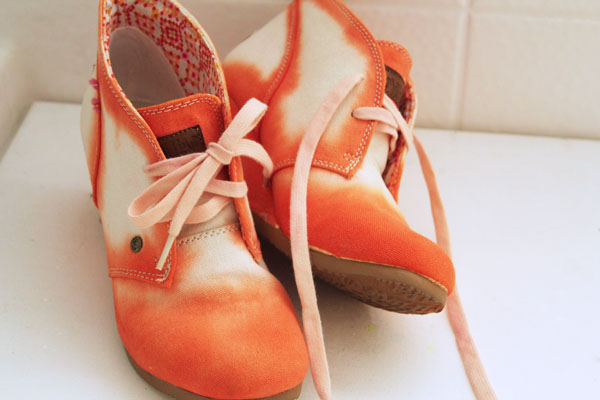
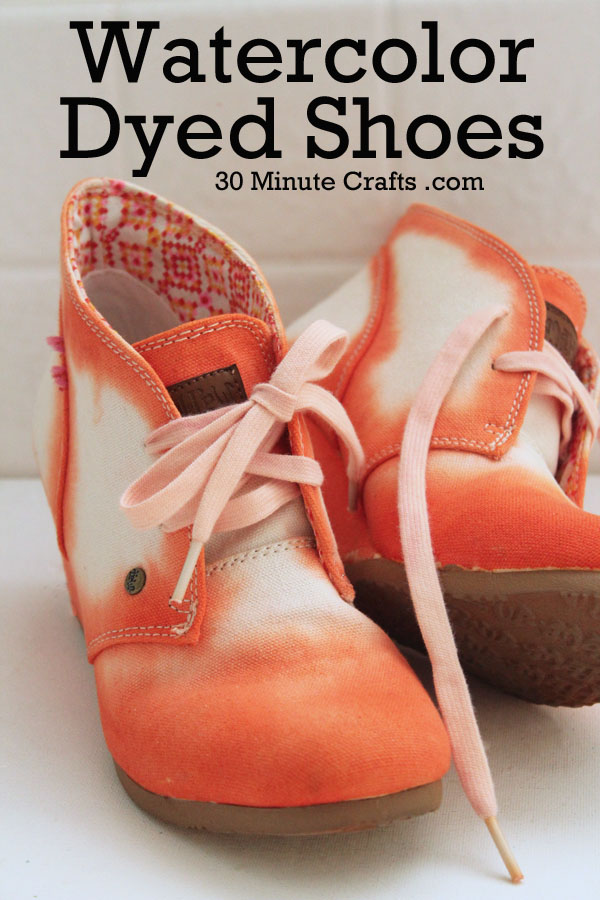
orange watercolor dyed shoes

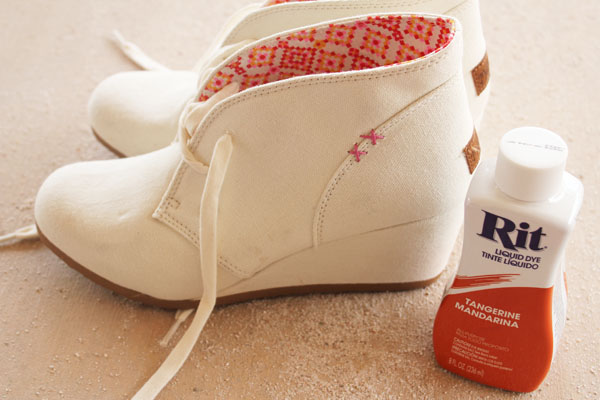
I found some fun shoes at Target, but they looked a little plain… so I decided to dress them up a little with an easy watercolor dye technique. These only took about 15 minutes to dress up – so easy!

Supplies:
Canvas Shoes
Rit Liquid Dye Tangerine 8 Ounces
Water
Paintbrush
Spray Bottle

dye shoes with orange dye

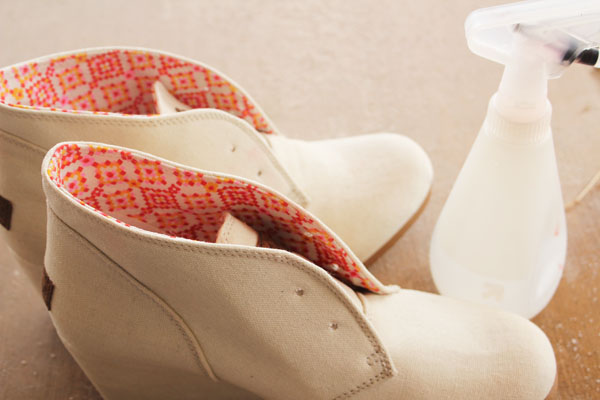
I started by taking out the laces, and spraying the shoes with HOT water. Just short of boiling.

spray on hot water

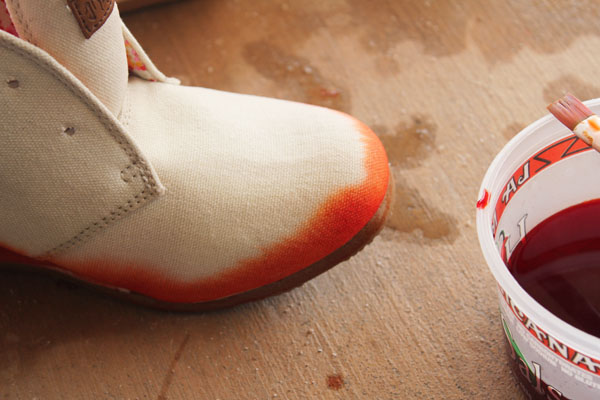
Once the shoes are soaked, I took a solution of about 30% orange dye and 70% water, and dipped a paintbrush into it. Then I painted it onto the shoe.

paint on dye

I added the dye at the seams and the edges. To get it to “bleed” upwards, I just added more and more dye in the same spot – at the seams and edges.

keep adding orange dye

The hot-water soaked shoes allow the dye to bleed up organically into the fabric – a fun, watercolor-like effect.

orange tipped dyed shoes

Once I had them dyed the way I liked, I let them sit to dry.

orange on dyed shoes

After they were dry, there was no rinsing or washing out needed – just add back in the laces (you can dye them if you like), and the shoes are all set!

allow shoes to dry

I love my bright, fun orange shoes!

orange watercolor shoes

Simple Dyed Shoes

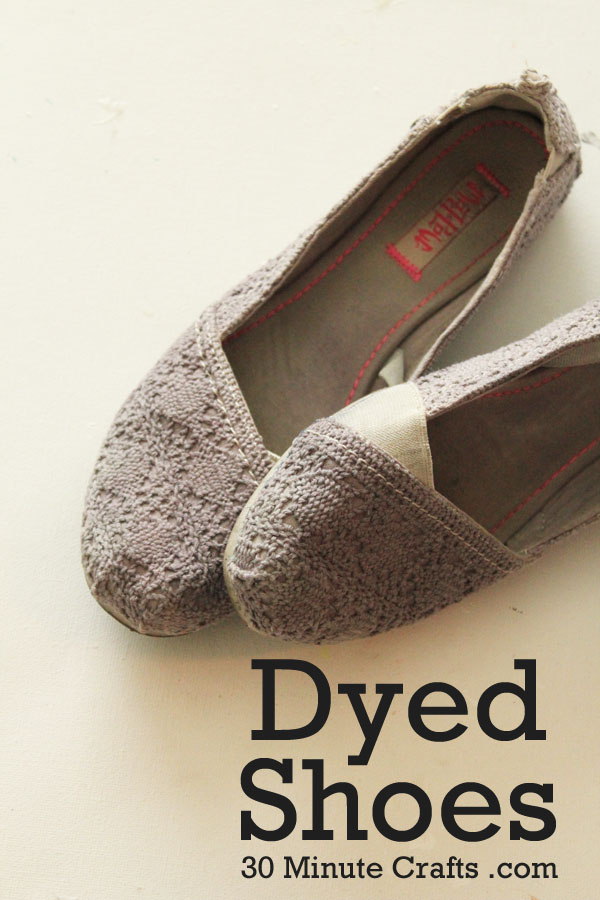
dyed shoe tutorial on 30 Minute Crafts

Ever see a super cute pair of shoes, and wonder what they would look like in a different color? Well, now you don’t have to wonder anymore! It is super easy to dye shoes! I’m going to show two slightly different methods I used to dye my shoes.

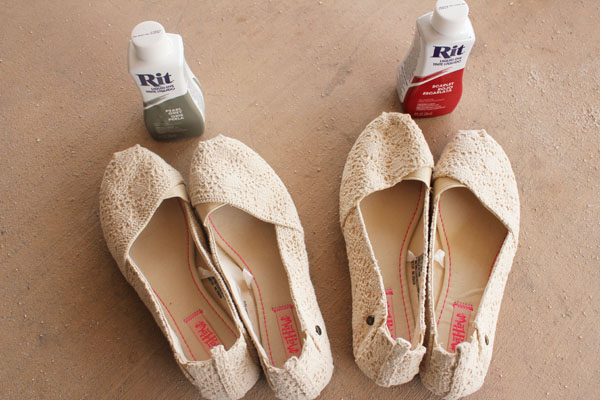
dye shoes with rit

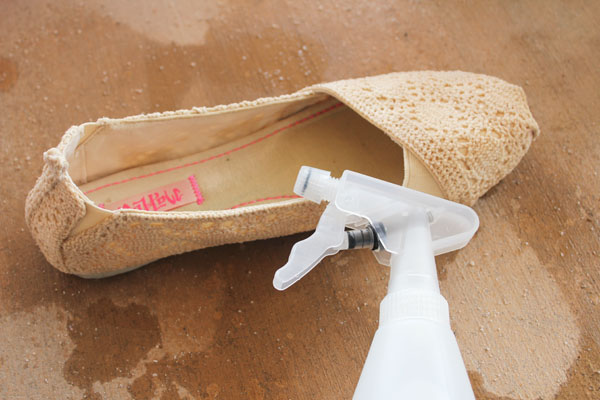
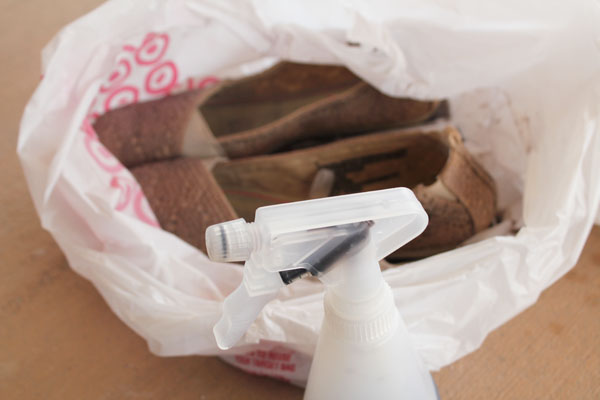
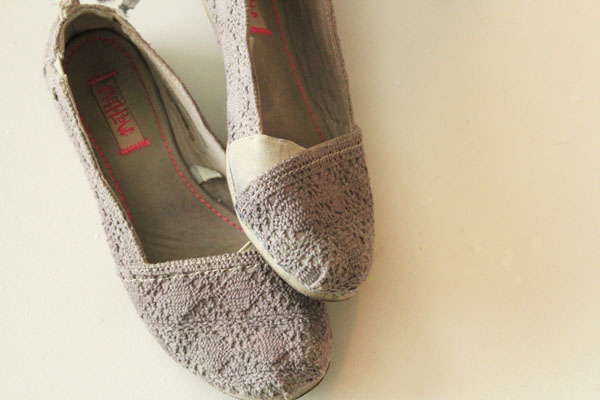
For the grey shoes, I first sprayed the shoes with HOT water.

spray with water

I then mixed the grey dye with more hot water, and completely saturated the shoes with the dye by spraying it on.

spray shoes with dye

I made sure I sprayed all sides.

tie up grey shoes

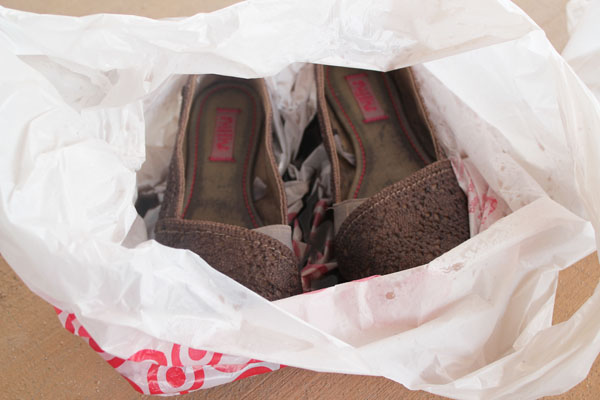
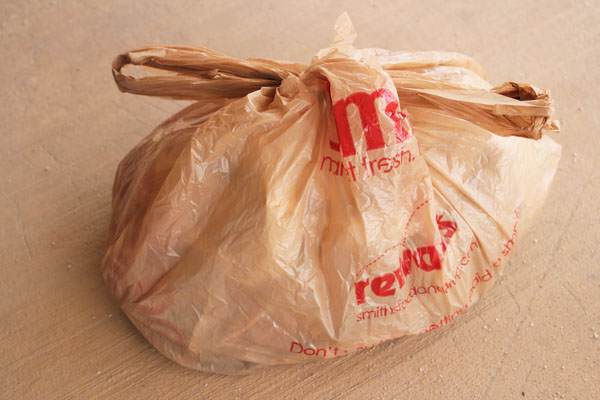
Then I double-bagged and tied them up and let them sit overnight.


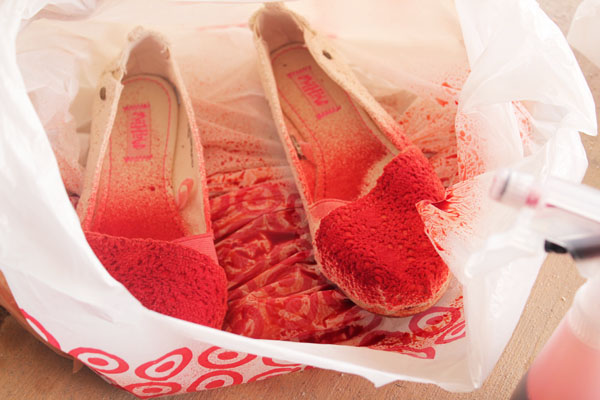
I did the same thing with the red shoes, except I didn’t give them a hot water soak first. The hot water soak dilutes the dye, which was great for the grey shoes, but I wanted a much more vibrant red.

spray on red dye

I made sure that I got the dye all over – which is a little trickier when the shoes aren’t wet beforehand.

saturated shoes

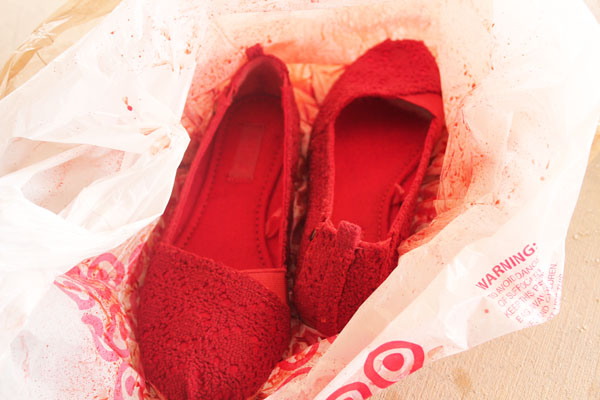
Then I double-bagged the shoes and tied them up. These got to sit overnight as well.

tie up in plastic bag

The next day, I washed out the shoes. Over and over again until the water ran clear. Then I let the shoes sit and dry.

simple dyed shoes

After all the hot water and washing, cotton shoes like these might shrink a little. Shove some crinkled newspaper into the shoes overnight if needed to stretch them out again.

Enjoy your fun, colorful shoes!