Search Results for: scarf

No-Sew Snowman Costume

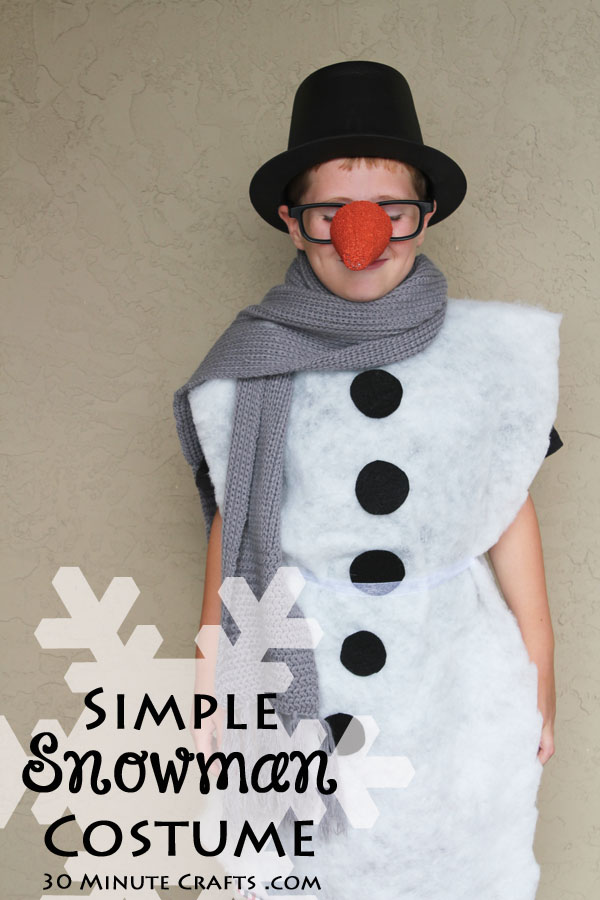
Do you want to build a snowman? Or would you like to be a snowman? Okay, hi!

… sorry! I couldn’t resist! Today I’m sharing with you this fun and easy Snowman costume that I whipped up in about 15 minutes. Super simple to make, and if your kids love snowmen, chances are they’ll love this snowman costume!

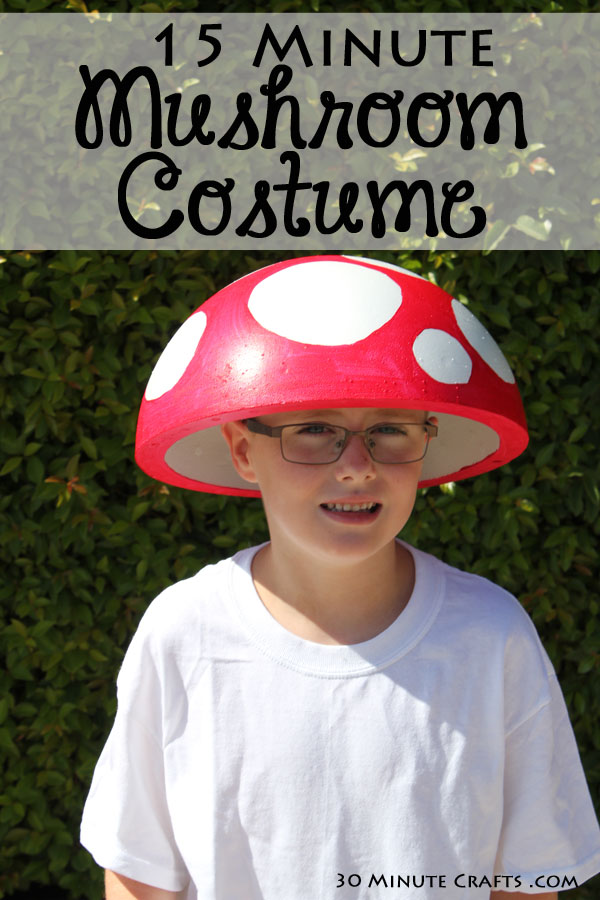
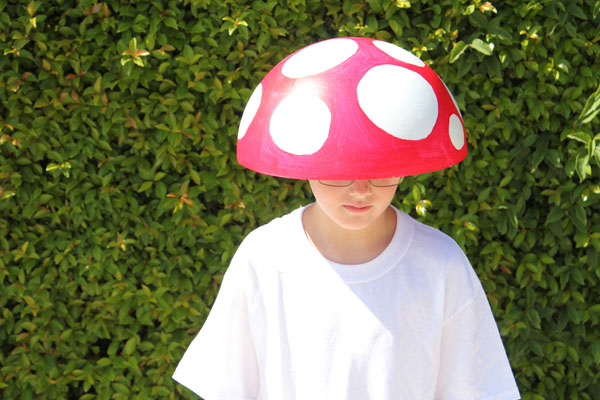
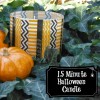
I created this no-sew snowman costume as my last craft in our Craft Lightning Halloween week. All week long, my friends Angie from The Country Chic Cottage, Jen from 100 Directions, and many of our other crafty friends from around the internet, have been sharing 15 minute or less Halloween crafts. I’ve shared a different fast Halloween costume each day this week. If you missed any, check out my Simple Mushroom Costume, No-sew Toga, Creeping Vine Costume, and Printable Monster Costume. And be sure to scroll down to the bottom of this post for more fun and fast ideas for quick Halloween Crafts.

Simple Snowman Costume on 30 Minute Crafts dot com

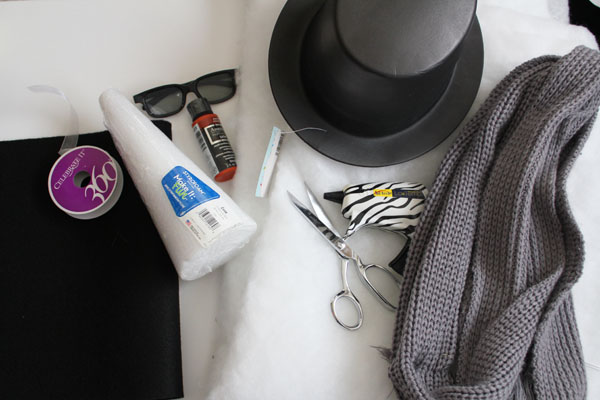
To make your snowman costume, you’ll need:

HiLoft Polyfil Batting (you can find this at your craft/sewing store)
Black felt
White ribbon
Scissors
Hot Glue
Glasses frame (I used 3D glasses from the last time we went to the movies)
Styrofoam cone
Spoon
Orange paint (this is DecoArt in “Paprika”)
Paintbrush
Hat & Scarf

supplies for Snowman Costume

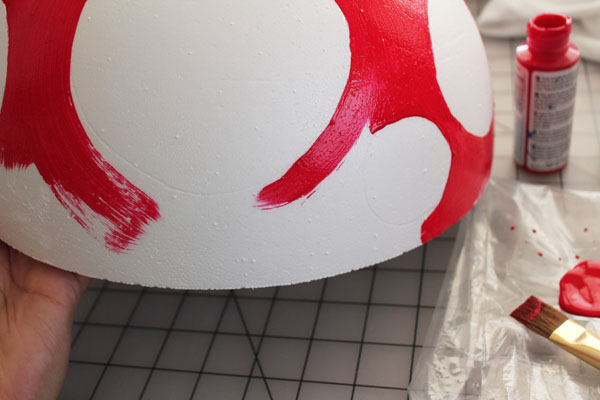
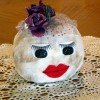
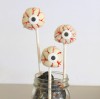
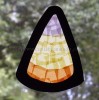
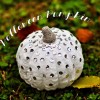
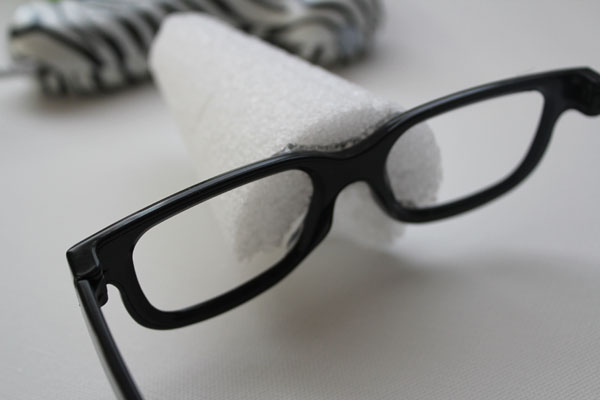
Start by making the nose. Pop the lenses out of your 3D glasses.

pop out lenses

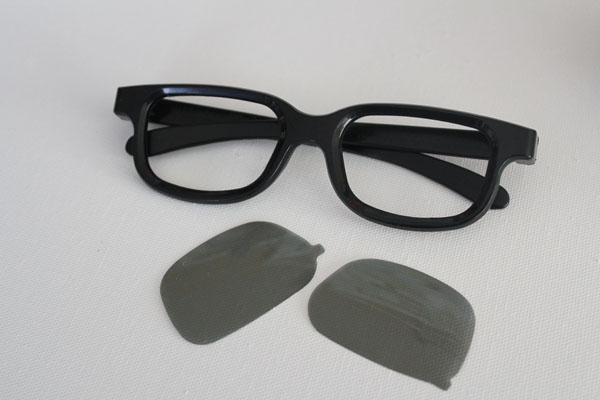
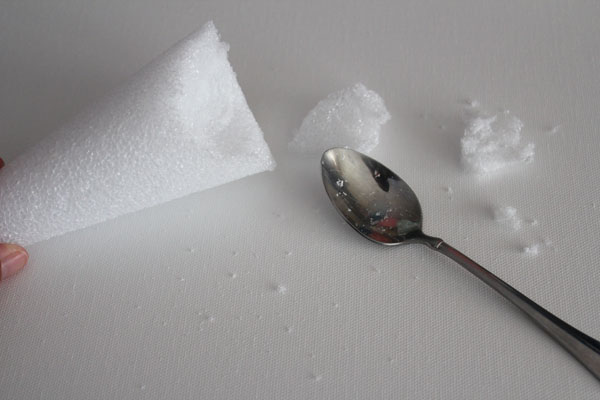
Cut the styrofoam cone to the length you want with a sharp kitchen knife or styrofoam cutting tool. Use a spoon to carve out a section on what will be the bottom – this gives some “nose room” for the carrot.

carve away foam

Hot glue to the glasses frames. Then paint orange and set aside to dry.

glue on carrot nose

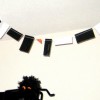
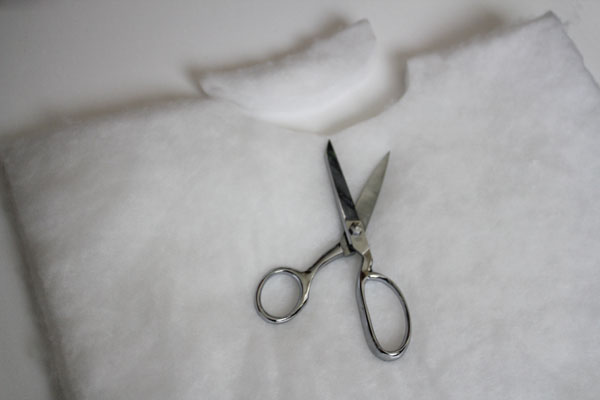
For the body of the costume, cut a piece of batting between 1.5 and 2 times the width of the child, and twice as tall as you want the costume (measure from their shoulders to knees or shins, then double this). Fold in half, and cut a neck hole. If you’re not sure how big to cut this hole, look at one of their t-shirts for an estimate. If you’re still nervous, cut it smaller – you can always make it bigger if you need to.

cut neck hole

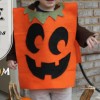
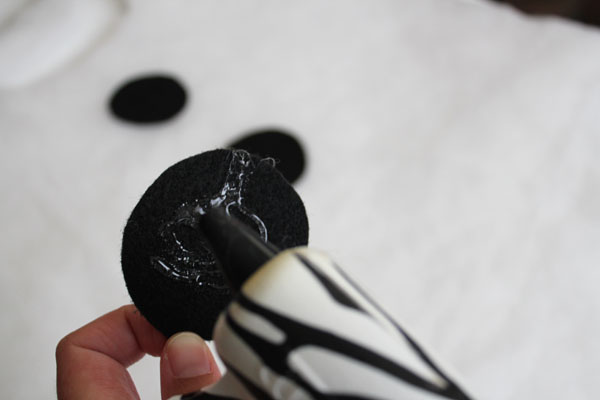
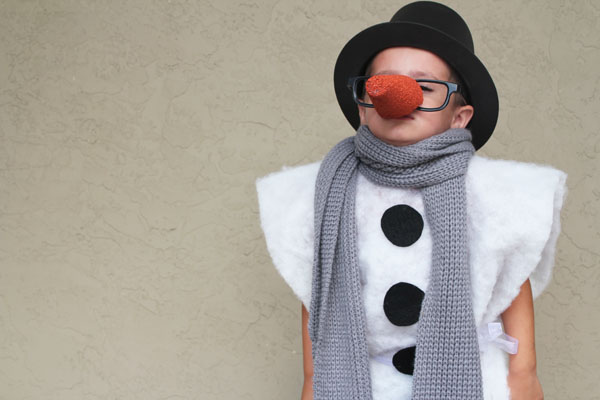
Cut 5 circles from the black felt. They don’t have to be perfect (these represent lumps of coal after all!). I went for about 2″, but the size you want will depend on the size of the child. Use hot glue to secure these down the front of the costume, in a row.

glue on circles

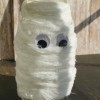
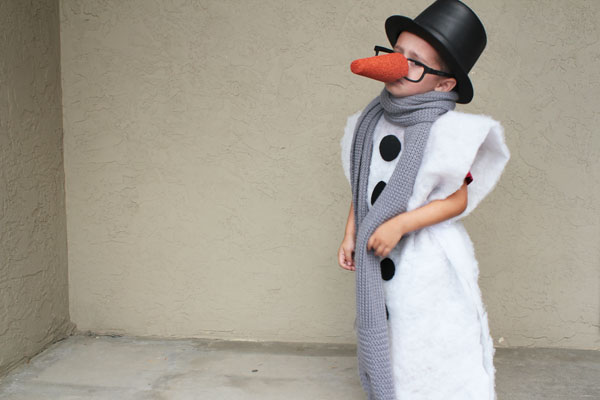
Now put it all together! Put the batting body over the child’s head – like a poncho. Use the ribbon to tie at the waist. Fluff up the top a little if you like. Add the hat, scarf, and carrot-nose glasses. Done!

Snowmen like Warm Hugs - and costumes

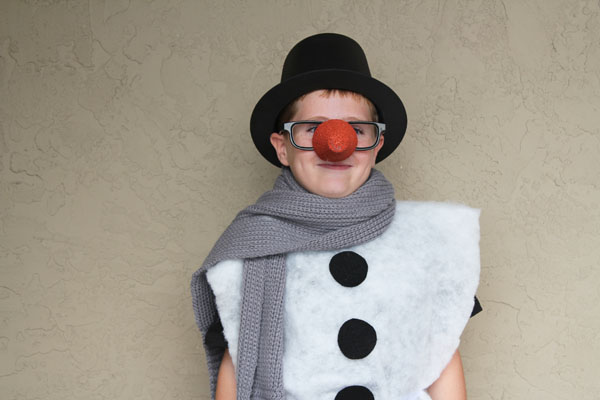
This costume is super easy to make – and so forgiving! How do I know? I made it for my 3 year old, and the photos above are being modeled by my 7 year old! Because sometimes, 3 year old children don’t want to be bribed with candy. And they stomp their foot and say “I don’t wanna be a noman! I want Mickey Mouse!”

Wanna be a Snowman - for Halloween

And they look absolutely miserable in every photo.

Snowman Costume in 15 Minutes

I have many, many more photos of him being absolutely miserable. So, I’m pretty confident I’ll be sharing a Mickey Mouse costume here in the next few weeks. I just need to find red pants… in the meantime, enjoy all these awesome (and fast) Halloween crafts:

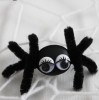
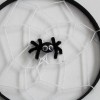
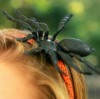
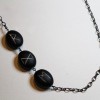
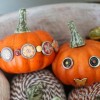
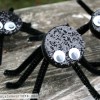
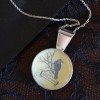
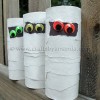
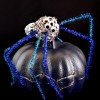
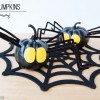
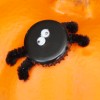
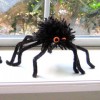
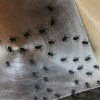
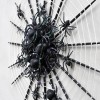
Cute as a fox shows you how to bead your own spiders:

Beaded-Crystal-Spider-Quick-Halloween-Craft-Title-446x640
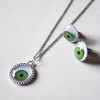
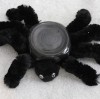
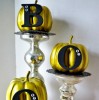
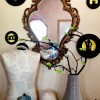
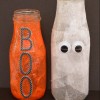
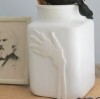
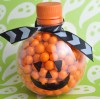
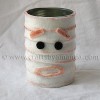
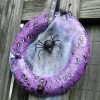
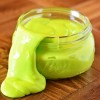
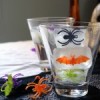
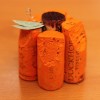
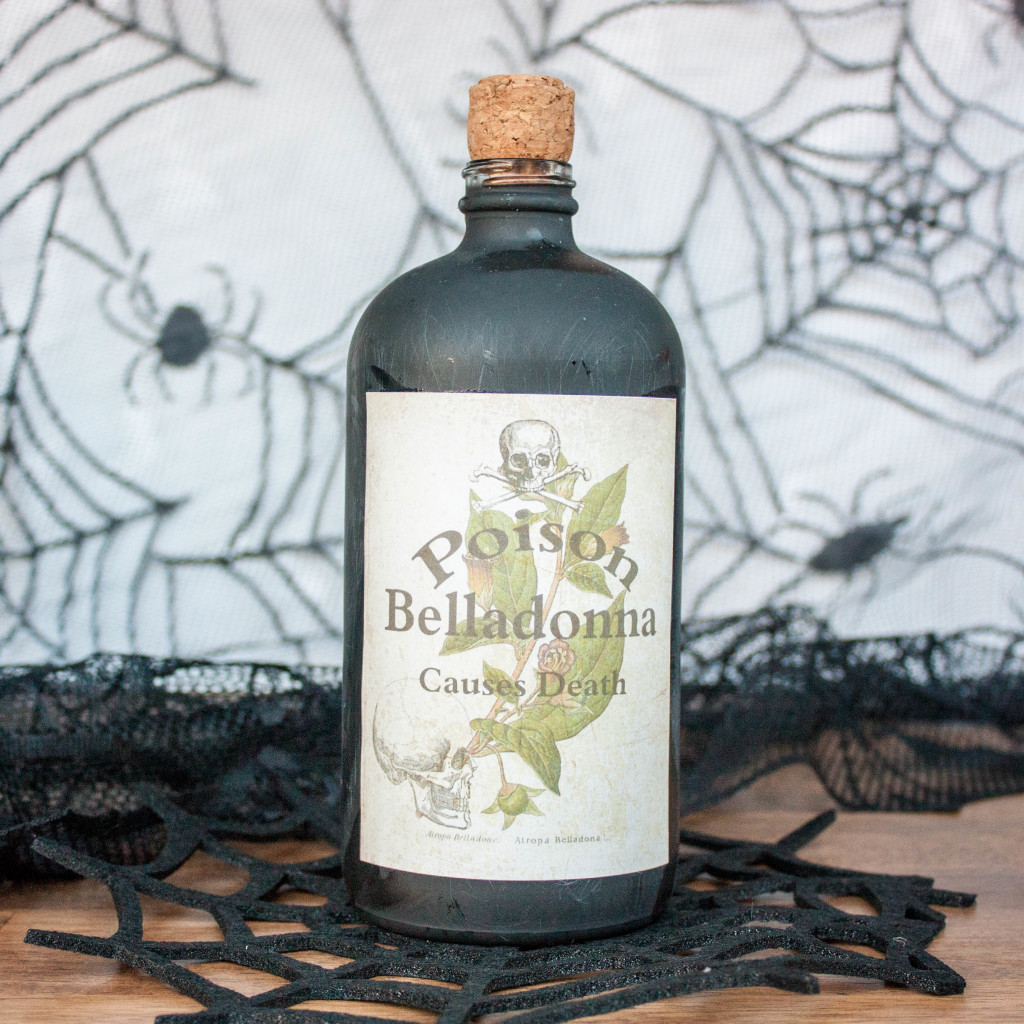
You can find out how to make your own Belladonna bottle on BumbleBree.

DIY-Poison-Bottle-12-1024x1024

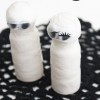
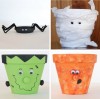
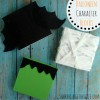
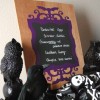
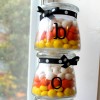
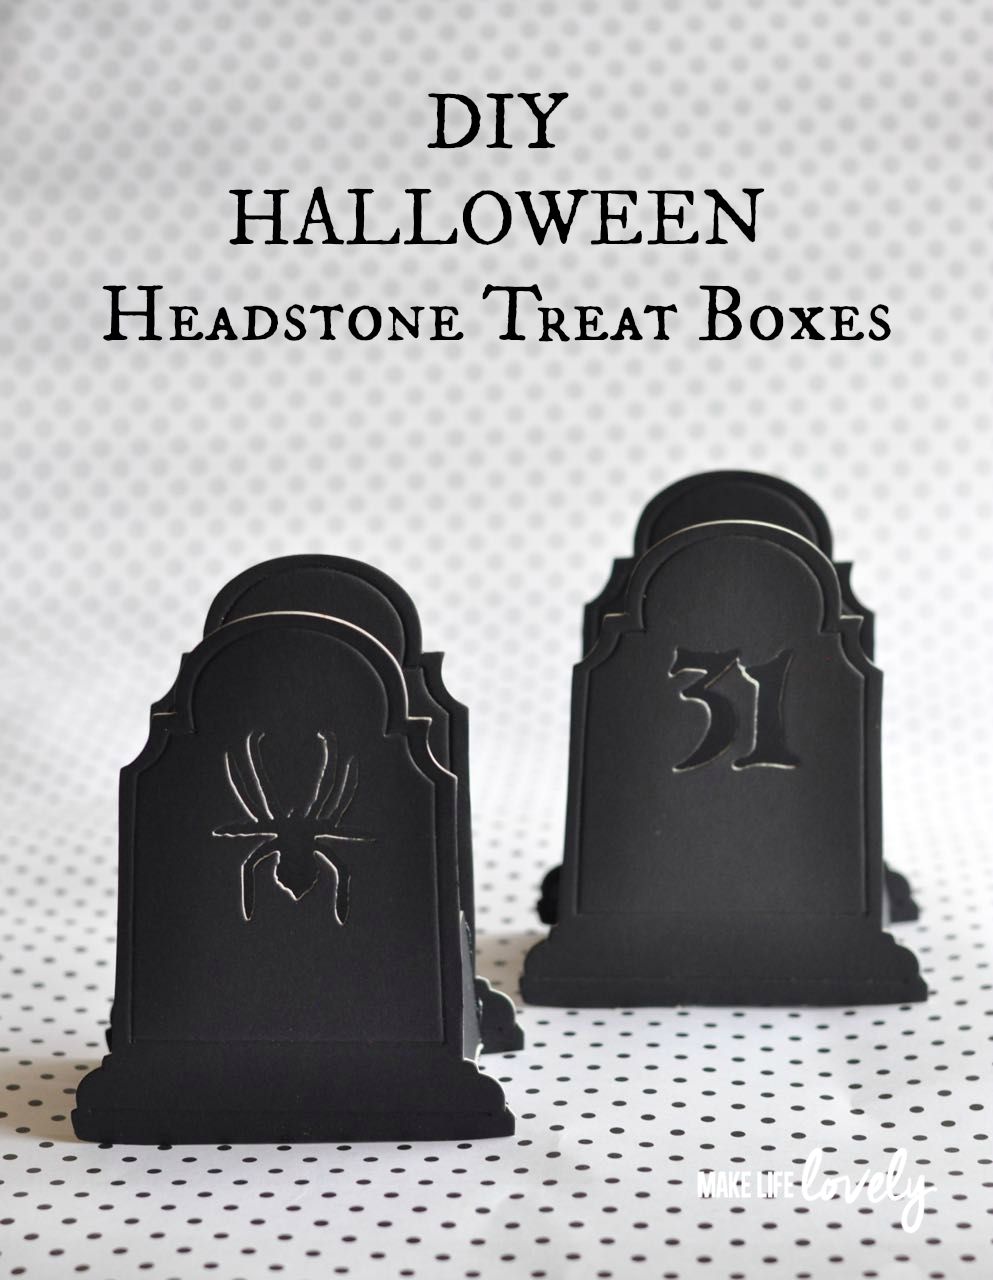
Halloween treat boxes are the cutest when they look like headstones! Make Life Lovely shows you how.

DIY-Halloween-Headstone-Treat-Box1

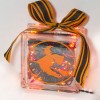
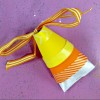
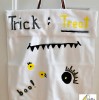
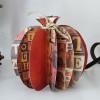
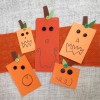
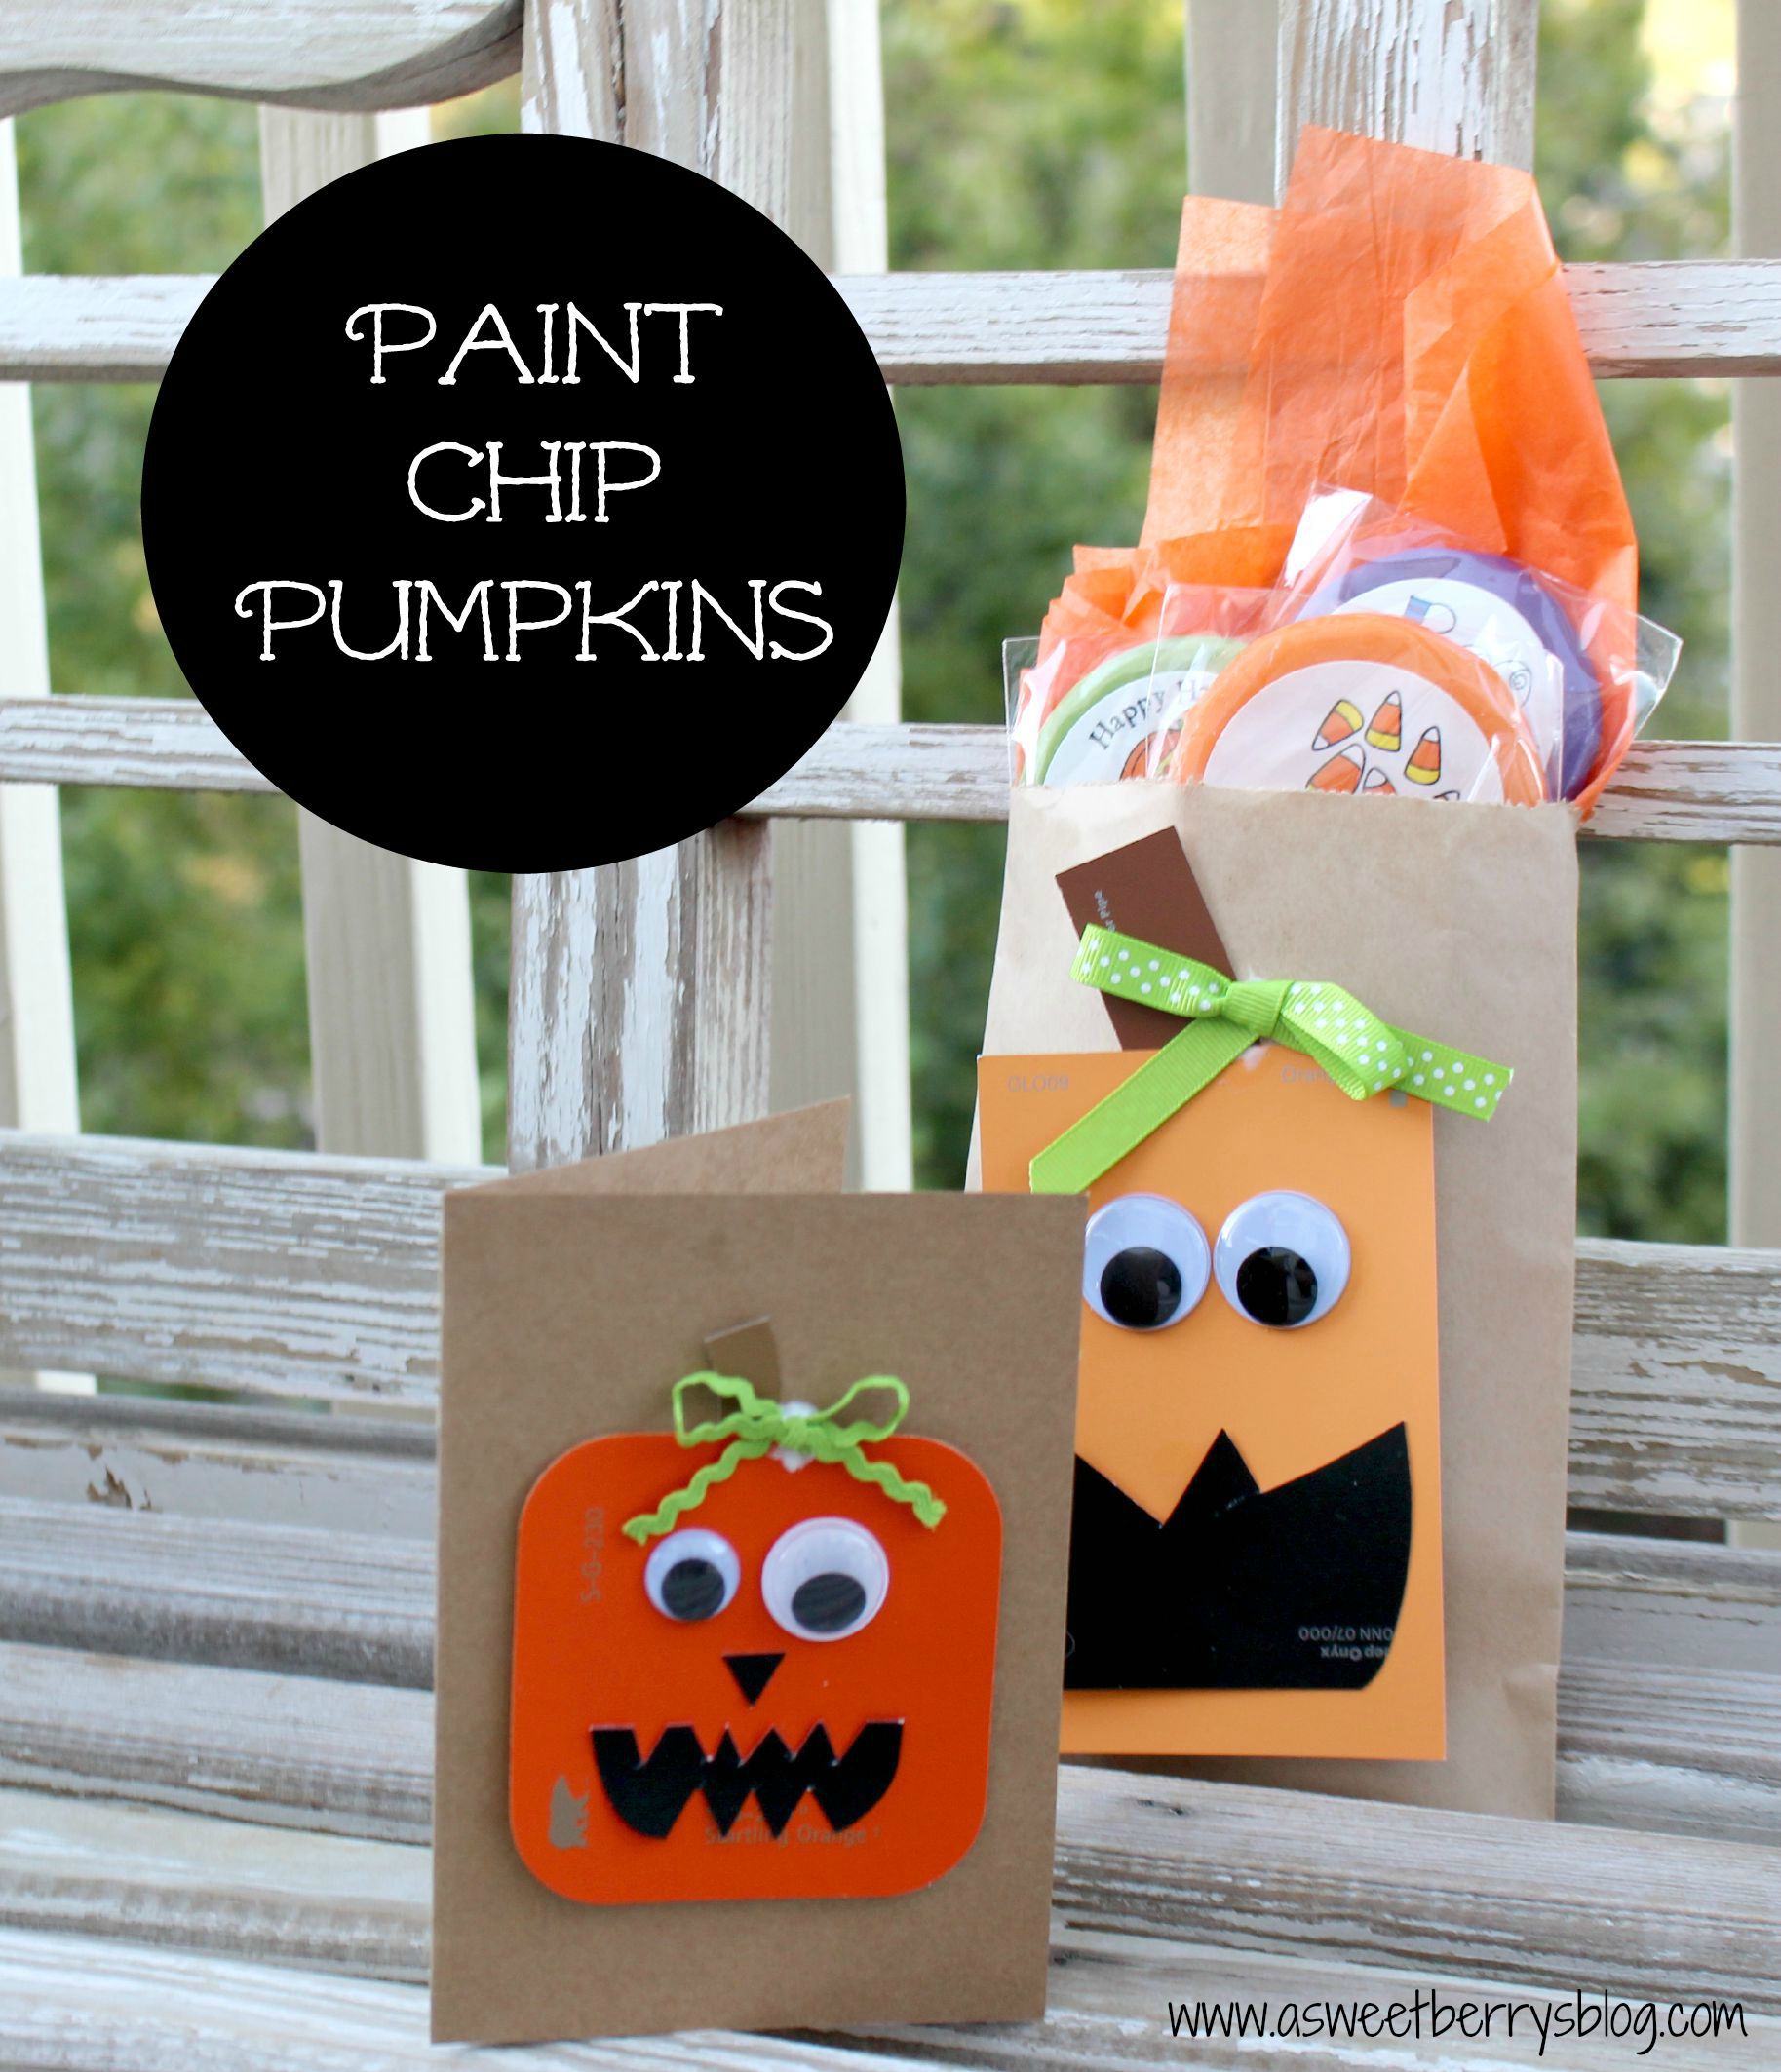
Paint chips are so much fun to craft with – like this paint chip party bag from Katie Berry!

Paint-Chip-Pumpkins1

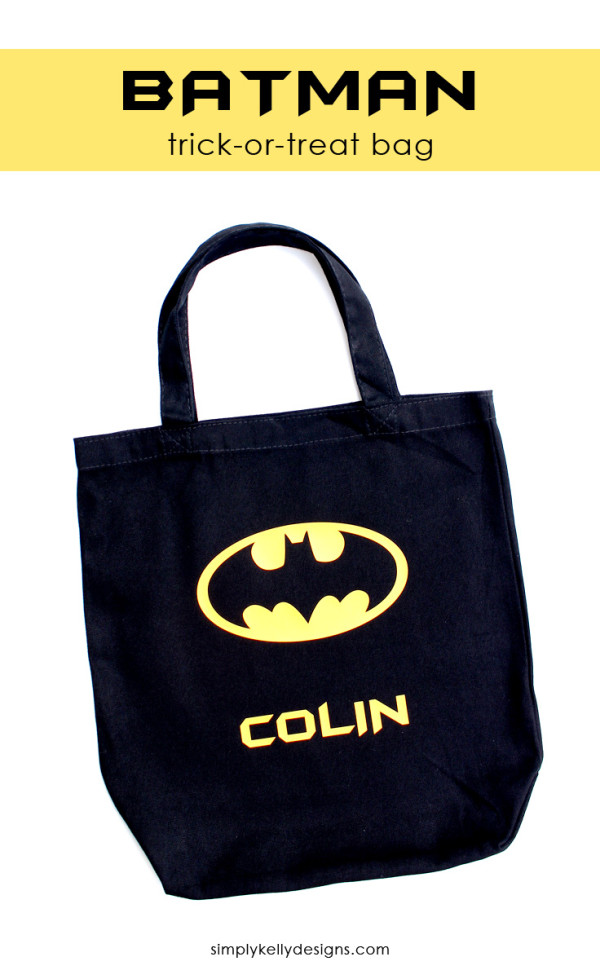
Every superhero needs a trick or treat bag – Simply Kelly Designs made this fun Batman Treat Bag.

SimplyKellyDesigns_BatmanTrick-Or-TreatBag-600x970

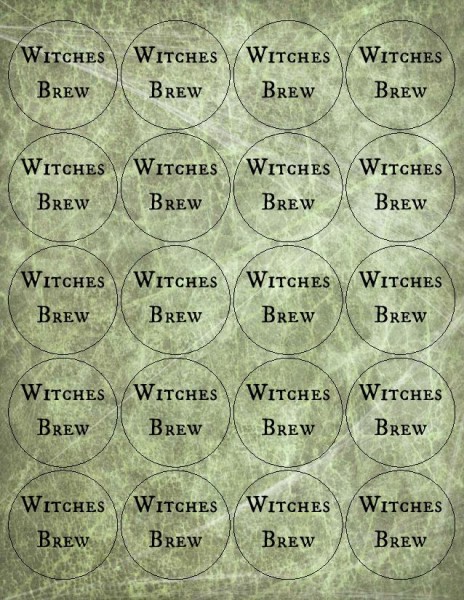
My Craftily Ever After has the perfect drink for your Halloween party – and some fun Witches Brew Labels to go along with it!

witches-brew-drink-labels-page-001-464x600

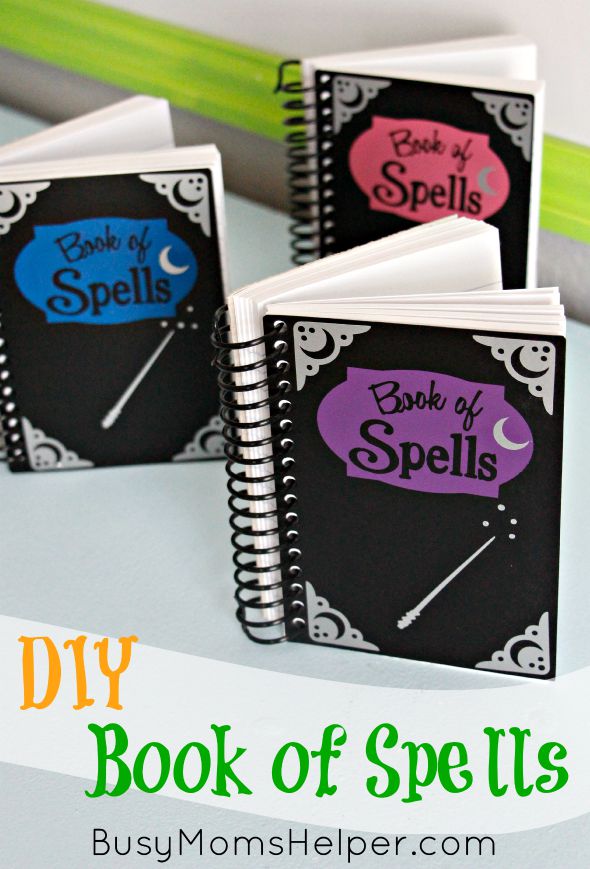
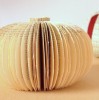
Busy Mom’s helper whipped up this Book of Spells – great for any budding Witch or Warlock!

Book-of-Spells-Main

Simple Mushroom Costume

With Halloween coming up, I’m constantly asking my kids what they want to dress up as for Halloween. Otherwise, I’ll wake up Halloween morning to realize that I still don’t know, and don’t have time to make anything fancy. For those of you in the same shoes, I’m sharing fun, fast, and easy Halloween costumes all week long – like this Mushroom Costume! That’s right – a Mushroom costume. Doesn’t sound too exciting – but it is super cute! Any kid will look adorable asking for treats dressed like a Toadstool, right?

This is part of another awesome Craft Lightning Week. This week my co-host Angie from The Country Chic Cottage, and our Guest Host Jen from 100 Directions and I, along with our creative friends from around the ‘net are sharing fast Halloween crafts that can be done in 15 minutes or less!

15 Minute Mushroom Costume

I’m sure you’re wondering how in the world I came up with the idea to make a Mushroom costume! I was wandering the aisles of my local crafts store with my kiddos, trying to come up with costume ideas. My oldest picked up one of these Smoothfoam half-spheres, and the idea just popped into my head! He was excited to put it in the cart, and I was thrilled that I came up with a simple and inexpensive idea for a unique costume. It would be great for a parent or sibling of kids dressed up in a Mario Costume – or a Little Miss Muffet Costume! But it is pretty special all on its own.

To make your Mushroom or Toadstool Costume you’ll need:

12″ Smoothfoam Half-Sphere
Pencil
Paintbrush
Red Paint
White Shirt

supplies for mushroom costume

Start by lightly drawing large oval/circles on your smoothfoam. Make them large, and cover lots of area – the more white dots, the less you’ll need to paint red (and the faster this costume will come together)!

make pencil marks

Paint in the negative space around the dots with your red paint, then allow to dry.

paint red

Put on the white shirt, add the mushroom cap, and your costume is complete! Super fast, super simple – you can make it in the morning, and wear it that night!

DIY Costume - Mushroom in 15 minutes!

Looking for more Halloween craftiness? Check out these fast and fun Halloween crafts that you can make in just 15 minutes (or less!)

Over at Frugal Elegance, you’ll learn how to make these spooky skeleton luminaries.

HalloweenSkullTitle2

Turn the most versatile decor item (the mason jar) into a fun ghost votive with Lisa Stuf.

Light-Up_Mason_Jar_Ghost_wm


Mothership Scrapbook Gal shows you how you can whip up a fun and simple Halloween Card.MSG-SimpleHalloweenCard


My Very Educated Mother shows you how to whip up these adorable poseable mummies!mummycollage


Add a little creepy to your front door with this great Halloween Door Decor from 365 Days of Crafts.olyfun-halloween-front-door-decorations-800x533


Even if you don’t dress in a costume this Halloween, you can still get wrapped up in the holiday – with this Halloween headband from Lucky Scarf.photo-2-10


Laura Kelly made this fun printable Halloween garland – with Ugly sweaters! What a perfect way to celebrate this fall holiday!Ugly_Sweater_Garland


Over at Mad in Crafts you’ll learn how she made this fun glowing Halloween sign!Glow-in-the-Dark-Halloween-Sign_thumb

Come back tomorrow – I’ll share another fun and fast Halloween costume, as well as a bunch of other fast and fun Halloween crafts!

Wiggling Card


front of shake your booty cardWhen I went to CHA over the summer, this was the make and take that made me giggle the most. Because this wiggle-butt card is just so much fun! This is the last of the make and takes I’m sharing from Summer 2013. If you missed any, go catch the Sizzix Ornament, Simple Faber Castell Box, Crystal Christmas Tree Card, Fast Floral Necklace, Super Fast Button Ring, Spray-Dye Scarf and Mini Quote Canvas. I’m looking forward to more fun make and takes at CHA this weekend, that I’ll be able to share with you! Be sure to catch me on Instagram for some sneak peeks!

supplies for shake your grass cardTo make this card you need:
Card base
Art Impressions Shake Your Booty Rubber Stamp
(body/head and 2 of the bottom of the body)
Action Wobble

background paper
embellishments
adhesive
paper punch
printed sentiment: “Shake your Grass”

Start by putting together the pieces of your card. A circle, the body, and background. Secure them all with adhesive.

pieces for front

For the inside, secure the circle, background, and one of the body/rear pieces.

wiggle piece for the inside

secure wiggle piece

Secure one side of the wiggle piece to the spare bottom piece. Then secure in place on the card. Add your sentiment, “Shake your Grass”.

inside of shake your grass card

There are tons of different bodies and tops to use with the wiggle pieces.

different stamp options

I’m a big fan of the Santa Shake Stamp.

Art Impressions Santa Stamp

Such a fun way to add some wiggle to your next card!

Sizzix Ornament

Sizzix Ornament

This weekend I’ll be at CHA, so I thought it would be fun to share more of the make and takes I did at CHA this summer. If you missed any of the past tutorials, I did a Simple Faber Castell Box, Crystal Christmas Tree Card, Fast Floral Necklace, Super Fast Button Ring, Spray-Dye Scarf and Mini Quote Canvas. Today I’m sharing an ornament I made at the Sizzix booth. This ornament would make great wedding decor, Valentine’s decor, or really decor for just about any season depending on how you switch up the colors. While I was at the booth making the project, I was talking to the person running the demo about ways to whip up this ornament. We decided that it might be much faster to SEW the ornament together. I’m going to show you how it was done at the booth, and then I’m going to show you how to sew this ornament in a fraction of the time down at the end of this post.

supplies for sizzix ornamentSupplies:
Sizzix Chandelier Die
Papers – 3 colors for body, center, and star
Pearl Bead
Hot glue and string if going the traditional route, or a sewing machine if you want to make it fast.

You’ll need the Sizzix Chandelier Die. It cuts papers like this:

ornament die

Here are the directions for gluing the ornament:
Start by cutting your pieces on the Sizzix machine. You’ll need 4 of each. Then fold all the pieces in half.

fold pieces

Run a small thread of glue down one fold, then attach a second piece at the fold. Do this with all the pieces.

sets of two

Repeat this process, gluing the double pieces into single pieces using all 4 layers.

pieces all glued up

Tie a knot at one end of the string, add the pearl bead to the end.

knot on bead

Glue the string down between one of the sets of layers of each piece.

glue thread down the seam

Your ornament is done!

ornament created

If you’d prefer to stitch up your ornament, stack up all the matching pieces, then stitch the pieces in order. The thread from the sewing machine will take the place of the string in the glued version. Increase your stitch length to a 3.5 to keep the paper from being too weak at the seam.

stitch ornament pieces

Tie the pearl bead to the bottom, using the two threads from the machine.

stitched ornament

Fold open the layers, and you’re all done! That was super simple!

Just a note: After sewing on paper, you’ll want to switch out your needle before sewing on fabric again. Nothing dulls needles (or scissors) like paper does.


Simple Decorative Box

Simple Decorative Box

Because I’m going to CHA this weekend, I’m sharing some of the make and takes I did at CHA over the summer. If you’ve missed any, go check out the Crystal Christmas Tree Card, Fast Floral Necklace, Super Fast Button Ring, Spray-Dye Scarf and Mini Quote Canvas. The project I’m sharing with you today was super fun to make. It was one of the last make and takes I did at summer CHA, and I just got to sit at the Faber Castell Booth, rest my feet, and play for a while! Really, the best part of going to a craft show, if you ask me.

To make your own Simple Decorative Box, you need:
Plain Box
Stencils
Faber Castell Gelatos
Makeup Sponge
Fabric Trim
Glue
Faber Castell Marker
Stamp with scripty text
Wooden Bird
Old Book Page

Start by spreading out the gelato onto a piece of scrap paper.

spread out Gelato

Pick up the color with a makeup sponge, and stencil it onto the box.

Stencil in Gelato colors

Do the same, stenciling on your fabric trim.

stencil trim

Glue the trim around the edge of the box.

glue trim on box lid

Ink up a stamp with a marker, and press it right on the top.

Ink Stamp

Grab your embellishments. In this case a wooden bird and a trimmed up piece of book page.

Glue on wood and book page

Your box is all done! Enjoy!

Simple Decorative Box Finished

Crystal Christmas Card

crystal christmas card

This weekend I’m heading off to CHA. That’s the Craft and Hobby Association Trade Show in Anaheim (close to Los Angeles if you’re not familiar with the West Coast). I enjoy going to CHA because so many amazing craft companies are there, showing their latest and greatest products in their booths at the trade show. And many of them offer “make and takes”. A make and take is a quick craft that can be done right at the booth. I did several at the Summer CHA show here in Vegas, and shared them with you… the Fast Floral Necklace, Super Fast Button Ring, Spray-Dye Scarf and Mini Quote Canvas. I have more that I’ll be sharing with you this week!

Today I’m sharing with you one of the make-and-takes from the Connie Crystal booth. This is a simple way to make a card with a little bling!

christmas card suppliesTo make your own card you’ll need:
Colored Crystals
Card Base
Die Cut Tree
Glue
Crystal “Rope”
Scissors


Start by gluing the die-cut tree to the card base. Cut short lengths of the crystal “rope” and glue those down on the tree. Then add dots of glue for the colored crystals.

dots of glue

Glue the colored crystals in place, and you’re all done! Just wait for it to dry before mailing it.

glue gems in place

If you mail a card with this much stuff on the front, you’ll want to cut a piece of felt or foam to cover the front for mailing – that way the front of the card won’t get damaged. You may need to pay more for postage in order to have the card hand-canceled as well – cards with beads and crystals on them don’t always go through the postal machines very well. Bring a sample card to your post office to find out what special measures you’ll need to take.

Top Features of 2013

Top 10 Features of 2013

It’s time to share the best of the best for 2013! I love sharing tutorials and roundups, but doing features is super fun for me! Getting to share the awesome work of other bloggers around the ‘net is a big part of this blog, so I want to give a shout-out to the posts that y’all really loved this year.

Each of these links goes directly to the tutorial, and not the feature here on the site… to save you a click.

10. Valentine’s Doily Wreath

9. No-sew Sleep Mask

8. No-sew Lampshade Makeover

7. Simple Skirt in 30 Minutes

6. Scrappy Dressed-up Tin Cans

5. Craft With Junk Mail

4. Conversation Heart Engagement Ring

3. Mod Podge Button Votive

2. No-Sew Bean Bags

1. 30 Minute Knit Scarf

The Ultimate List of Fast & Easy Halloween Crafts

Looking for some fast and easy Halloween Crafts? Maybe you want a fun Kid’s Halloween Craft… or you’re looking for a Halloween Craft to do at a party. Maybe you need to DIY Halloween party decor? Whatever your reason for wanting some easy to make Halloween crafts, I’ve got you covered with over 100 Halloween Crafts that will each take 30 minutes or less to make. Fast spooky crafts, simple pumpkin crafts, and quick spider crafts… plus a whole lot more!

And if you’re looking for the Ultimate List of Last Minute Halloween Costumes, I have over 50 ideas to inspire you to craft up a fantastic Halloween costume, or costume accessory, in less time than it takes to scare up some TP on Halloween.

The Ultimate List of Fast & Easy Halloween Crafts


Spray-Dye Scarves

Spray Dye Scarf

Tulip came out with new one-step tie-dyes in super convenient squeeze bottles, bringing back tie-dye in a BIG way. Suddenly tie-dye was easy to do, fast with kids, and even more fun for moms (with less steps and much less clean-up). I’ve played with the squeeze-bottle tie dyes, making a tie dye sampler quilt and tie dye zippered pouches.

At CHA I got to see Tulip’s latest and greatest – tie-dye in spray bottles! The squeeze bottles are still great for traditional tie dye, but the spray gives even more options for adding and blending colors.

At the trade show, Tulip had their new spray bottle tie-dyes and silk scarves for us to try them out on. I loved how my scarf turned out!

To make your own spray dyed scarf you need the following (I added amazon affiliate links to help you find these items if you need):
Tulip Spray Dye Kit
Tulip Fabric Sparkle Spray
Silk Scarf

First, lay out the scarf on your protected work surface. Prepare your spray dyes – just add water to the fill line and shake.

spray dye supplies

Start by spraying one color, then spray the other color in the empty areas.

start spraying

Spray on the shimmer spray.

shimmer sprayJust let the scarf dry, and you’re all done!

Tulip Spray dye Scarf

Make a hat from a Wool Sweater

Winter is the perfect time for snuggly crafts like hats, scarves, mittens, and thick wooly afghans. But if you’re no yarn whiz, and you never learned how to handle a crochet hook or knit nicely, there are still ways for you to DIY your own winter wear. You can use a sweater from your closet, or an older thrifted sweater (perhaps a sweater that shrank in the wash) and stitch up a wool hat in less than 30 minutes!

Hat from a wool sweater

If you want to keep this handy for the next time you shrink a sweater in the wash, you’ll want to pin this to Pinterest. Make sure you click through to the original source first.