Baby Shower Decor – Pennant Wreath

30 Minute Pennant Wreath

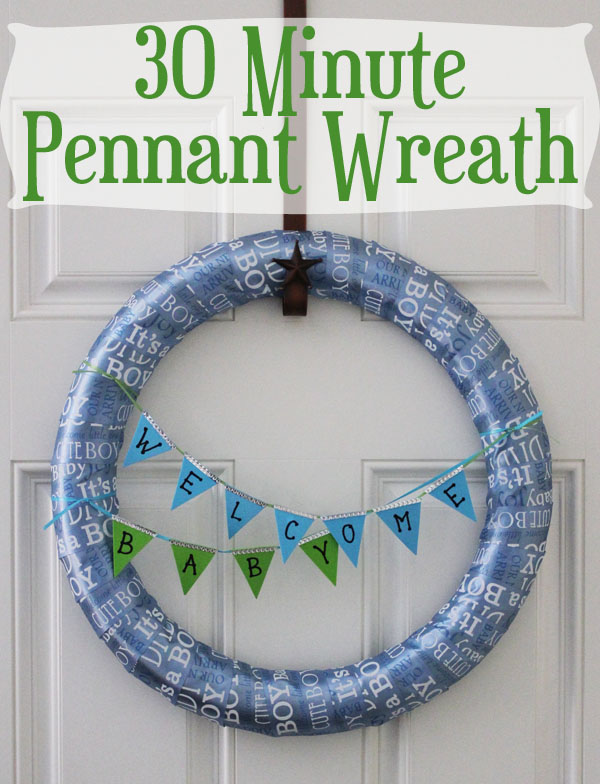
When having a baby shower at someone’s home, I love starting the baby shower decor at the door… by having a wreath on the door that ties in to the baby shower theme! It is an easy way for guests to know that they’re knocking on the right door, and it is a nice keepsake for the mom to take home after the shower is over. I first did a wreath last year for the Orange and Monster Truck shower I did for a friend of mine.  This wreath is a super simple, super fast, and super cute way to say “hello baby!”

supplies for wreathSupplies:
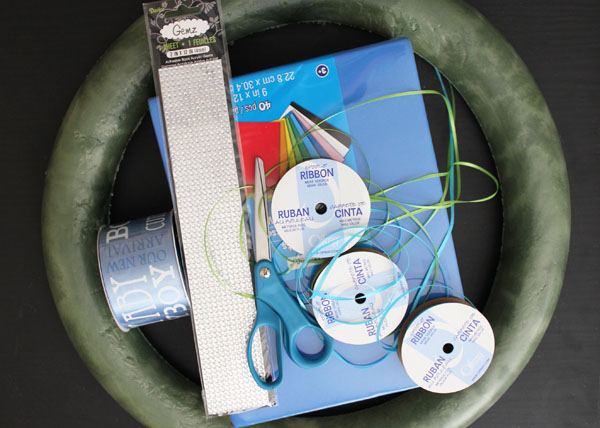
Wreath form (I used a styrofoam wreath form given to me by the wonderful folks at FloraCraft)
Wide ribbon (this should be unwired)
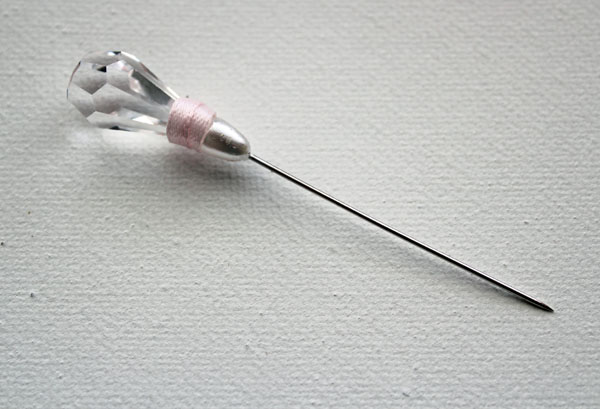
A pin (just one is fine)
Small ribbon or string
Hot Glue
Craft Foam Sheets
Gemz (optional)
Paint pen or permanent marker

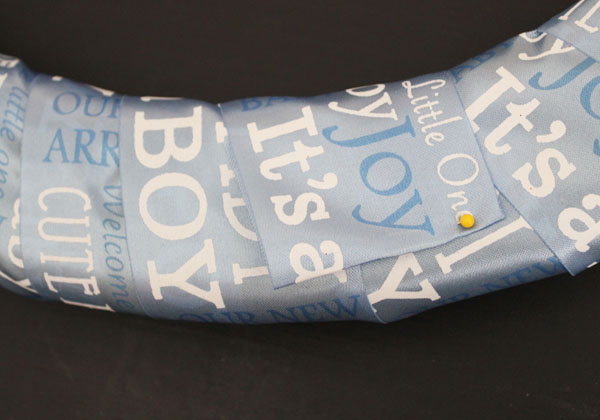
I started by wrapping my wreath form in the ribbon. I went all the way around, then cut it off the spool and pinned the end in place.

wrap and pin wreath

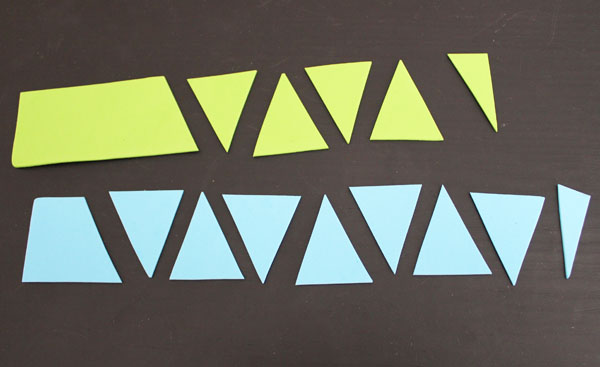
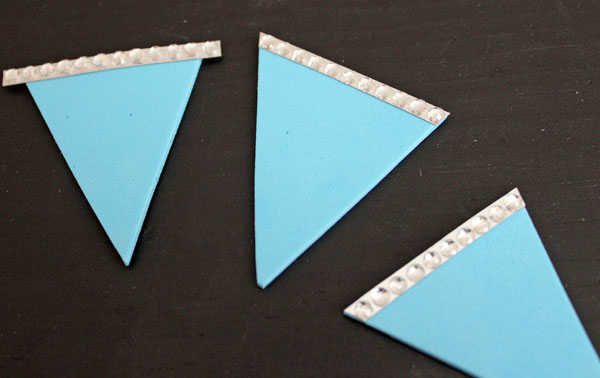
I cut a strip from two different colors of craft foam, then cut these into triangles.

cut foam sheets

I added strips of Gemz to the top of the pennants, and trimmed them flush with the sides. This is optional, but I like the extra sparkle.

add glitz to pennants

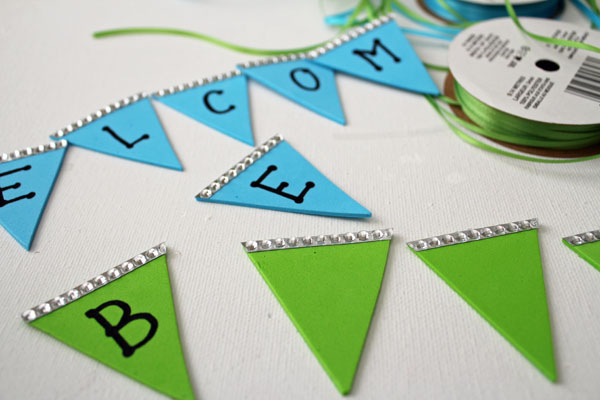
On one color, I wrote “WELCOME” and on the other I wrote “BABY”.

write letters on pennants

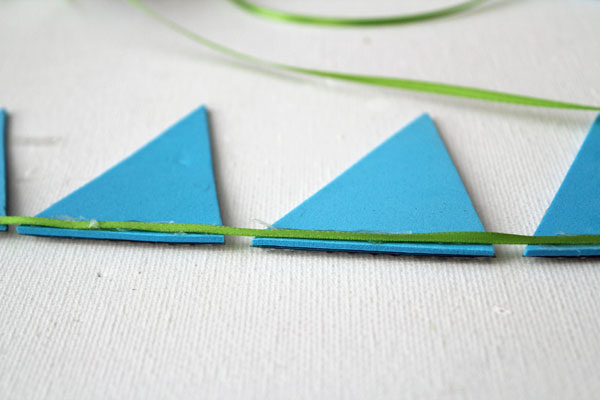
I glued the pennants to the thin ribbon using hot glue on the back of each pennant.

glue ribbon to back of pennants

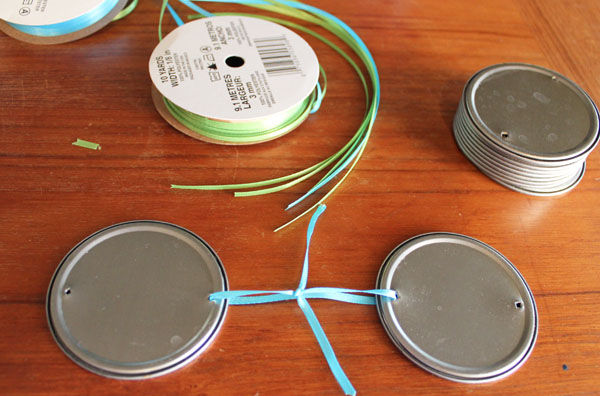
All that was left was to tie the ribbons to the wreath!

tie one side of wreath

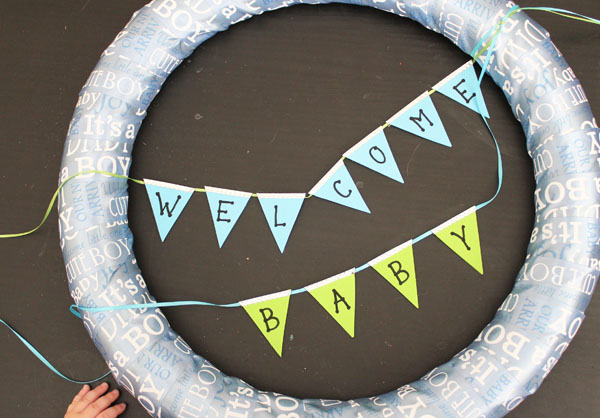
I tied both ends to one side, and then individually tied the other sides. I trimmed the ends of the ribbon and was all done! I love fast, easy, and cute baby shower decor!

This wreath was for my sister in law’s shower, which I was regretfully unable to attend. I sent this wreath along with some fun printable baby shower games and a gift of several 30 minute baby bibs.

ps – do you see my “little helper” hand in that last photo? He really wanted to get his hands on those pennants!

25+ Fast and Easy Sewing Projects

Fast and Easy Sewing Projects in 30 Minutes or less

It is no secret that I love to sew. And I love fast sewing projects. Sure, I love long, complicated projects like quilts and wallhangings… but there is something so satisfying about sitting in front of my sewing machine and whipping out a project from start to finish. Because they actually get finished.

Quick sewing projects also make great gifts. When I have a little extra time, I like to make several all at once… that way I have little gifts stockpiled. Super handy! So grab some fun fabrics and get stitchin’!


25+ Quick and Easy Duck Tape Crafts

quick and easy duct tape crafts on 30 Minute Crafts website

Have you crafted with Duct tape? Duct Tape is awesome stuff, both in the workshop and in the craft room. Growing up, I was once told that you only really need 2 tools… Duck Tape and WD40. If it moves and it shouldn’t – duck tape. If it doesn’t move, but it should – WD40. Those words of wisdom got me very far! But now, Duck Tape comes in so many amazing colors and patterns (there is even Hello Kitty Duck Tape!), it is just begging to be crafted with! And since it has adhesive and design all in one right there… it is perfect for quick crafting!

Here are over 25 quick and easy Duck Tape crafts to get you started… enjoy!

This Duck Tape and Paperclip Charm doesn’t need any fancy supplies – watch the video to show you how it is made.

At Easter, these Duck Tape Bunny Ears are easy to make and fun to wear!

Did you know that you can make roses out of duck tape?

You can even make a stocking out of duck tape!

For Halloween, these duck tape masks are super fun!

Go out on the town with these duck tape shoes!

Nobody will believe what you used to make this duck tape bracelet.

If you want something simpler, these duck tape bangle bracelets are super simple!

A great kids craft is these duck tape dandelions.

This duck tape pillow proves that you can make home decor using Duck Tape!

Duck Tape is perfect for costumes, like this duck tape sword and shield.

A duck tape Cat in the Hat hat is another great costume idea!

For kids, this duck tape mailbox is a fun toy you can make.

A duck tape Christmas garland makes festive holiday decor.

This Duck Tape Pencil Pouch is super handy!

You can make your own iPad stand using Duck Tape.

If you’re stuck on Halloween, a Duck Tape Pumpkin is perfect.

How great is this Duck Tape Clipboard!?

You can make this Duck Tape Christmas sign to celebrate the holidays

Decorate your binder with Duck Tape.

Give a gift card in a Duck Tape Gift Card Holder.

Create a home decor arrow using Duck Tape.

Make a Duck Tape Marquee sign, that actually lights up!

You can use Duck Tape to make a Zippered Pouch.

Make a planter for succulents with Duck Tape.

Use transparent Duck Tape to decorate a binder.

Create a Duck Tape sun hat for your doll.

Fabric Covered Storage Jars

Spring cleaning is in full swing around here! While I’m cleaning, I like to add a little bit of cuteness to my organized decor… like with these fabric covered storage jars! How cute is this? A great way to tuck away odds and ends of buttons and trim… organizing them and keeping them out of the dust-zone. I’d love to do this and color-coordinate my jars… how cute would a shelf of color-coordinated jars be? I’m sure there are tons of ways to adjust this idea!

fabric covered storage jars - carolyns homework

Pin responsibly – make sure to click through to the original post and pin from there.

Recycled Juice Can Lid Garland

juice can lid garland

We’re big fans of juice in this house, so we end up collecting a lot of these lids from the ends of the frozen juice concentrate containers. I was able to quickly and easily string these together to make a fun party decoration… that my preschooler immediately commandeered to have as decor in his own room.

can lids

Supplies:

Metal juice can lids (I used about a dozen)
Hammer
Nail
Mod Podge
Paper
Scissors
Paintbrush
Ribbon


Use a nail to punch two holes in each can lid – one on each side. (the bandaid is from a different injury… but still craft related)

make holes in sides

Turn the lids over and hammer down any sharp bits.

flatten holes

Cut lengths of ribbon, about 6″ each in length, and use these to tie the lids together.

tie together lids

Trace the lid onto the paper. Fold the paper into quarters to cut multiple circles at the same time. Cut about 1/8″ inside the traced line.

trace lid

Mod Podge the circles onto the middle of the can lids.

mod podge paper to lids

Allow to dry and hang up! Your fun new garland is all done!

To celebrate Earth Day, I teamed up with a bunch of friends to share crafts using recycled materials. Check out all of these fun crafts:


Fast Vinyl Clutch

I rarely get to go out on date nights, or nights out with the girls… it is one of the hazards of being a mom with young kids. I’m sure that as my kids get older they’ll want to see less and less of me, and I’ll have more chances to escape the house. In the meantime, I go out a few times a year, and each time I put together an outfit at the last minute and need something… earrings, a necklace, cute shoes… or a fun clutch to replace my usual diaper bag. This DIY vinyl clutch can be whipped out in about the time it takes me to give a new sitter the rules of the house! And we don’t have a giant list of rules… so… that’s pretty fast!

Vinyl pouch - henry happened

This project is so pinnable… but make sure you pin from the original source.

Corsage Brooch Floral Pin

Corsage Brooch perfect for Mother's Day

Looking for something simple yet elegant for Mother’s Day? Maybe there is someone special in your life who you want to give flowers to, but she is always sad when the flowers fade? Or maybe you’re preparing for a wedding and want to have corsages for the moms, sisters, and aunties that will double as long-lasting gifts? This corsage brooch is simple to make, and the crystal touches transform ordinary silk flowers into upscale floral jewelry!

corsage broochStart with your supplies:

Small Silk Flowers
Floral Tape
Ribbon
Hot Glue
6mm CZ pin (3 of them)
Hat Pin
20mm Raindrop Crystal (optional)


Start by pulling the floral heads off of the silk flowers. You will need three – just pull the whole flower right off the stem. Then insert the crystal pin right through the center of the flower. Use a little hot glue to secure the crystal into place, then wrap the base with floral tape to hide the base of the flower and the pin. When using floral tape, stretch it tightly and wrap securely.

Repeat with all three flowers.

put crystal on stem

Pull a leaf off of the flower stem to use as a background, and fold as needed. Place your three CZ flowers on top, and glue into place. Use as little glue as possible to keep it secure… you don’t want big gobs of glue showing!

layer flowers

Cover your glue by tying ribbons. You don’t need a fancy bow – just a double knot of several small strands of ribbon will work fine.

tie ribbons

You could stop right here and be done… but I wanted to add a little more sparkle!

I used a sharp craft knife to cut off the top of my corsage pin, and then the sharp point to drill down a little bit. Then I secured the large teardrop crystal in place with hot glue.

make crystal head pin

I glued a small piece of ribbon over the hot glue and holes in the crystal.

wrap pin with ribbon

I think the crystal pin really adds something… don’t you?

crystal corsage brooch pin

This was super simple to make, and for the cost of a corsage made with real flowers, I have one that will last for years… and sparkles!!

Fabric Gift Bag

A beautiful blogger friend of mine is celebrating her son’s first birthday this weekend. She’s going to have so. much. trash.

Seriously. All the paper plates and napkins and tablecloths… and then that wrapping paper? With big birthday parties, there is trash for weeks.

If you’d like an alternative to traditional wrapping, check out this super fast and easy gift wrap bag. This bag can be re-used and passed on for future birthdays, or it can be used for other things – toiletries, shoes, toys, whatever. Bags are so handy to have around!

Fabric gift Bag - decorella

Pin this so you have it handy… but make sure to pin from the original source.

Easiest Earrings Ever!

This is a sponsored post. I was sent free product, but I decided all on my own that it is some pretty sweet stuff, and had fun playing with it. I hope you like what I came up with!

I love making my own jewelry. It often looks much more complicated than it is… as is the case with these super simple earrings. I was sent some awesome Darice Bling on a Roll

and Darice Gemz
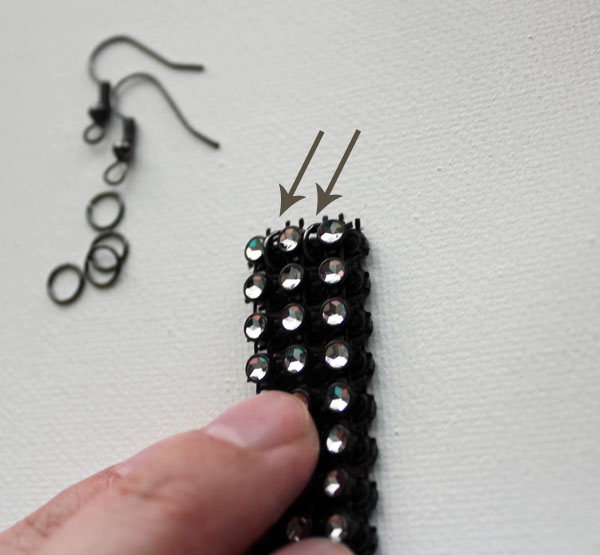
. I’ll be using the Gemz for other projects (they are sheets of sticky-back gemstones). For this project, I’m using the Bling on a Roll.

the second easiest earrings ever

I know the title of this post is “Easiest Earrings Ever”… and we’ll get to that. I’m going to start by showing you the second easiest ever earrings. Here is what you need:

supplies for simple earringsBling on a Roll 
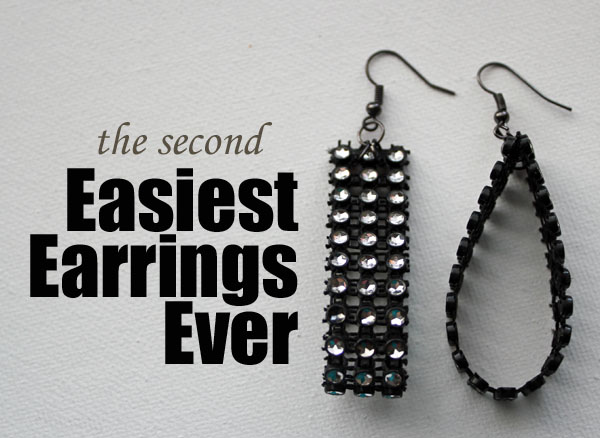
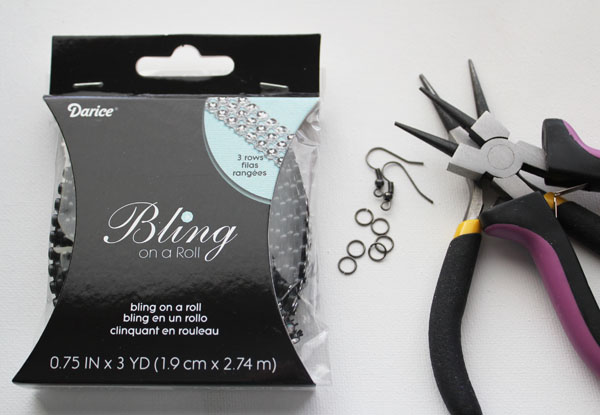
with 3 stones across
Earring wires
6 jumprings (3 for each earring)
2 pairs of pliers
Scissors


Cut 2 pieces of Bling on a Roll the same length. I cut mine about 6″. Set one aside. fold the other one in half. Open two jump rings, feed them between the bling rows, and close them, as shown in the photo:

attach jump rings

Open a third jump ring. Feed it through the two jumprings on the bling, add on the earring hook, then close the jumpring. Your first earring is all done! Repeat this process with the other earring, and you have a finished set of earrings!

Now… want to know how to make the absolute easiest earrings ever? Sure you do! Here is what you need…

Earring Wires
Bling on a Roll (2 in a row)
Pliers
Scissors

attach earring wire

Cut 2 lengthes of bling, about 6 inches each. Put one aside.

Open the loop at the bottom of the earring wire, thread on the ends of the first strip of bling, and close the loop.

Repeat with the other earring and you’re done!

Easiest Earrings Ever with Bling on a Roll

This product is so fun and easy to use… I can’t wait to start playing with my Gemz!

Check out these other awesome crafts you can make using Gemz and Bling!


#Ad: I wrote this post as part of campaign with Blueprint Social. All opinions are my own.

No Sew Bean Bags

These no-sew bean bags are so fast and easy to make! I love that you can make the out of different colors of felt… and after you have mastered this basic technique, you can make shapes like triangles, and even hearts and stars! I love to sew… but sometimes a no-sew project is just as satisfying!

No Sew Bean Bags blog - seven alive

Pin responsibly! Click through to the original source before you pin.